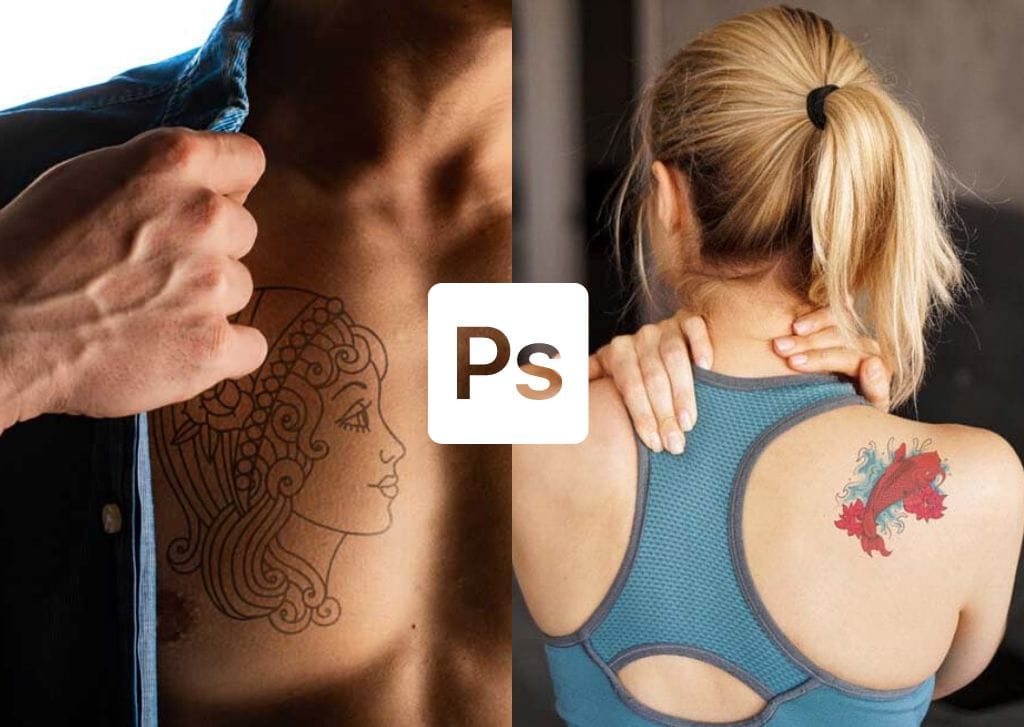

You can easily add a tattoo in Photoshop, whether you want to have a little fun with an image of your own or if a client has asked to see how body art would look on them.
In this tutorial, you’ll learn how to add a tattoo in two different ways. The first method works with a black tattoo, while the second method explains how to add a realistic color tattoo.
How To Turn A Photo Into A Tattoo In Photoshop
Follow these steps to add a standard black tattoo to a subject. Before you begin, you need to prepare two images.
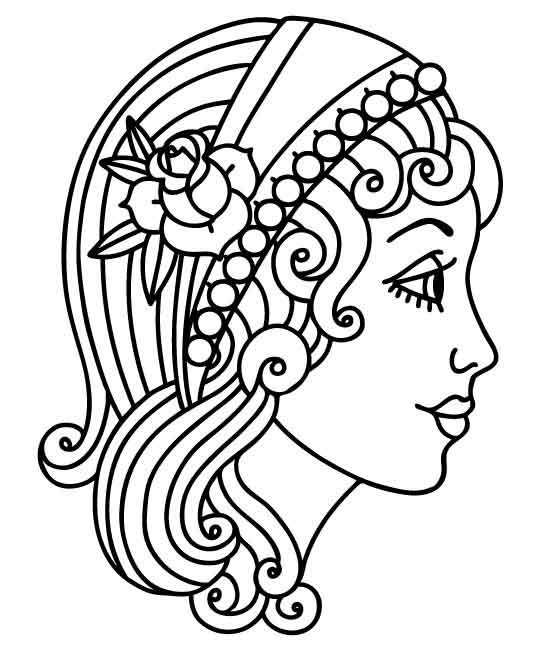
The first image should be of your subject with enough skin showing in the area you want to place the tattoo, which will depend on the size and shape of the tattoo. The second image you need is the tattoo artwork itself. This photo should only have the tattoo design on a transparent background.
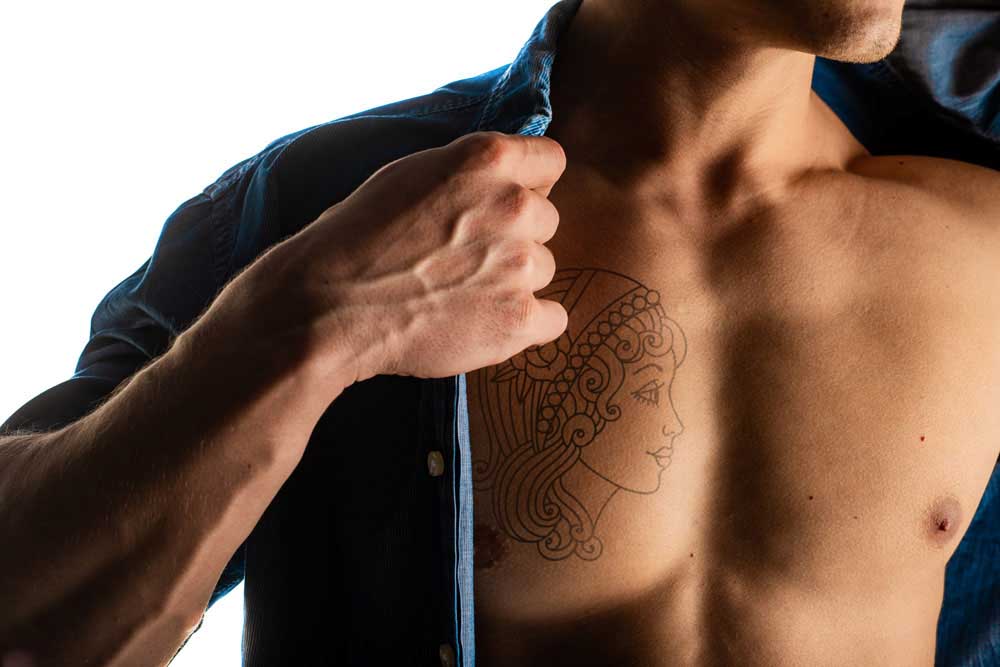
If you need to remove the background from the tattoo image, choose one of these background removal techniques and do this step before continuing with the tutorial. I will be using the following two images for this example.

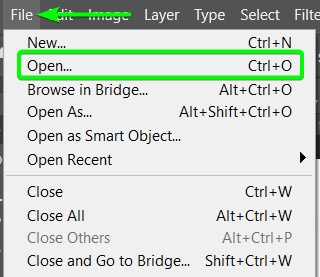
Step 1: Open The Body Image And The Tattoo Image In One Document
Once you have your base image and tattoo artwork image ready, you can open them in Photoshop in the same document. Open the first image by going to File > Open or pressing Control + O (Win) or Command + O (Mac).
Then, add the second image by dragging and dropping the photo from your files onto the first image open in Photoshop. The tattoo image will be added as a new layer and may be too small or too big when added.
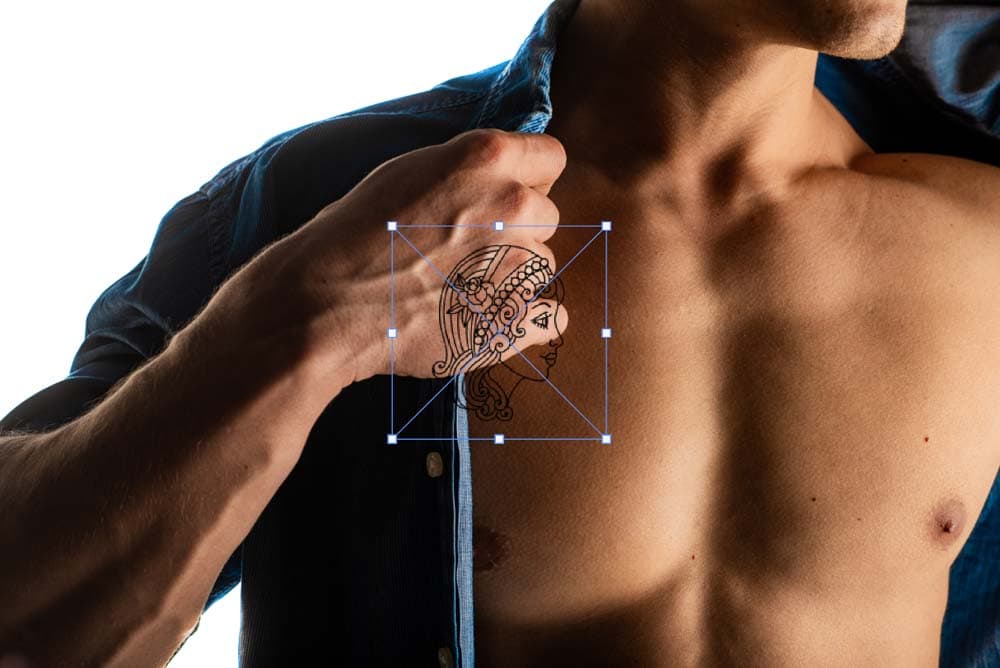
When you add the tattoo image, the Transform Tool should be automatically active, shown by the blue block and white anchor points surrounding the layer. If the tool isn’t active, press Control + T (Win) or Command + T (Mac) to turn it on. You can then use the anchor points to resize the tattoo.
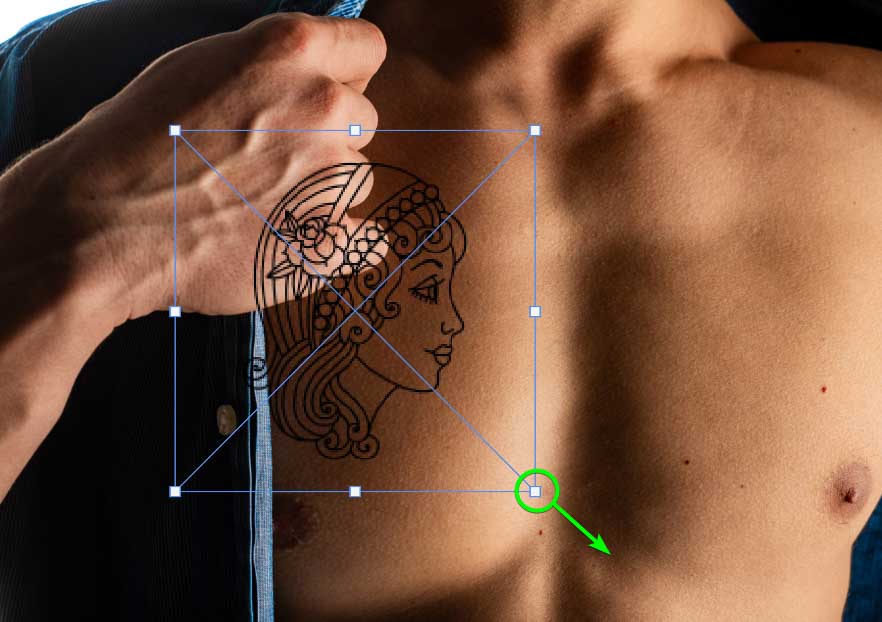
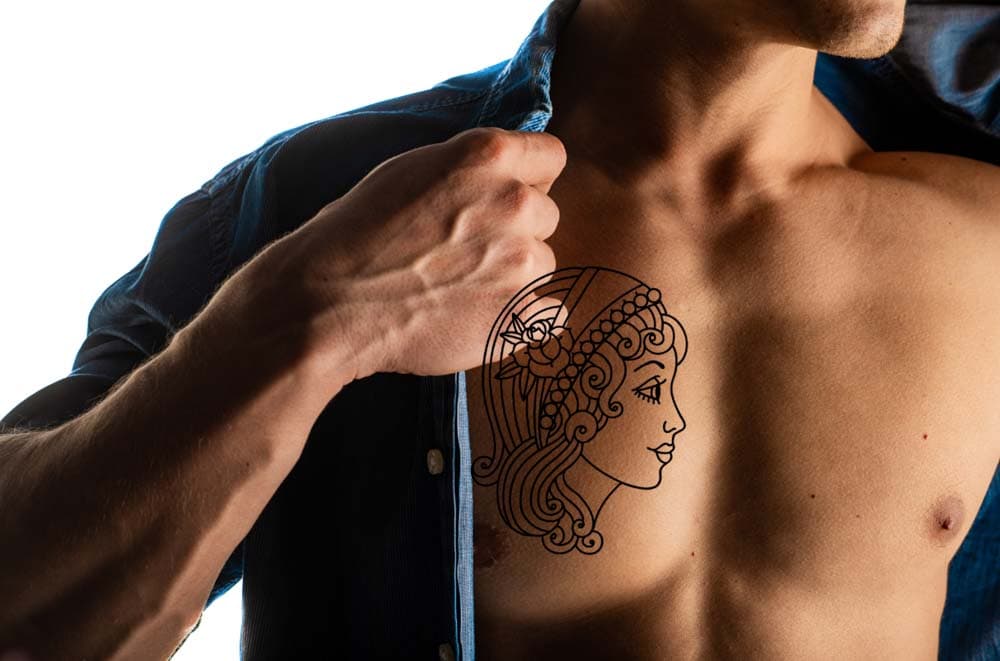
Then, use the Move Tool (V) to place the tattoo over the spot where you want it on the body.
Don’t worry if some edges of the tattoo cover other parts or go off the body. You can hide these areas later where other body parts hide the tattoo or if it should disappear around a curve of the body.
Step 2: Convert The Tattoo Layer To A Smart Object
Once the tattoo layer is in place on the body, convert it to a smart object. This step is necessary so you can add the filters as smart filters and go back and edit them at any stage in the process.
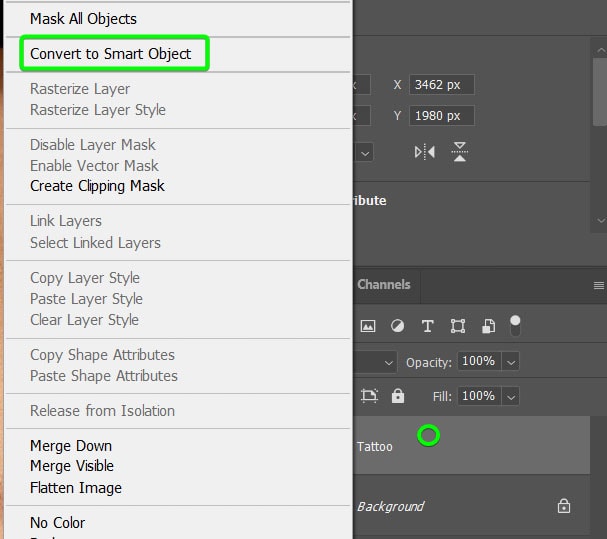
To convert the layer to a smart object, right-click or Control + click on the layer and select Convert to Smart Object from the options.
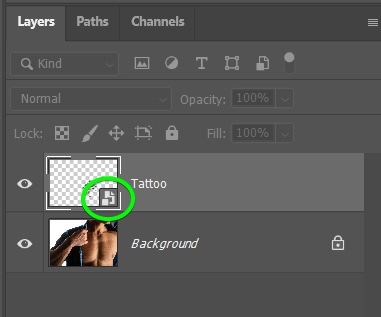
You will know the layer is a smart object when you see the icon in the layer thumbnail.
Note: Dragging and dropping an image into a document sometimes automatically converts the layer to a smart object, so in that case, you can skip this step.
Step 3: Apply The Liquify Filter
Once you have converted the layer to a smart object, you can access and use the Liquify Tool. This filter allows you to warp the tattoo to fit over the body part you have placed it on.
The amount you need to warp the tattoo depends on where you place the tattoo. When adding a tattoo to curved areas, such as arms and legs, you must pay extra attention.
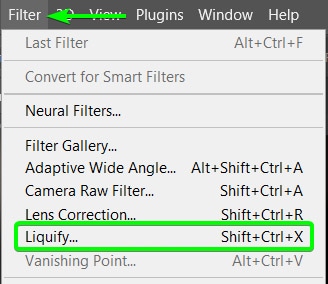
To add the filter, go to Filter > Liquify or press Shift + Control + X (Win) or Shift + Command + X (Mac).
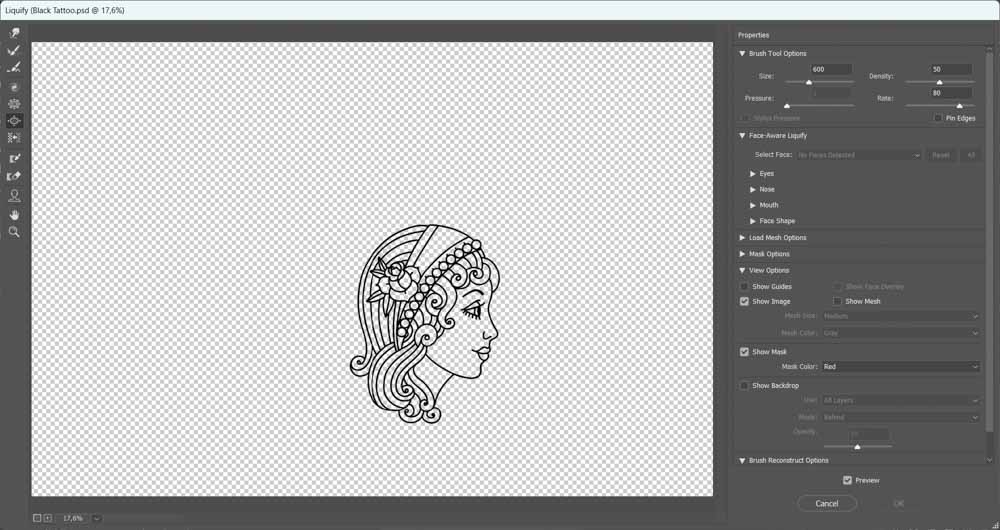
Once you are in the Liquify workspace, you will see tools on the left-hand side, the tattoo in the preview box in the middle, and additional settings in the right-hand panel.
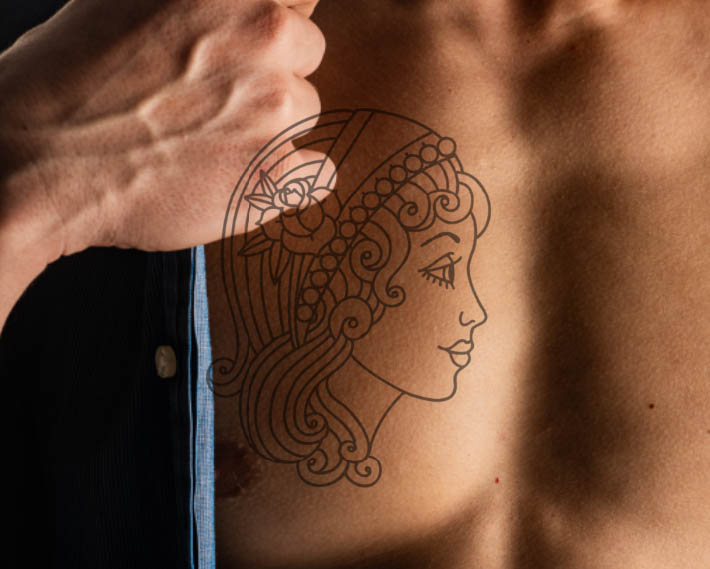
Before you start warping the tattoo, you can adjust the viewing options to view the background image while you adjust the tattoo.
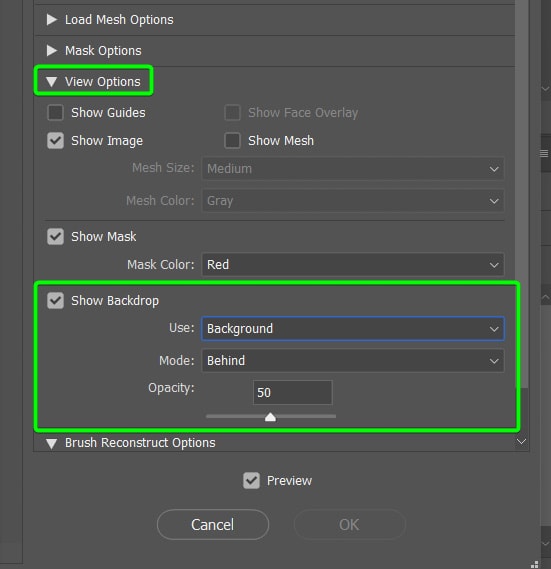
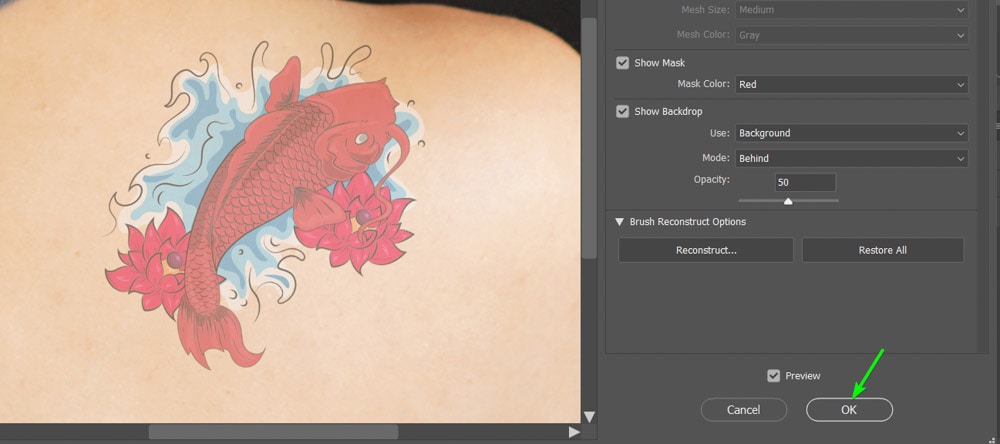
To do this, scroll to the bottom of the panel on the right and open the View Options tab. Then, check the box next to Show Backdrop, set the Use to Background, the Mode to Behind, and the Opacity to 50.
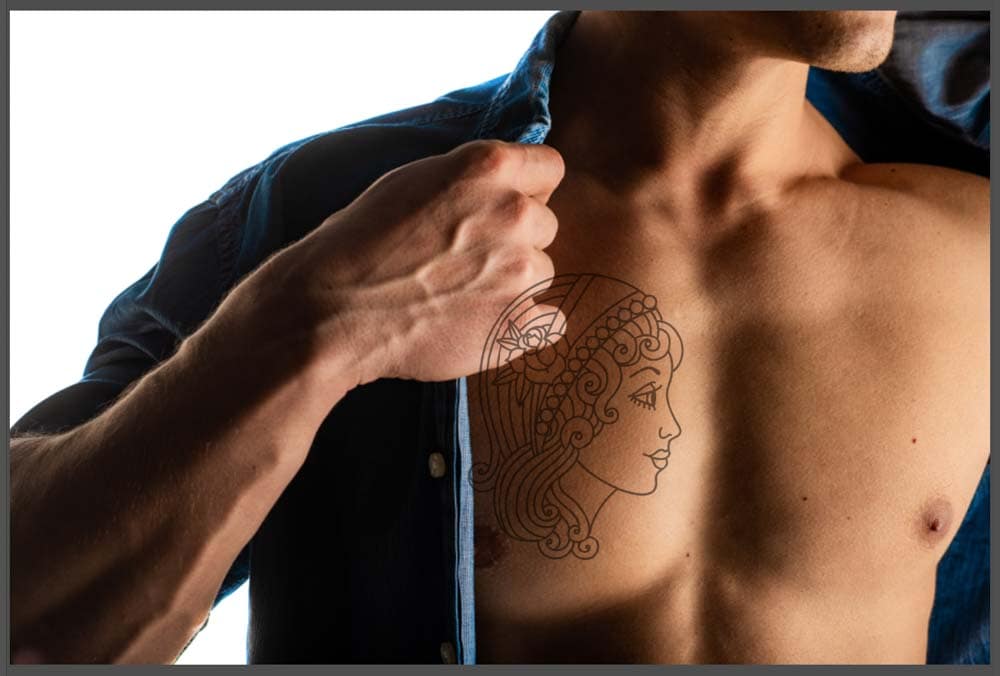
You will now see the background image with the tattoo on top of it in the preview window, so you can see what the final effect will look like.
Next, you can warp and adjust the tattoo as needed to fit on the skin underneath it by following the shape and curves. You can switch between using the Forward Warp Tool (W), the Pucker Tool (S), and the Bloat Tool (B) to distort the tattoo.
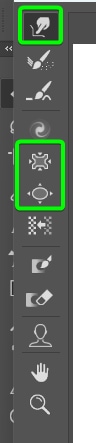
With either tool selected, click and brush around the tattoo to match the curves behind it. In my case, I used the Bloat Tool and Pucker Tool because they worked best on my image.
The Bloat Tool creates a balloon-like effect on the areas you brush over to bloat the image, the Pucker Tool contracts the areas to make it look further away from the camera, and the warp tool pulls the parts of the image in different directions to curve it.
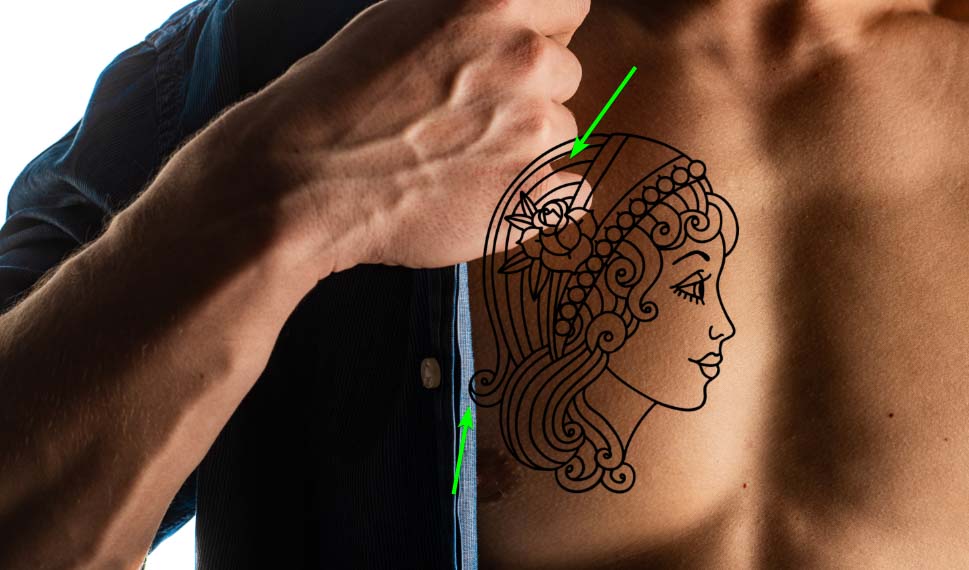
Only make subtle changes to keep the tattoo looking realistic. This is how my tattoo looks after bloating and puckering it.
Click OK at the bottom of the settings panel to apply the effect and close the Liquify workspace.
Step 4: Add A Layer Mask To The Tattoo To Remove The Excess Tattoo
If parts of the tattoo should be hidden because of things that would be covering a real tattoo or on the side of arms and legs, you can hide these areas with a layer mask. In my example, the man’s hand and a bit of the shirt would cover parts of the tattoo.
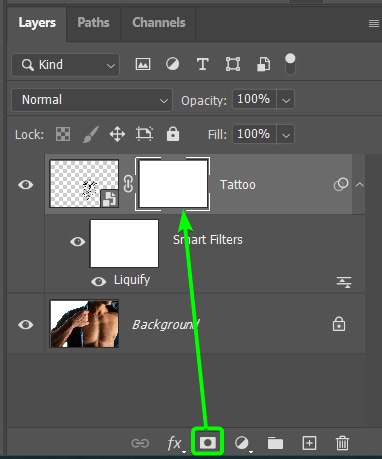
Add a layer mask by selecting the tattoo layer and then click the Add a layer mask icon at the bottom of the Layers panel.
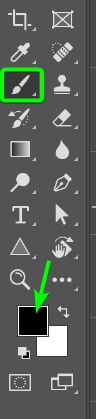
Then, select the Brush Tool (B) and set the foreground color to black (when dealing with layer masks, black hides, and white reveals).
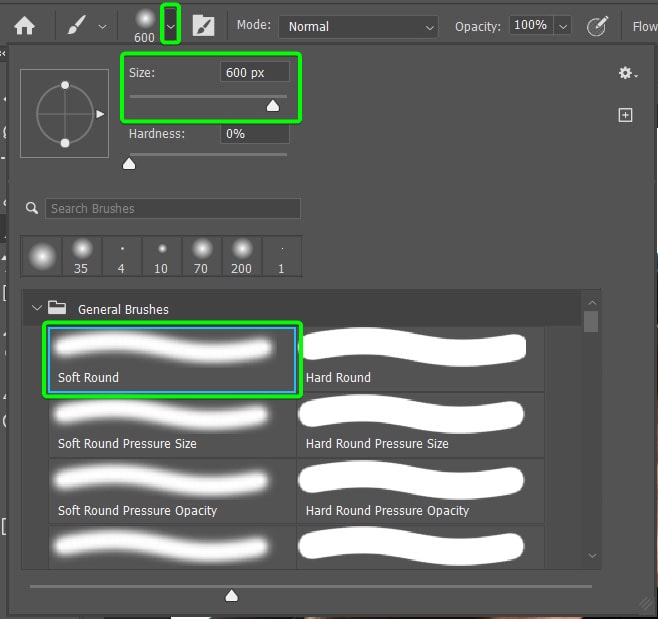
Then, use the Brush Preset Picker panel from the Options Bar to set the brush size and select a Soft Round Brush.
Brush over the areas to hide parts of the tattoo while increasing and decreasing the brush size to hide tricky areas.

Keep brushing until all the parts of the tattoo are hidden around other objects.

Step 5: Use The Blend If Function To Blend The Tattoo Into The Skin
Since the tattoo is too bold, it still looks fake. You can blend the tattoo into the skin using the Blend If sliders to fix this.
To locate the Blend If sliders, double-click on the right side of the tattoo layer in the Layers Panel. Avoid clicking over the layer name.

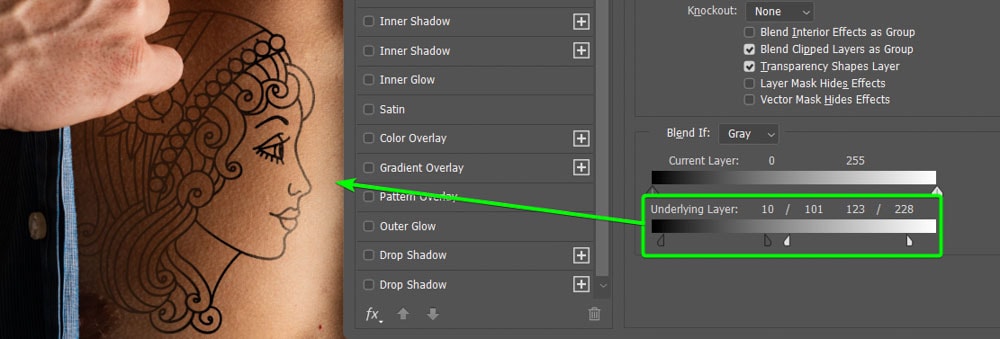
This will open the Layer Styles panel, where you can add various effects to objects. You can stay in the Blending Options tab and look near the bottom to find the Underlying Layer slider under the Blend If section.
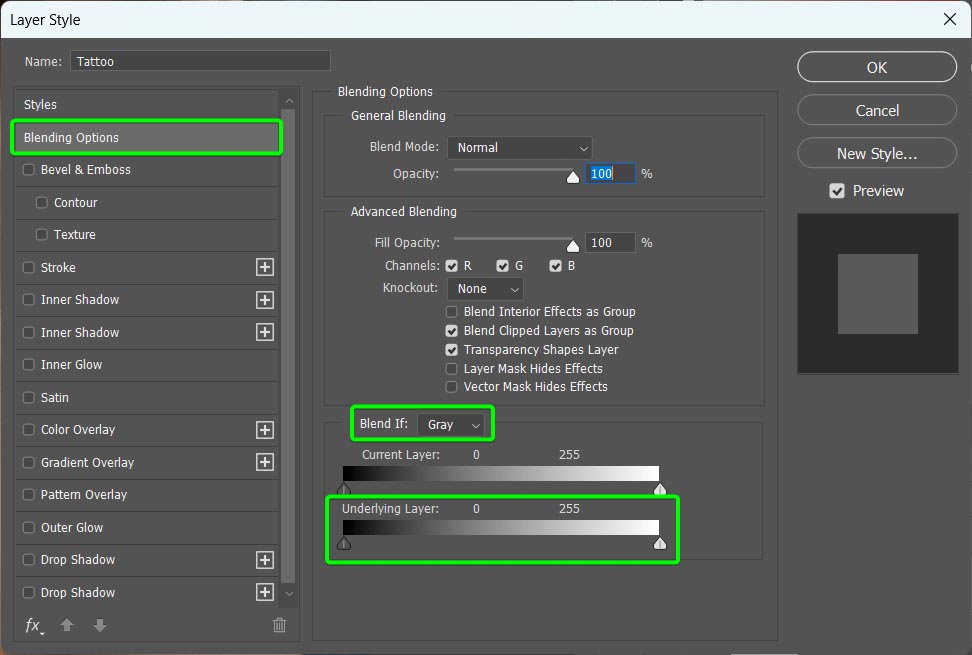
Move the Layer Styles window to the side of the workspace to see the tattoo as you adjust the sliders. Then, to blend the tattoo layer into the background layer where the highlights are, you will slide the point on the right into the middle.
However, you need to feather the blending to prevent it from removing the tattoo completely. To feather the blend, hold in Alt (Win) or Option (Mac) and drag the slider to the center. You will see the base point break apart.
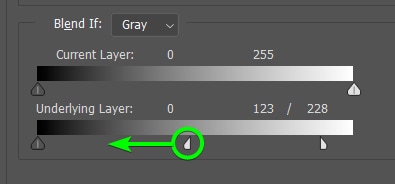
Move the two points separately to blend the tattoo into the highlights, then repeat this for the shadows while watching the tattoo on the image to ensure an accurate blend.
Click OK to apply the effect.
Step 6: Blur The Tattoo Layer With A Gaussian Blur Filter
Since the tattoo looks too perfect and smooth, which is not the case with real tattoos because of the pores on a person’s skin, you need to reduce the smoothness.
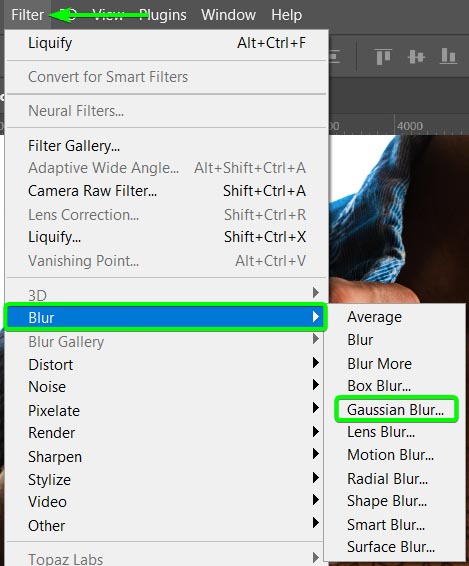
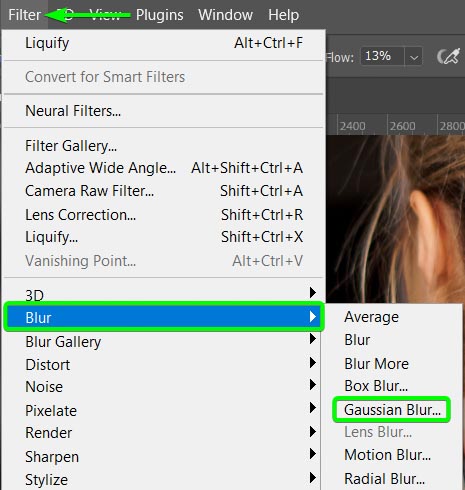
To reduce the smoothness, add a blur filter by going to Filter > Blur > Gaussian Blur.
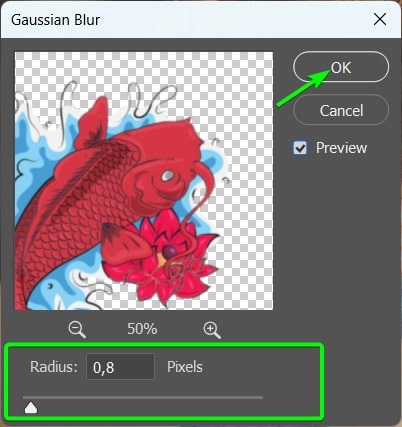
Then, increase the Radius slider until it slightly blurs the tattoo without overdoing it. Click OK to apply the effect.

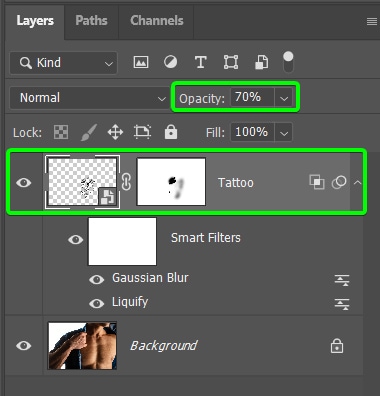
Step 7: Decrease The Opacity Of The Tattoo Layer
Your tattoo is almost complete, but if it is still too bold and unrealistic, you can blend it into the background more by lowering the Opacity.
Find the Opacity slider in the Layers Panel and reduce the tattoo layer’s opacity to between 60% and 75%.
You have now added a black tattoo to your image.
Since you converted the tattoo to a smart object, you can edit any filters and quickly adjust the tattoo. For instance, I needed to tilt the tattoo upwards slightly (so the lady is looking upwards) using the Transform Tool. Adjust the effects and positioning until you are happy with the result.

How To Apply A Realistic Color Tattoo In Photoshop
If you want to add a color tattoo to a person’s body, the steps are similar to the previous method, with a few differences. I will summarize the effects explained in the first method, so refer back if you need to understand more.
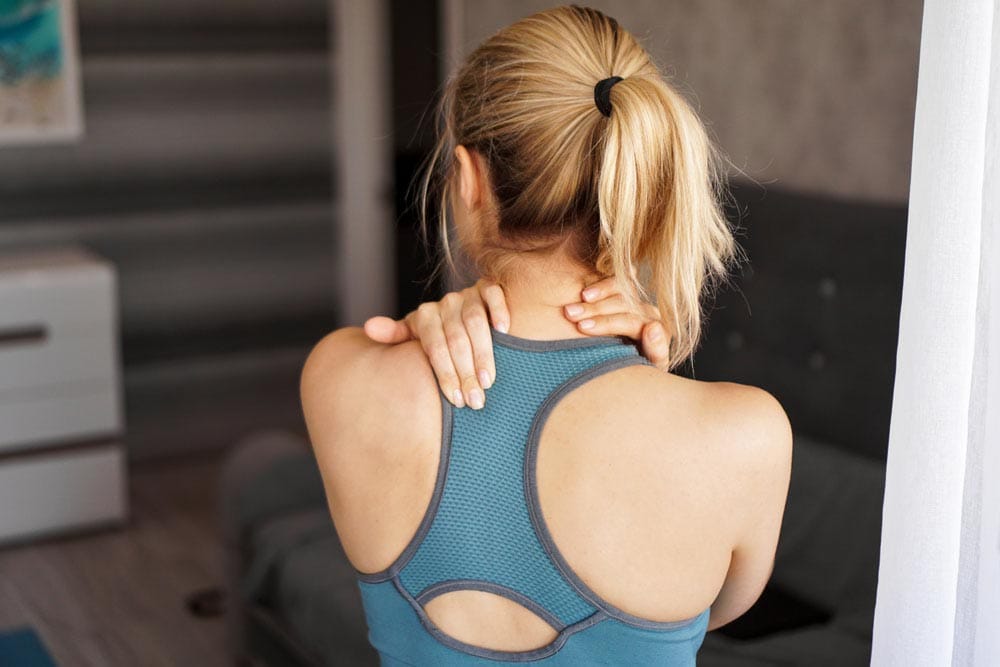
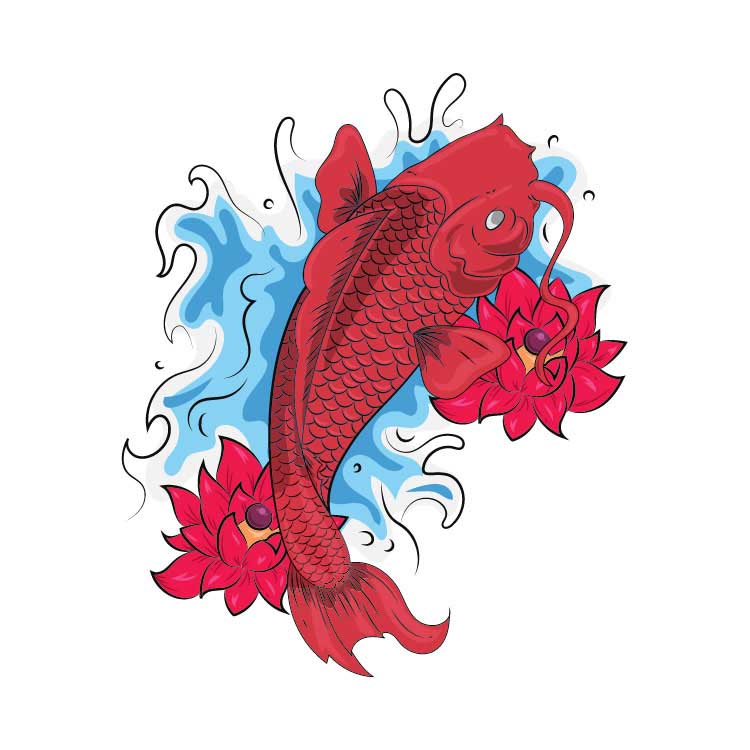
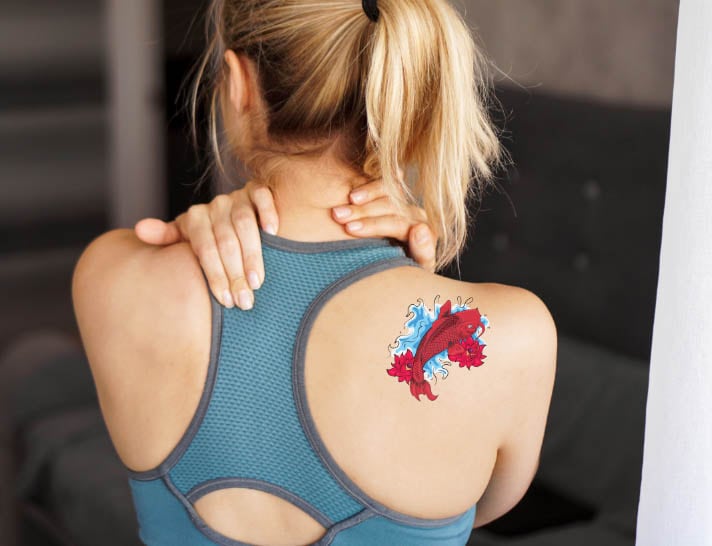
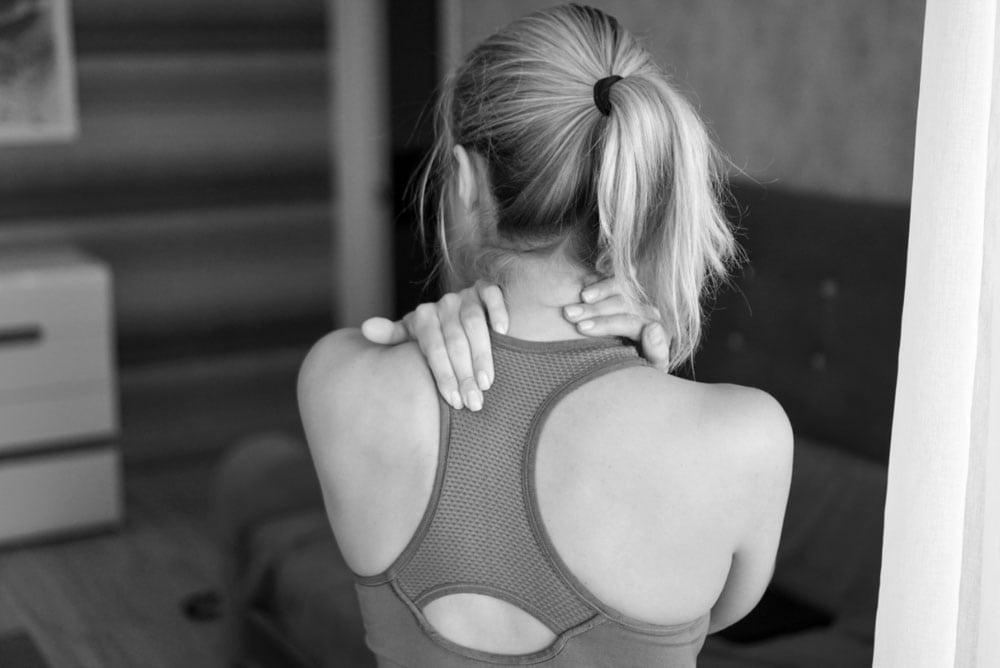
I will be adding this colorful fish tattoo onto the image of a woman’s back.
Step 1: Open Both Images And Convert The Tattoo Layer To A Smart Object
Open both images in one document in Photoshop with the tattoo layer on top. Ensure the tattoo image has a transparent background. Refer to the first section for guidance if needed.
You can also use the Transform Tool to resize the tattoo and the Move Tool (V) to place it where you want it on the body.
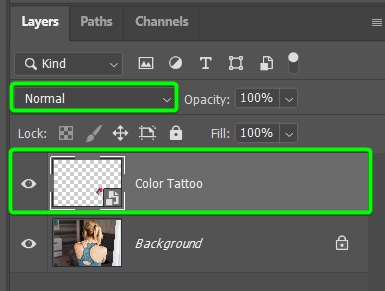
Then, convert the tattoo layer to a smart object by right-clicking or Control + clicking on the layer and selecting Convert to Smart Object.

Step 2: Change The Tattoo Blend Mode To Multiple
To blend any unrealistic areas of the tattoo into the body, change the blend mode of the tattoo layer to Multiply.
To change the blend mode, find the drop-down menu in the Layers Panel that says Normal, as that is the default blend mode of every layer.
Click on the drop-down menu and select Multiply.
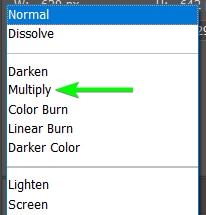
You will notice the white areas of the tattoo disappear, and it looks more blended into the background.
Step 3: Use The Liquify Filter To Place The Tattoo
To mold the tattoo onto the body, use the Liquify Filter by going to Filter > Liquify or pressing Shift + Control + X (Win) or Shift + Command + X (Mac).
You can use the previous section as a guide to warping the tattoo as needed onto your subject. I didn’t need to make too many adjustments for this example. Click OK to apply the effect.
You can also refer to Step 4 in the previous section if you need to remove parts of the tattoo that should be hidden in the image. I don’t need to add this step to my example.
Step 4: Add A Gaussian Blur To Blur The Tattoo
To reduce the smoothness of the tattoo that makes it look fake, add a blur filter to the tattoo. To do this, go to Filter > Blur > Gaussian Blur.
Adjust the Radius slider to add a small amount of blur to the tattoo without blurring it out completely. Click OK to apply the blur.
Step 5: Duplicate The Background Layer And Desaturate It
The most important step when adding a color tattoo onto a subject is to add a slight bit of noise.
To add noise, you must duplicate the background layer by selecting it and pressing Control + J (Win) or Command + J (Mac). You can rename the layer to Noise and click and drag it to place it at the top of the layer stack.

Next, desaturate the duplicated layer by going to Image > Adjustments > Desaturate or pressing Shift + Control + U (Win) or Shift + Command + U (Mac).
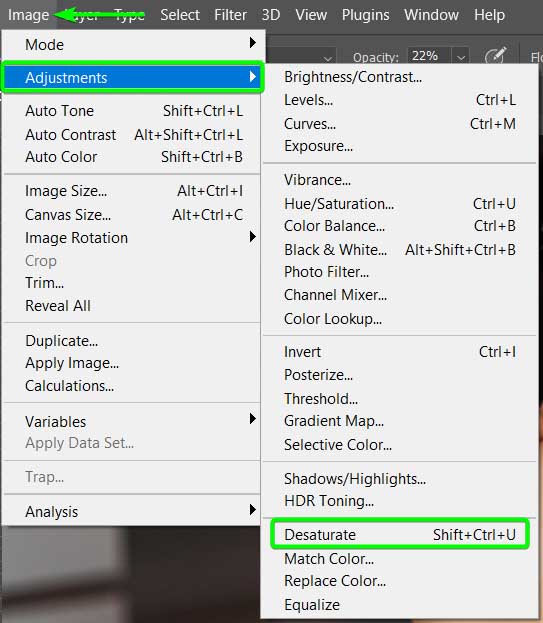
The image will turn black and white; remember that the tattoo will be hidden at this stage.
Step 6: Change The Duplicated Layer’s Blend Mode To Screen
To blend the noise effect better, you need to change the blend mode of the Noise layer to Screen.
To change the blend mode, select the Noise layer, locate the drop-down menu next to Normal in the Layers Panel, and change the mode to Screen.
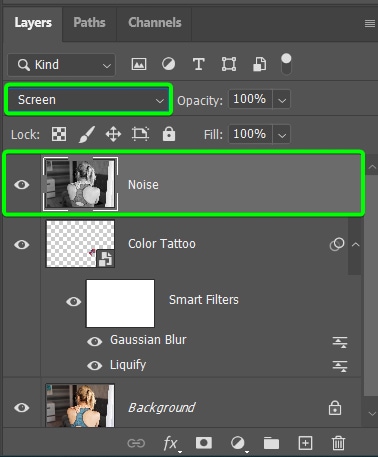
The image will turn bright, and you should see the tattoo a bit at this stage.
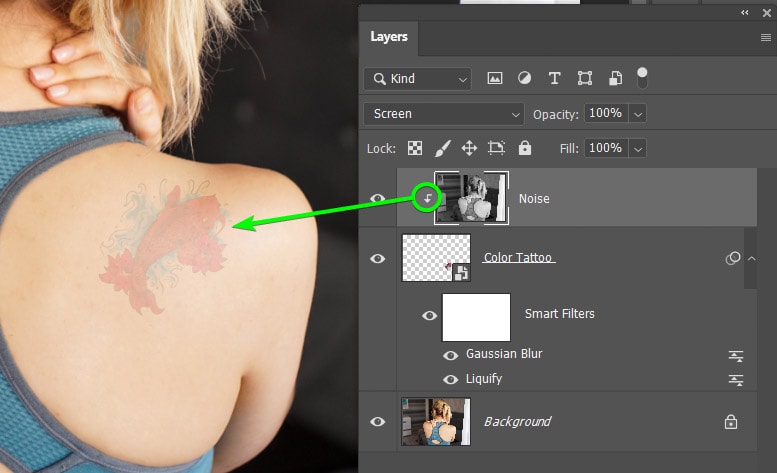
Since we only want the noise effect applied to the tattoo, you must clip the Noise layer to the tattoo layer, which should be directly below it.
To clip the layer, hold in Alt (Win) or Option (Mac) and hover your mouse between the noise and the tattoo layer until a small arrow icon appears pointing down with a box next to it. Click to apply the clipping mask.
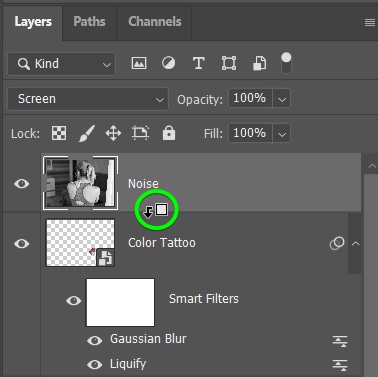
You will notice the Noise layer has the arrow pointing down to confirm the clipping mask is applied, and the effect only shows on the tattoo now.
Step 7: Add A Noise Filter To The Duplicated Layer
Now, you can add the noise filter, but before you do, convert the Noise layer to a smart object so you can edit the filter if needed. Right-click or Control + click on the Noise layer and select Convert to Smart Object.

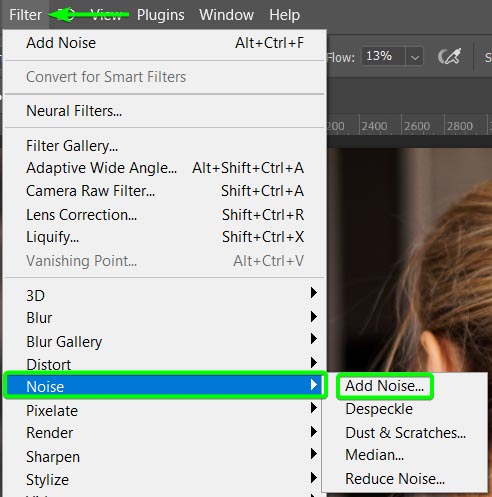
Then, add the noise filter by going to Filter > Noise > Add Noise.
Adjust the Amount slider to add as much noise as your image needs. Around 5% to 7% should be enough. Then check the boxes next to Uniform and Monochromatic. Click OK to apply the effect.
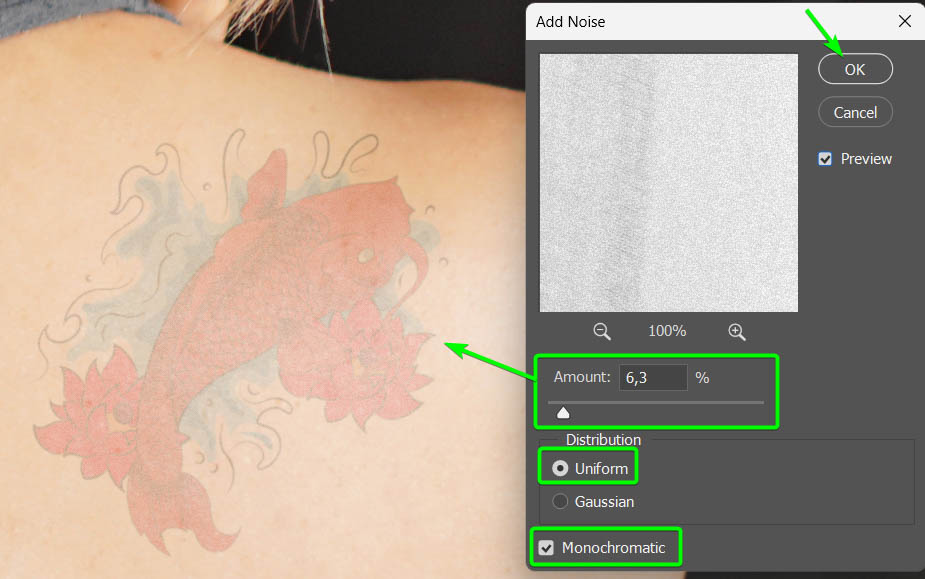
I will show you how to reduce the intensity of the effect in the next step, so don’t worry if the tattoo doesn’t look realistic at this stage.
Step 8: Reduce The Opacity Of The Noise Layer
Adding noise to the tattoo has caused it to look faded, but you can easily reduce the intensity of the Noise layer by dropping its opacity.
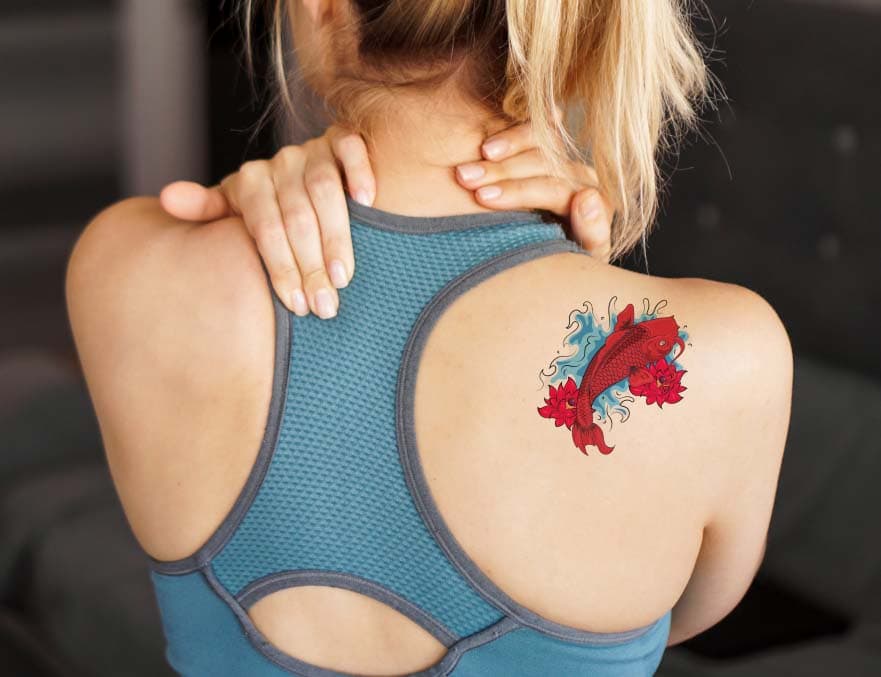
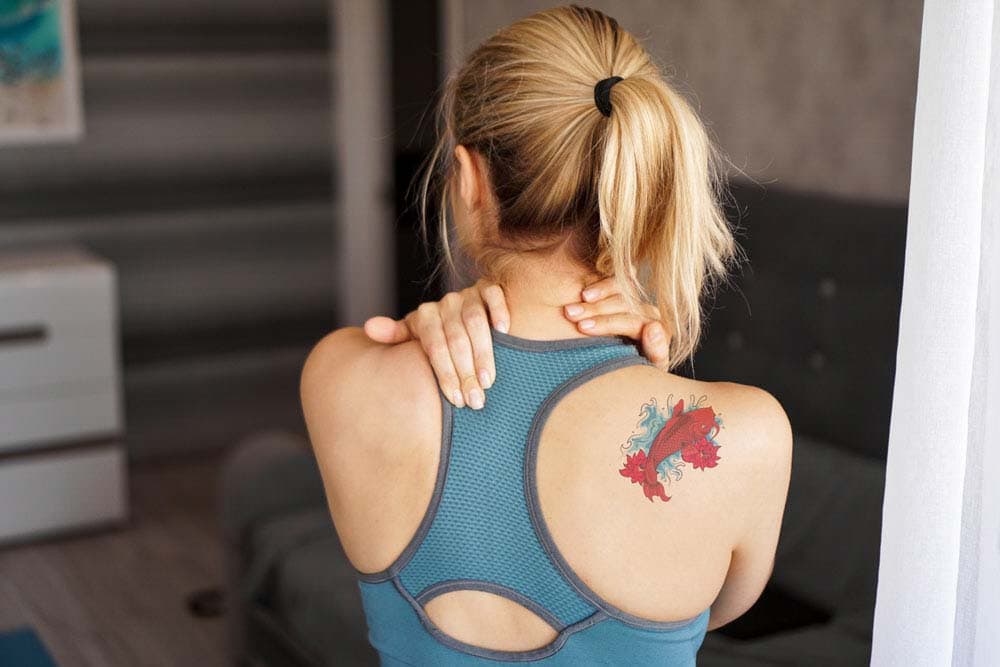
Select the Noise layer, locate the Opacity slider in the Layers Panel, and reduce it to around 35% to 50%.

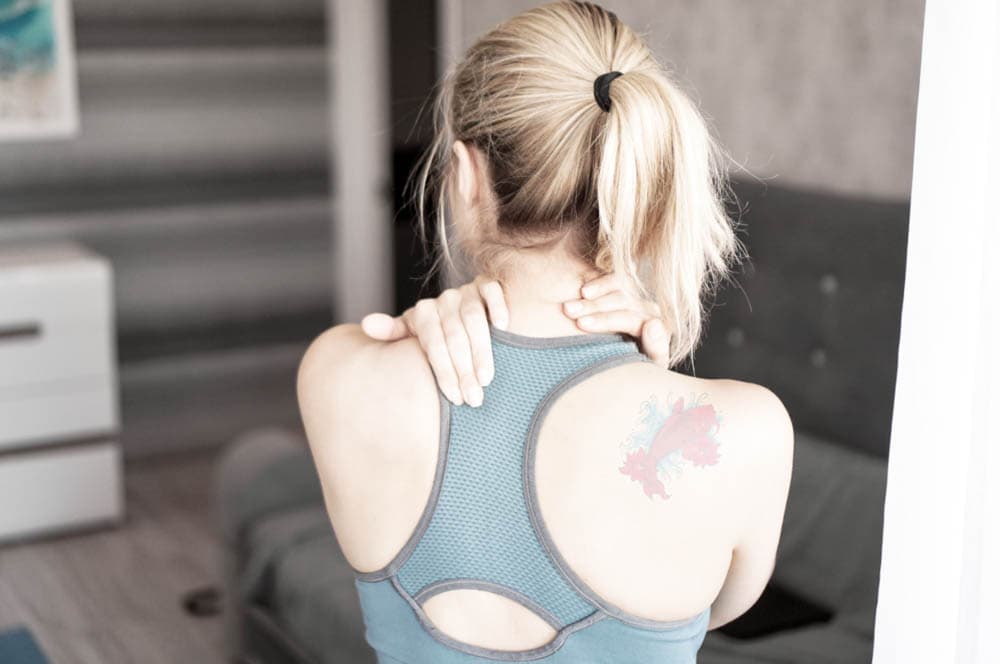
You have now added a realistic color tattoo to your subject.
With these two techniques, you can add a black and white or color tattoo onto your subjects in just a few minutes to see how the real thing would look.
Happy Editing!


