
Adding a background blur to a photo is easily done with the help of the many blur tools in Photoshop. However, to make this effect look realistic and of similar quality to a wider aperture, there are some specific steps you need to follow. Luckily this tutorial will break down exactly what these steps are so you can get awesome results, even if you’re new to Photoshop.
10 Steps To Add Realistic Background Blur In Photoshop
Before you learn how to apply this effect in Photoshop, it’s important to consider how background blur appears in your camera.
With a wider aperture, the objects further away from the camera will be more or less blurred in relation to the focal point.
So rather than the blur being equal across the entire background, it creates a gradient between a low and high-intensity blur. This is because the blur increases as objects go further away from your focus point.
That means when replicating a background blur in Photoshop, you want to mimic these effects of varied blur amounts to get a realistic-looking result. Luckily, that’s relatively simple to do with the following steps.
Step 1: Duplicate Your Image
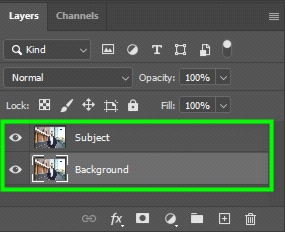
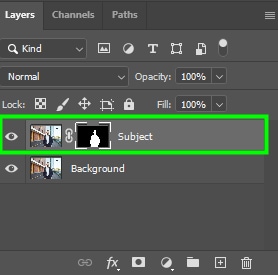
Before anything else, you need to duplicate your layer because you need a layer for your main subject and a layer for the background blur. To do this, select your image layer and press Control + J (Win) or Command + J (Mac).
I also recommend naming the top layer ‘Subject’ and the bottom layer ‘Background’ so it will be easier for you to identify the layers when editing them. This will be useful when separating the subject from its background to create a blurred background.
Step 2: Select Your Subject
Now, select your subject. To do this, go to Select > Subject.
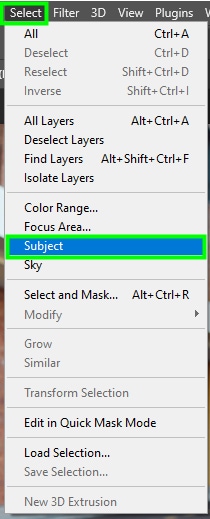
After choosing this option, you will have to wait for Photoshop AI to select your subject automatically. It usually does a good job, especially if your subject edges are not too complex.

Try to make the best selection possible, but don’t worry if it doesn’t come out perfect since you can refine the selection after applying the background blur.
Step 3: Create A Layer Mask
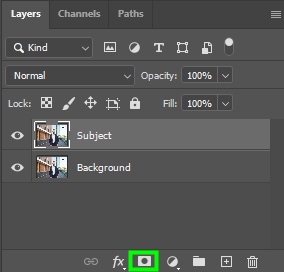
Adding a layer mask separates the subject from the background and will be helpful for you to fine-tune your selection later if you need it. To create a layer mask, click the layer mask icon at the bottom of the Layers panel.
Step 4: Create A Selection Based On The Layer Mask
After creating a layer mask for the subject layer, you must paste the selection into the background layer. To do this, hold Control (Win) or Command (Mac) while clicking the subject layer’s layer mask.
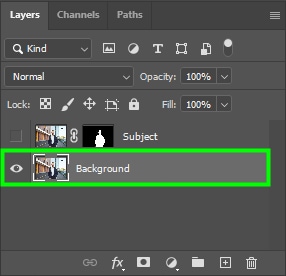
Then, click the background layer. This will set the selection target to the background layer. After doing this, turn off the subject layer because you won’t need it while editing the background layer.
Step 5: Expand The Selection Based On The Layer Mask
You need to expand the selection based on the layer mask because, at the end of creating the blurred background, you will be left with two layers.
When you assemble the layers, this extra area will be a margin between the subject and the background. If you don’t do this, you may have halos and other unwanted effects in your resulting image.
To expand your selection, keep the background layer active and then go to Select > Modify > Expand.

Then, enter 10 in the Expand By box and click Ok to confirm.
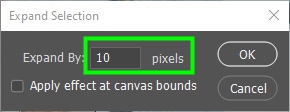
This will create space between the subject and the selection.

Step 6: Apply Content-Aware Fill To The Selection
The content-Aware fill fills the content of your selection with pixels from the surrounding areas. In our case, we are using it to remove the subject from the background. Then, we can create a space very similar to the image background that we can blur along with the rest of the background.
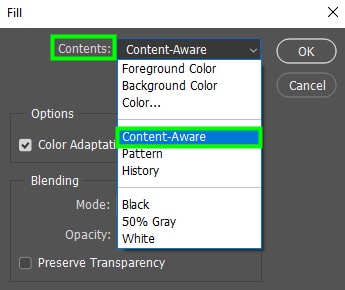
To bring up the content-aware fill dialog box, press Shift + Backspace. From the contents drop-down menu, choose Content-Aware.
After filling the selected area with the content-aware fill, the space where the subject was may become distorted, but don’t worry about this because you will blur that area so that these details won’t appear in the resulting image.

After that, press Control + D (Win) or Command + D (Mac) to deselect the area, so you can work on the whole image again, rather than the selected area.
Step 7: Convert The Background Layer To A Smart Object
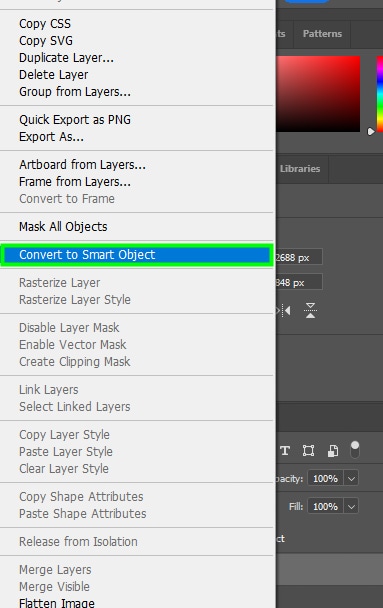
Before applying the blur filter to the background, go to the Layers panel, right-click the background layer and choose Convert To Smart Object.
This will apply the blur filter non-destructively so that you can edit the effect at any time in the future.
Step 8: Apply The Blur Filter
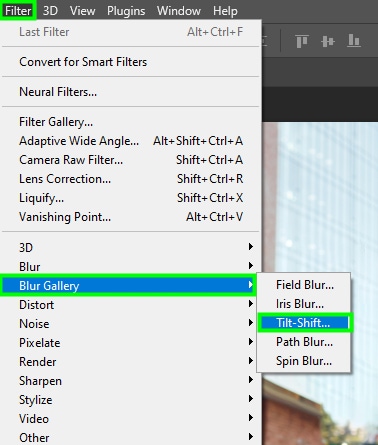
Now, go to Filter > Blur Gallery > Tilt-Shift.
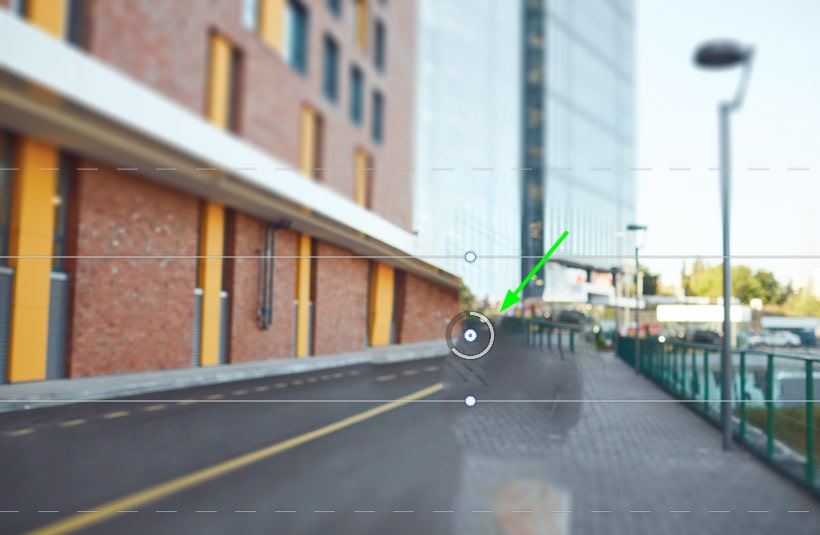
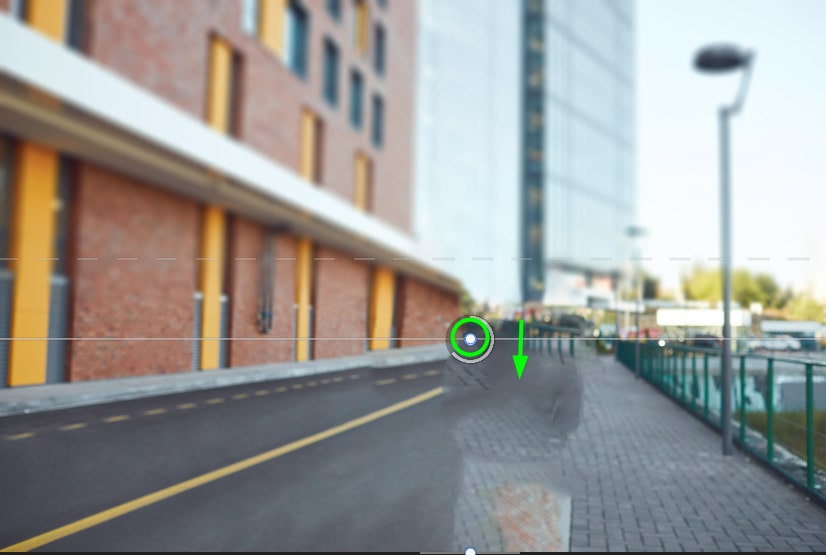
The Tilt-Shift workspace will open and you will notice that your image is separated by straight and dashed lines. In addition, there will be a wheel in the middle of your image.
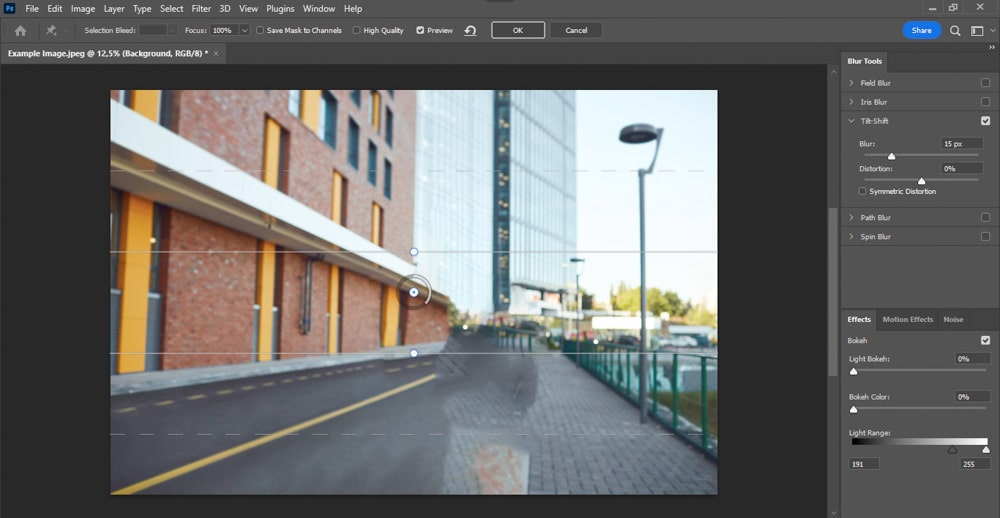
The straight lines divide your image into areas of blur and focus. The point in the middle is the focal point. By default, the focal point is positioned in the middle of the image, but you can click it and drag it to whatever point you want.

The ring around the focal point controls the level of blur that will be applied. You can click and drag its bar clockwise to increase the blur or anticlockwise to decrease it.
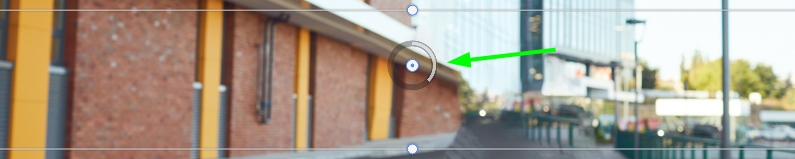
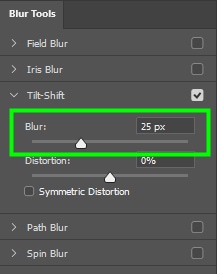
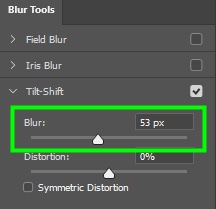
Another way of adjusting the blur is by going to the Blur slider on the right side of the blur filters workspace in the Tilt-Shift drop-down menu.
The straight lines over and under the focal point mark the start of the out-of-focus area, which you can drag upwards to position the blur farther away from the focal point.

On the other hand, the dashed line marks the start of the blur gradient and goes from zero to the value you set for the blur. You can drag the dashed line toward the focal point for a harsher transition between your image’s blurred and sharp areas or position it away from the focal point for a softer effect.

To apply the blur effect to your image, adjust the parameters listed above as follows. First, set the blur to something between 40 and 55 pixels.
Then, click the focal point and drag it towards the ground, but not all the way down.
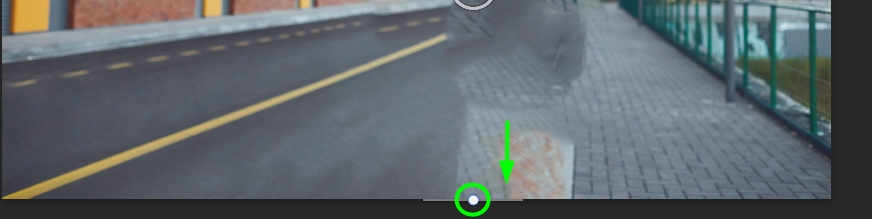
Next, click the straight bottom line and drag it down to the edge of the image since we don’t need any blur in the image foreground.
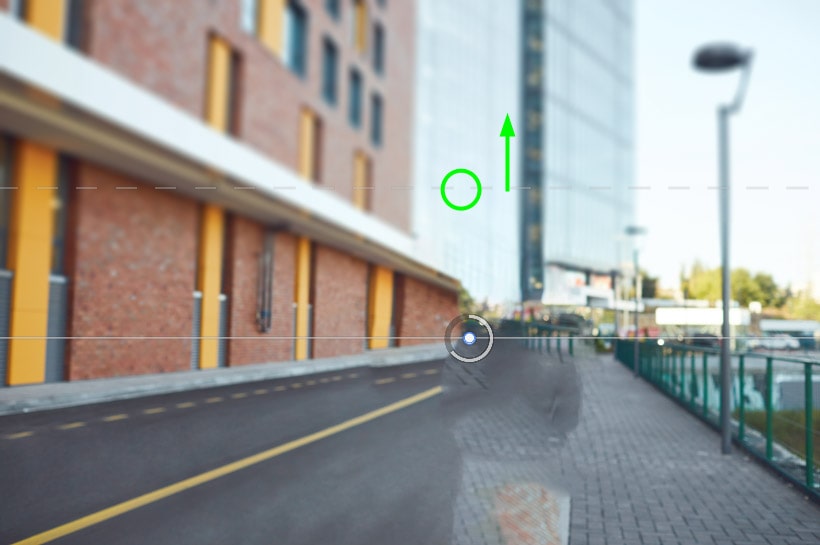
As for the top straight line, drag it towards the image center point so the blur effect will cover more space.
Finally, move the dashed line away from the straight line so that the transition between the focus and out-of-focus areas is gradual.
Click Ok to confirm the changes when you are finished.
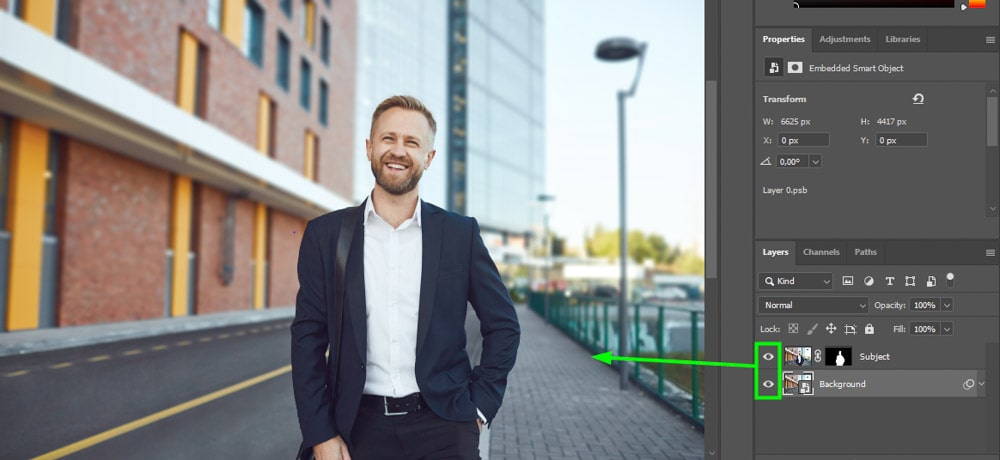
Step 9: Turn On The Subject Layer
Now, go to the Layers panel and turn on the visibility of the subject layer. This will make both the background and subject layer appear as though they are one on the canvas.
Step 10: Refine The Selection If Necessary
Once you put the subject and the background layers together, you can scan the resulting image to see if your selection needs refinements. This is usually necessary when you put a layer on top of the other to compose a single image.
You can click the layer mask and use the black or white brush to refine your selection if that happens to you. The white brush brings back parts of the image you accidentally erased, and the black brush hides any content that wasn’t supposed to enter the selection.


Now you’re left with a realistic background blur that’s great for enhancing an existing blur, or creating one from scratch!
Struggling To Learn Photoshop?
If you’ve been feeling confused or overwhelmed while trying to learn Photoshop, you’re not alone. In fact, I was right there with you when I first started using the program. Now after a decade of experience, I realize there are six important skills that are guaranteed to help you feel more confident while improving your creativity in the program. I write about each of these techniques in my Photoshop Blueprint ebook, which you can get for free by clicking the button below!


