
The right sky can make or break an image, and eye-catching clouds make a sky more interesting. There are a few different methods you can use to add clouds to an image in Photoshop, all of which are beginner-friendly.
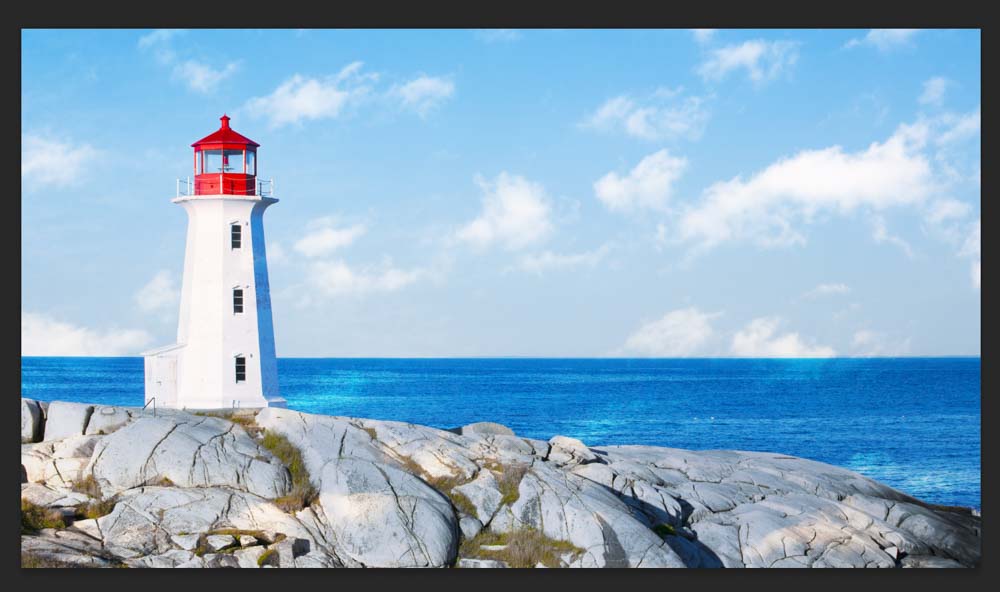
Sometimes a photographer will take an image with a stellar subject, but the sky isn’t quite right. Often when we take pictures where the sky is pure blue or pure gray, it can look dull — adding some stunning clouds to the sky can improve the composition. Choose from these three methods to find one that suits your image.
How To Add Clouds In Photoshop With A Cloud Brush
One of the simplest ways to add clouds in Photoshop is to use a cloud brush preset. This works best if you only want to add a few clouds here and there to add some elements to an image.
Cloud brushes can be created from an existing image if you’re up for the task, but an easier way is to download a pack of cloud brushes on the internet. You can find tons of free cloud brush packs, so you won’t have to pay.
Find a set of brushes you like and download them to your files. Then head to Photoshop and open up the image you’d like to edit.
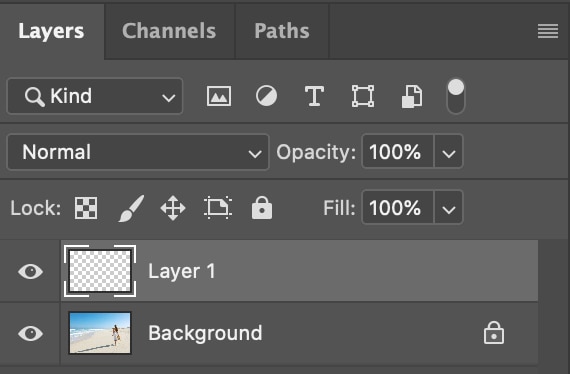
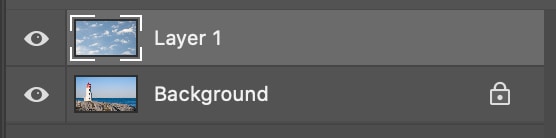
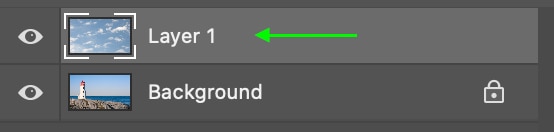
Before you brush clouds onto your image, you’ll need to make sure you’re only applying the brush to a new layer so that all the edits you make are non-destructive (as you can simply delete the layer if you’d like to remove the clouds). This will also ensure you can adjust your clouds’ size and location on your image whenever you want by heading back to that layer.
You can create a new layer by heading to Layer > New > Layer.

If you’d like, you can name the layer in the window that appears, and, in the Layers panel, you’ll see your layer appears above the original layer.
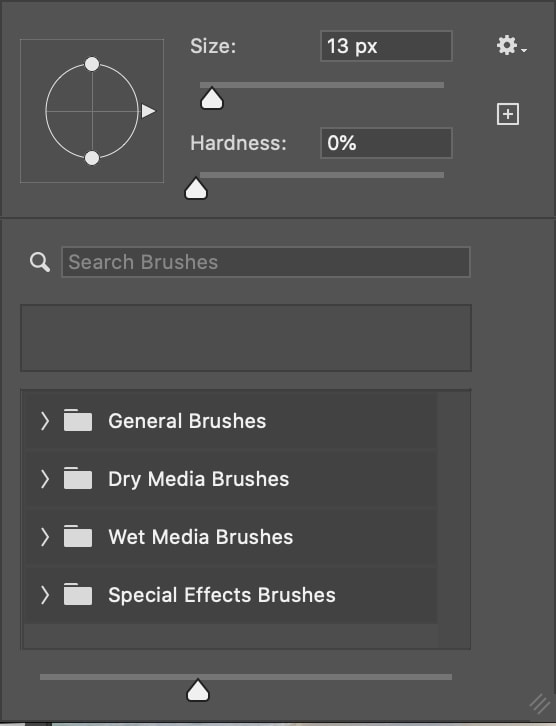
Now you’ll want to head to the Brush Tool in the toolbar. You can also quickly bring up the brush tool by pressing B on your keyboard.

In the brush settings bar at the top, you’ll see the brush icon with a drop-down arrow beside it. Click to open the brush settings panel.

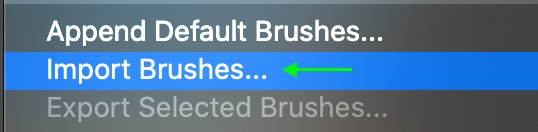
Here you can install the brush you’ve downloaded to Photoshop by heading to the settings icon in the top right of the window and clicking Import Brushes.

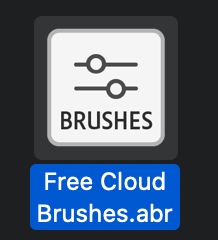
The window will appear where you can select the ABR brush file from your files. Double click to install the brush.
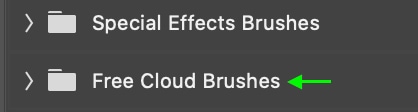
To find your newly-installed brush, scroll until you find the new cloud brush pack.
But before you start brushing clouds onto your image, you want to set the foreground color to pure white (color code #FFFFFF). This is a good starting point for the color of your clouds, but you can play around with other colors of clouds (such as gray) if another color fits better in your image.

While some brushes involve clicking and dragging the cursor to create brush strokes, you can apply most cloud brushes just by clicking the cursor (except for nebulous cloud brushes, which are used by clicking and dragging to create clouds in the sky).

You can alter the brush size in the brush settings panel as you work.
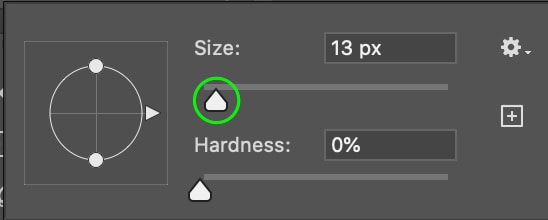
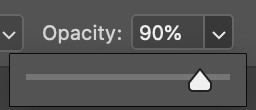
For the most realistic-looking clouds, I suggest reducing the brush opacity a bit — just reducing it to 90% works fine.
You’ll then have an image with clouds added that look real and natural.
Again, because you’ve created a new layer before adding any clouds to your image, you can easily undo your changes by deleting the layer at any time.
How To Add Clouds In Photoshop With A Sky Overlay
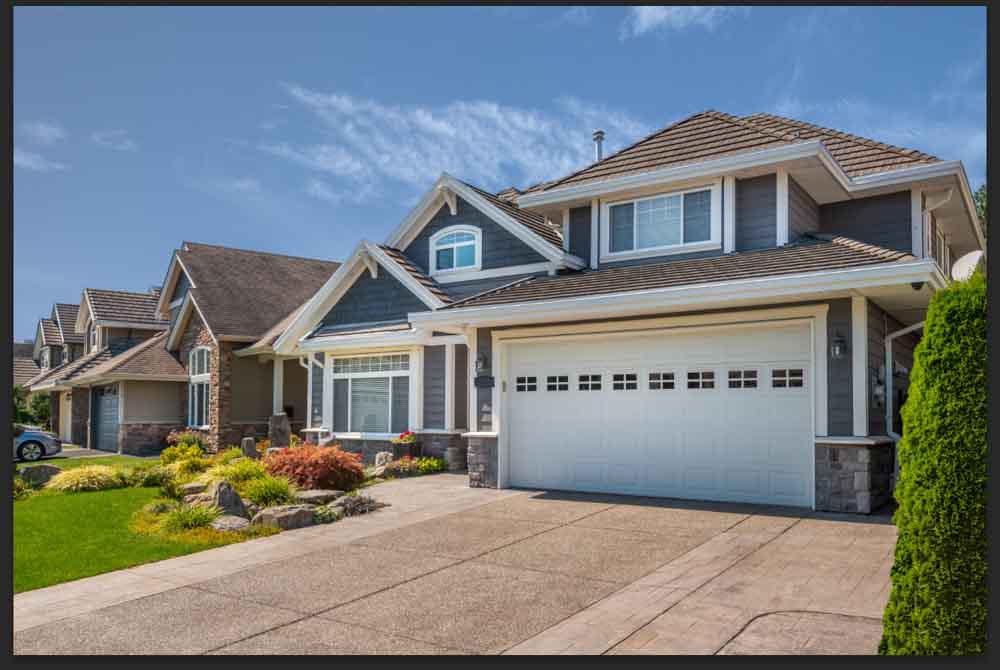
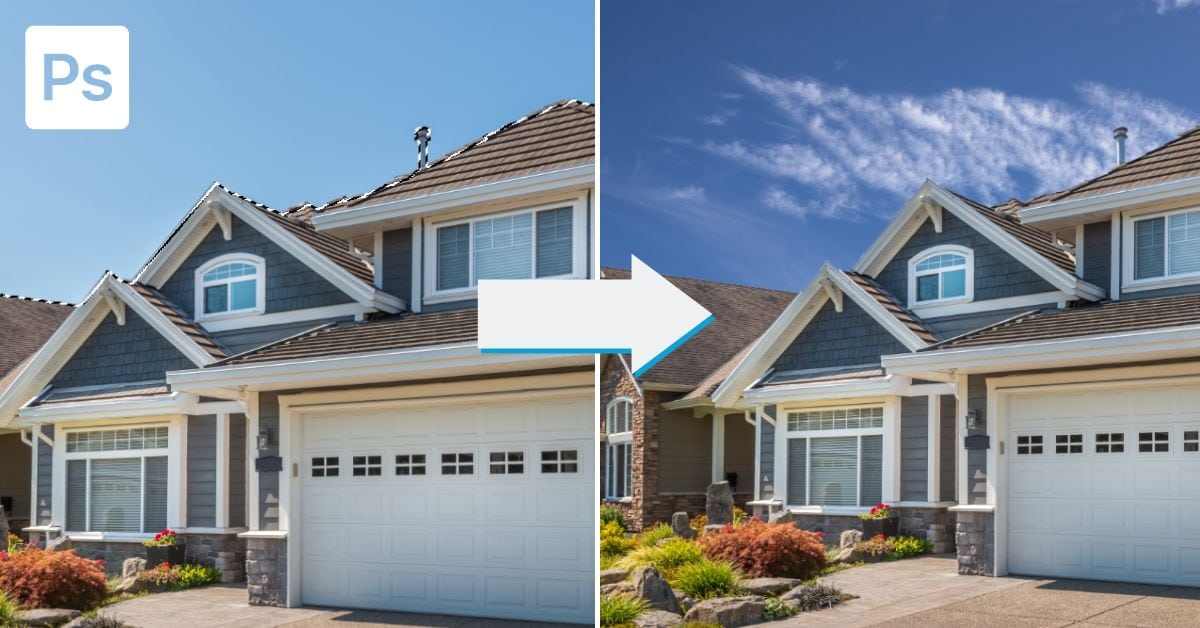
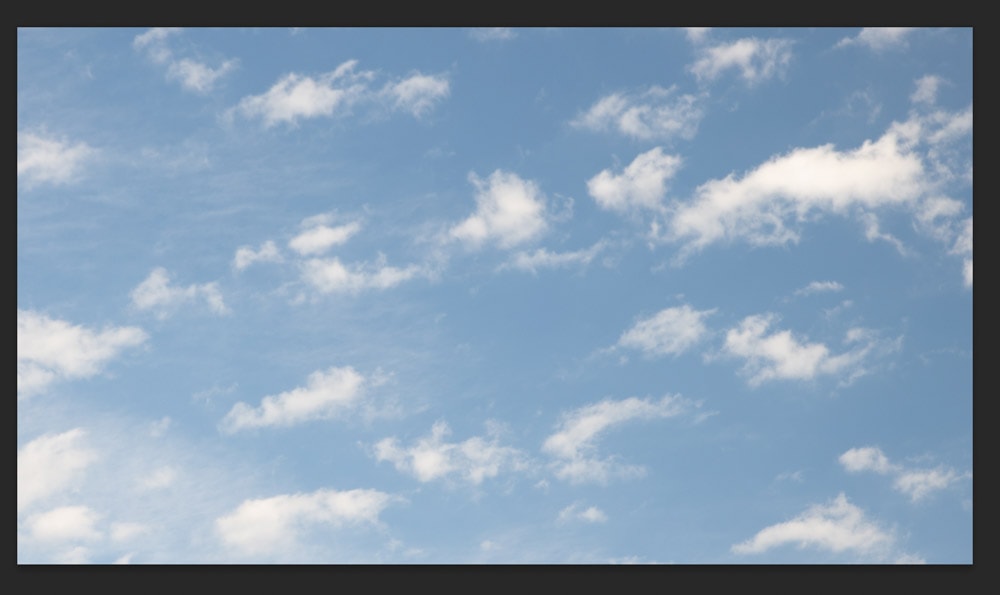
The Sky Overlay method works best on overcast or blown-out skies, as you don’t want too much detail visible when using a sky overlay.
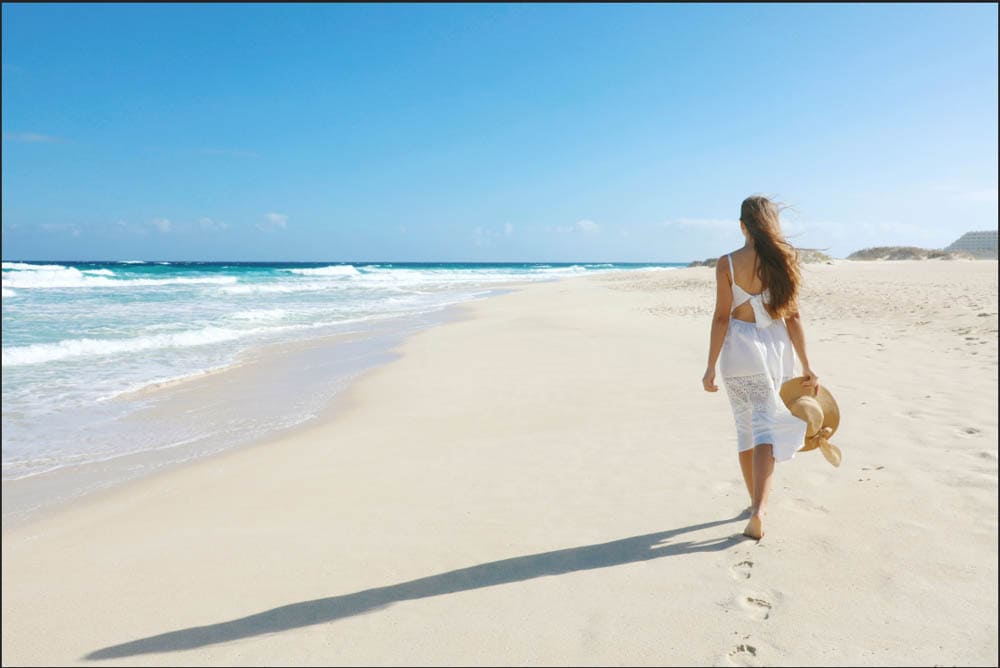
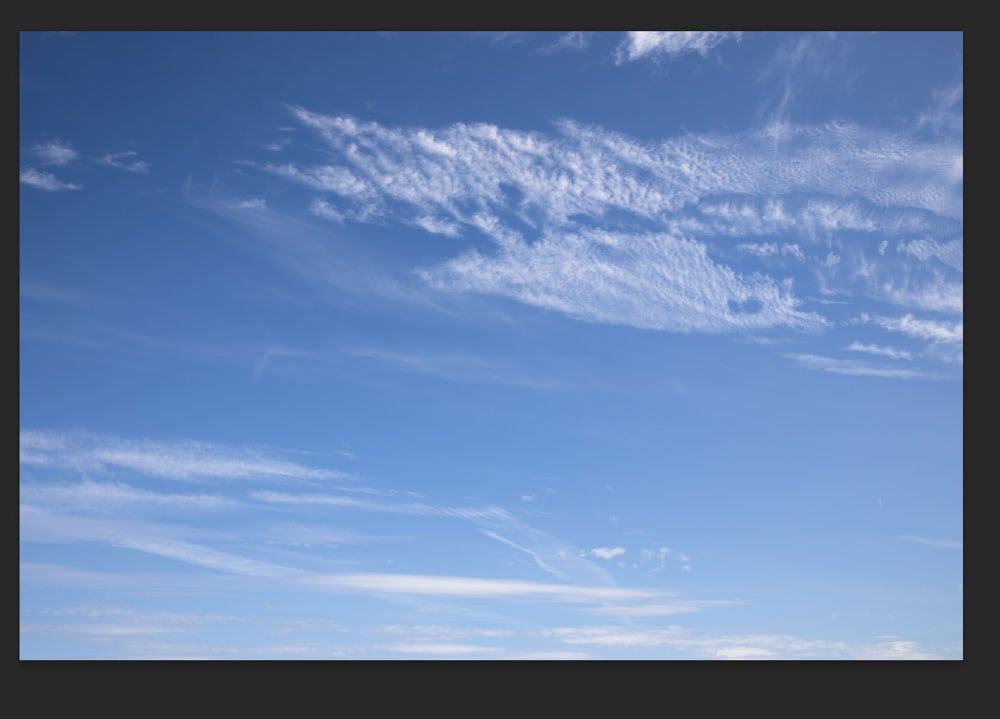
To start, open the image you want to add the sky to and the image with the replacement sky you’d like to use, in separate tabs in Photoshop. The replacement can be any image you want that features clouds against a blue sky — but make sure only the sky portion of the image is visible.
In the tab with the sky image, click the Move tool (M).

Now, click and drag the image layer up to the tab for the original image. Wait for the window to open before releasing the cursor on top of the foreground image. Make sure the image of the sky is the right size to cover the sky in the original image and sits on top of the original image in the layers stack — in the Layers panel, this means the sky image should sit above the original image.
Then, click the blend mode drop-down in the layers panel and select Multiply or Overlay.
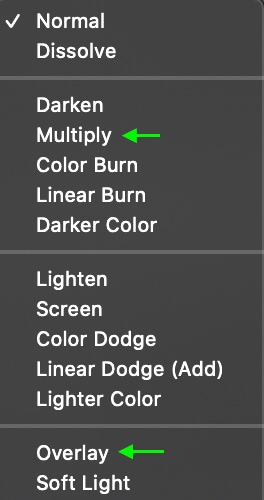
Both blend modes work well in the process, so it is just a matter of which look you prefer. Most likely, one of the modes will look more natural in your image. The Overlay mode looks best for the picture I am using as it matches the original image’s exposure better.
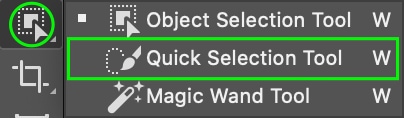
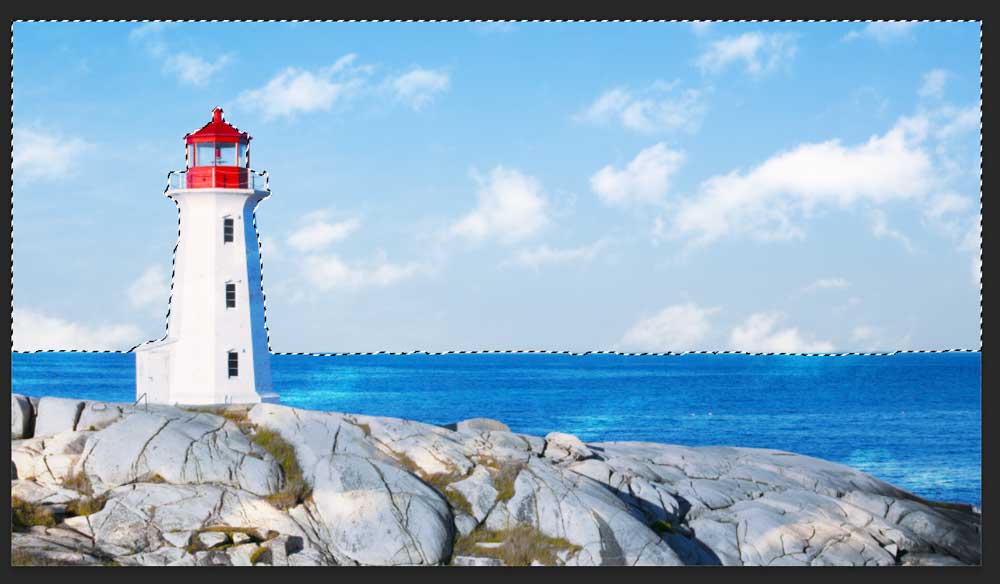
Now, you’ll notice the sky image lays on top of the entire picture — not just the sky but the foreground as well. You can eliminate the part of the sky covering the foreground using the Quick Selection Tool (W).
With the Sky Overlay layer selected, head over to the Quick Selection Tool, which sits within the Object Selection icon.
In the settings bar at the top, make sure the tool is set to Add To Selection.

Now, you can drag your cursor around the sky part of the image, and the tool will automatically find and snap to the edges. If the selection accidentally bleeds into the foreground, you can hold Alt (Win) or Option (Mac) and paint over that area to remove it from the selection. Do this until you’ve selected the entire sky.
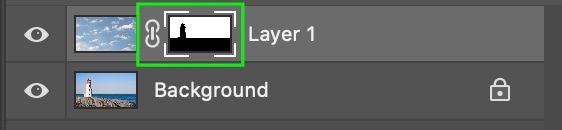
Once you’ve selected the entire sky, with the selection active, click the sky overlay layer in the Layers panel. The white border indicates it is activated.

Now, click the Add a new layer mask icon at the bottom of the panel.

The layer mask of the selection you’ve just made will appear beside the layer.
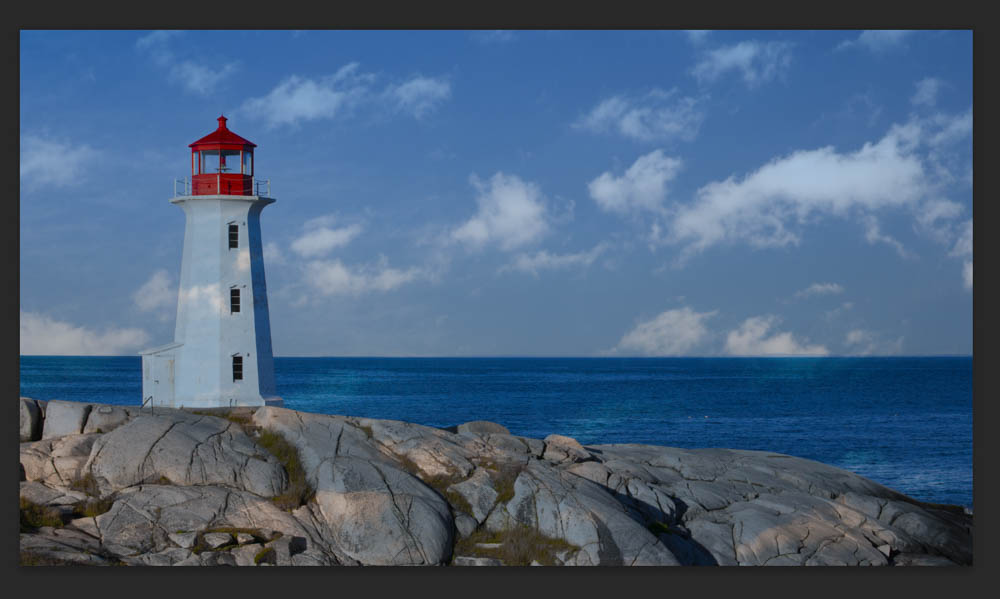
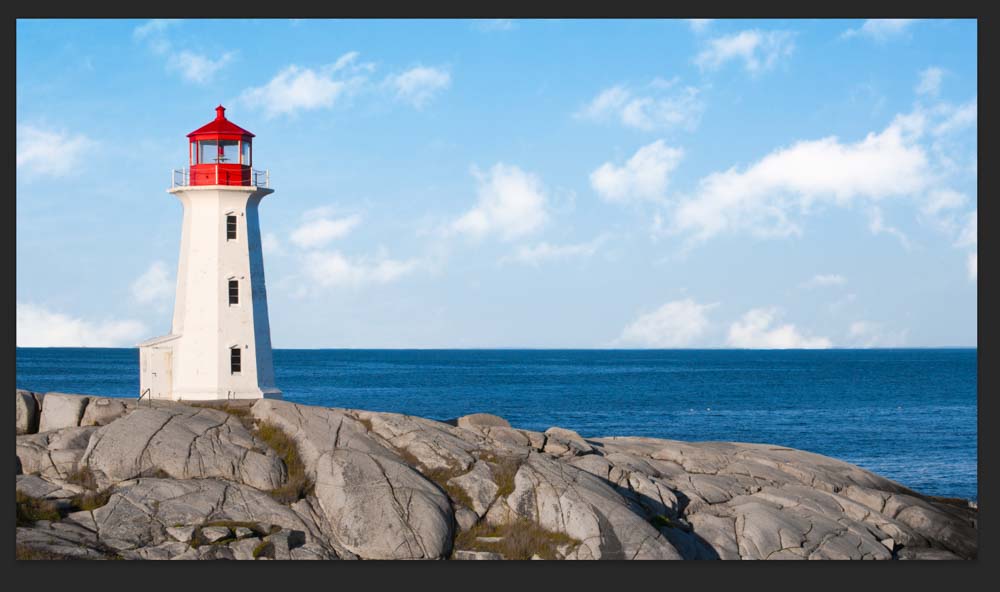
The image appears with the sky and clouds from the overlay and the foreground remaining the same as the original.
How To Add Clouds With A Sky Replacement In Photoshop
The final way to add clouds — and change the sky entirely — is to replace the sky section with the sky from a different image.
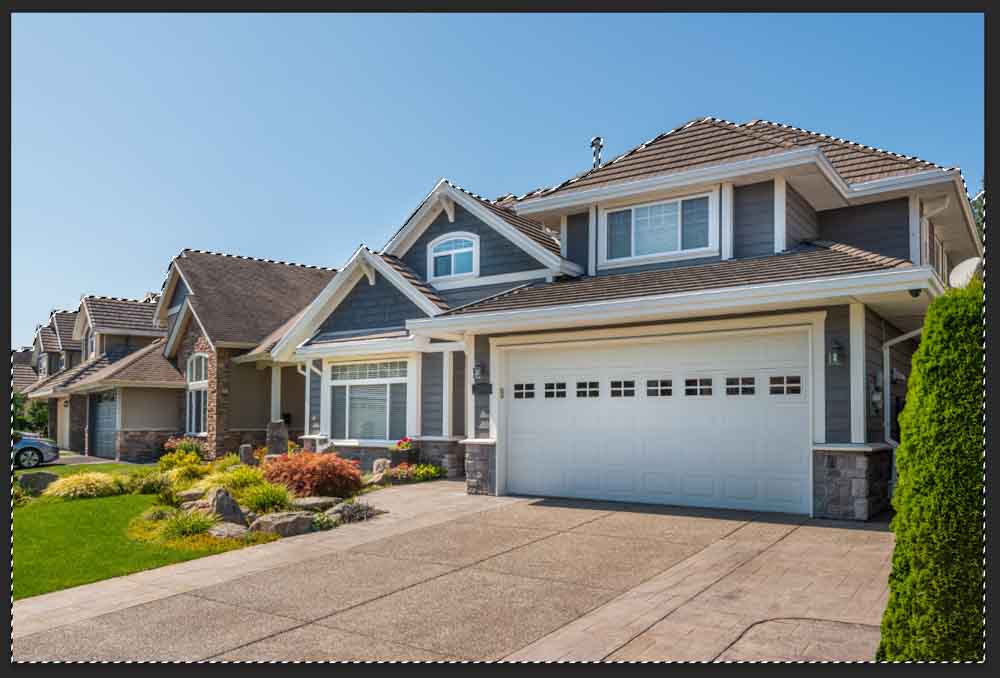
First, you’ll want to select the sky. The quickest way to do this is to use the Quick Selection Tool (W).
Click and drag over the sky, and the tool should select all the blue surrounding the area you’ve clicked.
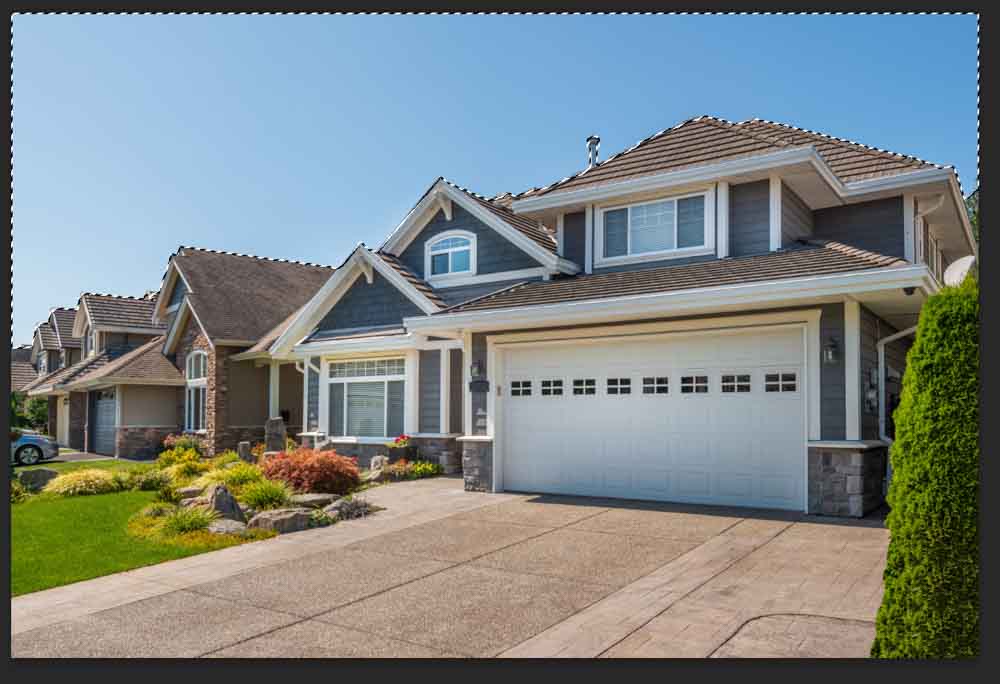
If there are any areas the tool missed, you can click those areas, and the tool should select any similar-looking pixels. Hold Alt (Win) or Option (Mac) while clicking any areas you’d like removed from the selection.
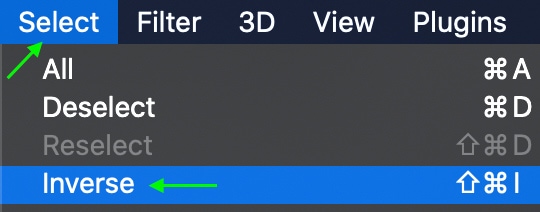
Once you’ve selected the sky, inverse the selection so that everything but the sky is selected by heading to Select > Inverse or by pressing Control + Shift + I (Win) or Command + Shift + I (Mac).
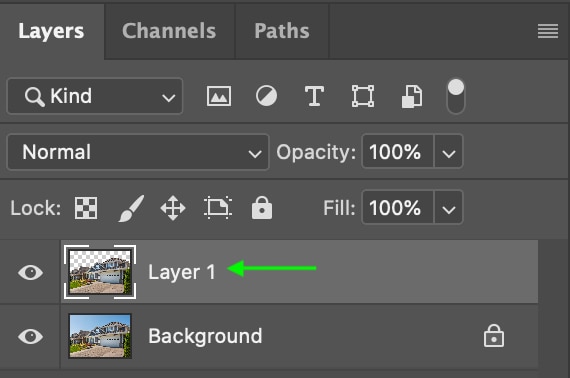
Now, you’ll want to move the selected foreground to a new layer by pressing Control + J (Win) or Command + J (Mac). In the Layers panel, you’ll see the foreground has been copied to a new layer.
Now, open up the sky image in a new Photoshop tab. Using the Move Tool (V), drag the image over to the tab with your original image so that it will sit on top of the picture.
In the Layers panel, you’ll see the three layers.
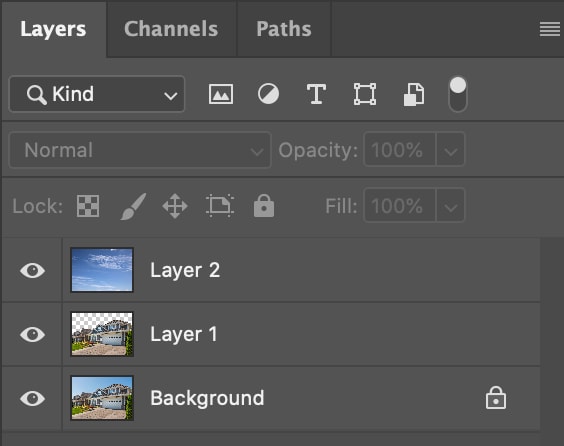
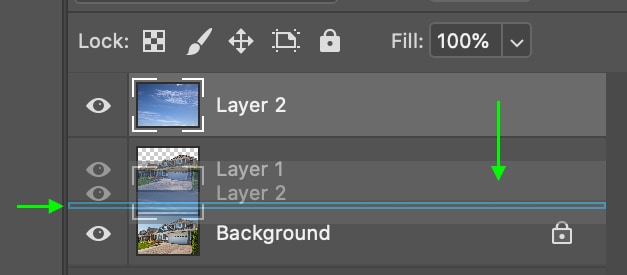
The layers appear in the panel in the order they sit on the document. This means you can drag the layers around the panel to change their order. So, as I want the sky to sit behind the foreground, I will click the layer and drag it between the other two. Releasing the cursor when a blue double-line appears.
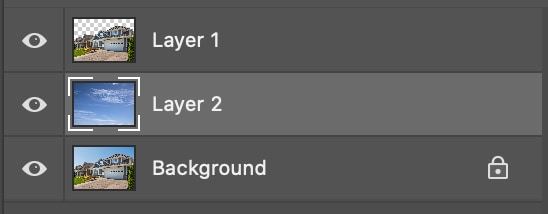
Now you’ll see the sky with clouds sitting behind your image’s foreground.
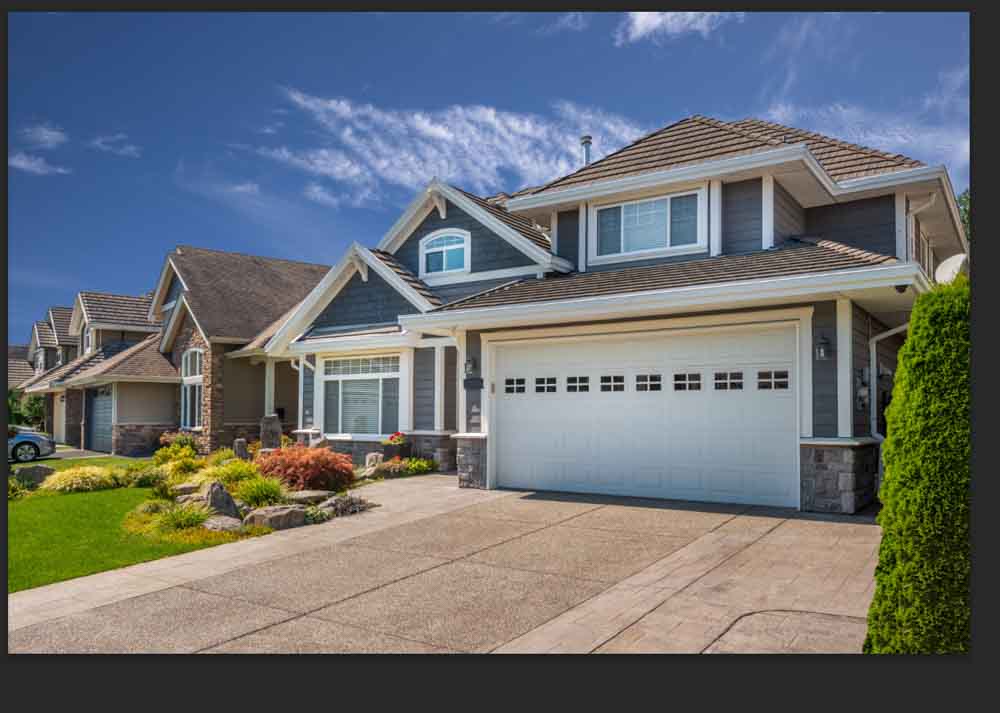
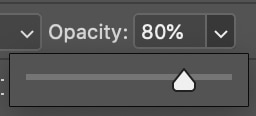
If the color balance of the sky seems a bit off compared to the color balance of the rest of the image, you can make the sky replacement look a bit more toned down by moving the Opacity slider in the Layers panel down to 90% or 80%.
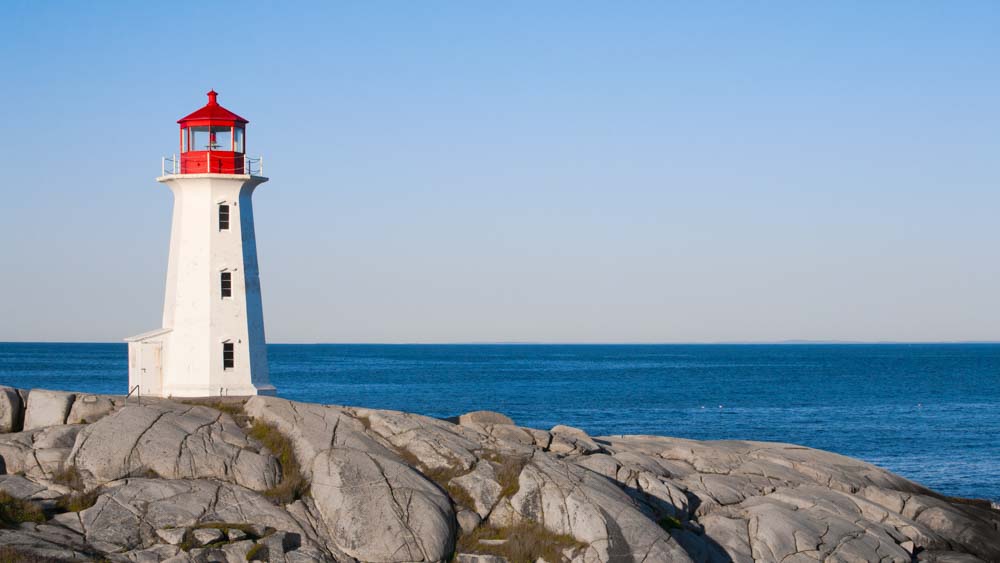
That makes the sky look much more realistic compared to the previous image.