

Whether you want to blend text into a textured background or place text on different surfaces within a photo, this guide will show you how to do it all in Photoshop. First, you’ll learn how to blend text into a textured background, and then we’ll take it one step further and blend the text into a cement pillar within a photo. Let’s get started!
How To Blend Text Into A Textured Background In Photoshop
This technique allows you to blend text with a texture, making it seem like the text is printed on the texture. The key to this method is playing around with shadows and highlights. Luckily, this can be achieved using a single slider from the Layer Style panel.
Step 1: Add Text To The Texture
First, you need to apply a piece of text to the texture.
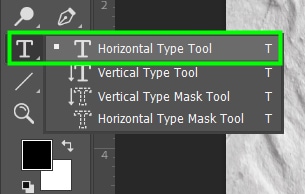
To do this, enable the Type Tool (T) in the Toolbar.
Then, go to the Options bar to customize your text. You can also do that after the text is created. However, it’s a good idea to do it beforehand for a more organized workflow.

In my case, I chose the Open Sans font, with the Extra bold style in white color.

Step 2: Adjust The Blend If Slider To Blend The Shadows
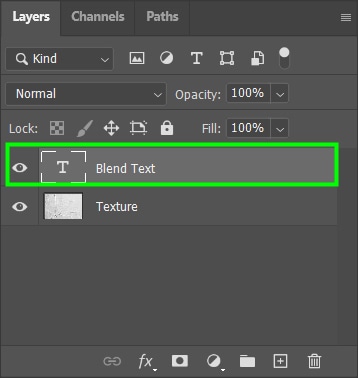
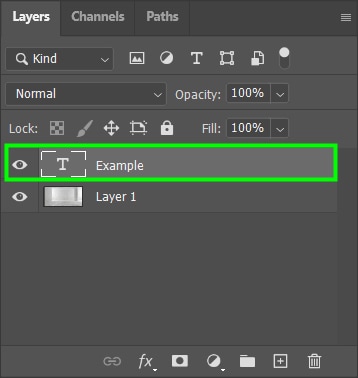
Now, double-click the text layer.
This will bring up the Layer Style dialog.
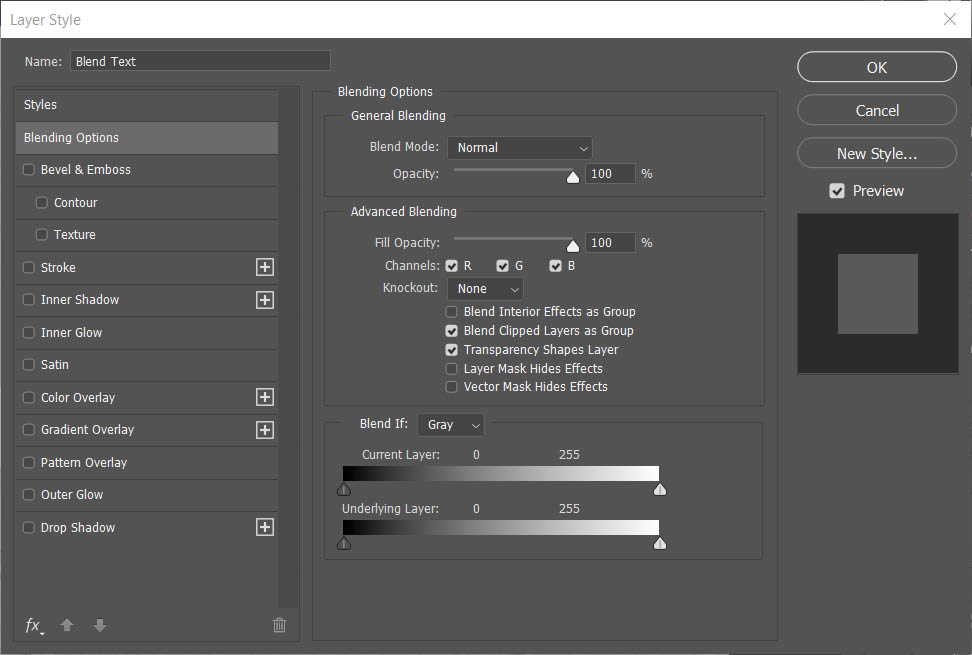
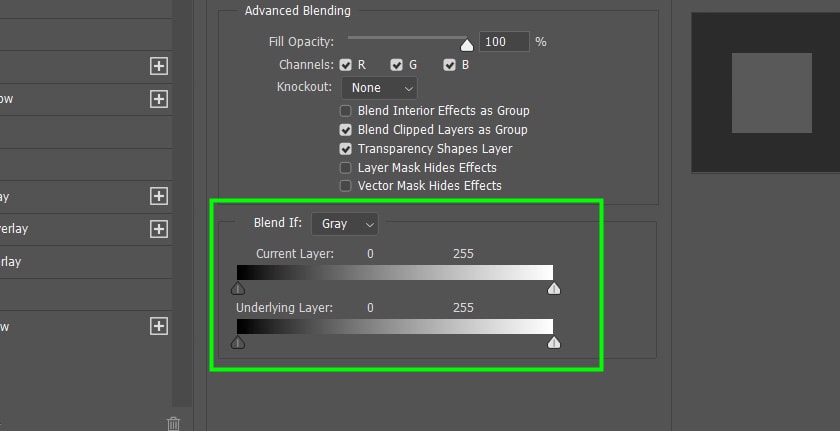
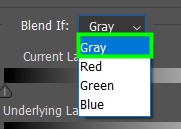
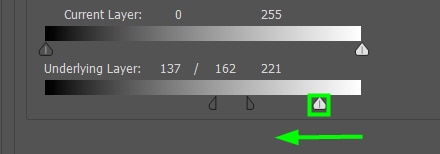
Within the panel, locate the Blend If section.
First, make sure the Blend if channel is set to Gray. This allows you to play around with the luminosity of the text and texture so both elements can blend naturally.
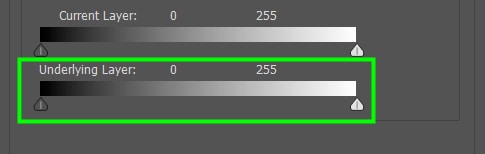
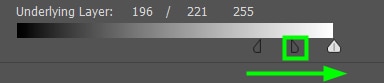
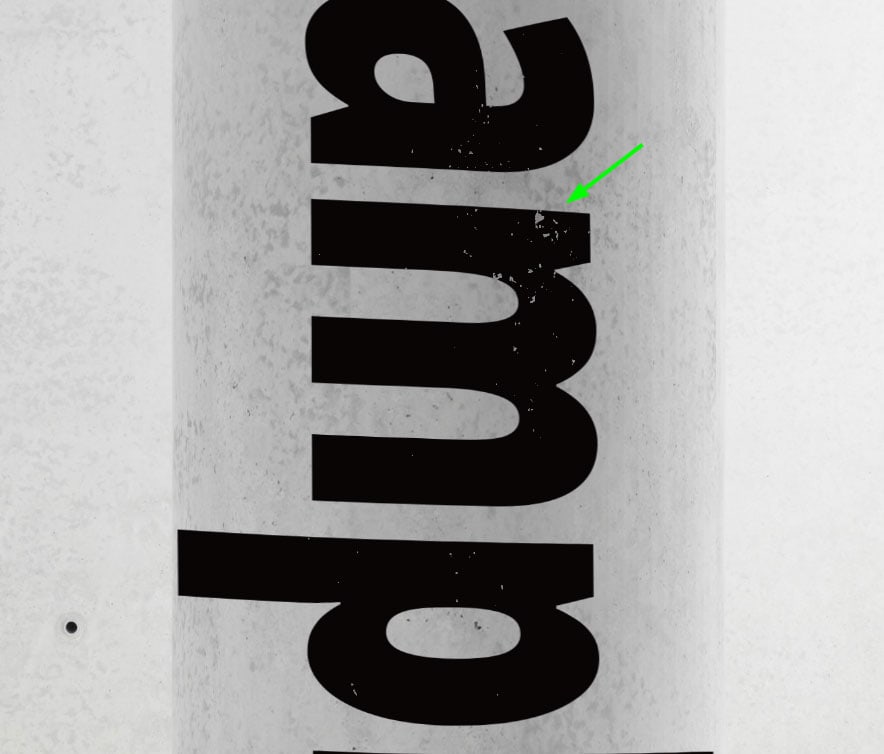
Now, you will need to adjust the Underlying Layer Blend If slider. This slider controls the luminance of bright and dark pixels of the underlying layer and how they interact with the top layer.
First, grab the dark arrow that corresponds to the shadows in your texture and move it to the right until the dark pixels from the texture start to show through the text.
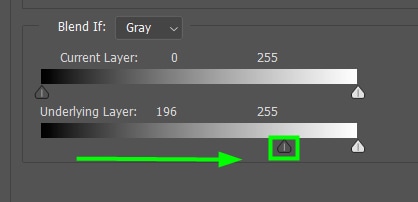

Notice how shadows of the texture start showing through the text in the letter “e” of the word Blend.
Step 3: Feather The Blend Effect For The Shadows
With that done, hold Alt (Win) or Option (Mac) to break the black arrow in two.
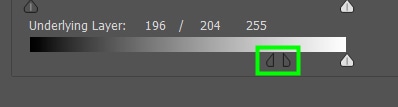
Then, move the half-arrow to the right.
This way, you will add a feather to the shadow area, allowing some shadows to appear more without making them look harsh.

Step 4: Adjust The Blend If Slider To Blend The Highlights
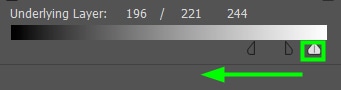
Now, grab the highlights arrow and move it to the left until some of the highlights of the texture become visible.

Step 5: Feather The Blend Effect
Then, hold Alt (Win) or Option (Mac) to break the white arrow in two.
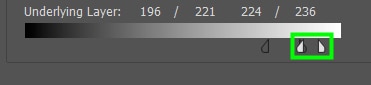
Next, bring the highlights to the left to blend in the highlights.

You must be aware, however, that the amount of highlights depends on your photo. If you turn up the highlights too much and your text is white, for example, it might decrease the opacity of the text to the point that it becomes unreadable.
Play around with the sliders to see what works best for your text and image.
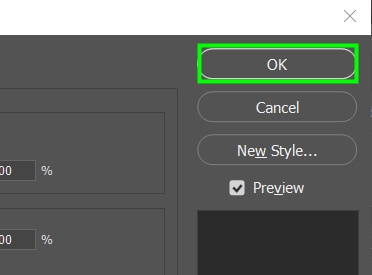
Click OK when you’re finished.
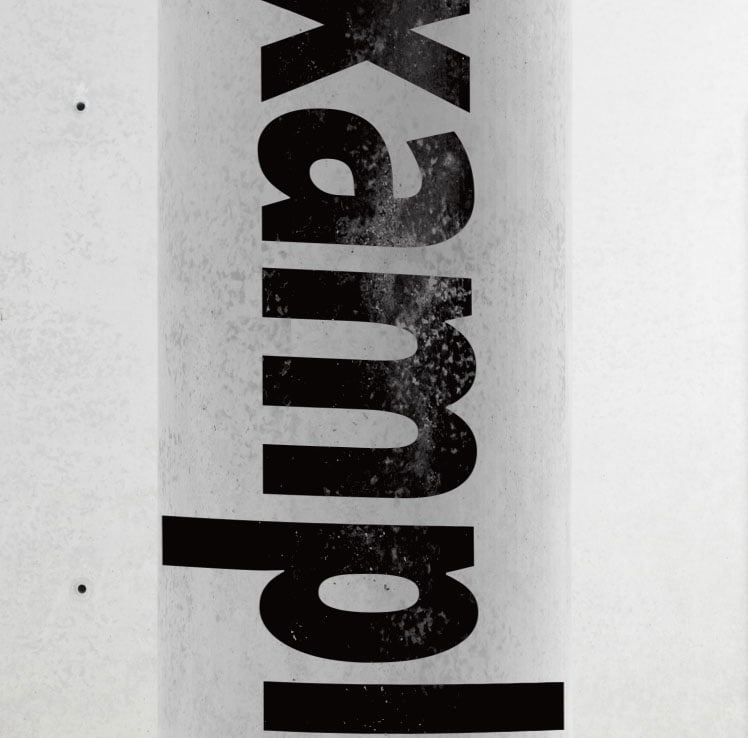
In the end, you will have texture showing through your text, and it will seem like the text belongs to the texture.

How To Blend Text Into A Photo In Photoshop
Blending text into a photo is a simple task. To make the effect more realistic, you need to make the text take the shape of a particular object in your scene and play around with shadows and highlights to make the effect even more realistic.
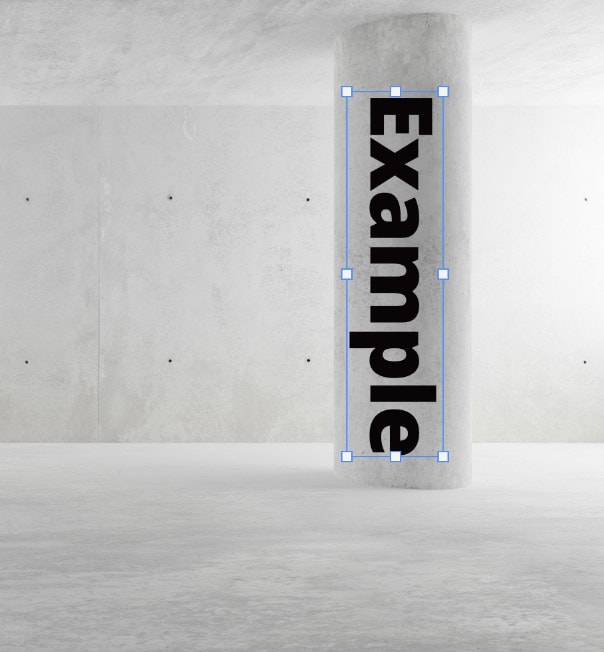
Step 1: Add Text To The Image
First, as shown in the previous section, you must create and customize your text as you like. Then, position it where you want using the Move Tool (V).

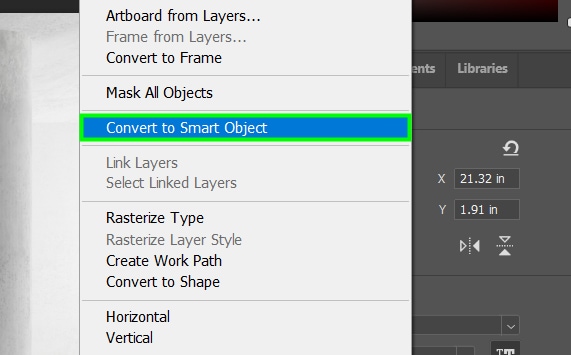
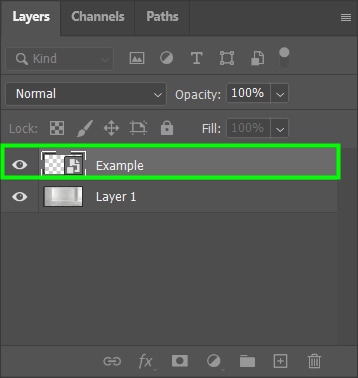
Step 2: Convert The Text To A Smart Object
Now you have to convert the text into a smart object. To do this, right-click the text layer and choose Convert To A Smart Object. When you convert your text to a smart object, you can distort it as you want, but the text is still editable.
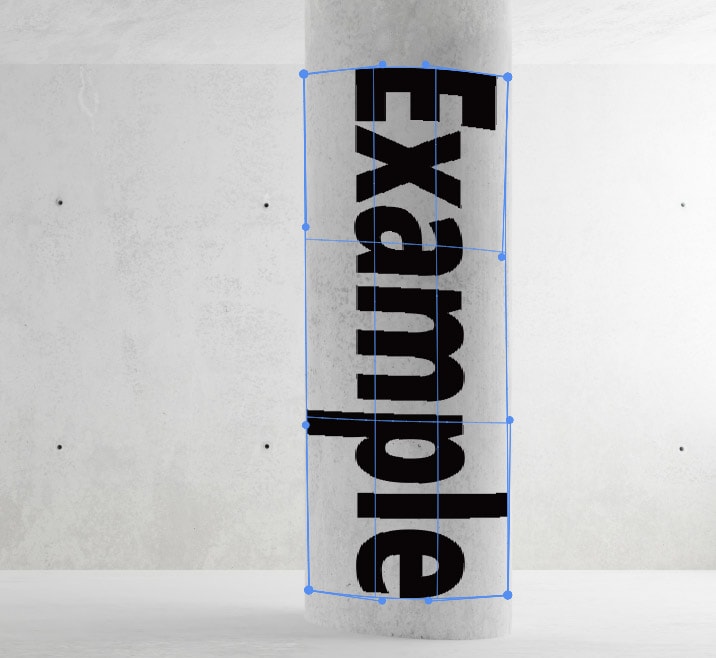
Step 3: Wrap The Text Around An Object
Next, press Command + T (Mac) or Control + T (Win), then right-click or Command + click and choose Warp.
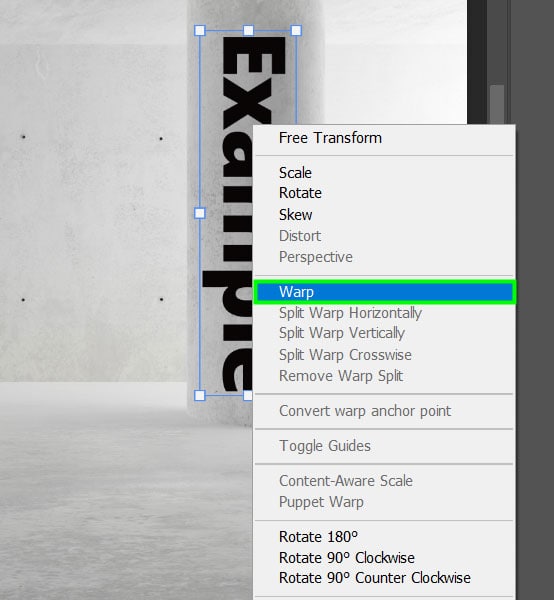
A mesh will cover your text, containing control points, as seen below. You can adjust any part of the mesh: the control points, the segments, and even the inner part of the mesh.

Now, you need to move the edges of the text to make it follow the shape of the pillar, creating a rounded edge for the text.
For example, I moved the control point below to the right.
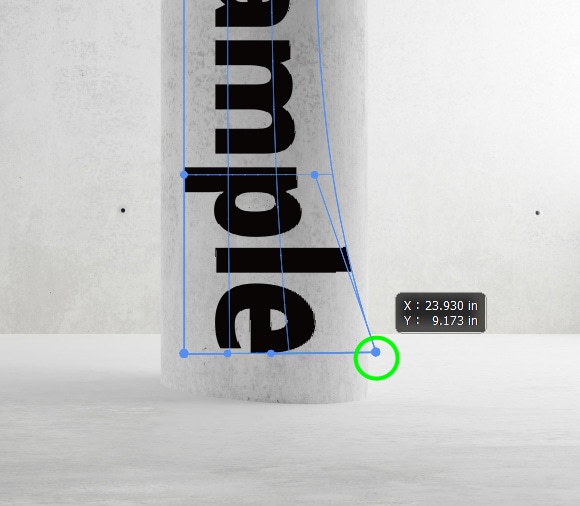
I also adjusted the control point on the left and the segment next to the letter “e” of the text, making this side of the text look more similar to the shape of the pillar.
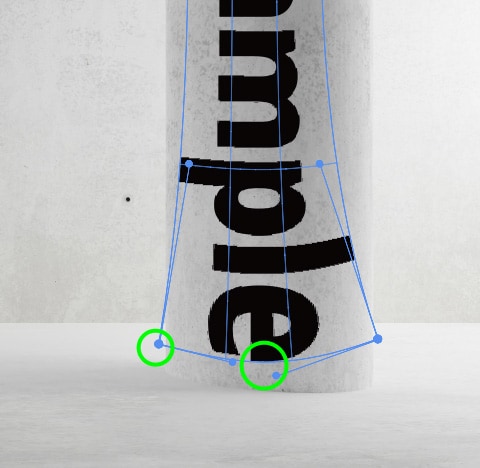
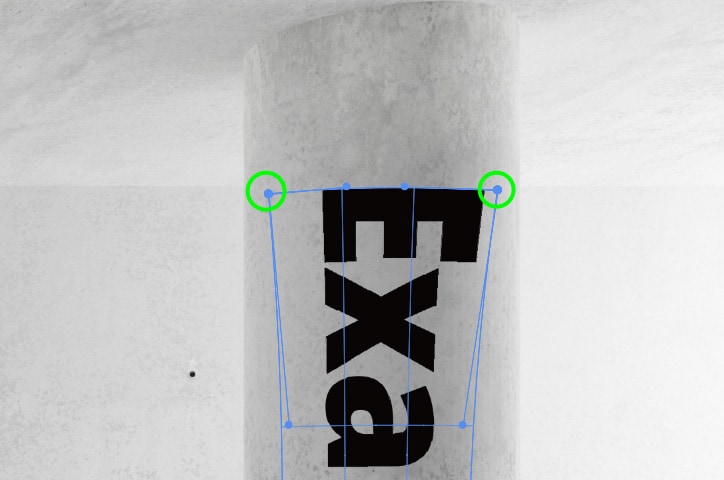
Do the same to the top of the text, adjusting the control points in different directions so you can replicate the roundness of the pillar there too.
After that, you can start adjusting the control points of the other parts of the text along the pillar. For example, I pushed the control points outwards to make that side of the text wider.
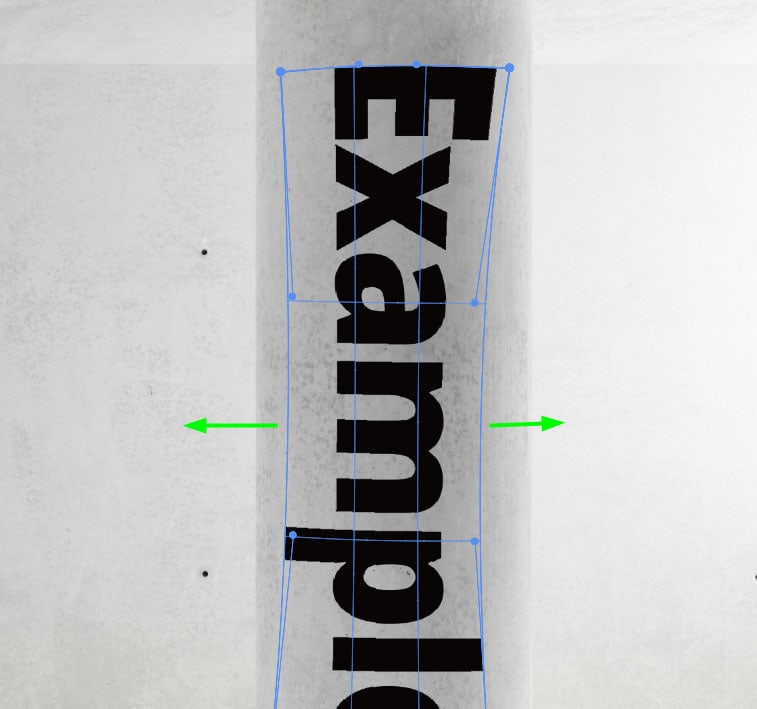
Keep adjusting those points, as needed, until the entire text shape matches the shape of the pillar.
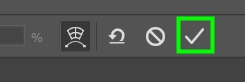
Click the checkmark in the Options Bar or press Enter on your keyboard to confirm the changes.
Step 4: Adjust The Blend If Sliders
Once the text is wrapped around the pillar, double-click the text layer to bring out the Layer Style panel.
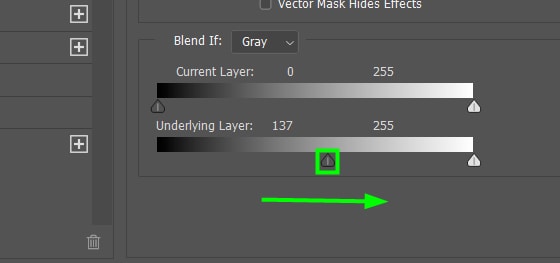
Within the panel, find the Underlying Layer slider.

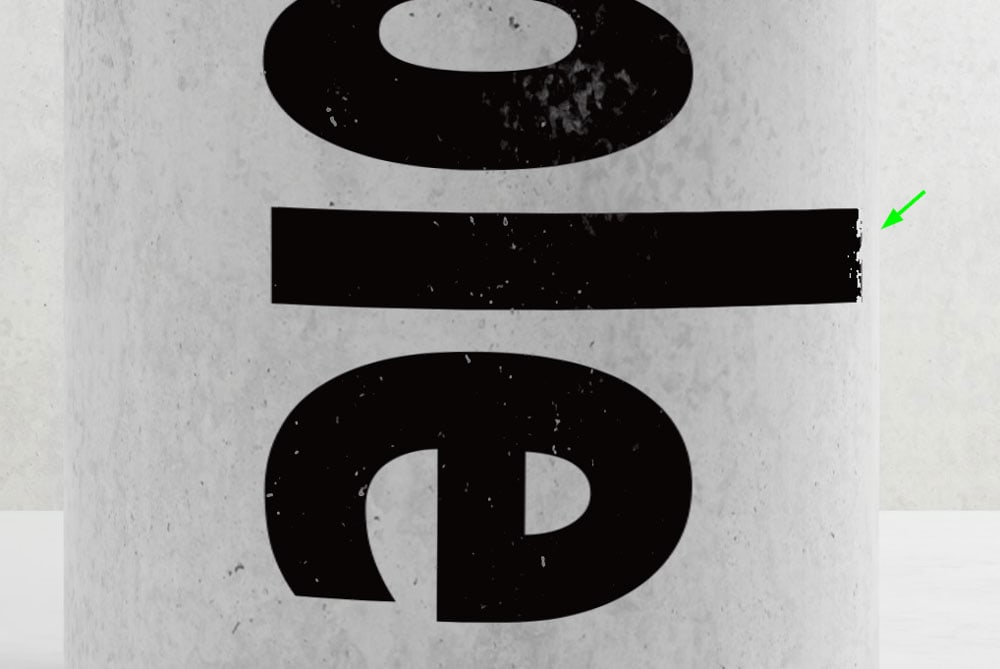
Move the shadows slider to the right until the photo layer starts to show through.
Notice how the text seems washed out. This makes part of the image show through the text.
Now, hold Alt (Win) or Option (Mac) to break the shadow arrow in two and move the shadow slider to the right to feather the effect.

Now do the same with the highlights. To do this, grab the highlights slider and move to the left until the parts of the image start to show through.
Then, hold Alt (Win) or Option (Mac) to break the highlights arrow in two and feather the effect.


You can keep adjusting these sliders to enhance the effect even further.
When you’re done, click OK to close the Layer styles dialog.


Blending text with photos can be done in seconds once you master the techniques learned here. I frequently use these techniques to create mockups and insert text in stone, wood, and other materials in a photo to make the text feel like it was originally there.


