
When you import images in Lightroom, you have to specify the location to look from within your files. Lightroom’s input window can be a bit confusing to read, at times, as there are panels with your files on either side.
However, it is very simple to change the import location in Lightroom, and there is even a way you can set Lightroom to automatically import images from the same location with just a click.
How To Change The Import Location In Lightroom
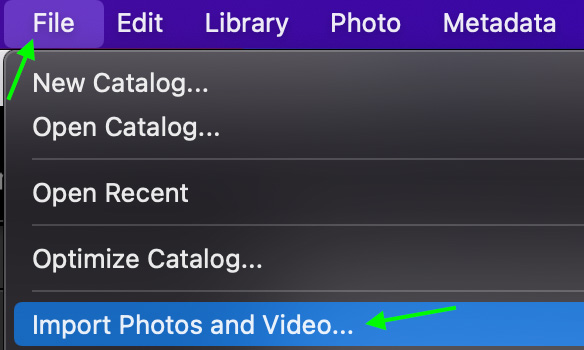
Lightroom allows you to import images in the import window. You can access this by heading to File > Import Photos and Video or by clicking and dragging an image to the library, either from the web or your files.
The input window will pop up. Here, you’ll see a panel with files on the left, a space where image previews appear in the center, and another panel with files on the right. This is where it can get confusing, as you can see the files on your disk on both sides.
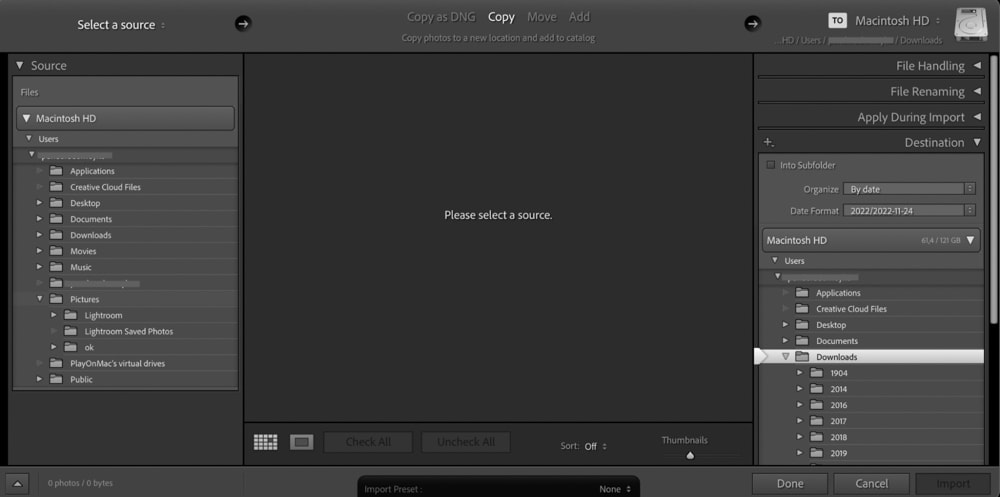
The left side, the Source panel, is where you can select the input location, while the right is the destination folder where the image’s copy will live. Don’t worry about the panel on the right. Instead, focus on the Source panel on the left.
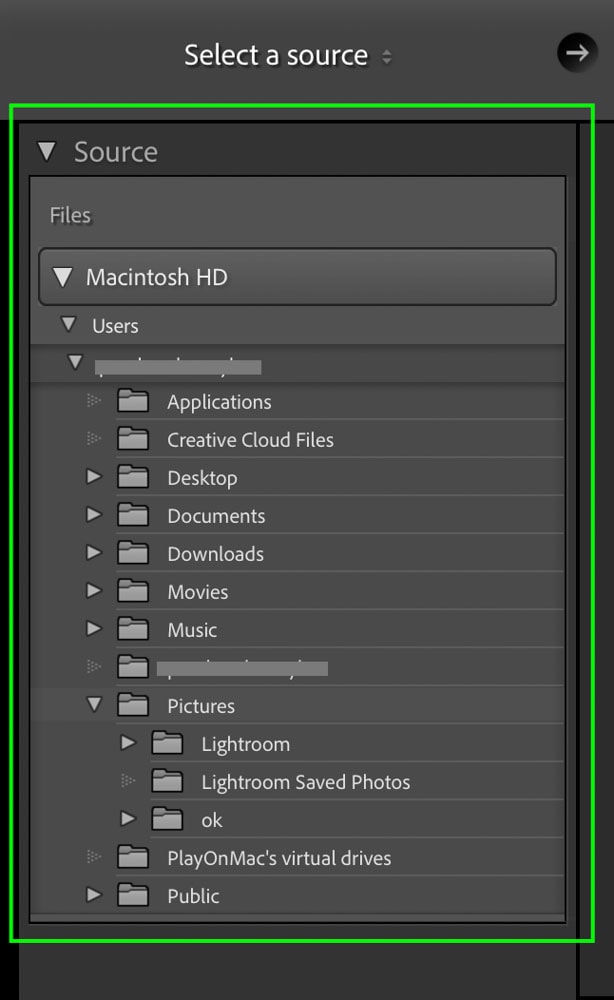
To change the import location, simply click through the different folders from the Source panel. To open a folder, click the arrow icon or double-click the folder itself. The previews for any image files in that folder will appear in the import window’s center section.
How To Permanently Change The Import Location With Auto Import
Some photographers consistently pull the images they import to Lightroom from one specific location. By changing your auto-import settings, you can set Lightroom to import photos from a particular location into your Library automatically.
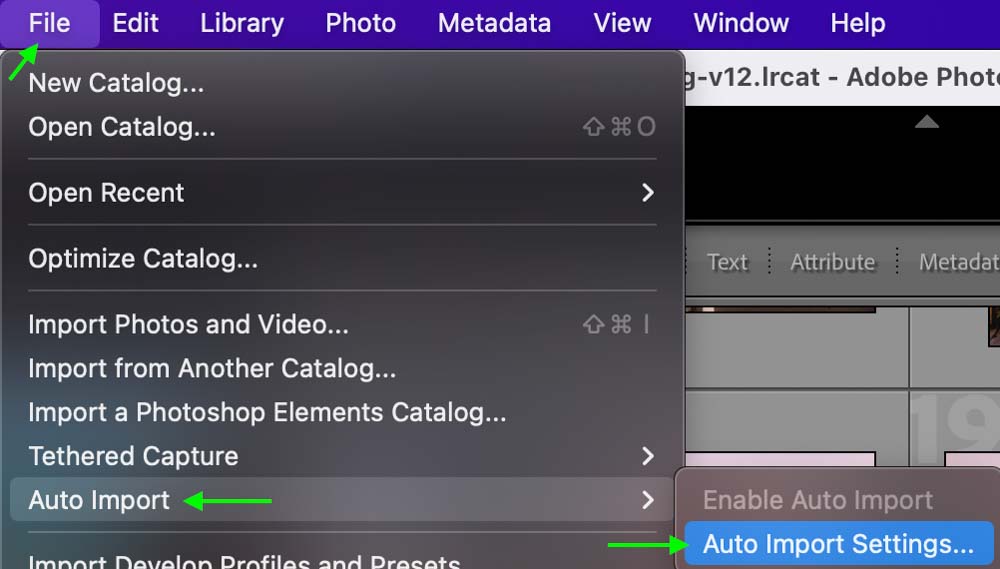
Head to File > Auto Import > Auto Import Settings to set up auto import.
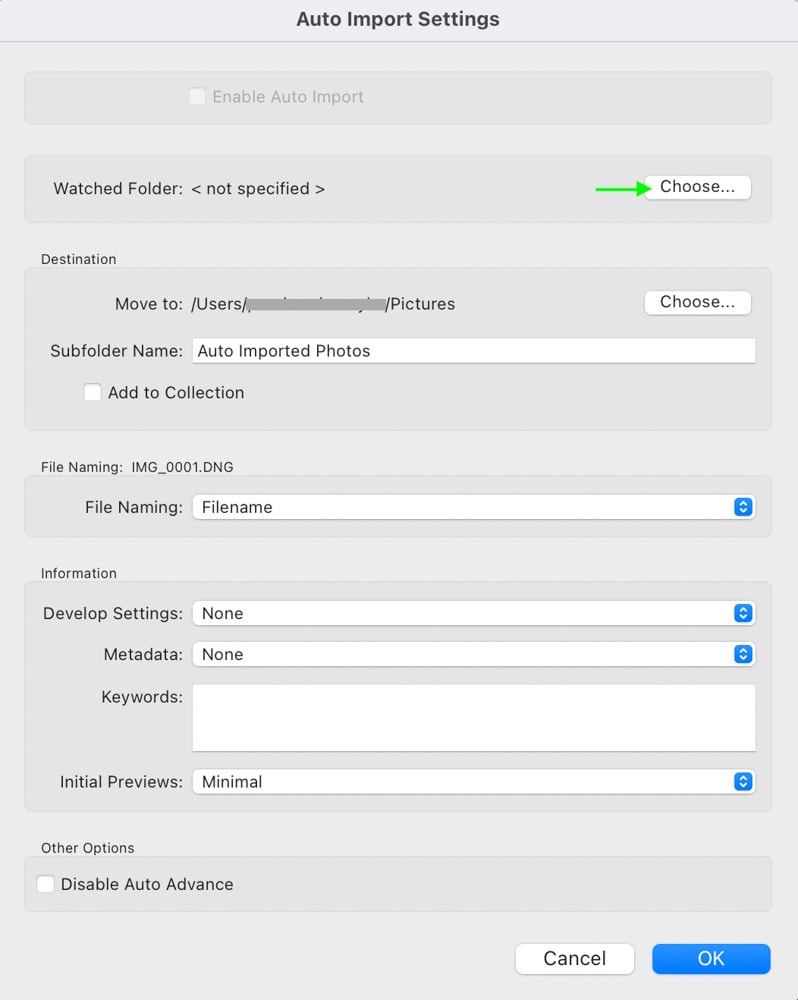
Here, you’ll see the Auto Import Settings window. You won’t have the option to check the Auto Import box until you select a folder. Click Choose to select a Watched Folder if you haven’t already, and select the folder you’d like Lightroom to choose images from automatically. Keep in mind the folder you select should be empty.
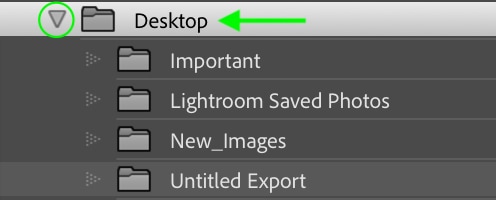
Once you’ve chosen a folder, its name will appear beside Watched Folder.

Now you’ll be able to check the box to enable auto import from this folder. Click OK once you’ve set the auto-import settings.


Any images you put in the selected folder will automatically be imported into your catalog. This can save you time in the Import window as you can simply drag any images you’d like to import into your Watched Folder rather than going to File > Import and searching through your files for them.
While changing your import location in Lightroom is a small detail, you’ll find tricks like Auto-Import can help speed up your editing process and keep your images organized.


