
Smart objects are of the best ways to edit layers non-destructively in Photoshop. Unlike other aspects of layers, smart objects aren’t immediately obvious, particularly how to create them. Luckily there isn’t much to it, and you can learn to create a smart object in Photoshop in seconds. In this tutorial, you’ll learn not only how to convert layers into smart objects but how to open new images as smart objects as well! Let’s get started.
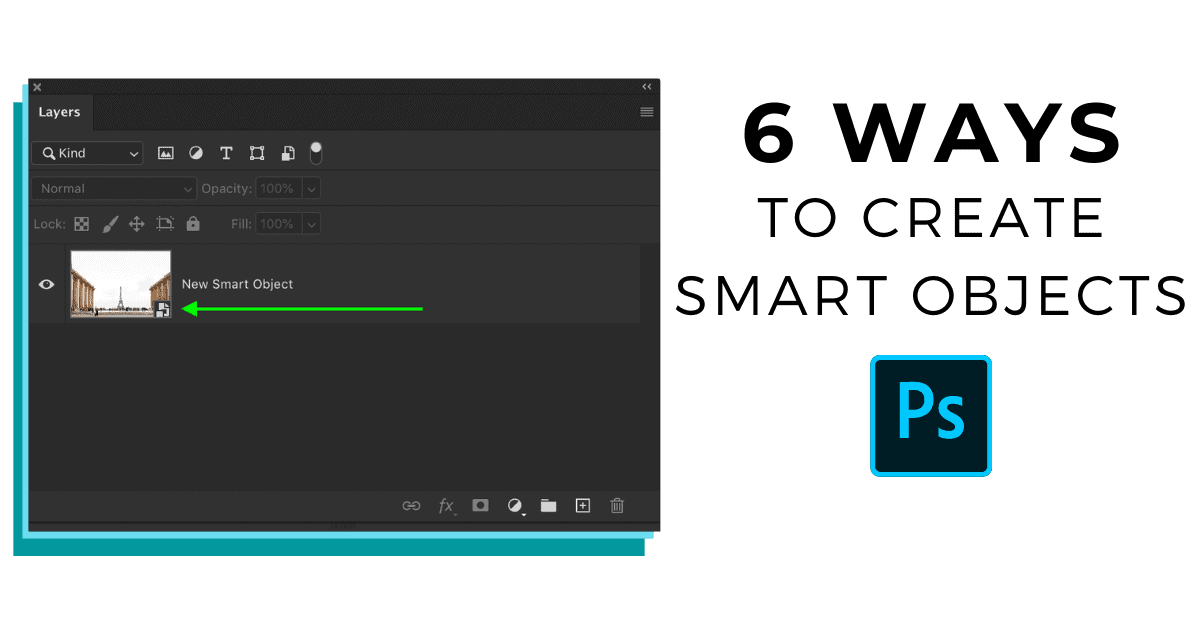
6 Ways To Create Smart Objects In Photoshop
There are a variety of ways you can create a smart in Photoshop. It just depends whether you want to convert an existing layer or an image that you’ve yet to open.
For this first section, let’s discuss the different ways you can convert layers that already exist in your layer panel.
Each of the methods below will achieve the same result of creating a smart object. There’s no ‘right’ way to do it, just whichever way feels most natural to you. In any case, it’s useful to know all your possible options to choose from.
Before you create a smart object, you must select the layer(s) you want to convert. If you only want to convert one layer to a smart object, simply click on the layer.
If you want to convert multiple layers at once, you can hold Command or Control and click on individual layers. This lets you select multiple layers at a time to turn into a smart object layer.
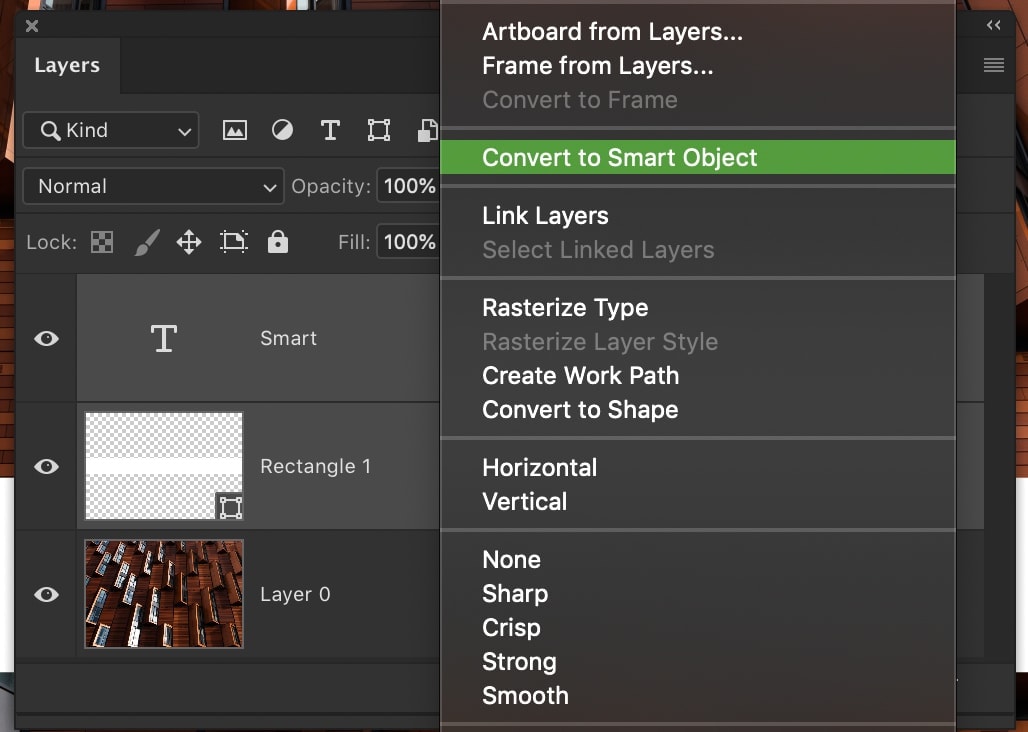
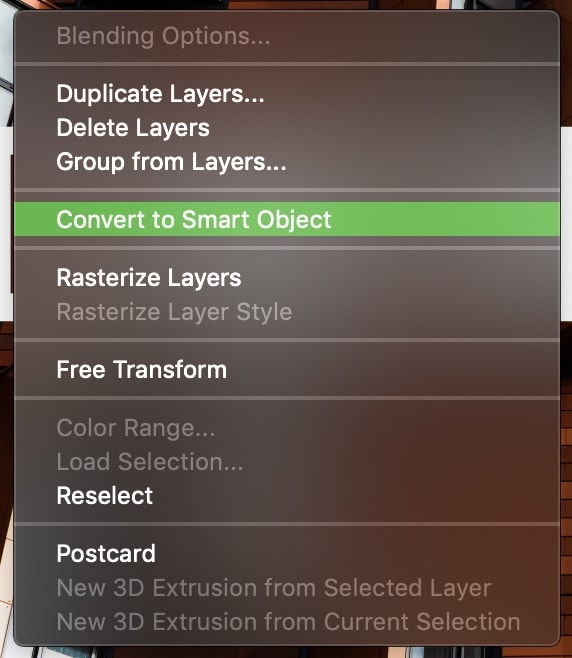
1. The Right Click Method
The first and most straightforward way to create a smart object in Photoshop is by right-clicking on your layer(s) and choosing ‘Convert to Smart Object.’
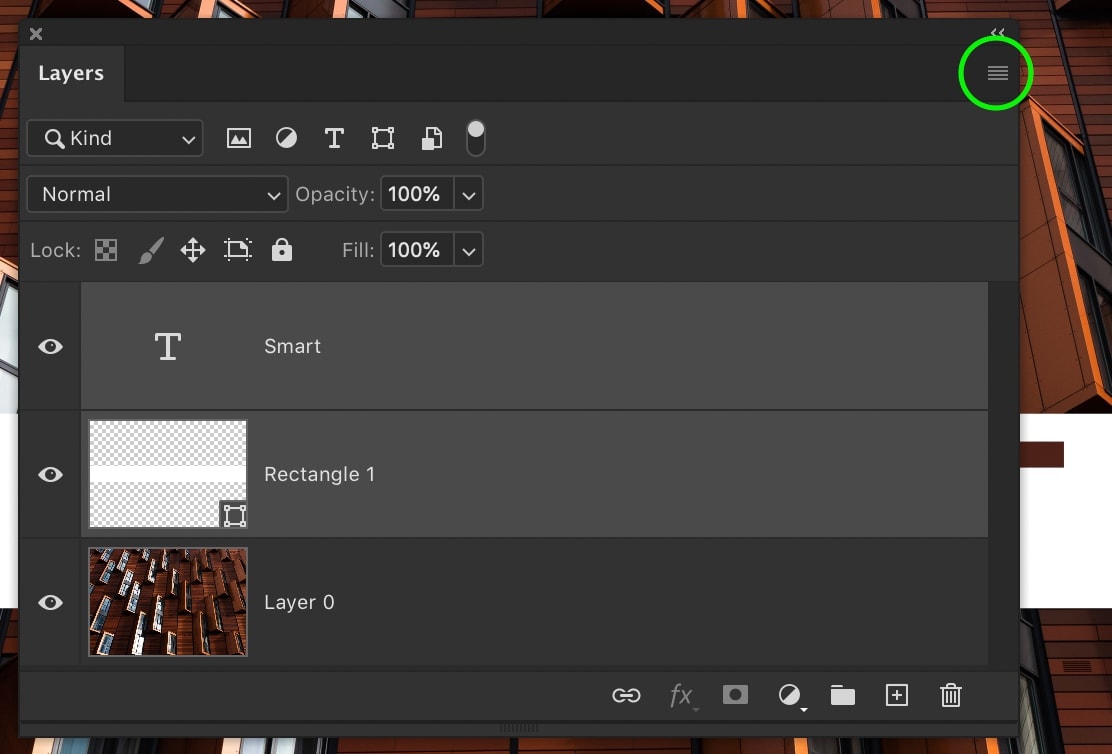
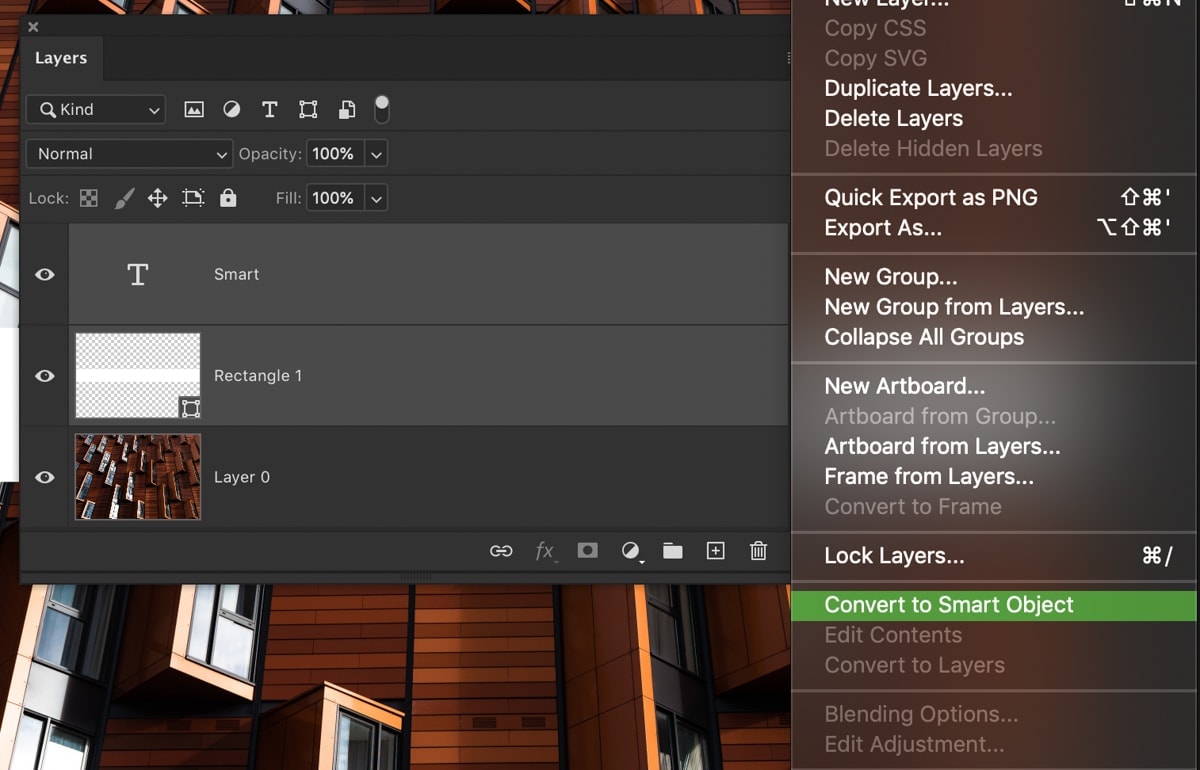
2. The Layer Panel Method
At the top of your layer panel is a hamburger menu icon. With the layers you want to convert selected, click on ‘Convert to Smart Object.’
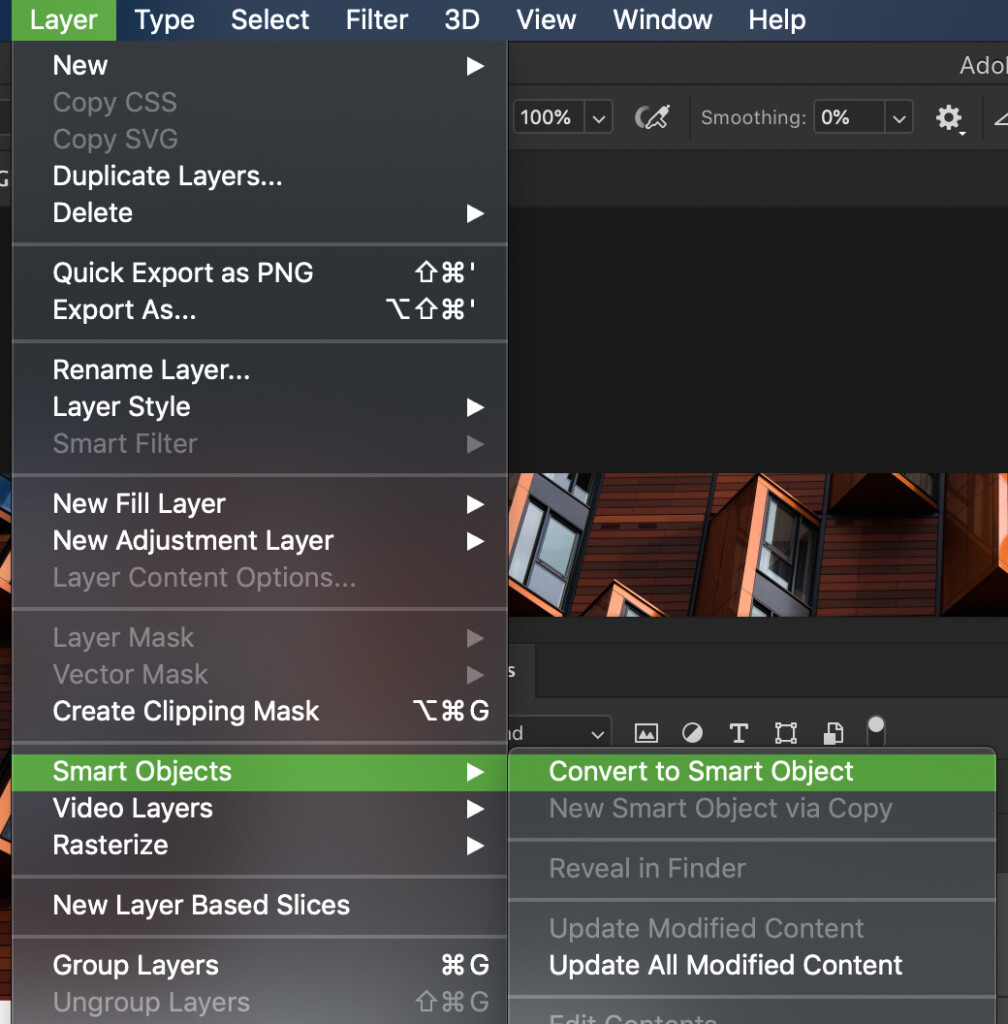
3. The Menu Bar Method
Rather than dealing with your layers panel, you can use the menu bar at the top of your screen. Go up to Layer > Smart Objects > Convert to Smart Object to convert your selected layers.
4. The Selection Tool Method
While you are using any selection tool in Photoshop, you can create a smart object directly from your canvas.
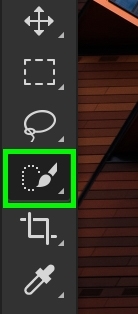
With a selection tool active and your layer selected, right-click and choose ‘Convert to Smart Object.’
How To Open Layers As Smart Objects In Photoshop
Now that you’ve learned how to convert existing layers let’s go over how to open a new layer as a smart object. There are only two main methods of doing this. One with the menu bar, and the other in Camera Raw. Here’s how they work.
5. Open An Image As A Smart Object
This method is very similar to opening a file in Photoshop, but with a slight variation. Go up to File > Open As Smart Object and select a file from your computer.
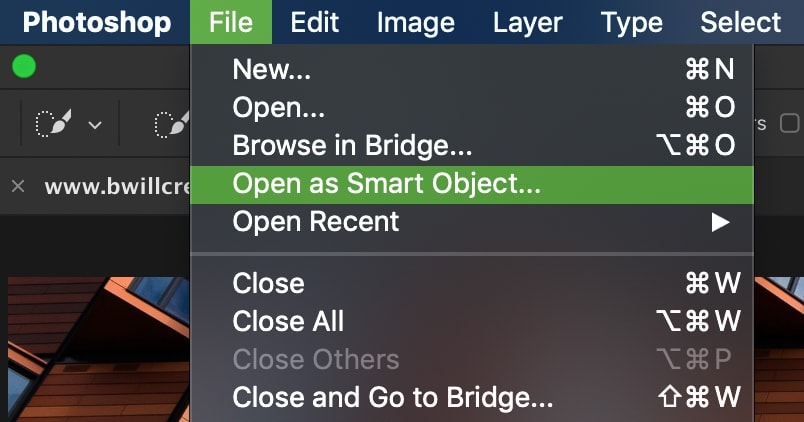
Press ‘open’ to bring it into Photoshop.
Your image will open as a smart object in a new project tab.
6. Creating Smart Object From Camera Raw
If you’ve opened an image into Camera Raw, you can convert it to a smart object before opening it to Photoshop.
Once you’ve finished your edits in Camera Raw, hold Shift and click on ‘Open Object.’

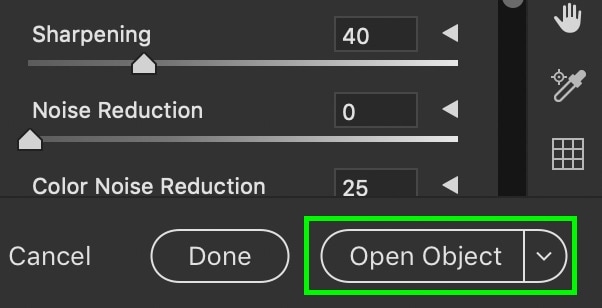
When you hold shift, this changes the opening method from a regular layer to a smart object.
Additionally, you can press the arrow to reveal the different layer options from Camera Raw.
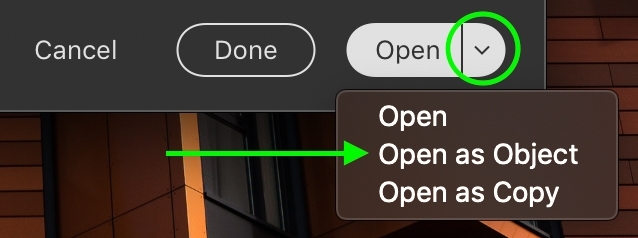
This is a great way to save time and allow you to go back to your Camera Raw adjustments later on.
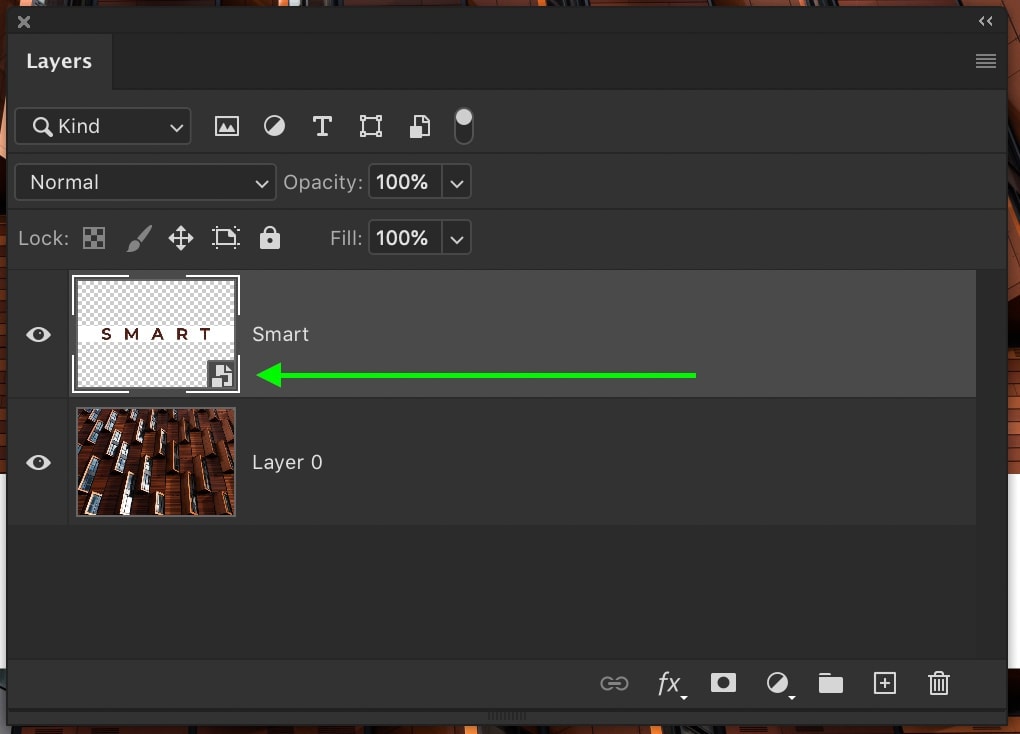
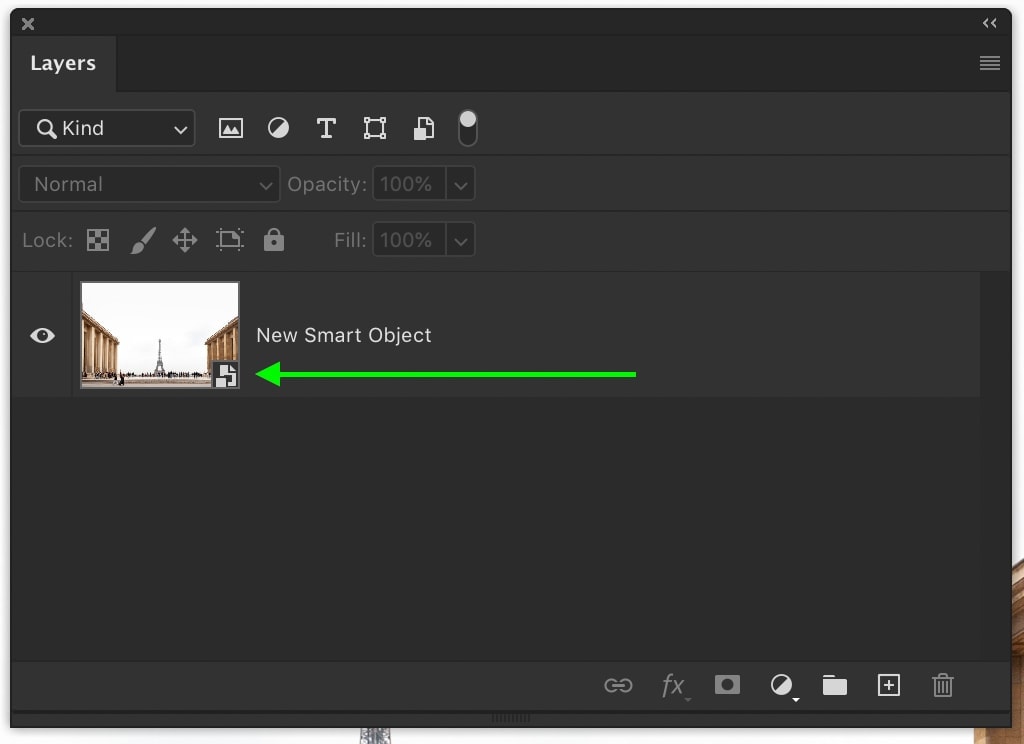
How To Tell If A Layer Is A Smart Object
Although small, there is a clear difference between regular layers and smart objects.
If your layer has been converted to a smart object, you’ll see the smart object icon beside the layer thumbnail.
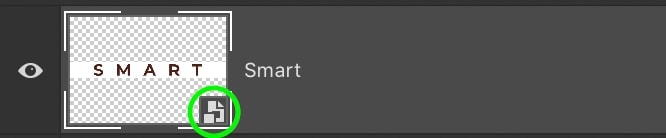
This icon is the only sign to know if a layer is a smart object or not.
Now that you’ve learned how to create a smart object in Photoshop, it’s time to learn how to use them. Smart objects are a powerhouse layer that gives you maximum control and security to your adjustments. There’s no better way to edit non-destructively than with the help of a smart object.
Learn how to use smart objects in Photoshop.
– Brendan 🙂


