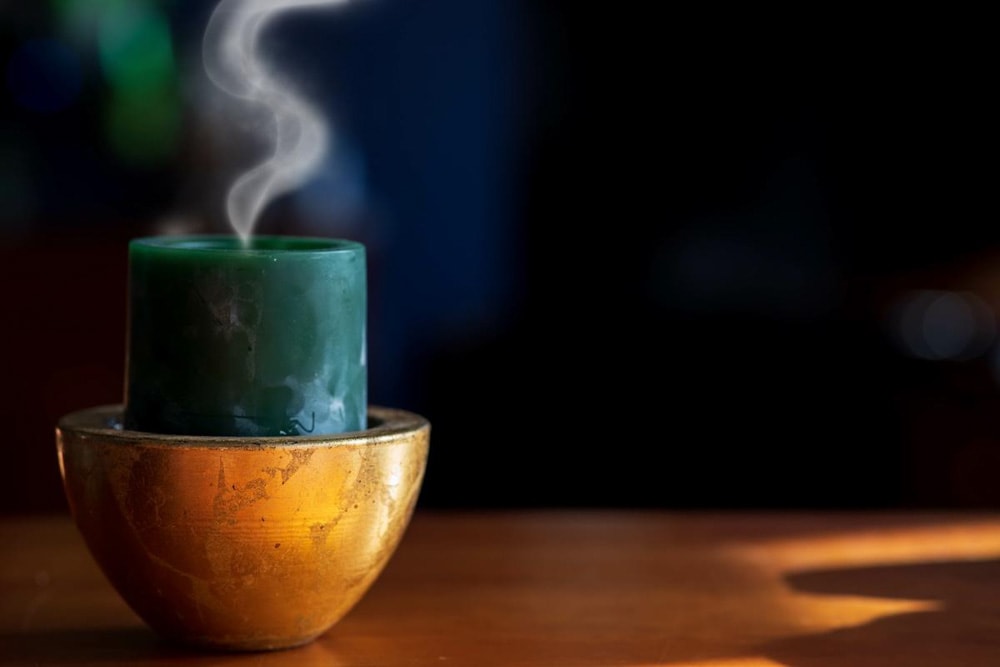

Photoshop allows you to create realistic-looking elements out of thin air. For instance, you can create smoke in Photoshop in a few easy steps. In this article, I will show you how to quickly make smoke in Photoshop using realistic-looking overlays and smoke brushes, as well as how to make the effect from scratch.
So before we get started, be sure to get these five free smoke brushes for Photoshop if you want to save yourself a ton of time!
Lesson Summary
- Step 1: Place A Smoke Overlay Over The Image
- Step 2: Change The Overlay’s Blend Mode To Screen Or Lighten
- Step 3: Adjust The Overlay’s Opacity Accordingly
- Step 4: Use A Layer Mask To Remove Harsh Edges From The Overlay
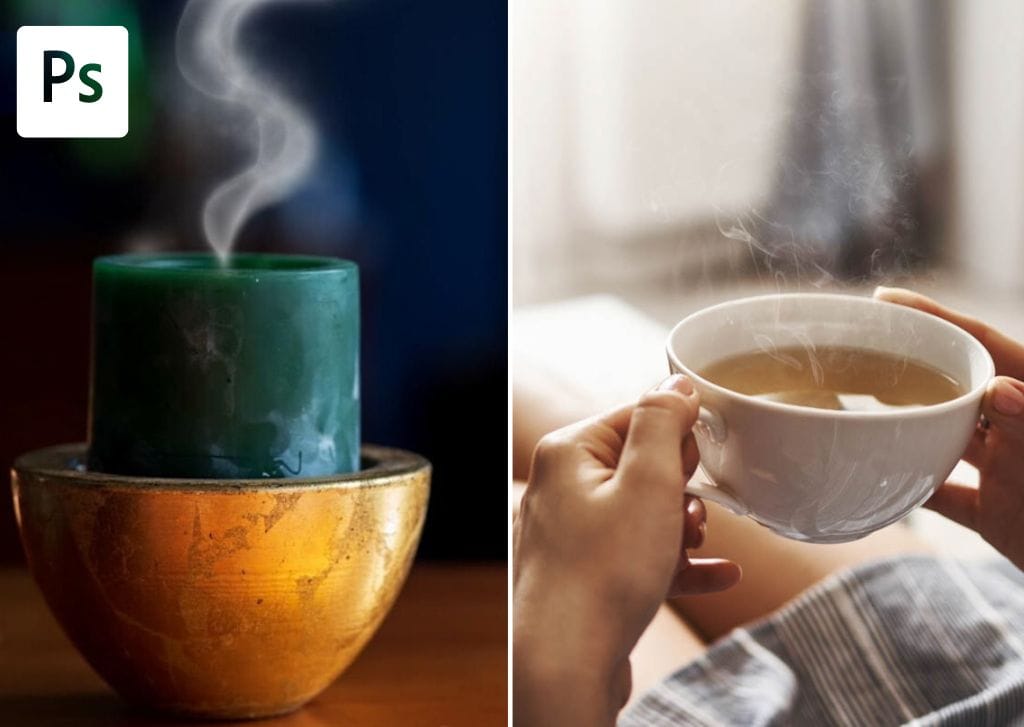
Option 1: How To Add Smoke In Photoshop Using Overlays
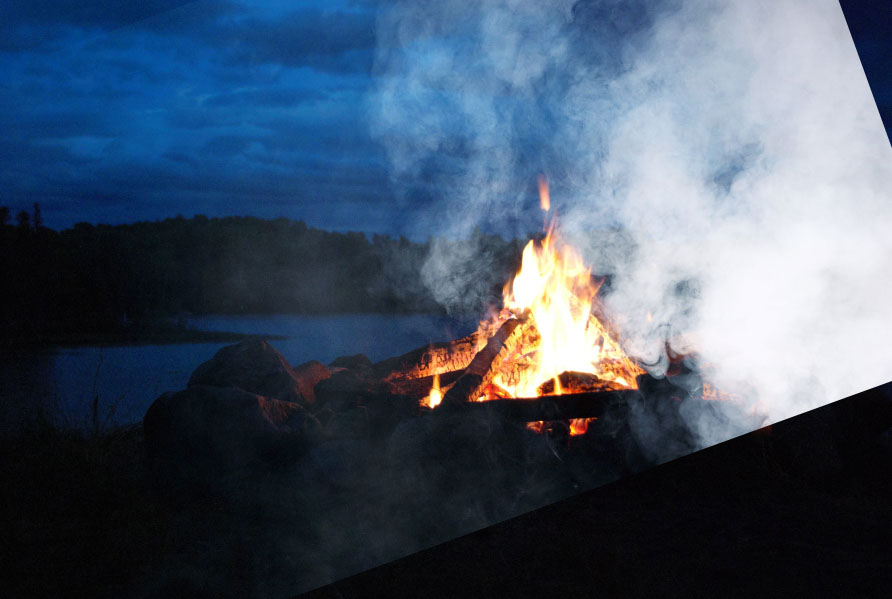
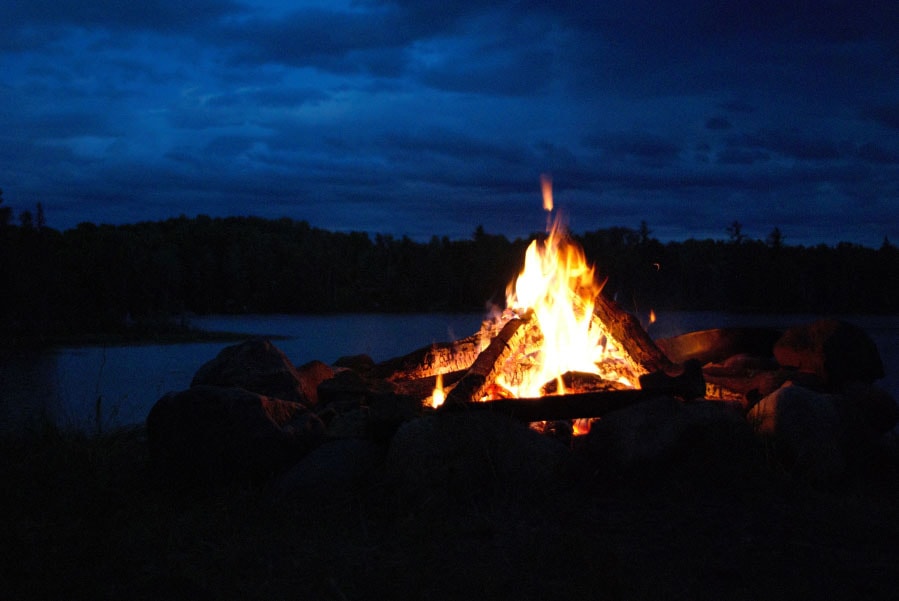
Step 1: Place An Overlay Over Your Base Image
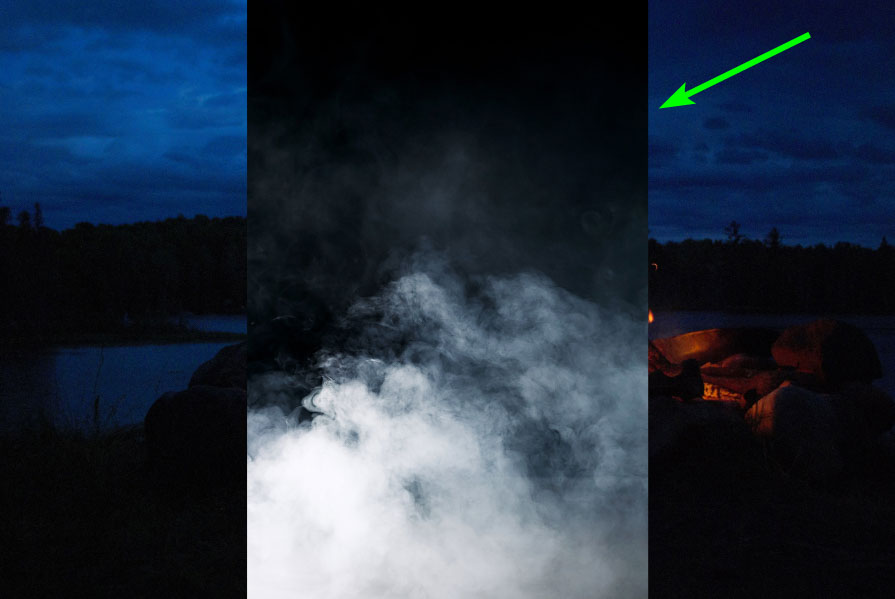
With your base image open, go to File > Place Embedded, and find the overlay image in your files. Once you locate the image, select it and click Place. Your overlay image will be placed on top of the base image.
Note: I recommend looking at Pexels or Unsplash to look for overlays. An image with a dark or black background works best as an overlay.
Step 2: Resize And Position The Overlay
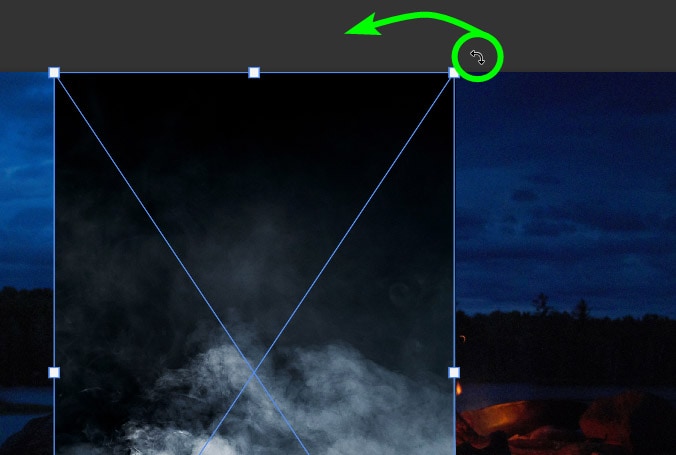
Next, open the Transform Tool by pressing Control + T (Win) or Command + T (Mac). If you need to rotate the overlay, hover your mouse just outside the transform box, then click and drag the overlay to the side when the double arrow icon appears.
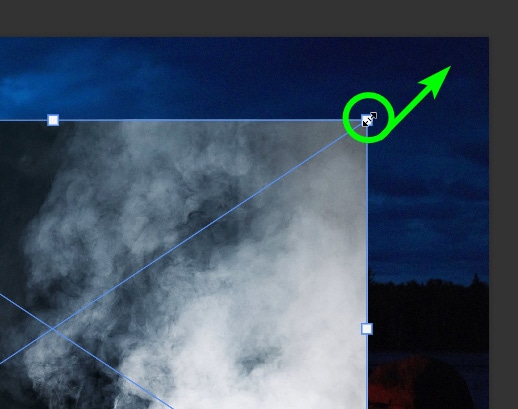
Then, resize the overlay if needed by clicking on any of the corner anchor points and dragging the layer inwards or outwards. Press Enter to confirm the changes.
Step 3: Change The Overlay Layer’s Blend Mode
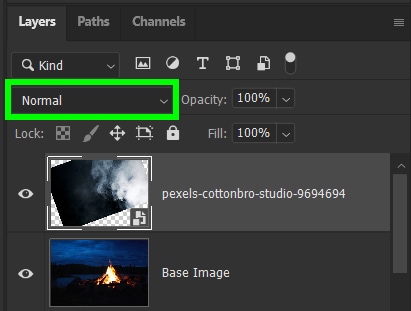
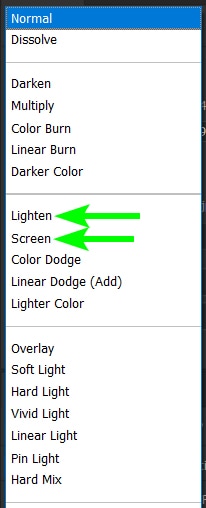
Once the overlay is in position, find the Blend Mode in the Layers Panel, which is set to Normal by default. Use the drop-down menu to change the Blend Mode to Lighten or Screen, depending on what works best for your image.
You will notice the overlay blends into the image at this stage.
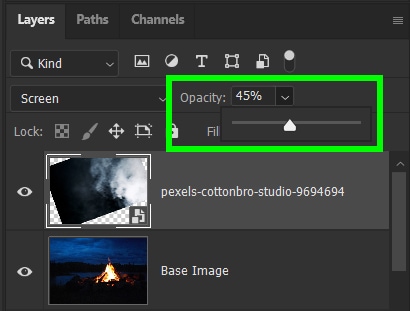
Step 4: Adjust The Overlay Layer’s Opacity (Optional)
In some cases, the overlay will be too intense, and you need to tone down the smoke effect. To do this, reduce the Opacity of the overlay layer by dragging down the Opacity Slider in the Layers Panel.
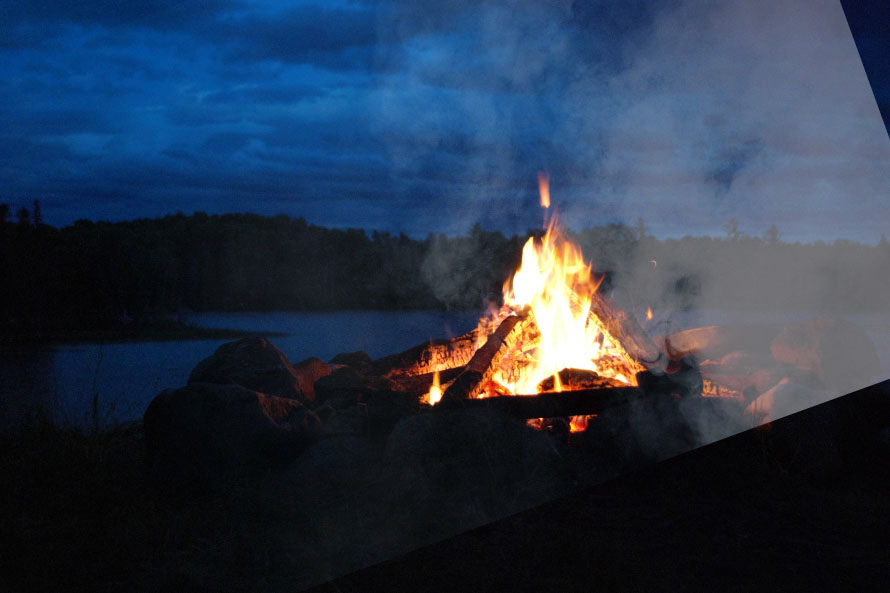
The smoke effect will be reduced and blended into the image better.
Step 5: Use A Layer Mask To Customize The Effect (Optional)
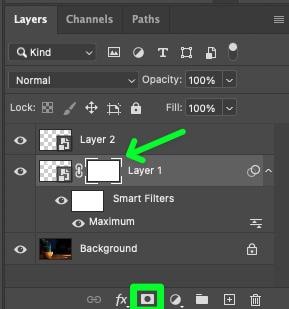
If you want to remove some of the smoke or fix up the edges of the overlay, you can do this using a Layer Mask. First, add a layer mask to the overlay by selecting the layer and clicking on the Layer Masks icon at the bottom of the Layers Panel.
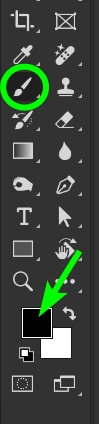
Then, select the Brush Tool (B) and set the foreground color to Black.

Adjust the Opacity of the brush in the Options Bar to allow the effect to blend in.

Then, brush over the areas of the smoke overlay you want to remove.
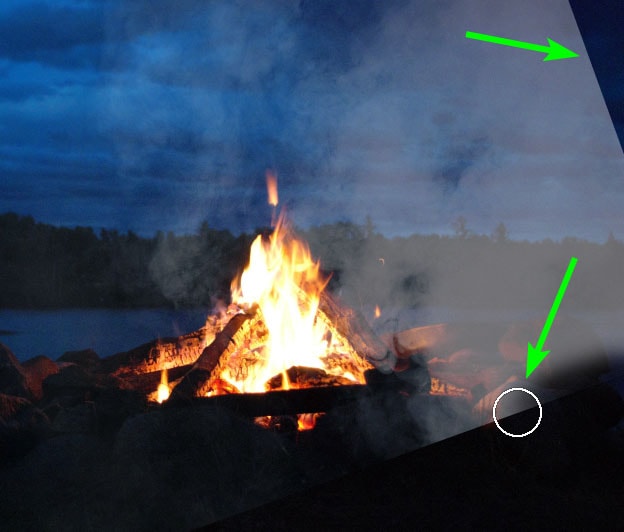
You can keep customizing the overlay until you’re happy with the smoke effect on your image.

Option 2: How To Add Smoke In Photoshop Using Brushes
Step 1: Download And Import Your Smoke Brushes
Before you can start using smoke brushes, you first need to download some Photoshop brushes. To make life easy, I’ve created 5 free smoke brushes for Photoshop that you can download here. I’ll be using this brush pack in the following examples.
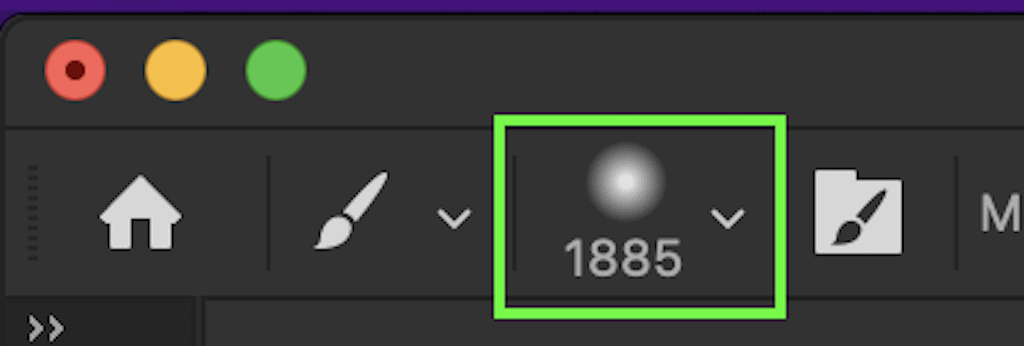
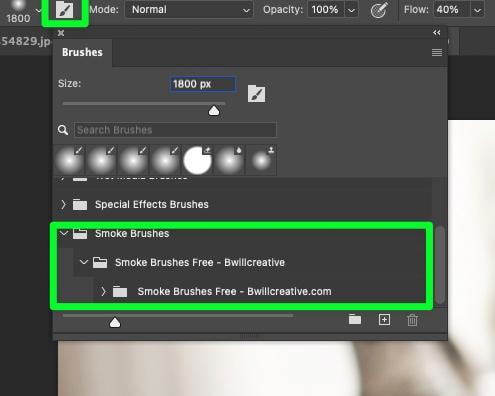
Once your smoke brushes are downloaded, select the Brush Tool (B) and open the brush tip preset panel.
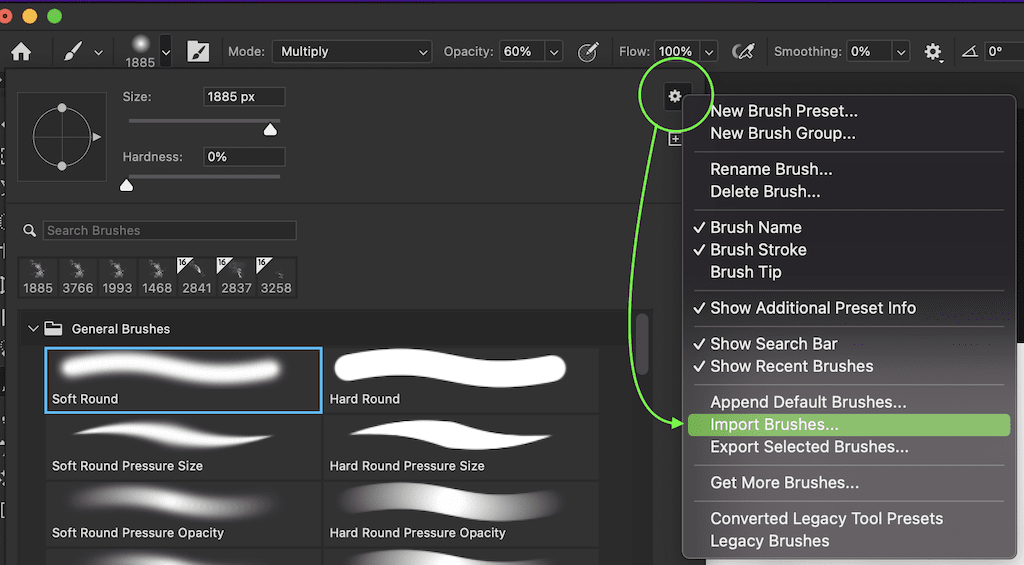
In the window that pops up, click on the Gear Icon and select Import Brushes. Locate the brushes on your device, select them, and click Open.
From here, you can click on the Brush Settings button to find your imported brushes.
Step 2: Set The Foreground Color To White And Add A New Layer
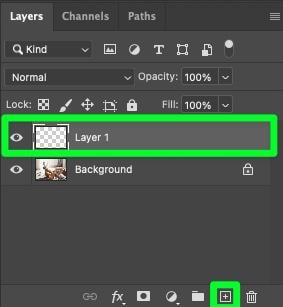
Now that you have access to your Smoke Brushes make sure your Foreground Color is white. Then, add a new layer in the Layers Panel with the Create A New Layer button.
Step 3: Click To Stamp A Brush Stroke Onto The Image
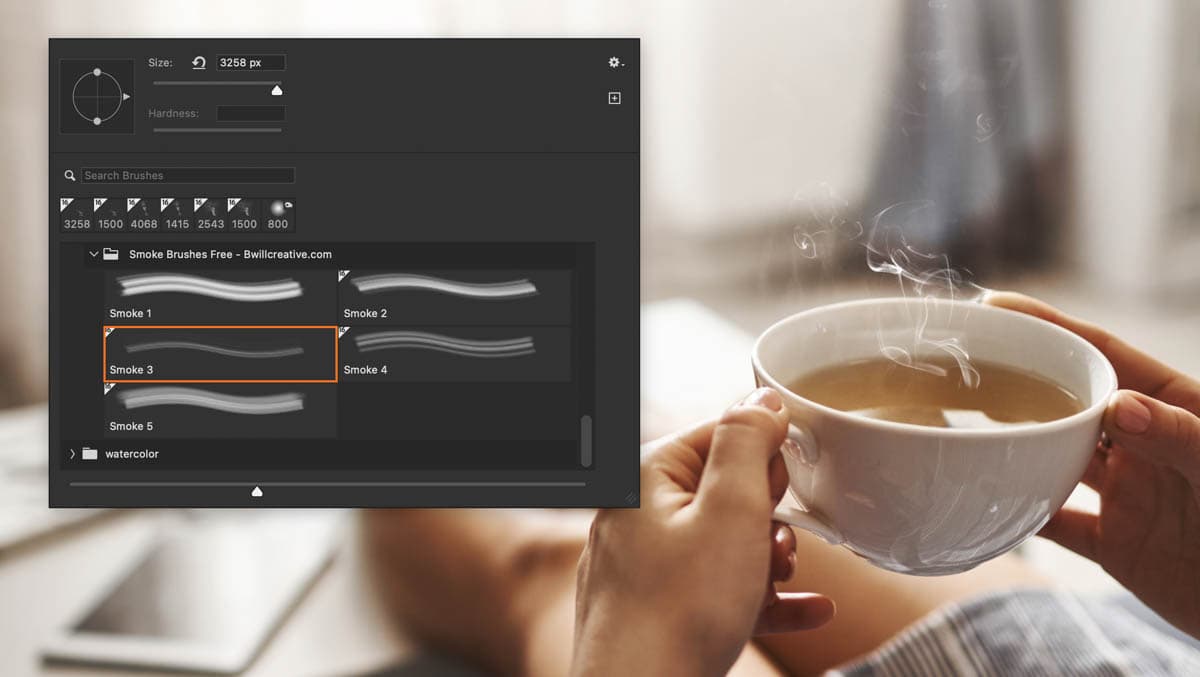
After your new layer is added, use one of your smoke brushes to add the smoke effect. Since these are premade smoke effects, think of them like a stamp rather than a brush. Clicking once over the image to apply the smokey effect.
You can combine multiple brushes are varying opacities to get a variety of unique effects.
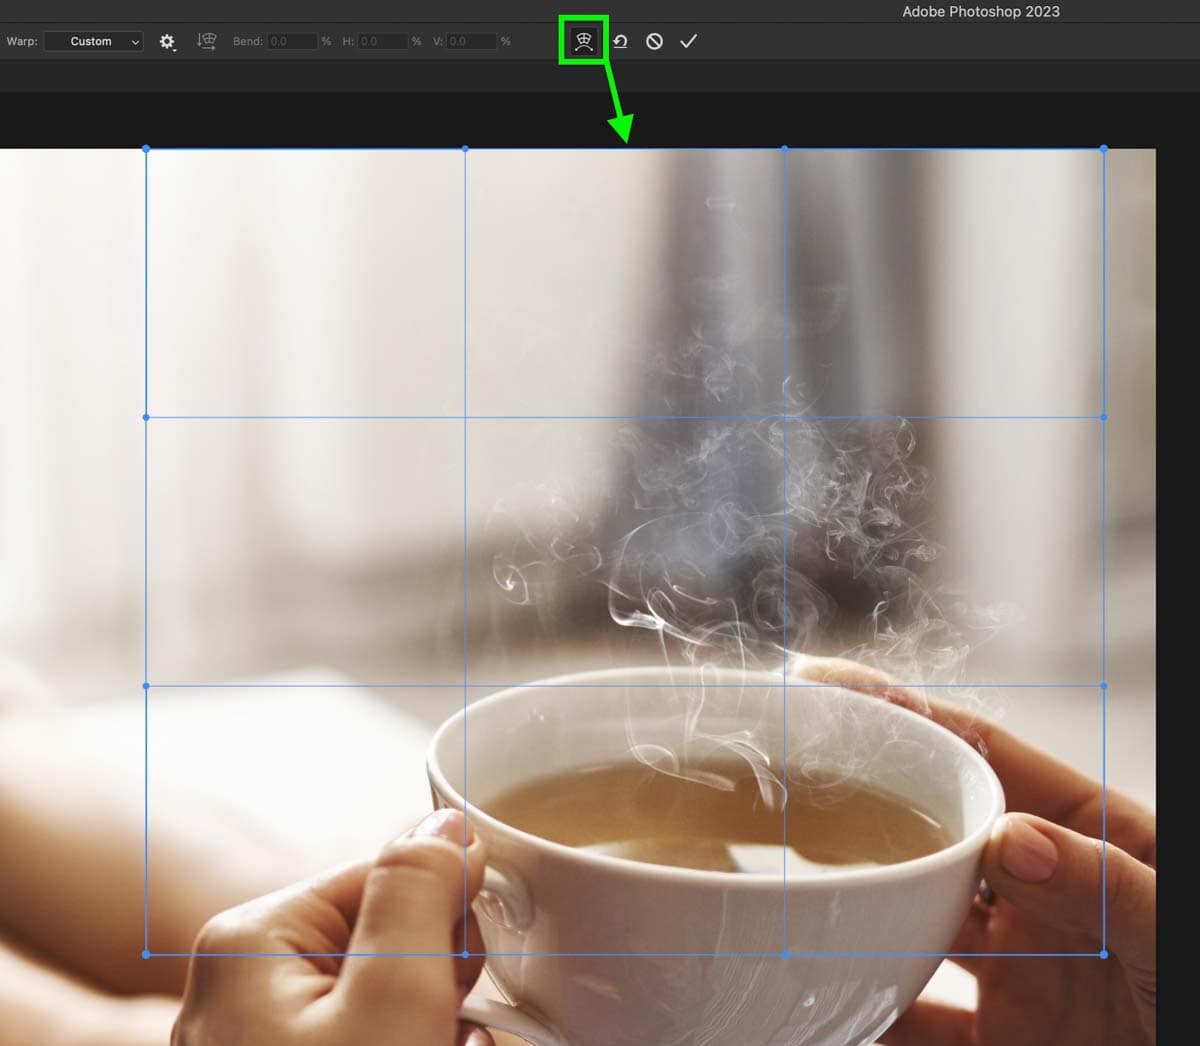
Step 4: Use The Transform Mesh To Form Your Shape (Optional)
If you used multiple layers for the brush strokes, merge the layers. Then open the Transform Tool using Control + T (Win) or Command + T (Mac) and click on the Warp Tool.
You will now have a grid where you can manipulate the shape of your smoke. You can add more squares to your grid in the Options Bar. Use the grid to help shape your smoke form the way you want it.
Step 5: Adjust The Opacity And Fill Of Your Smoke Layer (Optional)
Once your smoke is properly formed, you can adjust the Opacity and Fill with their respective sliders in the Layers Panel. You should now have a realistic-looking form of smoke.


Option 3: How To Create Smoke From Scratch In Photoshop (Advanced)
Step 1: Add A New Layer And Select The Brush Tool (B)
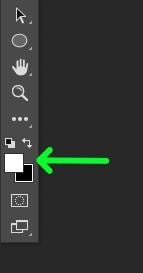
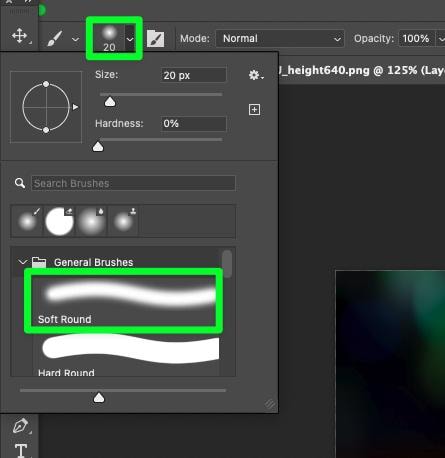
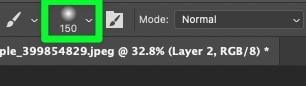
First, add a new layer to your design by clicking the Create A New Layer button in the Layers Panel. Select the Brush Tool (B) in the Toolbar. Then, change your Foreground Color to white. In the Options Bar, click on Brush Preset Picker. In the list of available brushes, choose the Soft Round Brush.

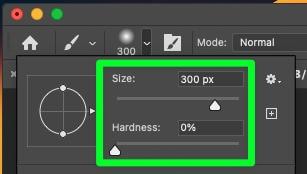
The size of the brush stroke you need depends on the size of your project. The general rule of thumb is that you want your first brush stroke to be a good size, usually between 250 px to 400 px.
As for the rest of the options:
- Keep your Hardness at 0%.
- Keep your Opacity at 100%.
- Set the Flow to 40%.

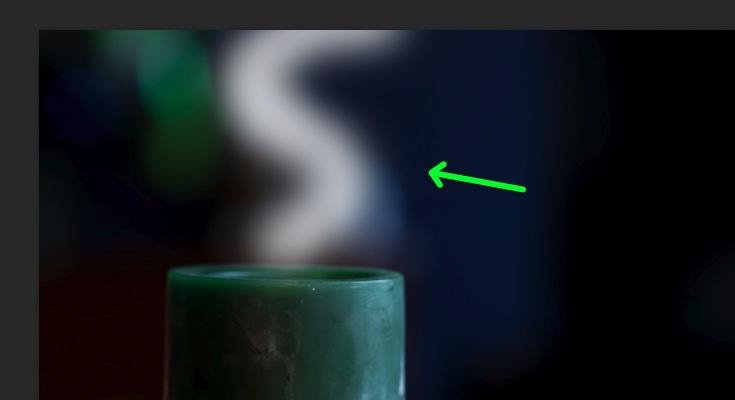
Step 2: Paint An S-Shaped Brush Stroke
The most common way to shape the first brushstroke is in the shape of an S.
Step 3: Add Two More Brush Strokes At Different Sizes
To add dimension to your first brushstroke, you will want to add at least two more brushstrokes. For your second brush stroke, cut the size of your brush in half. You can do this in the Options Bar or by pressing [.
Drag your mouse around the edge of the first stroke. The second brushstroke should appear slightly bolder than the first one.
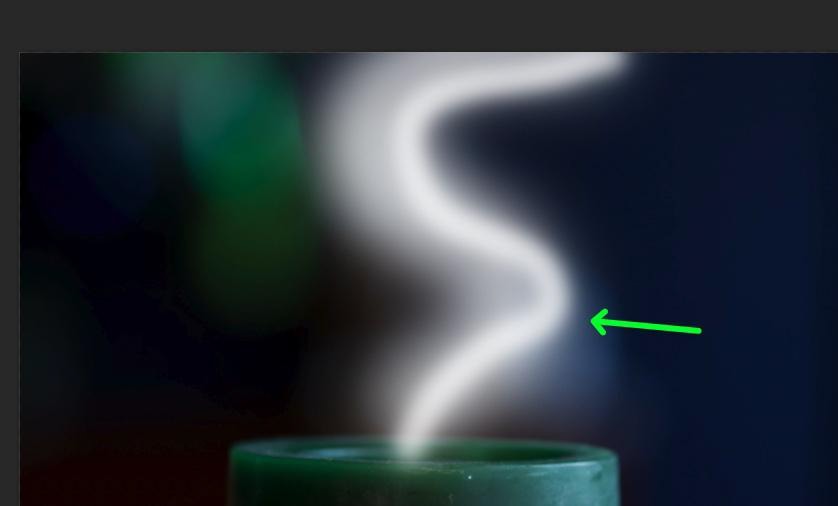
For the third brushstroke, increase the Smoothing to 100%. This will keep your stroke as tight as possible.

Run your third brushstroke around the other edge of your first stroke.
Step 4: Convert Your Brushstrokes To A Smart Object
You must convert your layer into a smart object to properly manipulate your brushstrokes. To do this, select your layer and click on the Hamburger Menu. Select Convert To Smart Object.

Step 5: Go To Filter > Other > Maximum To Add A Filter
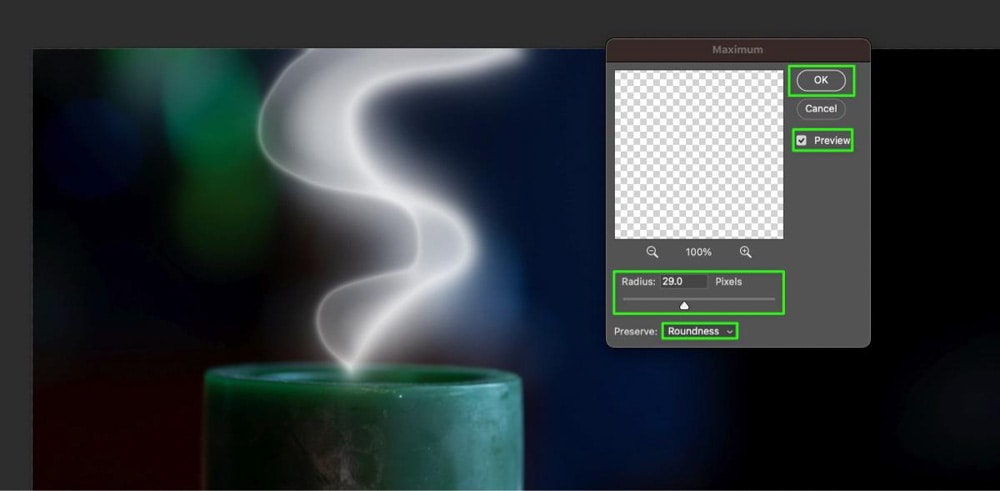
Applying the Maximum filter to your smoke effect will spread out the white areas of your brushstrokes and choke in the black areas. To apply this filter, select your layer, then go to Filter > Other > Maximum.
In the Maximum Properties Panel, ensure Preview is checked and that Preserve is set to Roundness. You can use the Radius slider to adjust the effect to what looks best. Click OK when ready.
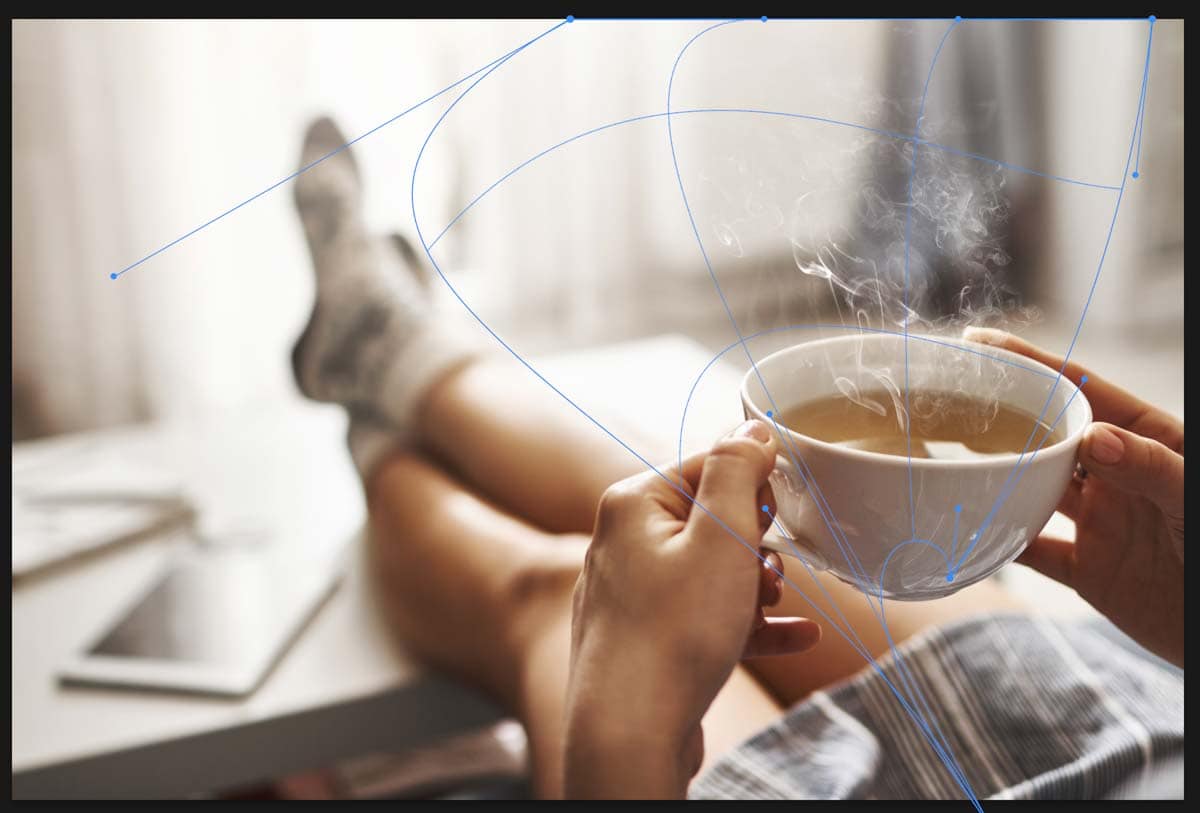
Step 6: Adjust Your Smoke Effect With A Transform Mesh
Before using the Transform Mesh, you need to ensure your layer is in Free Transform mode. Go to Edit > Free Transform, or press Control + T (Win) or Command + T (Mac).
Once your layer is in Free Transform mode, click on the Warp Tool button in the Options Bar.
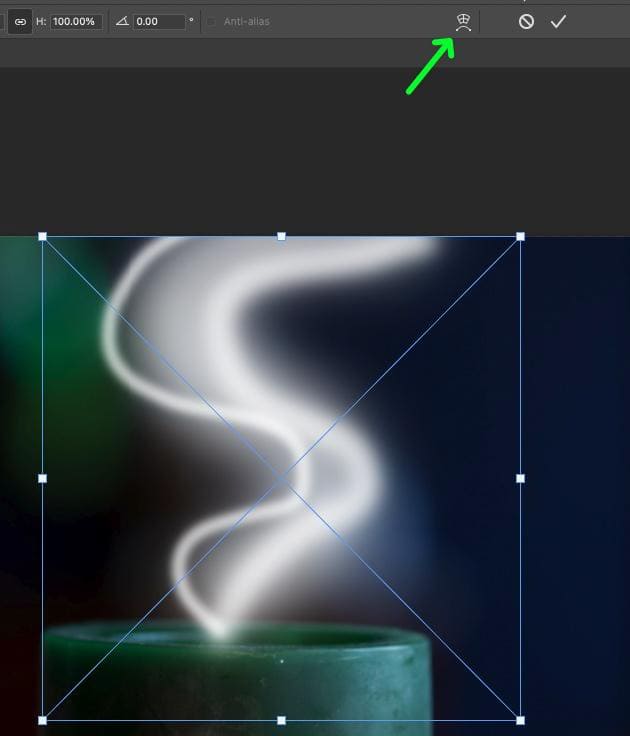
You can adjust your smoke effect by manipulating the mesh’s lines, anchor points, and intersections.

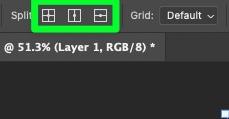
If you need to, add more lines to your mesh with the Split options in the Options Bar.
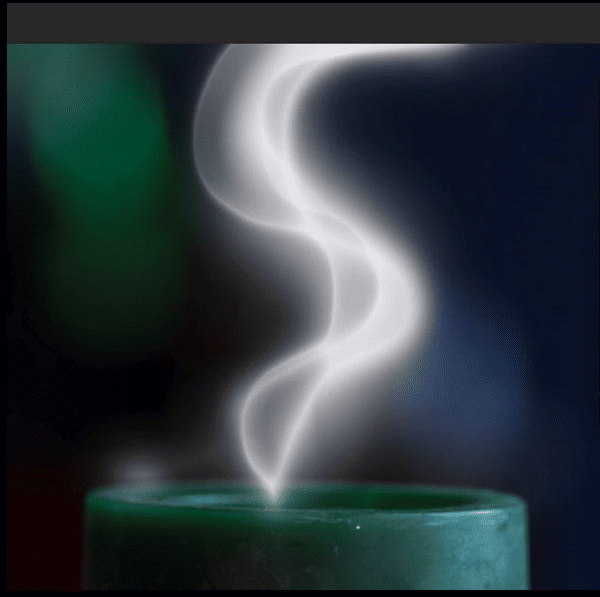
Take the time to adjust your smoke effect with the mesh so that it forms contours the way you need it to. Once you’re done forming your smoke effect, press Enter to accept the changes.

Step 7: Add Another Base Brush Stroke
To give this effect more dimension, you need to do everything you just did a second time, forming a second smoke effect near the first. Repeat steps 2 to 6 to create a second layer of smoke for a bolder effect.
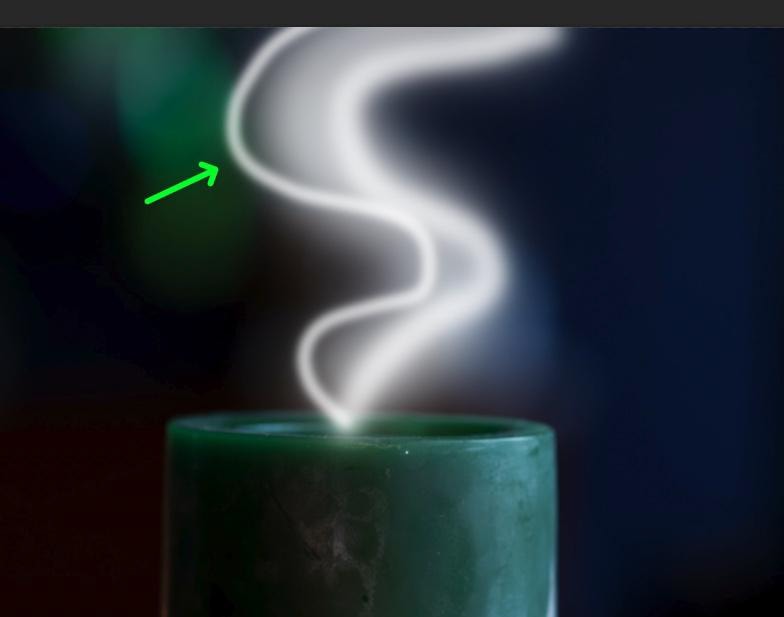
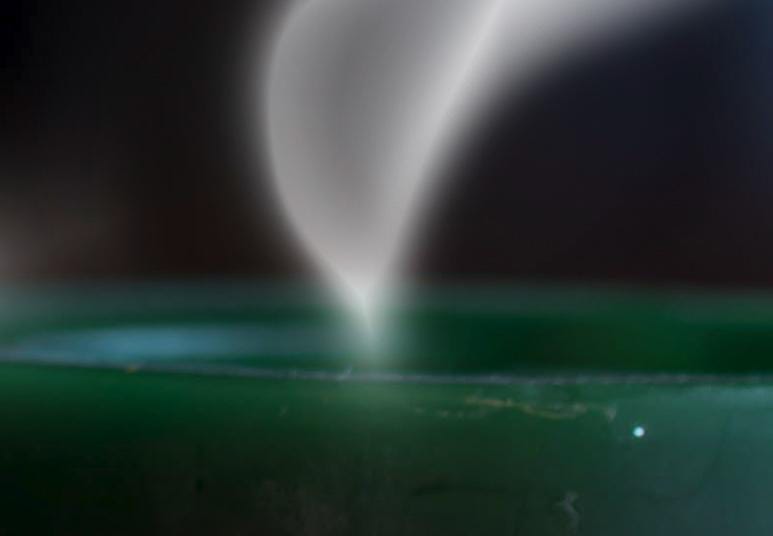
Step 8: Mask The End To Taper The Effect
To make your smoke effect look more realistic, you can taper it so it looks like smoke is coming from a center point.
First, select your first layer, then click the Mask button to add a mask to the layer. You will see this reflected in the Layers Panel. Make sure the mask itself is selected.
Then, change your Foreground Color to black. Now, the areas you brush over will conceal the pixels on this layer. With the Brush Tool (B), brush each side of the end of your smoke effect until you form a more tapered shape.
Step 9: Paint A Dot As Background Smoke
To add even more realism to your effect, you can add a little background smoke. To start, add a new layer with the Add New Layer button.
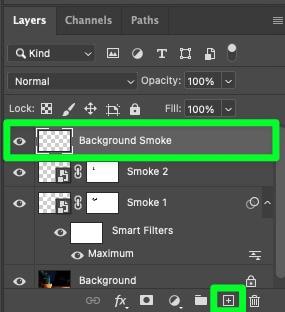
Make sure your Foreground Color is white. With your Brush Tool (B) selected, hold the ] key to make the size of your brush more than double the size of your smoke effect.
Click once on your smoke effect to leave a big white dot on your smoke effect.
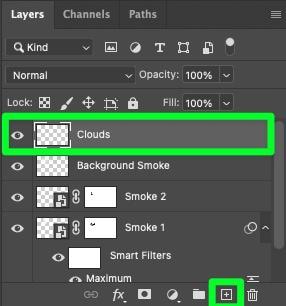
Step 10: Add A Clouds Filter
Add one final layer to the Layers Panel.
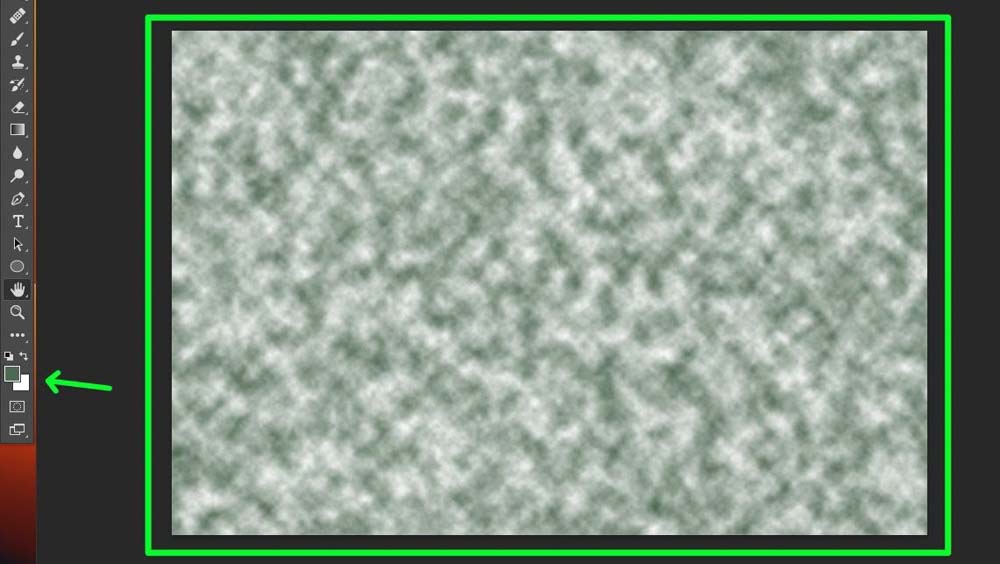
Make sure your Background Color is white. Then, double-click the Foreground Color to open the Color Picker Properties Panel.
If you move your mouse outside the Color Picker, your mouse will turn into an Eyedropper Tool. Choose a color that best represents the background by clicking on a good base color.

Once your Foreground and Background are set, go to Filter > Render > Clouds. This will fill the screen with computer-generated clouds using a combination of your background and foreground colors.
Step 11: Clip The Clouds Layer To The Placeholder Layer
To do this, right-click the clouds layer, choose Create Clipping Mask from the list, or press Alt + Control + G (Win) or Option + Command + G (Mac). You will know if this worked if you see an arrow on the cloud layer pointing down.
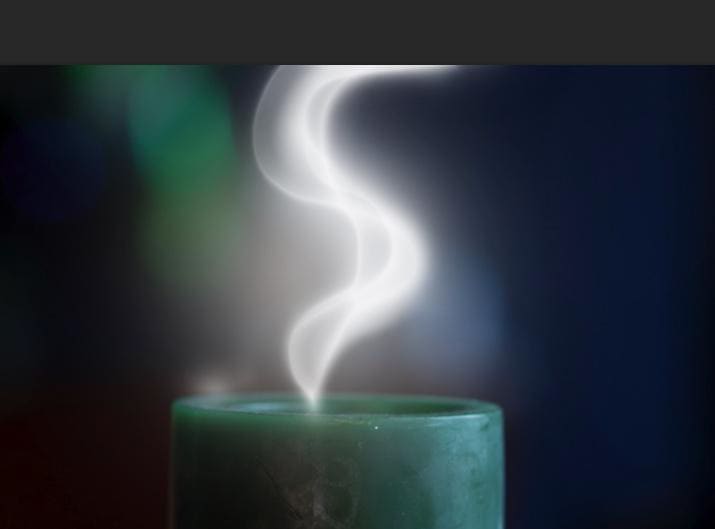
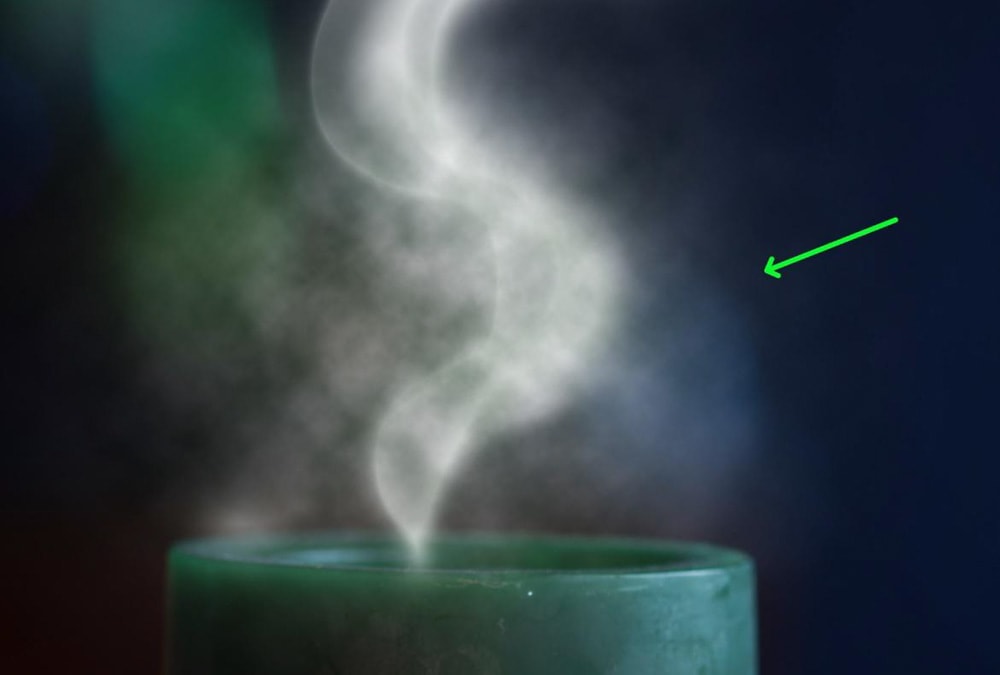
Your cloud layer should now be contained within the white dot, giving an almost mist-like feel.
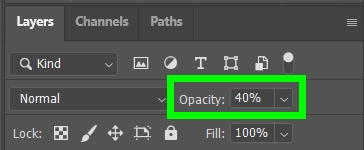
Step 12: Adjust The Opacity, Fill, And Position (Optional)
If you need to, you can adjust the Opacity of the effect by selecting the background smoke layer and adjusting the Opacity slider.
If you need to move the entire smoke effect, select all your layers except your background and then right-click them. Select Merge Layers. You can now select that merged layer and drag it to where you need it.

The last way to polish your smoke effect is to bring down the fill of the layer. To do this, select your layer, then adjust the Fill to what looks the best for you.

You now have a complete, realistic smoke effect.