
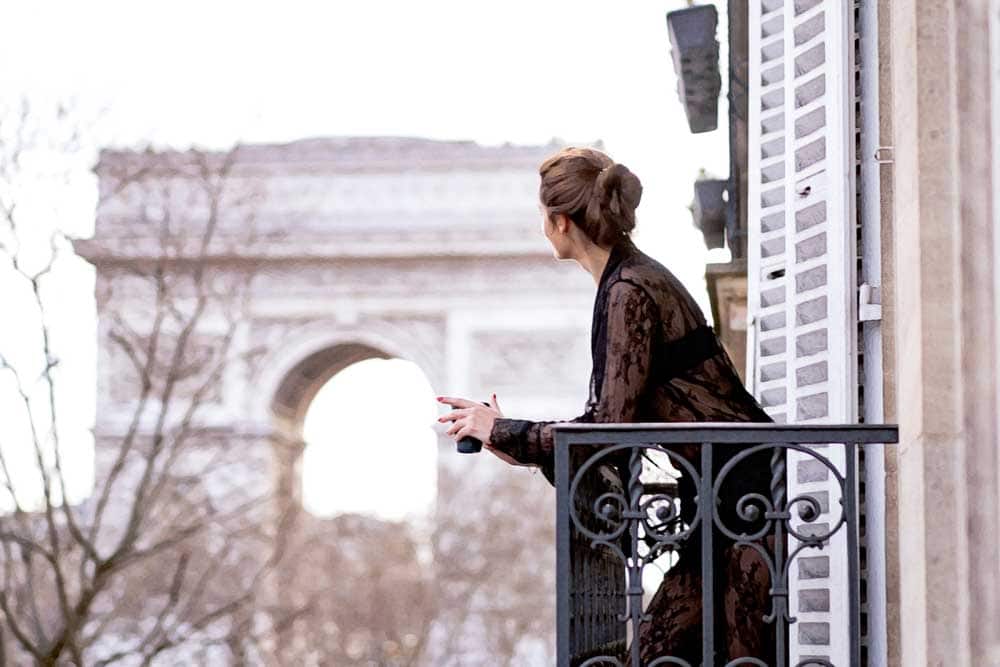
The effects you can make on images in Photoshop are pretty much limitless. One beautiful edit you can easily create in Photoshop is a watercolor style. Creating a watercolor effect in Photoshop is easy, using a few filters and blending them correctly, then adding some finishing touches.
How To Create A Watercolor Effect In Photoshop
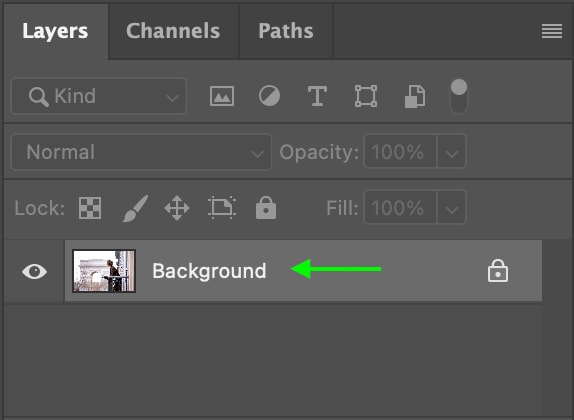
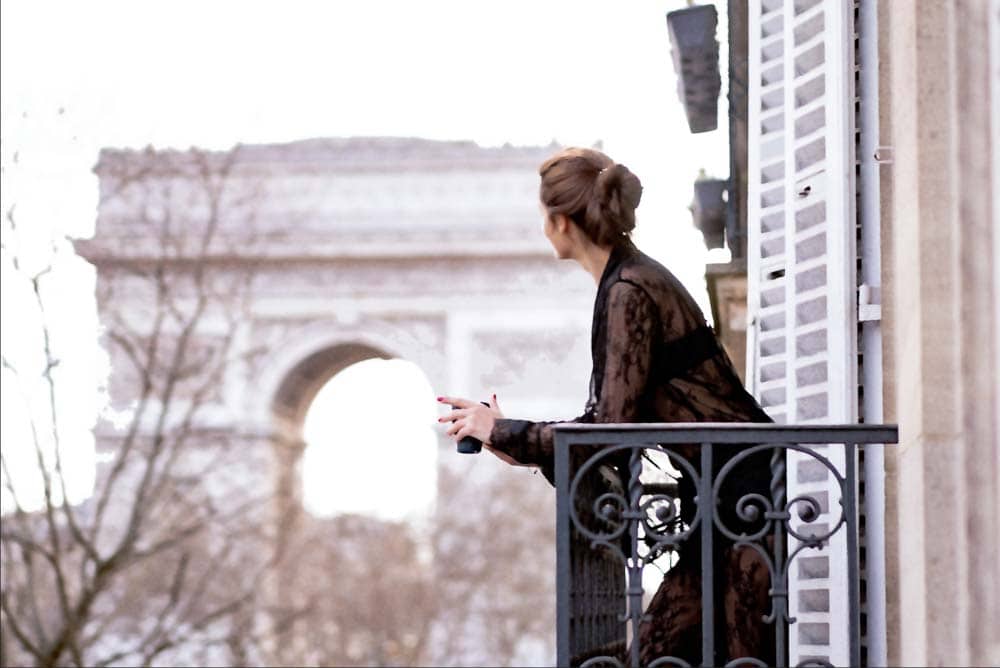
Step 1: Open Your Image
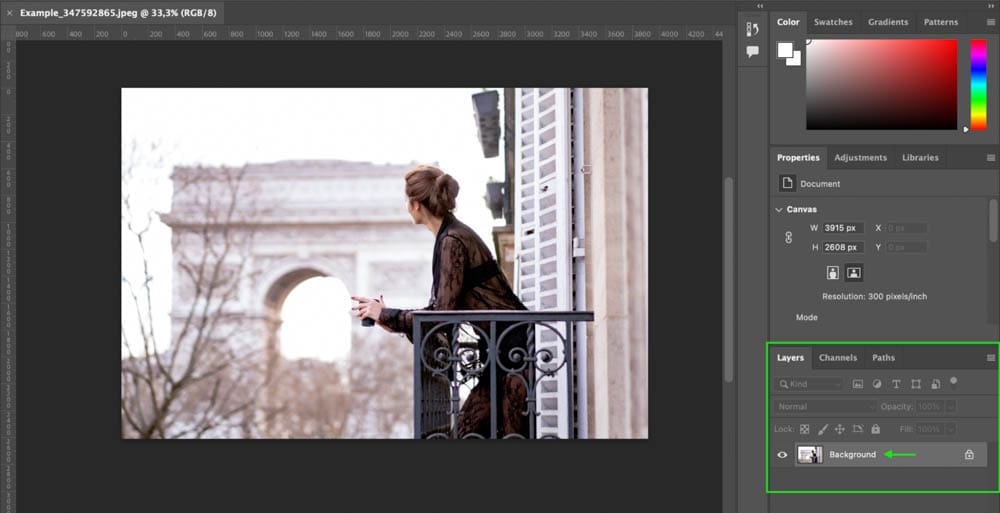
First, open your image in Photoshop by clicking the Open button on the start screen or by heading to File > Open.

In the Layers Panel, you’ll see the image as a Background Layer.
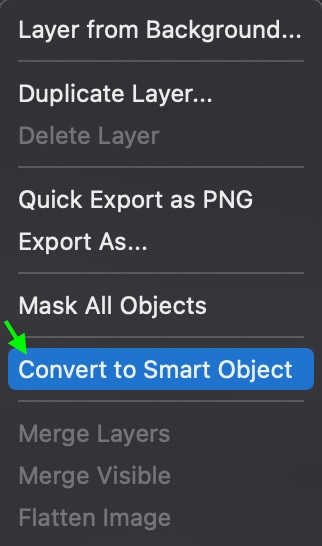
Step 2: Convert The Layer To A Smart Object
Next, you’ll want to convert the image layer to a smart object. This ensures you’ll work non-destructively, so any edits you make can easily be changed or undone.
To convert an image to a smart object, right-click or Control + click the layer in the Layers Panel and select Convert to Smart Object.
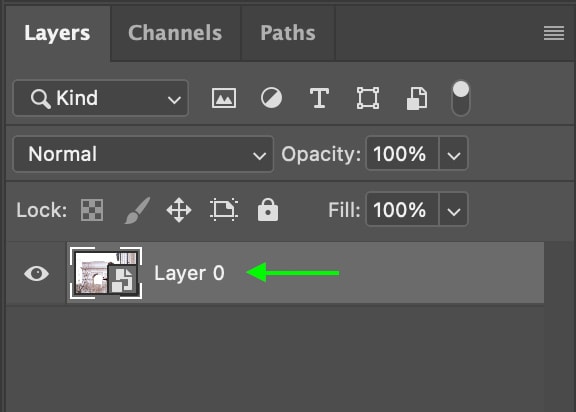
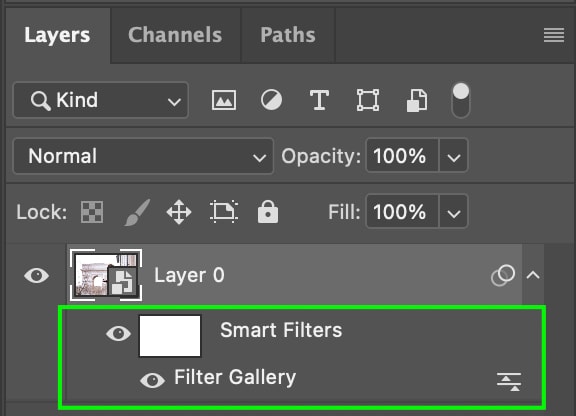
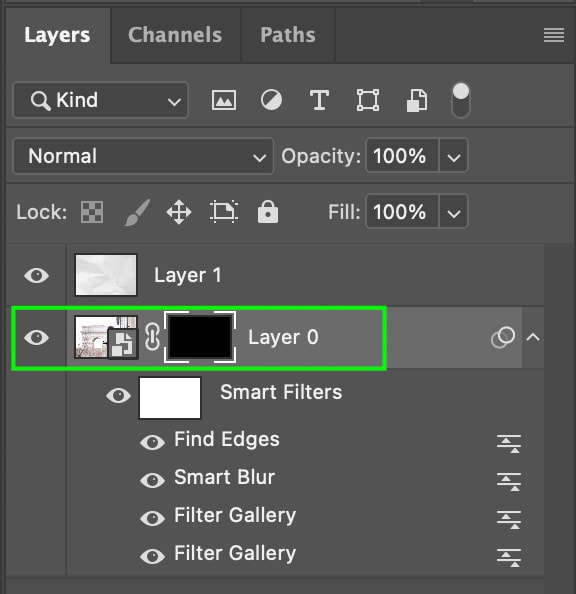
You’ll see the layer change to Layer 0 in the Layers Panel. This means the image is now a Smart Object, so all edits you make from here can be altered and won’t be written into the picture permanently.
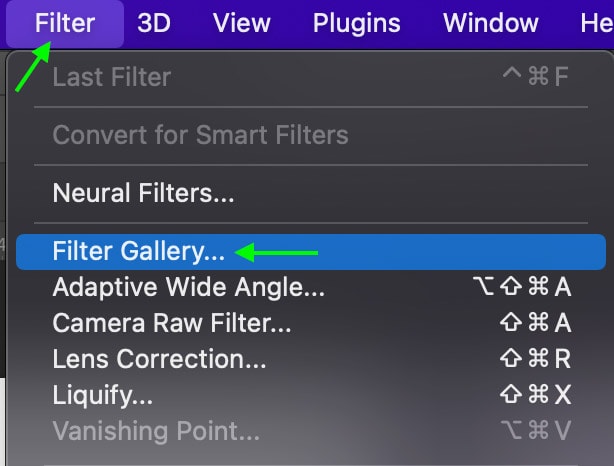
Step 3: Apply The Dry Brush Filter
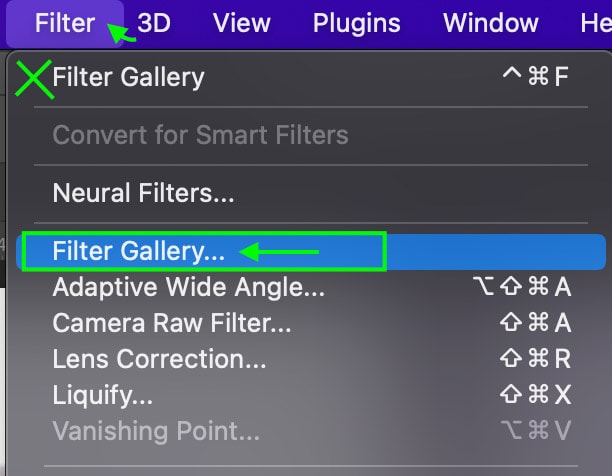
First, we’ll apply a filter to help us achieve the watercolor look. To find the filters, head to Filter > Filter Gallery.
You’ll see a window come up with the filter gallery open. You’ll see a series of folders to the right with different filters.
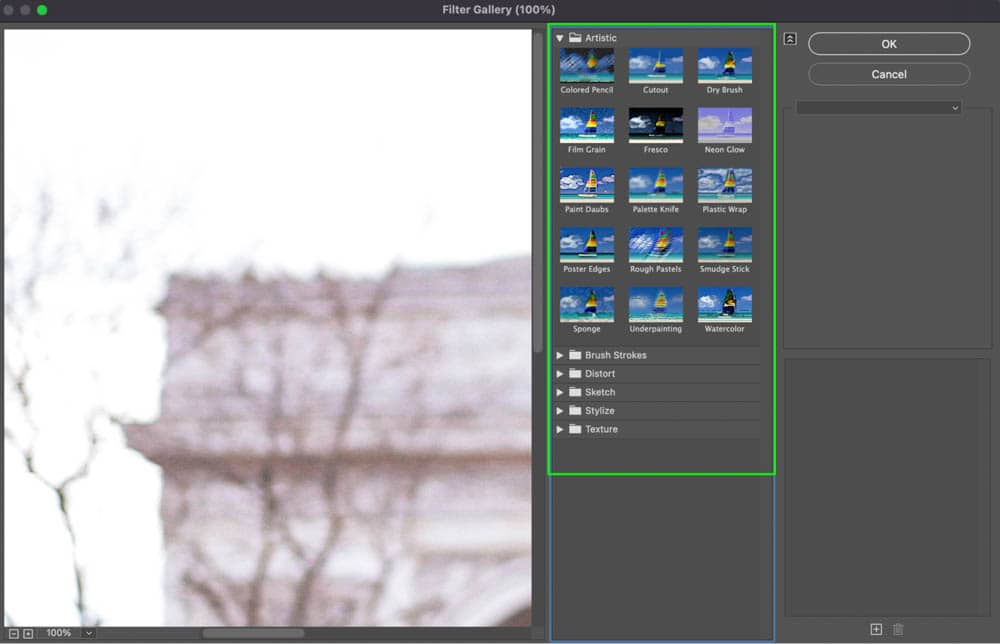
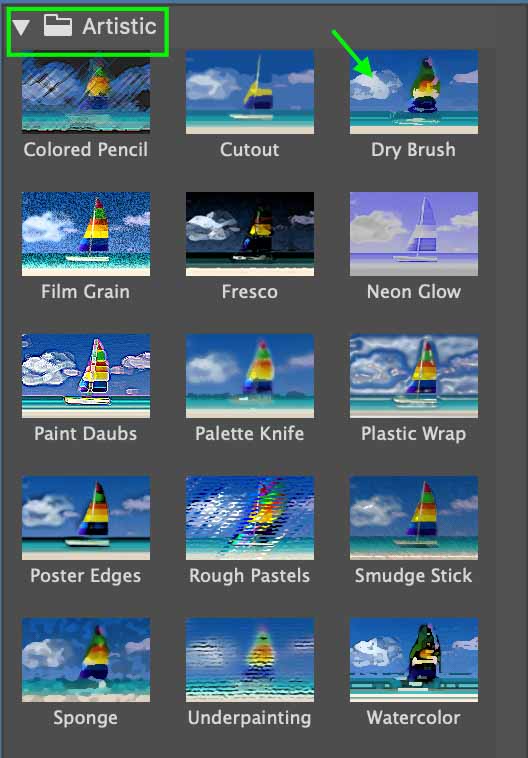
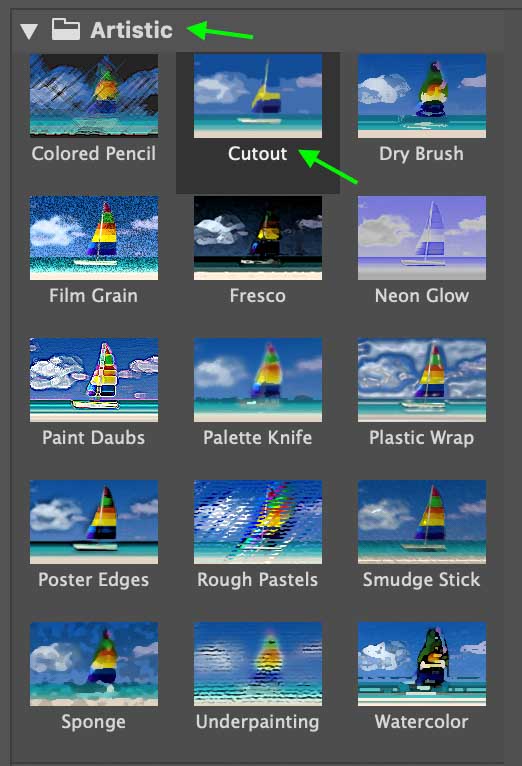
To find the filter we need, head to the Artistic category and click to open the folder. Find the Dry Brush filter and click to apply it to your image.
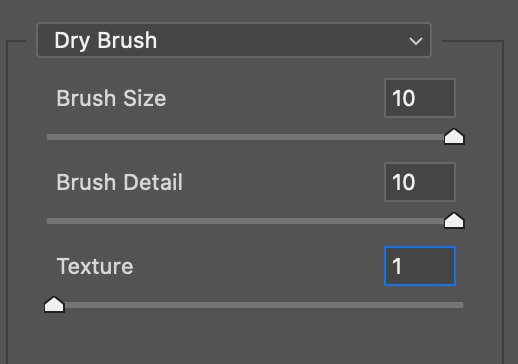
Step 4: Adjust The Filter Settings
Once you’ve applied the brush, you’ll see a few settings appear in the window; these control the brush size, brush detail, and texture.
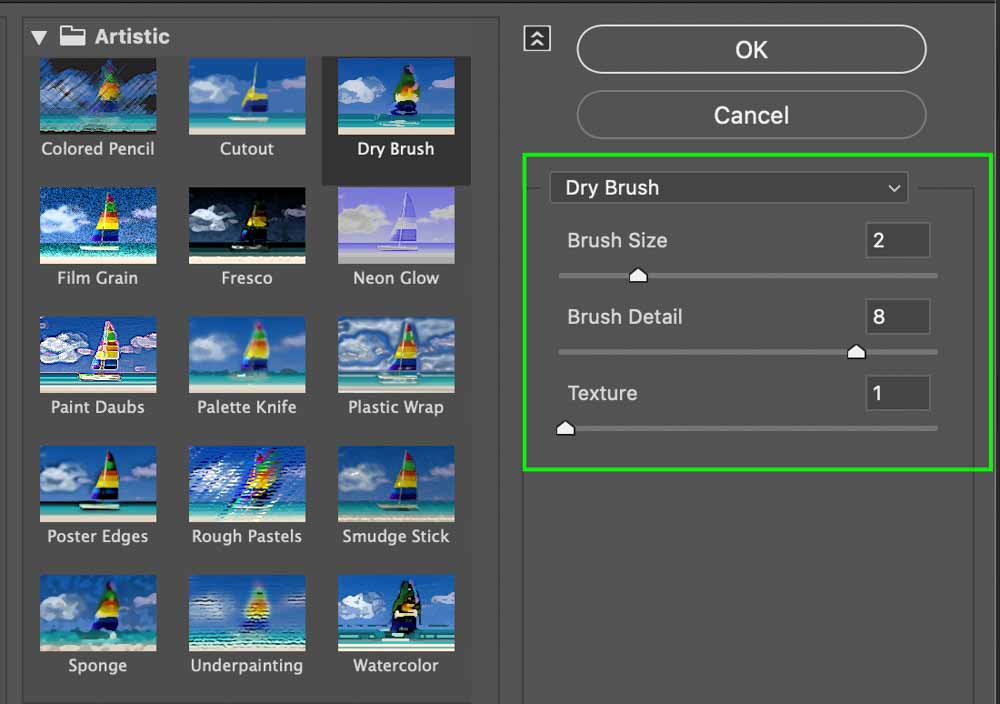
In general, setting the Brush Size to 10, the Brush Detail to 10, and the Texture to 1 results in the most watercolor-like appearance, though different images may benefit from slightly different settings. Click OK at the bottom right when you’re done.
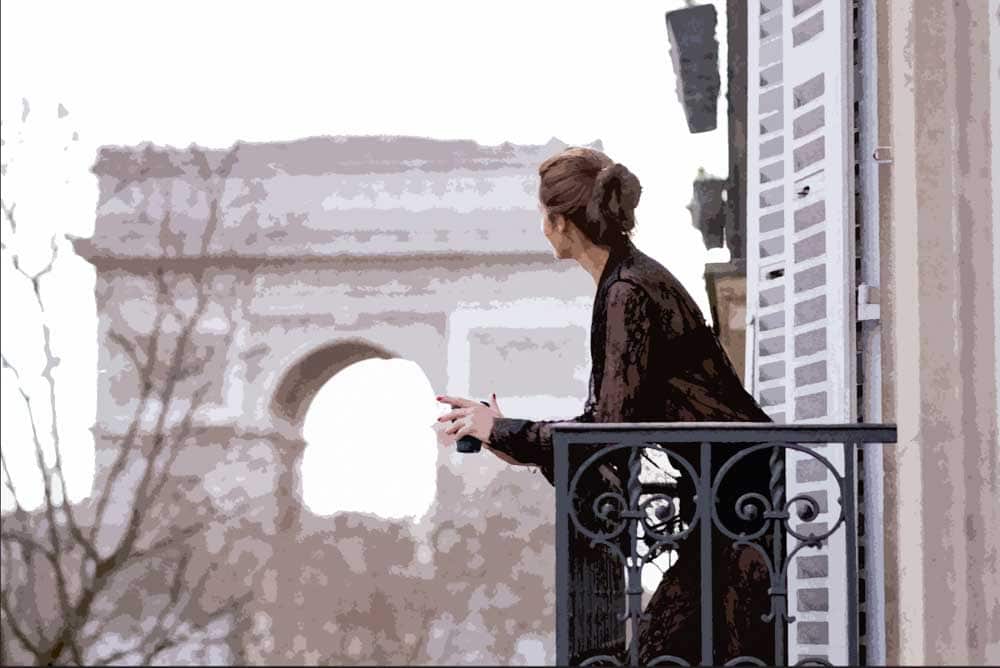
As you can see in the example below, we don’t quite have a complete watercolor picture yet, but the image is starting to look like it was made with dry brush strokes.
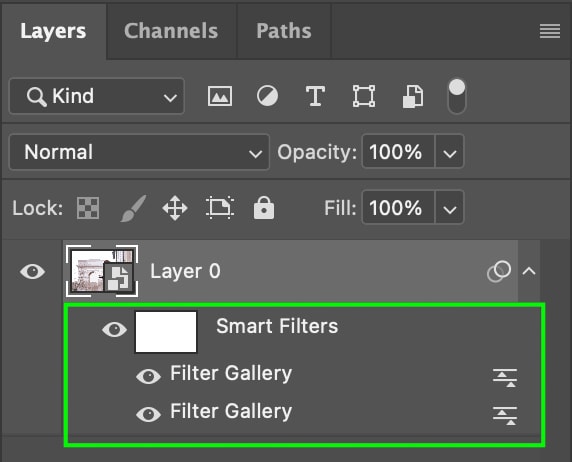
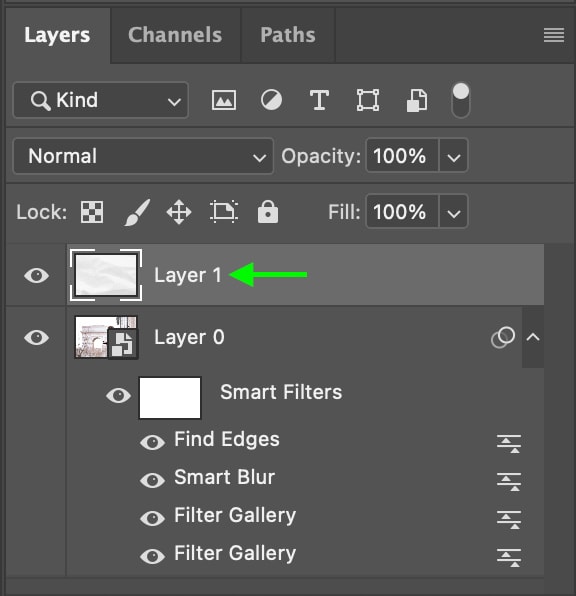
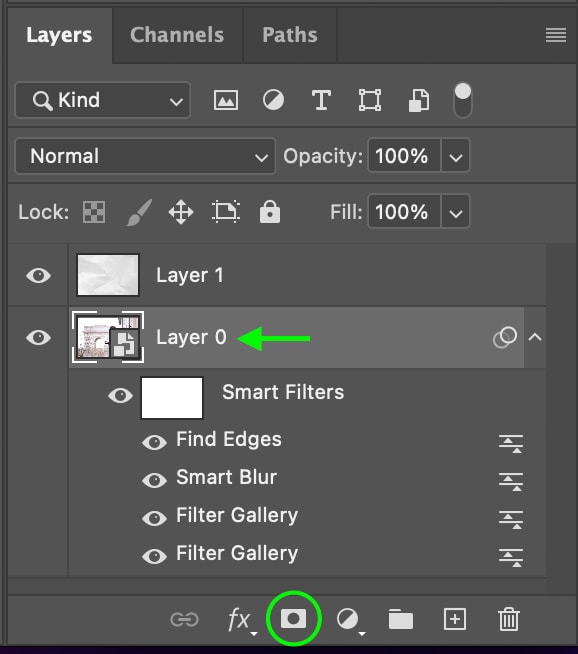
In the Layers Panel, you’ll see the image now has Smart Filters beneath it, with the first filter you’ve applied noted as Filter Gallery.
Step 5: Apply The Cutout Filter
Now, we’ll layer on another filter. Head to Filter > Filter Gallery, but don’t click the Filter Gallery at the top of the menu, as this will apply the previous filter again! Instead, click the Filter Gallery option a bit farther down.
Now, in the Artistic section, select the Cutout option.
Each image will benefit best from slightly different settings. In general, you want to keep the Levels high, the Edge Simplicity low, and the Edge Fidelity low to maintain the most detail in the image. If you already have a lot of detail in your image, you can increase the Levels and Edge Simplicity slightly.
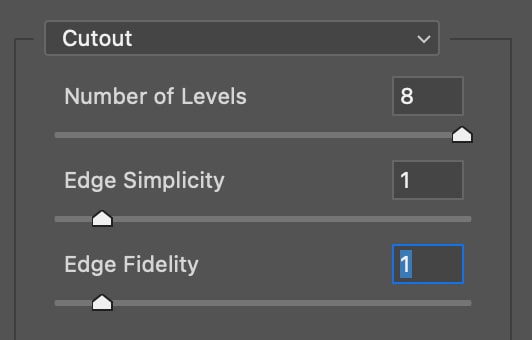
The Cutout filter may make the image appear more abstract, so we’ll go in and adjust the blending mode next so that the filter is only applied lightly.
Step 6: Set The Blending Mode
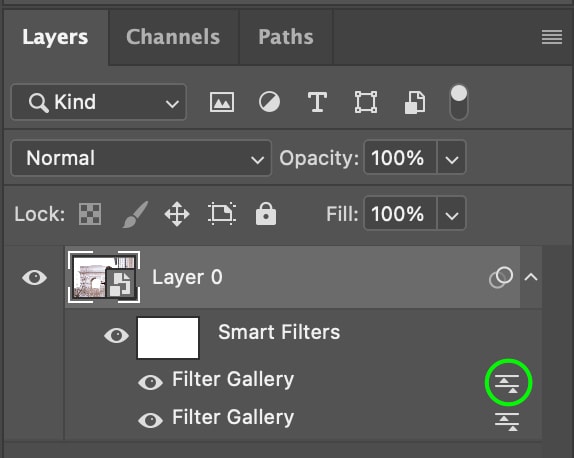
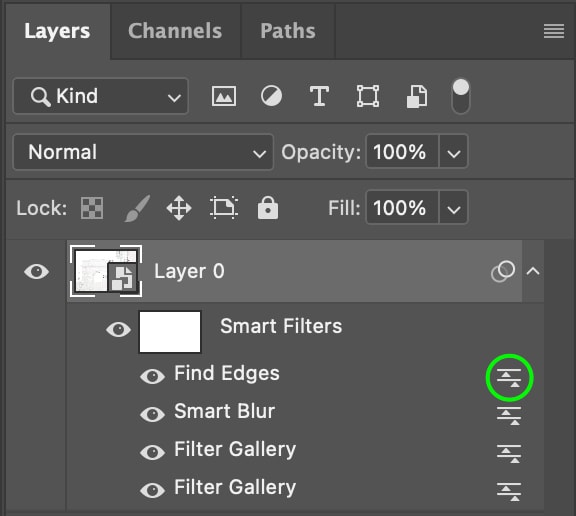
Once you’ve added the Cutout filter, you’ll want to make further adjustments to the filter’s appearance by heading to the Layers Panel. Under the image layer (which reads Layer 0 in the Layers Panel), you’ll see the two filters you’ve added from the Filter Gallery.
Double-click the icon all the way to the right on the first Filter Gallery option.
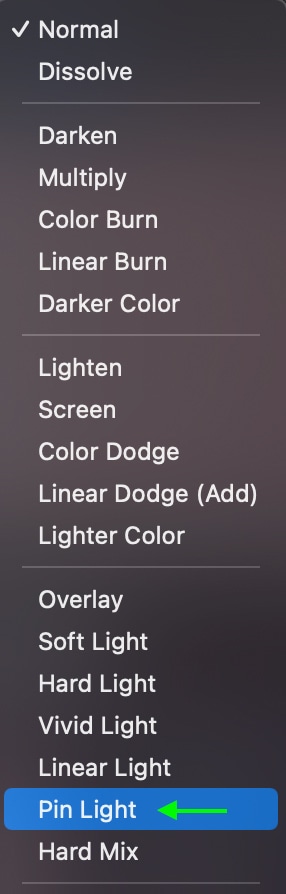
The Blending Options window will appear. Click the drop-down menu next to Mode and select Pin Light as the blending mode.
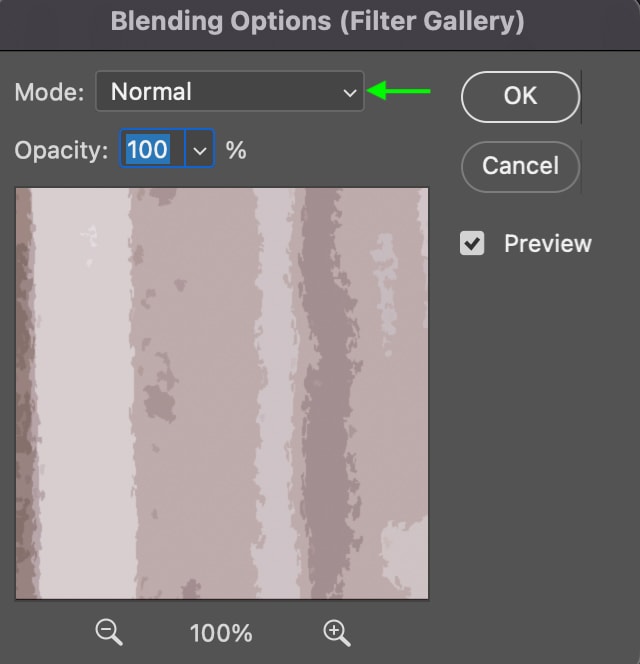
Click OK when you’re finished. This will change the filter slightly to allow more details to come through and blend better with the first filter, which provides much of the paintbrush look.

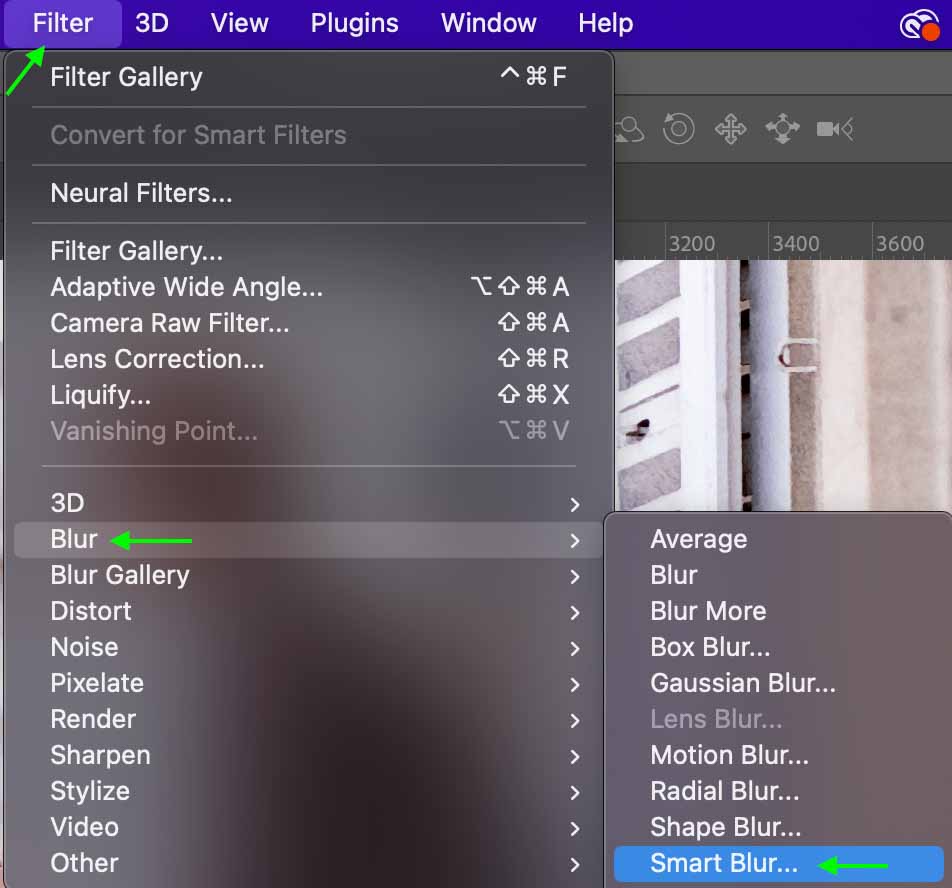
Step 7: Add A Smart Blur Filter
Next, we will add a particular type of blur to the image. Head to Filter > Blur > Smart Blur.
You’ll see the Smart Blur window appear with a few settings you can adjust for the smart blur filter. Set the Radius to 5, the Threshold to 100, and the Quality to High.
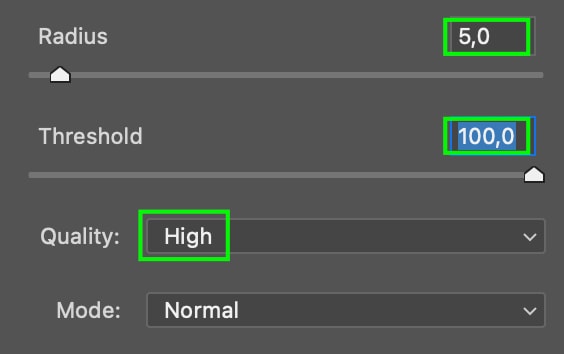
After a moment, the changes will appear on your document, slightly blurring the image so that it appears less like a photograph.
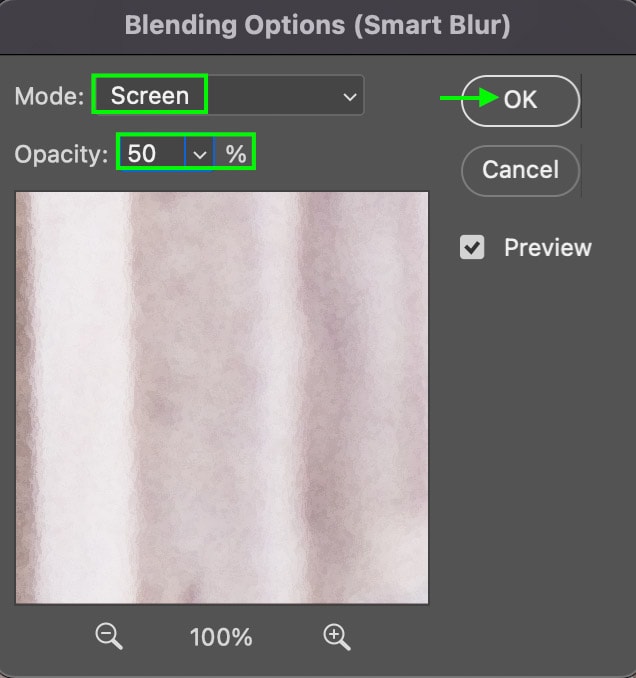
Step 8: Set The Blending Mode
Once again, head to the Layers Panel and double-click the icon to the right of the Smart Blur filter.

In the Blending Options dialogue box, set the Mode to Screen and the Opacity to 50. Click OK.
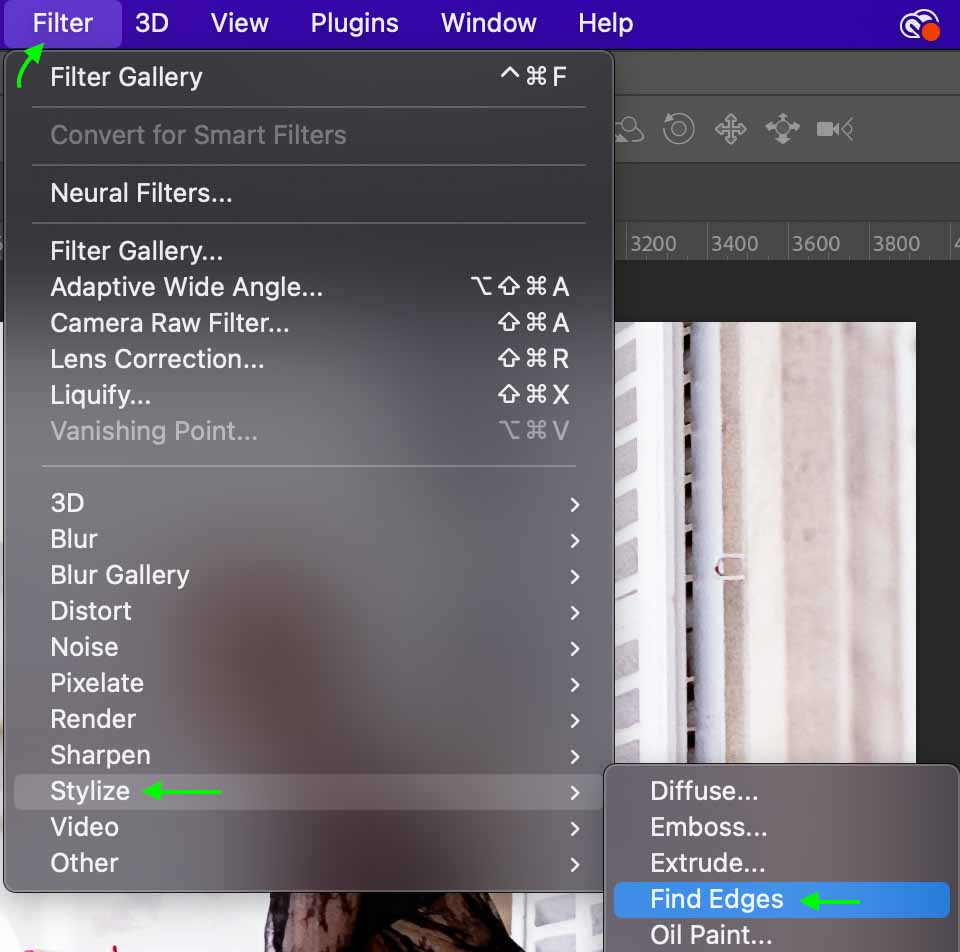
Step 9: Apply The Find Edges Filter
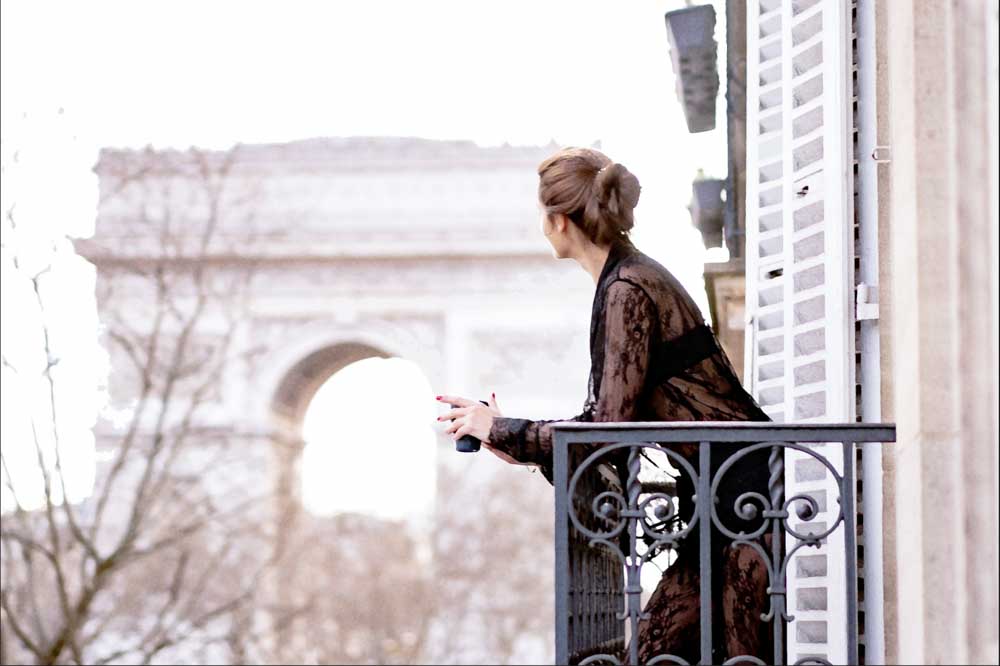
Next, we’ll apply one more filter that will help achieve the watercolor painting effect. Head to Filter > Stylize > Find Edges
You’ll see the image changes to a sketched appearance, with all the edges outlined.
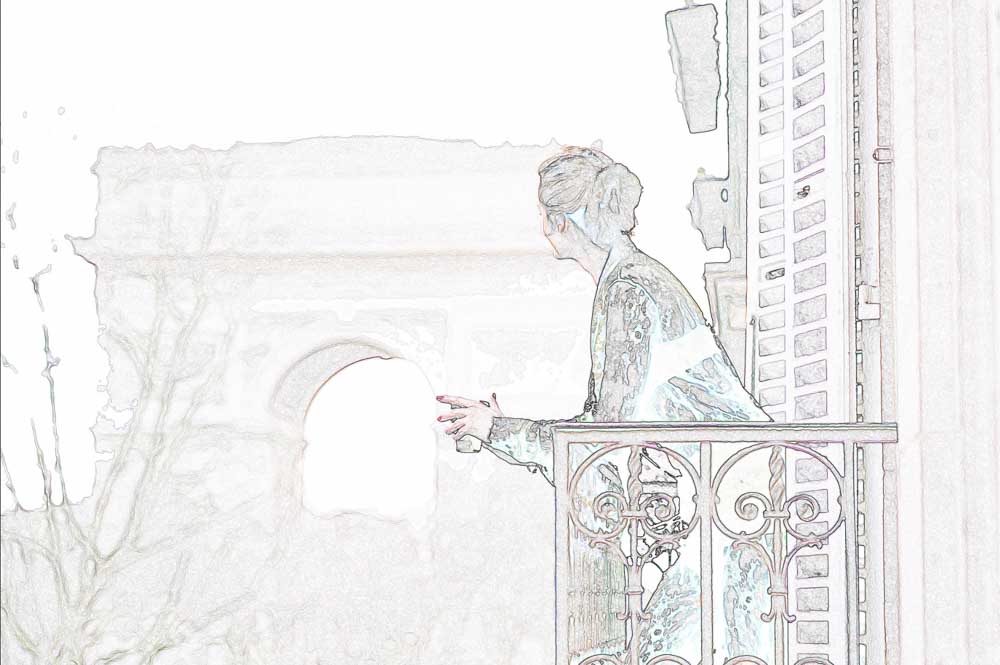
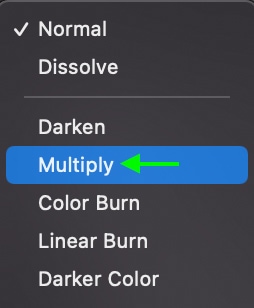
Don’t worry, it won’t stay this way! In the Layers Panel, click the icon to the right of the Find Edges filter.
In the dialogue box, set the Blending Mode to Multiply and keep the Opacity at 100.
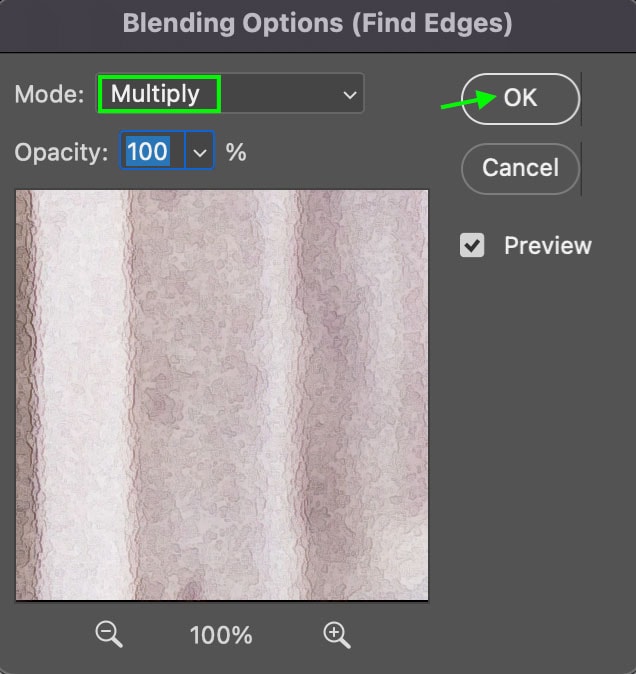
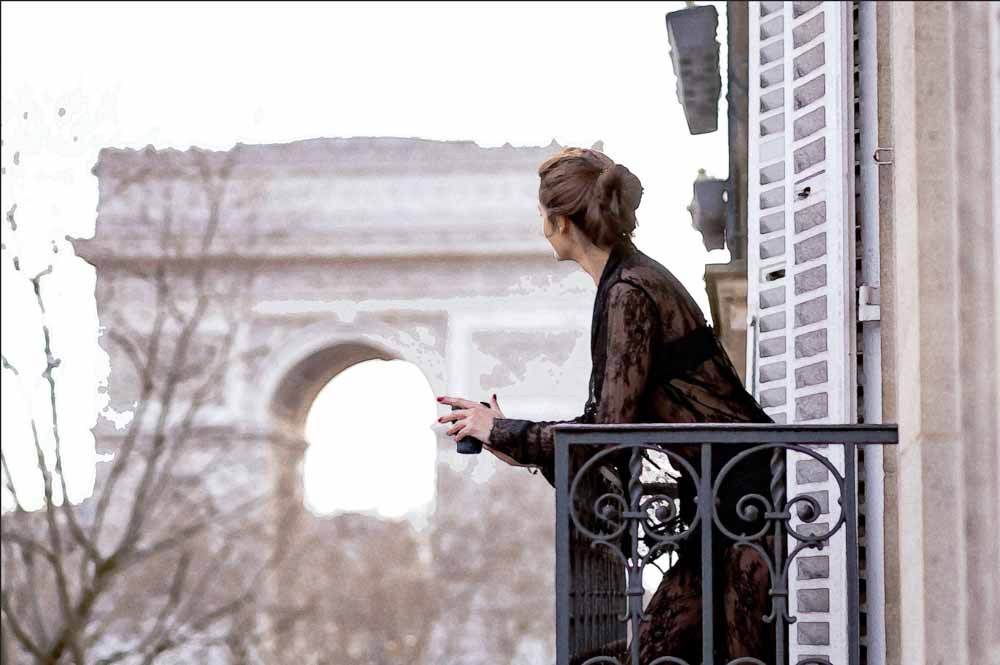
This will bring out the photos’ edges while maintaining the painted appearance from the other filters. As you can see, the effect is starting to resemble a watercolor painting.
Step 10: Find And Download A Paper Texture
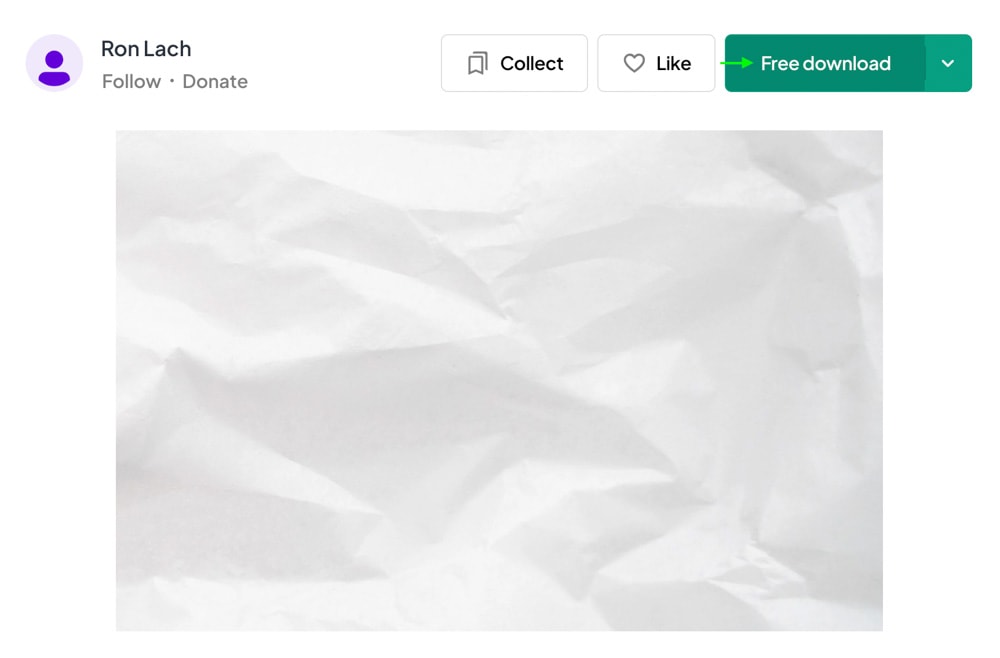
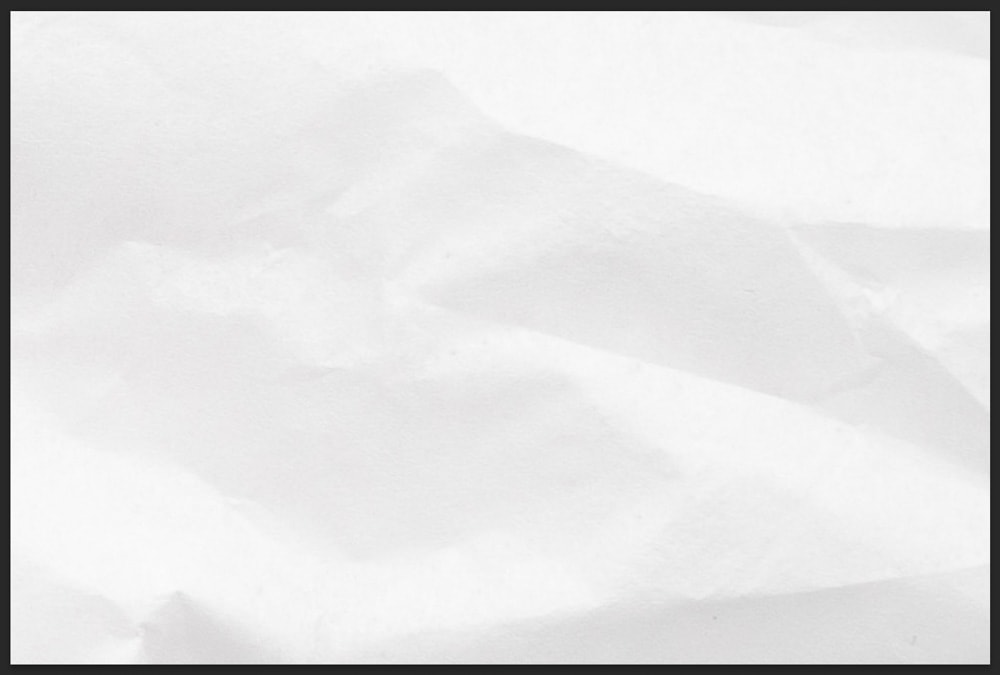
Now that the image itself has been transformed into a watercolor painting, we can add a paper texture to the canvas behind the photo to make it look even more realistic. You can find a paper texture by searching paper texture or paper background on Pexels.

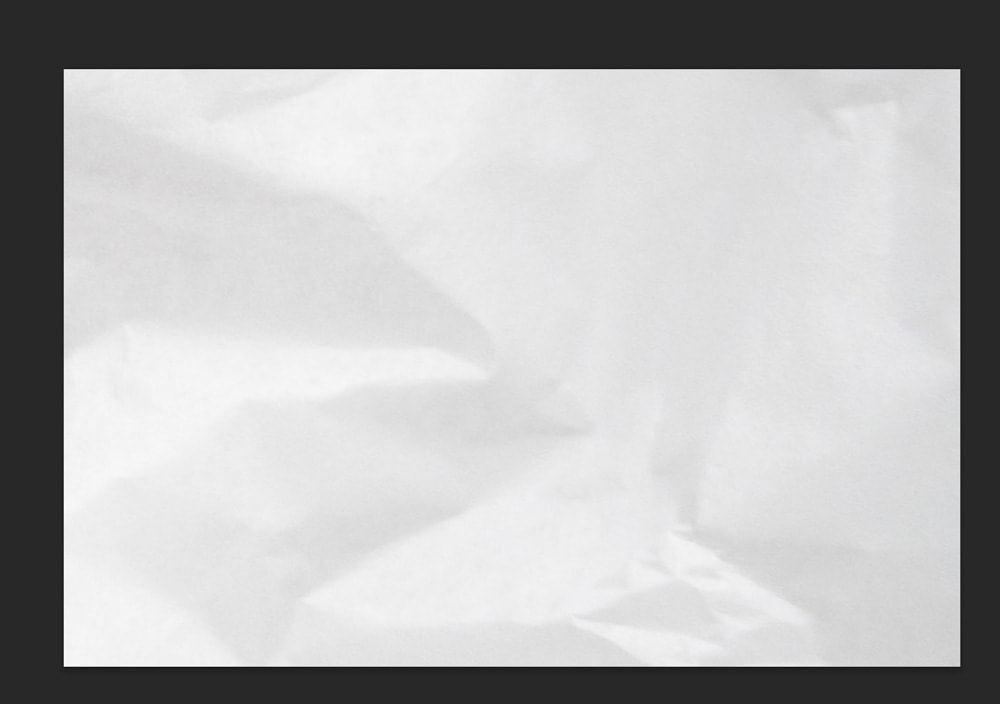
For instance, I found this Wrinkly White paper texture below. Once you’ve found a texture, click Download to save it to your files.
Step 11: Add The Paper Texture To Your Image
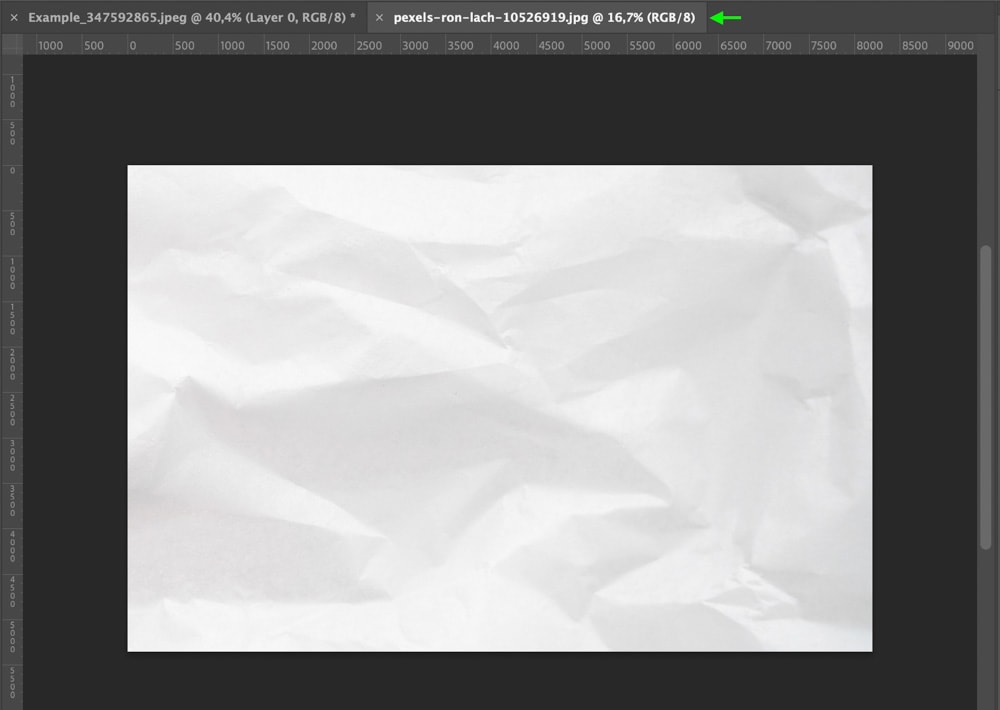
Now that you’ve got a paper texture file saved on your computer, you can open it in Photoshop and place it behind the image. To do this, head to File > Open and select the paper texture from your files.
It will open in a new tab in Photoshop, while your photo will remain in the first tab.
Now, head to Select > All or press the Control + A (Win) or Command + A (Mac) keys.

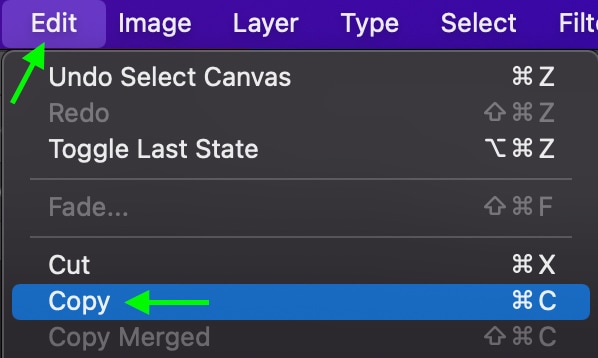
Then, go to Edit > Copy to copy the texture, or use the shortcut Control + C (Win) or Command + C (Mac).
Now, head back to the first tab with the watercolor photo.
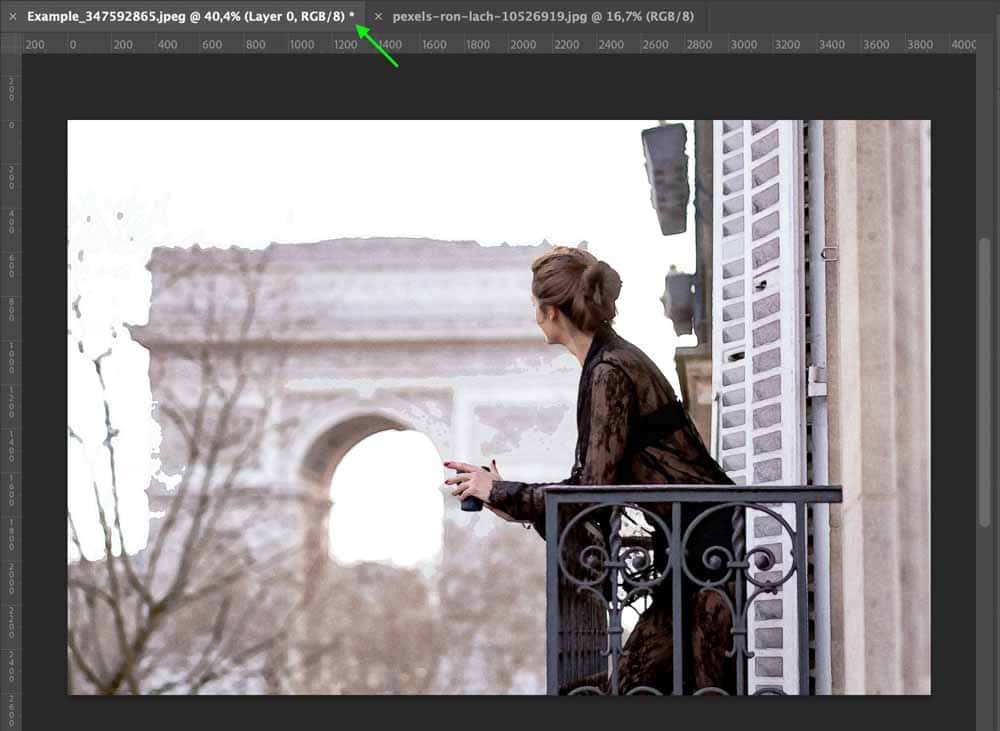
Click Edit > Paste to paste the texture on your photo.
The texture will appear on top of the photo. In the Layers Panel, it will exist as a new layer. Use the shortcut Control + T (Win) or Command + T (Mac) to show the toggles which allow you to rotate and scale the paper.

Click and drag the toggles until the paper image sits on top of your original image, covering it completely.
Step 12: Set The Blending Mode To Multiply
In the Layers Panel, click the paper texture layer.
At the top of the Layers Panel, you’ll see the dropdown box where you can set the Blending Mode. Click and select Multiply.
This will allow the image to come through the paper texture.

Step 13: Find And Add A Watercolor Brush Set To Photoshop
Finally, we can add a few finishing touches using a watercolor brush pack. You can find these packs for free and paid online, though the easiest way to get new brushes is to use the Get More Brushes link from within Photoshop.
To locate the link, click the Brush Tool (B).
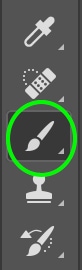
At the top, you’ll see the Options bar, where you can adjust the different brush settings. Click the brush tip icon.

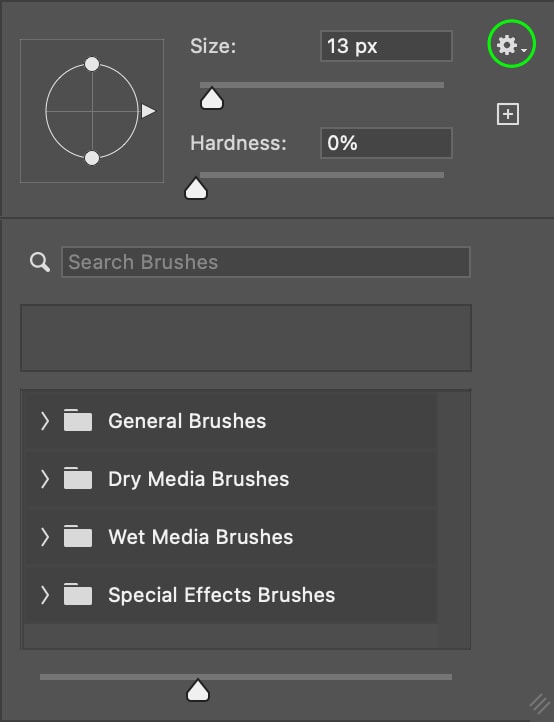
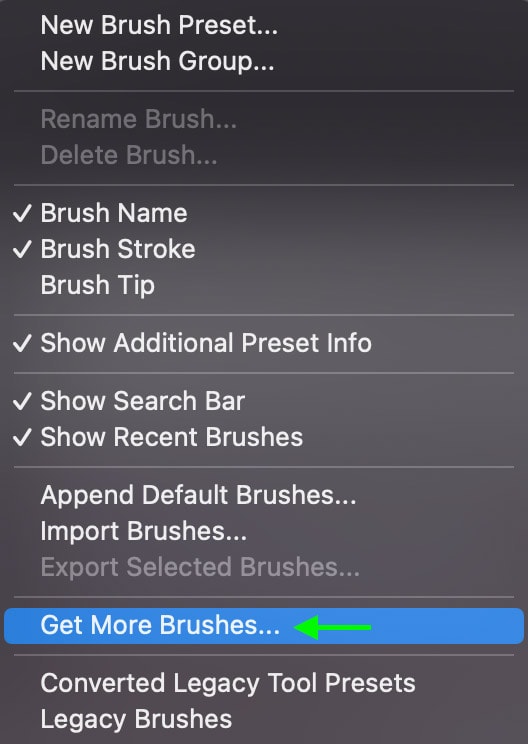
A panel will open where you can select your brush. Click the gear wheel icon at the top right of the panel and click Get More Brushes from the options.
This will open the Adobe Photoshop Brushes page, where you can find more brushes to use in the program.
Sign in and download a set of watercolor brushes. Then, return to Photoshop and, working from the Brush Tool, click the brush tip icon and then the gear icon in the brush settings window.
Select Import Brushes from the options.
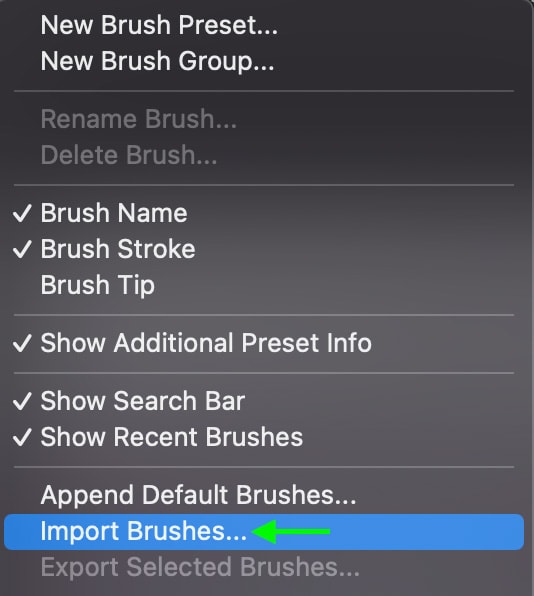
In the window that appears, choose your brushes from your files and then click Open. The brushes will appear immediately in your brush library.
Step 14: Brush The Image Onto The Canvas
Now that you’ve added your brushes to Photoshop, you can make the image look painted on as a finishing touch. To do this, you’ll first need to add a Layer Mask to the Image Layer (Layer 0). In the Layers Panel, click Layer 0 and then hold the Alt key while clicking the Layer Mask icon at the bottom of the panel.
This will add a black layer mask with everything in Layer 0 hidden. In the document, you’ll only see your paper texture layer.
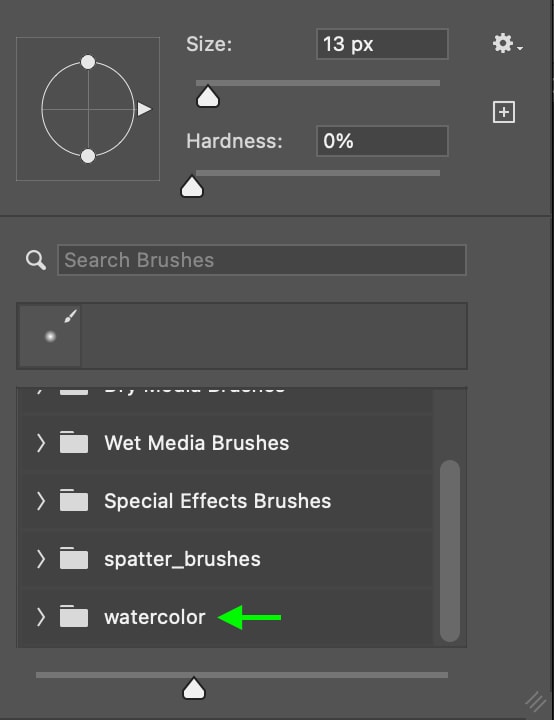
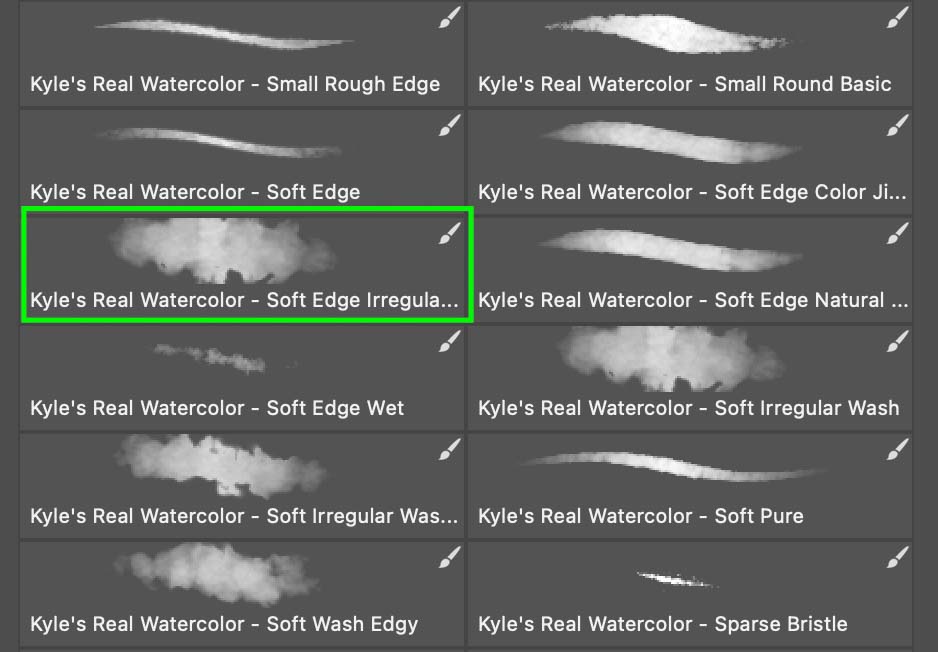
Now, click the brush tip icon in the Options bar and find your watercolor brushes. Select one that looks like a watercolor bloom.
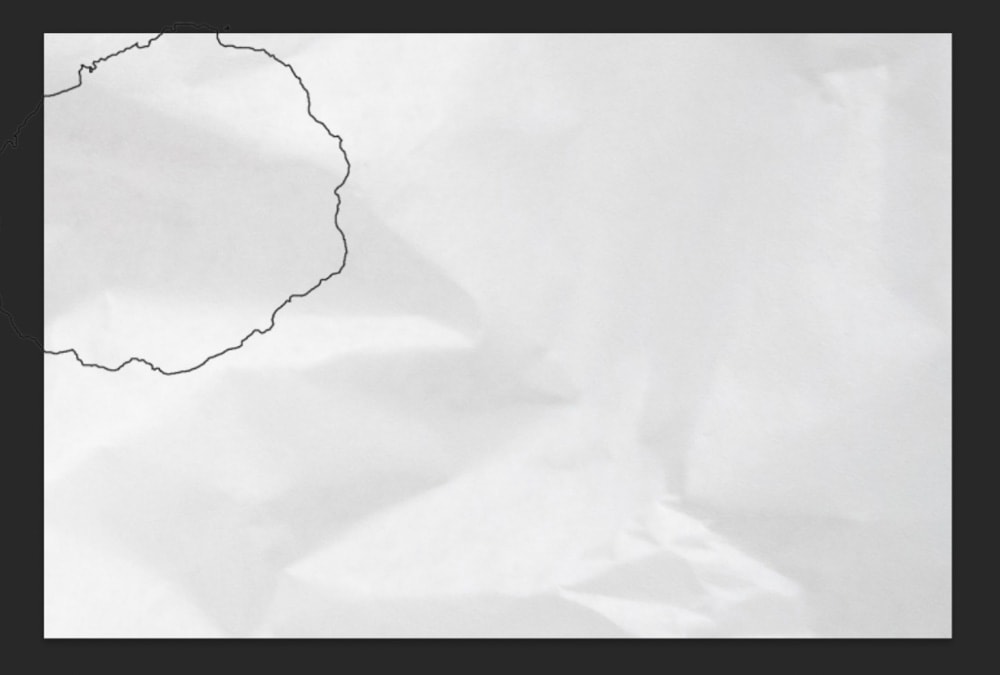
Set the brush size quite large, as we’ll use the brush to stamp the canvas and reveal the image. The effect works best if you set the brush size to fit about a quarter of your canvas. The brush tip is outlined in black below. Set the Foreground Color to white in the Toolbar.

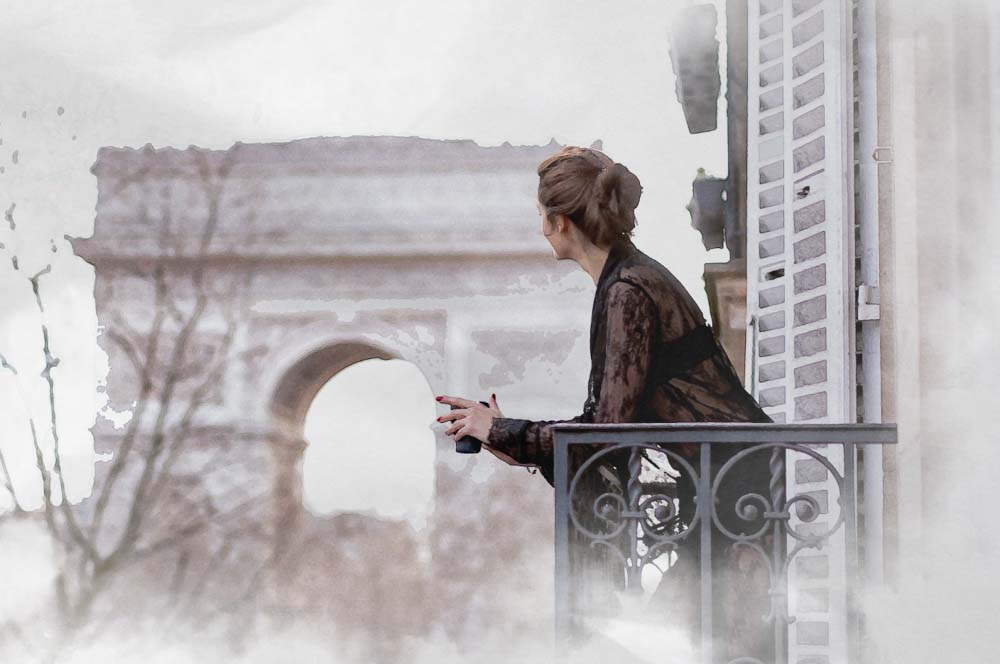
Now, click to stamp over areas of your canvas until the image is revealed, leaving the edges alone to maintain the painted-on quality. The final product will look similar to the image below.