
Dodging and burning is one of the most useful edits to enhance a photo in Lightroom. By applying subtle darkening or brightening adjustments, you can add life to a photo and draw your viewer’s eye to the subject. Dodging and burning has long been thought of as something to be done in Photoshop, but there are a few easy ways to get dodge and burn effects in Lightroom too.
To dodge and burn in Lightroom, click the Mask adjustment and choose the adjustment brush. Set the brush flow and opacity between 25% – 50% and adjust the exposure slider to either darken (burn) or lighten (dodge). With your brush settings correct, paint over the image to dodge and burn.
If you’re not sure how to adjust the brush settings or don’t know exactly what exposure setting to use, we will get into all the details here. This can be done in both Lightroom Classic and Lightroom CC using the masking tools — and it’s quite a simple process. To start things off, let’s get into Lightroom Classic.
How To Dodge & Burn In Lightroom Classic
The goal of these adjustments is to enhance details or draw the viewer’s attention to certain parts of the image by adding brightening and darkening adjustments there.
To dodge and burn in Lightroom Classic, open your image and head to the Develop tab.

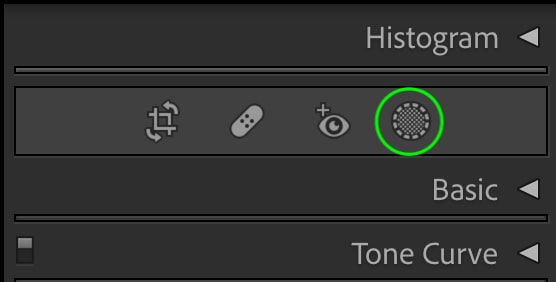
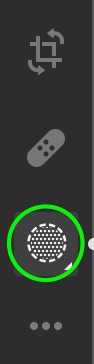
Between the Histogram and the Basic tabs on the right, you’ll see a bar with some extra icons. Click the masking icon.
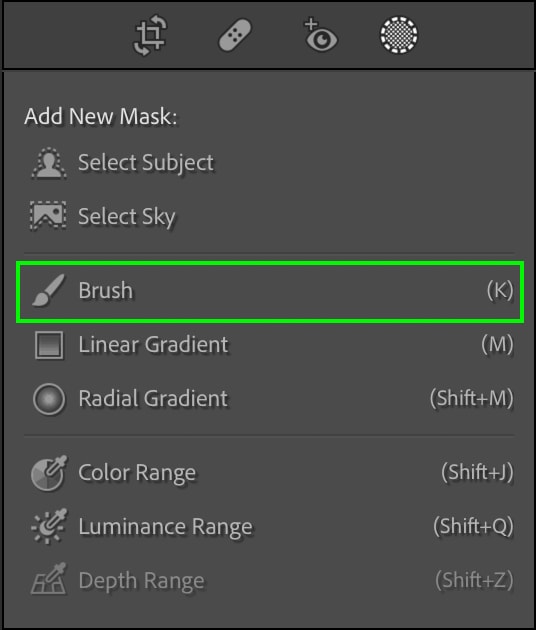
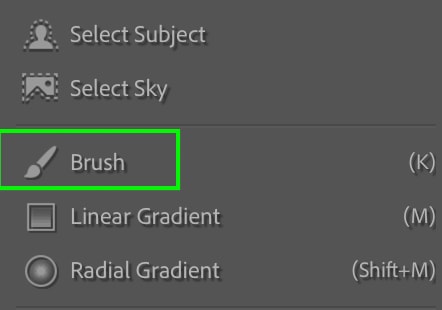
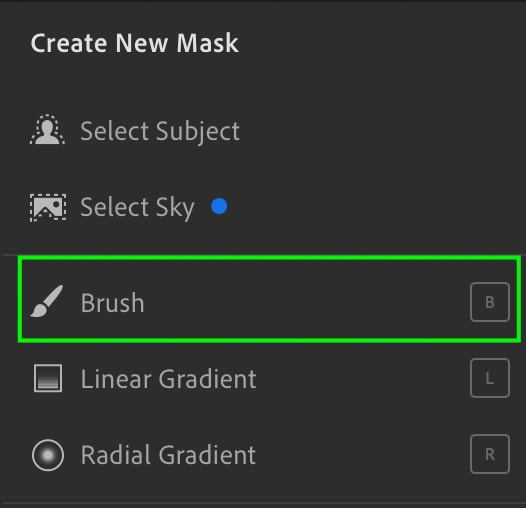
The masking panel will open. Select Brush from the different available masks.
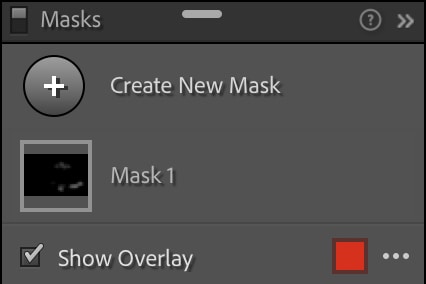
This will bring you to the Adjustment Brush, which allows you to paint adjustments onto your image. You’ll notice the Mask window appears to help you keep track of the different masks you’ll add to your image.
In the panel on the right, you’ll see all the different adjustments you can make — everything from exposure and color to sharpness and effects.
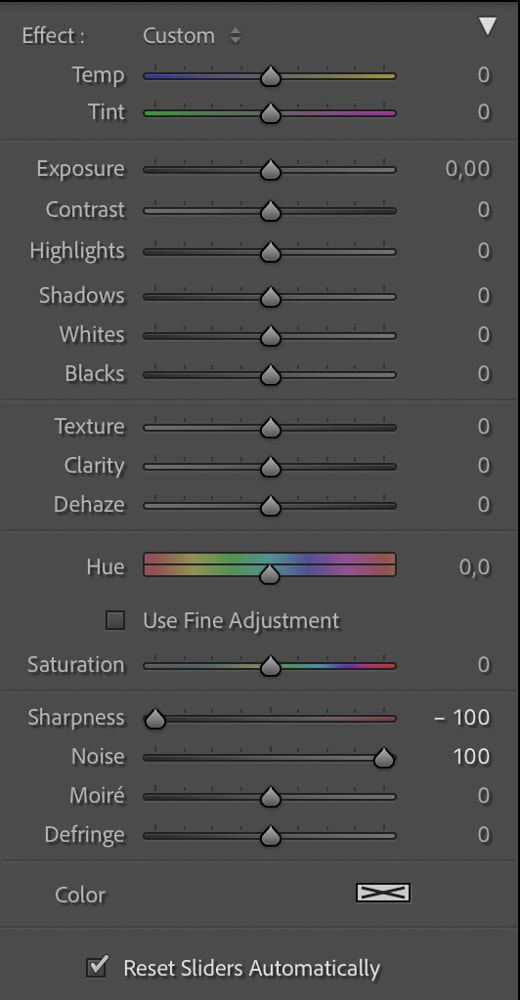
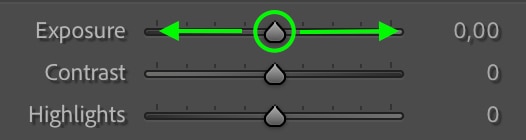
To dodge and burn, we’ll utilize the Exposure slider. To dodge, slide to the right to increase the exposure slightly. To burn, slide to the left to decrease exposure (you can come back to this slider later to adjust the brightness further).
But first, let’s adjust the brush itself by heading to the brush settings at the top. These will affect how the brush strokes are applied to your image.
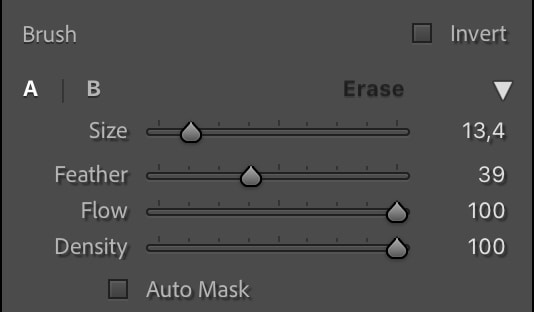
You can increase or decrease the size of your brush based on the area you’re working with. Feather refers to how hard or soft the brush edge will be. I suggest keeping this as high as possible to ensure the dodged or burned area blends seamlessly with the rest of the image.
You’ll then want to put the Flow and Density at 50%. These adjustments control the output of your brush, along with the transparency of each brush stroke. This will ensure the initial brush strokes you make will be so soft they are barely noticeable but allow you to build them up by painting over the same area multiple times. That way the adjustment blends seamlessly with the rest of your image.
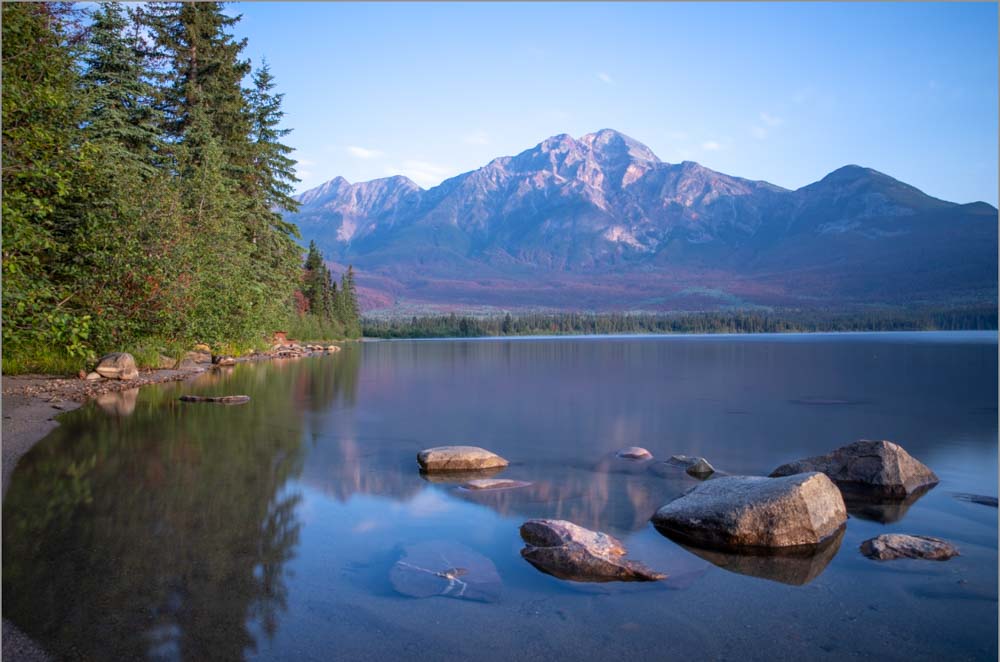
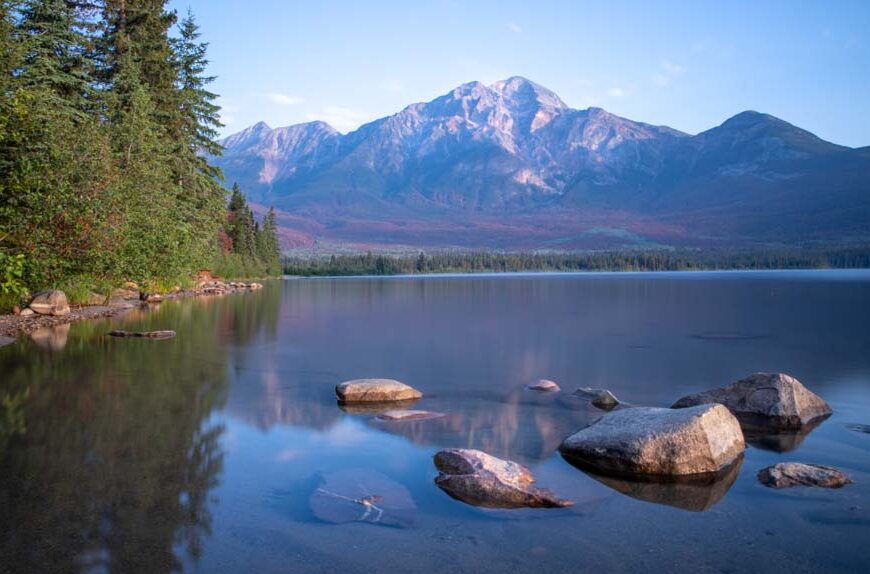
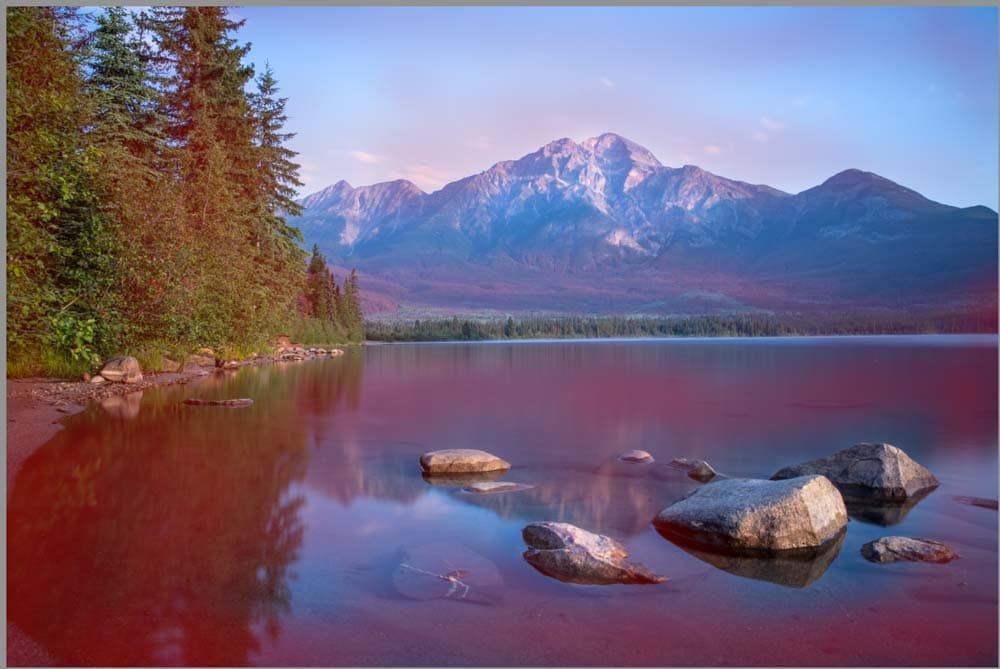
In this example, I want to dodge (brighten) the rocks to draw more attention to them.
So, I’ll go in with an initial couple of strokes over the entire area — make sure you’ve checked Show Overlay in the Mask window, and you can select the color of the overlay by clicking the box on the right, or you can leave it red.
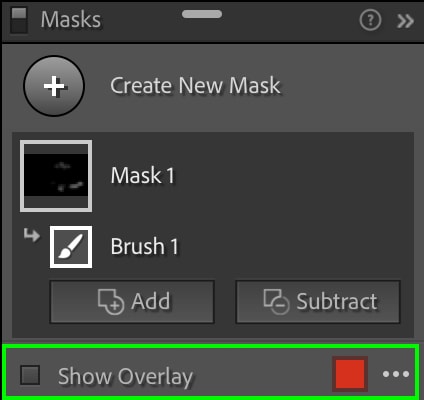
You’ll just barely notice the slight red tint in that area, representing the adjustment brush strokes. Here there are some faint adjustments visible on the rocks.
But when I go over certain areas a few times, you’ll notice the red area becomes denser. Again, this red highlight represents the adjustment area.
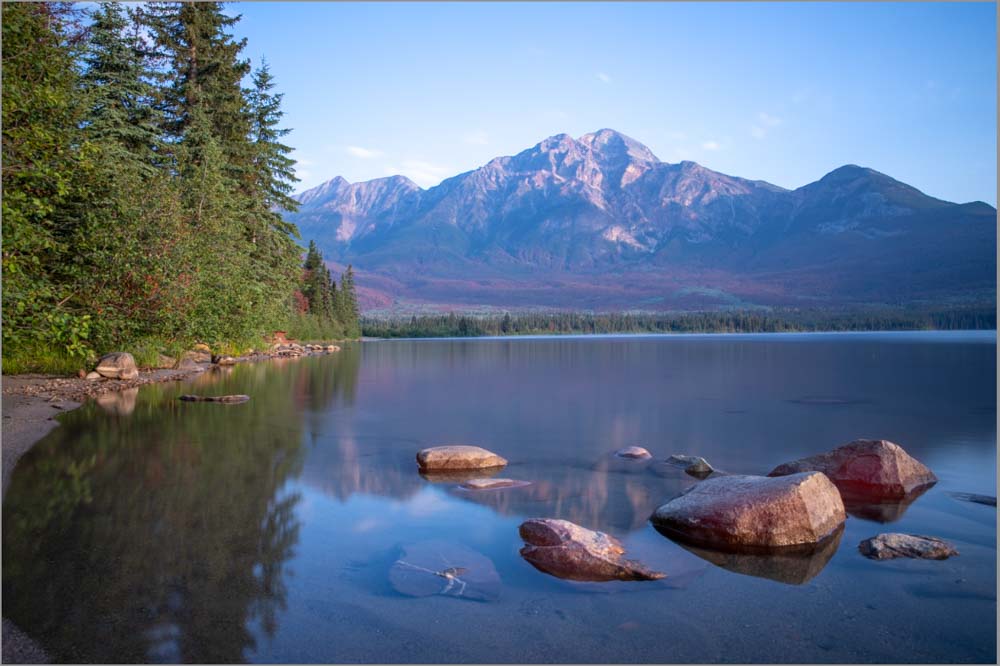
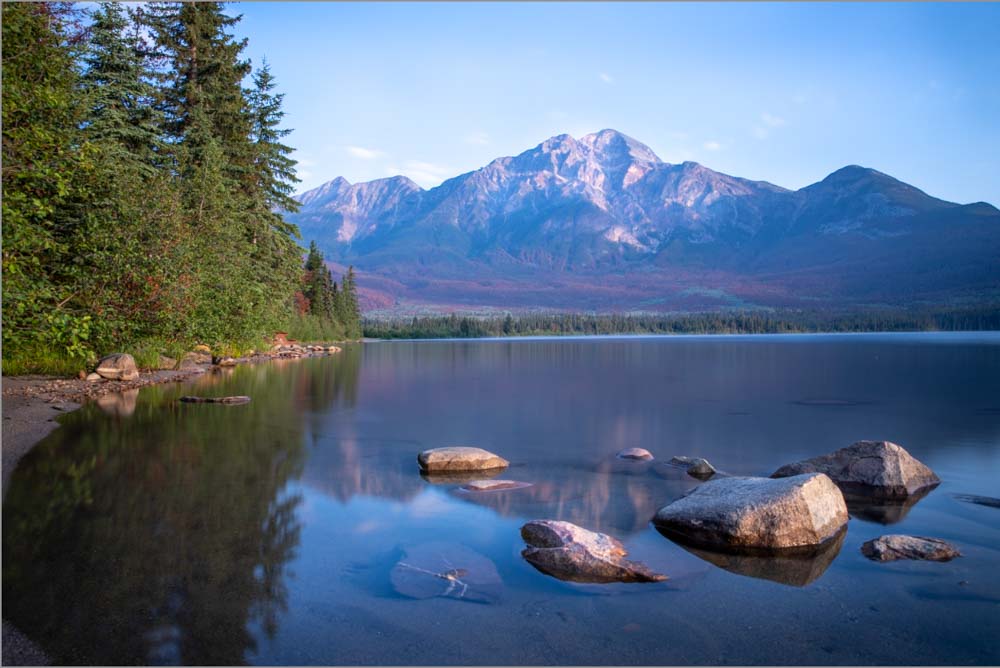
The result is that the exposure of the rocks is increased, effectively highlighting them, but the result looks natural and blends seamlessly with the rest of the image. I also dodged the mountain tops a bit to make them pop. Looking at the images side-by-side, the change is so subtle that nothing looks strange or out of the norm.
Now, if we wanted to burn the image (darkening some areas) we’d just create a new mask by clicking the Create New Mask in the Mask window.
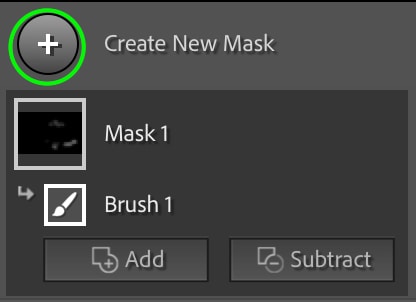
Select Brush, and New Mask will appear in your Mask window.
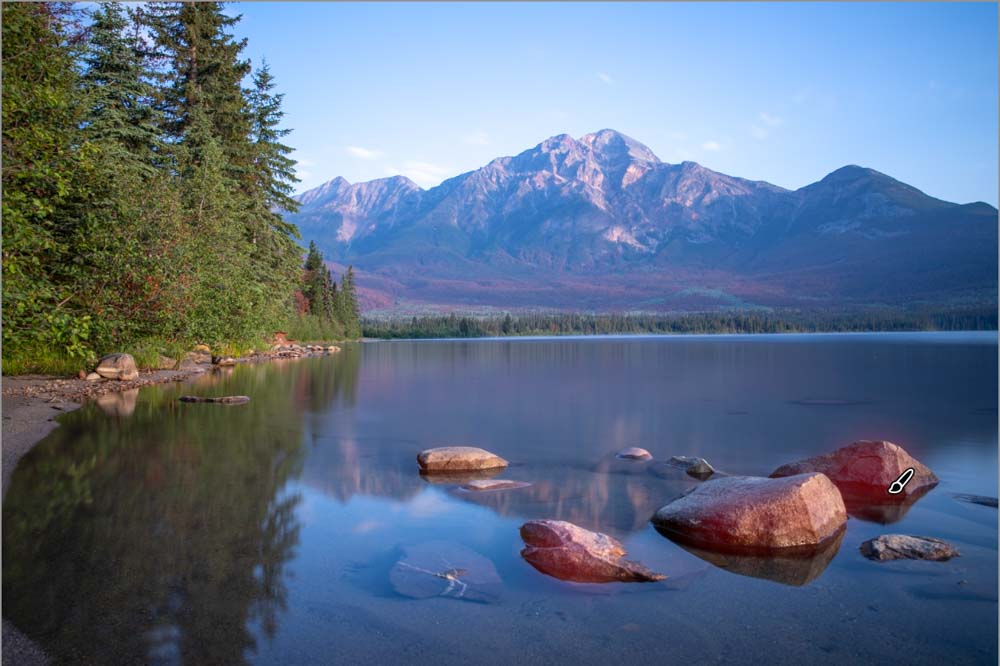
I’ll bring down the exposure slider a bit, and repeat the same process to darken the area around the rocks. I will also add some of the foreground to the burn area to make the bright areas stand out. The more I brush over certain areas, the more opaque the red will appear. The more visible the red highlight, the more dramatic your adjustment will look.
The resulting image creates more contrast between the subject and the rest of the image than the original, making specific areas of the photograph pop, compared to the original image.
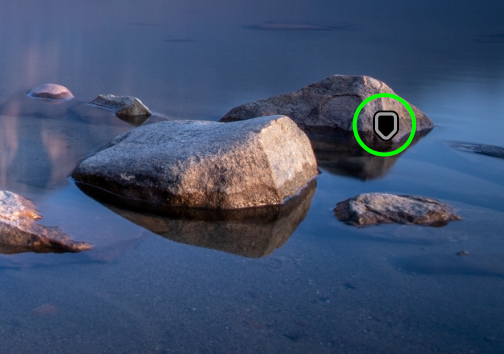
Remember that you can always return to the first brush by clicking the icon that sits on the area you brushed over. You can also select the mask in the masking panel.
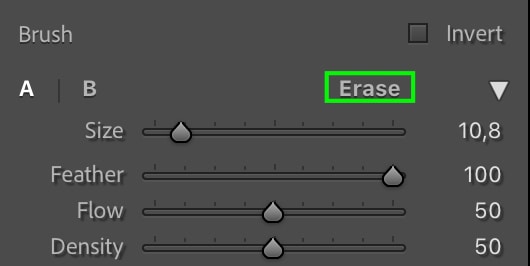
You can erase the changes at any point by clicking Erase, which you’ll find in the brush settings area of the masking panel. You can also hold Alt (Win) or Option (Mac) while painting to quickly switch to the eraser brush.
If you decide the exposure needs to be further adjusted after you’ve made the brushstroke, you don’t need to start over with a new brush. Instead, you can simply adjust the exposure slider (with the correct mask selected) and the masking area you’ve made with your brush will change according to the new adjustments.
You can always adjust the size of your brush as you work too by moving the “size” slider on the right or scrolling on your mouse. This is helpful if the area you’re adjusting has lots of odd angles or uneven edges, as you can brush over the majority of the area first with a larger brush before going back in with a smaller, slightly more precise brush.
How To Dodge & Burn In Lightroom CC
Dodging and burning follows a very similar process in Lightroom CC as in Lightroom Classic, just with a different workspace. You’ll still be using the Adjustment Brush as your dodging and burning tool.
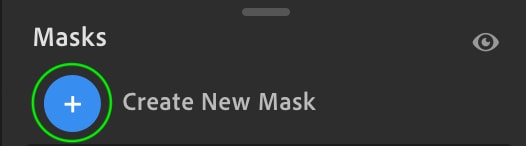
So, with the image you’d like to edit opened, click the Masking icon in the toolbar on the right.
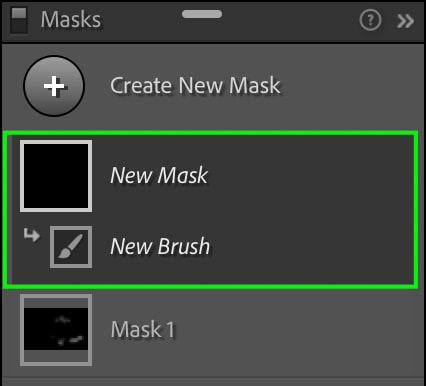
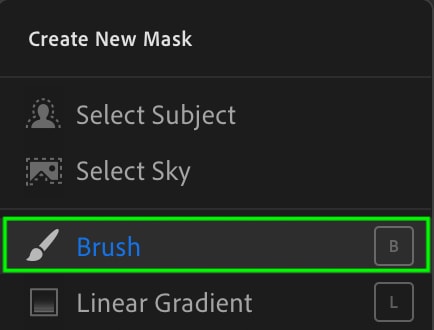
Now, select Brush from the available masks.
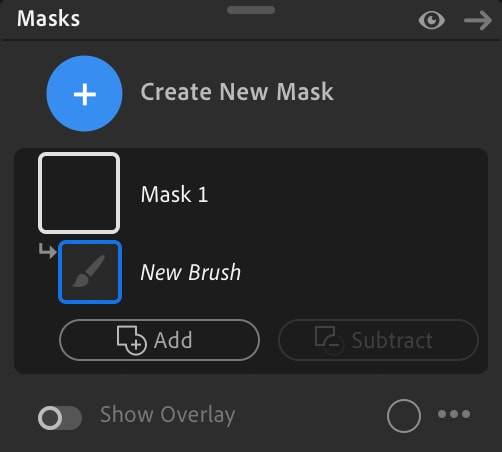
The Mask window will appear, with your New Brush as Mask 1.
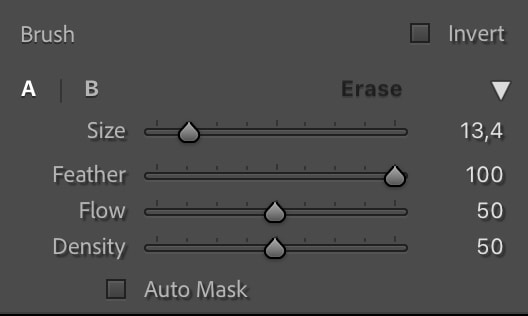
In the panel, you’ll see the same settings available here as in Lightroom Classic. Adjust your Size according to the area you’d like to dodge or burn, set Feather to 100, and keep Flow and Density in the middle.
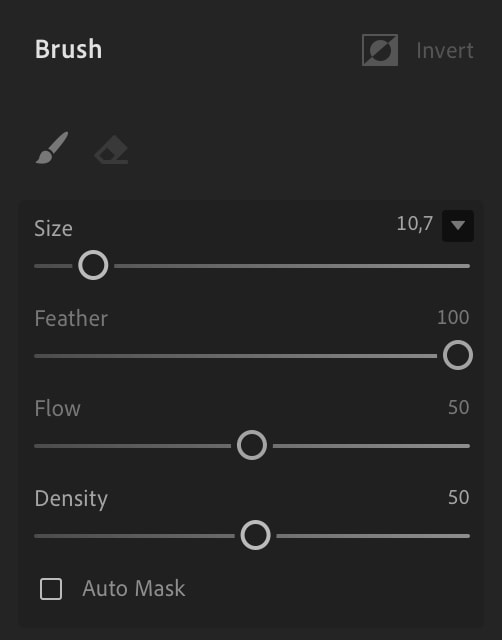
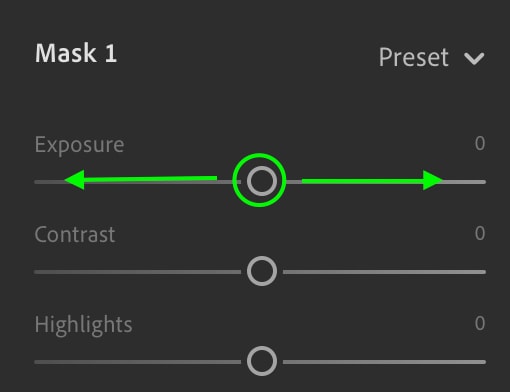
Scroll down a bit, and you’ll see all the different adjustments you can make. For the purposes of dodging and burning, we’ll only need to focus on the Exposure setting, at the very top of the list. Slide the toggle on the bar to the left to burn (decrease exposure) and to the right to dodge (increase exposure).
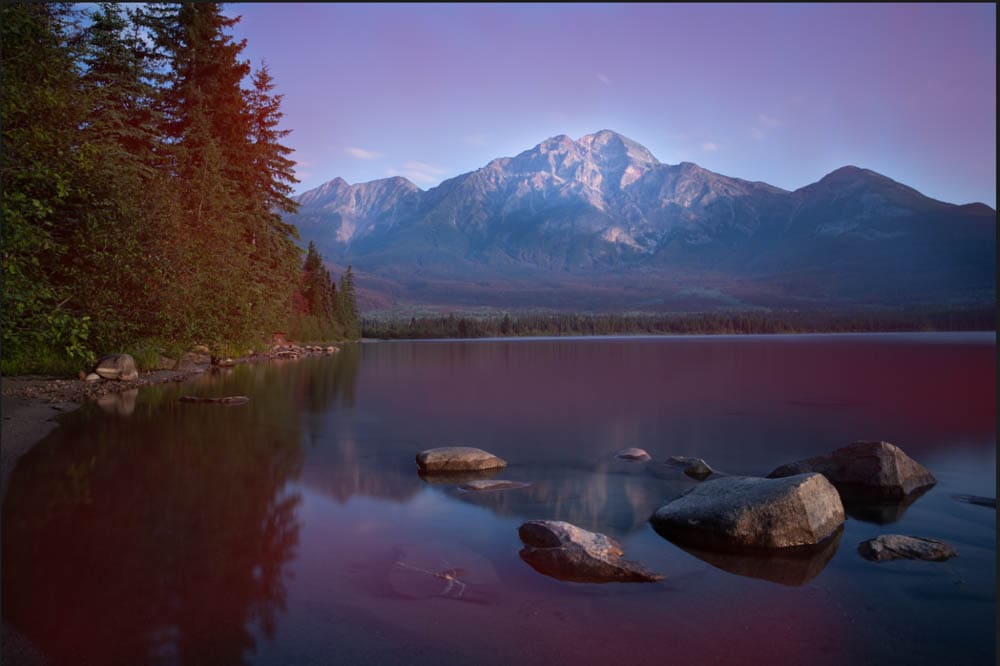
This time, I’d like to bring out the mountain, so I’ll dodge focusing on the lightest parts to highlight them. I will also paint over a few of the darkest areas to increase the exposure and bring out some more details. Again I can build up the density of the adjustment by going over the same areas with multiple brush strokes.
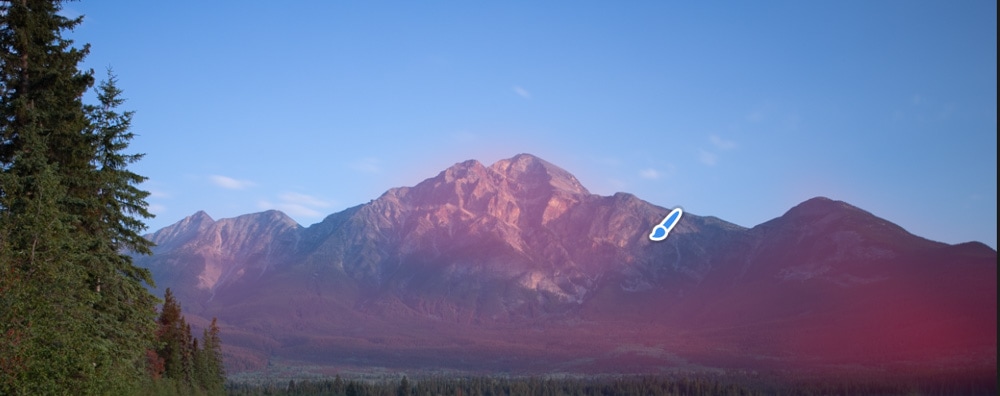
This produced an enhanced and natural effect, with the mountains much more visible in the masked edit than in the original.
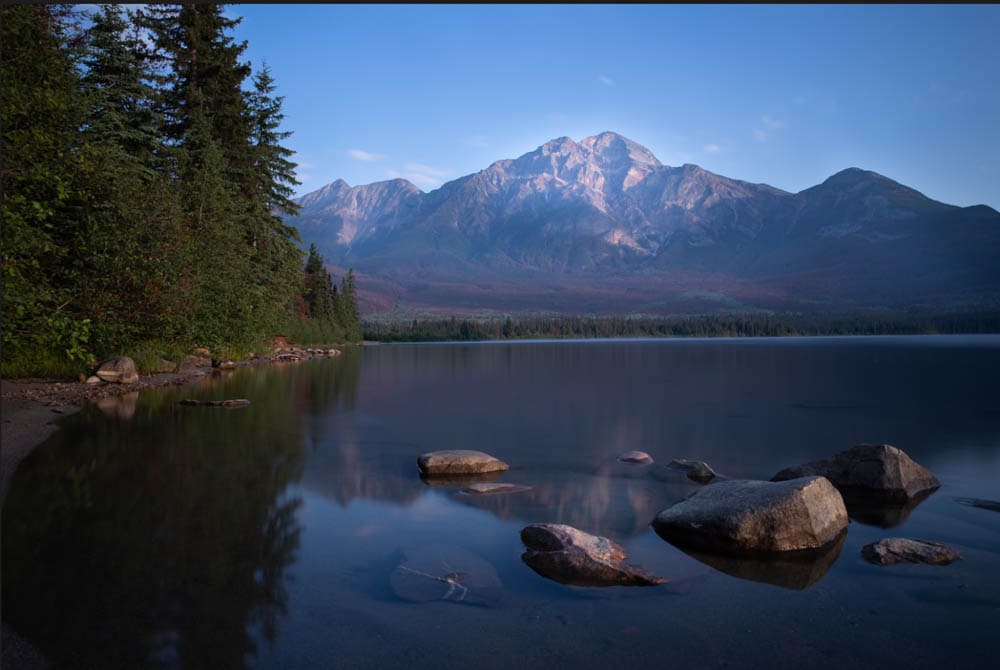
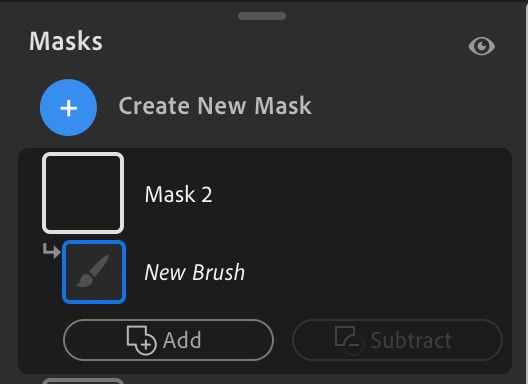
Just to make those mountains stand out even more, I’ll go back in and burn other areas of the image, like parts of the lake and sky. To add a brush, click Create New Mask in the Mask window.
Select Brush from the mask options that come up.
The new mask will appear in the Mask window.
Make sure you’ve set your brush settings correctly.
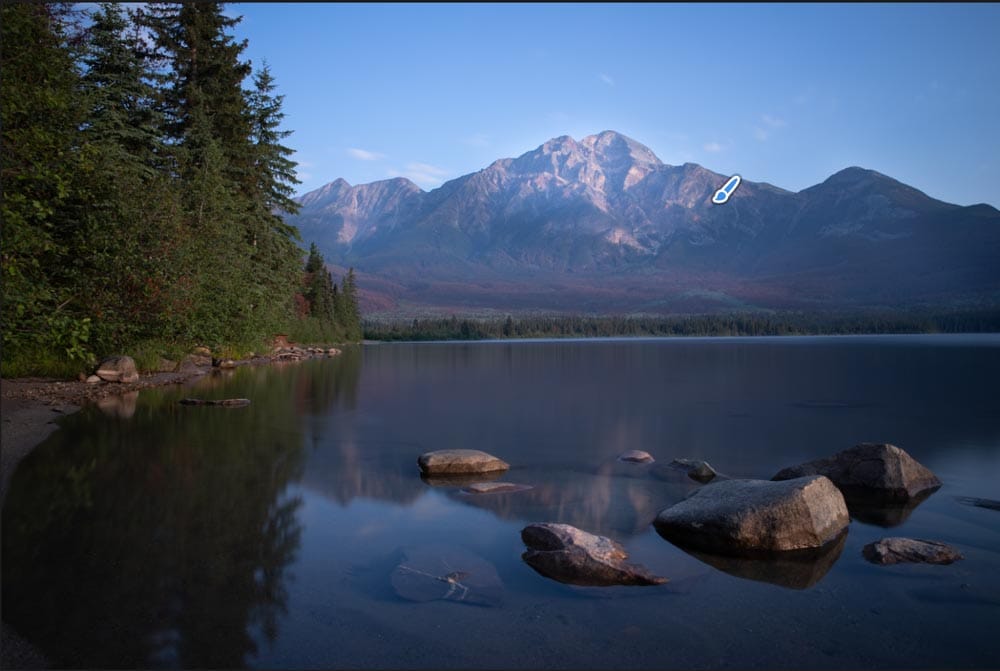
Now, decrease the exposure slightly, and paint over the areas you’d like to burn.
As you can see, burning the area around the mountains makes them really pop, and also makes the white of the clouds in the sky stand out more against a darker background.
Like in Lightroom Classic, you can change the exposure while you work on a specific mask by making sure that the mask is selected and moving the exposure toggle. You can erase any part of the mask by clicking the Eraser icon, which you’ll find next to the Brush icon. You can also hold Alt (Win) or Option (Mac) to temporarily switch to the eraser brush too for faster access.
With these dodge and burn effects, you can quickly enhance portraits and landscapes in particular, but this effect can be used for any style of photography. I would recommend doing these adjustments after all your other edits have been made. That way you are adding the “cherry on top” with the dodge and burn adjustments to make your image really stand out.
Now if you want even more ways to enhance your images in Lightroom, I have a free Lightroom Preset bundle with 12 free presets. With this pack, you can quickly get stunning edits for you to add your dodge and burn adjustments to afterward!
Happy Editing!


