
Dodging and burning is one of the most useful techniques to finalize an edit and bring attention to certain parts of your photo. In Photoshop, there are two simple tools to do this in both destructive and non-destructive ways.
What Is Dodge & Burn In Photoshop?
In Photoshop, the Dodge Tool lightens specific areas of your image, while the Burn Tool darkens certain areas of your image. These tools can be used together to selectively increase contrast and help draw attention to certain parts of a photo.
The burning technique works best for darkening areas that are already dark, and the dodging process works best for lightening areas that are already light. You can also use these tools to create highlights and shadows, but this isn’t recommended since it usually makes photos look artificial.
Dodging and burning makes existing highlights and shadows in an image stand out. You can also use these tools to bring attention to a specific spot in an image. Another advantage of dodging and burning is that you can use them to create volume and add depth to images.
Destructive VS Non-Destructive Dodging & Burning
You shouldn’t dodge and burn directly in an image layer because when you do that, you directly affect the whole image, making it hard (and sometimes nearly impossible) to reverse an action later on.
When you create separate layers for dodging and burning, on the other hand, you can undo any action without affecting the entire image. This makes it much easier to refine your adjustments and have total control over your dodging and burning.
On top of that, when you place the dodge and burn in separate layers, your workspace becomes more organized, allowing you to identify layers easily. Plus, you can turn the layers on and off to check whether the dodge and burn changes work well on your image.
How To Dodge & Burn In Photoshop
There are ways to dodge and burn in Photoshop using adjustment layers, but I will show you how to do it using the dodge and burn tools found in the toolbar.
Step 1: Determine The Areas To Emphasize
To start, I recommend you decide which areas you want to emphasize and which areas you don’t want to draw attention to.
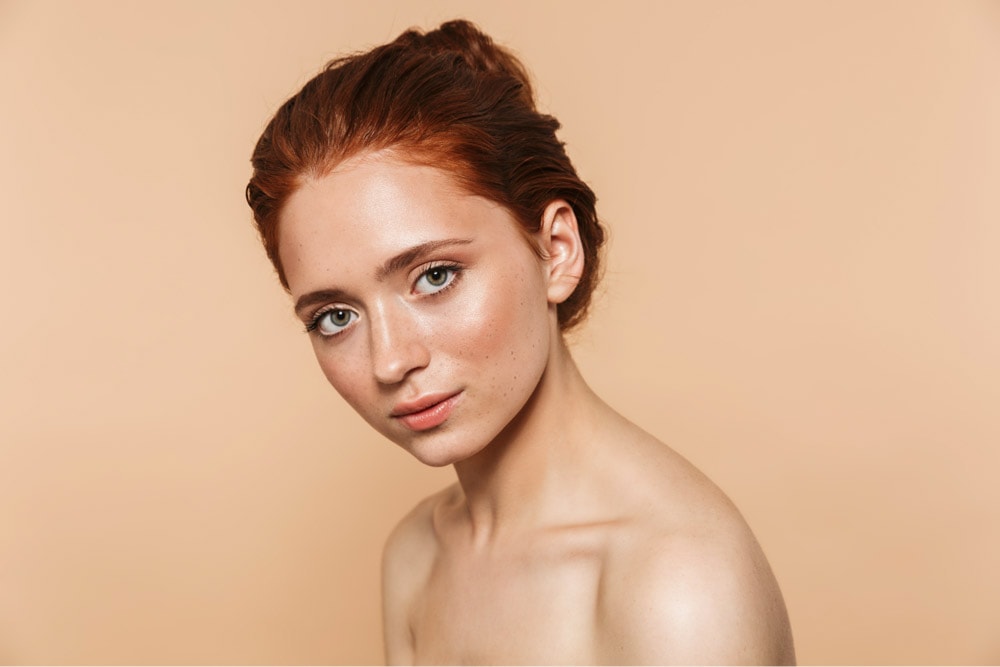
For my example, I want to lighten and darken some areas in the image below so that the model’s features and makeup stand out more.
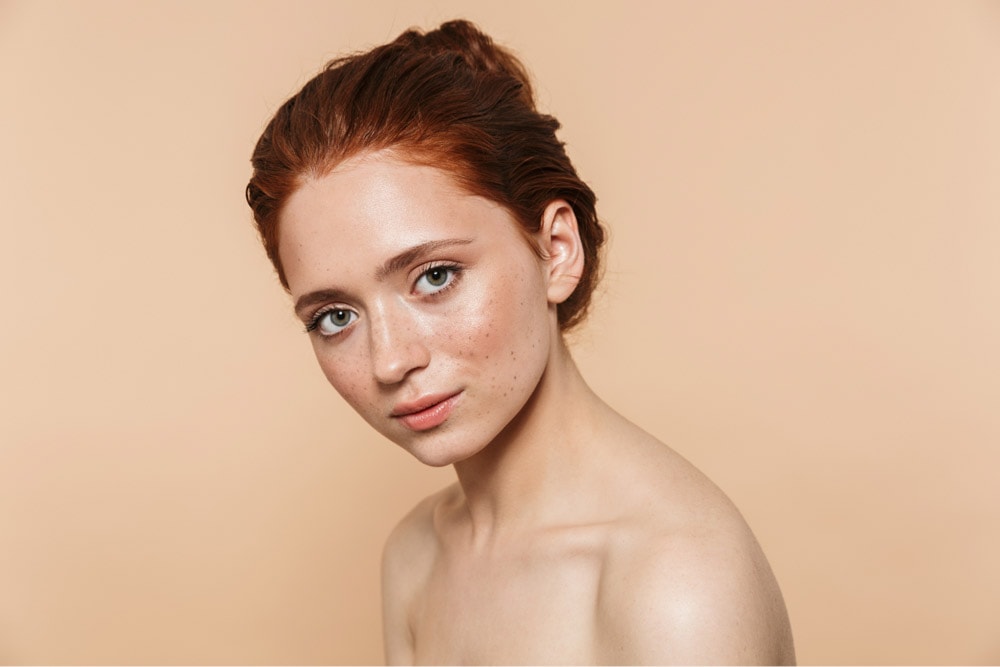
After deciding what to do with your image, open it in Photoshop. I also advise you to do any major edits before dodging and burning. For example, retouch skin or remove blemishes, wrinkles, and dark circles before applying the dodge and burn effect. It’s best to think of this process as the cherry on top of your edit; the final touch if you will.
Step 2: Create Two New Layers
After importing the desired image to Photoshop, create a new layer by pressing Control + Shift + N (Win) or Command + Shift + N (Mac).
The New Layer dialog box will appear.
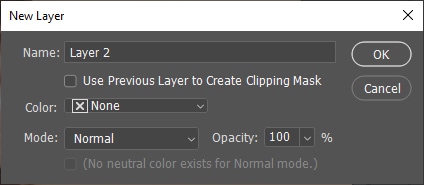
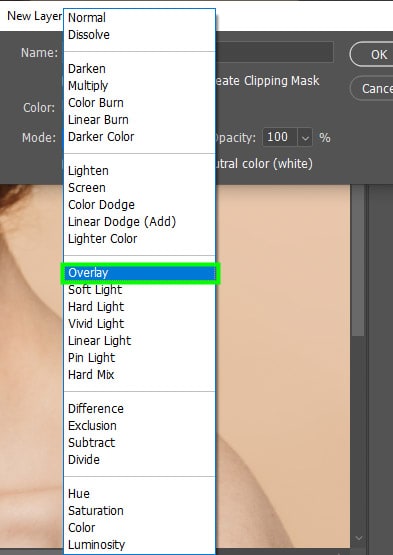
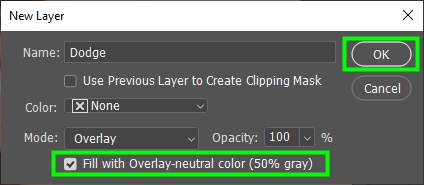
Change the layer name to ‘Dodge’ and the Blending Mode to Overlay.
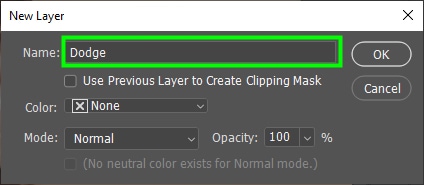
Then, select the Fill With Overlay-neutral Color check box. Click OK when you are finished.
After you’ve added the new layer, press Control + J (Win) or Command + J (Mac) to duplicate the new layer.
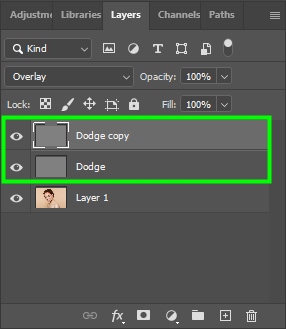
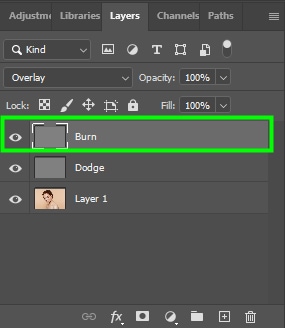
Then, name the top layer Burn and keep the bottom layer named Dodge.
Step 3: Use The Burn Tool
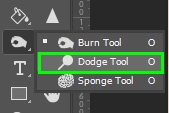
You can dodge and burn in the same layer, but I recommend doing it in separate layers. Keep the burn layer selected and click the Burn Tool in the toolbar (O).

Once you select the burn tool, you must adjust some settings in the Options bar.

First, choose a brush in the Brush Preset Picker. I recommend choosing a soft round brush and setting Hardness to 0%. This helps you achieve a more natural result since it makes the darkened area blend better with the surrounding pixels of the area you will paint over.
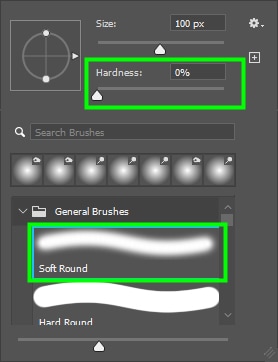
Don’t worry about adjusting brush size now; you can do that while working on your image.
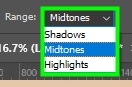
In Range, you can choose between Shadows, Midtones, and Highlights. These options preserve such areas while you are using the burn tool. For example, if you paint over an area with shadows, changing the blend mode to Shadows will prevent that area from being damaged.
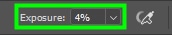
Exposure controls the amount of burn used. When setting the exposure to a low rate, you will have to paint over an area multiple times to enhance shadows properly. However, I recommend you work at a rate of 3%–10% to produce more natural results.
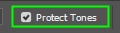
Protect Tones is enabled by default, but you should always check if it’s enabled before you start working on your image since it prevents the photo from getting saturation issues due to the dodge and burn applied.
To apply the burn to your image, paint over the desired area. Use a brush size proportionate to the area you paint.
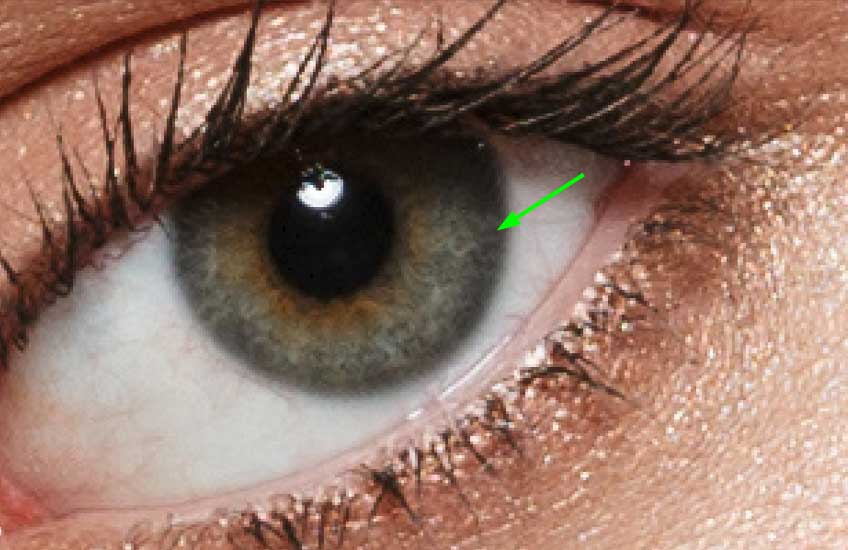
For example, I started burning the model’s eye to add depth to the iris. As the target area was narrow and small in relation to the entire image, I needed a tiny brush – 17 px.
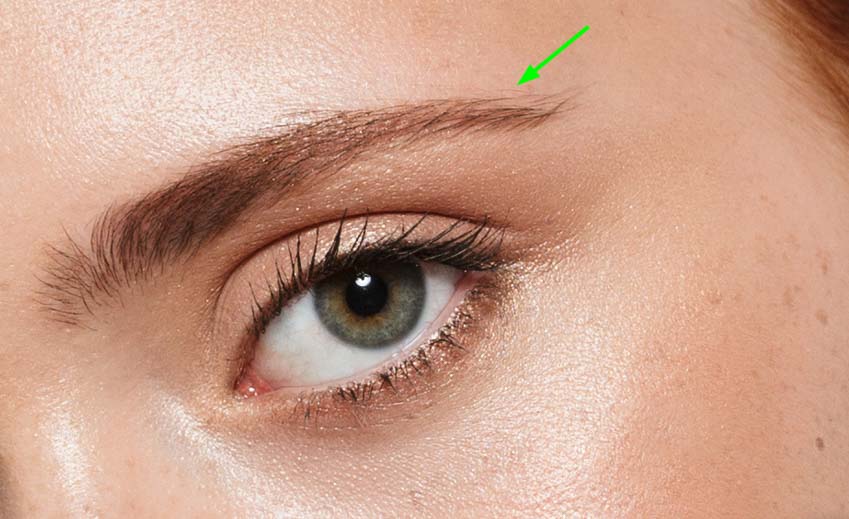
But in another area of the image, the model’s eyebrows, I needed a larger brush of 56 px.
Change brush size by pressing the right or left square bracket key on your keyboard. The right key ] increases brush size, while the left key [ decreases it.
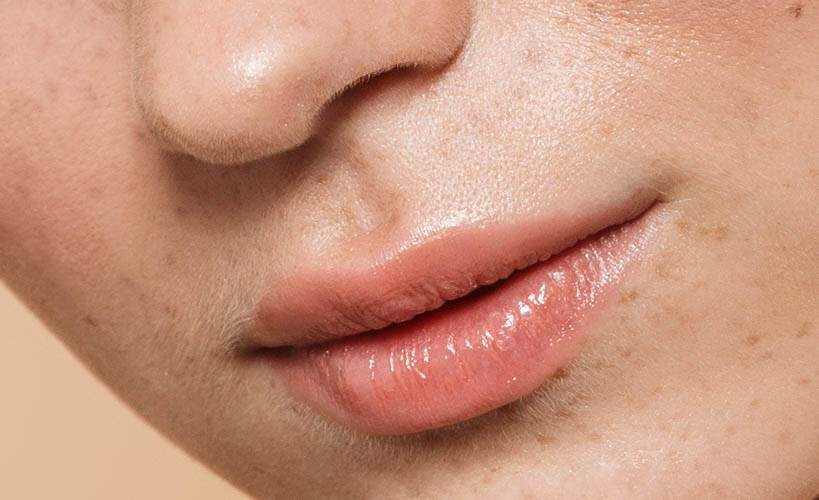
You will also need to adjust the exposure while painting over your image constantly. For example, I used 10% for the model’s lips. But in other areas, I had to increase the exposure. You can press 1-9 on your keyboard to change the exposure amount more easily.
You can continue applying burn, changing the brush size, the range mode, and the exposure until you feel that you have darkened all the areas that need to be darkened. If in doubt, leave the range set to mid-tones and use a 10% exposure setting. This is a fine base point for most burn effects.
Step 4: Use The Dodge Tool
After darkening your image, you need to lighten it. To do that, go to the toolbar and select the Dodge tool (O).
You can follow the instructions above to apply the dodge since both the burn and dodge tools work the same way.
After dodging and burning your image, you can see the changes made to each layer individually. For example, click the layer thumbnail while holding Alt (Win) or Option (Mac) to see the changes made to the dodge layer.
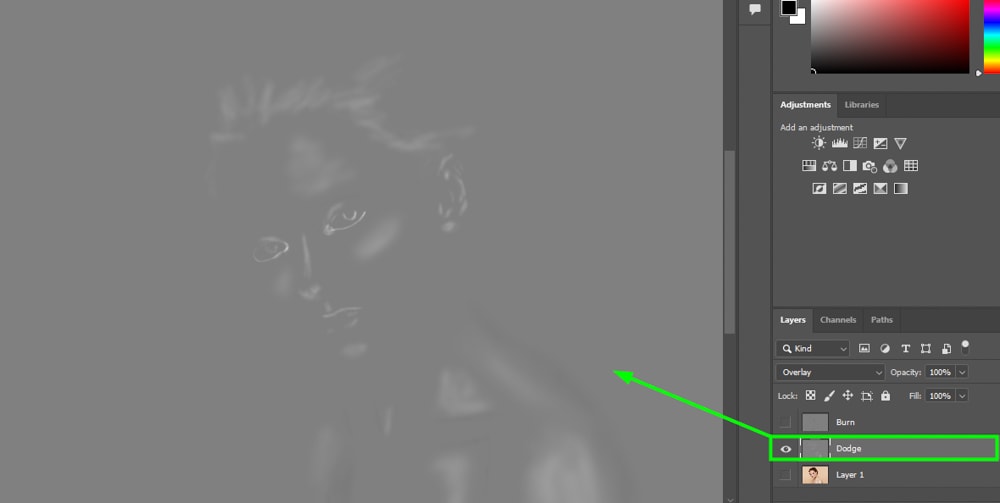
And if you want to see the changes you made to the dodge and burn layers simultaneously, turn off the original image layer.

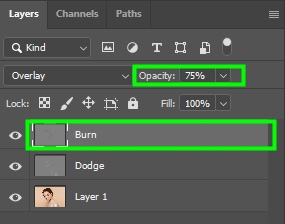
If you think the effects came out too harsh, you can turn down the opacity of the dodge or burn layer. In my case, I reduced the opacity of the burn layer to 75%.
You will need to use one tool or another based on your goal. For example, if you want to add volume to an object, you should darken the object’s edges and lighten its center. Also, pay attention to where the light comes from in the image. For example, if the light is coming from the right, lighten the areas more to the right and darken regions more to the left.
Dodging and burning in Photoshop is great for all types of photography. For portraits, the best results are often more subtle, while landscapes for example can get away with intensive dodge and burn adjustments. Whatever creative style you have, take some time to experiment with this tool and see the awesome results you can get for yourself!


