When it comes to using color in graphic design, there’s nothing like a gradient to spice things up. Luckily, it’s quick and easy to make a gradient in Canva using a gradient template.
Below, I will cover how to find the perfect gradient with Canva and how to find a gradient you can customize, such as changing the colors or making it transparent.
How To Make A Gradient In Canva
Step 1: Open The Elements Tab And Search For “Gradient”
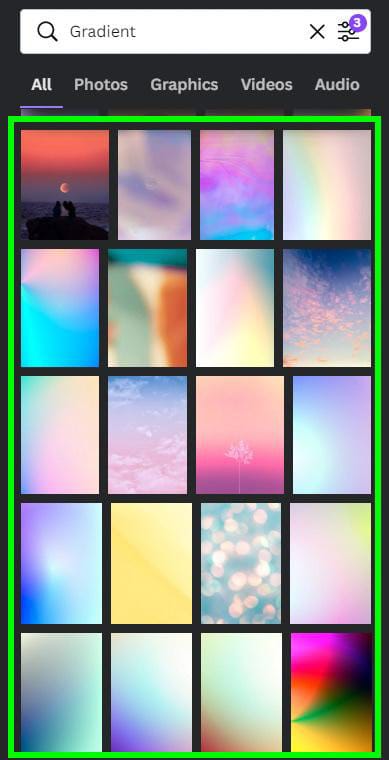
To find one of these premade gradients, click on the Elements Tab, and in the Search Bar, type “Gradient.”

You now have all of the gradient elements available in Canva at your fingertips. You can click the Filters Button to open the Filters Menu and refine your search if you’d like. Then, scroll down to the gradients that will fit the size of your canvas.
Note: If you want a transparent gradient, type this in when searching for a gradient.
Step 2: Click On A Gradient To Add It To The Canvas
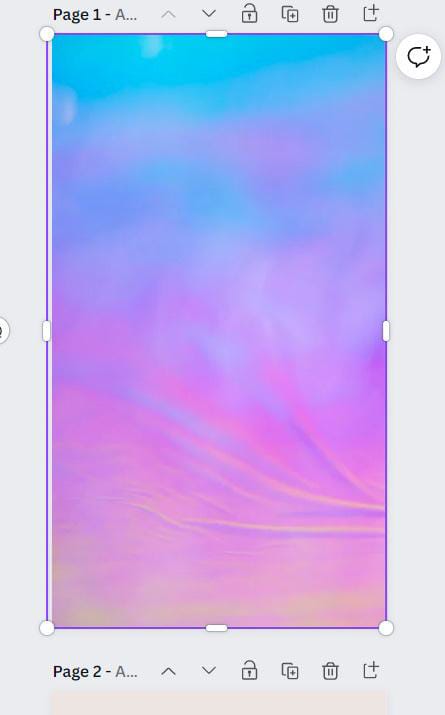
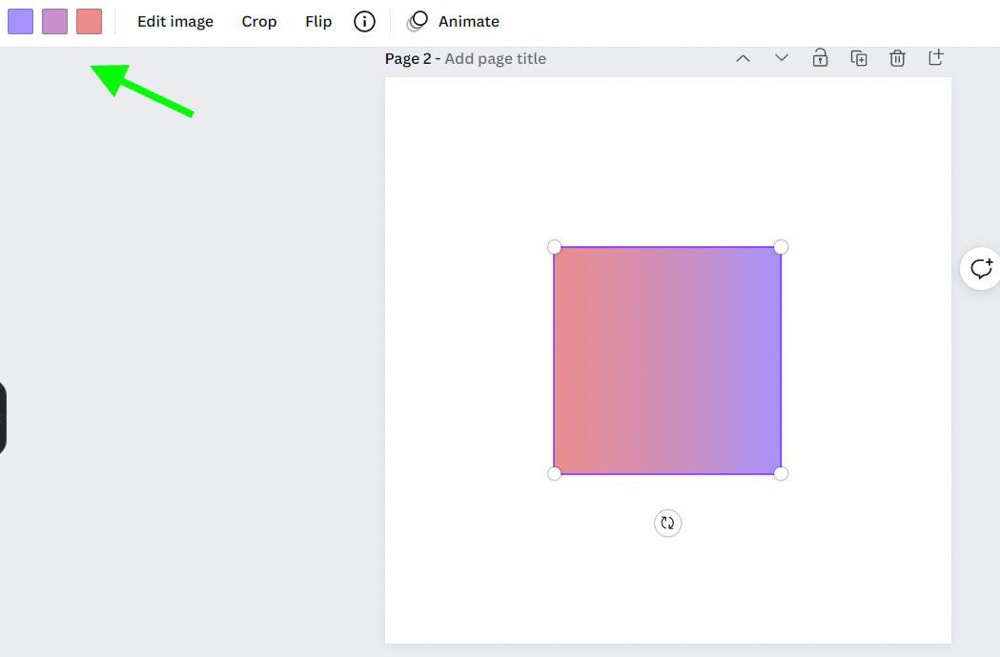
You should now have tons of gradients available to you that will work with your design. Click on the gradient of your choice, and it will show up on your canvas.
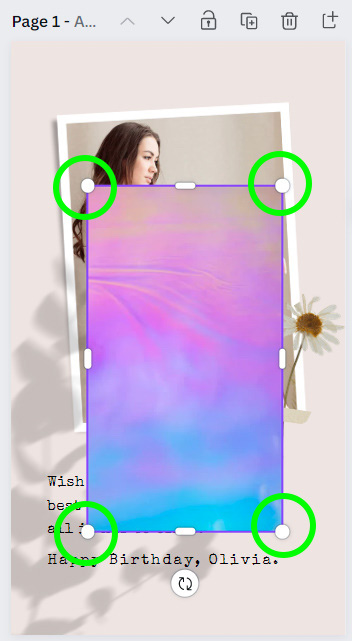
You also need to make your gradient fill the entire canvas. To do this, use the Corner Handles on each corner of the gradient to stretch it over the entire canvas.
Step 3: Rotate And Adjust The Gradient’s Position And Transparency (Optional)
Now that your gradient is stretched over your entire canvas, you can also rotate it if you wish. Click and hold on the Rotate Button and move your mouse to where you’d like to rotate your gradient.

Your gradient is now the right size and rotated to where you’d like it to be. Now, you need to move this gradient layer behind the other visible elements of your design.
With your gradient selected, click on the Position Button to see your options. Click on Backward as many times as you need to. Alternatively, you can press Control + [ (Win) or Command + [ (Mac) to move your gradient one layer back.
If you know that you need your gradient to become your background, you can click on To Back to send the gradient back as far as it can go. Alternatively, you can press Control + Alt + [ (Win) or Command + Option + [ (Mac).

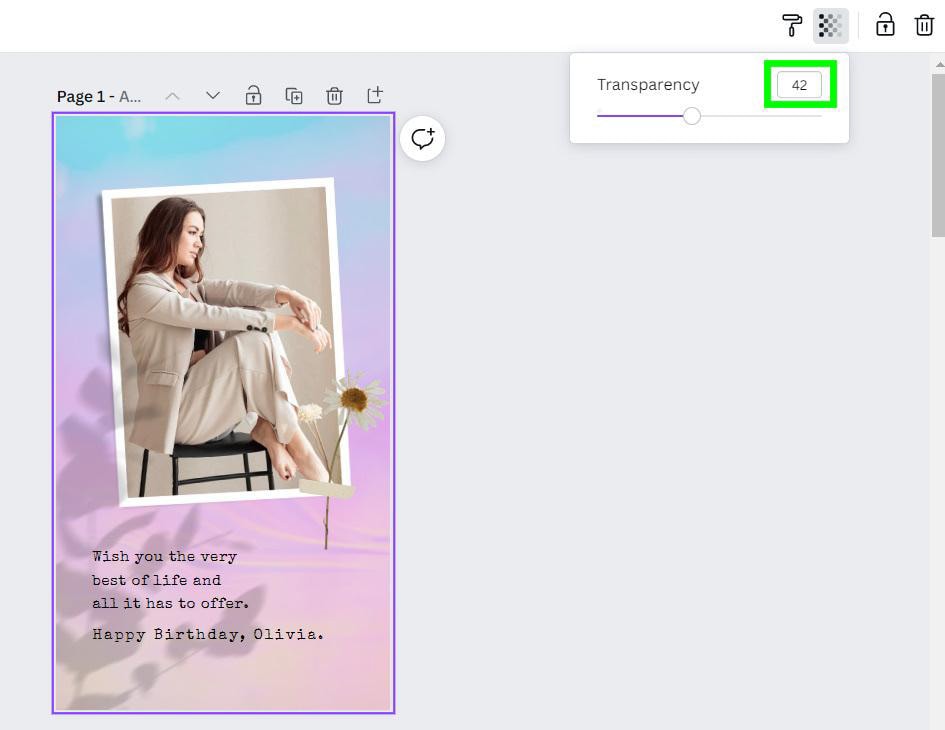
Then, with your gradient selected, click on the Transparency Icon. You will be presented with a slider that will allow you to adjust the visibility of your gradient to your liking.
Step 4: Customize A Gradient’s Color Using The Color Swatches (Optional)
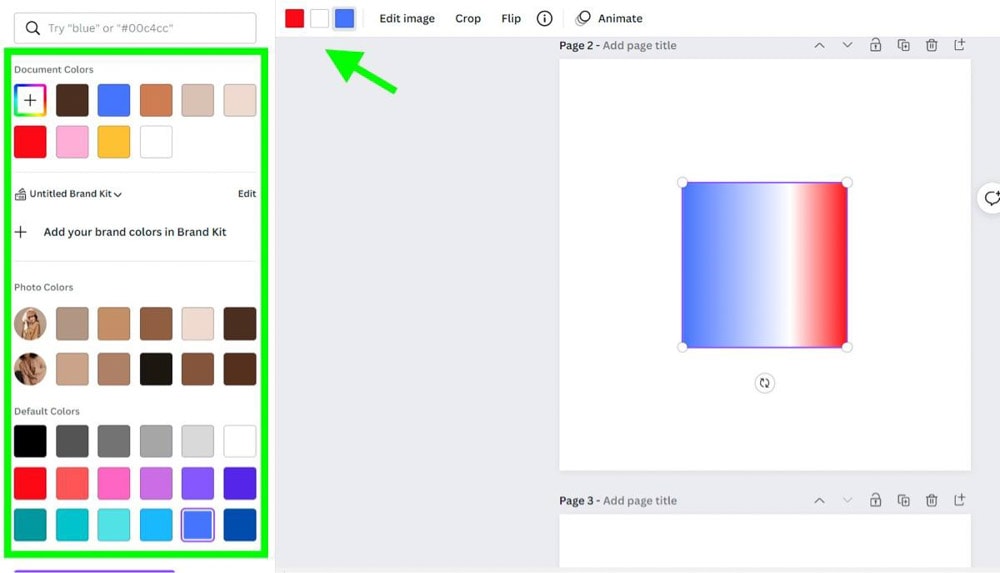
The gradients in Canva come in two groups: gradients where you can customize the colors and gradients where you can’t. To find a customizable gradient, keep clicking different gradients in the Elements Tab until you see Color Options available.
Once you find a gradient with Color Options available, click on each color block to change its color.
Note: You can also select a color that matches the background to mimic a transparent gradient.
How To Create Gradient Text In Canva
Step 1: Search For Letter Frames And Add Them To The Canvas
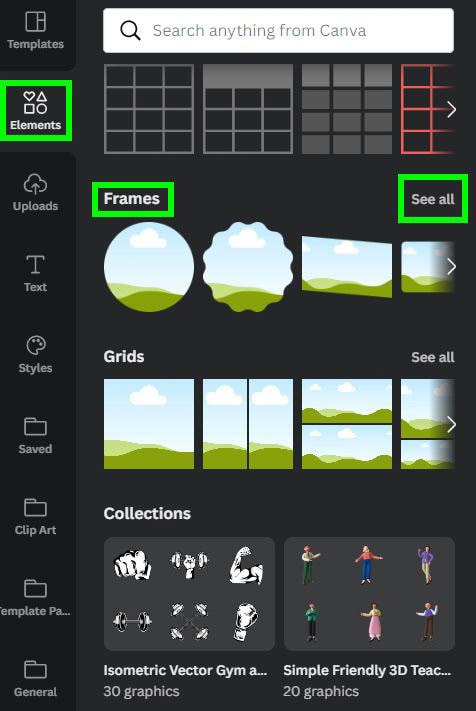
In the Elements Tab, scroll down until you get to the frames section. Click on See All and scroll down until you find frames shaped like letters.
To create your text on the canvas, select the letters you need to spell out your word(s). Each letter will pop up on your canvas, and you can use the purple guidelines to help you resize each letter frame to be the same size.

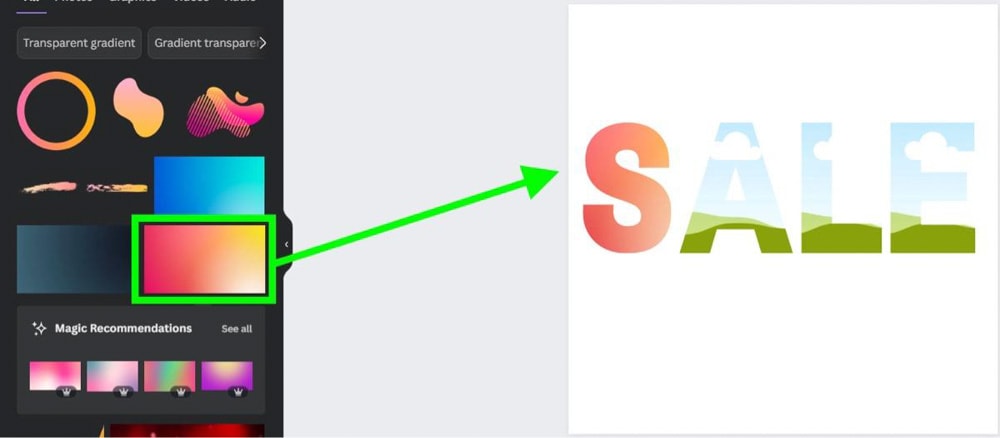
Step 2: Choose Your Gradient From The Elements Tab
With your letter frames in place, search “Gradient” in the Elements Tab. Browse the gradient collection until you find the perfect one. Once you pick one out, drag it to your canvas and over your first layer. The gradient will fill in the letter frame. Repeat this process by dragging the same gradient into the remaining letters.

Step 3: Double-Click And Move Each Gradient
Currently, your design looks like a gradient repeated multiple times instead of a continuous gradient. You can fix this by double-clicking on the first letter frame, which allows you to move the gradient. For the first letter, move the gradient all the way to the left.


Repeat this process with the rest of your letter frames, using your judgment to place the gradients in a way that will give the illusion of a flawless color transition.
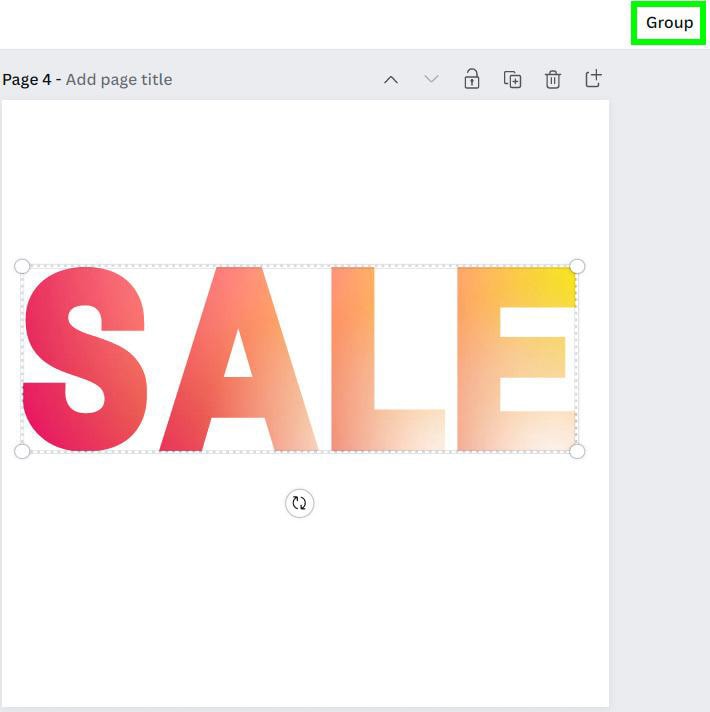
Step 4: Move Your Gradient Text To Your Final Design
Your text is almost ready to transport. The last thing to do is click and drag your mouse around your entire text to select it all and click on the Group Button. This will make it easier to move text around.
Copy the text by pressing Control + C (Win) or Command + C (Mac), and then paste it into your final product by pressing Control + V (Win) or Command + V (Mac).