
While using the adjustment brush in Lightroom, it can be difficult to see exactly what you’re painting on. Rather than going in blind and hoping for the best, there’s a hidden feature that allows you to actually see your brush strokes as you paint them.
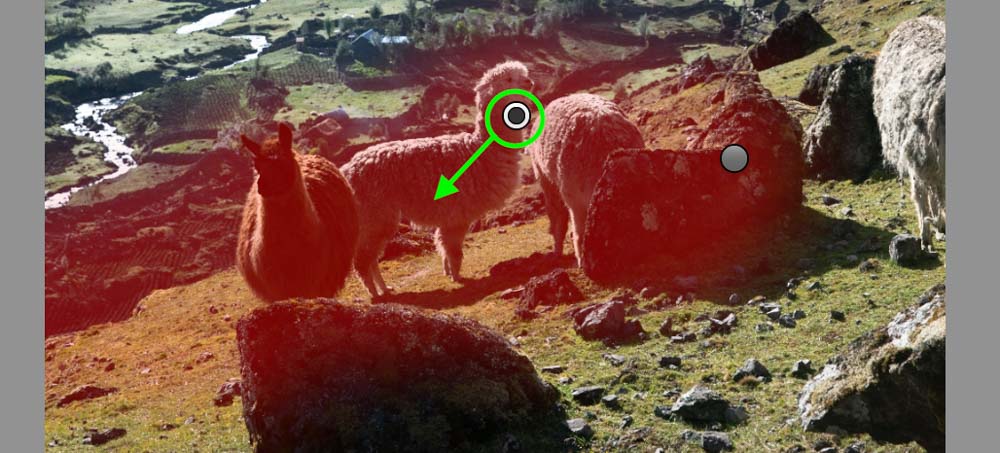
To see your brush strokes in Lightroom, first, select the Adjustment Brush (K) and begin painting over your image. With a new brush adjustment created, press O on your keyboard to view the mask. A red highlight will appear, indicating where your brush adjustments are taking place.
There are a few other ways to see your brush strokes in Lightroom without having the mask always visible, like with the above method. Let’s break down all your brush viewing options and how to edit them for the perfect selective adjustments!
How To See Brush Strokes In Lightroom
There are three ways to see your brush strokes in Lightroom. The first is to hover over the edit pin until a red highlight appears, indicating the mask. The second is to check off the “Show Mask Overlay” option in the toolbar. The final option is to press O on your keyboard to toggle your mask.
Let’s break down each of these options in more detail.
1. Hover Over The Brush Edit Pins
Whenever you create a new brush adjustment, an edit pin is created to represent that adjustment. These pins are little grey circles that appear black when they’re selected. You can only see your adjustment brush edit pins while the adjustment brush is selected in the Develop Module.
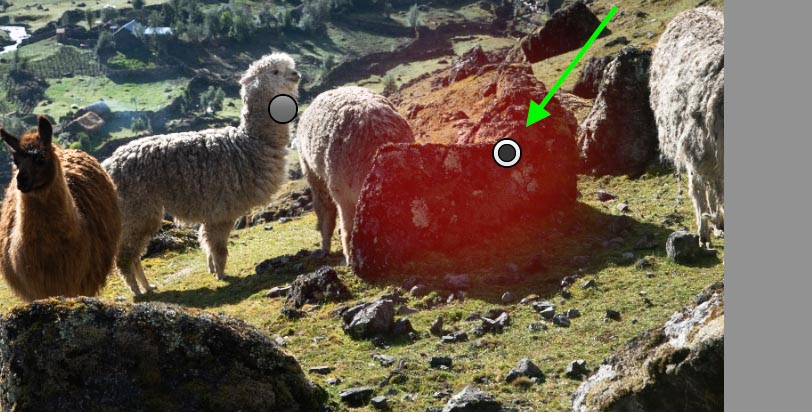
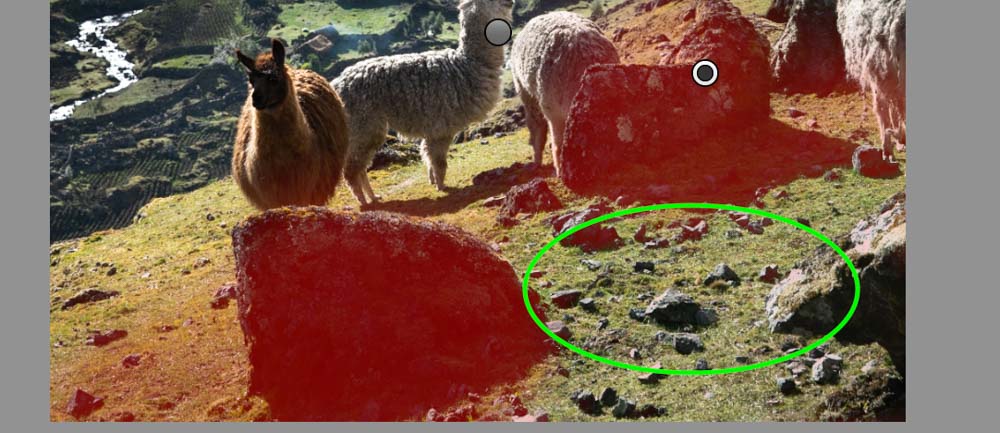
Since each edit pin represents different brush adjustments, you can simply hover your cursor over any of the pins to reveal the adjustment areas related to that pin.
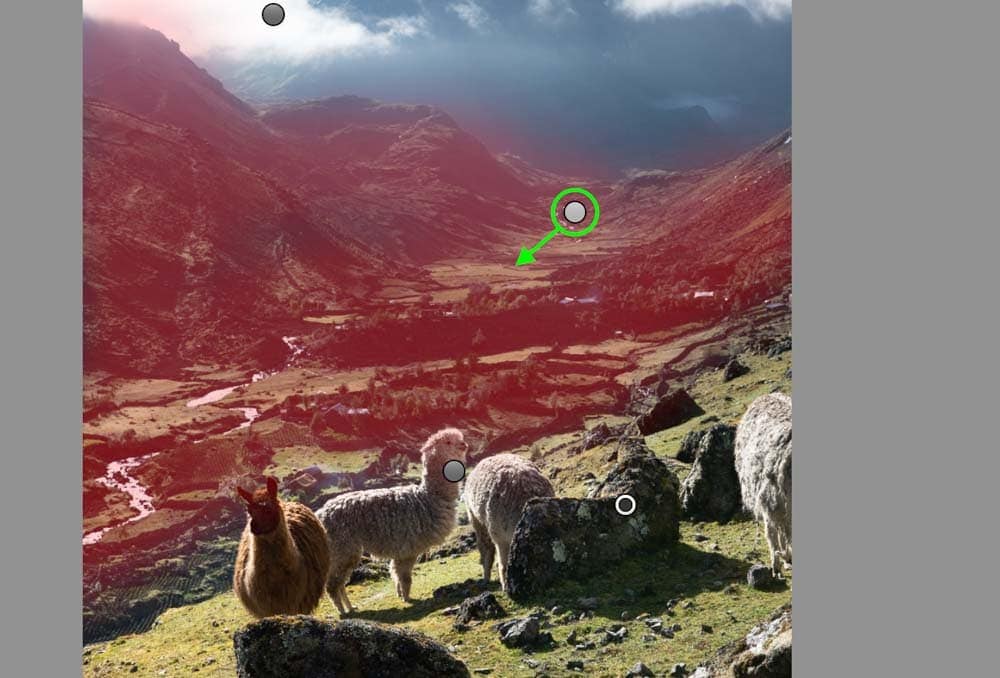
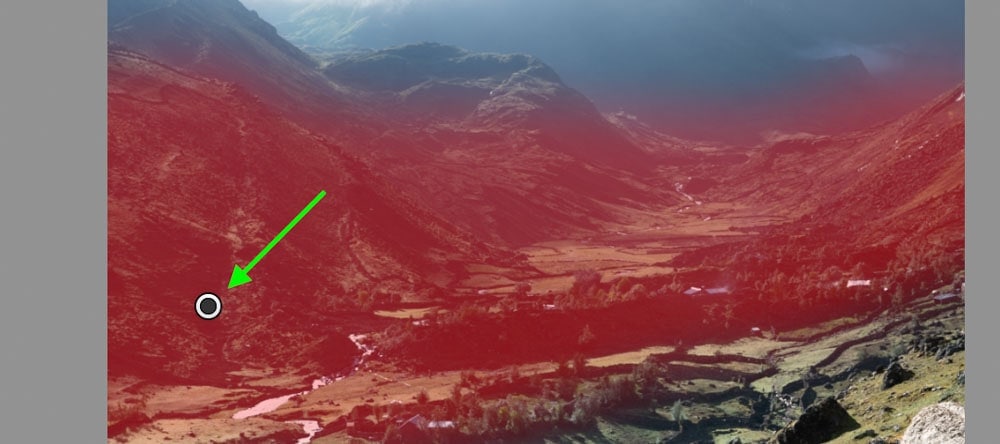
In this example, you can see that the red highlight is where this particular edit pin will adjust.
This hover option is a quick and easy way to view your masks after they’ve been created. Likewise, this method offers a great solution to view multiple brush adjustment masks at once. After finding the brush you want to work on, just click on the edit pin and begin painting as normal!
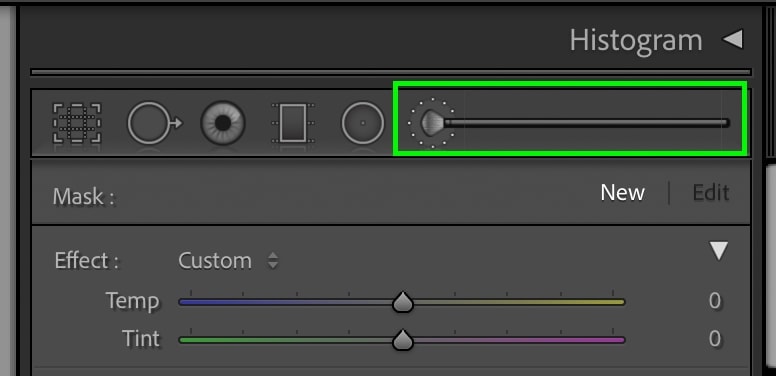
2. Check Off “Show Mask Overlay” In The Toolbar
If you’ve already selected an edit pin or have just created a new brush adjustment, you can check off the “Show Selected Mask Overlay” option found in the toolbar.
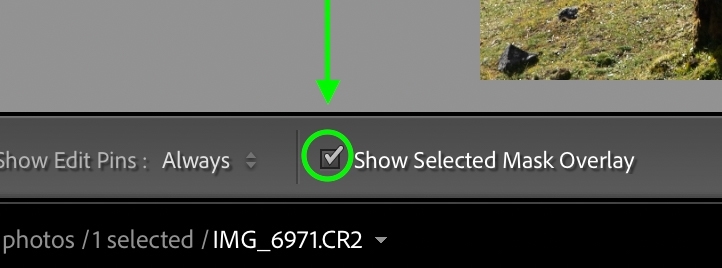
In some cases, you may not see the toolbar in your Lightroom window. Luckily you can toggle it back into view by pressing T.
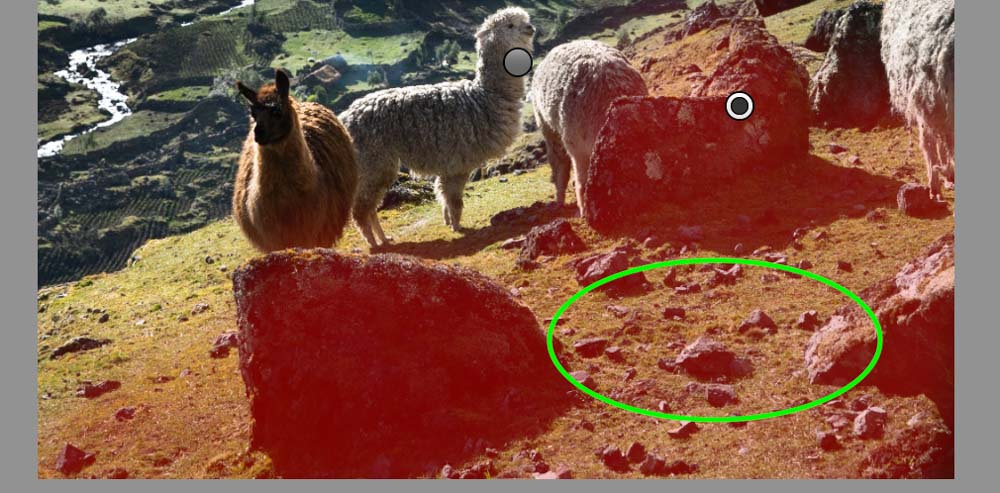
With this option checked, a red highlight will appear over your previous brush strokes, along with any new ones you create. This highlight represents your mask, just like in the previous option. The difference, however, is that now your mask is visible while you paint new brush adjustments.
This makes refining spot adjustments significantly easier than without the mask!
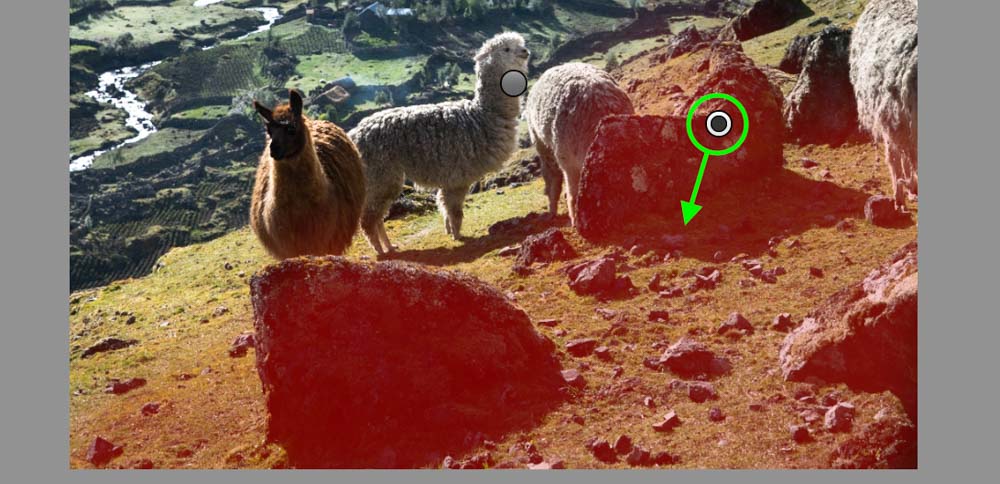
3. Press O To Toggle Your Brush’s Mask
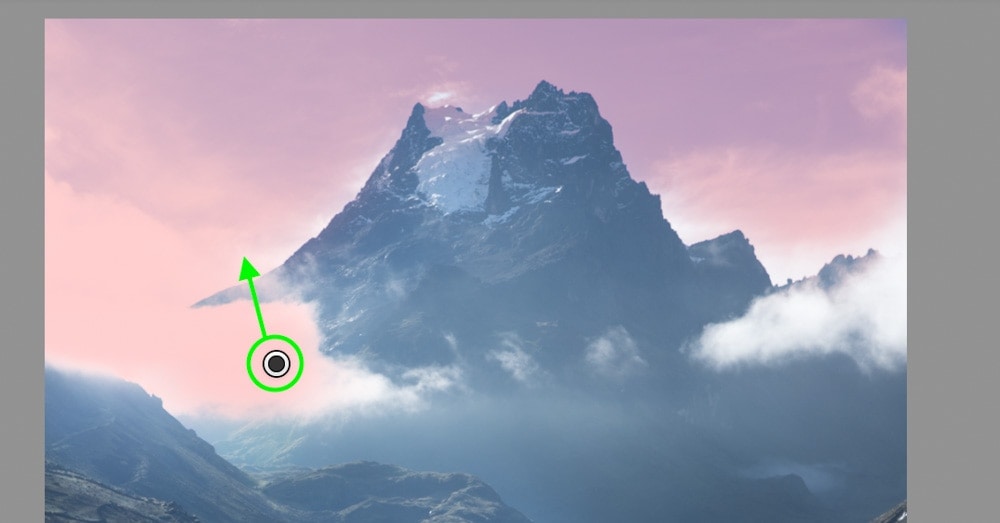
This option builds off of the previous, offering the same solution but in less time. By pressing O on your keyboard, you can toggle the mask (red highlight) for your active brush adjustments.
I always use this method to see my brush strokes in Lightroom because it’s so easy to turn the red highlight on and off. When I need to ensure my brush strokes aren’t spilling over an edge, I can turn on the mask. When I’m just making general adjustments, I’ll leave it turned off, so it’s not in the way.
With these three options, it’s easy to see your brush strokes while you work or to help you select which brush adjustment you want to edit!
How To Edit Brush Adjustments In Lightroom
To edit a brush adjustment in Lightroom, select the Adjustment Brush (K) and click on your desired edit pin. With the edit pin selected, begin painting over your image to add to your existing brush adjustment. Once complete, click Done in the toolbar.
Now there are three ways you may want to edit a brush adjustment in Lightroom. The first is adding to an existing adjustment, the second is creating a completely new one, while the final is removing unwanted brush strokes from a mask. Let’s break them down.
– Adding To An Existing Brush Adjustment
To add to an already created brush adjustment, select your Adjustment Brush from the upper panel or press K.
With the brush selected, all your edit pins will appear over your photo. Each one represents previous brush adjustments you’ve made on your image. Click on your desired pin to select it.
Now that your edit pin is selected, you can begin painting over your image to add to that selective adjustment. For example, if you wanted to darken a background but missed a few spots, this would be how to go back and fix it!
– Creating A New Brush Adjustment
If you’ve yet to create any brush adjustments, creating a new one is easy. Once again, start by selecting your Adjustment Brush by pressing K.
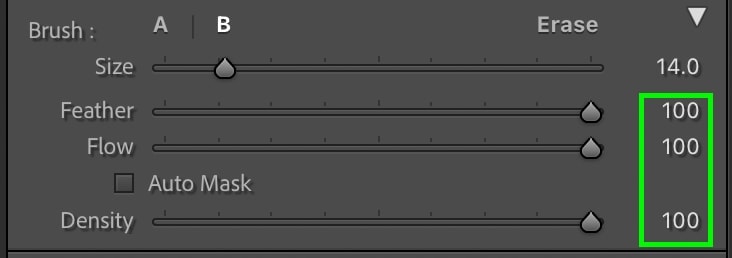
Now go to your brush settings panel and select the desires feather, flow, and density. If you aren’t sure about these settings, leave them all set to 100 for a good general-purpose brush. You can learn the advantage of customizing these settings in this post.
To begin adjusting your image, click and drag over the parts of your photo you want to edit. Using the three brush viewing options you learned earlier will help you see exactly where your adjustments will occur.
With your mask in place, work through your adjustment settings to create a new selective adjustment!
– Erasing Part Of An Existing Brush Adjustment
Unless you’re some Lightroom wizard, you will probably make a mistake or three while creating new brush strokes. Luckily you can easily remove unwanted areas using the eraser brush.
First, make sure the Adjustment Brush is selected and your desired edit pin is chosen.
Now hold the Alt or Option key to toggle the eraser brush. Continuing to hold down this key, paint over the areas of your mask that you want to get rid of.
Once everything looks good, let go of the Alt or Option key to go back to your regular Adjustment Brush!
While erasing your brush strokes, try pressing O on your keyboard to view your mask as you work. This makes it much easier to erase exactly what you wanted.
How To Delete Brush Adjustments In Lightroom
To delete an entire brush adjustment in Lightroom, select your Adjustment Brush (K) and click on the edit pin you wish to delete. With the pin selected, right-click on it and choose Delete. Alternatively, you can press the Delete key on your keyboard to speed up the process.
Now let’s break this down a bit more step by step.
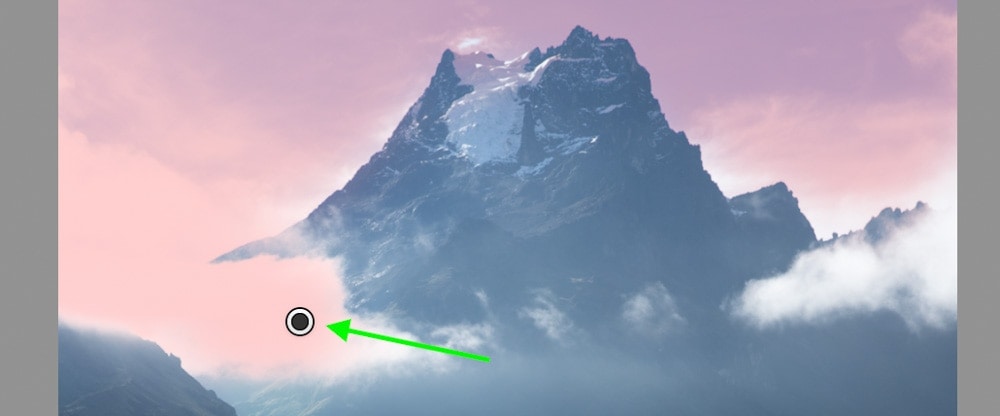
As usual, select your Adjustment Brush by pressing K. This adjustment must be selected, or the associated edit pins with this tool will not be visible.
With this tool selected, all your edit pins will appear. Click on the one you wish to delete.
Then right-click on that pin and choose “Delete.”
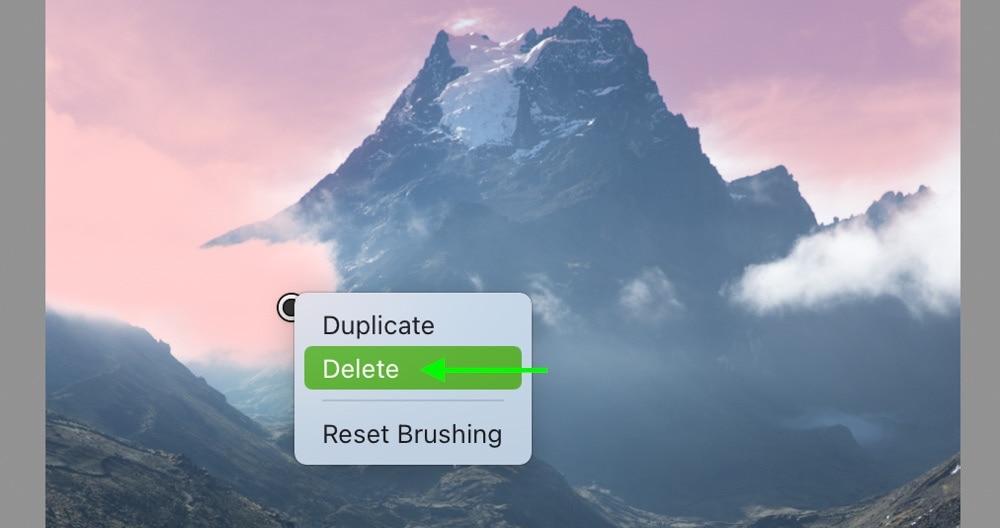
For a quicker option, just press the Delete key on your keyboard once the pin is selected.
And just like that, your brush adjustment has been deleted forever.
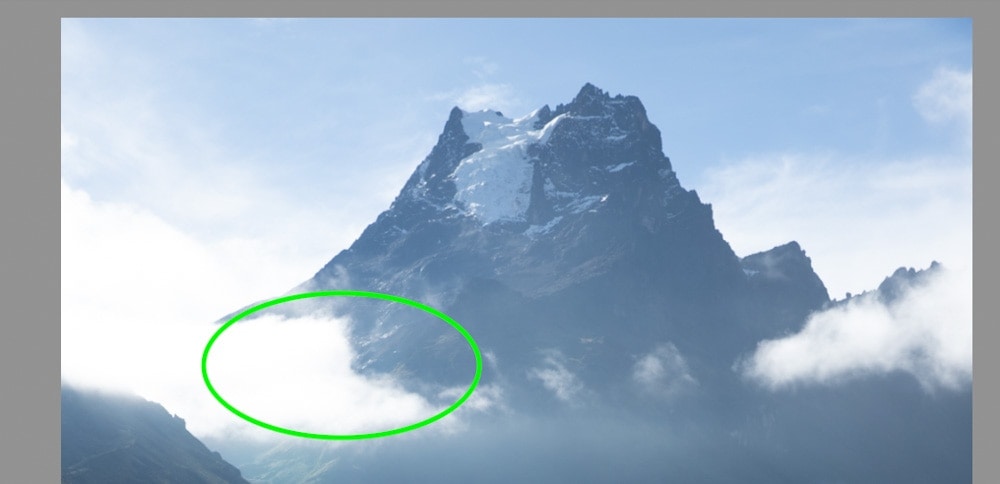
This is a perfect option if your brush adjustments are beyond saving and cannot be edited with the steps you learned in the previous section.
How To Show Or Hide Brush Edit Pins In Lightroom
To hide or show brush edit pins in Lightroom, select the Adjustment Brush (K) and go to the “Show Edit Pins” option in your toolbar. Here you can choose between Always, Auto, Selected, or Never depending on how often you want to see your pins. For general use, leave this option set to Auto.
If you don’t see this option, it’s likely because your toolbar is hidden. To bring it back into view, press T on your keyboard.
Clicking on the arrows beside “Show Edit Pins,” you can choose between the provided options.

If you never want to see your edit pins, you can set this to “Never,” but you will have a hard time going back to edit your brush adjustments in the future.
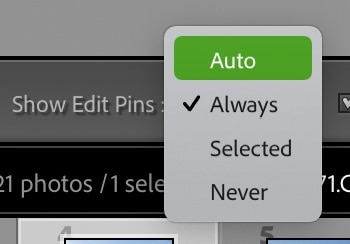
Instead, leaving the Show Edit Pins option to “Auto” gives you more flexibility. With this setting, your edit pins are invisible while your cursor is away from the image, giving you an uninterrupted view of your edit. Once your cursor goes back over your image, all your edit pins pop into view and can easily be selected again!

So now that you can actually see your brush strokes in Lightroom, selective adjustments are about to get a whole lot easier. To learn more about all the important details of selective adjustments in Lightroom, check out this guide.
Happy Brushing!
Brendan 🙂


