
Masks in Camera Raw are one of the most useful tools a photographer can use, as they allow you to make edits to a specific area of your photo, rather than the entire image. This allows you to fix up certain details on the image such as correcting the color of the foreground without affecting the background.
Another way to use the masking tools is when you have found the perfect exposure for your image, but a certain area still seems under or over-exposed. Masking allows you to create an adjustment covering that specific area so that you can edit the exposure without altering the rest of the image.
Let’s have an in-depth look at all the different mask options available and how to use them.
How To Create Selective Adjustments In Camera Raw
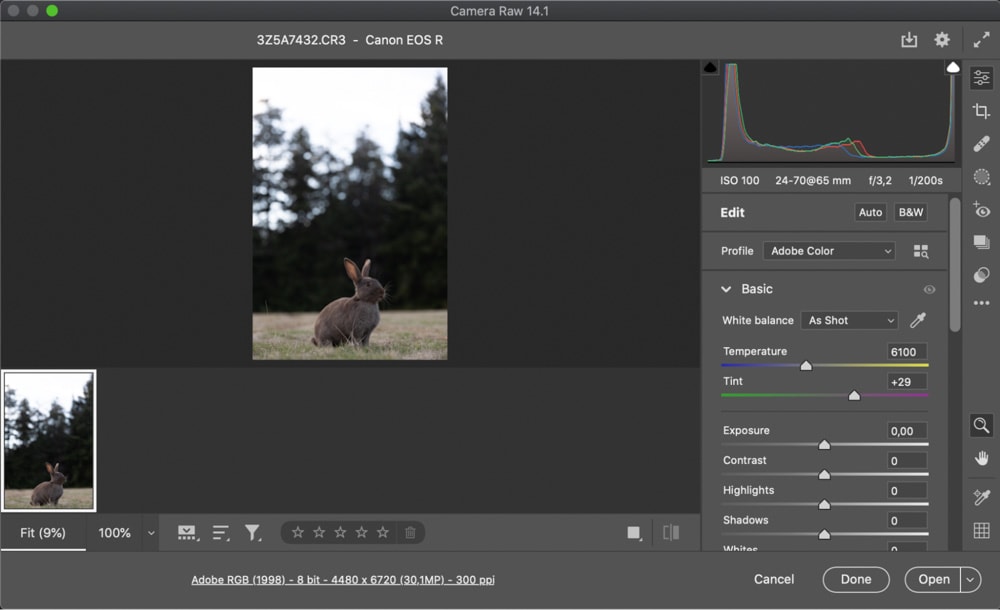
First, you will need to access Camera Raw. You can do this while working in Photoshop by simply opening the raw file of the image you’d like to edit. The Camera Raw workspace will open automatically in a new window.
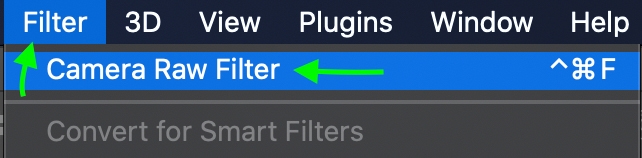
You can also access Camera Raw once you’ve opened an image by heading to Filter > Camera Raw Filter. This is a good option to use if you’d like to add masks to an image that isn’t a raw file, although this won’t convert the image into a Raw format, it will simply add edits to the image.
Once the Camera Raw window is open, navigate to the masking tools by clicking the masking icon in the right-hand toolbar.

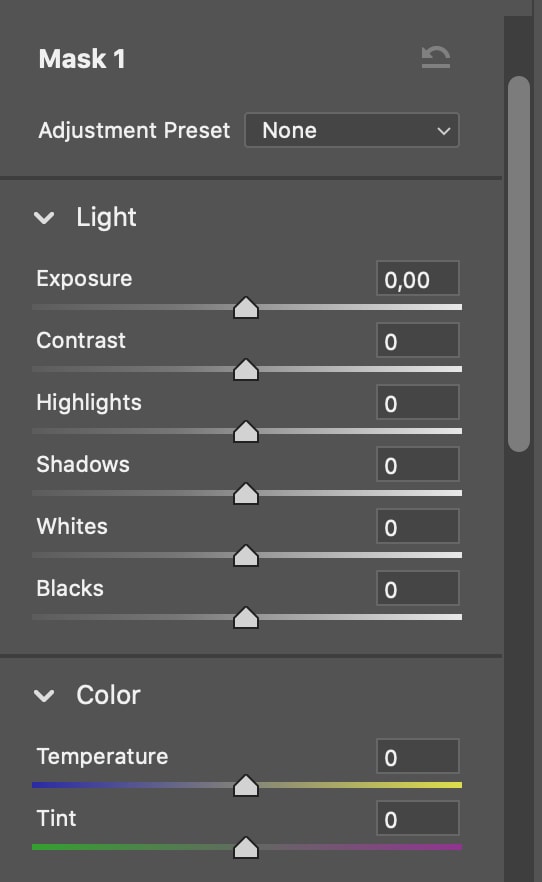
This will open the Masking workspace. Each of these masks will allow you to make the same adjustments in the areas of Light, Color, Effects, and Detail.
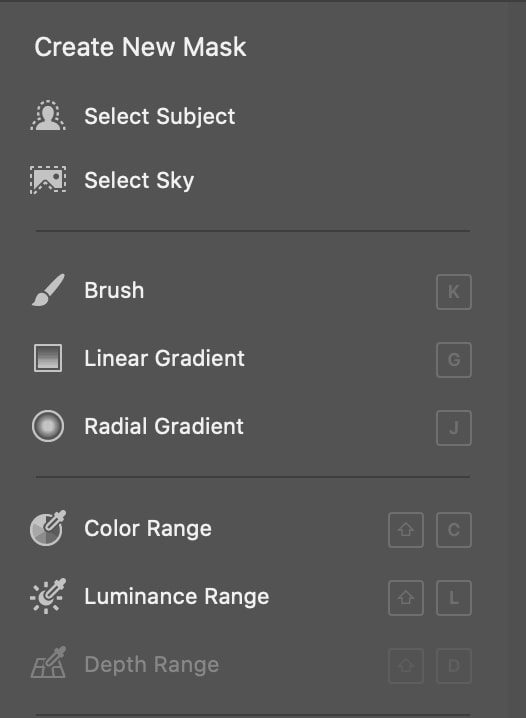
Let’s go through each of the Masking tools, how to use them, what they’re best used for, and the various settings that can help you fine-tune each tool’s masking capabilities.
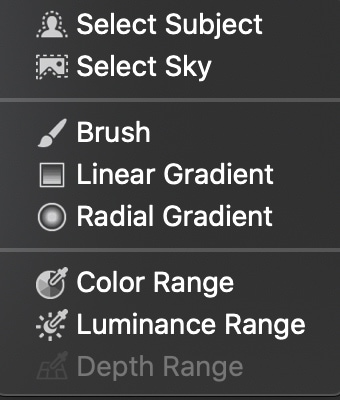
1. Select Subject
The Select Subject tool will automatically select the subject of your photo. The most common reason photographers would want to select and mask the subject is to emphasize it. There are various ways to do this, from adding sharpness or clarity, to playing with exposure and light to create more of a contrast between the subject and background.
This tool might not be the right masking option to use if you don’t have a clear subject in your image, such as with an image of a landscape.
To use this tool, click Select Subject from the Masking panel.
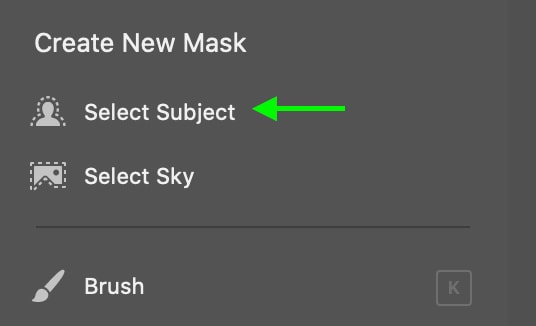
Photoshop will automatically detect and select the subject of your image.
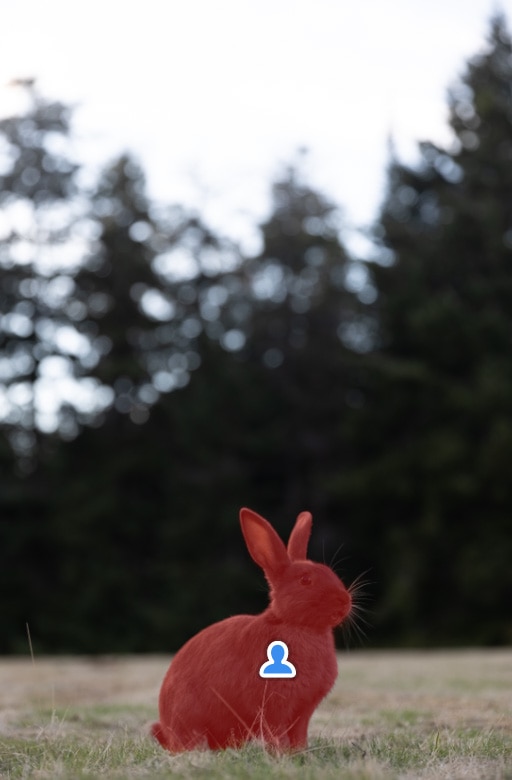
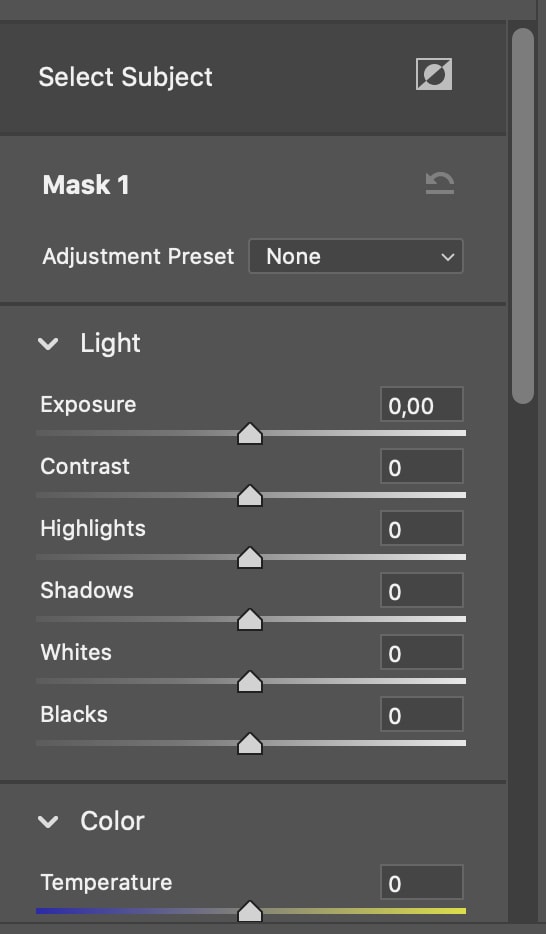
Now, you can apply any adjustments you’d like to make to your mask using the adjustment settings.
2. Select Sky
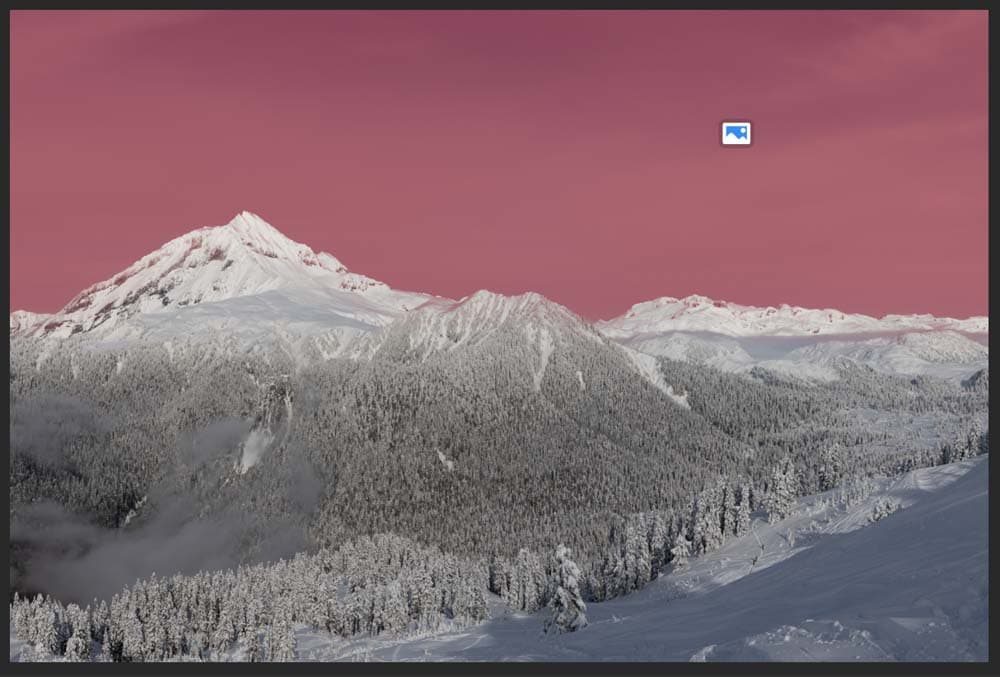
The Select Sky tool will automatically detect and select the sky in your image. Since exposure differences are common in photos that feature the sky, this masking tool is great for remedying those differences.
You can also use masking to add detail to the sky — for instance, if your image features a sky full of clouds that you’d like to emphasize by adding contrast or clarity.
To create an adjustment using this tool, click Select Sky from the Masking panel.
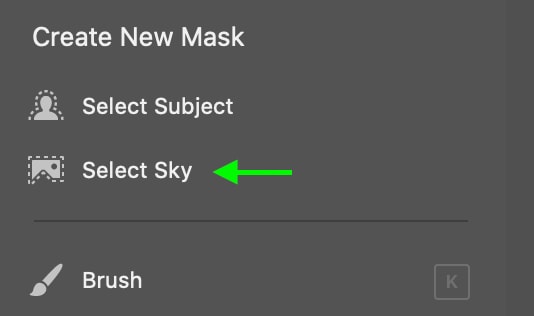
Photoshop will take a moment to automatically detect the sky, and the selection will appear on your image.
You can see all the adjustments you can make to this mask in the panel on the right.
Note: This may not be the best tool to use if your sky is partially or mostly covered by various elements, as it might not detect the sky correctly.
3. Adjustment Brush
The Adjustment Brush masking tool allows you to make adjustments by drawing a mask onto specific areas of your image. You can edit the size of the brush to help you get into smaller areas, or the feathering to ensure the mask you make blends seamlessly with the rest of the image.
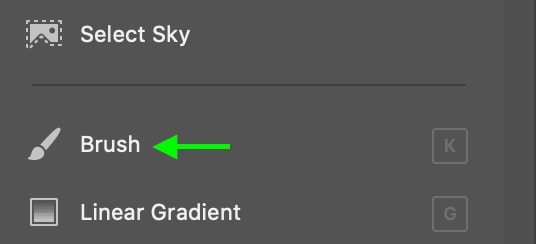
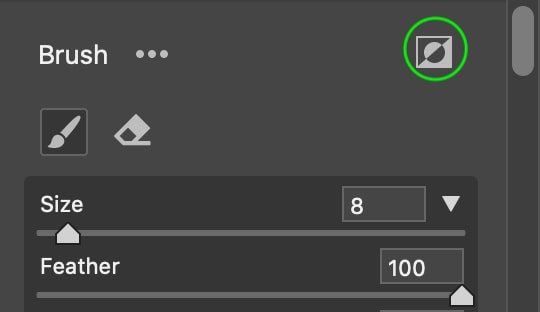
To use the adjustment brush, click Brush from the Masking panel.
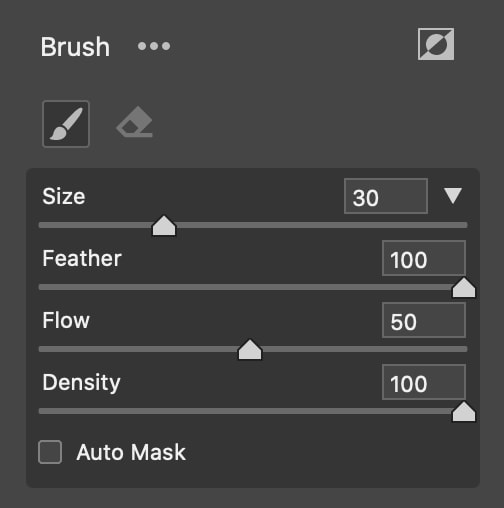
You’ll now see the different settings you can use to adjust the way the brush behaves.
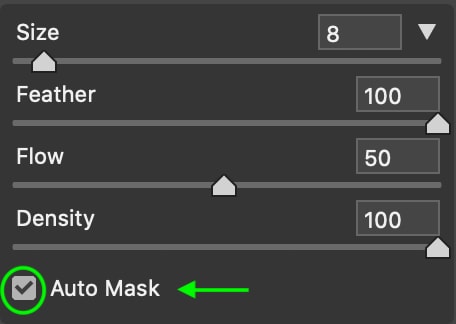
- Size will increase or decrease the size of the brush tip (measured in pixels).
- Feather will increase or decrease the softness of the brush’s edge to help with blending.
- Flow adjusts the rate at which the brush stroke is applied.
- Density controls how transparent the mask appears.
- Checking the Auto Mask setting will ensure the brush stays mainly on pixels of a similar color.
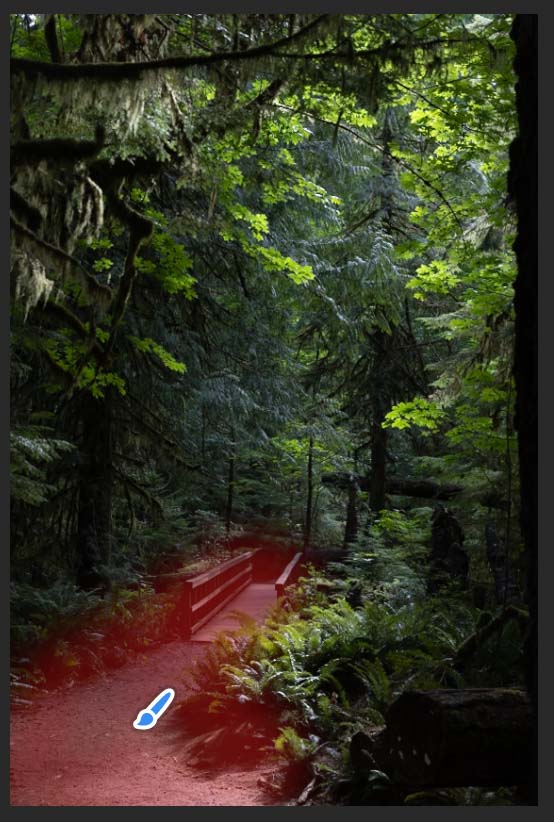
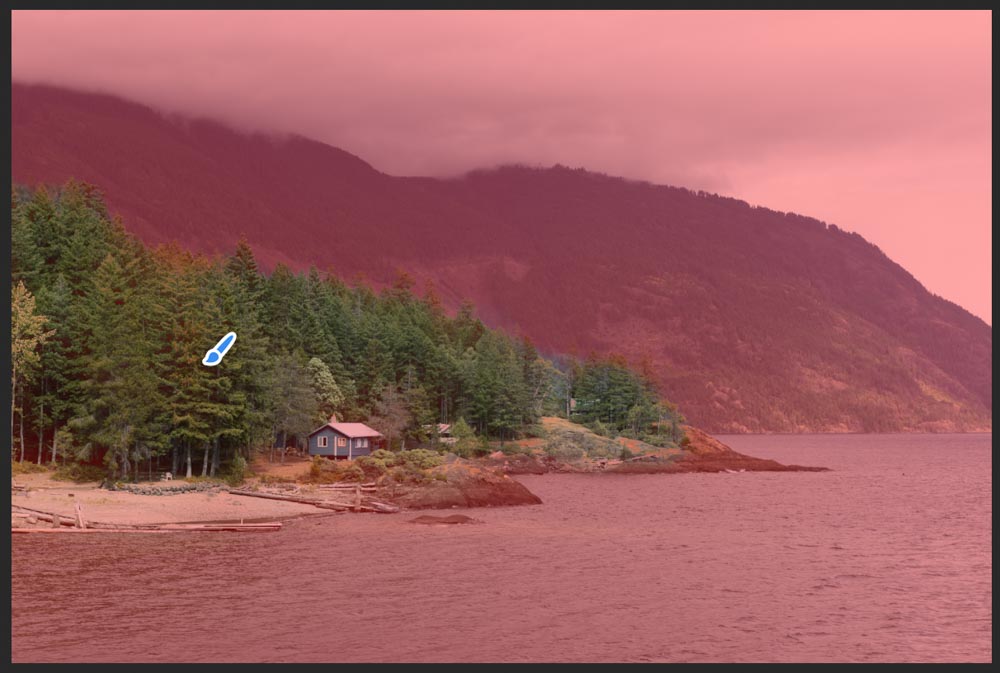
In the image below, I just want to adjust the bridge and the path leading up to it to make it stand out more. To do this, I’ll decrease the Brush Size so that it fits the smaller area I need to mask, keep Feather set to 100 to ensure it blends well with the background, and keep flow and density set to their automatic settings as I won’t need them changed in this instance.
While the brush has selected the correct area, the mask has extended a bit too far into the bush along the path. To clean it up, I can undo this mask by clicking Control + Z (Win) or Command + Z (Mac) and instead check the Auto Mask setting to automatically ensure the brush stays within areas of a similar color.
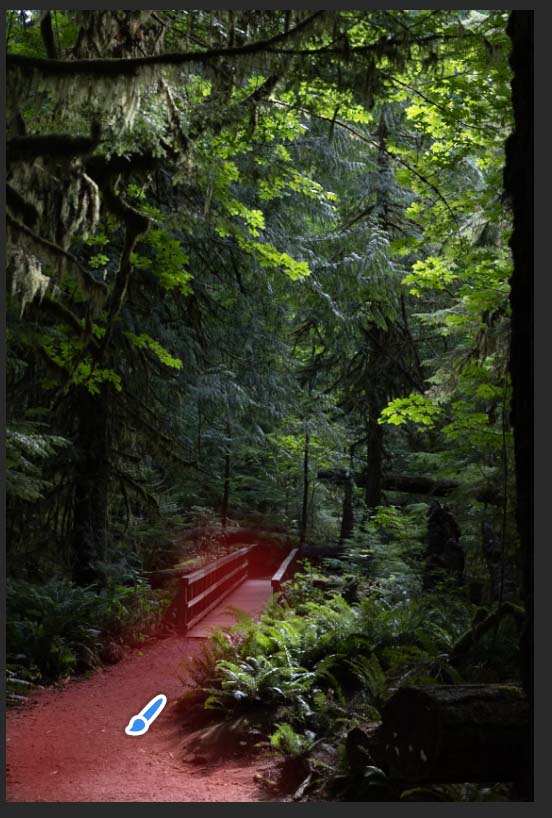
This mask is much cleaner than the previous and will allow me to brighten only the path and bridge and add some contrast so that it stands out against the darkness of the forest.
4. Linear Gradient
The Linear Gradient is a mask consisting of three lines in which adjustments are applied to the area of the image that sits on one side of the line.
The adjustments will fade out to blend with the rest of the image, creating a natural appearance and preventing harsh differences. The width between the lines is a gradient, meaning the fading will occur in the area between the two outer lines.
This is a great tool for landscape photography or any images that are sectioned somewhat linearly, whether horizontal, vertical, or diagonal. For example, if you’ve got an image with a horizon line, and you’d like to make adjustments only to the area below the horizon line, the linear gradient allows you to do so in a way that looks natural due to the soft, gradual fade that it creates.
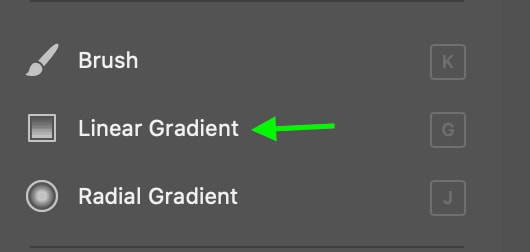
To use the Linear Gradient, select it from the Masking panel.
To add it to your image, click the area of your image you’d like it placed and drag left and right to adjust the angle at which the line sits. Hold Shift to keep the line straight, and click the red toggle in the center to move the line. Drag the outer two lines to increase or decrease the width of the gradient and adjust the amount of fading.
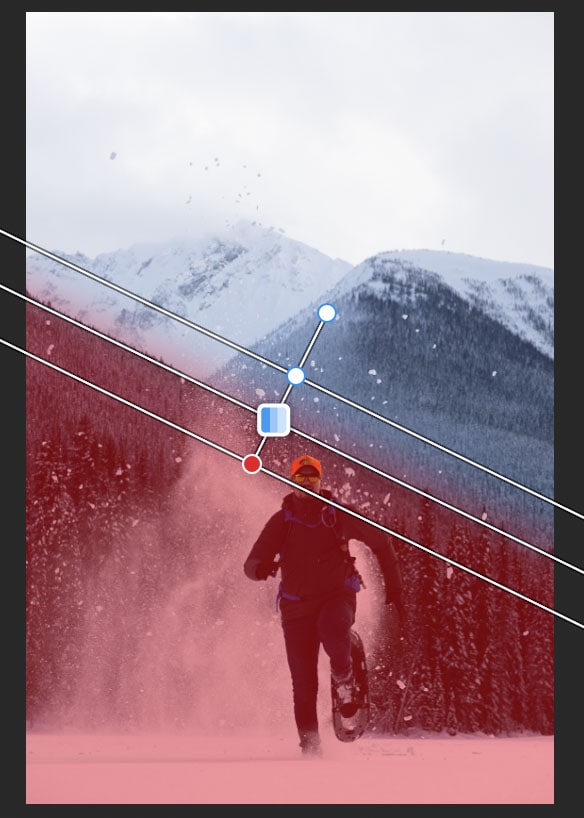
5. Radial Gradient
The Radial Gradient allows you to add an adjustment to an area either inside or outside an approximate radius. The adjustment will appear natural as the gradient effect helps it fade out and blend with the non-masked area.
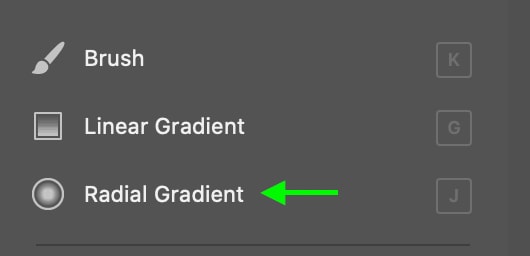
To create a radial gradient mask, click Radial Gradient from the Masking panel.
Now, click the area you’d like the mask to sit. You can move it once you’ve placed it on your image by clicking the blue dot in the center, and you can adjust the size by clicking and dragging any of the white toggles around it.

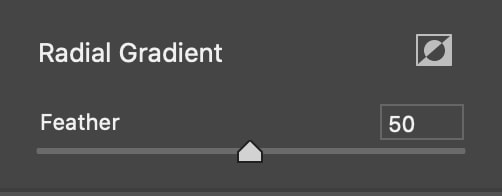
The Feather slider will adjust the amount of feathering outside of the mask to soften the edges of the adjustments you make.
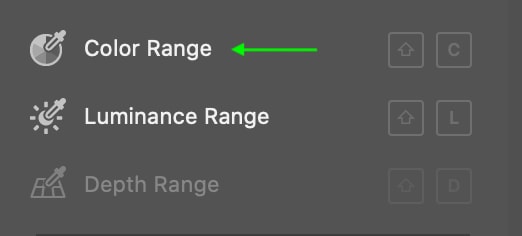
6. Color Range
The Color Range tool will select a specific color or range of colors that you can then adjust to your liking. This tool is most useful if you’ve got specific colors in your image that you’d like to adjust in some way, and might not work as well if your colors are mixed or otherwise not very contrasting.
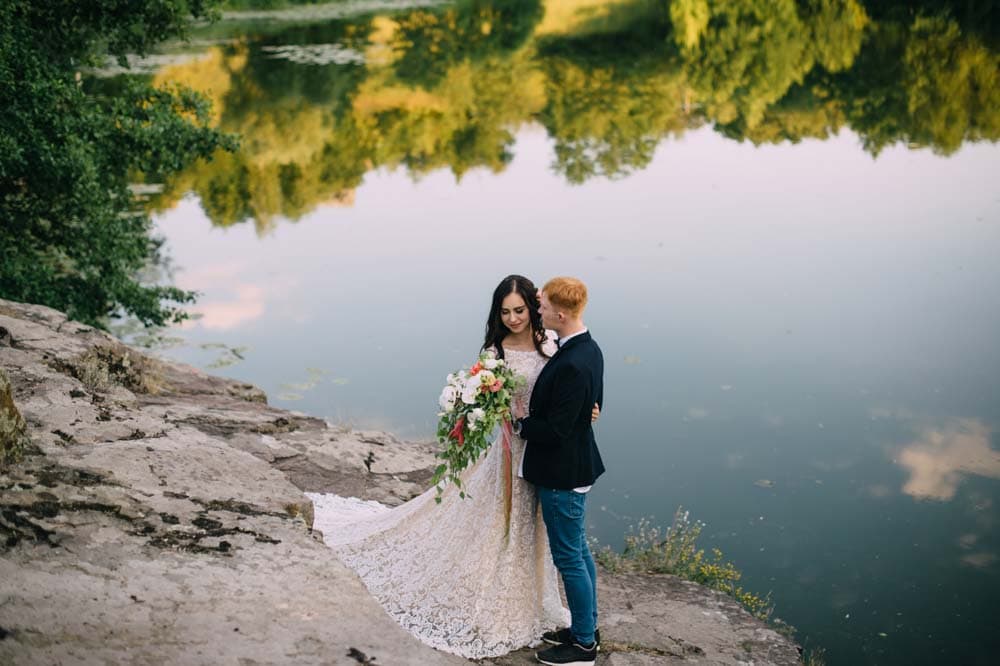
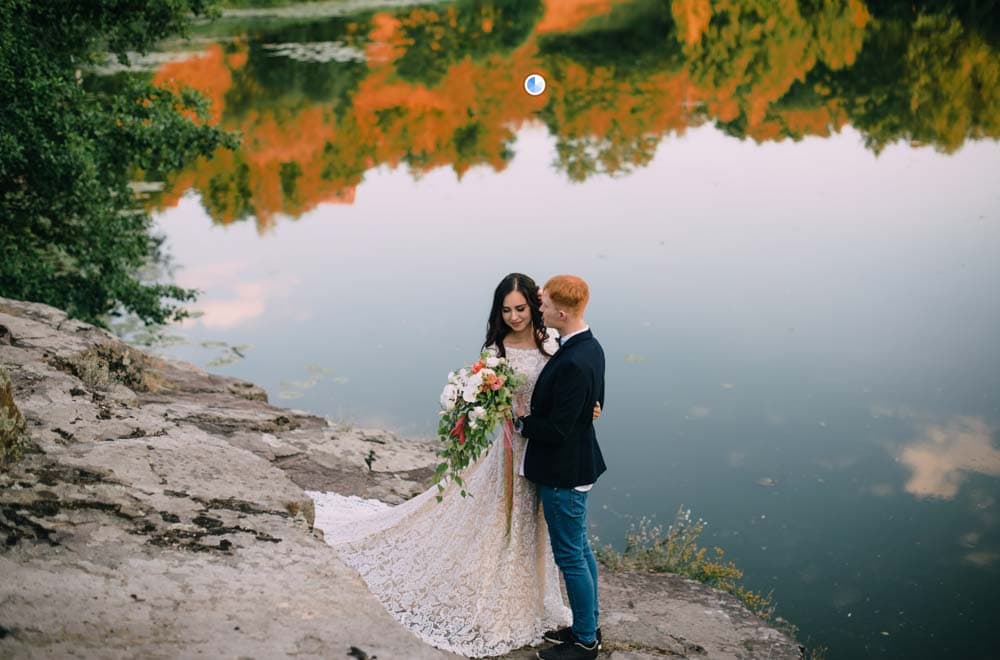
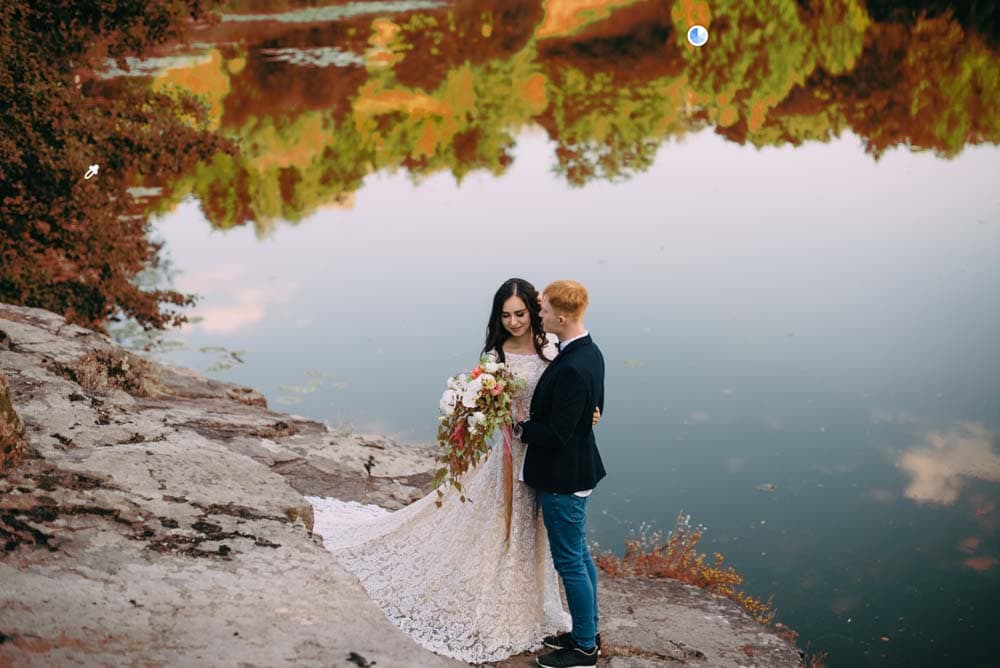
In the image below, for example, I’d like to bring up the vibrance of the greens.
To use this tool, click Color Range in the Masking panel.
Now, click and drag around an area in your photo containing the colors you’d like to adjust. In the image below, I clicked the lightest greens (the mask is shown in red).
I’d like to make all the greens more vibrant, so I can add more than one color to the mask by Shift + clicking a darker shade of green I’d like to add (you can add up to five colors).
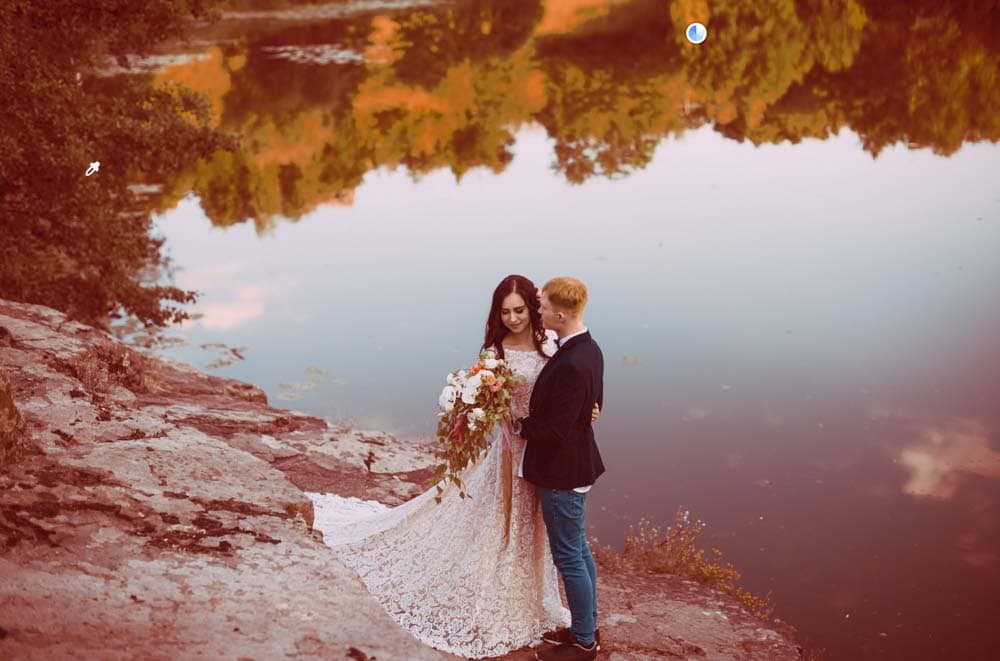
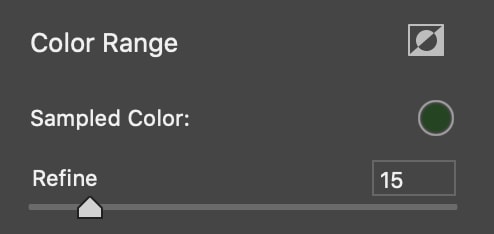
When selecting more colors it may create a mask covering almost the entire image. To narrow down the color range, I can use the Refine slider to increase or decrease the range of the colors the mask covers.
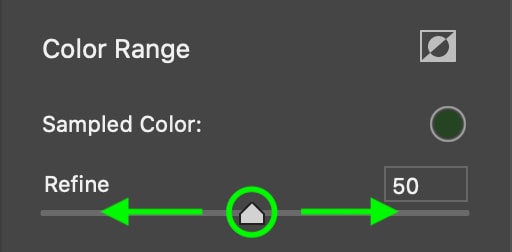
Refine is automatically set to 50, but I noticed the mask covered only the colors I wanted at around 15.
If you’d like to get rid of a color, hold Alt (Win) or Option (Mac) while clicking the color on the image that you’d like to remove.
7. Luminance Range
The Luminance Range tool allows you to select a brightness range and adjust it accordingly. This can be useful if your image has an issue with exposure in some areas, as you can select any over or under-exposed areas and adjust accordingly. You can also use this to highlight certain areas of an image.
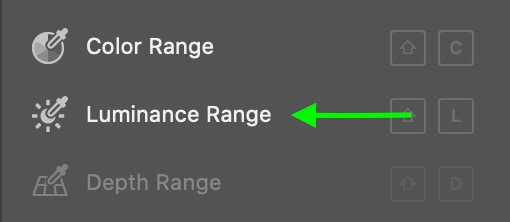
You can find the Luminance Range in the Masking panel. Click to select the Luminance picker and then click the area of your image with the brightness you’d like to alter.
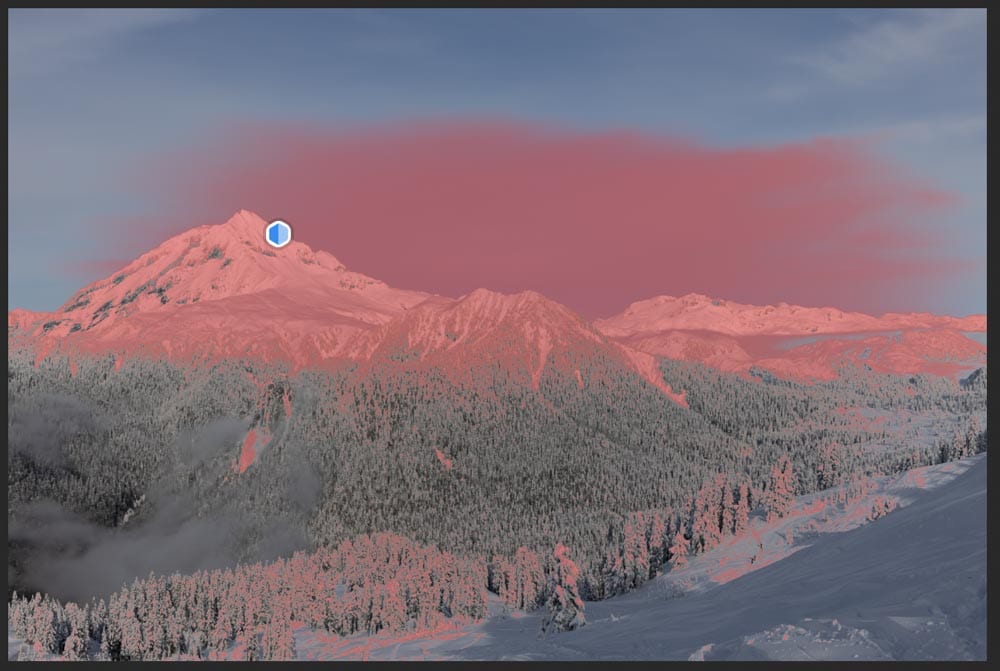
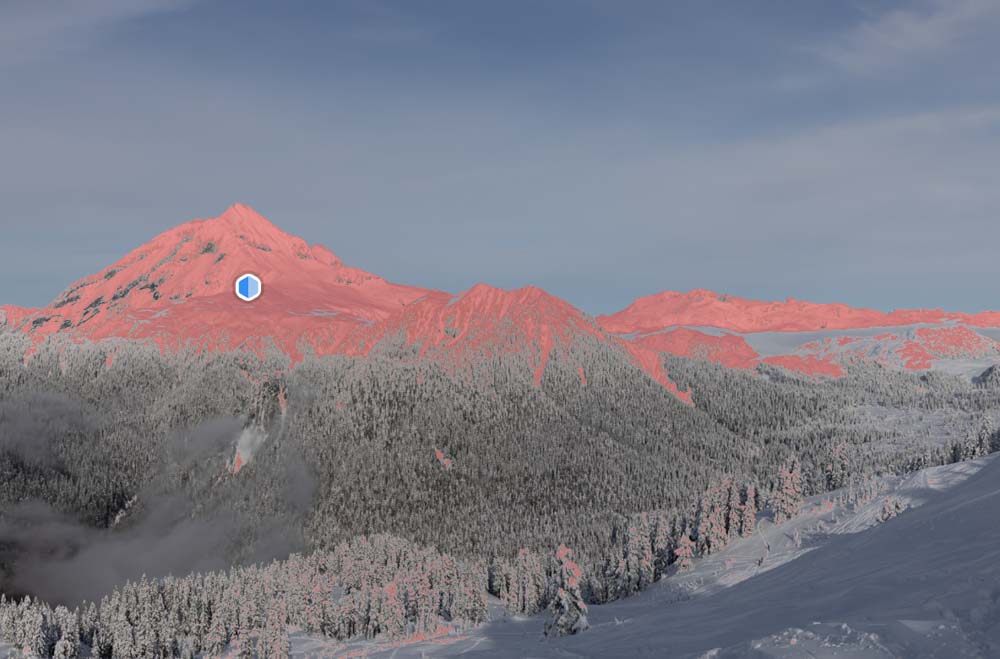
I clicked the lightest areas of the mountain, as this will allow me to increase the whiteness here and draw attention to the highlights in the snow and sky.
However, I’d rather focus mainly on the lightest areas here. Luckily, the Luminance slider allows you to increase or decrease the range of luminance the mask covers by clicking and dragging the slider.
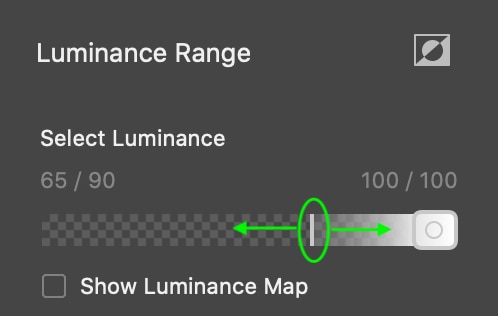
So, to ensure only the lightest parts of my image are masked, I will drag the slider all the way to the right.

This results in the mask only covering the brightest areas that I want to highlight.
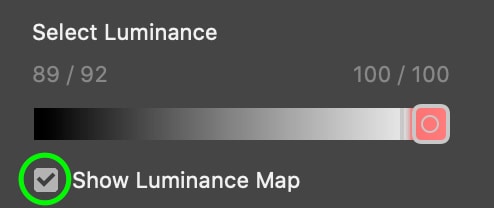
In some cases, it may be easier to tell the exact luminance of your image if the image is in black and white. Check Show Luminance Map to see a black and white representation of the luminance in your image. The red areas here show your mask.

8. Depth Range
Like the two tools above, the Depth Range tool allows you to mask over areas that sit a certain distance from the camera.
Click Depth Range to access the tool, click and drag to select the area with the depth you’d like masked. You can use the Select Depth slider to increase or decrease the depth of the area.
By checking Show Depth Map you can see the image in black and white, with white representing the foreground and black representing the background.
Note: Only certain cameras or phones create a depth map for images, and this option will be grayed out when the image doesn’t contain this information.
How To Edit Masks In Camera Raw
Once you’ve created your mask, you can make edits to it to adjust the area the mask covers. You can add to it, subtract from it, invert it so the adjustments you make are only applied to the outside of the mask, or intersect it with another mask you’ve added to your image.
All of these settings serve to give you more control over how your mask behaves and how your image looks.
1. Adding To A Mask
It can be useful to add to a mask you’ve created if you’d like to increase the size of the mask to include other areas of the image when making adjustments.
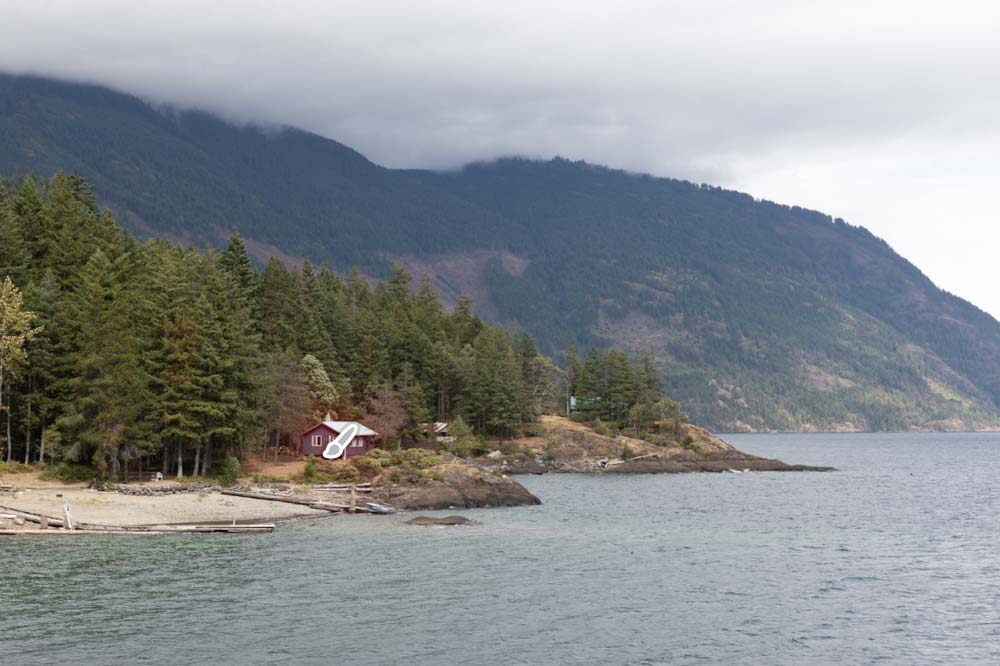
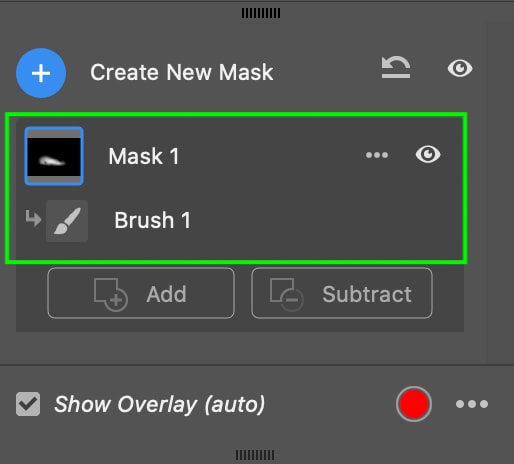
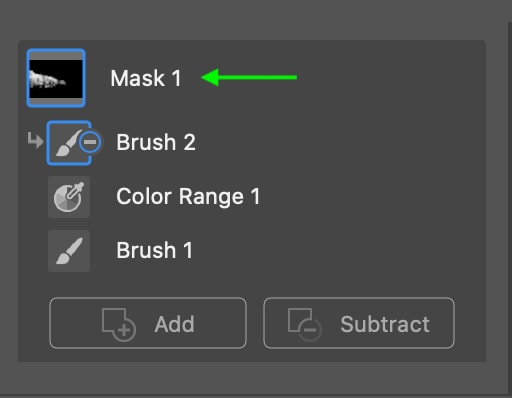
If you want to add to an existing mask, you can access your masks at the top of the masking panel. Below, Mask 1 is named Brush 1 because I’ve brushed the mask over the house.
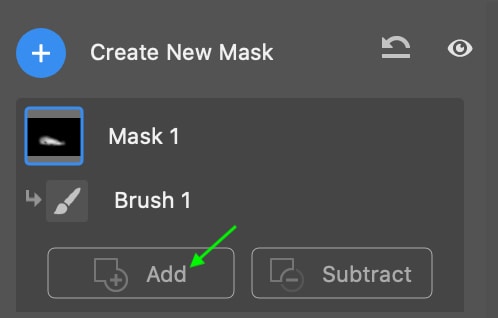
To add to your mask, click Add, and in the options that come up, select the type of mask you’d like to add to this one.
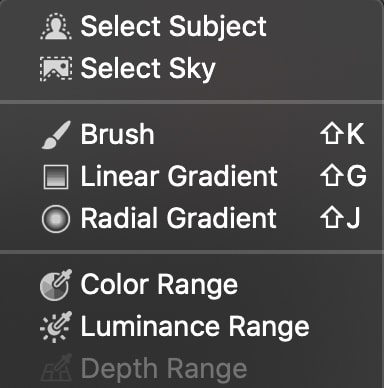
I’ll select Color Range and click the trees, as I’d also like them to be in my mask. You can add as many masks as you’d like by clicking Add.

2. Subtracting From A Mask
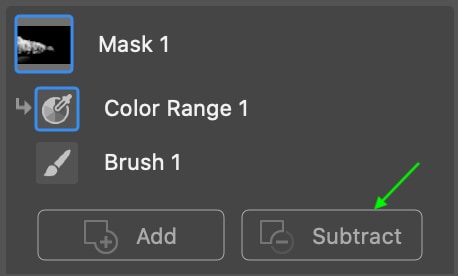
If your mask inadvertently covers some areas that you don’t want to adjust, you can subtract from your mask easily by clicking Subtract and selecting the tool you’d like to use to subtract from the mask.
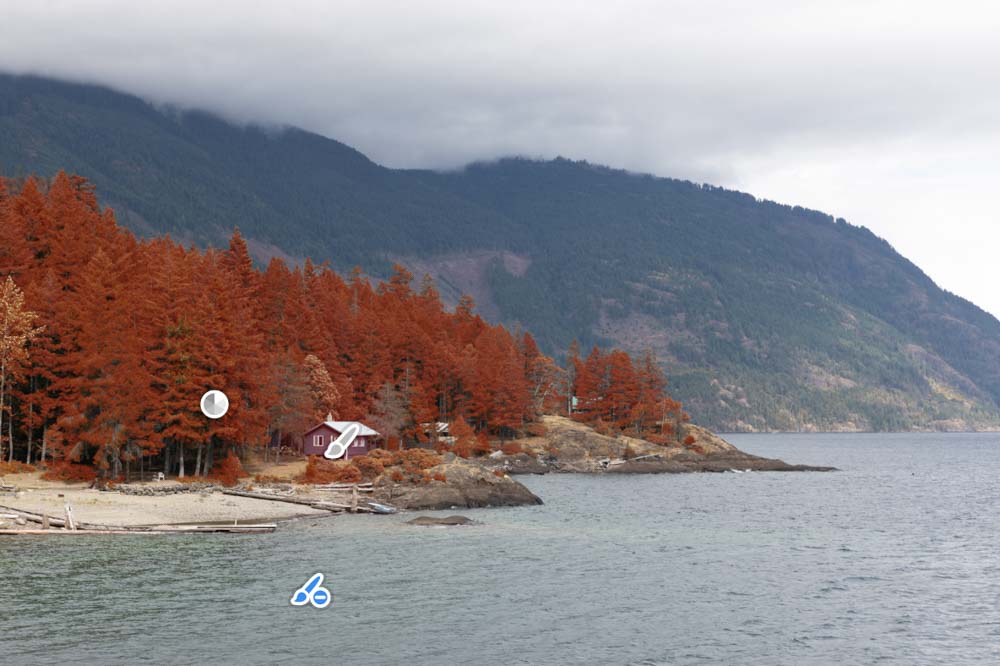
This is useful as it allows you to subtract using any of the available tools, giving you a variety of options for erasing parts of your mask. You can remove only the highlights, for example, or only one color. You can also use the brush to erase a specific area from your mask, as I’ve done below to remove the areas with water from my mask using the Brush masking tool.
3. Intersecting With An Existing Mask
You can click the menu next to a mask and select Intersect Mask With to create a new mask that will intersect with the active mask.

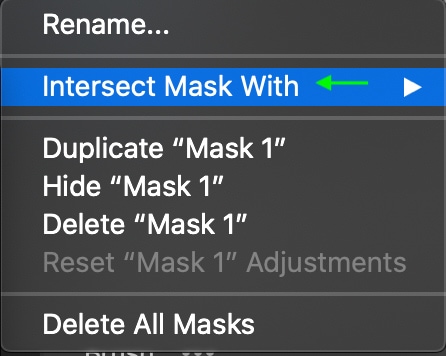
You can then select the mask you’d like to intersect this mask with from the options.
This new mask will combine its adjustments with the area of the mask it covers. This can give you even more ways to edit specific areas of your image.
4. Inverting A Mask
You can easily invert masks so that the adjustments are applied on the outside rather than the inside, by clicking the Mask you’d like to invert, and then clicking the Invert icon.
This will switch the mask so that it appears to cover only the areas outside what you created.
With these new skills in Camera Raw, you can make more specific and controlled adjustments that truly make your photos stand out! These tools are often easier to use and less confusing than layer masks in the main Photoshop workspace, so this is something every photographer should take advantage of! Luckily if you’re familiar with the selective adjustment options in Lightroom, these tools will feel very familiar to you!
Happy Editing!


