
With so many masking tools available in Lightroom, it can be hard to decide which one you should use to make local adjustments to a photo. While different images may require different masks, the Range Mask in Lightroom is the best mask to use if you’re trying to mask a specific color or exposure.
Range masks can provide more natural and accurate results than other masks. You just need to know how to use them.
What Is Range Masking In Lightroom?
Unlike a regular selective adjustment that applies to broad areas, range masks allow you to refine your adjustment based on selected exposure or color ranges. This makes it easier to target your adjustments or even balance your exposure with spot adjustments based on color or brightness attributes in your photo.
There are also depth masks available, but you likely won’t be able to use them with most professional digital cameras. Depth information is typically only captured by some modern phones.
The Range Masking tools are often preferred to the other Selection Masking tools, such as Select Sky or Select Subject. The Selection Masking tools can sometimes make the edges of the masks look uneven and pixelated, resulting in a less realistic appearance once you apply adjustments to the mask. The Range Masks, however, generally keep the edges smooth and feathered so that the adjustments blend into the background more naturally.
Color Range VS Luminance Range Masks
The two range masks available for you to use are the Color and Luminance Range Masks. These two work similarly as they apply a mask to a specific range of values within the photo, leaving the rest of the image untouched.
The Color Range and Luminance Range Masks will give you an eyedropper so you can click an area of your image to use as the sample color or exposure. You can then further refine the masks using the sliders. However, as their names suggest, the Color Range masks a set of color values, while the Luminance Range masks a particular exposure.
Therefore, the Color Range Mask works best when you’re trying to edit an area of the image that has an area of consistent color – a blue sky, for instance, a large area of trees or land, or even a solid-colored object or piece of clothing.
The Luminance Range Mask works best to mask a specific exposure range, such as all the highlights in an image, all the shadows, and any exposure in between.
How To Use Color Range Masks In Lightroom
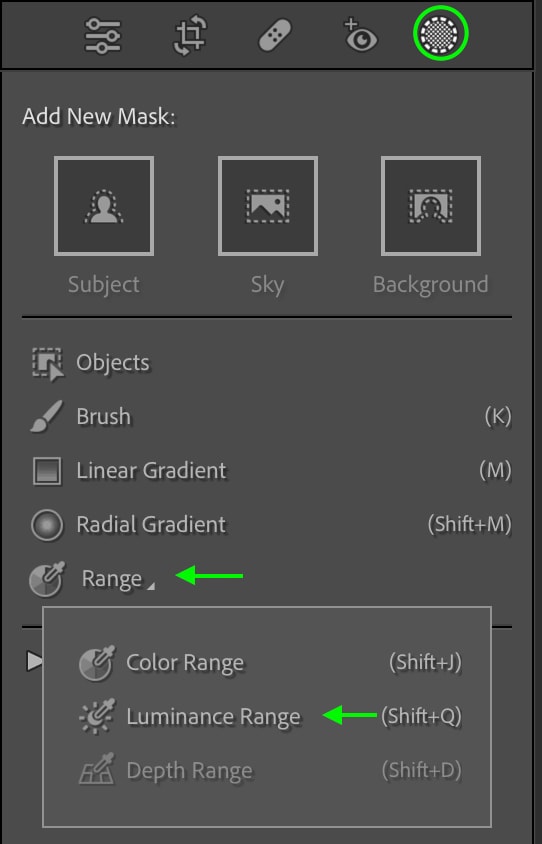
You can find the range masks by clicking the Masking icon in the Develop Module.
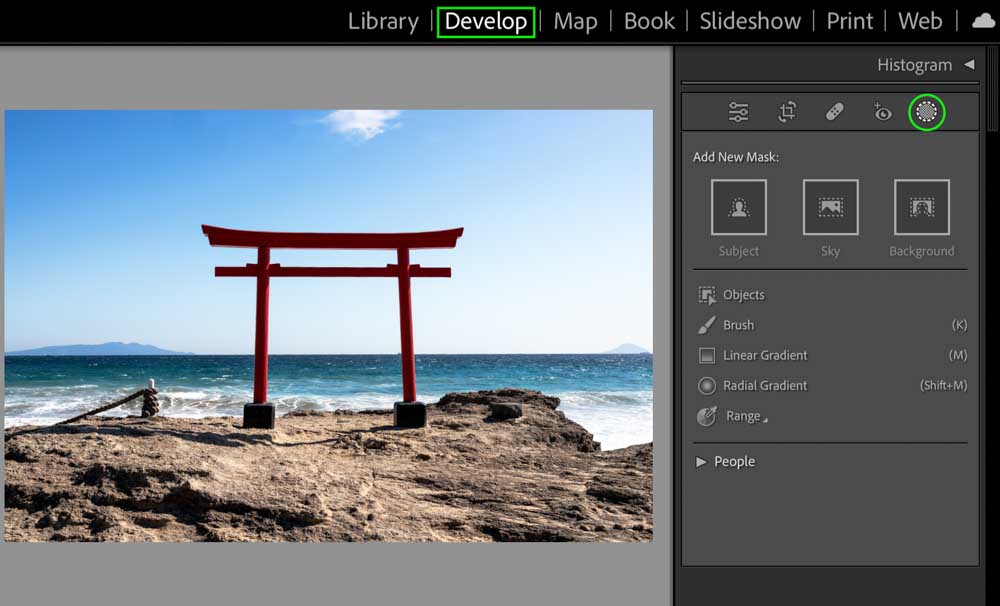
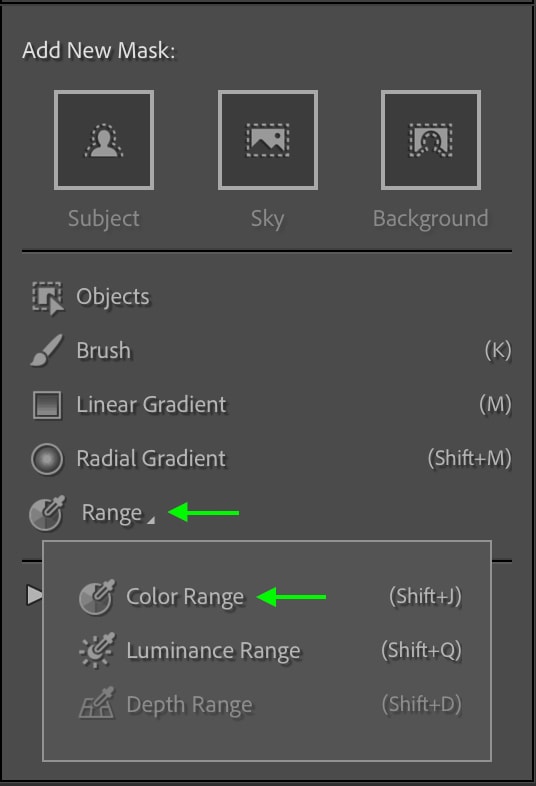
You’ll see the different masking tools appear. Click Range from the options and select Color Range.
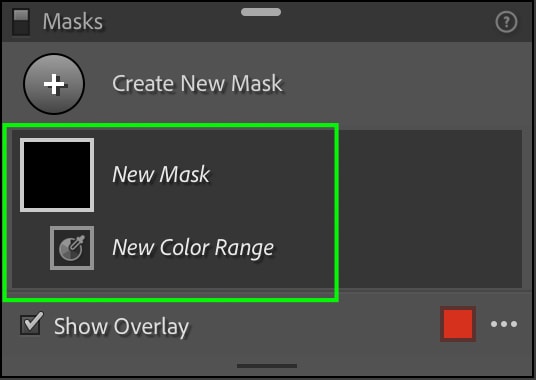
The Mask Panel will appear with the New Color Range Mask listed.
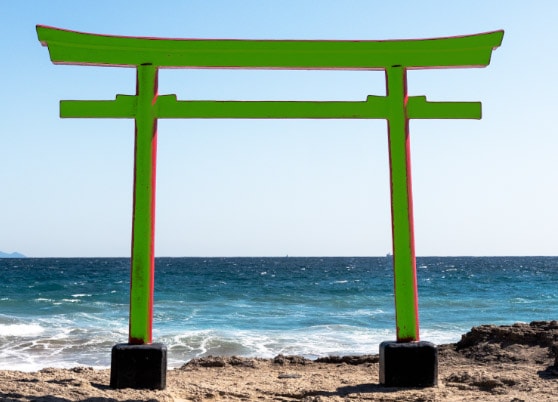
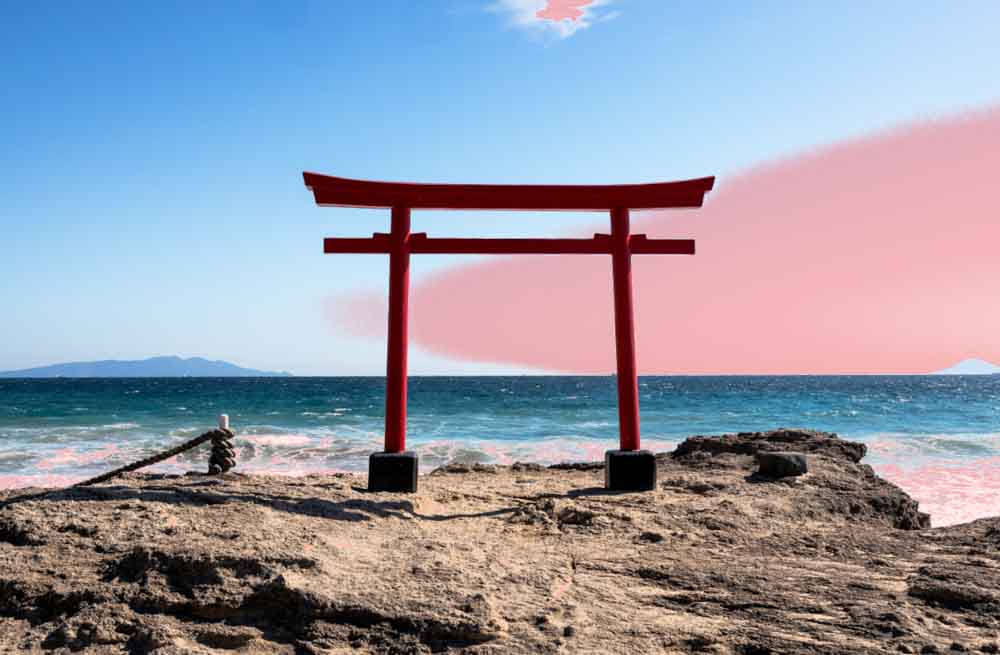
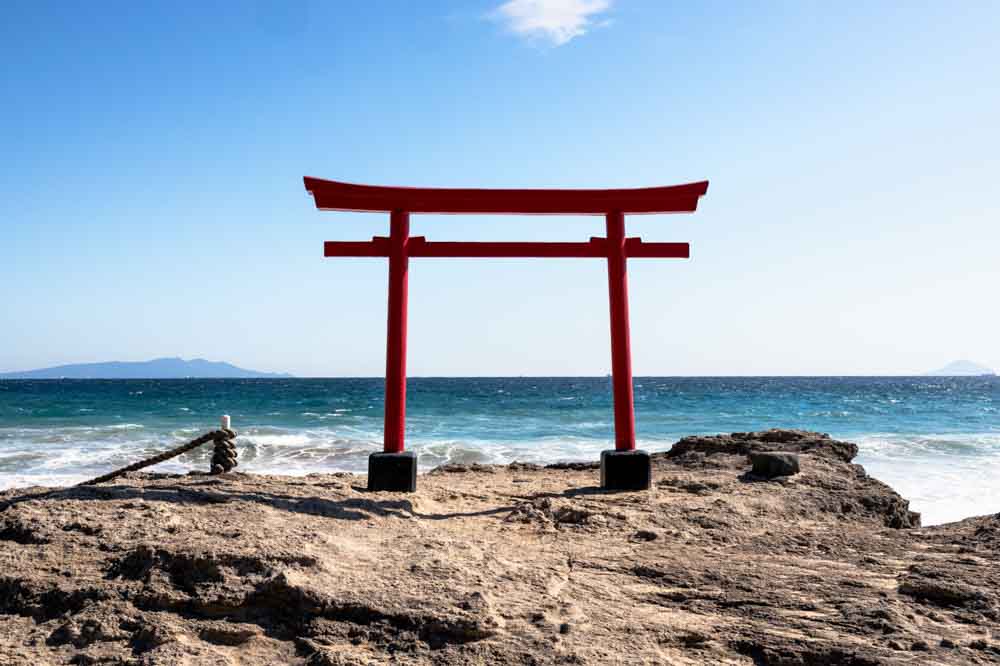
Next, you’ll have to define the color range that the mask will cover. You’ll see your cursor has changed to an eyedropper icon, so click the color you’d like to mask in your image. For my purposes, I’ll mask over the red structure.
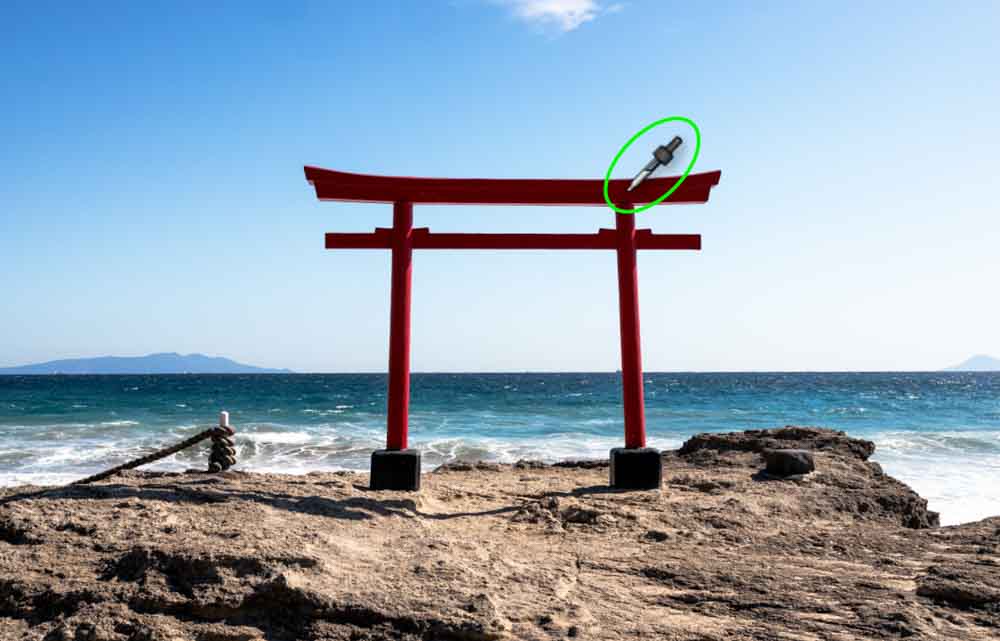
Now, any colors similar to that of my sample will be added to the mask.

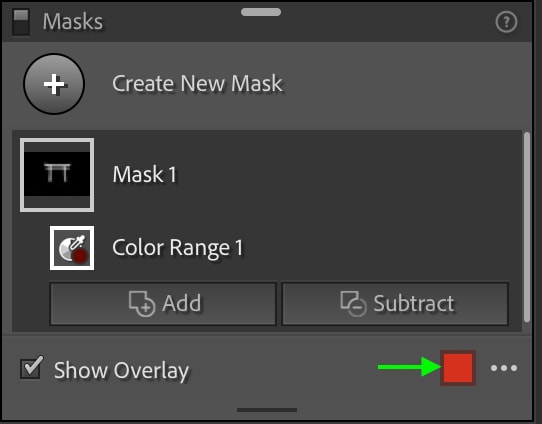
However, because the item I’d like to mask is already red, and the default color of the mask is red, I can change the color of the mask in the Mask Panel by clicking the Color Picker Box and selecting a different color.
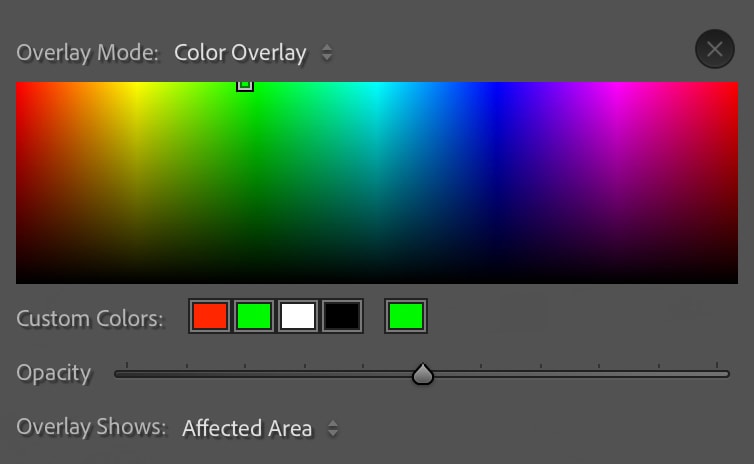
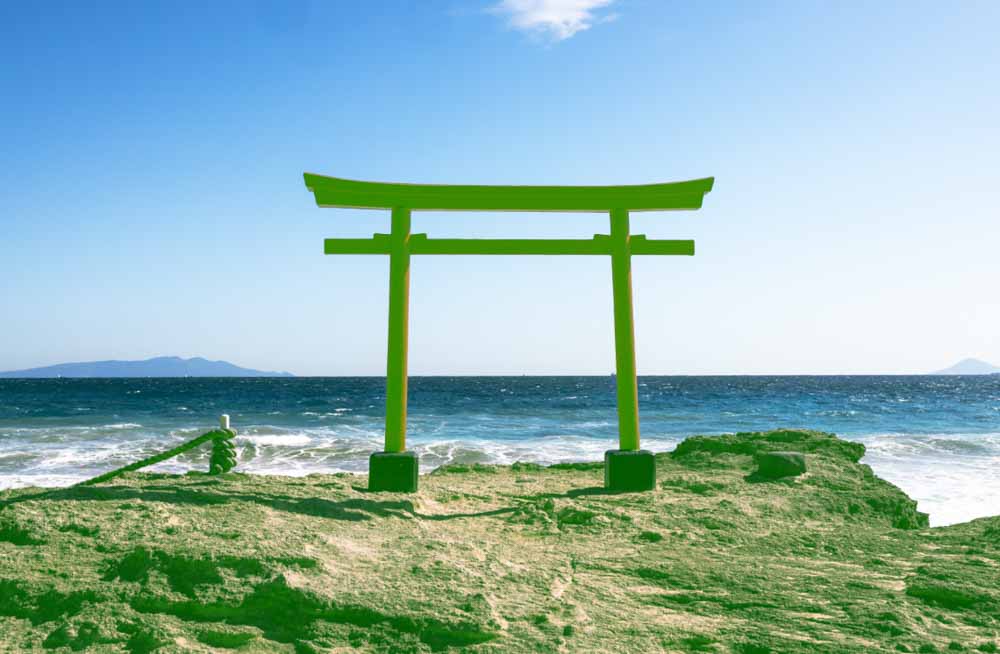
I can now see the green mask better as it covers the structure.
If you’d like, you can use the refine slider to increase or decrease the color range. If you move the toggle to the left, the mask becomes more sensitive (and likely a bit smaller) and only includes colors closest to the color of the pixel you clicked as your sample. If you move the toggle to the right, the mask will increase to include more pixels similar to the sample color.
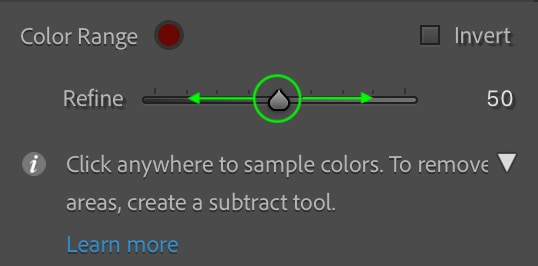
Click and drag the toggle right to extend the range and include more similar colors in the mask.
Or, drag the toggle left to reduce the included colors to ones that match the sample you clicked as close as possible.
It is best not to drag the sample all the way to the left, as this will reduce the mask only to colors that match the specific pixel you clicked – it may not even include the entire area of the color you chose. Somewhere in the center is usually best.
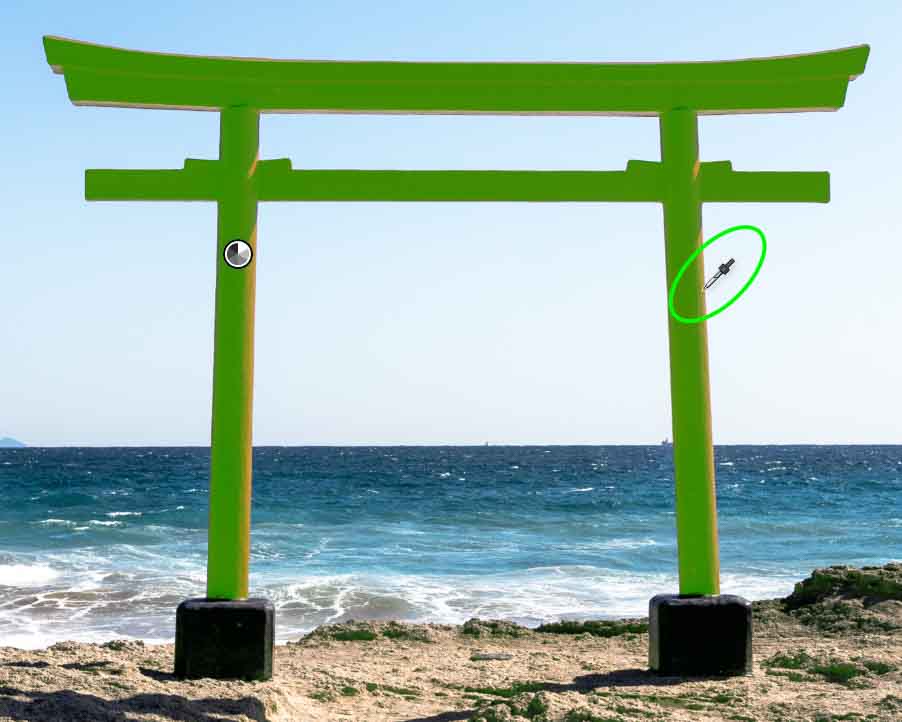
It can also help refine your selection to add another sample to the mask to increase the range of colors further. You can add to the mask by holding Shift while clicking another sample area. The colors of this area will be added to the mask, and you’ll see an eyedropper icon appear in the added sample area you clicked. Do this as many times as you’d like.
Once you’ve got your desired sample area fully masked, you can head to the Adjustments Panel and make any adjustments to the area.
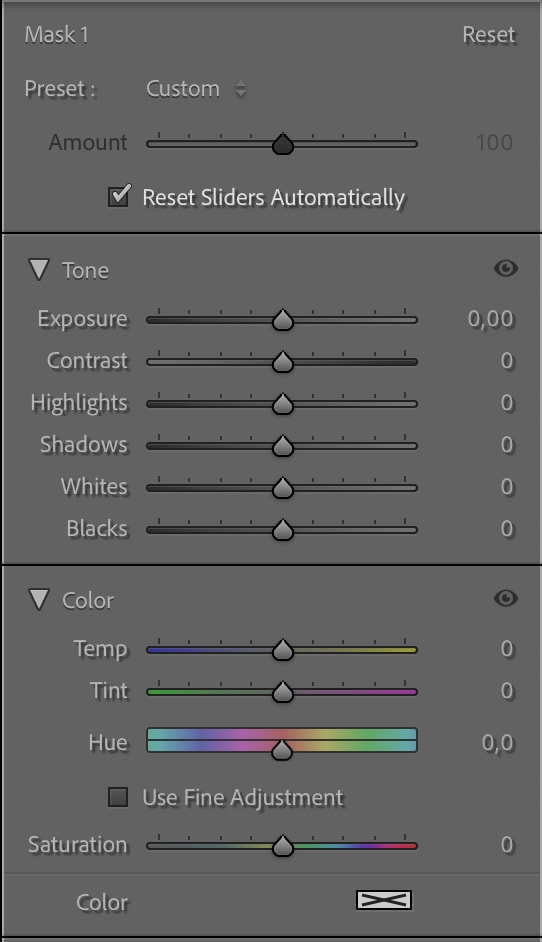
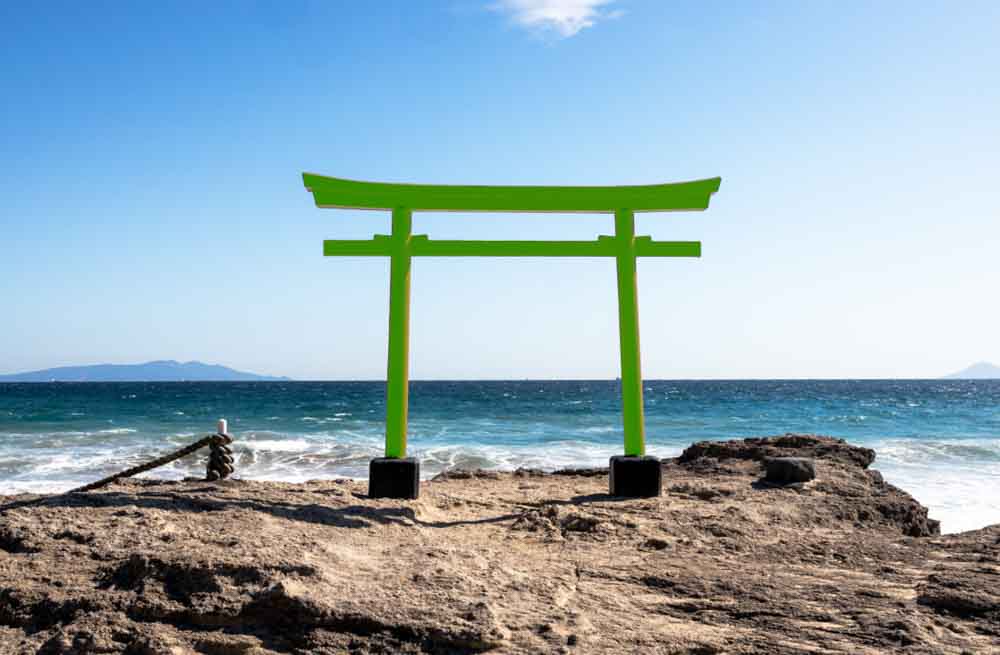
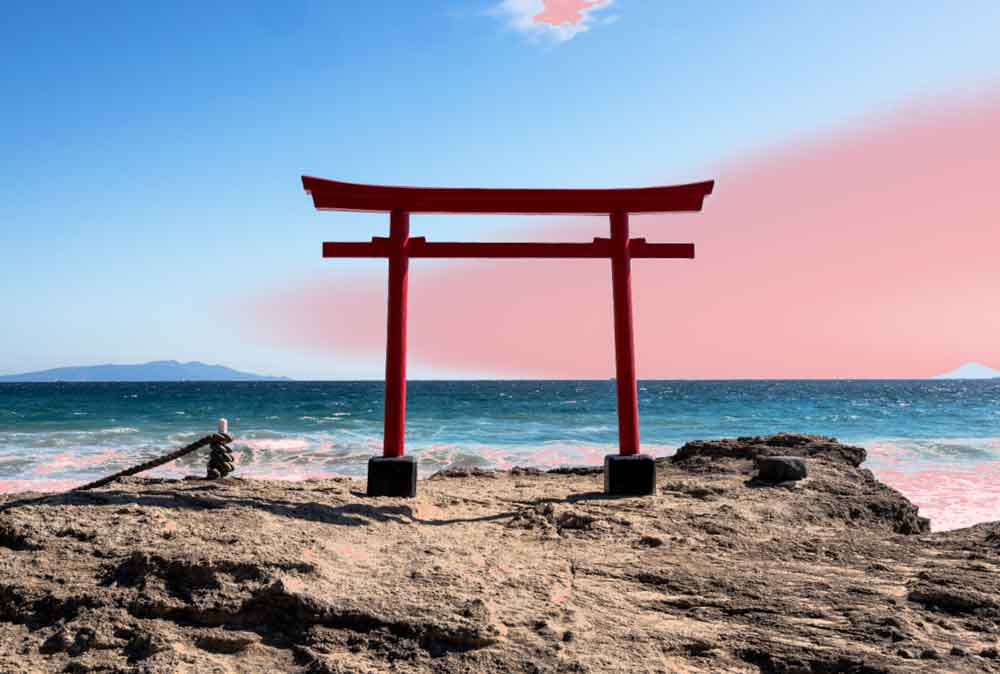
For instance, since I want to make the red structure stand out a bit more, I can increase the Exposure slightly, as well as the Contrast and the Saturation.
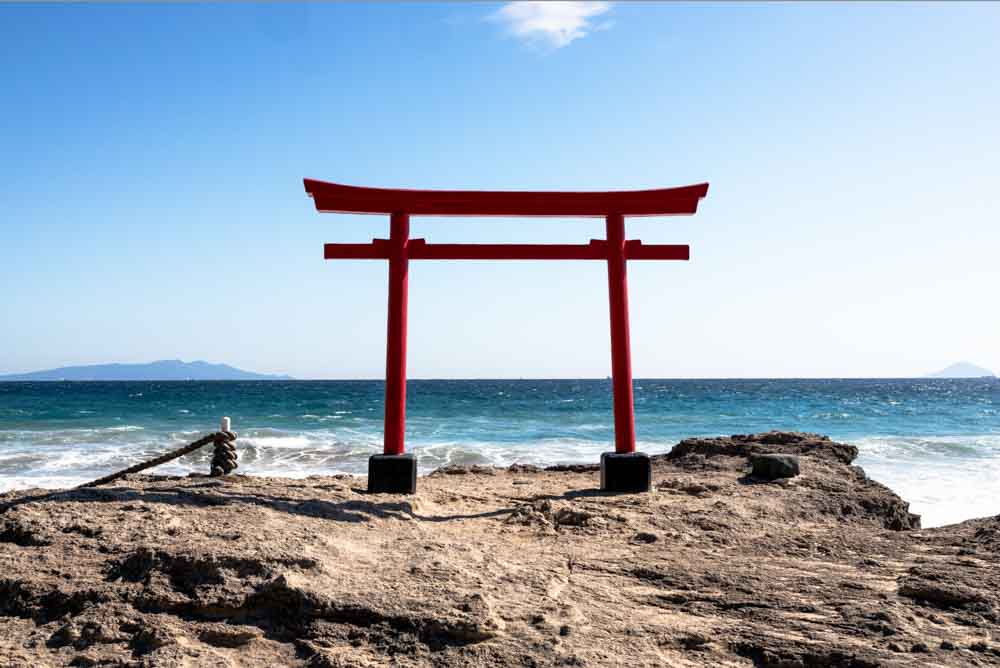
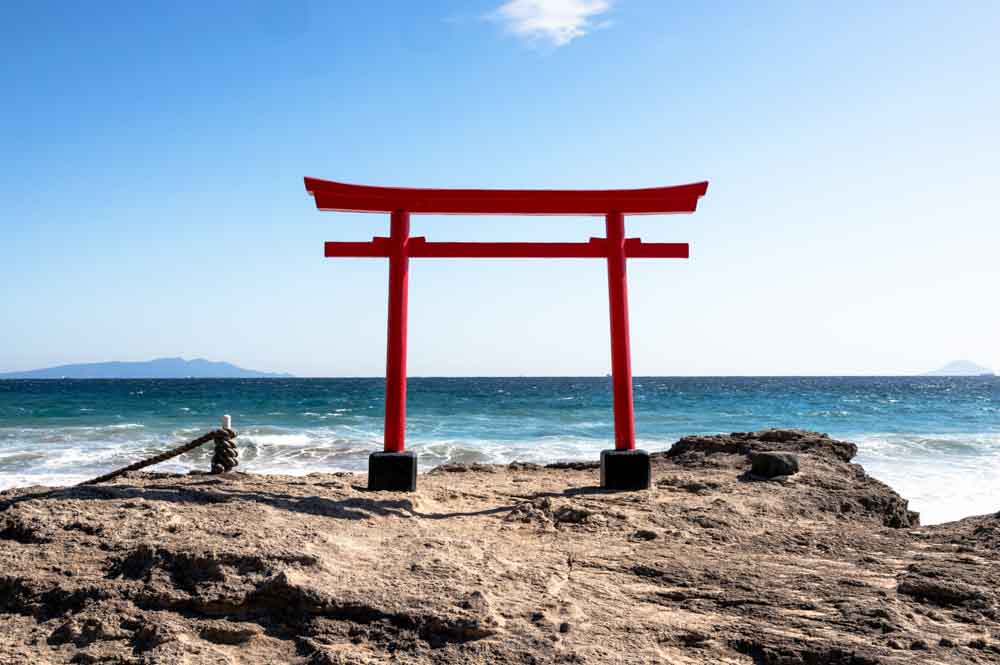
This will make the structure a bit brighter and more vivid than in the original image.
How To Use Luminance Range Masks In Lightroom
The Luminance Range Masks are similar to the Color Range Masks, as you can easily click to sample an area from your image and then use the settings to refine the mask further.
However, opt for Luminance Masks when trying to mask a specific exposure range – such as all the highlights or shadows of an image. A Luminance Mask will allow you to make various adjustments to a particular area of the exposure, giving you many more possibilities than simply adjusting the exposure sliders.
You can access the Luminance Range Mask by clicking the Masking Tools icon. Click Range from the list and then choose Luminance Range.
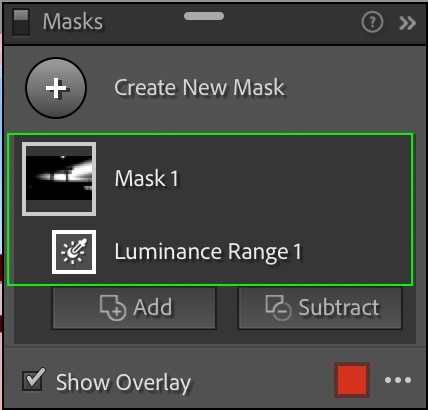
The Luminance Range settings and the Masks Panel with a New Luminance Mask will open.
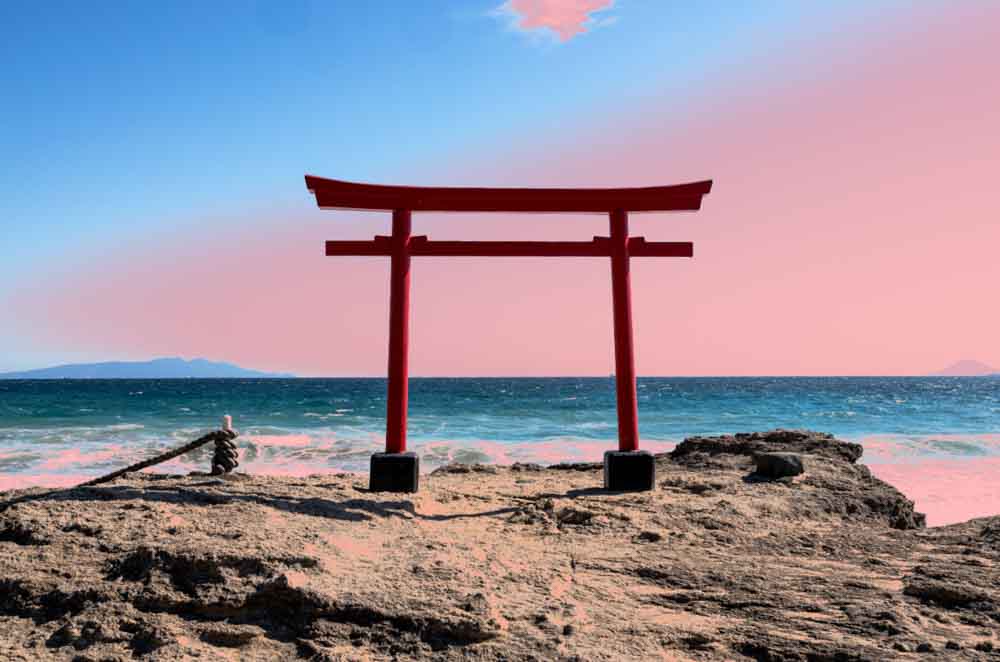
Your cursor will become an eyedropper tool that you can use to click your image and select a sample exposure. Once you click, the mask will be applied to a whole range based on the exposure of the point you clicked. In this case, the highlights will be masked.
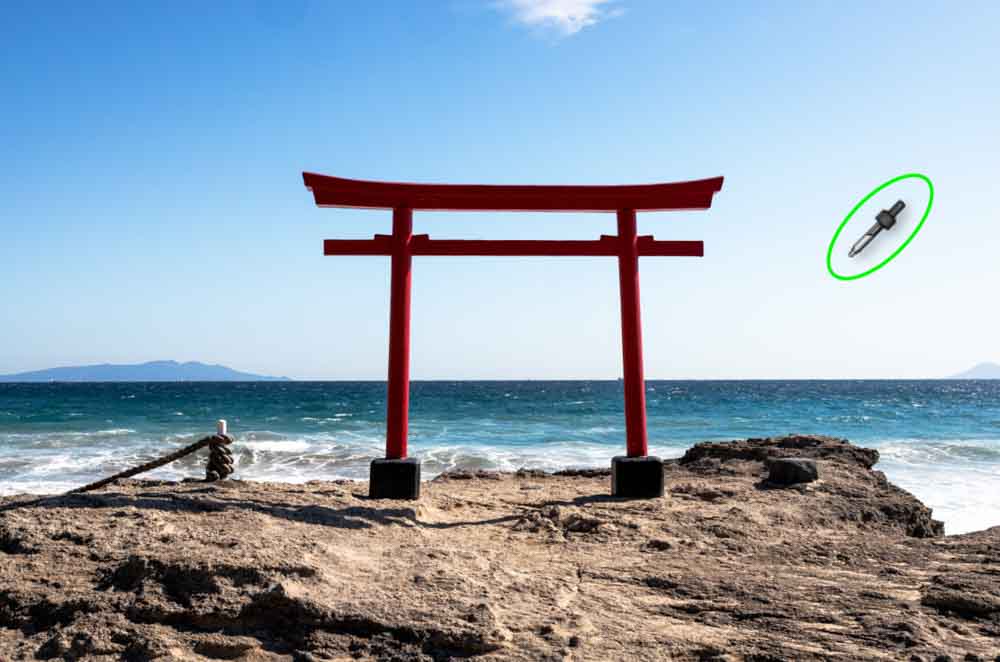
This range may not be entirely accurate at this point. For instance, in my image, I only want to mask the lightest part of the sky, but the mask has covered parts of the ocean because those areas match the exposure I clicked for my sample.
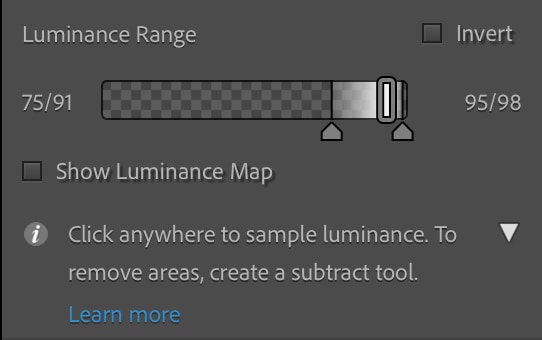
You can refine the mask further using the Luminance Range slider. The rectangle on the slider marks the range that will be 100% affected by the adjustments you make (and therefore does not include the feathered areas). The rectangle will appear either black or white depending on whether you’ve clicked a dark or a light area. The arrows along the bottom set the last feathered point in the range.
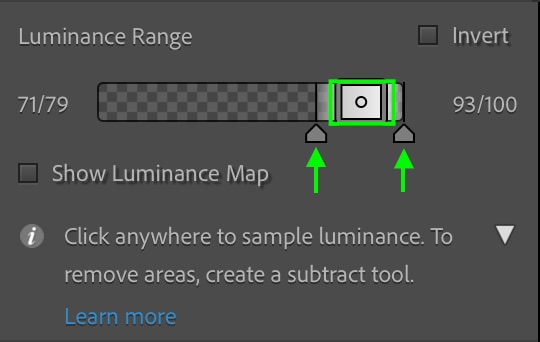
It is best to first set the range you’d like the adjustments to affect 100% by dragging the sides of the center rectangle to increase or decrease its size. A larger size will result in a broader range of exposures covered by the mask.

A smaller, more narrow rectangle will leave you with a smaller range of exposures and, thus, a smaller mask, only covering the exposure closest to that of the pixel you clicked as your sample.


You can then adjust the arrows along the bottom to control the edges of the mask and their feathering. The more you drag the arrows out, the more soft and feathered the borders appear. However, this may cause the mask to cover more areas, including areas outside where you want to apply adjustments.

And the closer you drag the arrows in towards the rectangle, the harsher the edges will appear.

This may be necessary if there is a hard line between the area you’d like to mask and the area you’d like separate from the mask, but in most cases, you’ll want at least a little bit of feathering so that the effect appears natural.
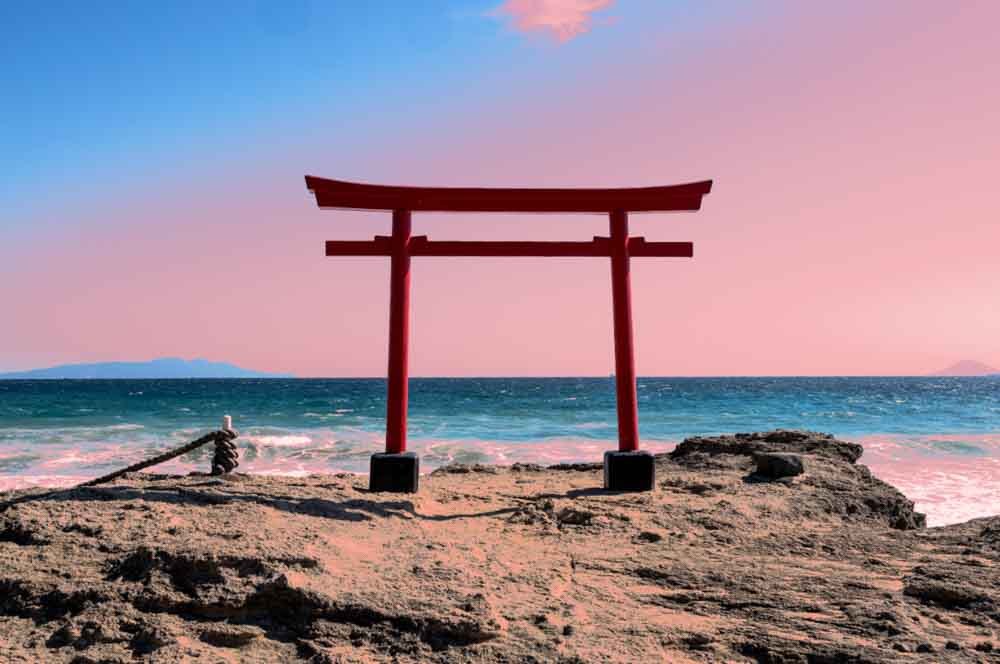
Again, be sure you’ve set the hard stop (the center rectangle portion of the slider) so that the mask only covers the areas you want to be 100% affected by the adjustment. This may leave you with a small selection, as is the case in my final adjustment, but that’s just fine as long as it works for your photo.

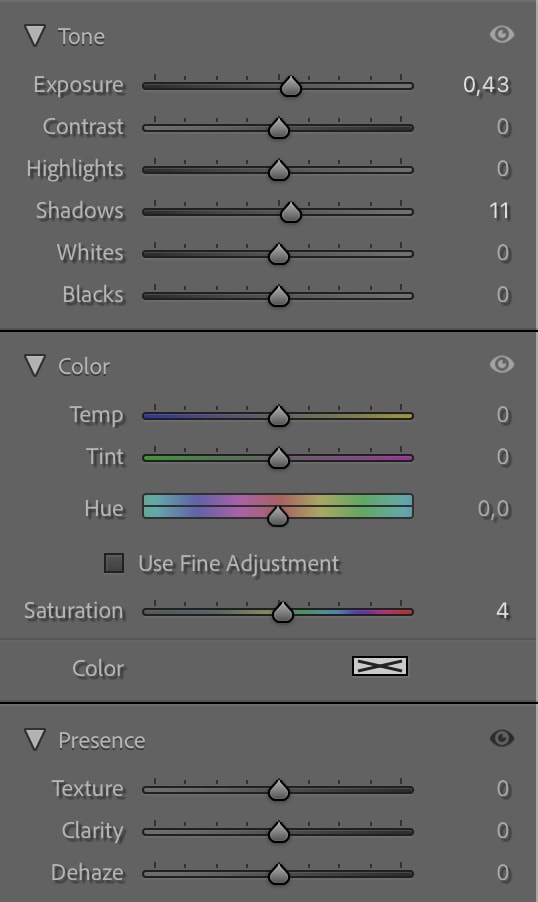
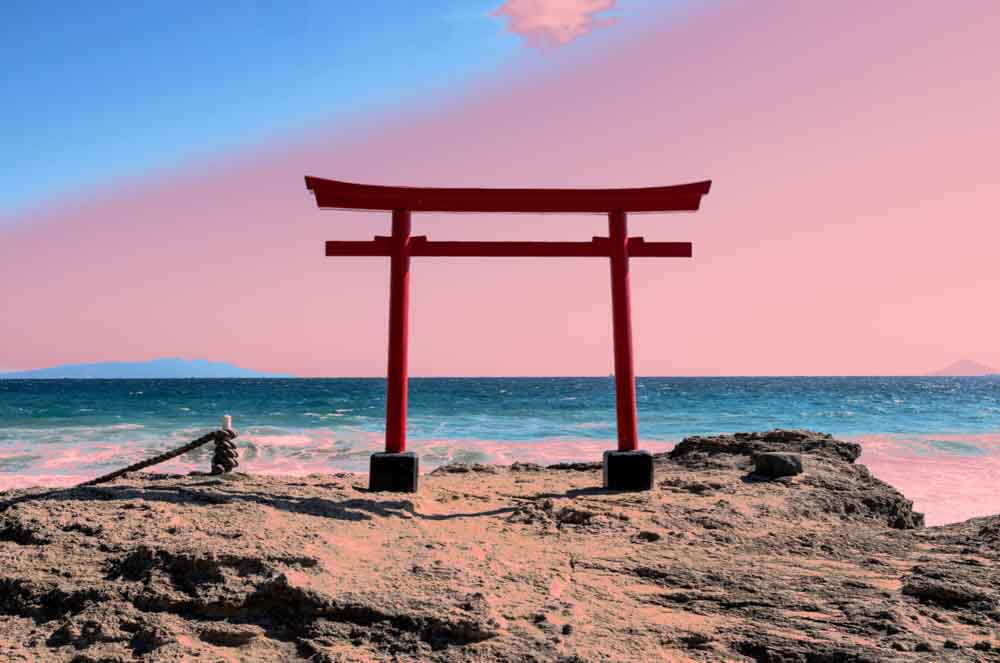
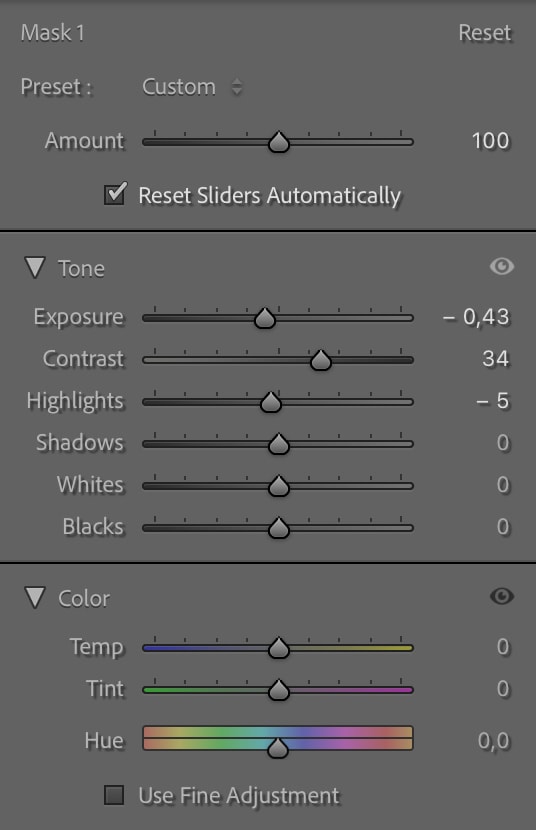
Once you’ve got the mask covering the area you’d like to edit, you can edit the area in the adjustments panel. For my image, I’ve reduced the brightness of the area by decreasing the exposure and highlights and increasing the contrast.
When you zoom in, you can see the difference in this area before and after the mask is applied.
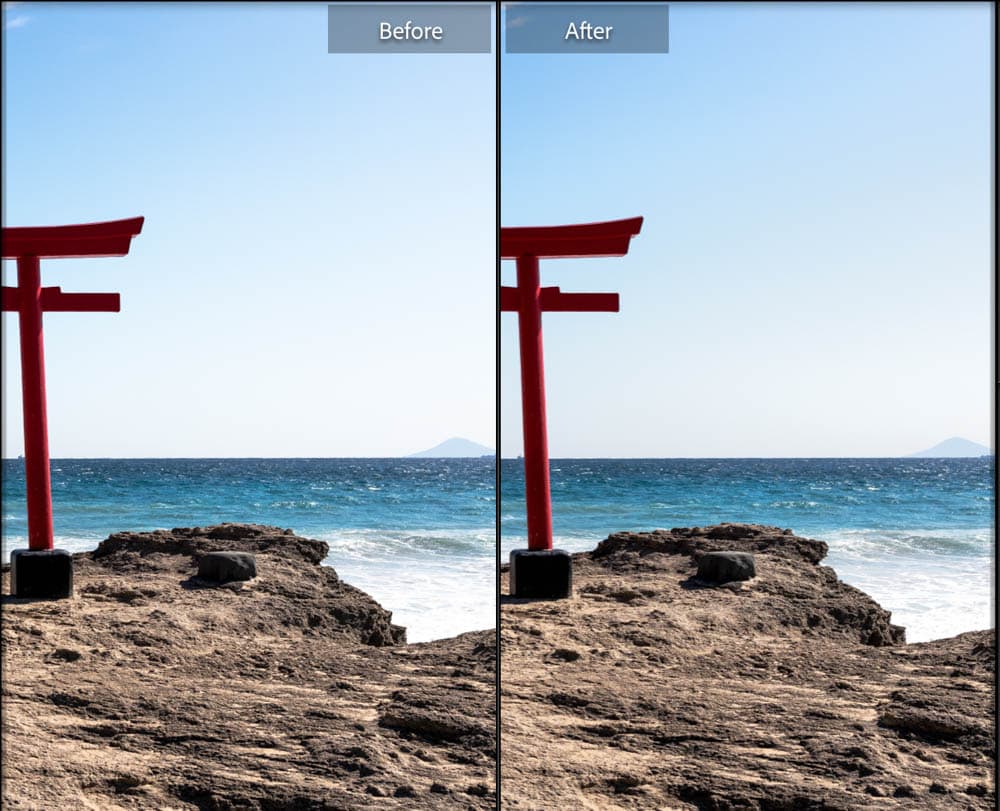
In the final photo, the sky is less washed out and bluer than in the original.
Each photo will require different refinements and adjustments when using the Luminance Range and the Color Range Masks. Adjust the settings as needed until you find what works best for your image.


