

Making photo prints is a delicate art, and sometimes the edit you see on the computer isn’t what comes out on paper. Luckily, Lightroom has a nifty tool known as Soft Proofing to help make sure that what you see on the screen is as close to the physical version as possible! With a few well-placed clicks, any photographer can make their images look their best in print.
What Is Soft Proofing?
Proofing in visual art is the ability to preview something before committing to the final product. In Lightroom, you can use the software’s Soft Proofing feature to see how a photo will look when it is printed before investing in the hard copy.
This is very helpful for photographers specializing in selling prints, as the way a photo looks in the program may differ from how it looks on paper. Sometimes, the edits you make in Lightroom can produce bizarre color shifts in a physical copy.
With soft proofing, Lightroom will simulate how your photo’s colors, exposure, and contrast will look in print. So you can immediately notice any discrepancies and make the proper adjustments before ordering a hard copy of the image.
As a bonus, you select the profile for the printer you intend to use for printing, so the image is particular to the print you are planning on making.
How To Soft Proof In Lightroom
Accessing soft proofing in Lightroom is simple. Start by going to the Develop module.

Select the image you wish to work on from this screen and perform all your edits, you can make various edits to your image in Lightroom, especially using these Lightroom tutorials.
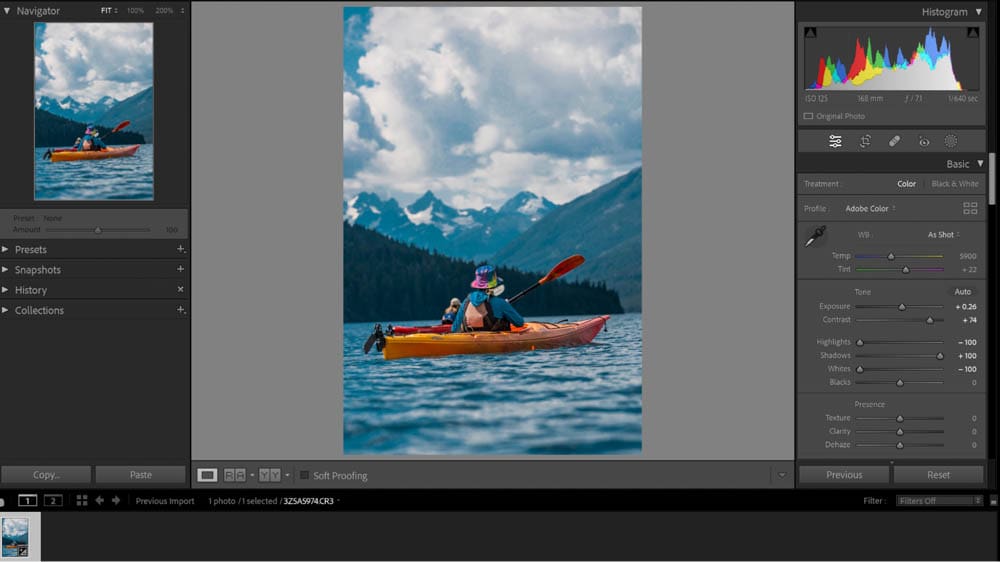
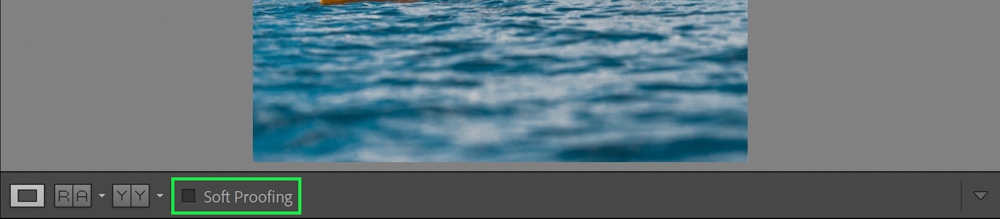
Once your edits are done, check the Soft Proofing box underneath your selected image.
When checked, you’ll see some new options appear in the panel on the right-hand side of your screen.
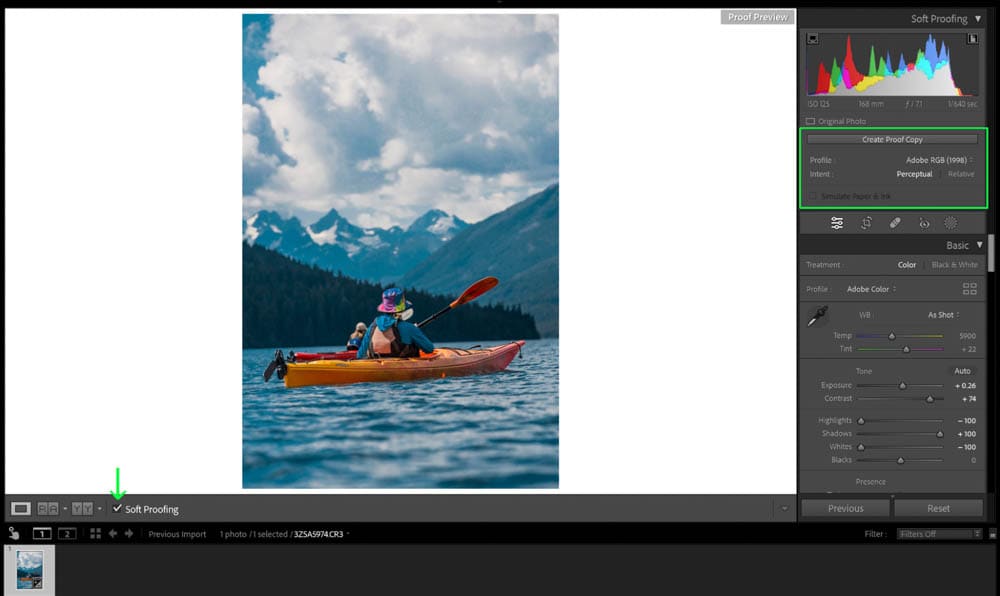
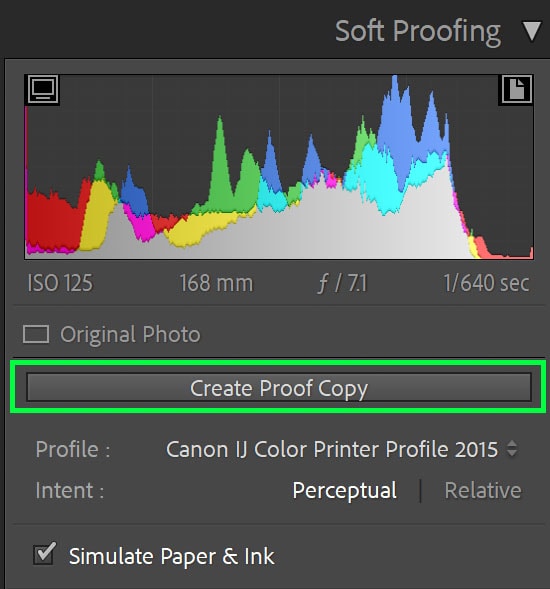
These new options are where you start making adjustments to the rendering so that it best matches the print you plan on making: Profile and Intent.
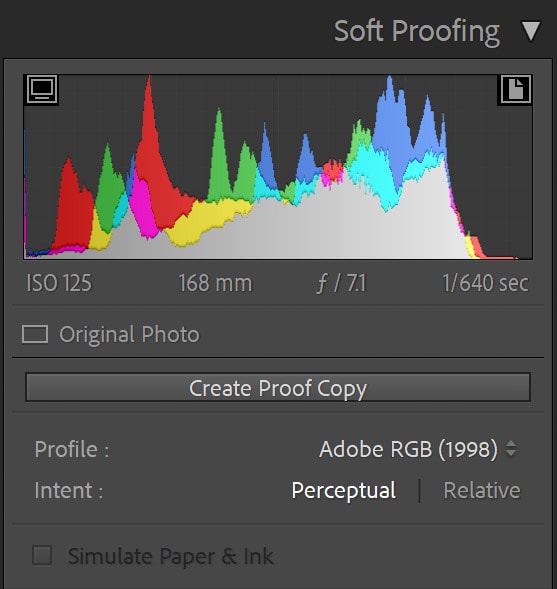
– Profile Setting
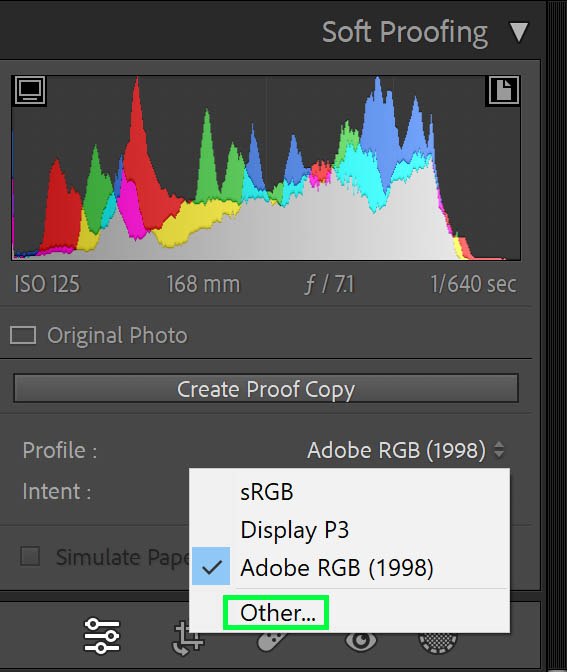
The Profile is where you select the color, printer, and paper profile. Choosing the right profile is the secret to getting soft proofing to function appropriately in Lightroom. The soft proof won’t be correct if you use one that isn’t made for your particular paper and printer combination.
In my program, for example, the printer profiles aren’t up there by default, only the color profiles.

To add a printer profile, just click Other.
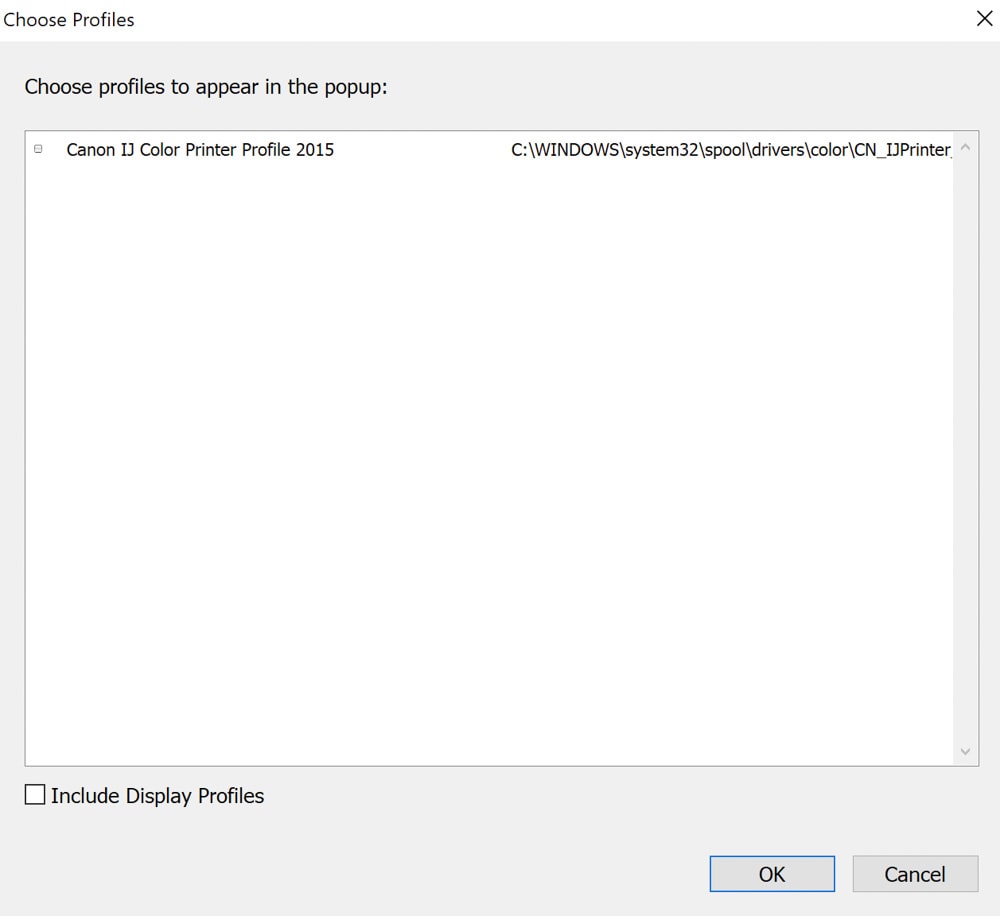
A new window will appear where you select the printer profile your computer has. Most printers and print labs allow you to download their printer profiles for soft proofing.
– Intent Setting
The Intent setting has to do with how the gamut is shown. Gamut has to do with what colors the printer is capable of printing. Colors that are out-of-gamut are not possible for the printer to render in physical form. Colors that are within-gamut are likely to print correctly.
When a color or tone is out-of-gamut, Lightroom needs to know how to manage it. The Intent setting is what tells the software what to do.
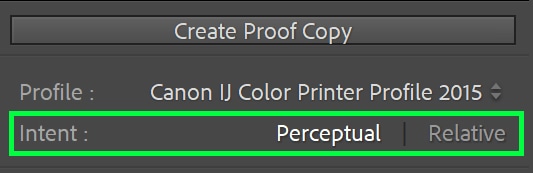
Perceptual intent causes all the colors and tones in the image to be redistributed while also bringing out-of-gamut colors and tones into the range. This rendering intent may result in color changes in images with several places that are out-of-gamut.
Relative intent causes any out-of-gamut colors or tones to be replaced with the closest in-gamut color or tone.
Editing A Soft Proof In Lightroom
If printing gets thrown into the workflow mix, your job is certainly not done after doing the initial edits on the file in Lightroom. After activating the soft proof, your job is to continue editing it until it matches how you want the photo to look.
To start editing a soft proof, ensure that the Simulate Paper & Ink box is checked. This can cause the photo to look jarringly different, so don’t be surprised!
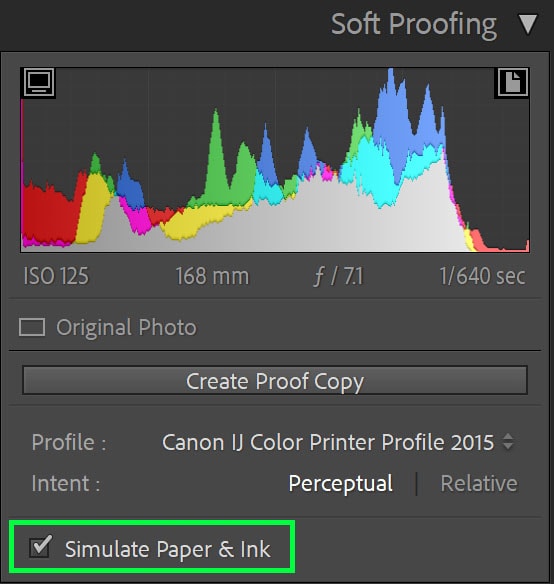


After making sure the box is checked, click Create Proof Copy. This will make a new version of your image while preserving the original base image. You will be making your adjustments to this new copy.
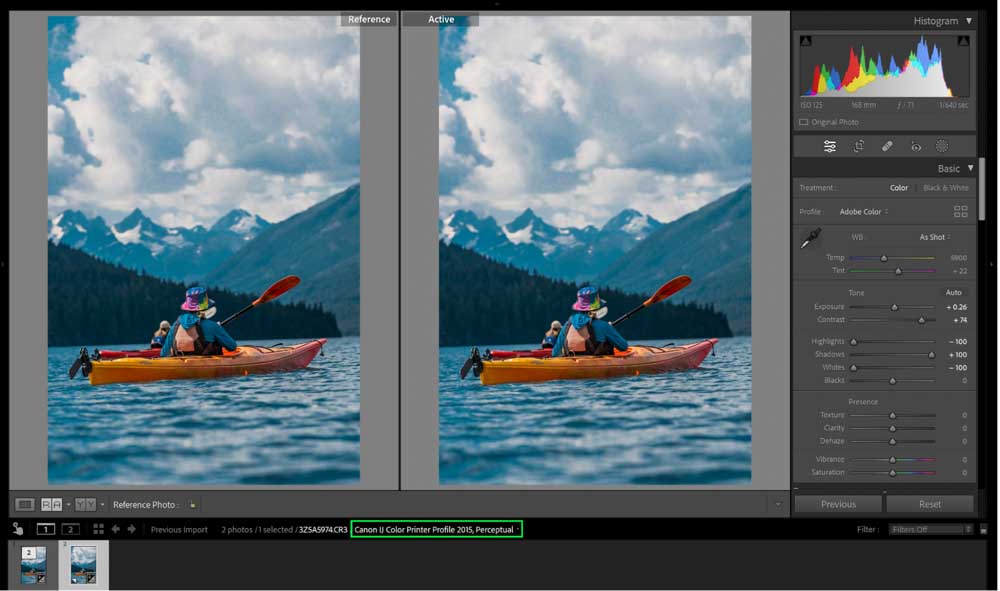
You can use different tools like Reference view to compare the new proof copy created to the original photo you edited. Adjust your image using the editing sliders on the right-hand panels until it matches your original edit.
You’ll be able to tell which photo is the proof and which is not by seeing the color profile information right above the film strip and right below the image view!
Ensuring Your Soft Proof Is Effective
The program simulates how a photograph will look as a physical product as best it can, but soft proofing may still not be entirely accurate. This is because the screen you are viewing the image on can significantly change how colors actually look.
It’s highly recommended to calibrate your computer monitor (whether on a desktop or a laptop) to ensure that the colors you are looking at in your soft proof will truly resemble the actual colors. Correct monitor calibration ensures that the brightness, contrast, and colors are all appropriately shown. The SpyderX Monitor Calibrator is a popular choice among many photographers I know.
What’s The Difference Between A Hard Proof and a Soft Proof?
In printing, the terms soft proof and hard proof get thrown around significantly. As you figured out from this article, a soft proof is a digital rendering of how your image will look on paper. On the other hand, a hard proof is an actual physical sample of the proof.
Used most often when making large-scale prints, a print lab (or printing company) can send a photographer a smaller-scale of a physical print of their image. Before printing the final version, print businesses frequently provide clients with a physical sample to evaluate.
This ensures that the colors, exposure, and overall calibration look right on that particular paper and ink. For example, if a photographer wants to make a large 36” x 24” print, they can get a hard proof of an 8” x 12” on that same paper to see how everything looks. The photographer or printing company can make the necessary adjustments if the colors look off.
This is all intended to mitigate the risk of investing hundreds of dollars into a large print only to have it not come out right.
Ultimately soft proofing is a close second to hard proofing to ensure that your colors look pretty similar between your monitor and the print. With these simple tools in Lightroom, it’s fast and easy to do with any number of photos!


