

As a portrait photographer (or even just someone taking selfies), there are a few quick touch-ups you can make to whiten teeth in Photoshop. This is a common request I’ve received from countless clients over the years and is a simple trick that helps anyone look their best.
There are a few different ways to whiten teeth, such as using an adjustment layer or the Camera Raw workspace. So, let’s look at whitening teeth using these two easy and effective methods, including a video tutorial I created outlining some simple whitening techniques.
Video Tutorial
How To Whiten Teeth In Photoshop
Step 1: Open Your Image
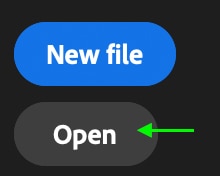
Launch Photoshop and click Open.

Find the image you’d like to edit and double-click to open it in Photoshop.
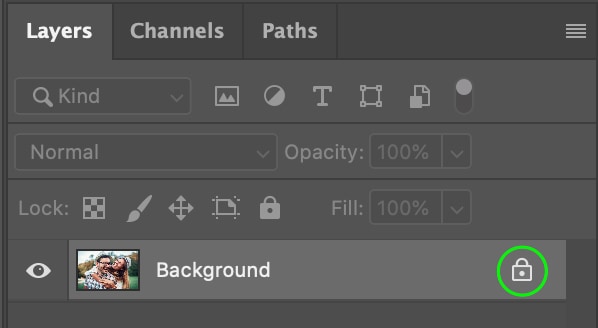
Once the image is open in a Photoshop tab, you’ll see it in the Layers Panel as the Background Layer. We want to turn it into a standard layer, so click the lock icon, and you’ll see the layer name change to Layer 0.

Step 2: Select The Teeth Using The Lasso Tool (L)
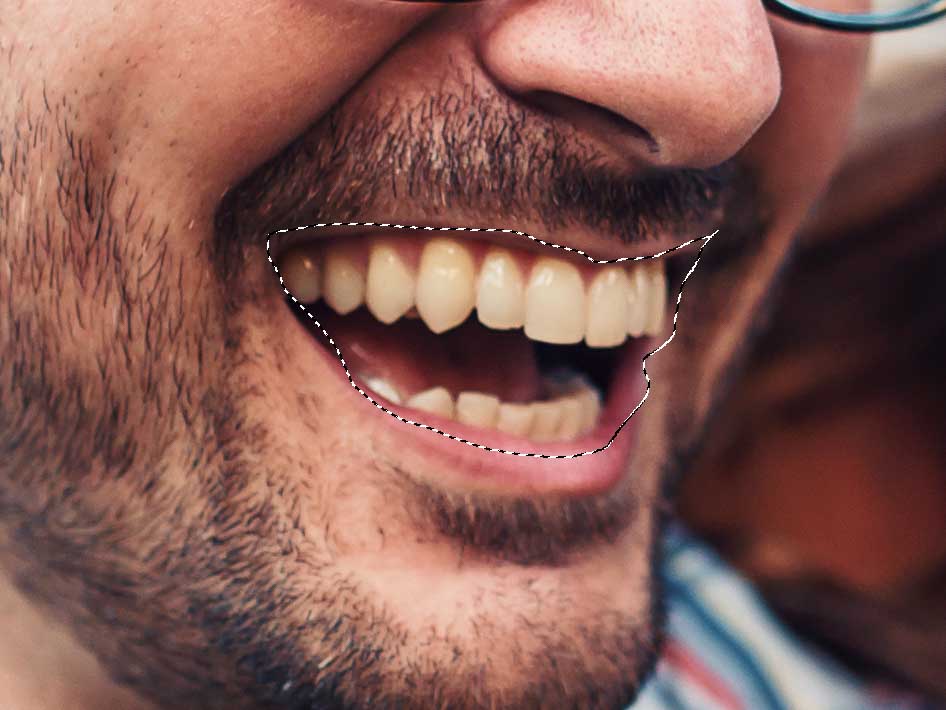
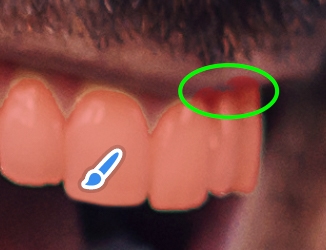
Now, you’ll want to draw a selection around the teeth in the image using the Lasso Tool. It doesn’t have to be perfect, but try to make it as close as possible.
Click the Lasso Tool (L).

Draw a selection around the teeth in the photo. Try to stay as close to the teeth as possible, but if you get outside, it won’t matter too much because we will isolate and edit just the yellows from the area in the next step.
Step 3: Add A New Hue/Saturation Adjustment Layer
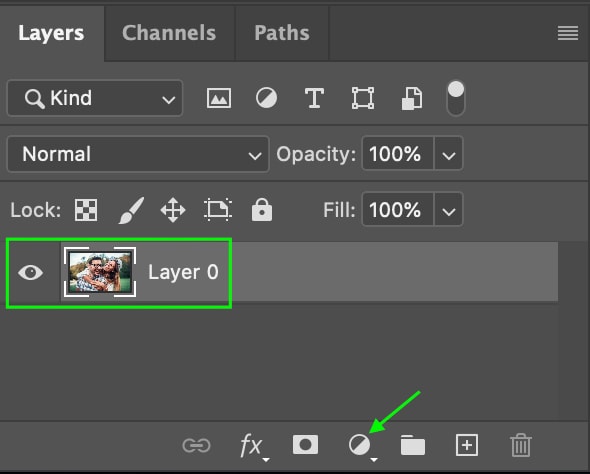
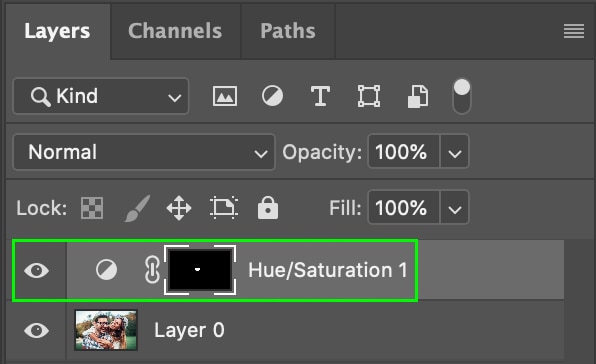
Head to the Layers Panel. Double-check that the image layer is selected — so it has a white border when active — and click the New Adjustment Layer icon at the bottom of the Layers Panel.
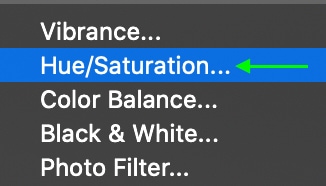
From the options, select Hue/Saturation.
You can edit the Hue/Saturation settings when they appear in the Properties Panel.
In the Layers Panel, there will be a new Hue/Saturation adjustment layer with the selected area highlighted in the thumbnail. Make sure this is still selected.
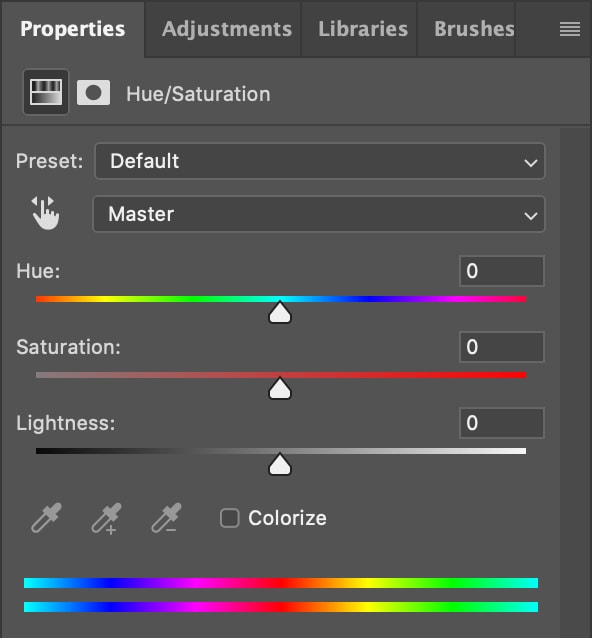
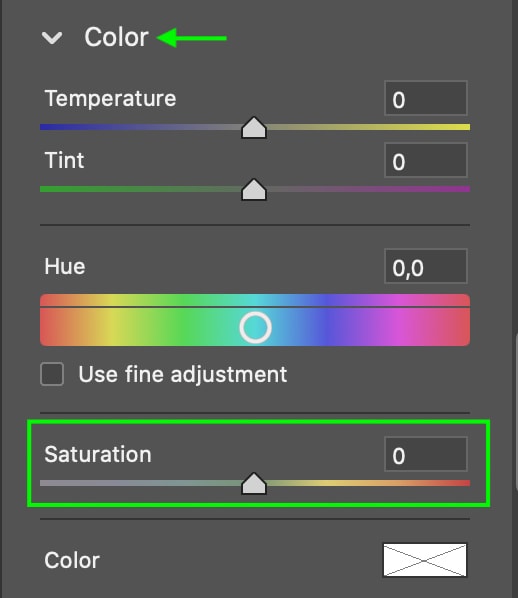
Step 4: Isolate The Yellows In The Properties Panel
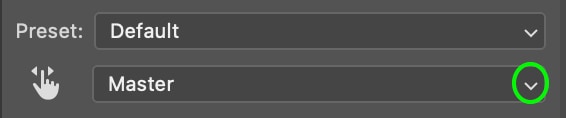
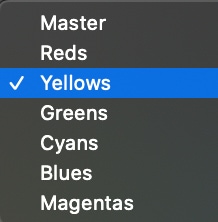
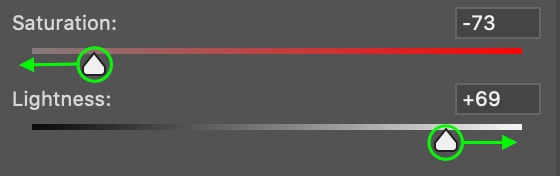
Now, we’ll need to edit the saturation and lightness of the yellows in the selected area, thus whitening the teeth. In the Properties Panel, click the bar that reads Master and select Yellows from the list.
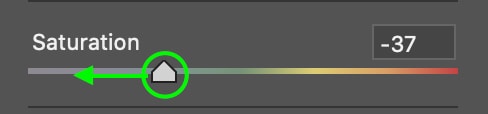
Step 5: Decrease The Saturation And Increase The Brightness
Drag the slider on the Saturation bar down to reduce the amount of yellow hue present in the teeth. Then, drag the Lightness bar up to brighten the teeth.
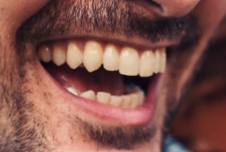
You will notice the results immediately.
This method is particularly effective because the results look natural, and you can use the two toggles to control the strength of the whitening effect. You could also create multiple selections to apply to the same hue saturation adjustment layer mask to save yourself time across multiple subjects.


How To Whiten Teeth Using Camera Raw
Camera Raw opens when you open a raw image in Photoshop, so it is an easy way to make basic edits to a photo right away. You can even whiten teeth using Camera Raw.
Step 1: Open Your Raw File In Photoshop
Head to File > Open or click Open on the Photoshop start page.

Select the raw image you’d like to edit, and the Camera Raw window will appear automatically.
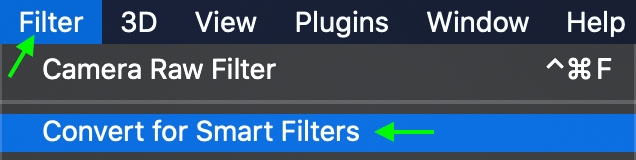
If you are working with another file type besides Raw, Camera Raw won’t open automatically. Instead, you need to first convert your image layer to a smart object by going to Filter > Convert for Smart Filters and clicking OK in the window that appears.
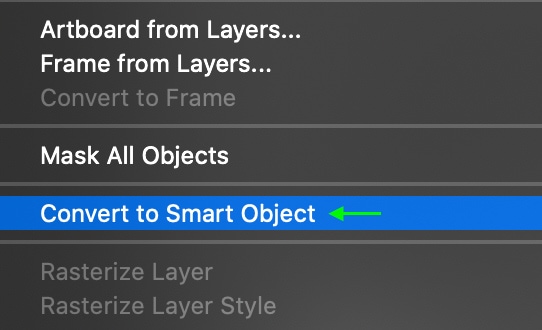
You can also convert the image to a smart object by right-clicking (Win) or Control + clicking (Mac) the layer in the Layers Panel and choosing Convert to Smart Object.
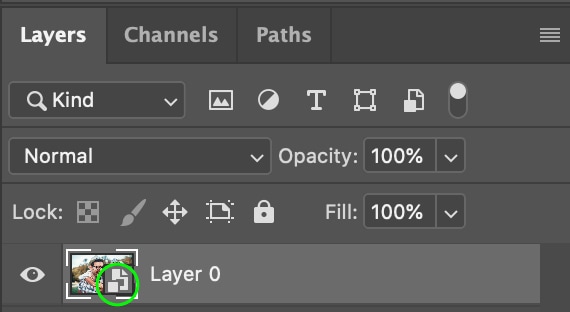
This will turn the image into a smart object, and you’ll see the Smart Object icon in the thumbnail in the Layers Panel.
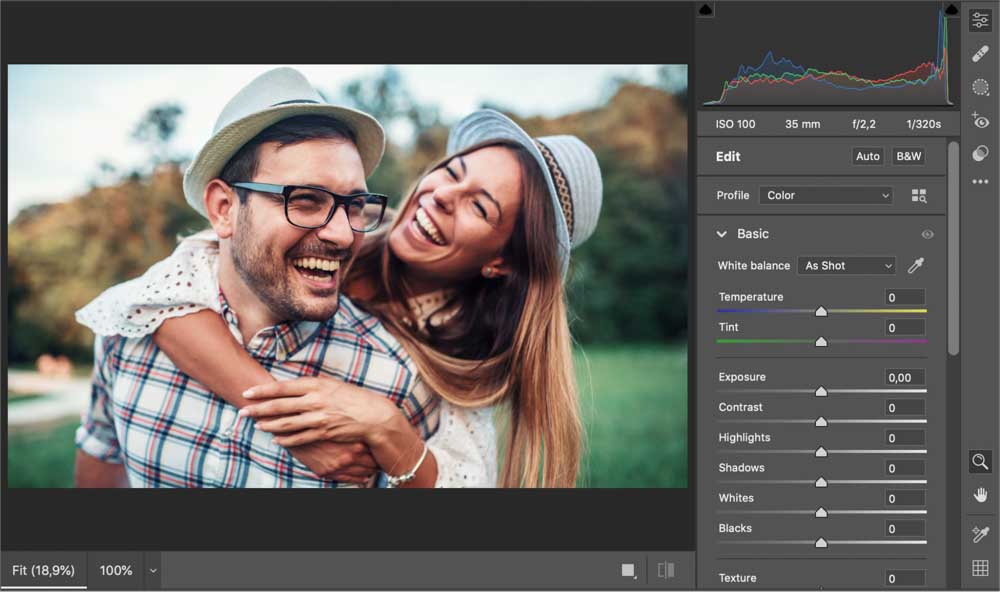
Now, you can access Camera Raw, which you can do by heading to Filter > Camera Raw Filter.

This action opens the Camera Raw window.
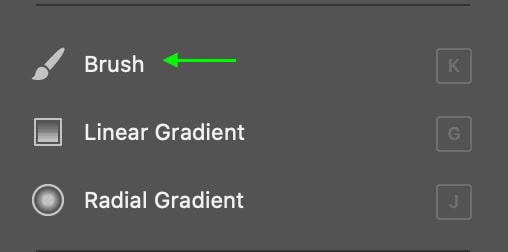
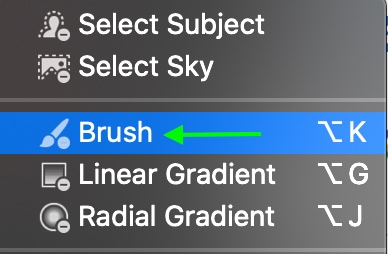
Step 2: Activate The Adjustment Brush
To whiten teeth, you must use the Adjustment Brush and paint on the whitening effect. You can find the Adjustment Brush by clicking the Masking icon in the sidebar.

From here, you’ll see the different Masking tools available. Click the Brush option.
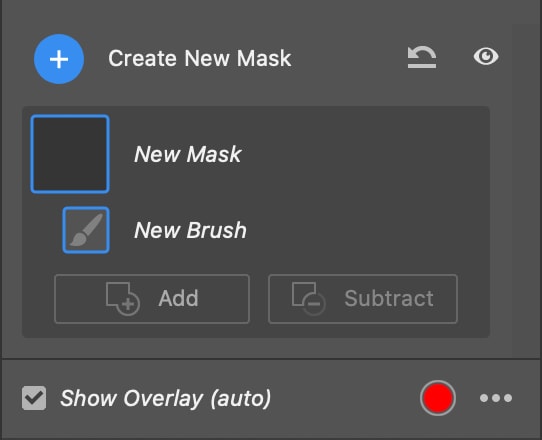
You’ll see the Mask Panel appear with a New Mask.
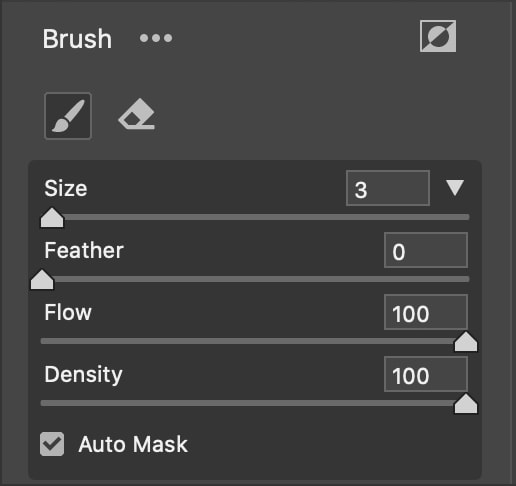
Step 3: Set Your Brush Settings
At the top of the Brush Panel, you can set the different settings for your brush: Size, Feather, Flow, and Density. You want the size to be small enough to stay mainly on the teeth while you brush.
Keep the Feather toggle low so that the effect does not bleed over into the lips or skin, and keep Density and Flow at 100. Keep Auto-Mask checked, as this will ensure the brush stays mostly on pixels of a similar color and contrast.
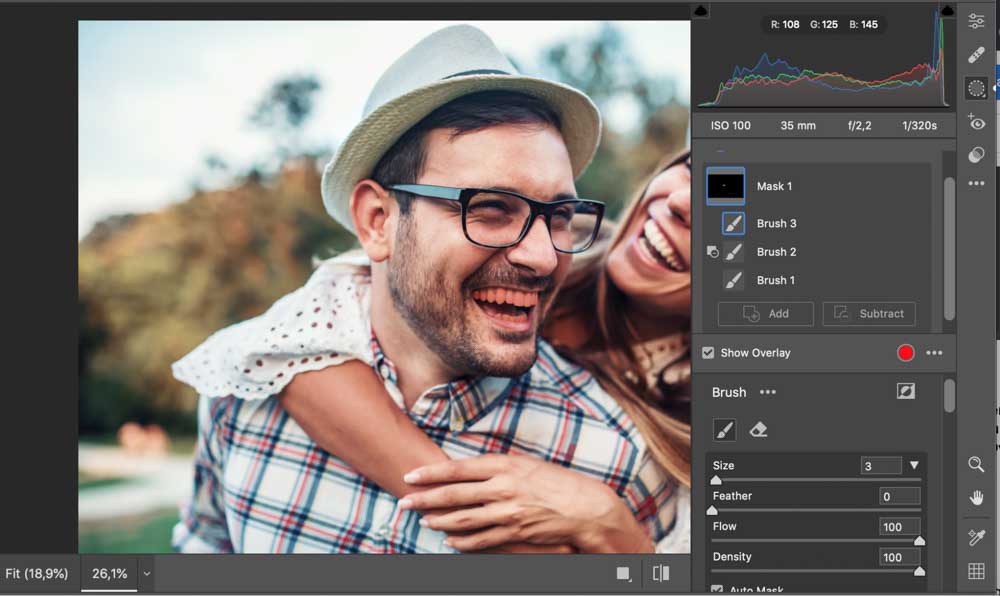
Step 4: Brush The Mask Onto The Teeth
Now, you can create a mask over the teeth using the brush. Make sure to check Show Overlay to see the mask as you go.

If you need to adjust the brush size as you go, you can slide the Size toggle in the panel. But with Auto-Mask enabled, you should be able to get a reasonably accurate mask that covers the teeth.
Step 5: Clean Up The Mask
Even with Auto-Mask on, mistakes are possible.
If your brush goes outside the teeth area, you can erase any mistakes by heading to the Masks Panel and selecting Subtract > Brush.
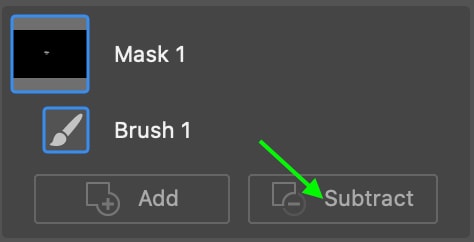
Then, just paint over the areas you want to remove from the adjustment until you’re content with the mask.
Step 6: Set The Brush Adjustments
Now, you can set the adjustments that whiten the teeth. Turn off the mask overlay by unchecking Show Overlay so you can see the results as you go.

You can adjust the Exposure and Saturation settings to create the whitening effect. Head to the Brush Panel on the right. We’ll make adjustments to the Saturation and Exposure sliders. You will find the Exposure slider under the Light tab, while the Saturation slider is under the Color tab.
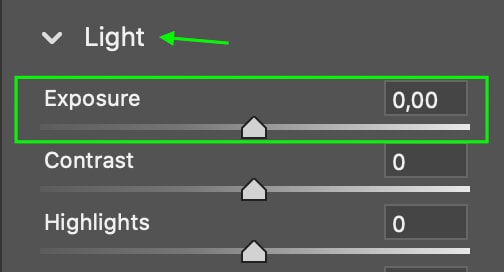
Drag the sliders for the Saturation adjustment down and the Exposure adjustment up. The image will change as you go so that you can adjust the sliders to your liking.

You’ll notice that the teeth in the final image have whitened considerably compared to the original.
If you are editing a large batch of photos, whitening teeth in Lightroom is also possible and often a bit quicker. After all, you don’t need to bounce between Photoshop and Lightroom in that case. I share how to whiten teeth in Lightroom in this tutorial.
Happy Editing!


