
Gradients are available in Photoshop to use in a variety of ways. You can add them as a fill to a shape, as a background, or even use them to make gradient text. The only trouble is, if you don’t know how to change the color of your gradients in Photoshop, you won’t get very far.
To change the color of a gradient in Photoshop, follow these steps:
- Select your Gradient Tool (G) or Gradient Fill Layer.
- Click on the Gradient Preview to open the Gradient Editor.
- Choose a preset gradient from the provided color swatches.
- Create a custom gradient by double-clicking on the color swatches below the gradient preview.
- Click OK to save your new gradient color
If you’re unfamiliar with the Gradient Tool or are more of a visual learner like I am, let’s break those steps down more in-depth.
Video Tutorial
How To Change Gradient Color In Photoshop (Classic Gradient Mode)
Step 1: Click On The Gradient Color Bar In The Options Bar
Once you’ve selected the Gradient Tool (G), choose your gradient preset and type. Then, ensure the tool is set to Classic Gradient mode in the Options Bar for these steps to work.

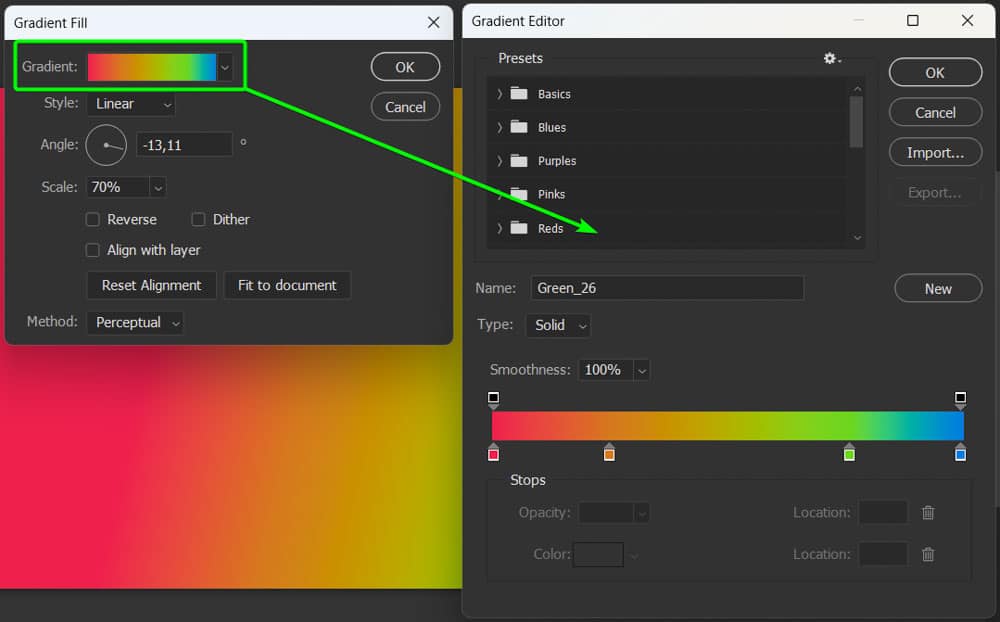
Once you’re ready to change the color, click the Gradient Color bar. This will bring you to the Gradient Editor window, where you can change the gradient color.

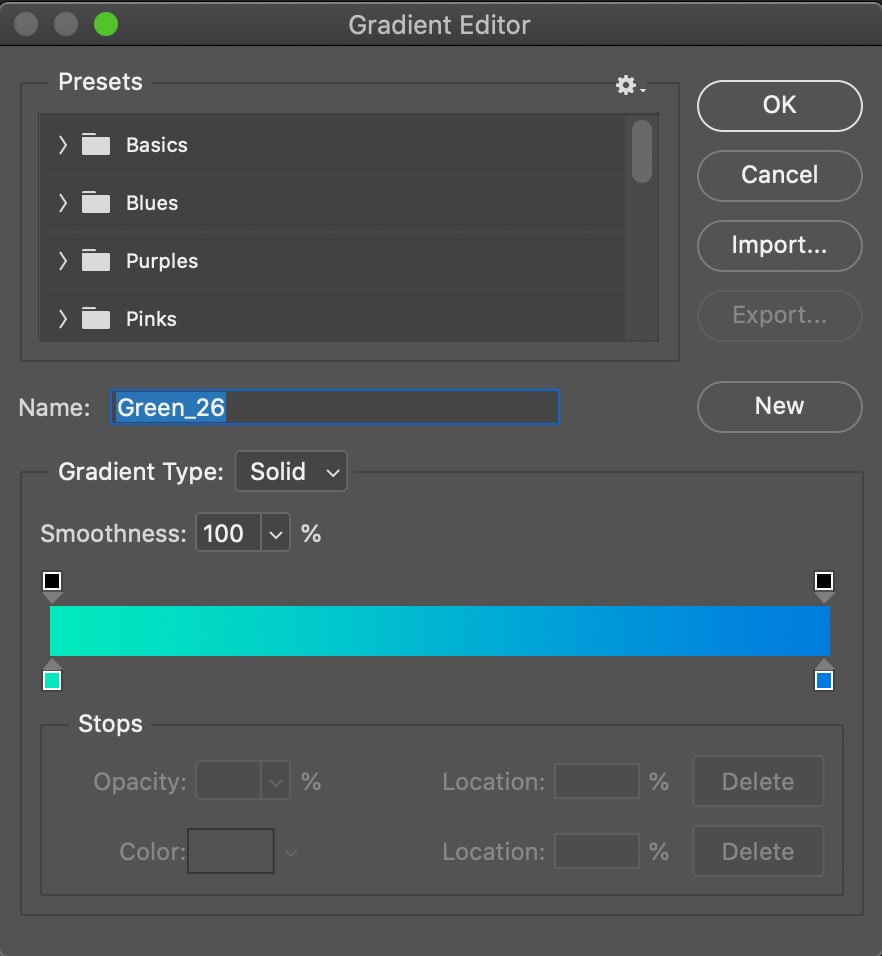
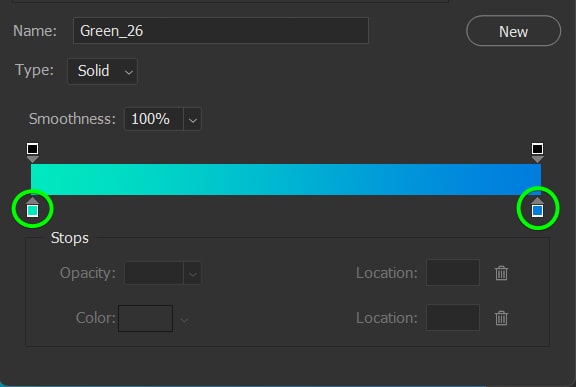
Step 2: Double-Click On A Stop To Change The Stop Color
The color bar allows you to add, select, and specify the quantity of the different colors in the gradient.
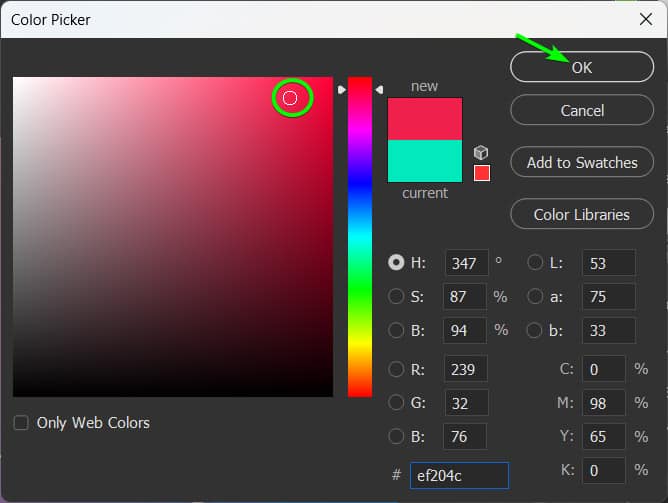
Double-click any colored toggles at the bottom of the bar to pull up the Color Picker window, where you can drag to select the exact color you’d like in that part of the gradient.
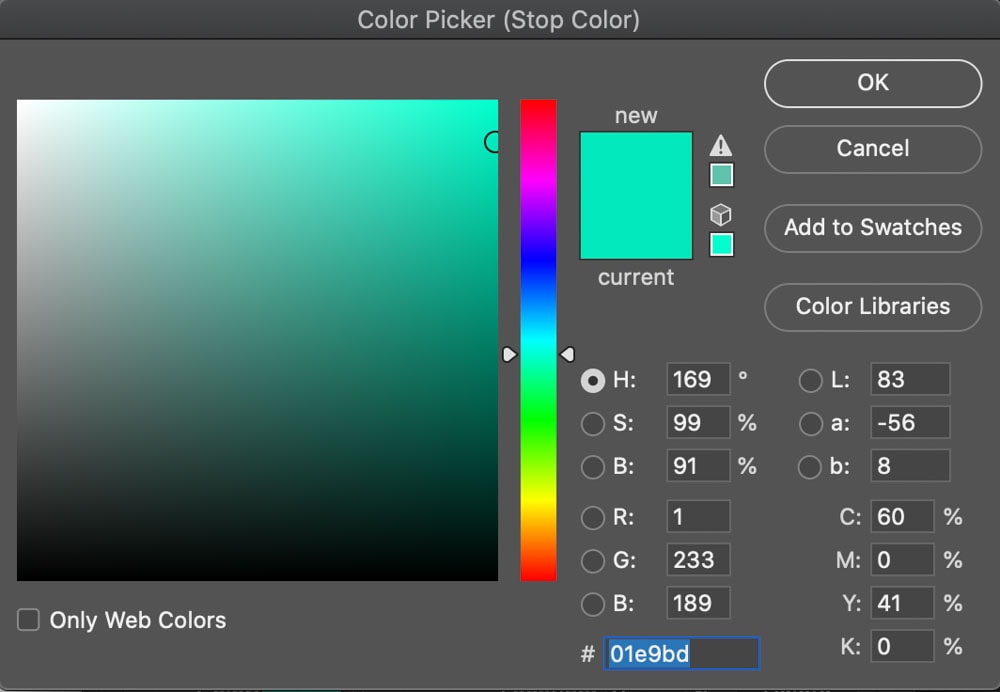
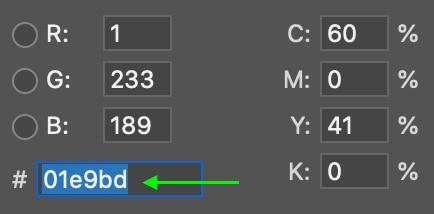
At the bottom of this window, you can enter the HEX code for a color if you need a specific color for a project.
Step 3: Add A New Color Stop To Add A Color (Optional)
To add a color, you can click along the bottom of the gradient bar beside any of the toggles already there.

A new colored toggle will appear in the location you click.

Step 4: Delete A Color Stop To Remove A Color (Optional)
Click the Delete key on your keyboard or the Delete button after clicking any of the colored toggles to delete that color.

Step 5: Adjust The Color Amount And Position (Optional)
You can also control the location and amount of each color in the gradient by dragging the toggles left and right along the bottom.

Step 6: Use The Top Toggles To Adjust The Gradient’s Transparency (Optional)
The toggles at the top represent the opacity stop in each area. Move these toggles if you want to decrease the opacity in some areas to make transparent gradients.

How To Change Gradient Fill Layer Colors In Photoshop
Step 1: Create A Gradient Fill Layer Using The Gradient Mode
When using a Gradient Fill layer or the Gradient mode with the Gradient Tool (G), you won’t be able to access the Gradient Editor in the same way as above. Here, you can use a quicker way through the Properties Panel or if you’d like, you can access the classic Editor a different way.
Once you have activated the Gradient Tool (G), change the Mode to Gradient in the Options Bar.

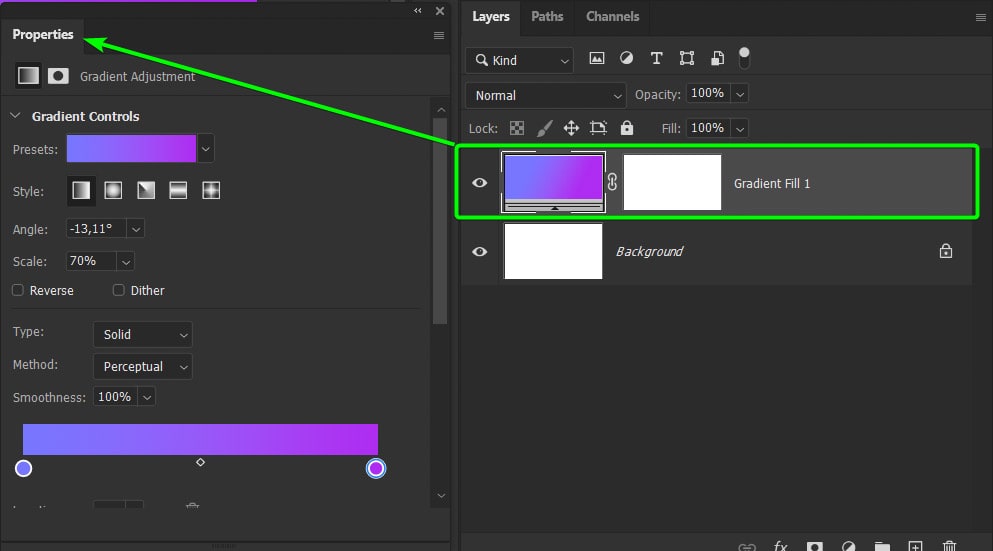
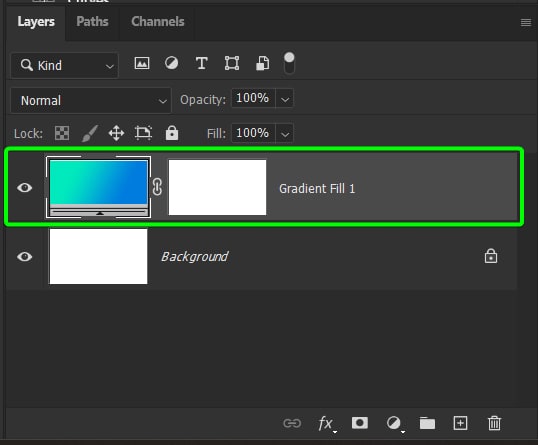
Step 2: Select The Gradient Fill Layer And Open The Properties Panel
Once you have created a Gradient Fill layer, ensure this layer is selected, then open the Properties Panel. If you can’t access the Properties Panel, go to Window > Properties.
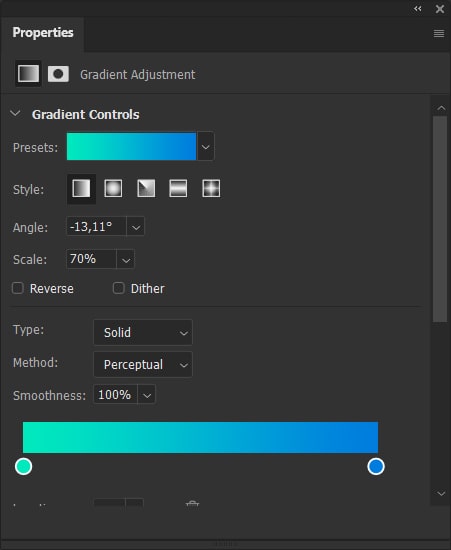
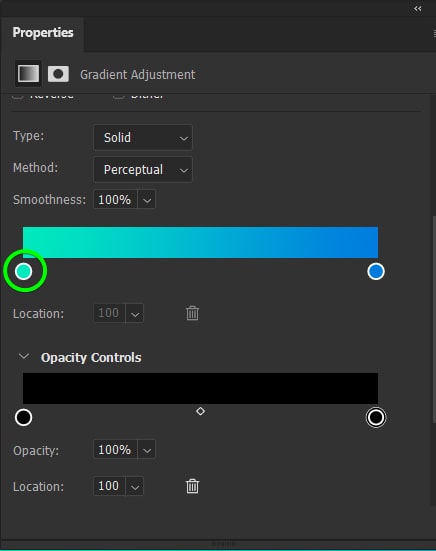
Step 3: Double-Click A Color Stop And Select A New Color From The Color Picker
Scroll down the Properties Panel until you locate the color bar. Double-click on a color stop below the bar to change the color. You can repeat this to change as many color stops as needed. Use the Color Picker to select a new color for each stop.
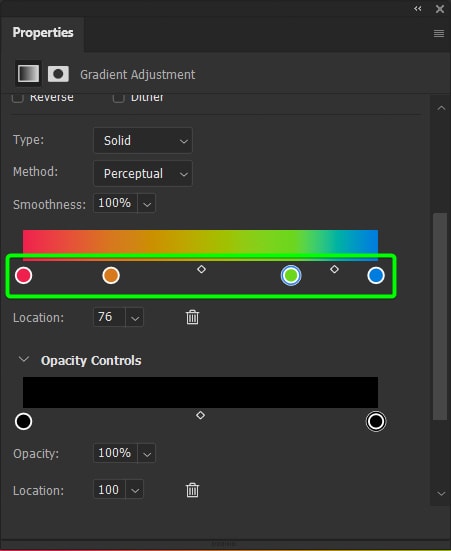
Step 4: Customize The Gradient Colors (Optional)
You can also customize the gradient by adding more color stops, deleting color stops, or moving the location of the stops, as detailed in the first section.
Step 5: Access The Legacy Gradient Editor (Optional)
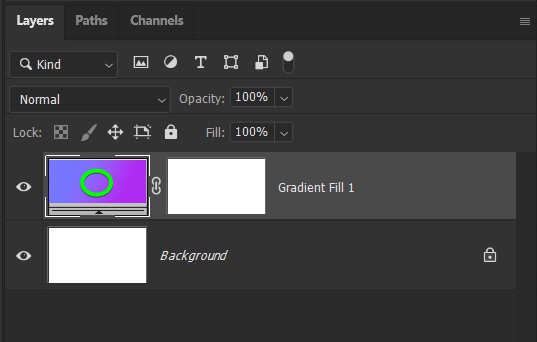
If you want to use the old Gradient Editor, as shown in the first section, you can do this by double-clicking on the Gradient Fill thumbnail in the Layers Panel.
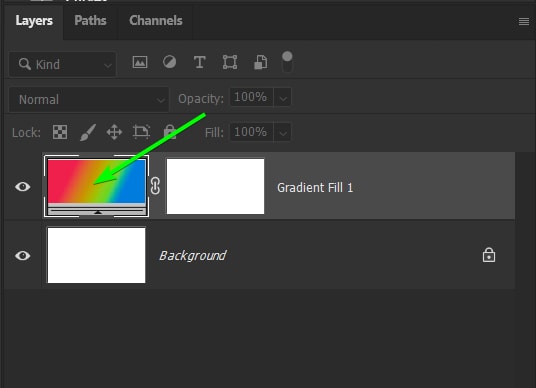
Then, click on the Gradient Preview Bar in the Gradient Fill Panel. Follow the first section to customize the gradient colors in this editor.
How To Change Colors Of An Existing Gradient
Sometimes, you may need to adjust a gradient you’ve already applied to an element. When you use the Gradient Tool, I recommend you use the Gradient Mode, which adds a Gradient Fill layer. When using a Gradient Fill layer, you can change the color of an existing gradient easily.
To change the color, double-click the Gradient Fill thumbnail on the Gradient Fill Layer. This opens the Gradient Fill panel. Click on the gradient preview bar here to open the Gradient editor.
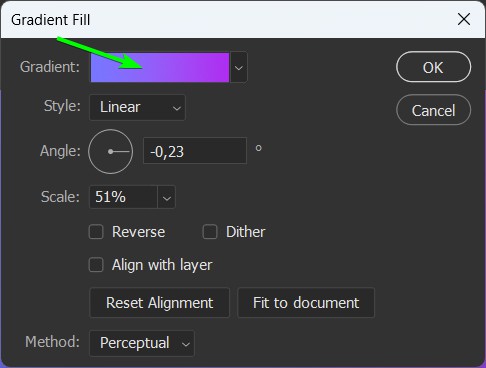
In the Gradient Editor, change the color by double-clicking on the color stop below the bar and selecting a new color from the Color Picker. Click OK to confirm the new color. You can edit the colors further with the methods detailed in the first section.

You can also edit the colors of a Gradient Fill layer using the Properties Panel, as detailed in the previous section, which offers quick access to customization controls. Ensure the Gradient Fill layer is selected and open the Properties Panel to access these settings.