

Whether you want to write curved text, create an emblem, or make text for a logo, learning how to type in a circle in Photoshop has a long list of uses.
To type text in a circle in Photoshop, select the Ellipse Tool then click and drag out on your canvas to create a circle. Next, press T for the Type Tool and click on the path of the ellipse to lock the text to the shape. Now, your text will follow the shape of the circle.
Although typing on a path or shape is pretty straightforward, there are pros and cons to each that you will learn throughout this tutorial.
Video Tutorial
How To Type In A Circle In Photoshop
Step 1: Activate The Ellipse Tool (U)
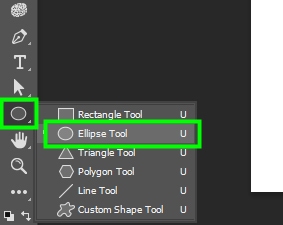
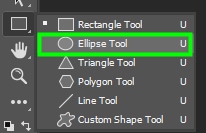
To begin, go to the toolbar and grab the Ellipse Tool (U) found within the Shape Tools.
Step 2: Change The Shape Mode To Path
Next, in the Options Bar, set the Shape Mode to Path. This creates an invisible circle that you can type the text on.
Note: You can also set the Mode to Shape if you want a visible stroke around the circle. Then, set the Fill to transparent and select the stroke color you want.

Step 3: Drag Out On The Canvas To Create The Circle
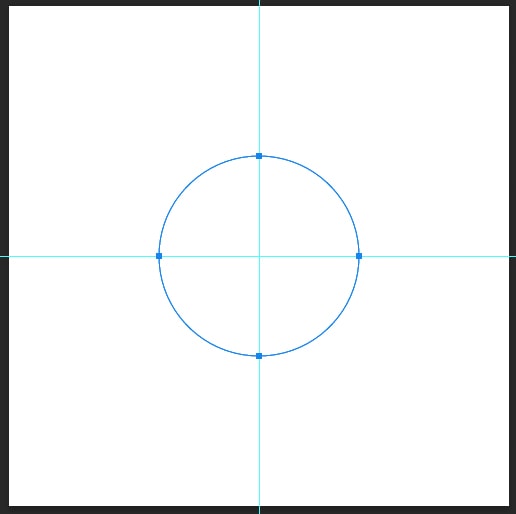
Next, click and drag out on the canvas to create your circle, holding in Shift to create a perfect circle. You can also click once on the canvas and add specific shape dimensions if you want.
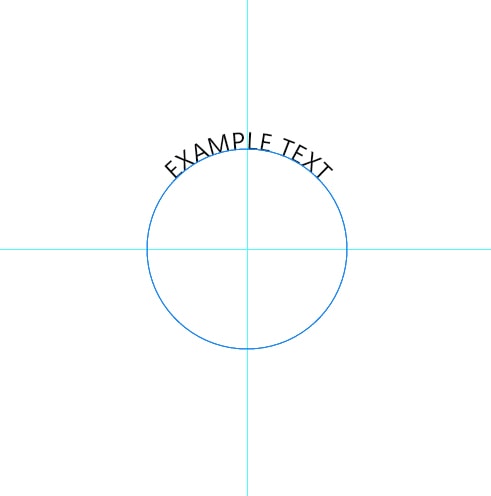
Note: You can add Guides to your document if you want to line up the circle to the center.
Step 4: Activate The Type Tool (T) And Type On The Path
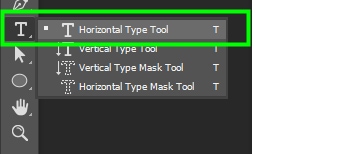
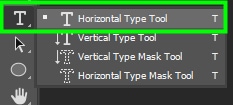
Now, to add the text, select the Horizontal Type Tool (T) from the Toolbar.
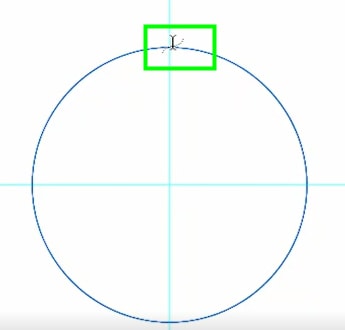
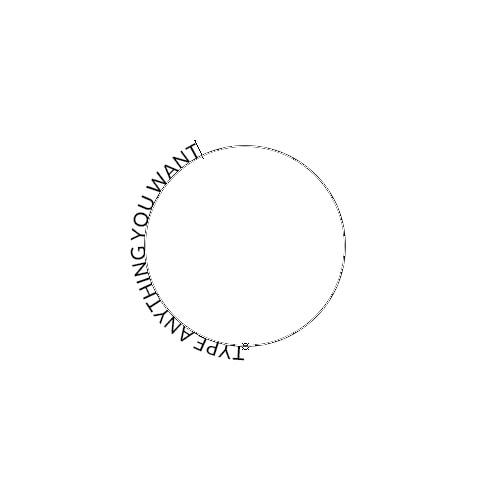
Next, hover over the circle. When you see a dotted, wavy line crossing the cursor, you can start typing.
How To Edit Text In A Circle In Photoshop
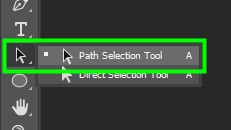
First, make sure the text layer is selected. If not, click on it to select it. Then, grab the Path Selection Tool (A) in the toolbar.
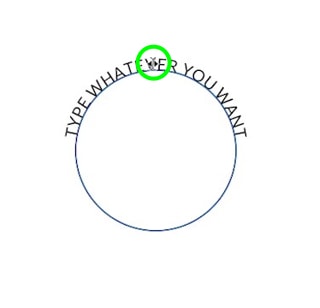
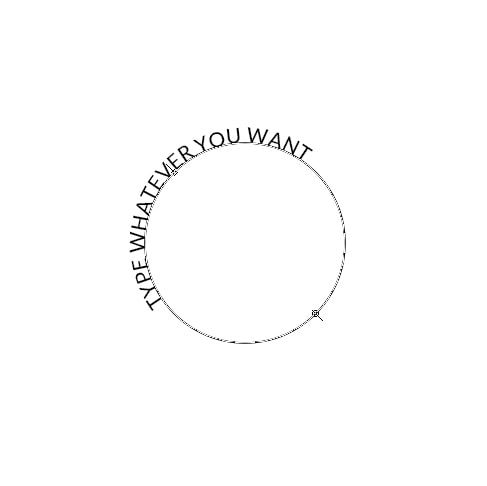
Hover over the text until you see an icon that looks like two arrows pointing in different directions. Click the icon and drag it anywhere you want to adjust the position of your text.
You can also use the alignment options by highlighting the text, going up to the Options Bar, and clicking one of the text alignment options available.
If you want to edit the text position, color, size, font, and more, use the Character panel, which can be accessed by going to Window > Character.
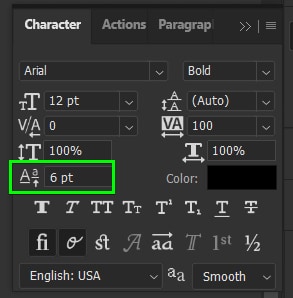
By default, the baseline value is set to zero, which means the text will sit directly on the path. When you increase the baseline value, there will be more space between the circle and the text.
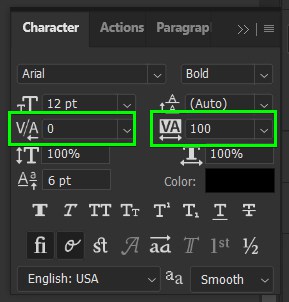
Tracking is simply the space among all letters of a text. I set the tracking of my text to 5 so the letters wouldn’t look so close together. You can choose a value for the tracking in its drop-down menu. To adjust the spacing of individual characters, opt to adjust the Kerning value instead.
How To Create A Circle Logo In Photoshop
Step 1: Add Guides To The Canvas
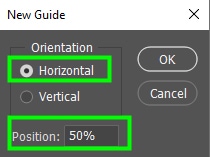
Create a square document and go to View > New Guide.

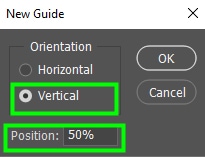
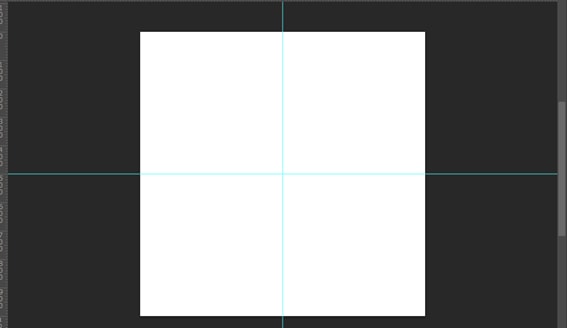
Next, check ‘horizontal’ for the guide orientation and 50% for the position. Then, do this again, but check ‘vertical’ for the orientation and 50% for the position instead. This will place two guides to help locate the center of your canvas.
Step 2: Draw The Ellipse Shape
First, go to the toolbar and grab the Ellipse Tool (U).
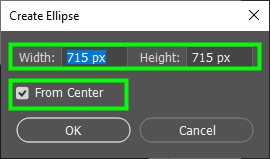
Then, double-click the point where the two guides meet and enter 715 pixels for both width and height. Check the ‘From Center’ checkbox and click ‘OK’.
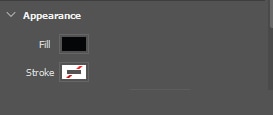
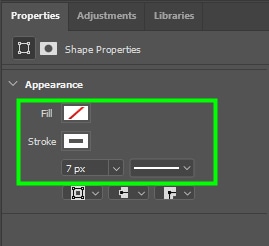
In the properties panel, set the stroke to transparent and the fill to black. Alternatively, you can find these settings in the upper settings bar while the Shape Tool is active.

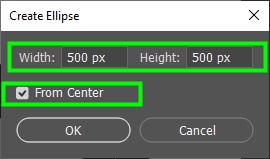
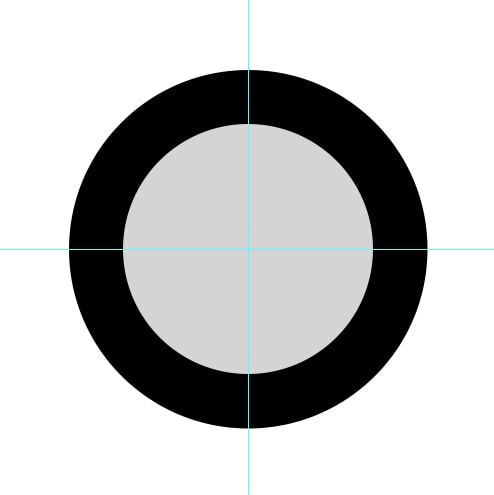
Next, let’s draw the second ellipse. To do this, create a new layer in the layers panel. Then, go to the toolbar again and grab the ellipse tool. Double-click the center of the canvas again and enter 500 pixels for both width and height.
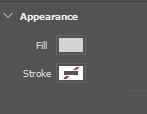
Then, go to the properties panel and change the fill to grey (#d5d4d4). The stroke should be transparent. represented by the white box with the red line through it.
Step 3: Add Your Text And Edit It
Now, let’s type some text along the ellipses we created. To do this, create a new layer for it in the layers panel. Then, go to the toolbar and grab the Horizontal Type Tool (T).
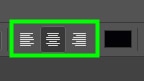
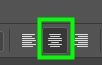
Then, go to the upper settings menu and click on the ‘Center text’ icon.
Now position the cursor on top of the grey circle. When you see a dotted, wavy line crossing the cursor, click once to create a type layer along the shape’s path.
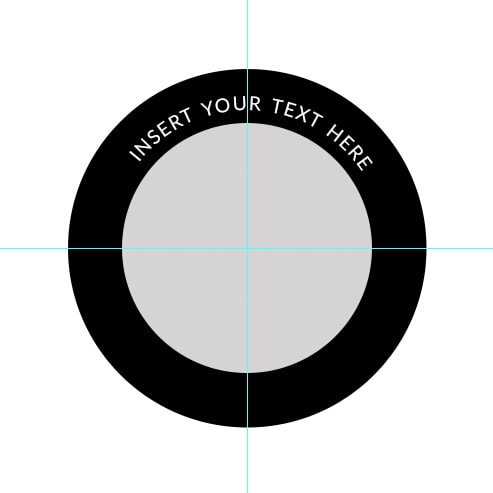
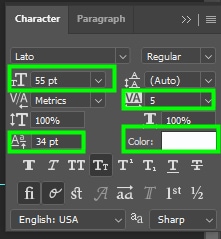
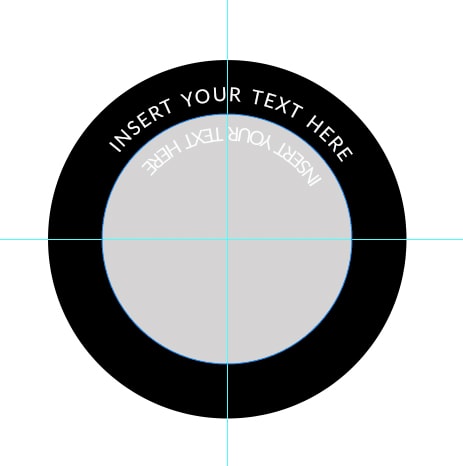
With your text added, open the character panel by going up to Window > Character. In the character panel, set the baseline to 34, the font size to 55, and the tracking to 5. Thus, there will be enough space between the text and the baseline. Additionally, the characters won’t be too close together. Finally, change the text color to white (#ffffff).
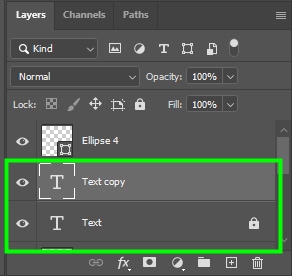
Now, duplicate the text layer by pressing Control + J (Win) or Command + J (Mac).
Next, grab the path selection tool (A), then position your cursor in the middle of the text until you see a double-arrow icon.

Then, drag the text downwards towards the grey circle.
Now, hover over the upside-down text until you see the double arrow icon again. Then, drag the text to the bottom of the circle.
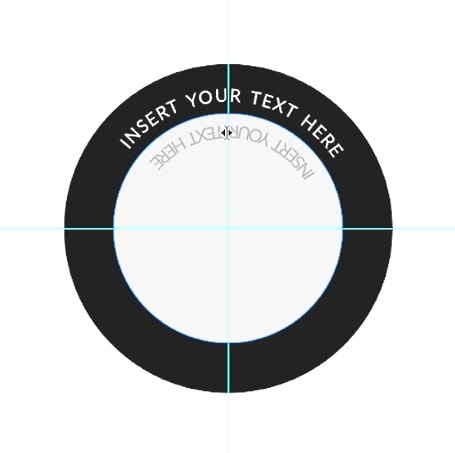
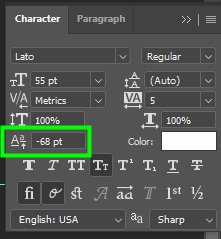
Lastly, go to the Character panel and set the baseline to -68.
Step 4: Finalizing Your Template
Let’s add two more circles to the template. They will look like rings inside the circle. To do this, grab the ellipse tool once again.
Then, double-click the center of the canvas, and in the dialog box that will pop up, enter 520 pixels for both width and height.
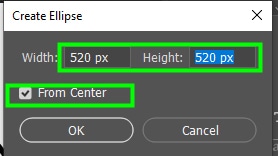
In the properties panel, set the fill to transparent and the stroke to white. The stroke width should be 7 pixels.
Then, grab the ellipse tool and double-click the center of the canvas again. This time, enter 688 pixels for both width and height.

As with the previous ellipse, set the fill to transparent and the stroke to white in the properties panel. The stroke width should also be set to 7 pixels.
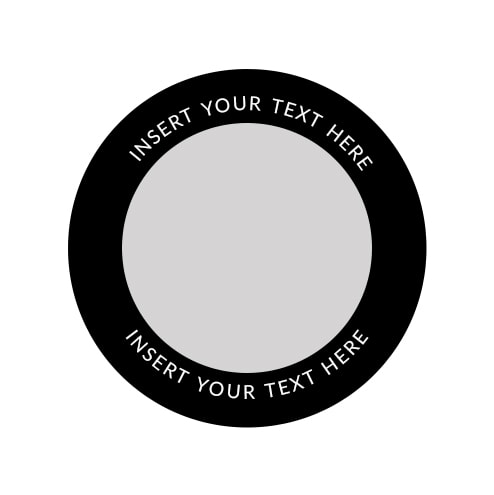
The template is now created.
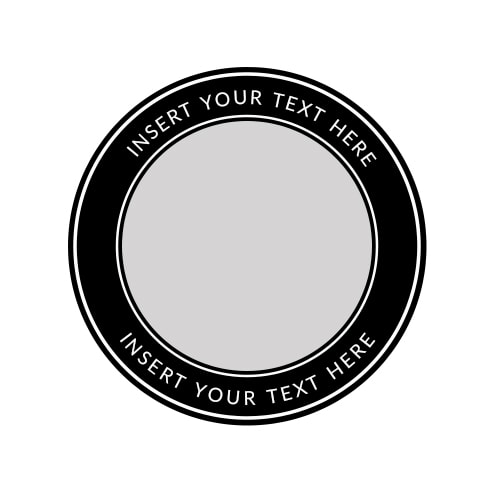
With additional text and shape layers, you can put your name or your brand name in the center of the logo.

You can also change its color combination by changing the color of any shape layer in the Layers Panel.

Or you can get really fancy with a vector shape in the middle of it all!

Learning how to type text in a circle has a lot of valuable uses, especially for logo and emblem design in Photoshop. With the tips you learned here, you can now confidently write text in a circular shape, along with repositioning it to fit the look you’re going for!
Happy Editing!


