
Creating shapes is a basic fundamental of Photoshop that everyone should learn to do at some point. Photoshop has a variety of tools you can use to make shapes on your project, and tons of settings to affect how they look and function.
To create a shape in Photoshop, press U to access the Shape Tool, or click and hold on the Shape Tool in the Toolbar to select your desired shape. Next, click and drag out on your canvas to create your shape, while holding Shift to keep it symmetrical if desired.
The shape tool can be used to create custom shapes or selections and you can fill different shapes with colors, patterns, images, and more. Today, we’ll take a deep dive into the different shape tools available in Photoshop, which settings to use, and ultimately how to draw the perfect shape!
How To Access The Shape Tools In Photoshop
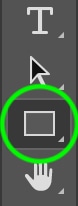
You can access Photoshop’s different Shape tools (U) from the toolbar on the left. The tool’s icon will appear as whichever shape you used last, or its default shape which is a rectangle.
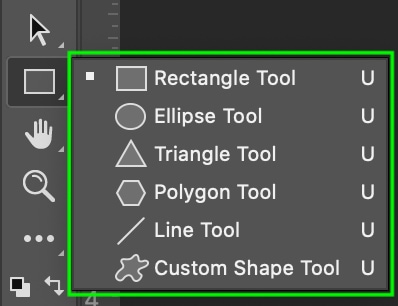
You can access the different available shapes by clicking and holding the icon, and choosing from the options that appear.
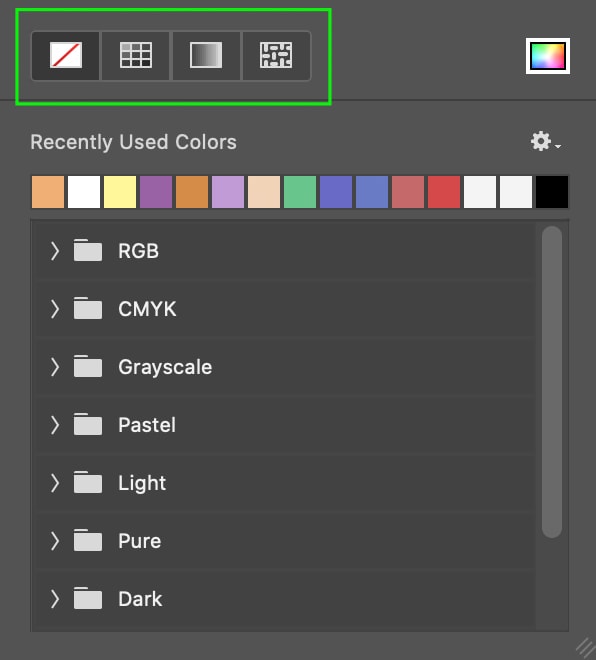
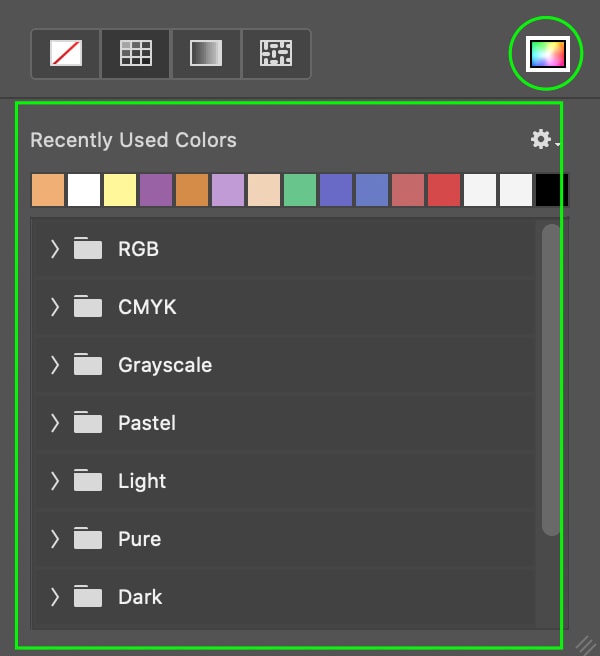
Once you’ve clicked the icon, you’ll notice the toolbar at the top contains settings that allow you to further adjust the appearance and behavior of your shape.

These settings remain available to you regardless of which shape you’ve chosen from the tool’s options. We’ll take a deeper look into these settings later, but for now, it is useful to know where they are.
How To Draw Shapes On Your Canvas In Photoshop
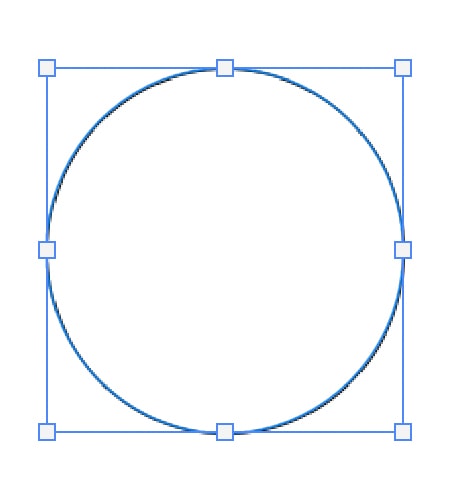
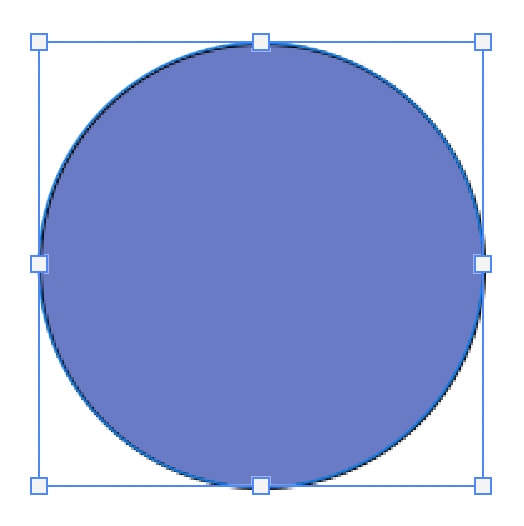
Once you’ve selected your desired Shape tool, you can create a shape simply by clicking and dragging on your canvas. To make a perfect circle, equilateral triangle, or square hold in Shift while you click and drag to create the shape. This will keep all sides of your shape even.
Making a shape in Photoshop is that simple. Depending on your settings, the shape will likely look quite plain, but we’ll get into the various adjustments you can make to your shape’s appearance in a bit.
How To Change The Position & Size Of A Shape
Now that you’ve added a shape to your canvas, let’s explore how to move the shape and change the size.
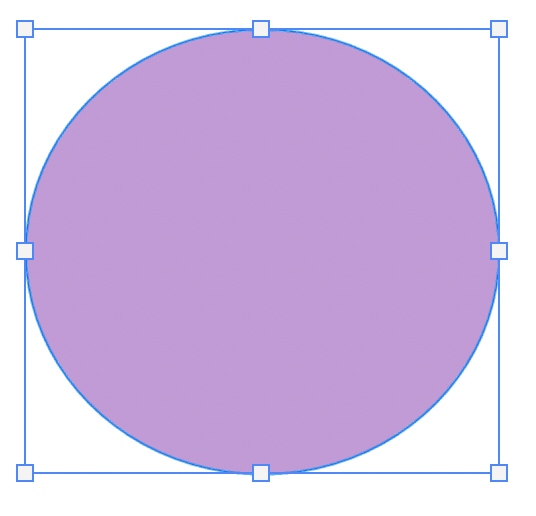
To easily change the size of your shape, click and drag any of the toggles appearing around it after you’ve created the shape. To keep the original dimensions of the shape, hold in Shift while you resize the shape.
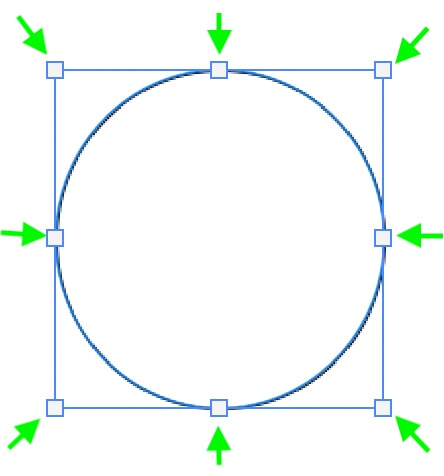
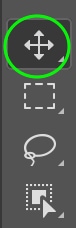
You can change the position of your shape using the move tool. Keep in mind that, with the shape tool still active, if you try to click and drag your shape to move it, you’ll only make a new shape. You must select the Move tool (V) on the toolbar before attempting to move your shape. With the move tool selected, click and drag the shape to reposition.
Shape Tool Settings Explained
Now, let’s explore the different settings that allow you to adjust your shape’s appearance. You can find these in the Options bar.
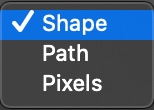
1. Shape Vs Path Vs Pixels
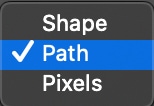
You can use this setting to choose which type of layer you will make when you create a shape. Clicking on the dropdown arrows gives the options between Shape, Path, and Pixels.

Selecting Shape will create a shape layer, which allows you to easily change the fill and stroke of the shape. For most situations where you want to draw a shape, this will be the best option. This option keeps the shape as a Shape layer which will allow you to go back and edit it if need be. Shape layers are also scalable since they are created as a vector layer.
Paths are useful for creating selections in a specific shape; for instance, if you’d like to select a circular area of an image or graphic, you can use the Path option.
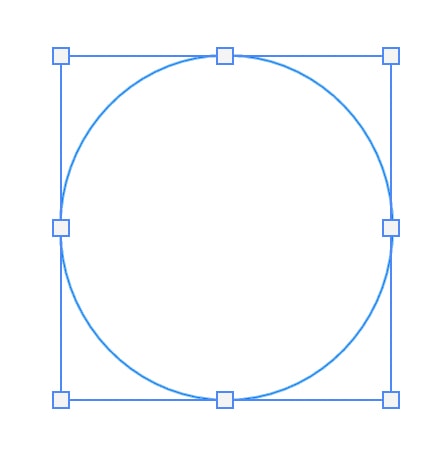
Once you click and drag to create your path you can click Selection to edit the feather radius of the selection. Click OK when you’re finished.

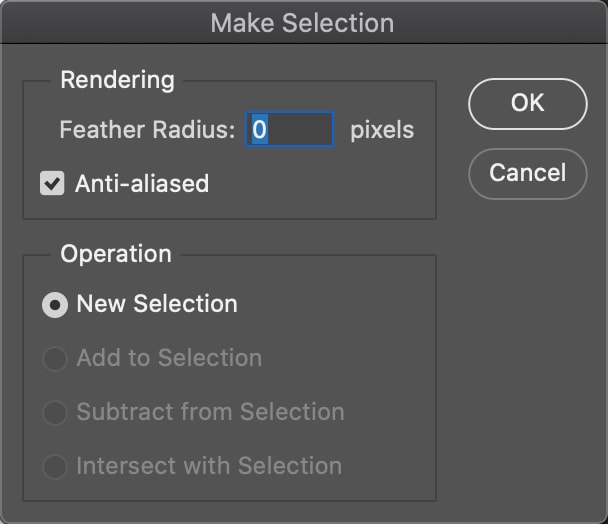
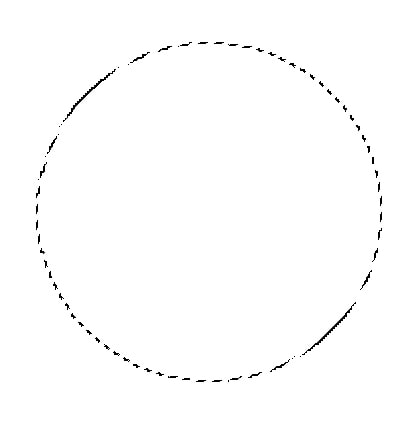
When you click OK, you’ll see the shape turn into a selection on your image or canvas.
You can also make a selection out of a custom shape using this tool if the area you’d like to select is similar to a shape but has some outlying areas you’d like to add to the selection. To do this, follow the above process to create your path based on a shape — opt for whichever shape covers most of the area you’d like to select. Then, select the pen tool (P).
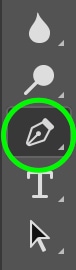
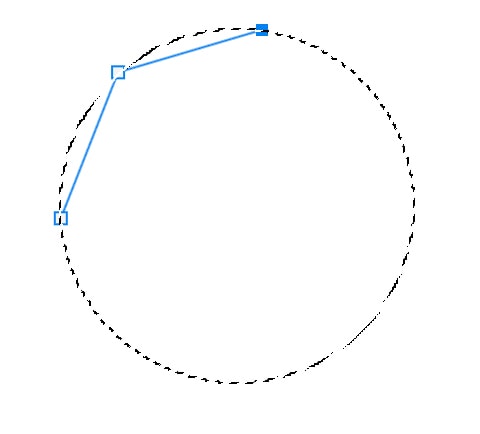
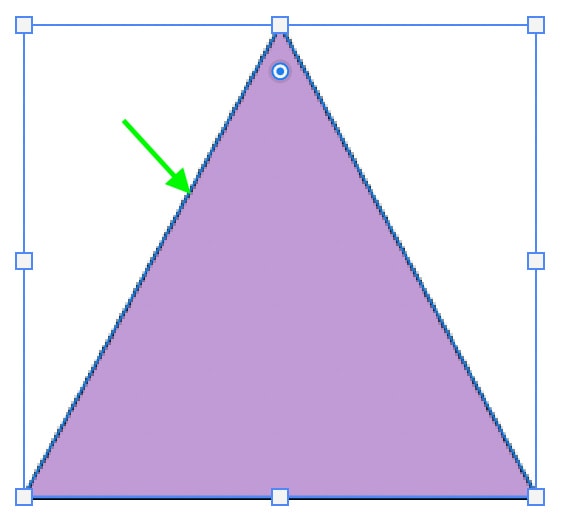
Now, click around your selection to add some anchor points to the areas around that you’d like to drag out. As an example, in the image below I’ve added three anchor points to the top left of the circle, but add as many or as few as you need.
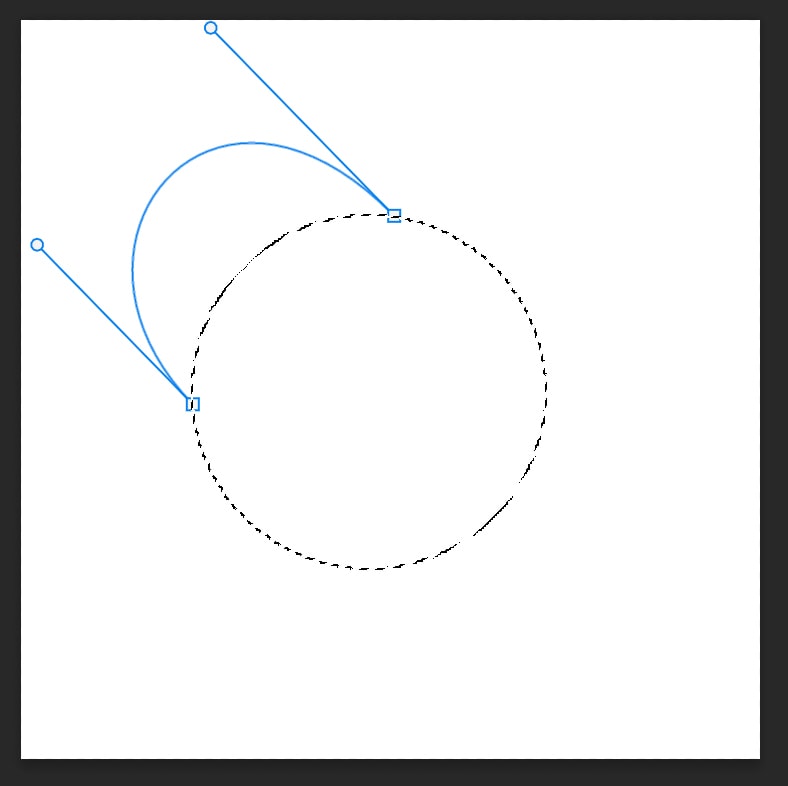
Now you can drag the anchor points around so that they select the area you’d like.
To keep this area as part of the selection, click Selection in the top toolbar and make sure Add To Selection is checked.


Click OK and you’ll notice the selection changes to include the area you’ve just added. You could also use this same method to create your own custom shape without making a selection from it.

Keep in mind that selecting Path and creating a shape will not allow you to edit the appearance of your shape or stroke; you’ll only see the outline of the shape, and it will not appear in your Layers panel.
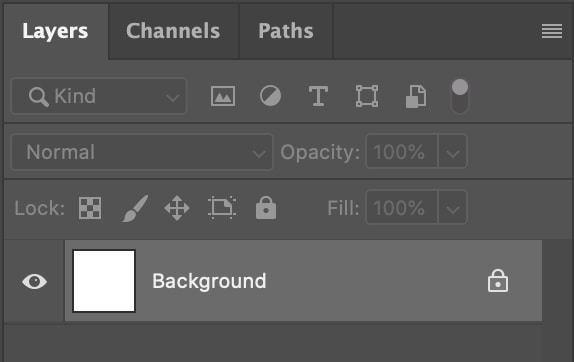
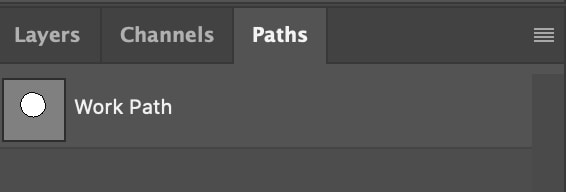
You will, however, be able to see the path in the Paths panel.
Selecting Pixels will allow you to create a rasterized shape. This means that you won’t be able to edit the fill or stroke of the shape; it will automatically appear filled with the color you have your foreground color set to.
Shapes created with the Pixels option are not scalable either, since the shape will become pixelated if you increase the size too much. This is the best option if you want to create a shape quickly and easily, and don’t need to do any further editing
Overall, using the Shape option from the options above is likely the best choice as you’ll have the most control over how your shape appears once you’ve created it.
2. Fill & Stroke Settings
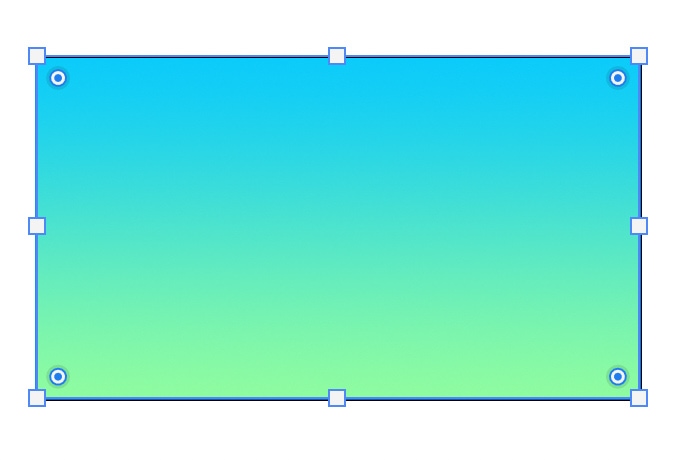
Now it’s time to explore all the ways you can fill your shape and its stroke. Once you’ve made your shape, using the shape option (not path or pixels), click the box next to Fill to see the different options for filling your shape.

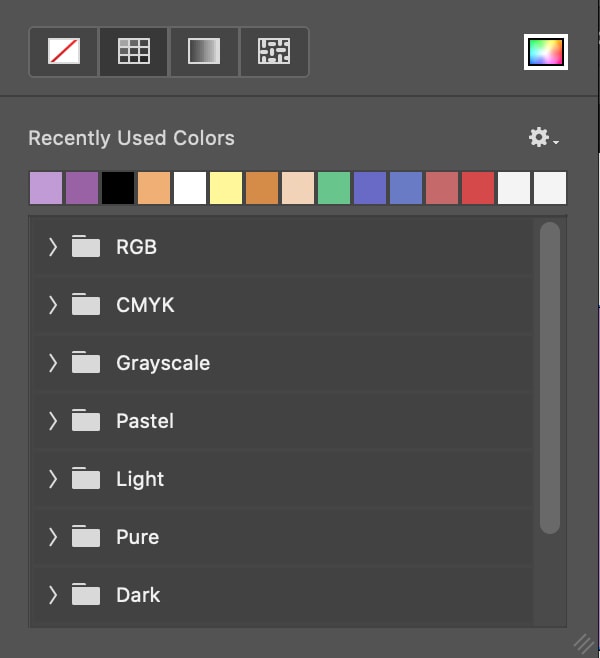
In the window that appears, you’ll see the different options for filling your shape. In order from left to right, the options are No Fill, Solid Color, Gradient, and Pattern.
The solid color section is fairly simple, just explore the available color options and choose the one you’d like, or select your own using the color picker.
Click the next icon, the gradient icon, to see the different gradient settings.
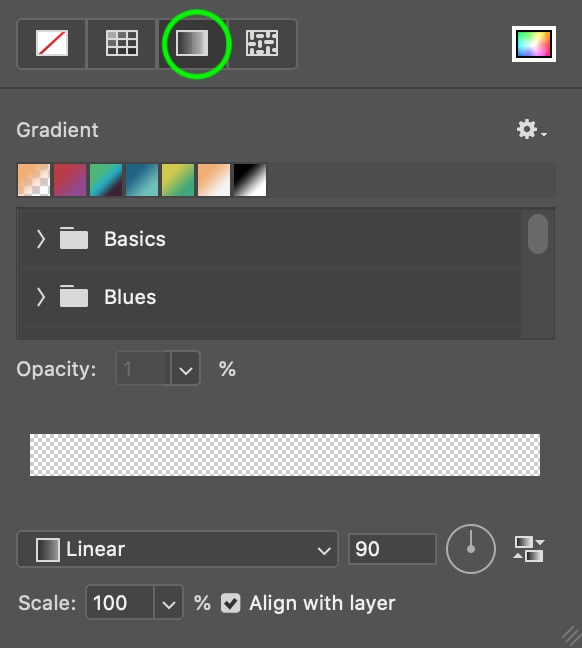
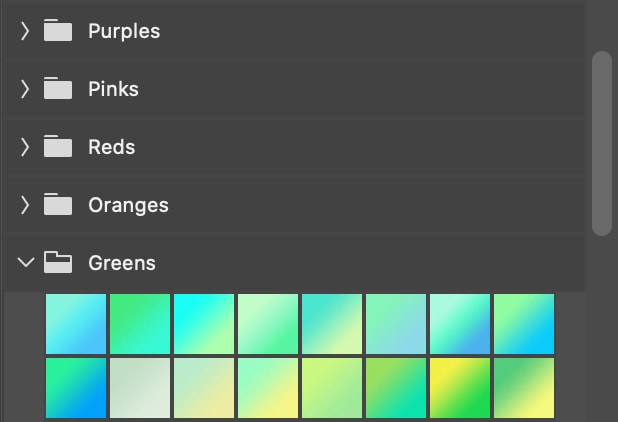
Here you can browse through the available color combinations or select your own colors using the color picker.
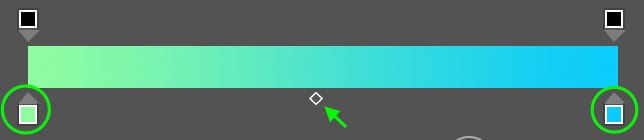
In the bottom area, you can use the gradient editor to select how much of each color you’d like to appear in the gradient. Click and drag the square-shaped gradient stops at the bottom of either side to adjust the amount of each color, and the small diamond at the center to adjust where the midpoint of the gradient sits.
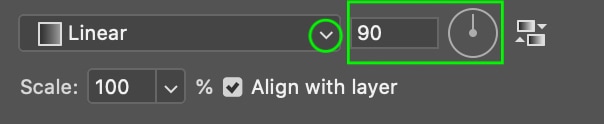
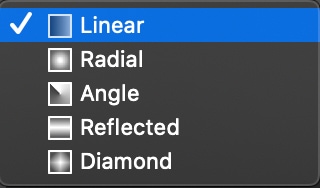
Below this, you can also choose whether the gradient appears in a linear direction or another way by clicking the drop-down arrow. Next to this, you can rotate the gradient to any degree you’d like.
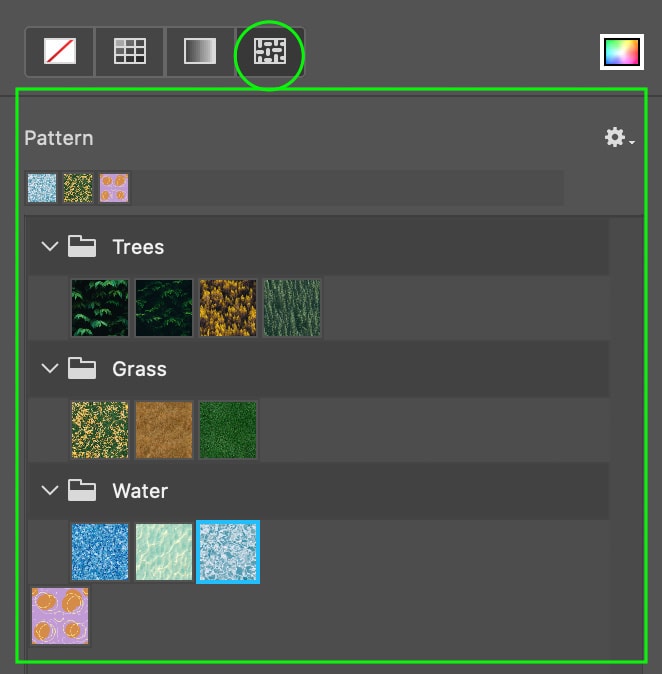
Now, let’s see how we can fill a shape with a pattern. Click the pattern icon, and you’ll see all the available patterns that come with Photoshop as well as any you’ve created or added. Choose the one you like.
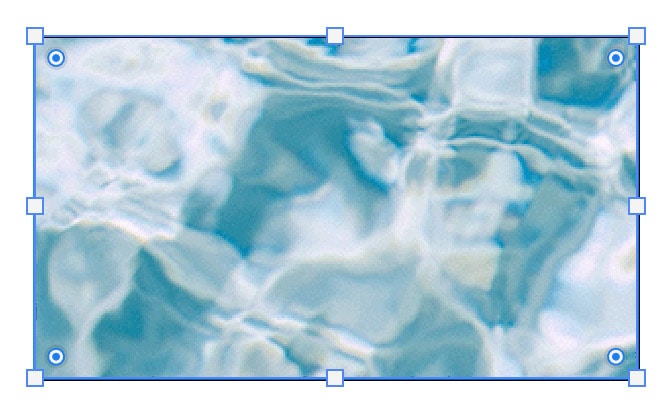
Once you choose a pattern, you can use the settings at the bottom of the panel to adjust the scale of the pattern (how many times it repeats) as well as the angle.
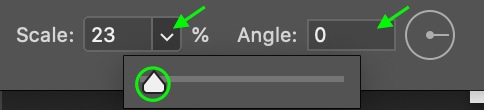
These settings can have an effect on how your pattern appears. Notice the difference in the scale of the pattern set to 100%, above, and 23%, below.

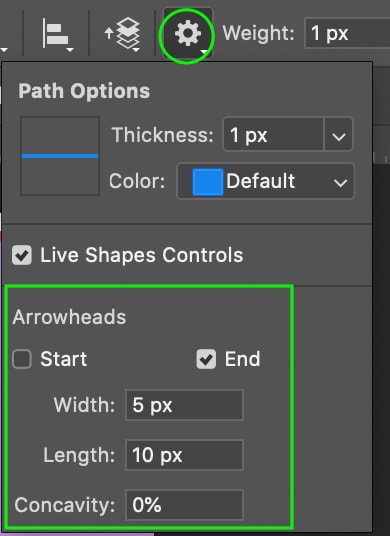
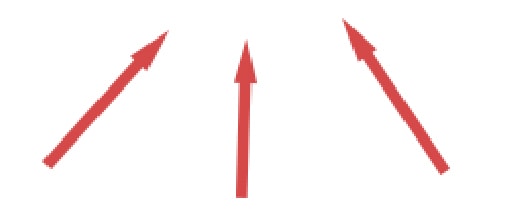
The fill settings only apply to shapes that have a space that can be filled, and not the Line tool. The line tool is especially useful if you need to make arrows, as you can head to the Gear icon before creating your line and set it to feature an arrowhead on one end, by selecting only Start or End, or both ends by selecting both. You can also set the width and length of the arrowheads.
3. Width & Height Settings
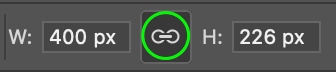
These next settings allow you to adjust the size of the shape by adding specific width and height values.

To change these options, simply enter the number of pixels you’d like the width and height to be. Activate the Link icon to ensure that when you adjust one, the other automatically adjusts to keep the original dimensions.
4. Corner Radius Settings
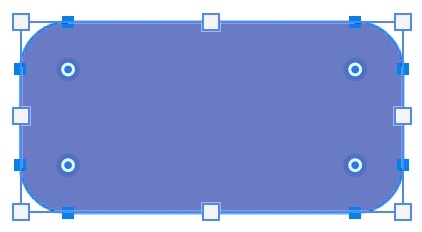
This setting controls the amount the corner of the shape is rounded (if applicable). To adjust the setting, simply type in the number of pixels to curve the corner. The higher the pixels, the more curved the edges will be.

For instance, when set to 20 pixels, the rounded corners on a rectangle look like this:
5. Stroke Settings
Once you’ve decided on the appearance of your shape, you can also edit the stroke of the shape similar to the fill. The stroke refers to the pixels that make up the outline of your shape and can be as thick or thin as you’d like. The same fill settings we had with the shape itself also apply to the stroke. To access these, click the Stroke icon.

In the panel that appears you’ll find the same options as the fill shape options.
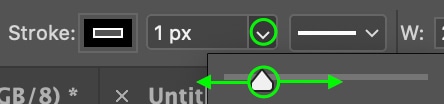
Select the color, gradient, or pattern of the stroke. Then, you can choose the width of your stroke by clicking the drop-down arrow and dragging the slider up or down, or by entering a number of pixels in the box.
The stroke will appear as the outline of your shape.
Lastly, you can change the type of stroke you see — a plain, dashed, or dotted line — in the stroke options bar.
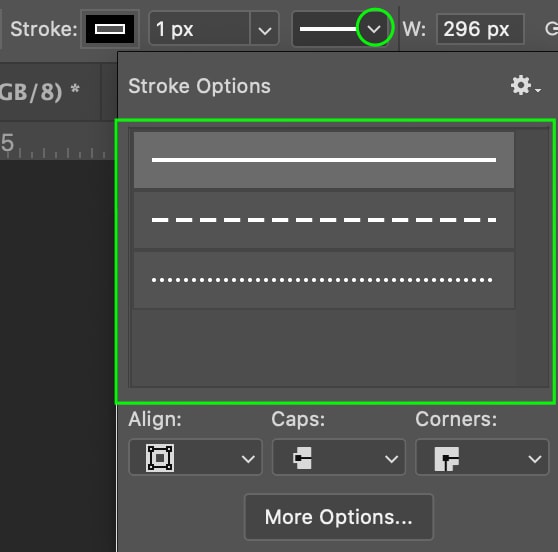
At the bottom of the panel, you’ll find a few more useful settings, like the Align setting which allows you to select whether you’d like the stroke to sit inside, outside, or directly on the edge of the shape; and the Corners setting, which allows you to choose how rounded, straight, or pointed you’d like the corners of the stroke to appear.

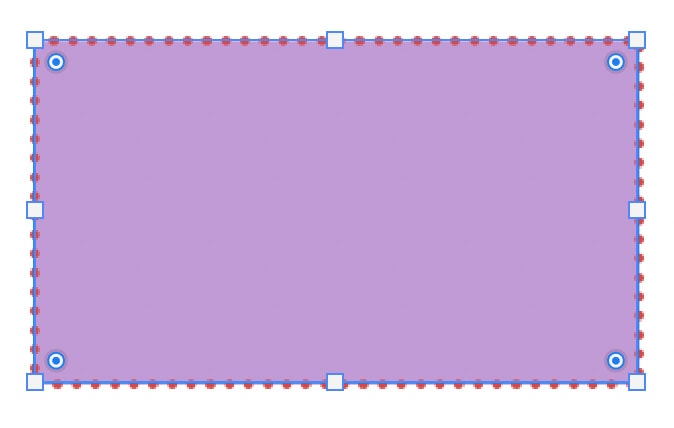
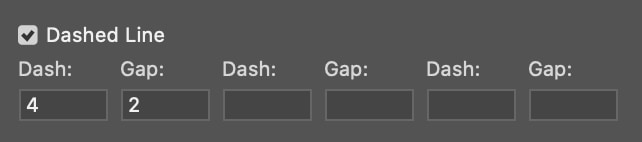
By selecting More Options, you can also choose how many dots or dashes you’d like visible in your stroke by filling in the numbers under Dash and Gap.
How To Fill Shapes With Images
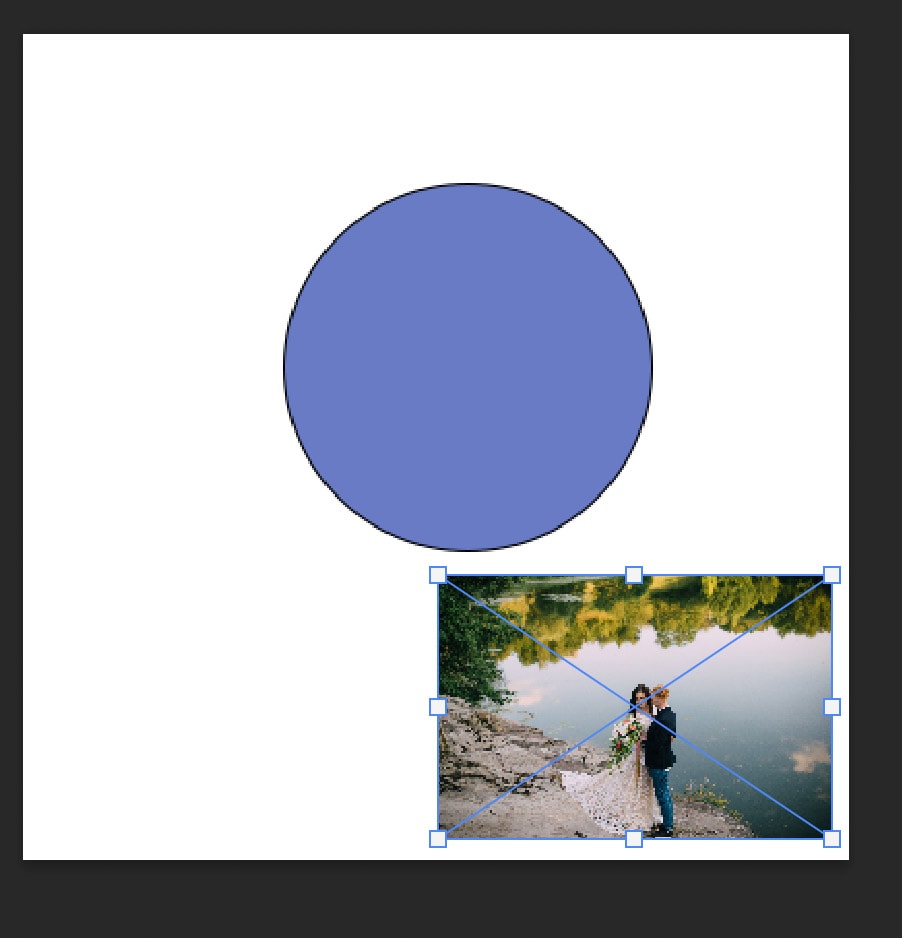
You may want to fill a shape with an image, perhaps to fit the image into your project in a specific way or to add a border or frame to the image. To do this, first, create your shape. Don’t worry about setting the fill or stroke for now.
Next, drag an image from your files or desktop into the project, where it will appear in the document as a new layer. This is helpful as it allows you to make further edits to both as needed.
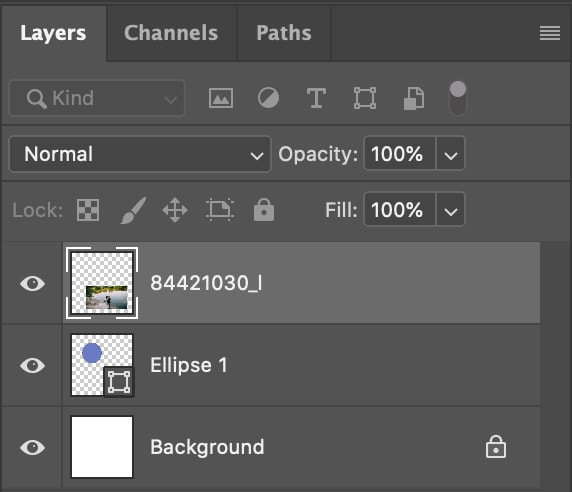
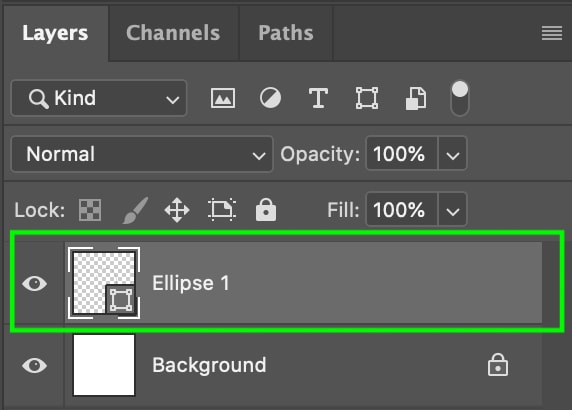
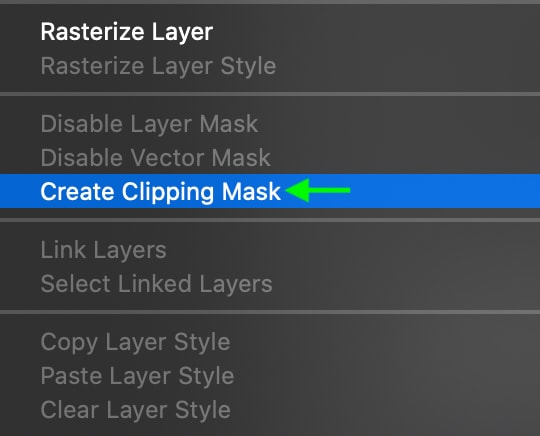
Now, in the Layers panel, you can add a clipping mask to the Image layer by Right-clicking (Win) or Control + clicking (Mac) the layer and selecting Create Clipping Mask. Make sure the Image layer is directly above the shape layer.
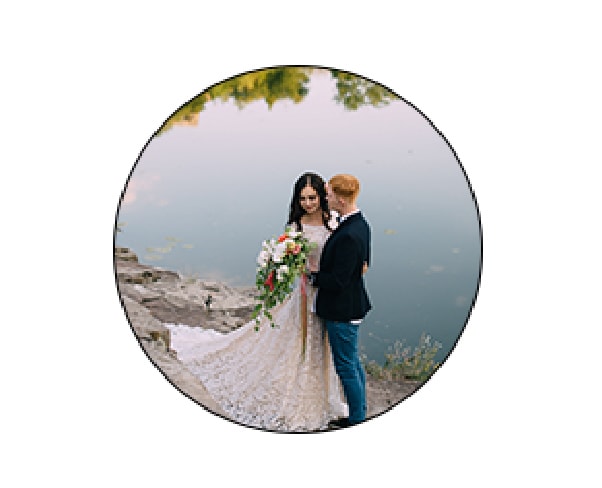
You’ll notice the clipping mask icon next to the image thumbnail in the Layers panel.

Now, drag the image to the shape using the Move tool and position it the way you’d like.
How To Fill Shapes With Text
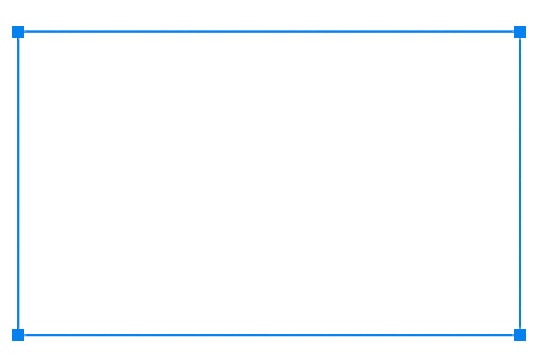
You can also fill a shape with text by heading to the shape tool and choosing the shape you’d like, then in the Shape Tool area, select Path.

Create the shape by clicking and dragging on the canvas. Then, select the Text tool on the toolbar.
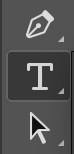
Place the text in the shape by clicking on the inside of the shape to make the text box. The text will appear inside the path you’ve created based on the shape.
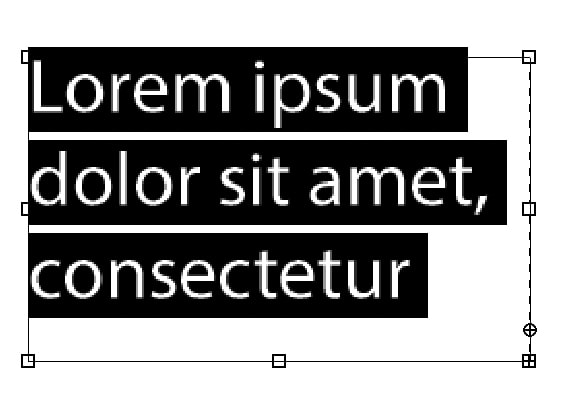
You can alter the font, color, size, and other features of the text in the Options bar.

How To Create Transparent Shapes With Outlines
You can also set the fill of the shape to transparent and allow the stroke to remain as the shape’s outline. To do this, make the shape and head to the Fill area.
In the panel that appears, make sure the shape’s fill is set to No Fill (the first icon on the left).

Now, you will have a plain shape outline with a transparent center. You can edit the outline, using the Stroke settings.


Using Custom Shapes & How To Import Additional Shapes
The last shape tool to go over is the Custom Shape tool. By clicking and holding the shape icon, you’ll be able to access the Custom Shape tool.
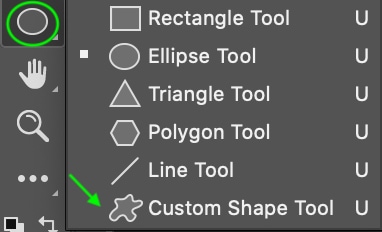
With this tool active, you can draw one of the custom shapes that come with Photoshop or any you may have imported by clicking the Shape dropdown in the Options bar.

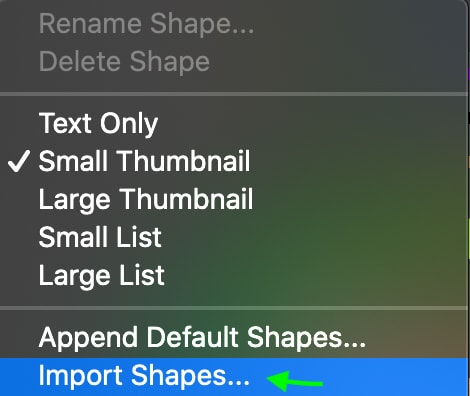
If you’re looking for custom shapes, there are tons available at Shapes4Free. To import a custom shape you have downloaded, you can click the gear icon in the top right of the custom shapes panel and select Import Shapes.
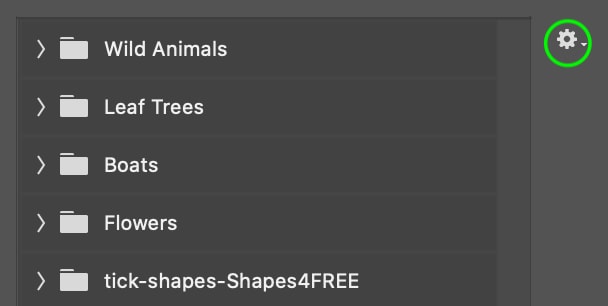
Once you have selected and imported your custom shape, they will appear in the Custom Shapes folders below the default shapes.
The shape tools available in Photoshop are some of the most versatile tools for all types of editing. From graphic design, creating selections, and more, there are so many ways to use shapes in your workflow. With the tips you learned here, you now know the ins and outs of using the shape tools since the settings remain nearly the same across every shape tool you use.
Happy Editing!


