

Knowing how to use the Marquee Tool in Photoshop is useful to create simple and quick selections. You can use these selections to cut out backgrounds from basic shapes, crop layers, or isolate areas to add adjustments.
The Marquee Tool is confined to certain shapes, which limits the tool’s capabilities in removing complex backgrounds. However, the tool is perfect for specific situations, such as cropping a layer without affecting the entire image. If you don’t know much about this versatile tool, here is a complete guide on the Marquee Tool.


Video Tutorial
How To Use The Marquee Tool In Photoshop
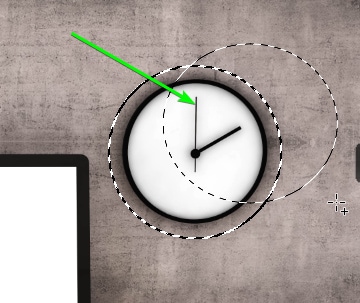
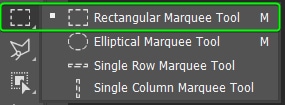
Step 1: Select A Marquee Tool From The Fly-Out Menu
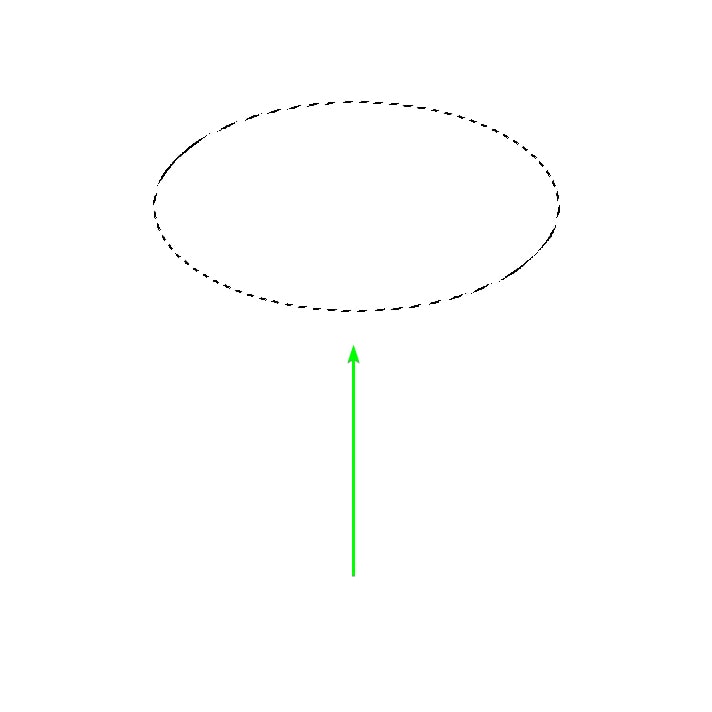
Select the Marquee Tool you want to use from the fly-out menu in the Toolbar. For this example, select the Elliptical Marquee Tool.
Step 2: Set The Mode To New Selection In The Options Bar
Now, you can adjust the settings in the Options Bar before creating the selection. The most important one is to set the Mode to New Selection, which is the first icon.
Note: The next section explains each setting in detail.

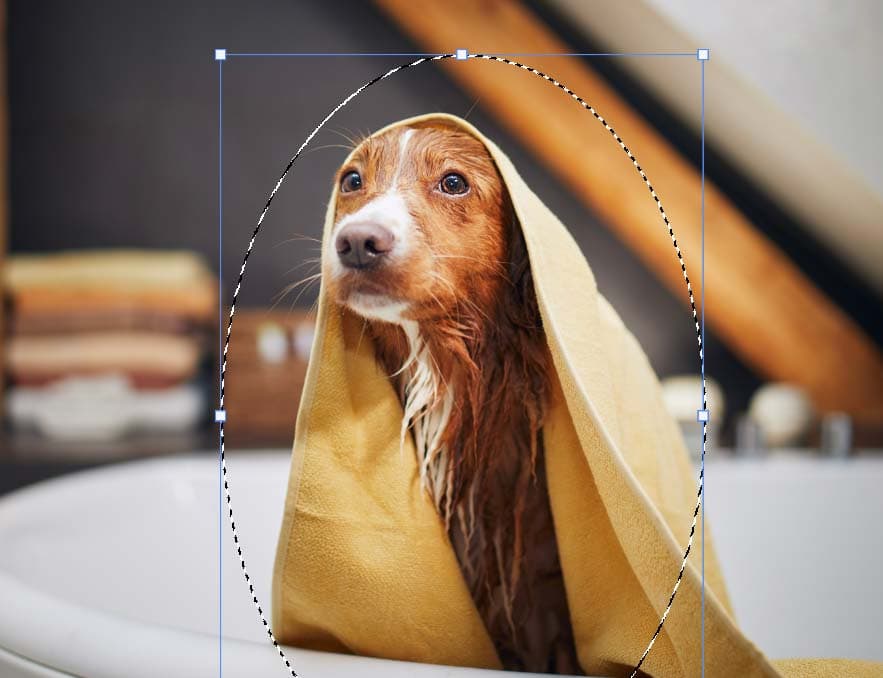
Step 3: Click And Drag On The Canvas To Create The Selection
With the settings correct, click and drag on the canvas to add a selection around an area. Remember to hold Shift if you want a perfect circle. You can move and edit the selection, which I explain later in the article.

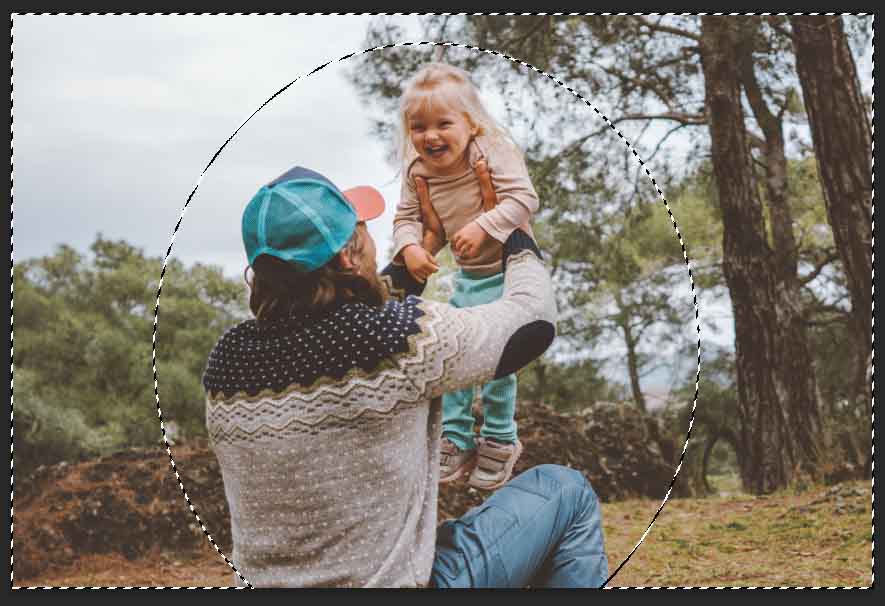
Step 4: Add A Layer Mask Or Edit The Selection As Needed (Optional)
Once you are happy with the positioning of the selection, you can use the selection as you’d like. For instance, add a layer mask to the image layer. You can do this by selecting the image layer and clicking on the Add a Layer Mask icon at the bottom of the Layers Panel.
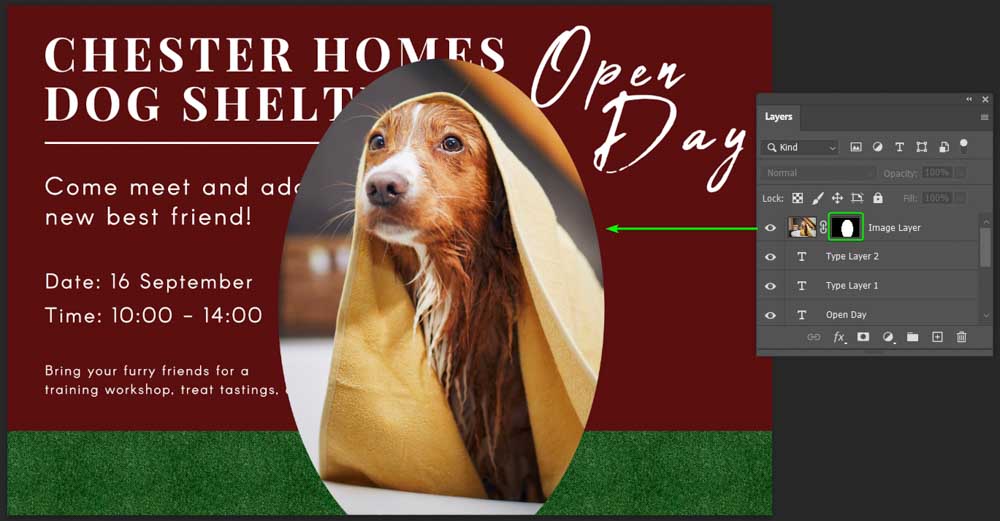
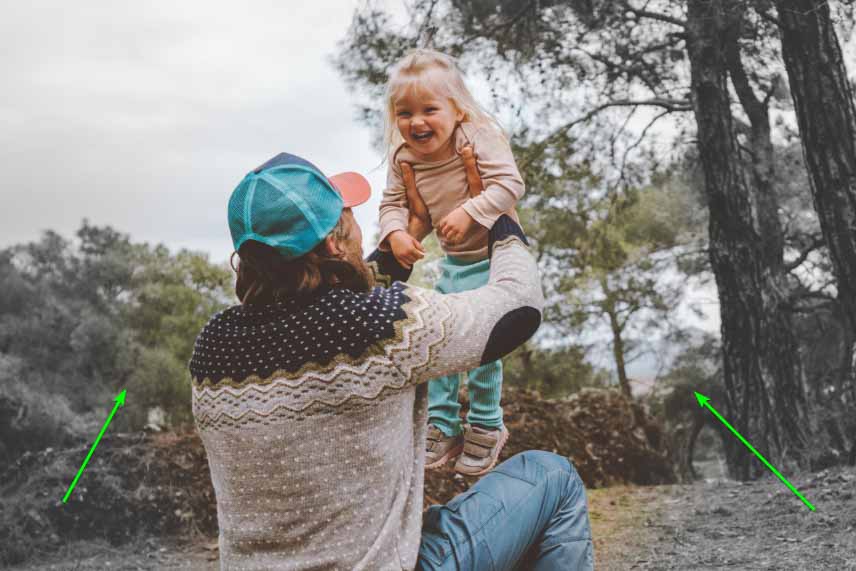
You can then click the layer, move it around, edit it, and rearrange it within the Layers Panel to complete your artwork.

The Marquee Tool Settings Explained
Selection Modes
The first setting options to note are the four Mode icons. From left to right, the icons allow you to create a New selection, Add to selection, Subtract from selection, and Intersect with selection. Click on any icon to activate it.

By default, it’s set to New selection for you to start a selection. However, suppose you already have a selection on your canvas. In that case, you can choose to Add to selection to add another selection without removing your initial selection or add onto the initial selection to create a new shape. You can also hold in Shift and then click to add a new selection.


If you want to remove a selection without affecting the rest, select Subtract from Selection. This option is also helpful in removing a particular part of an existing selection. You can also hold in Alt (Win) or Option (Mac) while clicking to subtract from the selection.
Then, if you want to intersect with the selection, meaning that only the area you initially selected that overlaps with the new selection is selected, choose the Intersect with selection option.

Feathering Setting
Next in the Options Bar is the Feather option. You can add a pixel amount in the box to create a feathered selection. This setting helps add an adjustment to an area on an image with a feathered effect to blend it into the picture.

For example, create a selection using the Elliptical Marquee Tool and invert the selection to select the background by pressing Shift + Control + I (Win) or Shift + Command + I (Mac).
Then, add an adjustment layer to the selection using the Add Adjustment Layer icon at the bottom of the Layers Panel. You can see how the effect is feathered toward the photo’s subject, blending the effect better.
The feathering option works well when you add subtle adjustments or want to blend the effect into the image. Leave the feather at 0px when you need a well-defined selection.
Additional Settings
The next option is Anti-aliasing, which is only available for the Elliptical Marquee Tool and works to smooth the selection edges by smoothing the color transition between pixels. Check this option for a smoother blend, and leave it unchecked when you want a defined selection.

Next, you can change the Style of the Marquee Tool between Normal, Fixed Ratio, and Fixed Size. These options let you create custom selections using Normal or choose a fixed ratio or size to create a selection.

Once you select a fixed ratio or size, you can add the amounts to the boxes next to the drop-down menu.

The last option is to open the Select and Mask workspace, which allows you to refine the selection using several tools and settings.

How To Edit A Marquee Selection In Photoshop
Move A Marquee Selection
Sometimes, when you create a selection, it shifts away from where you start the selection. Luckily, there are a few ways to move the selection.
Firstly, while dragging out the selection, you can keep your mouse clicked, hold the spacebar, and drag the selection to a new spot. This method moves the entire selection, and you can continue dragging out the selection when you let go of the spacebar.
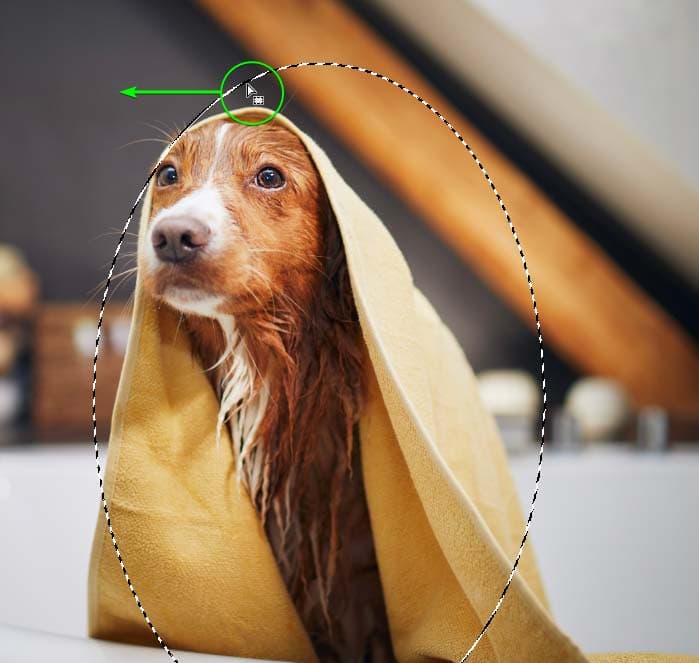
If you want to move the selection after you have created it, you can move it once you let go of the mouse. To move the created selection, hover the mouse over it until the Marquee target icon turns to a white mouse pointer. Then click and drag the selection to a new spot.
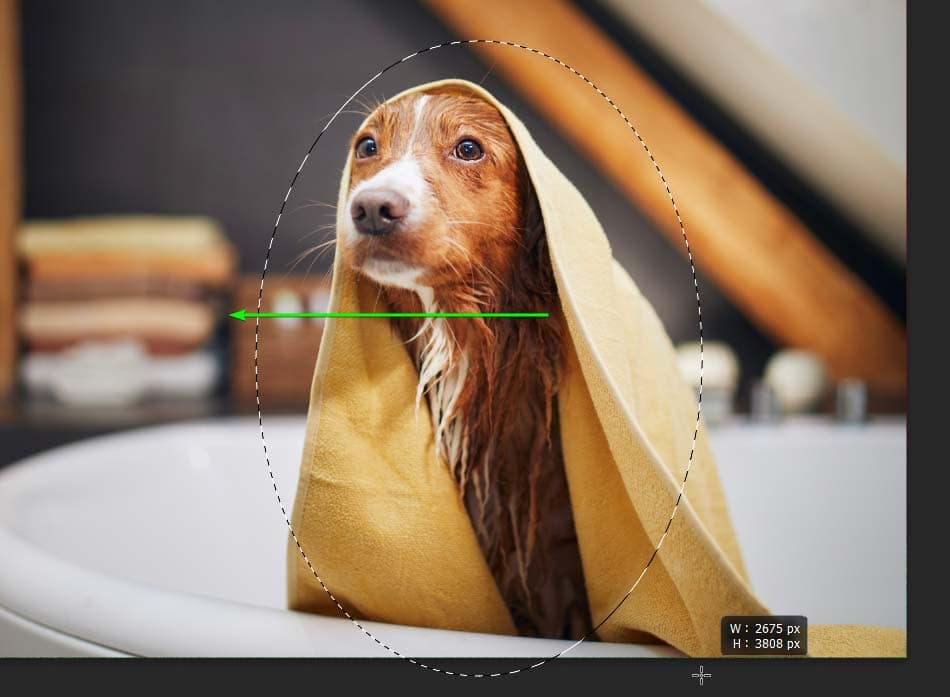
Resize A Marquee Selection
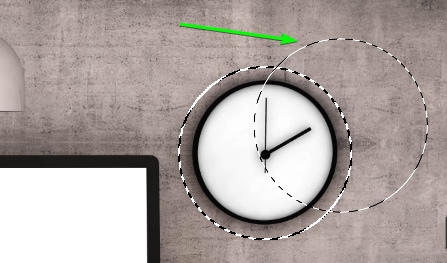
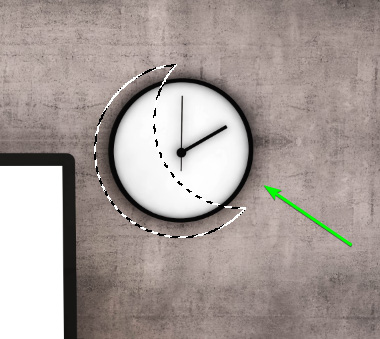
Once you have placed your selection in the desired spot, you may need to resize it to fit your object better. Instead of redoing the entire selection, you can quickly resize it, and this method also offers another way of moving the selection.
To resize the selection, right-click (Win) or Control + click (Mac) inside the selection and choose Transform Selection.
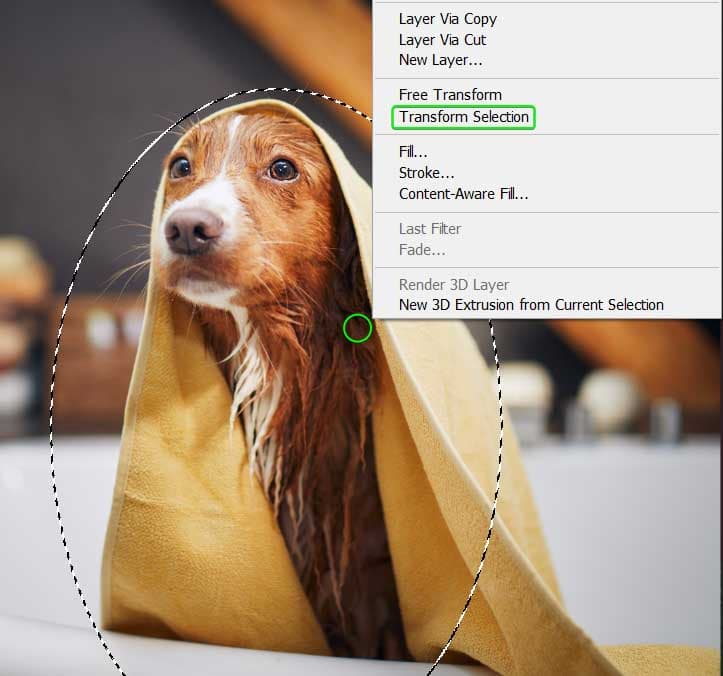
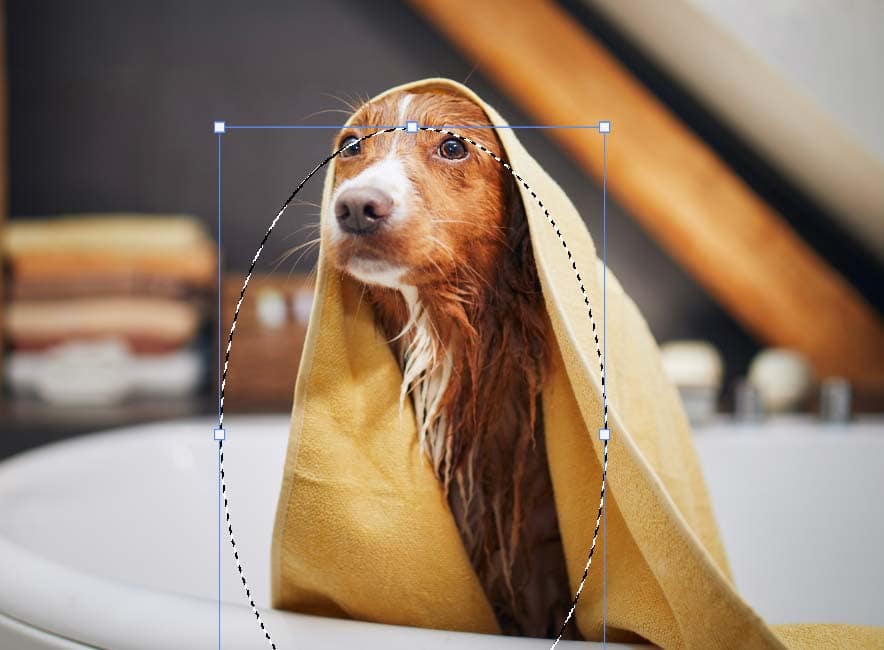
This action creates a transform box around the selection. You can click on any handle and drag it inwards to make the selection smaller.

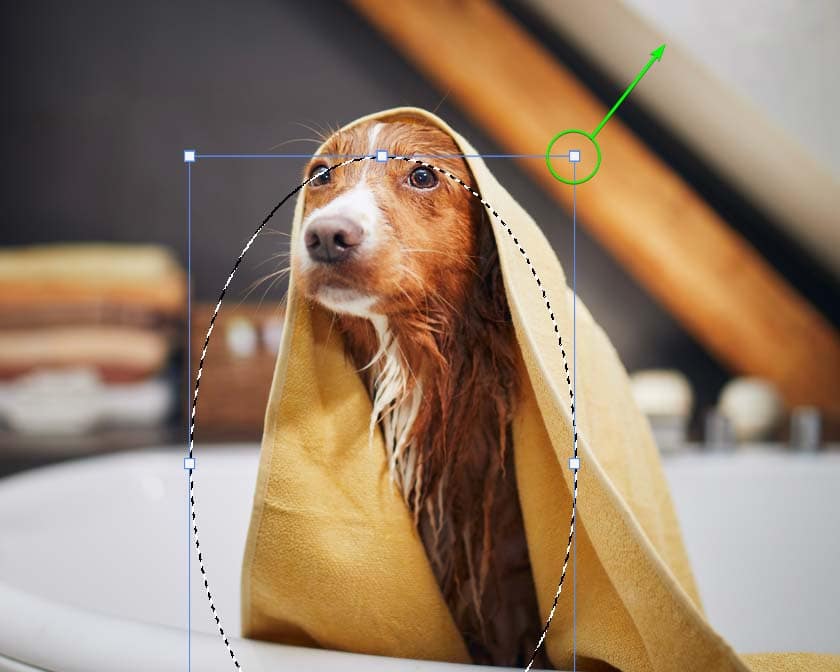
Or click and drag the handle outward to make the selection bigger.
While in the transform mode, you can click within the selection and drag it around to move it.
Move The Pixels Within A Marquee Selection
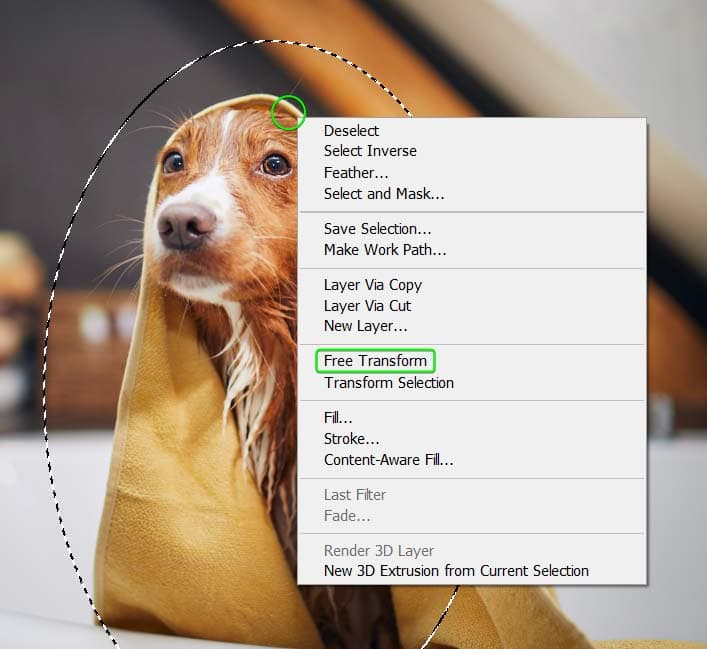
If you want to move the content inside the selection, you can use the Free Transform function.
Either right-click (Win) or Control + click (Mac) and select Free Transform, or press Control + T (Win) or Command + T (Mac). Then, you can click and drag the content anywhere else on the layer.

Types Of Marquee Tools In Photoshop
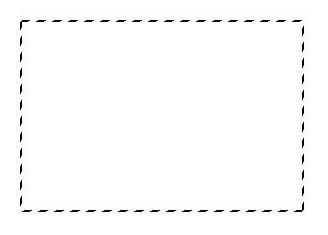
Rectangular Marquee Tool
The first option in the group is the Rectangular Marquee Tool. As the name suggests, the tool creates a rectangular selection on your picture. To use the tool, click and drag on your image to create a rectangular selection.
Note: Hold the Shift key while dragging the selection to create a square selection.
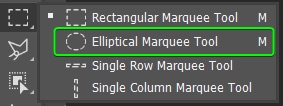
Elliptical Marquee Tool
The Elliptical Marquee Tool, as the name suggests, creates a selection in an elliptical shape. Select the tool from the Toolbar by holding down on the Rectangular Marquee Tool to open the fly-out menu. Then, click and drag on the canvas to create an elliptical shape.
Note: Create a perfect circular selection by holding Shift while clicking and dragging to make the selection.
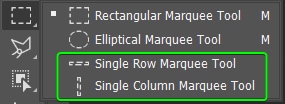
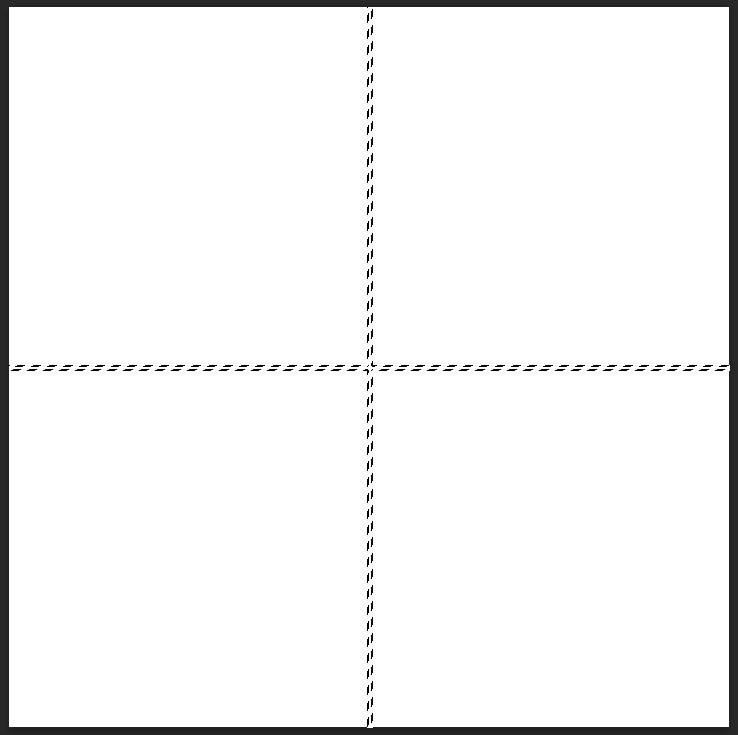
Single Column & Single Row Marquees
The Single Row and Single Column Marquees work slightly differently from the Rectangular and Elliptical Marquees. The column and row marquees add a straight selection of one pixel wide or high across the entire canvas. Select the orientation you want from the fly-out menu in the Toolbar to use these marquees.
Then click on the canvas where you want to add the selection. You can click and drag to position it correctly. The selection automatically spans the entire canvas and is one pixel wide.
The Marquee Tool is one of the easiest methods of creating selections or cropping layers into basic shapes. Although it’s not the most versatile selection method in Photoshop, it’s a handy tool you’ll find yourself using regularly!


