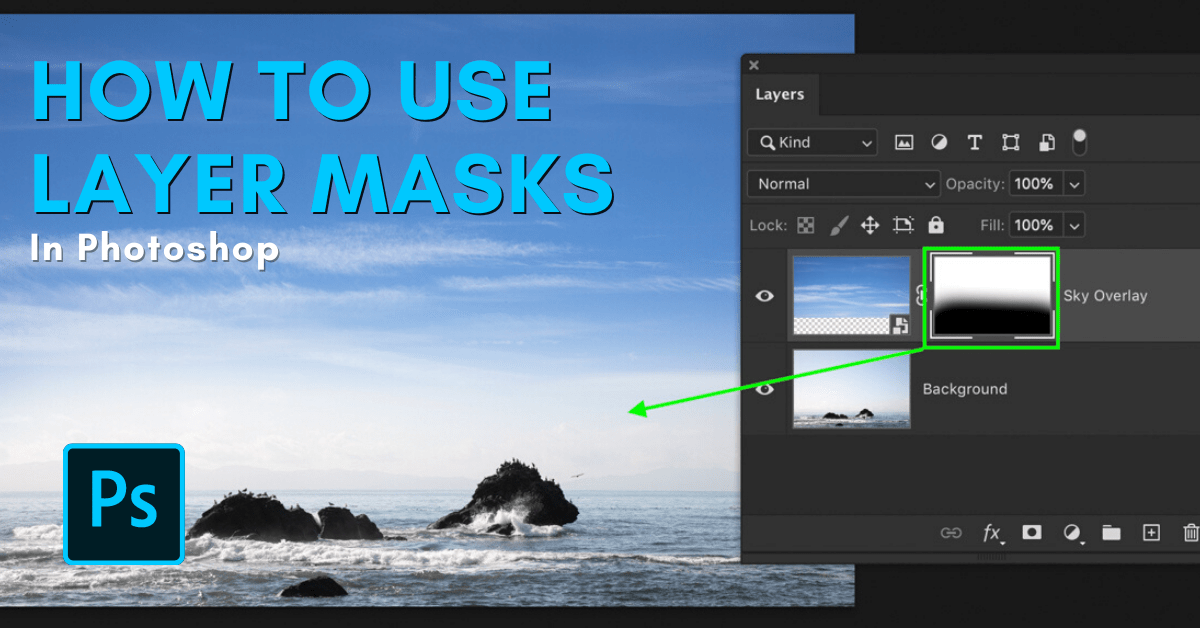

Layer masks are one of the most useful tools available in Photoshop. Although relatively simple, they can feel pretty intimidating at first. Luckily, you can learn how to use layer masks in Photoshop quickly, with a solid understanding of the basics.
To highlight all the incredible uses of layer masks, let’s go over some examples and situations where layer masks are useful.
Video Tutorial
How To Use Layer Masks In Photoshop
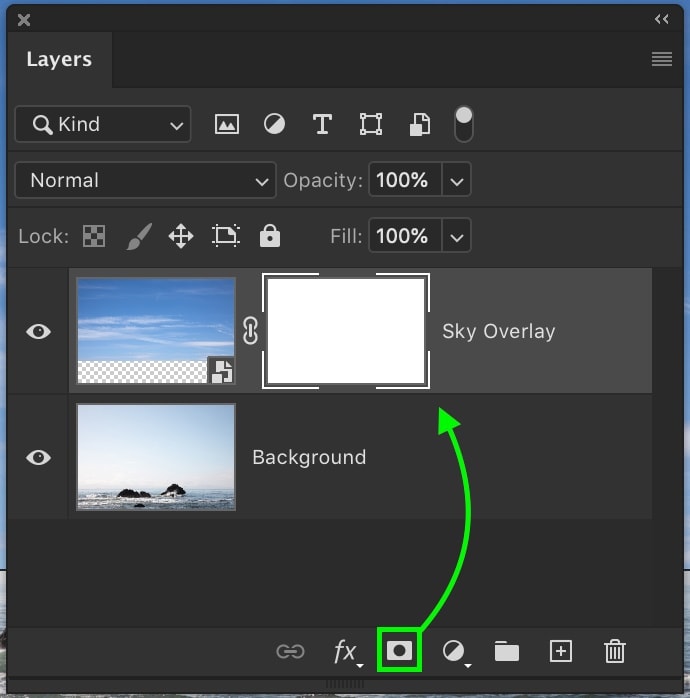
Step 1: Select The Layer And Click On The Layer Mask Icon
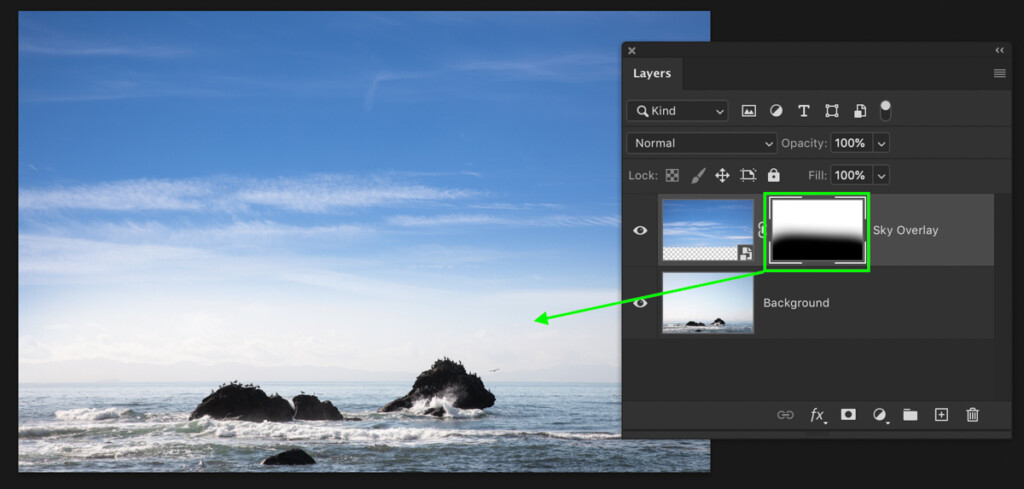
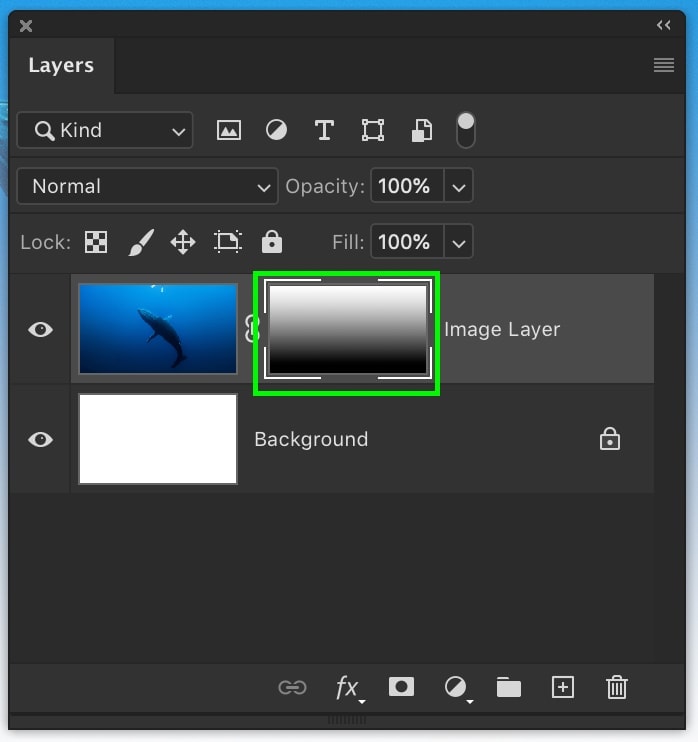
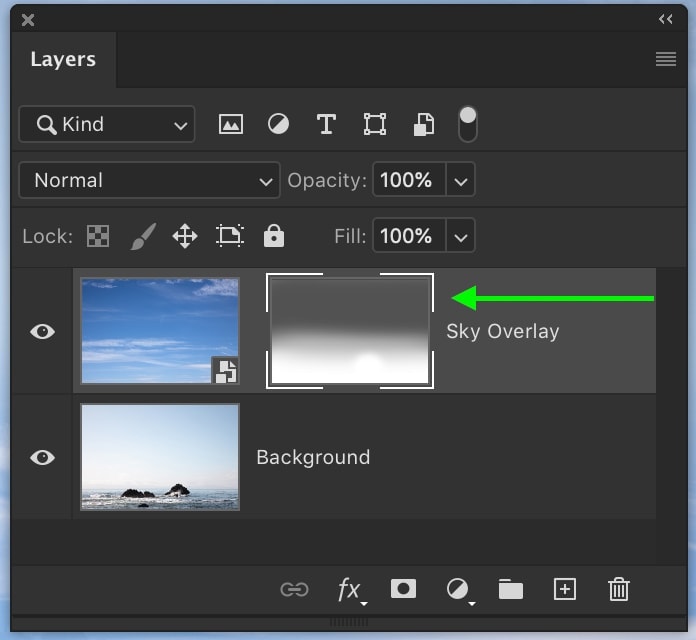
With your layer selected, click on the Add Layer Mask icon at the bottom of your Layers Panel to create a new mask. In this case, I’ll be applying a layer mask to my sky layer so I can add it to my landscape image. A white box will appear beside your layer thumbnail. This is your layer mask.
By default, a new layer mask will be completely white. When you want to hide a certain part of your layer, you can paint black over your layer mask to make parts transparent.
To create a new black layer mask, hold Alt (Win) or Option (Mac) while clicking the layer mask icon. This will create a new, fully transparent mask. From here, you can paint white onto this mask to reveal the sections of the layer you want to keep.
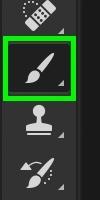
Step 2: Select The Brush Tool (B)
Make sure your layer mask is selected, shown by the white block around it. Next, select the Brush Tool by pressing B or clicking on it in your toolbar. To hide parts of the layer, set the foreground color to black.
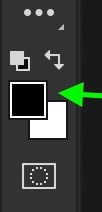
Note: Anything that is 100% white will be 100% visible. Meanwhile, anything that’s 100% black will be 100% transparent or invisible. Any shade of grey will produce varying levels of transparency. For example, 50% grey would be 50% transparent on your mask.
Step 3: Paint On Your Layer Mask To Hide Parts Of Your Layer
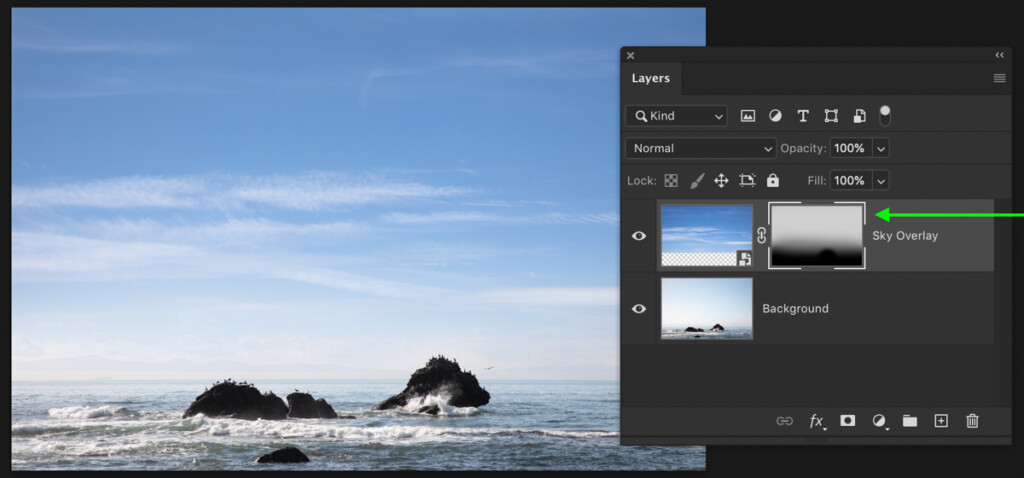
Now, begin painting on the image to hide parts of the selected layer. Since the layer mask is selected, these black brush strokes are applied to the layer mask and not the layer.
Continue to mask out parts of the layer until you’re happy with the result.
Step 4: Refine The Layer Mask Using The Brush Tool As Needed
In many cases, you’ll need to apply further adjustments to your mask. Take a moment to go through and touch up the mask until it perfectly suits your needs.
If you accidentally masked out too much of your layer, switch your foreground color to white by pressing X. Now, you will reveal sections of the layer as you paint on the mask.
Step 5: Adjust The Layer Mask Positioning (Optional)
To move your layer and layer mask together, simply select the Move Tool by pressing V and select the layer. Click and drag the layer across your canvas to reposition them both at the same time.
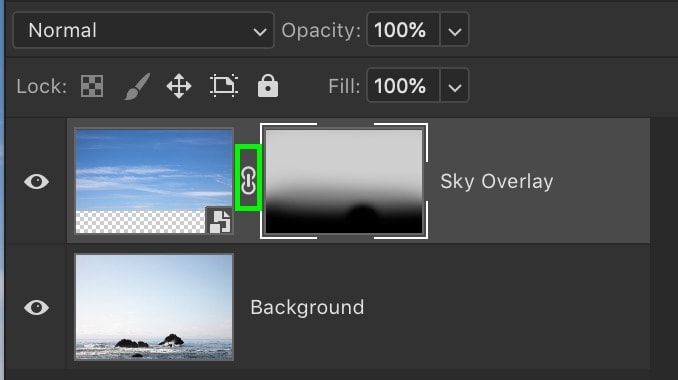
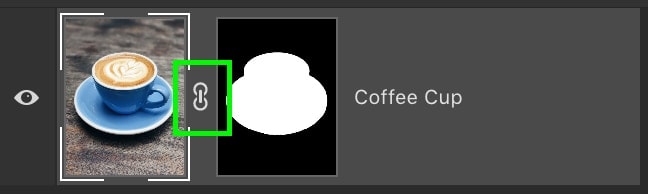
If you only want to adjust the positioning of your image without moving your layer mask, click the chainlink icon. This will unlink the layer from the mask, allowing them to move independently.
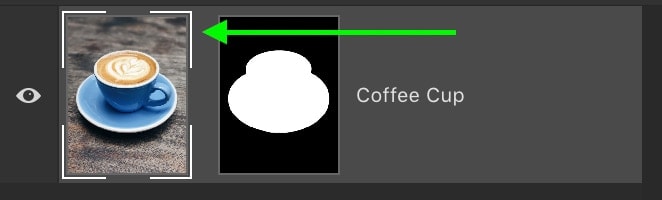
Click on your layer thumbnail and ensure it’s selected by noting the white boxes around it. Grab your Move Tool by pressing V and drag to reposition your layer. This time, only the image will move while the mask stays put.
What Layers Can You Add Layer Masks To?
– Adjustment Layers
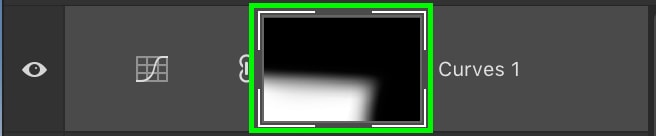
When you create a new adjustment layer, you’ll notice that a new layer mask is automatically created alongside it. This makes it easy to start fine-tuning where your adjustments take place.
This can be used with any type of adjustment layer, making it simple to target sections of your picture.
– Regular Layers
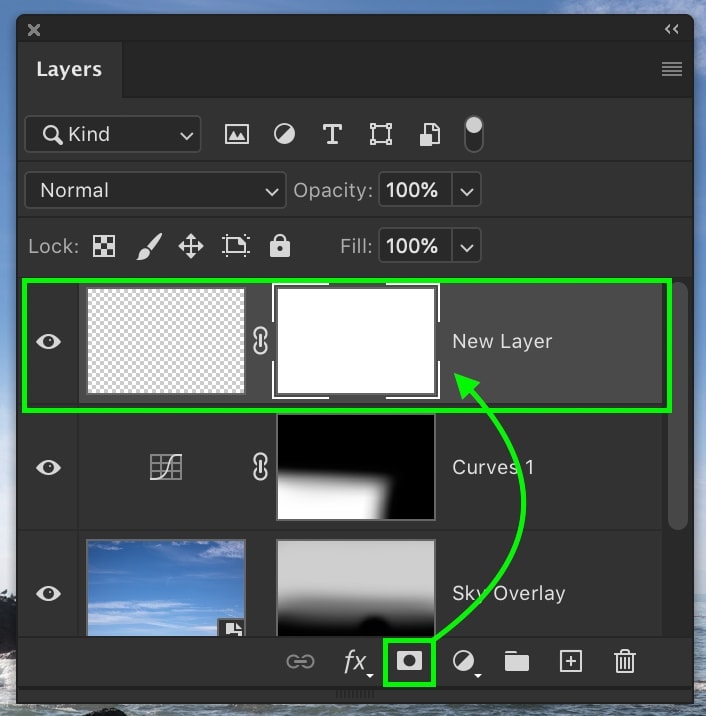
Any type of regular layer you create can use a layer mask. Whether you fill this layer with color, text, or an image. In most cases, layer masks are used with regular layers to hide sections you don’t want to see. They could be used to blend two images together or only make a section of your layer visible.
– Text Layers
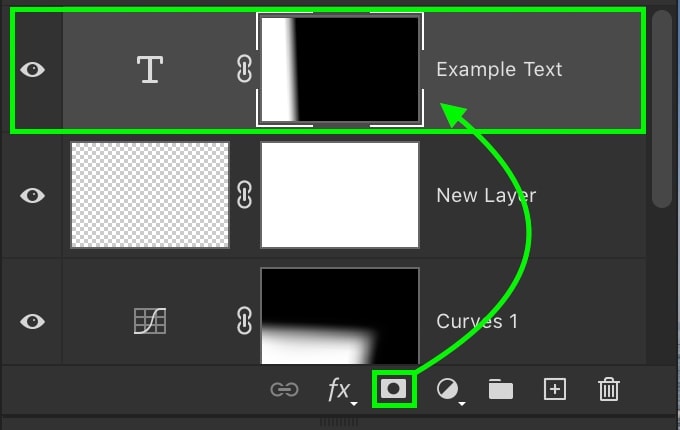
Layer masks can be used with text layers as well to refine what sections of the text are visible. If you want to fade parts of your text, for example, this can be easily done with a layer mask and a gradient adjustment.
– Groups
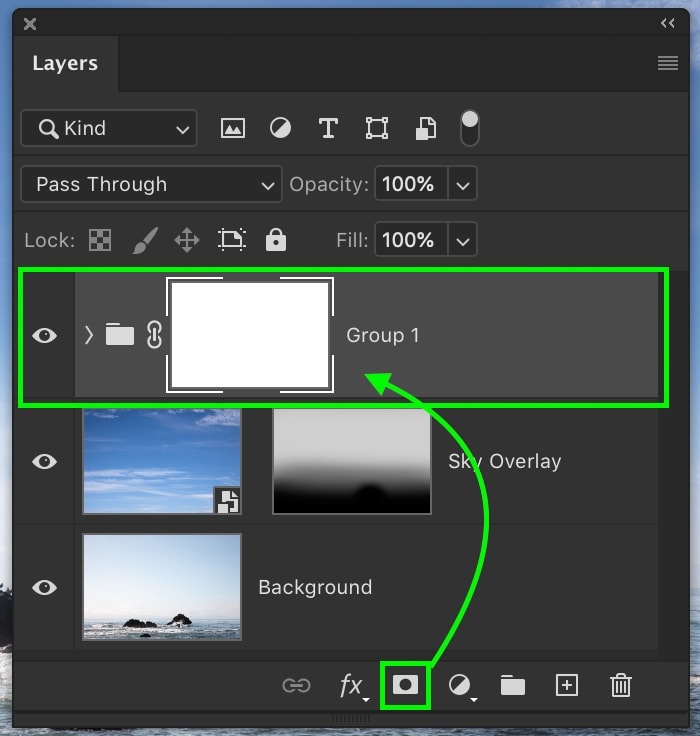
Rather than applying the same layer mask to a handful of layers, you can apply one layer mask to an entire group. With your group created, simply highlight the group and click the layer mask icon to create a new mask.
Any of your mask adjustments made here will affect all of the layers within your group at the same time. This is super efficient when you need to mask out the same areas of multiple layers.
How To Use Layer Masks With Gradients And Selections
– Using Layer Masks With Gradients
If you don’t need to be super specific, the Gradient Tool is a fast way to apply a soft transition to your layer mask. These work exceptionally well when working with adjustment layers. For example, you could brighten a part of your sky with a gradient on a layer mask to add a soft and realistic effect.
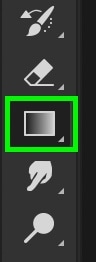
To apply a gradient to a layer mask, first select your Gradient Tool by pressing G or selecting it in your toolbar. Next, make sure your gradient is set as Foreground to Transparent for the best results.
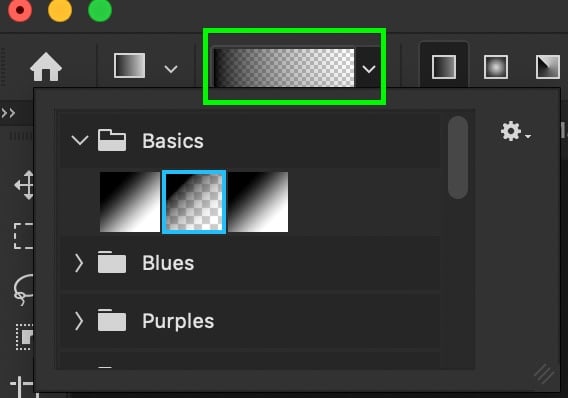
Choose whichever gradient type best suits your needs. For now, I’ll leave my gradient set to linear.

The gradient color will always be based on your active foreground color. Remember that layer masks work in black and white, so pick one of these colors to adjust your layer mask with. In this example, I’ll select white to apply to my inverted layer mask.
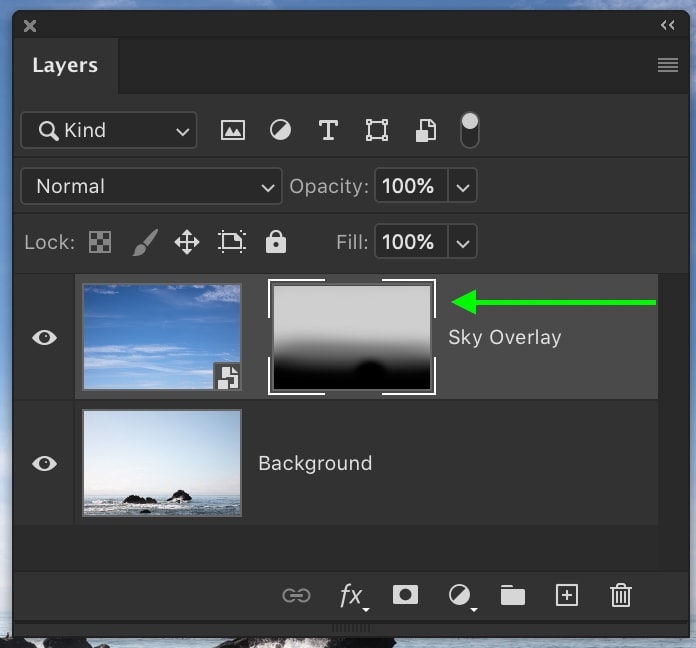
With the layer mask selected, click and drag it out on your canvas to create your gradient. The gradient will be applied to your layer mask and add a soft transition to your adjustment.
Gradients aren’t useful if you need to be specific about where your layer mask is visible. However, they’re perfect for hiding harsh edges or blending adjustment layers into an image.
– Using Layer Masks With Selections
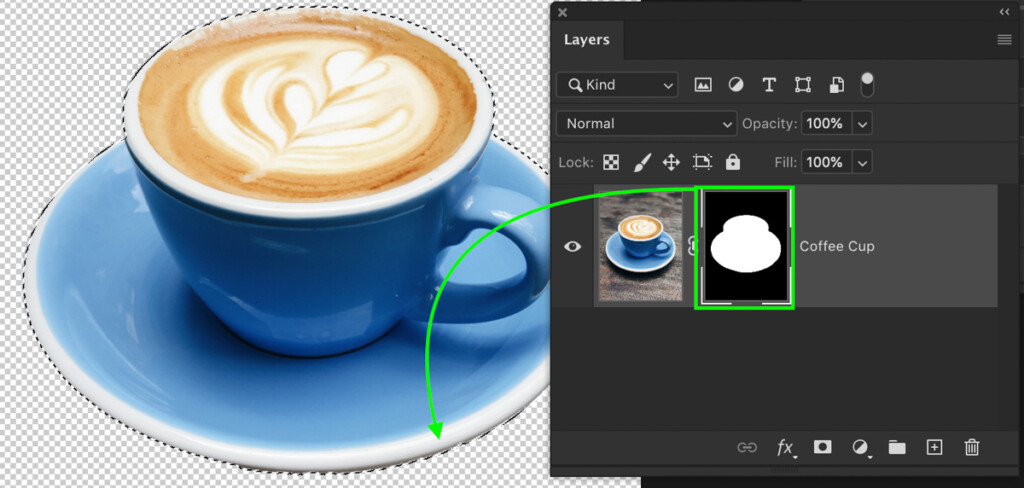
Using layer masks with selections is a great way to remove the background from a photo. First, use any method to create a selection around your subject.
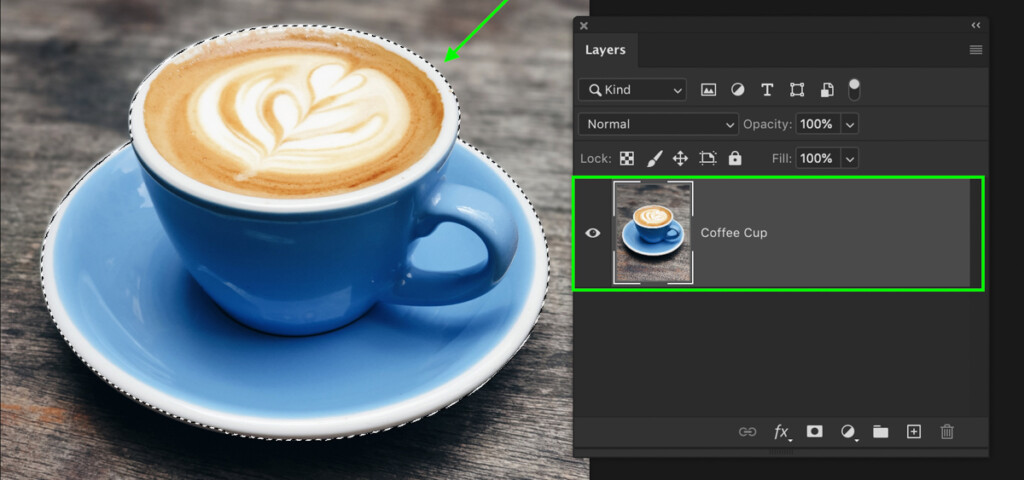
Then, click on the Add Layer Mask icon. Since there is an active selection, Photoshop will apply this directly onto the new layer mask. Rather than having to manually paint on the mask or fill the selection, this significantly streamlines the process.

Now the selection is applied, you can adjust or add to the layer mask as needed with the Brush or Gradient Tools. Using a mask to remove backgrounds is the best way to do things non-destructively.
Additional Tips When Using Layer Masks In Photoshop
– Invert A Layer Mask
When you already have an idea of what you want to mask out, sometimes the most effective way to start is with a black (transparent) layer mask.
To create a new inverted layer mask, hold Alt (Win) or Option (Mac) and click on your layer mask icon. This will create a new black layer mask.
Alternatively, you can invert a layer mask you’re already using by clicking on the layer mask and pressing Control + I (Win) or Command + I (Mac).
Be sure to check out this post about inverting layer masks to learn more about why and when this is useful.
– Disable/Enable Layer Masks
When you’re cutting out an image, you might want to see what the layer looked like before the mask. You can easily disable or enable a layer mask by holding Shift and clicking on your layer mask.
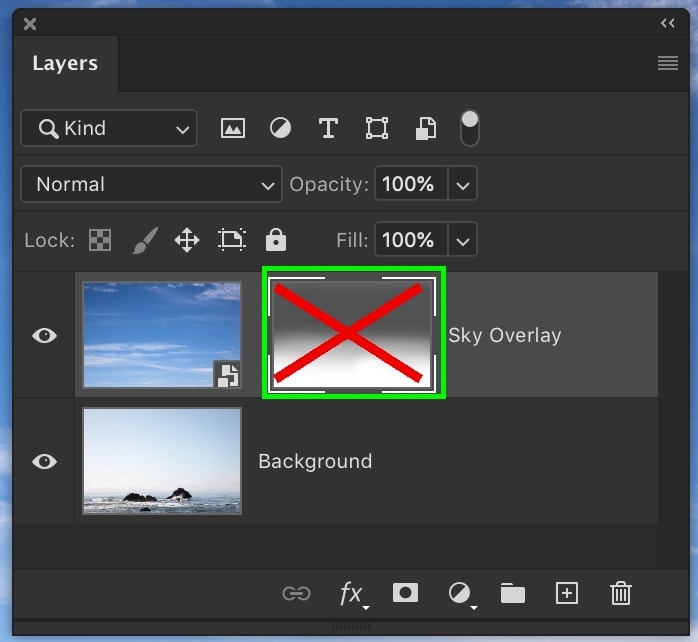
When your layer mask is disabled, a large red X will appear over the mask. This means it’s not active. To reactivate the mask, hold Shift and click on your mask once again.
– View Layer Mask
By holding Alt (Win) or Option (Mac) and clicking on your layer mask, you’ll see your layer mask displayed on your canvas. This way, you can more easily adjust your layer mask and see what areas are being affected.

– Deleting Layer Masks
To delete a layer mask, all you need to do is right-click on the mask and choose Delete Layer Mask. This will get rid of your layer mask completely while leaving your layer unaffected.

– Duplicate Layer Masks
Rather than trying to make the same mask for multiple layers, you can duplicate any mask with one simple click. Just hold Alt (Win) or Option (Mac) and click and drag your layer mask from one layer to another.
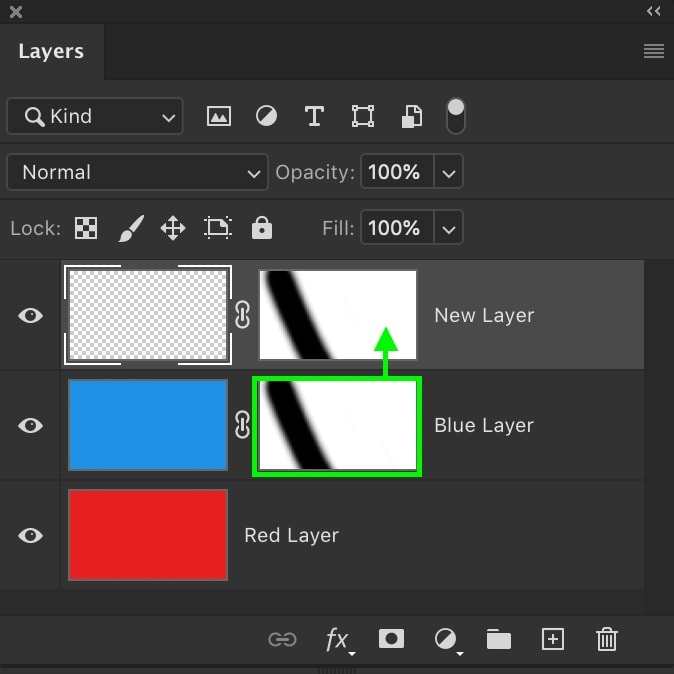
Now, you’ll have an exact copy of your initial layer mask on the new layer. You can learn more about the different ways to move and copy layer masks in this post.
– Turn Layer Masks Into Selections
When you use a mask to cut out an image, you might need to reactivate your initial selection. By holding Control (Win) or Command (Mac) and clicking on your layer mask, Photoshop will turn the white areas of the layer mask into a selection.
– Unlink Layer Masks
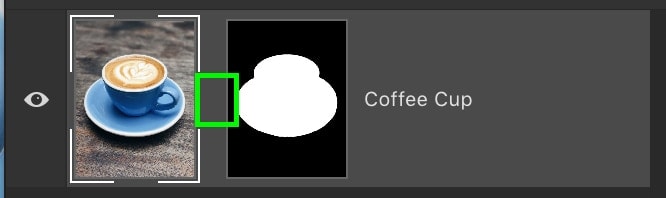
To move your layer and layer mask independently, you’ll need to unlink them. By clicking the chain icon between your layer and layer mask thumbnails, you disconnect the two.
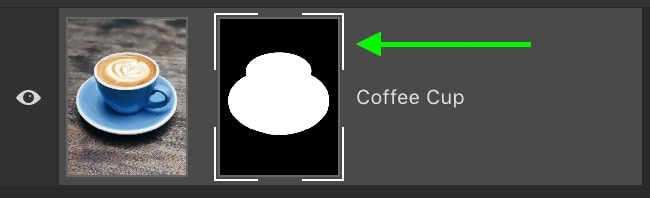
To move either your layer or layer mask, you’ll need to use your Move Tool (V). After clicking on one of them, you can then move one or the other and reposition accordingly.
– Target Layer Mask
While working with layer masks, you’ll have to deal with a lot of clicking back and forth between your layer and the mask. To streamline the process, you can use the keyboard shortcut Control + \ (Win) or Command + \ (Mac) to toggle from your regular layer to the layer mask.
To toggle back from your mask to the regular layer, press Control + 2 (Win) or Command + 2 (Mac).
– Quick Mask
If you’re ever unsure about where your layer mask is affecting, you can bring up a quick mask to preview the affected area. With your desired layer selected, press \ to toggle the quick mask.
The quick mask will turn the area around your selection into a slightly transparent red to help see where your mask is visible.

Learning how to use layer masks in Photoshop is a crucial part of learning how to edit photos non-destructively. With masks, any change you make is easily reversible. Since you’re only hiding sections of a layer, all the information is still there to work with.
Happy Editing,
Brendan 🙂


