
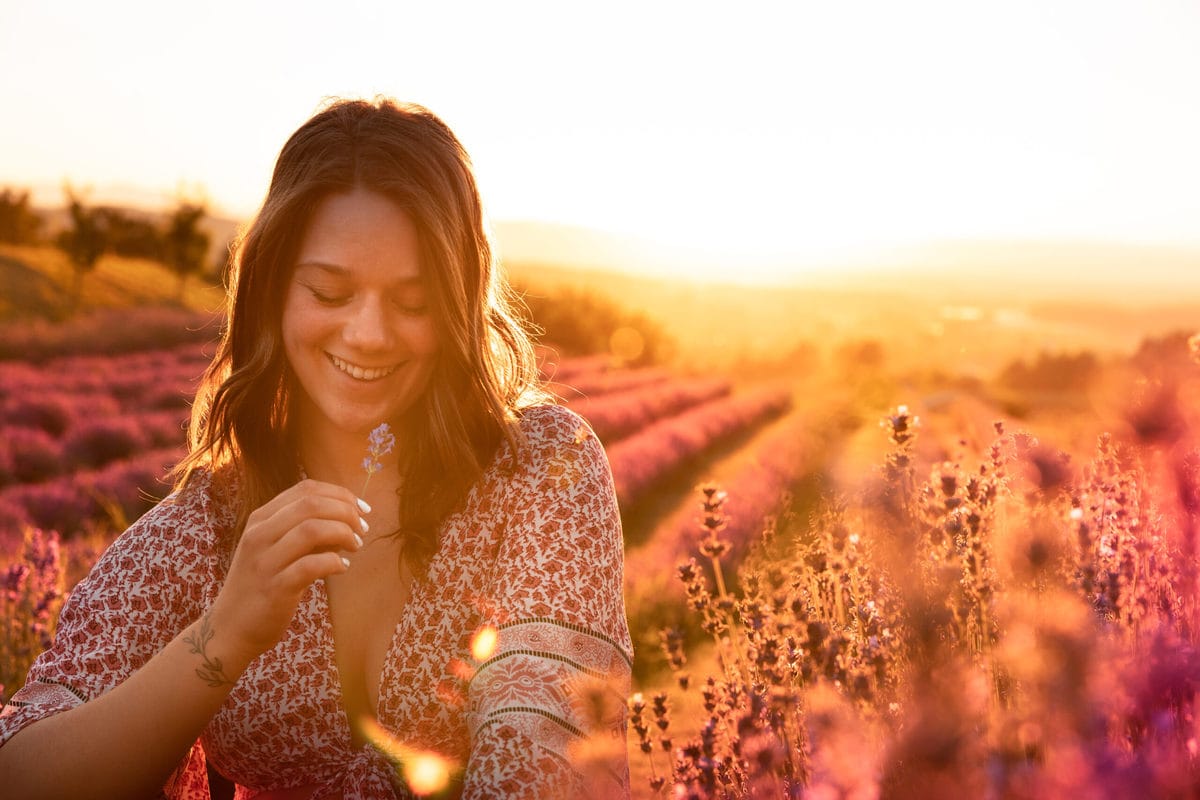

One of my favorite photo effects is the dreamy look commonly seen in landscape and portrait photography. These effects aren’t typically made in-camera, so they require a bit of post-processing to get the job done. Although you can create a soft look in just about any editing software, Photoshop is one of the best for the job. Photoshop offers a wider set of tools to give you more customization than other programs. If you’re ready to learn how to quickly add a soft look to photos using Photoshop, well, you’ve come to the right place!
There are a few different tools that go into creating a soft and dreamy photo. Below is a general outline to give you an overview of what to expect.
To make your photos look soft and dreamy, follow these steps:
- Reduce the clarity of your photo using Camera Raw
- Add a radial blur filter
- Increase the vibrance
- Increase the exposure around your light source with a radial gradient
- Add the Orton effect to top it all off
With these 5 steps, you can transform any photo into a dreamy masterpiece in Photoshop. Using this general outline, let’s dive deeper into each step and how to do it!
Video Tutorial
5 Steps To Creating Soft And Airy Photos In Photoshop
Within each step of the process, there are different tools, filters, and masks, that you can use to improve your result. The image I’ll be working with for this tutorial has a shallow depth of field, which creates a blurry foreground in camera. Depending on your photo, you may need to increase or decrease the suggested adjustments to suit your needs. However, all of the setting values in each step can be used as a guideline to start with!
Import Your Photo Into Photoshop
Before you can start, you’ll obviously need to open your image in Photoshop. From the main Photoshop menu, click “Open” and select the file from your computer.
Alternatively. you can press Command + O (Mac) or Control + O (PC) to open a new file.
Step 1: Reduce The Clarity Using Camera Raw
One of the fastest and easiest ways to soften a photo is by using the clarity slider. In a nutshell, the clarity slider controls how contrasty textures appear in your photo. By increasing the clarity, you create a gritty image with more contrast. On the other hand, decreasing the clarity softens these textures and works as a perfect starting ground for softening an image in Photoshop.
– Opening Camera Raw
As you might have noticed, there is no specific clarity layer adjustment available in Photoshop. To access it clarity options, you have to open Camera Raw. The easiest way to think of Camera Raw is as a mini Lightroom that does a great job at base adjustments like white balance, contrast, and color. Within this tool, you’ll find the clarity slider.
Now before you open Camera Raw, it’s a good idea to unlock and duplicate your background layer. That way, you always have a backup of your starting image before you go too crazy with adjustments.
First, click on your background layer and press Command + J (Mac) or Control + J (PC) to unlock and duplicate your layer.
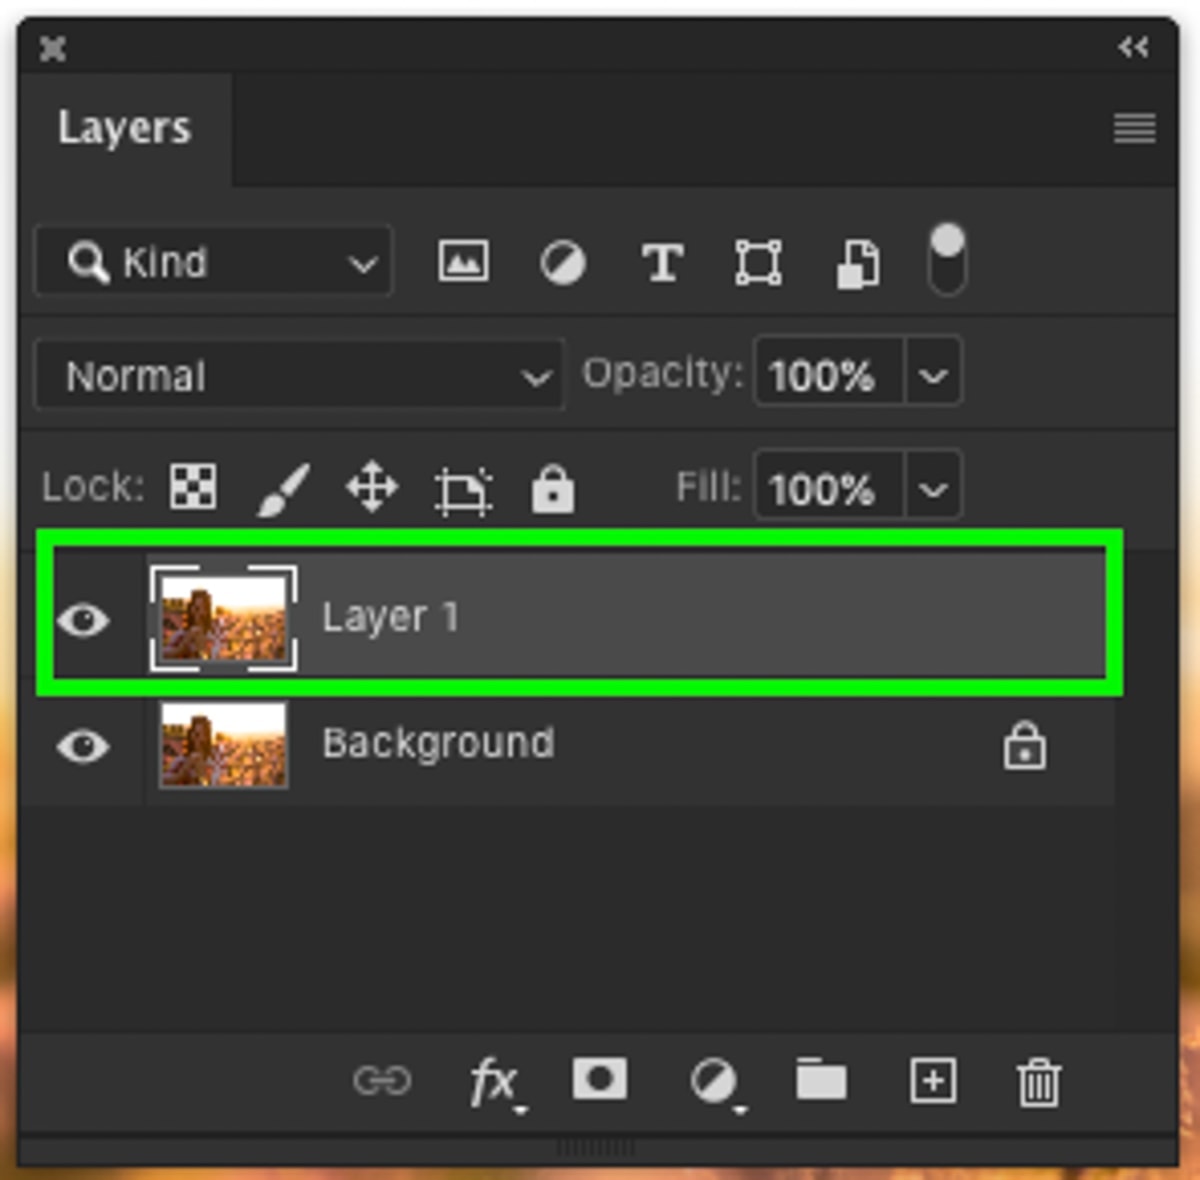
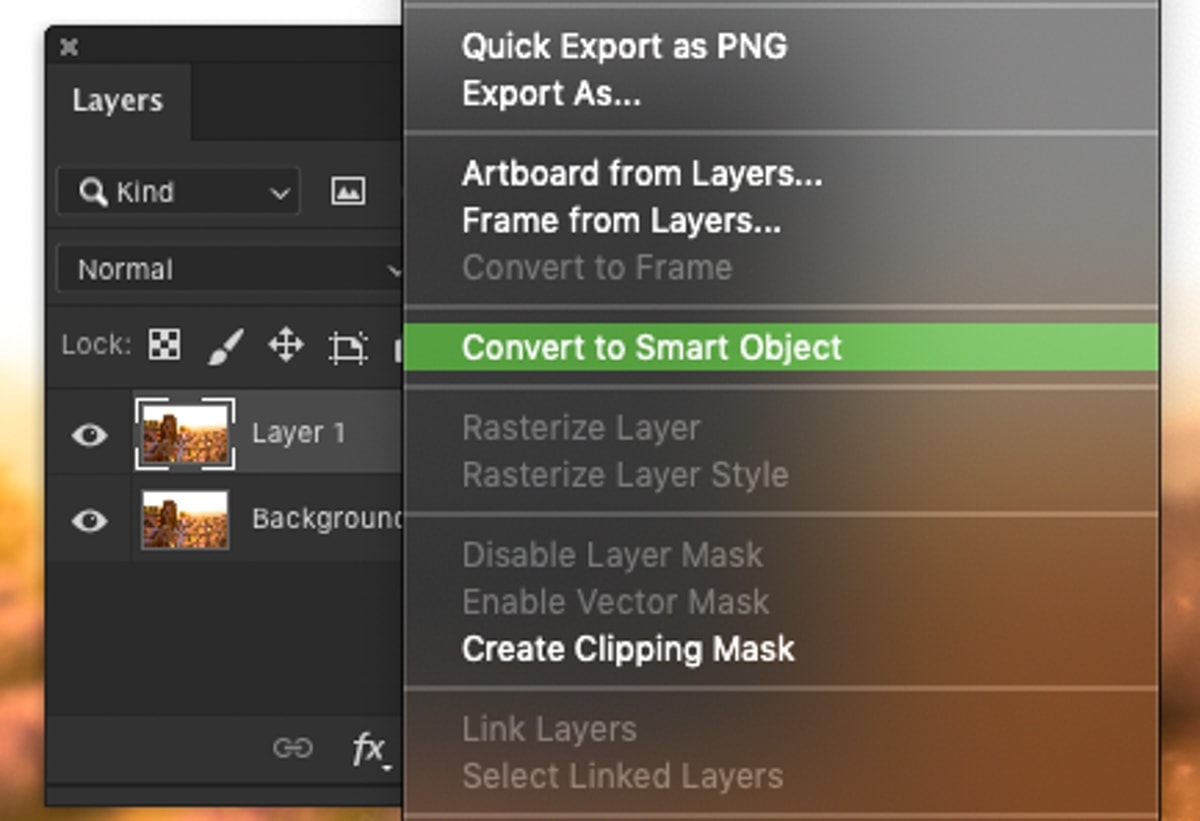
With your new layer selected, convert it into a smart object by right-clicking on the layer and going to Convert To Smart Object. By making the layer a smart object, you’ll have more control over your Camera Raw adjustments later on. You can see why smart objects are so valuable in this guide to smart objects.
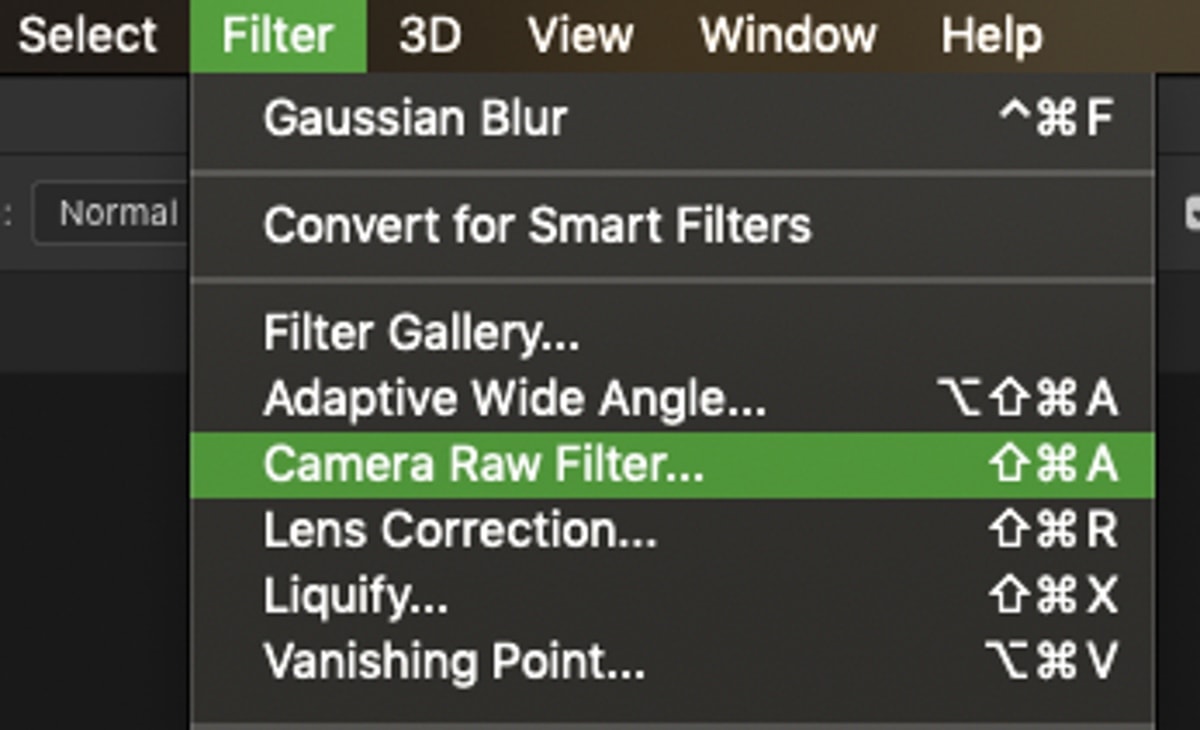
With your layer converted to a smart object, it’s now time to open Camera Raw. Go up to Filter > Camera Raw or press Command + Shift + A (Mac) / Control + Shift + A (PC) to open it up.
– Adjusting The Clarity Slider In Camera Raw
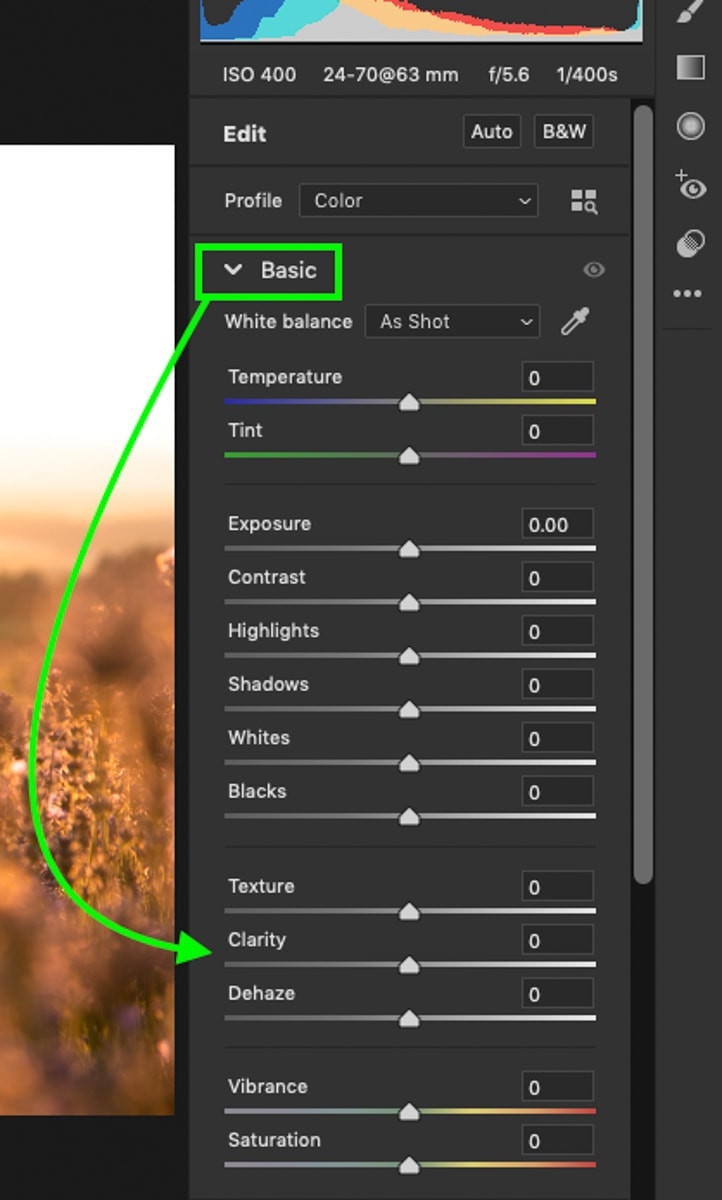
Once inside of Camera Raw, make sure you’re using the “Edit” module to find the clarity slider. Scroll to the “Basics” tab and look for the clarity slider.
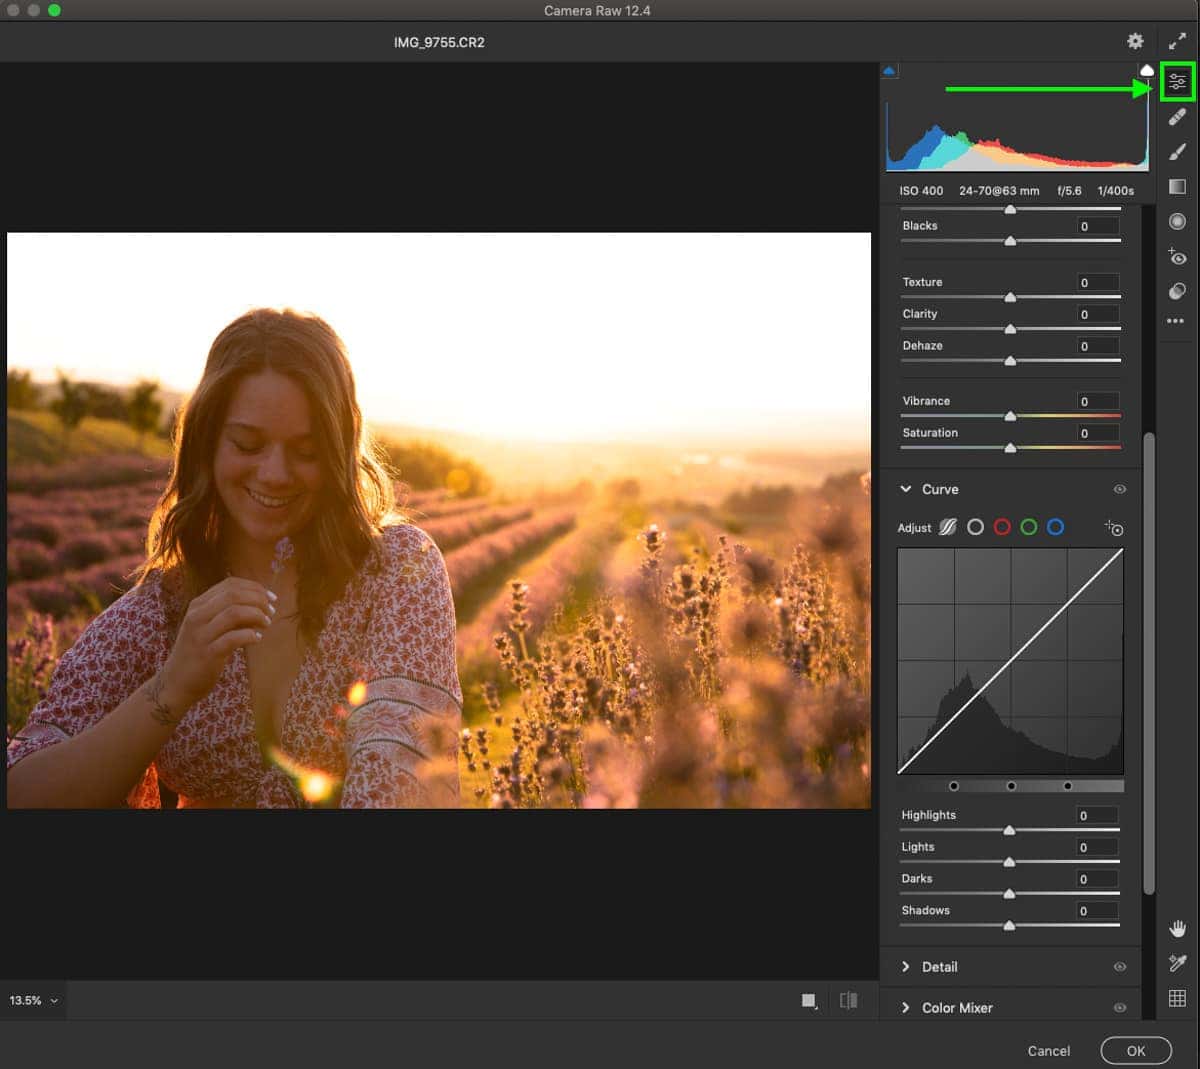
To start softening your image, simply drag down the clarity to a negative value. Make sure you don’t go overboard with this effect, or it can make parts of your photo look very unrealistic.
Now, if you’re like me and have a person in your photo, you may not want to reduce the clarity of them. In this case, reducing the clarity adds a weird look to the model’s hair and makes her skin look over-edited. Luckily, you can use a radial filter adjustment to target exactly where you want the softening effect to take place.
– Using A Radial Filter To Refine Clarity Adjustments
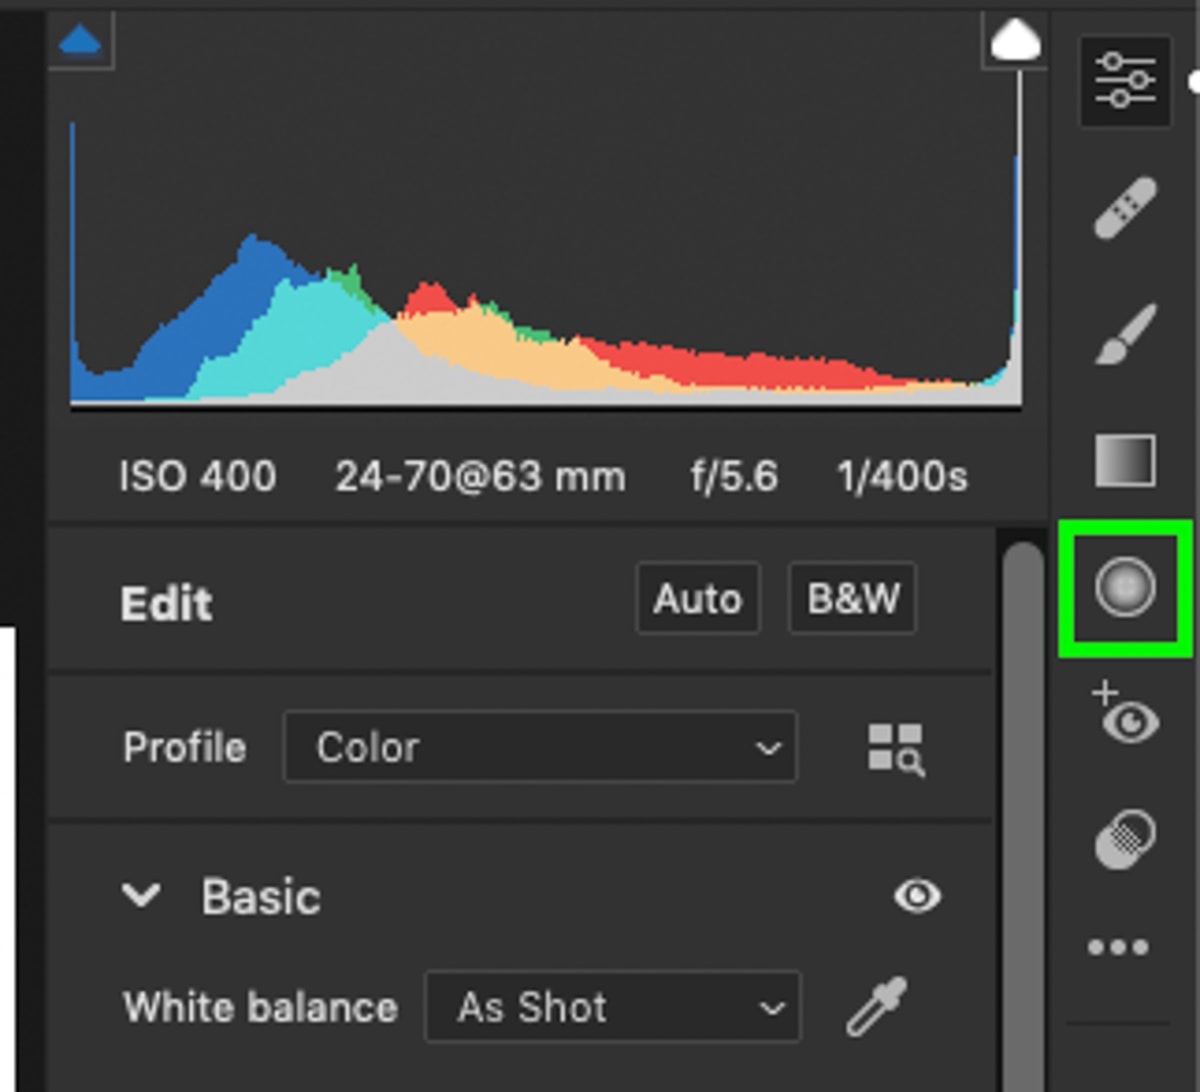
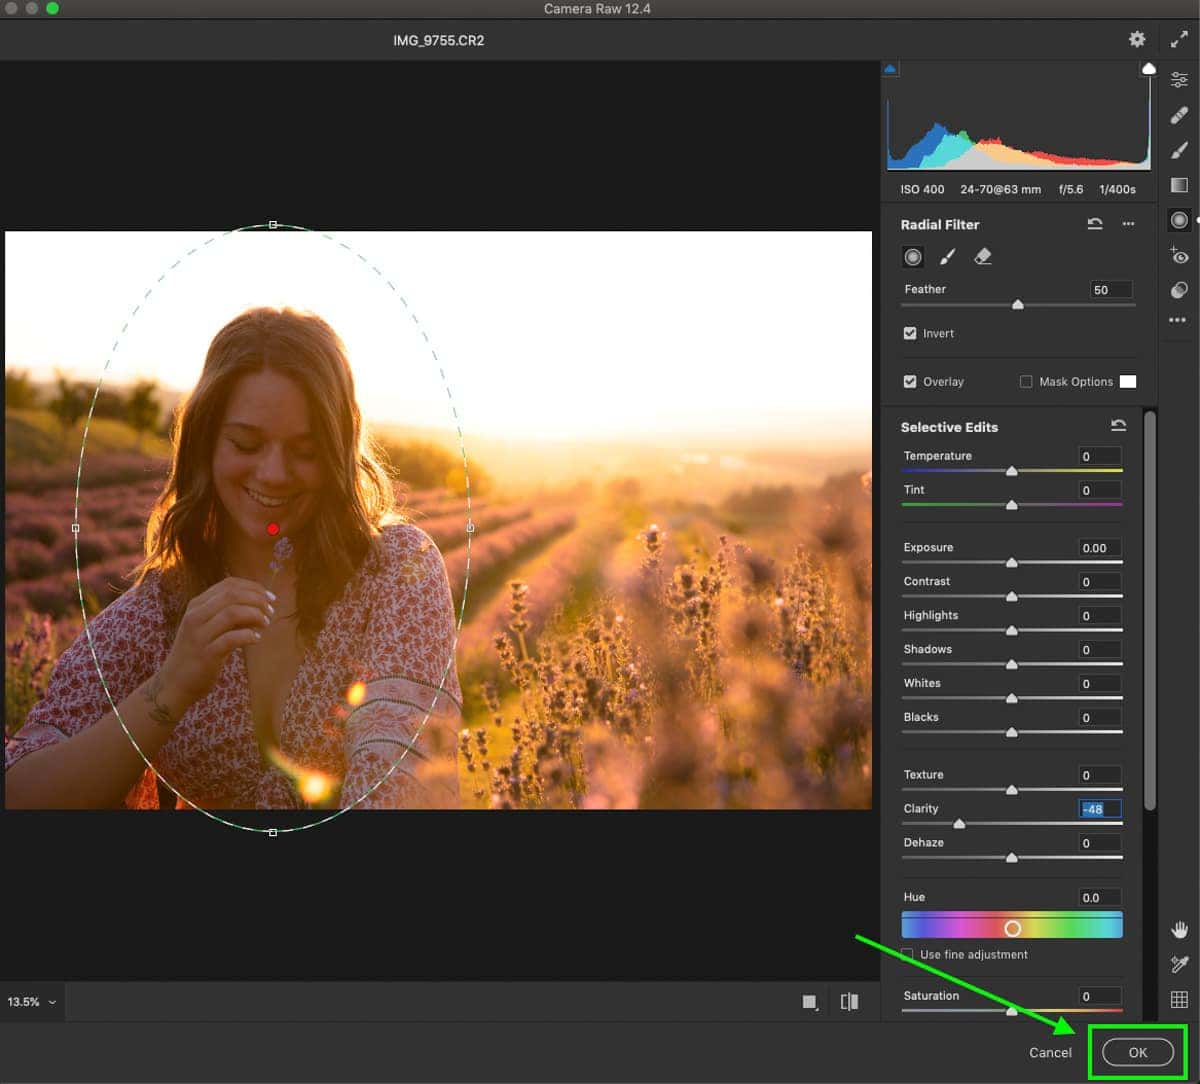
Reset your clarity value to 0 and grab the Radial Filter from the sidebar or press J to bring it up.
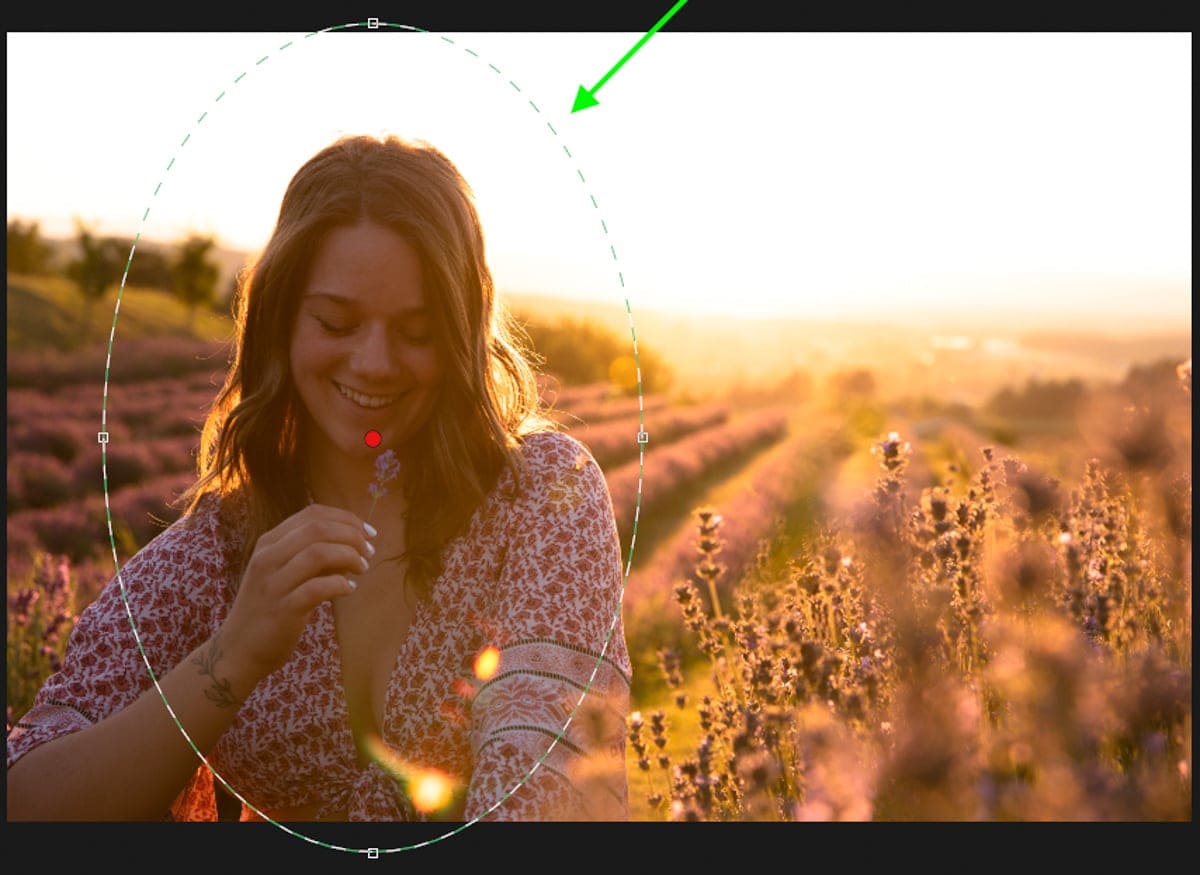
Click and drag out around your subject to create a new radial filter adjustment. Reposition and scale it until it’s covering your entire subject.
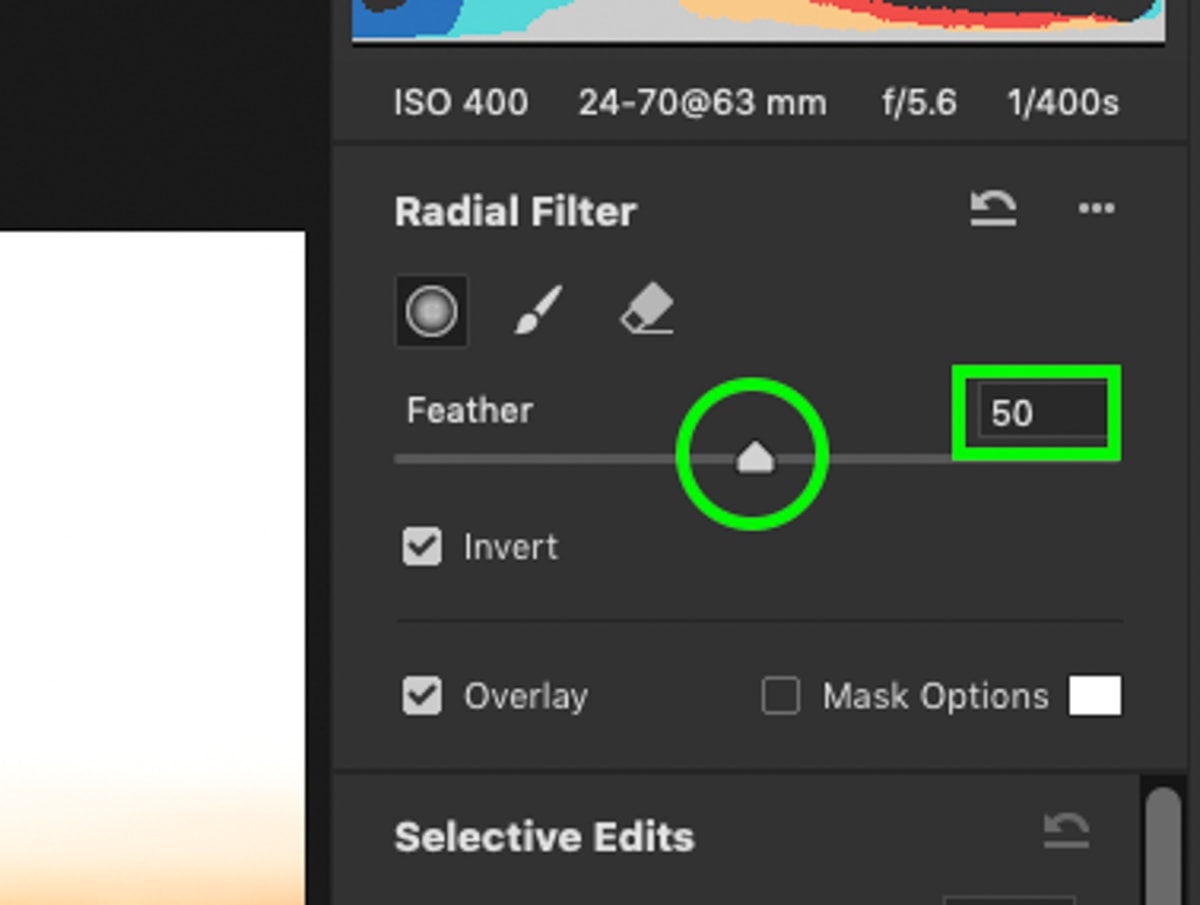
In your toolbar, make sure the radial filter’s feather is set to 50. This is a great starting ground and will work for most situations.
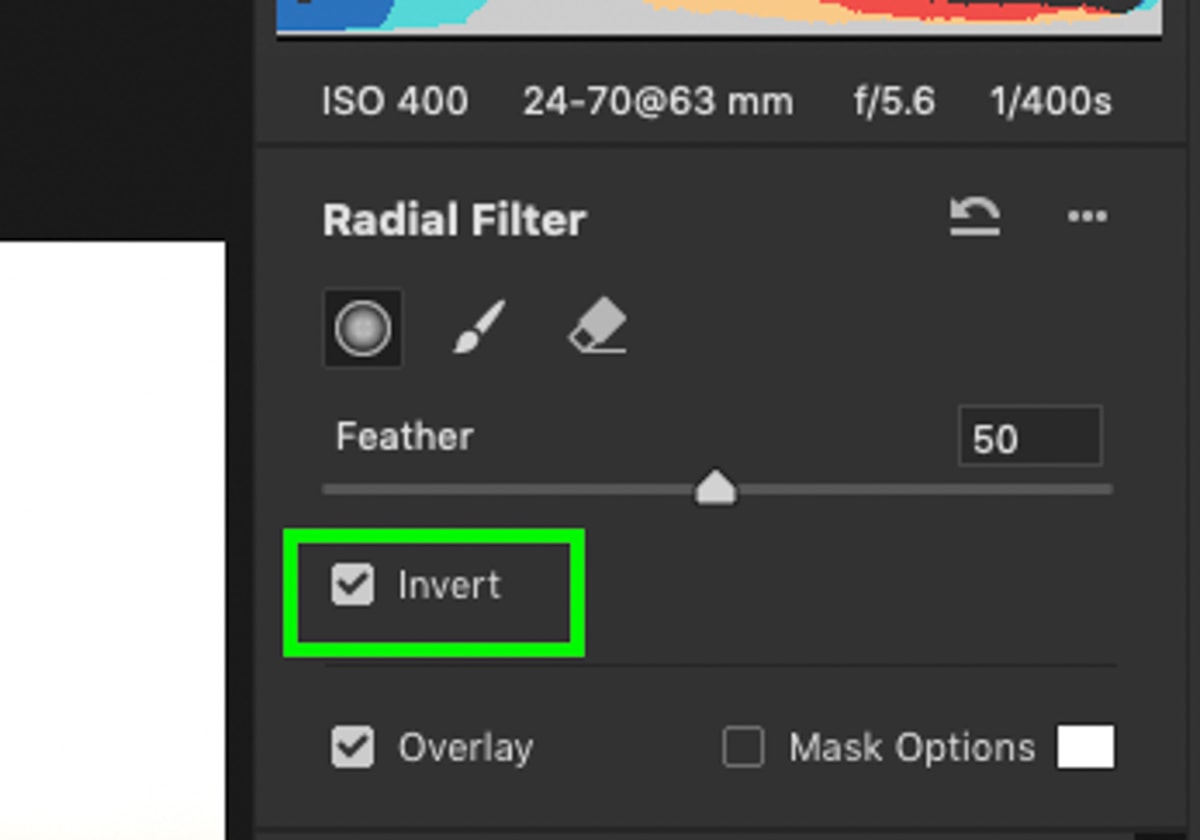
Lastly, check off the “Invert” box so that all your adjustments will be applied to the outside of your radial filter.
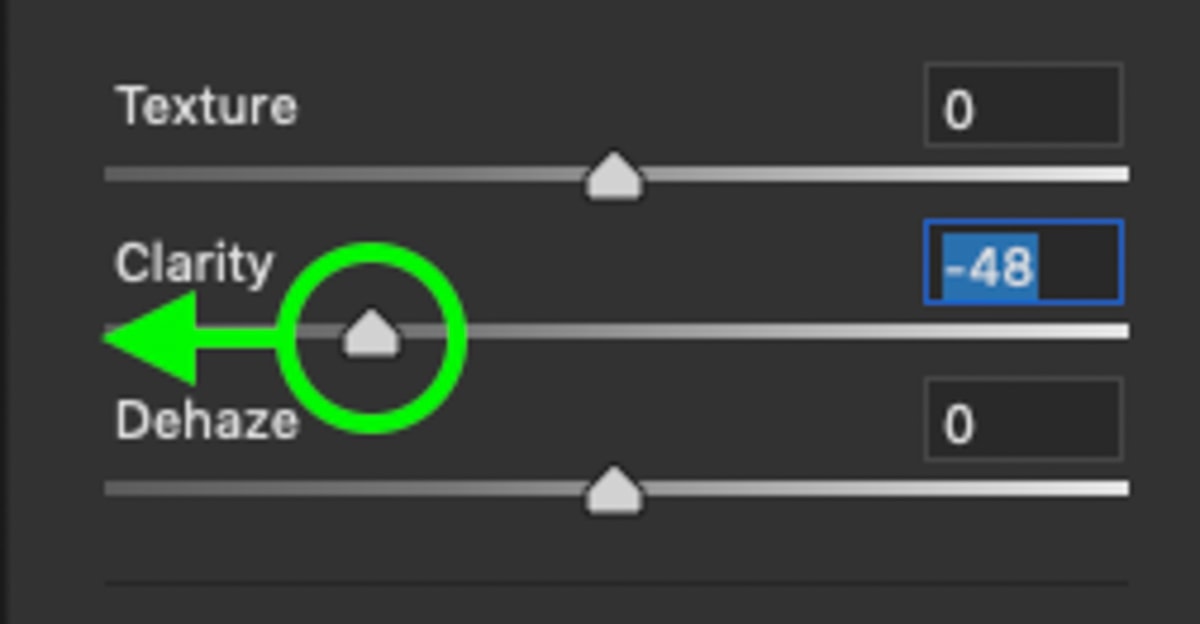
Now scroll down to your clarity slider and move the slider left to select a negative value. This will once again soften your image but will not affect your subject inside the radial filter.
Once you’re happy with your clarity adjustments in Camera Raw, press OK.
Step 2: Add An Iris Blur Filter
To further improve upon the soft look of your photo, an iris blur is a perfect trick. With this tool, you can apply a circular blur to your photo without targeting your subject. Similar to how the radial filter adjustment in Camera Raw works, this filter applies a blur to the outside of the blur radius.
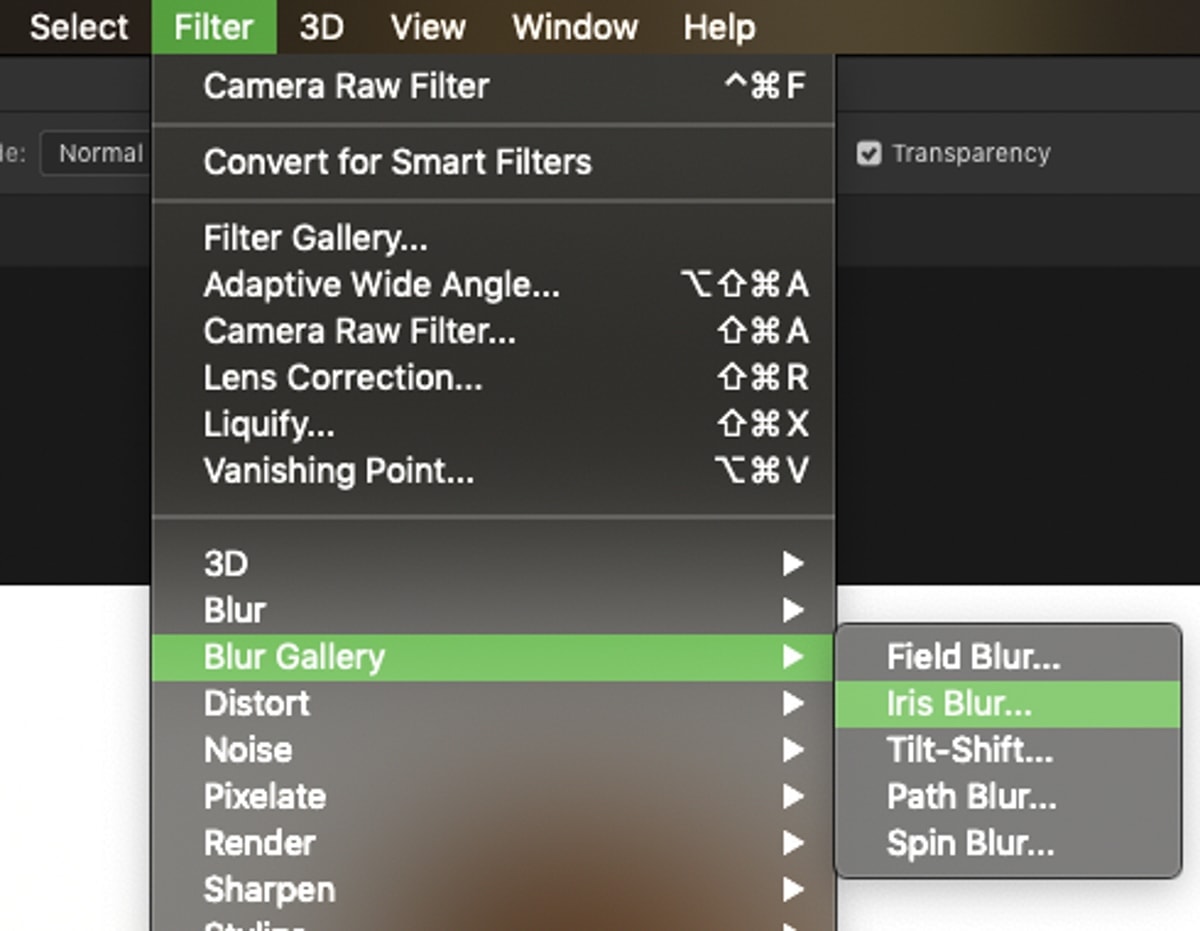
With your image layer selected, go to Filter > Blur Gallery > Iris Blur.
A new window will appear with a large circle over your photo. On the outside of this circle is a solid line, while on the inside, there are four dots. These are indicators to show you where and how the blur is affecting your photo.
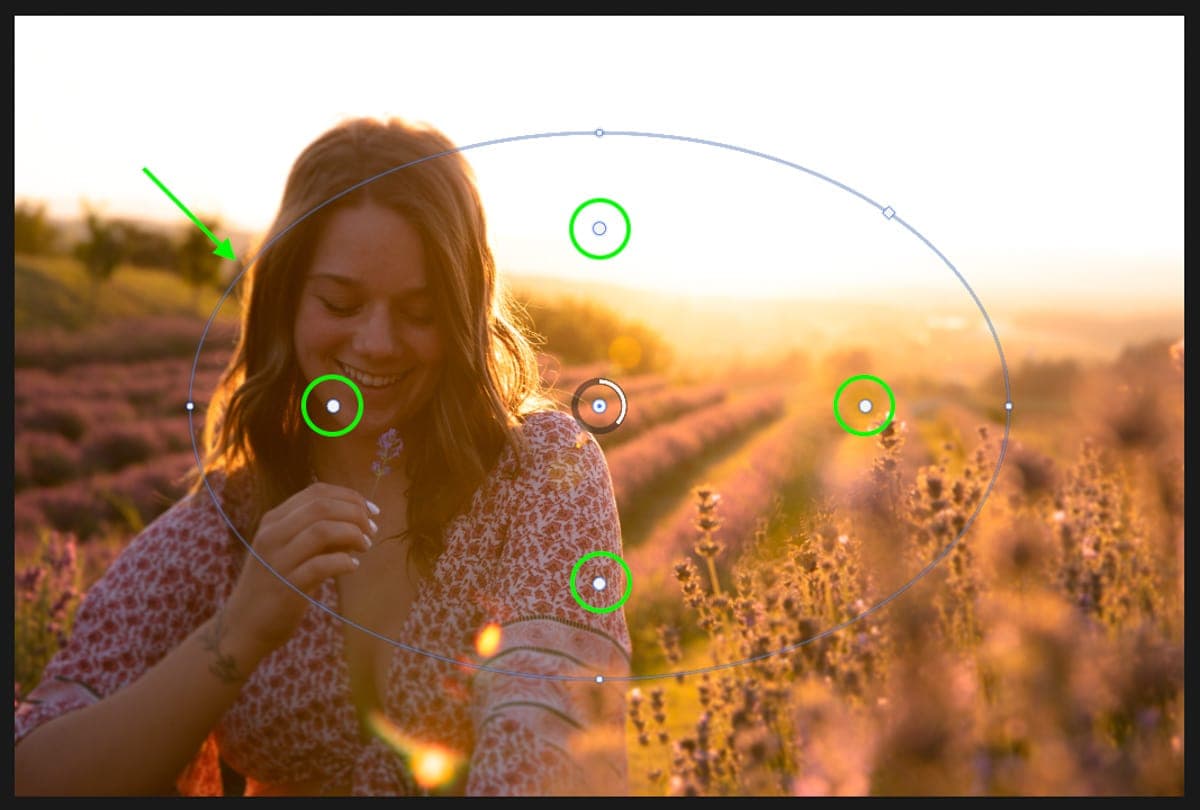
Anything outside of the solid line will be at 100% intensity based on whatever blur value you choose.
The space between the solid line and the four dots is the blur falloff range. That means between the solid line and the dots, your blur fades from 100% to 0% intensity as it moves inwards. In that case, anything inside of the dots is not affected by the blur at all.
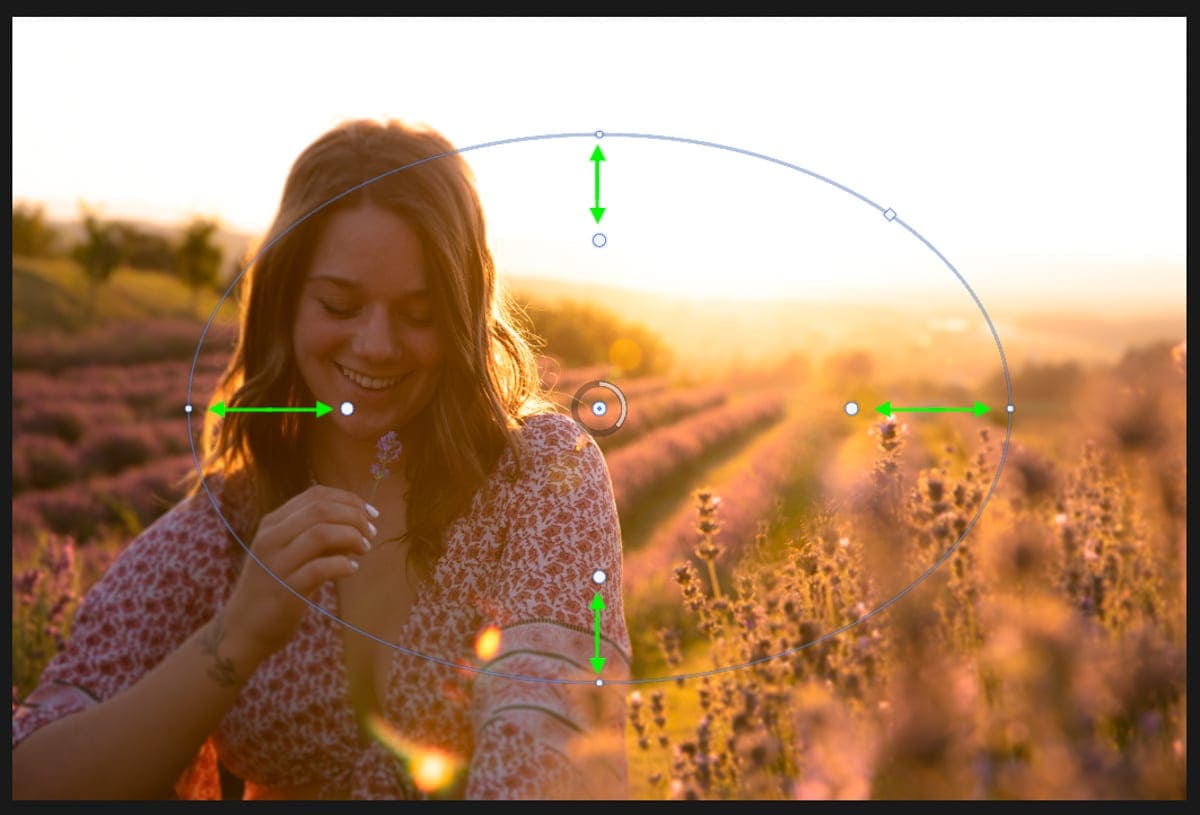
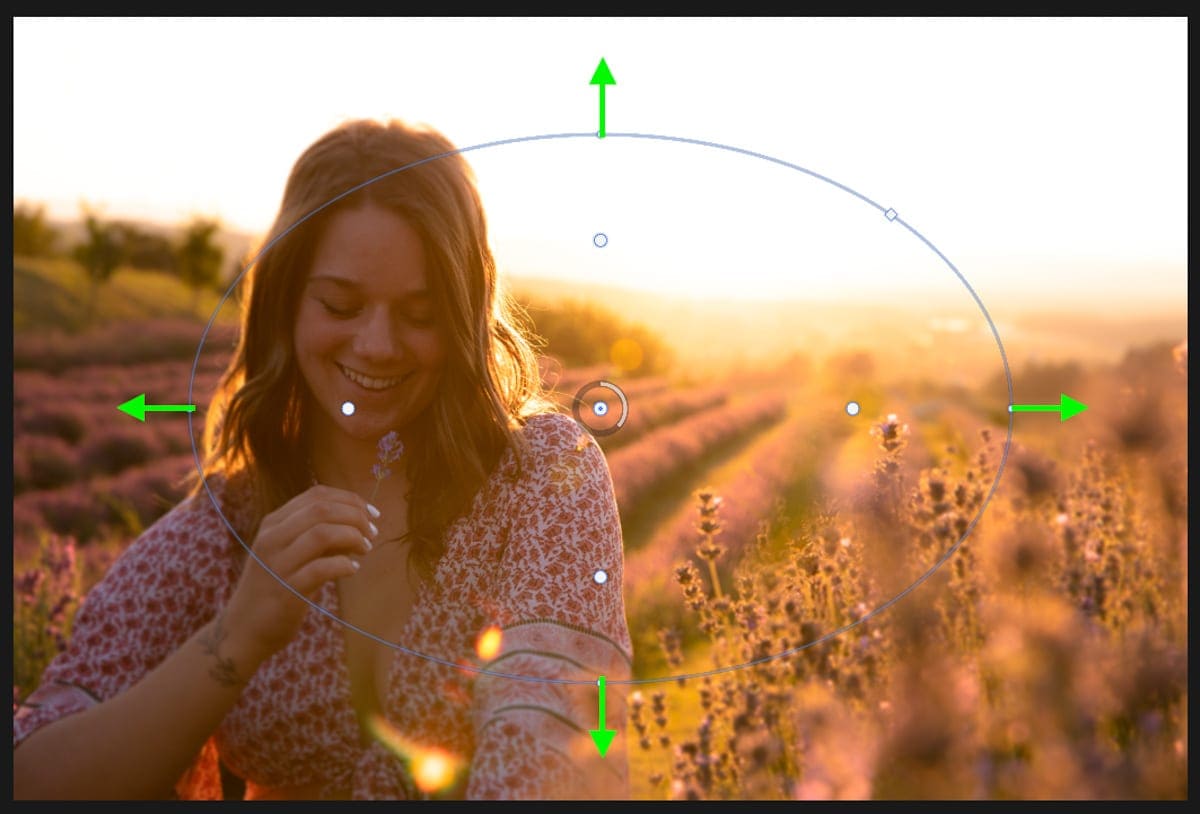
If you want to have a softer blur transition, move the dots inward and further away from the solid line. For a harsher blur transition, expand them to be right against the solid line. In terms of softening a photo, it’s best to meet somewhere in the middle. That way, you don’t have a hard blur but still leave enough room for your subject to not be affected.
After fine-tuning where your blur will be, it’s time to set a blur intensity. In the top right corner of your screen is the blur slider for the iris blur. As you increase the values, the strength of the blur becomes more and more intense. Since we want a subtle and mild blur to soften the image, I’ll set the blur value to 15px.
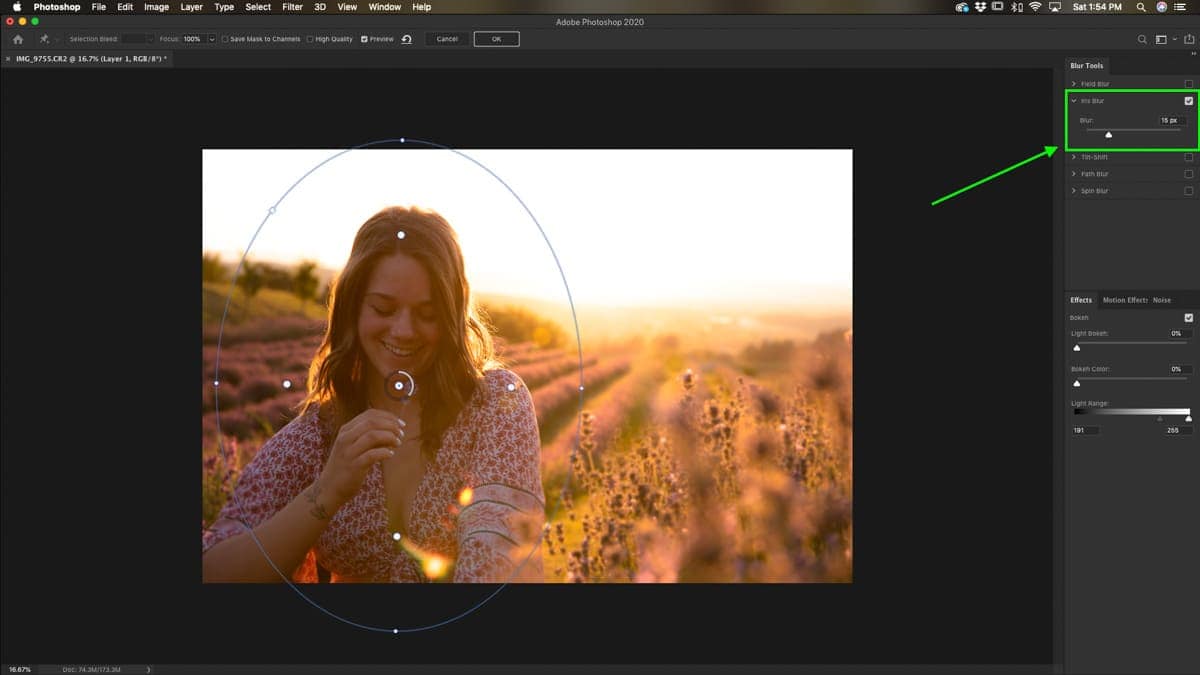
Depending on your photo, you may want to consider a more or less intense blur value.
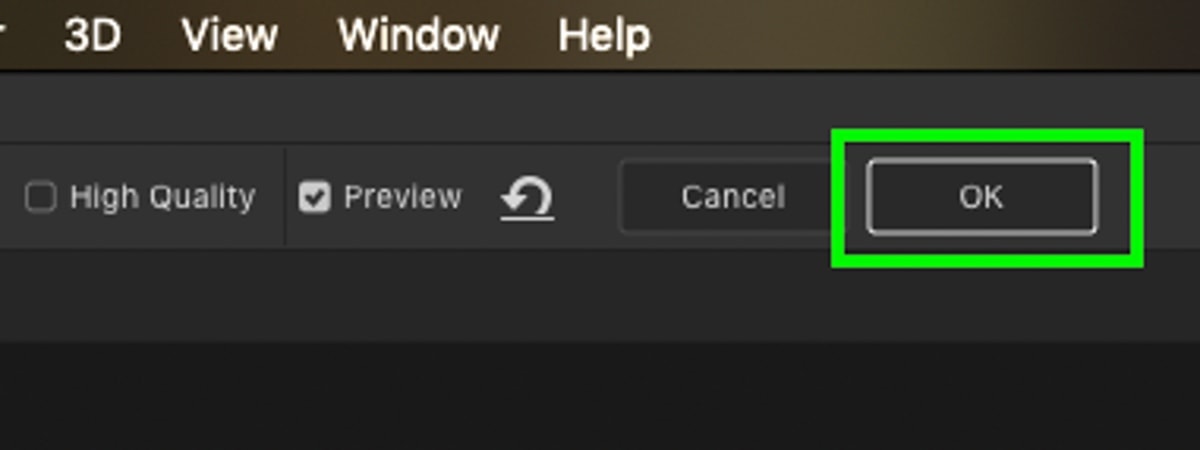
With your iris blur set, click OK at the top of the screen.
Step 3: Increase The Vibrance
Rich and vibrant colors are a big part of creating that dreamy look in a photo. Fortunately, Photoshop provides a couple of worthy options depending on your needs.
– Using The Vibrance Adjustment Layer
Your first option to increase vibrance is with the vibrance adjustment layer. This is a simple tool that only requires you to edit one slider to make all your changes. With this adjustment layer, the vibrance is increased across all the color values in your image at once. That’s why it’s one of the easiest ways to boost the overall vibrance of your picture.
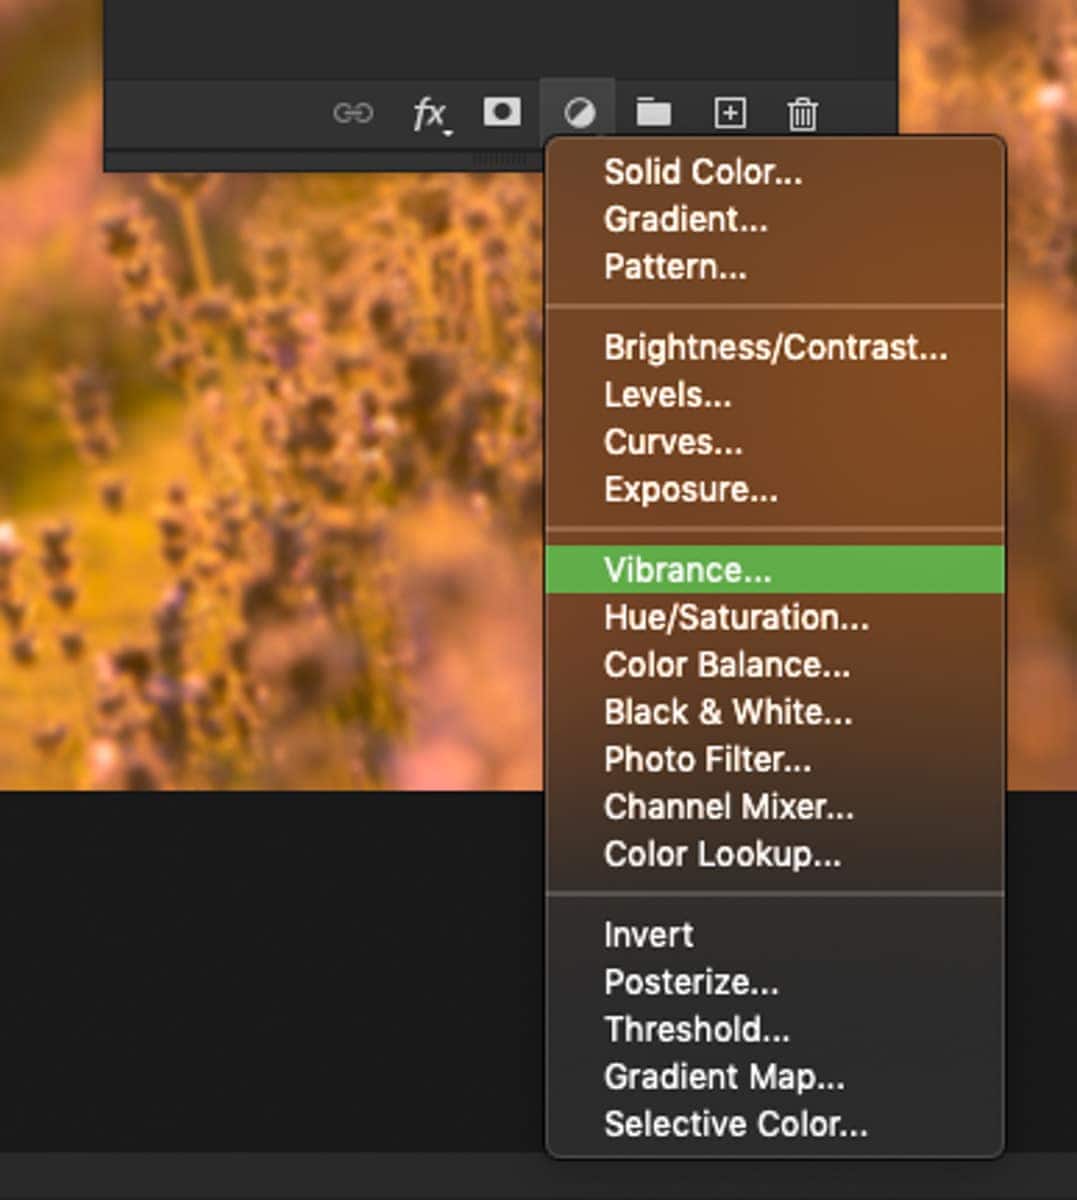
To open this adjustment layer, click on the Vibrance Adjustment Layer in the adjustments panel.
If you don’t see this, you can also click on the adjustment layer icon at the bottom of your layers panel and select “Vibrance.”
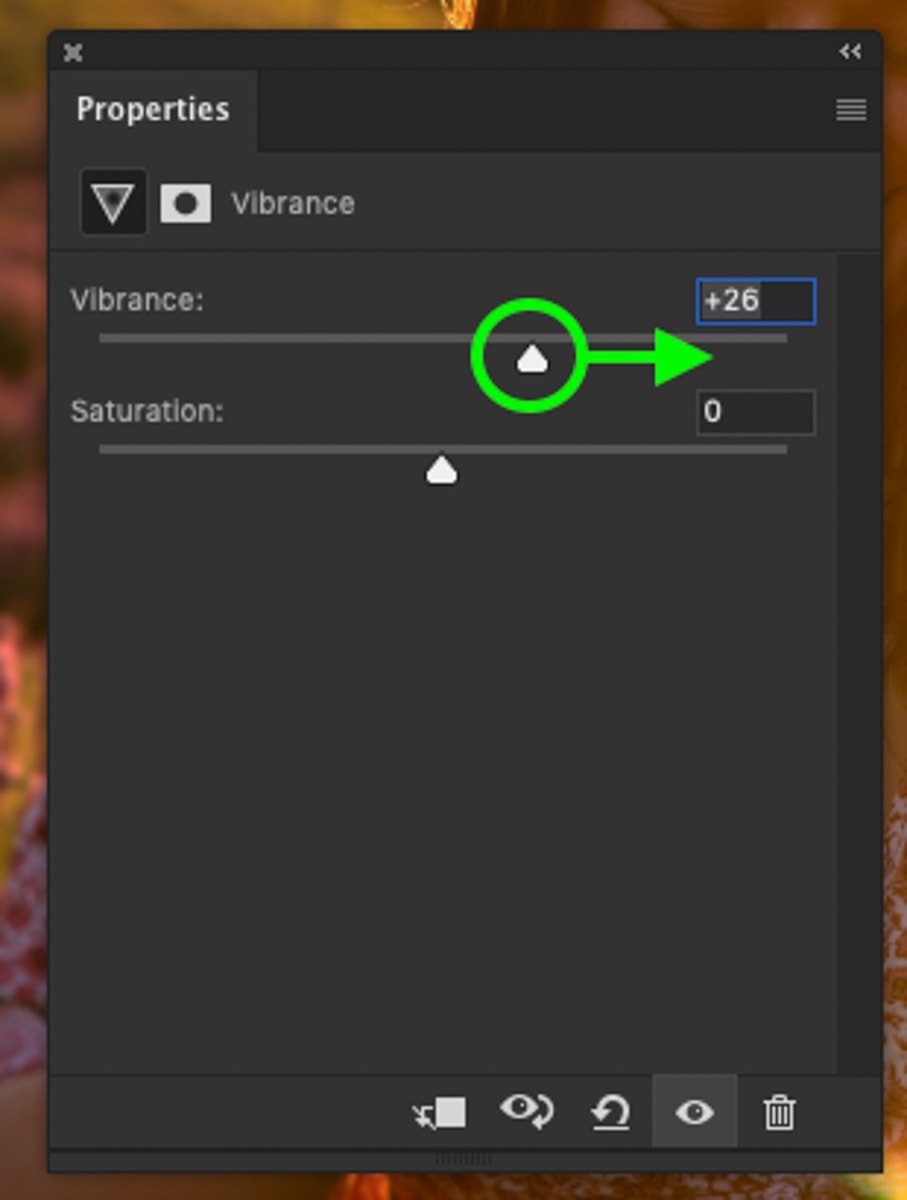
The vibrance panel will appear, giving you options to adjust the vibrance or saturation. For this effect, stick with the vibrance slider and increase it to a value that suits your image.
– Using The Hue Saturation Adjustment
The problem with increasing your photo’s overall vibrance is that you may only want saturation applied in certain areas. In this example, I want the flowers and sunset to look saturated, but boosting the overall vibrance makes the model’s skin too red. That’s why I’m opting to use a hue saturation adjustment layer instead.
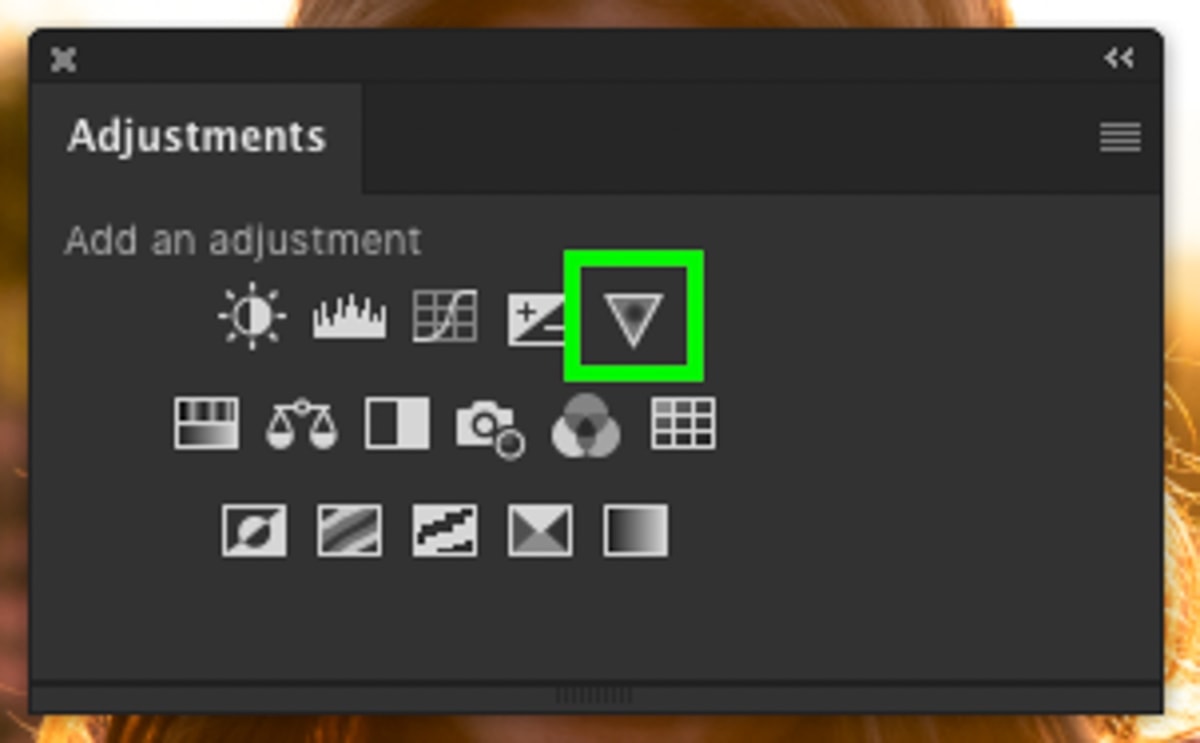
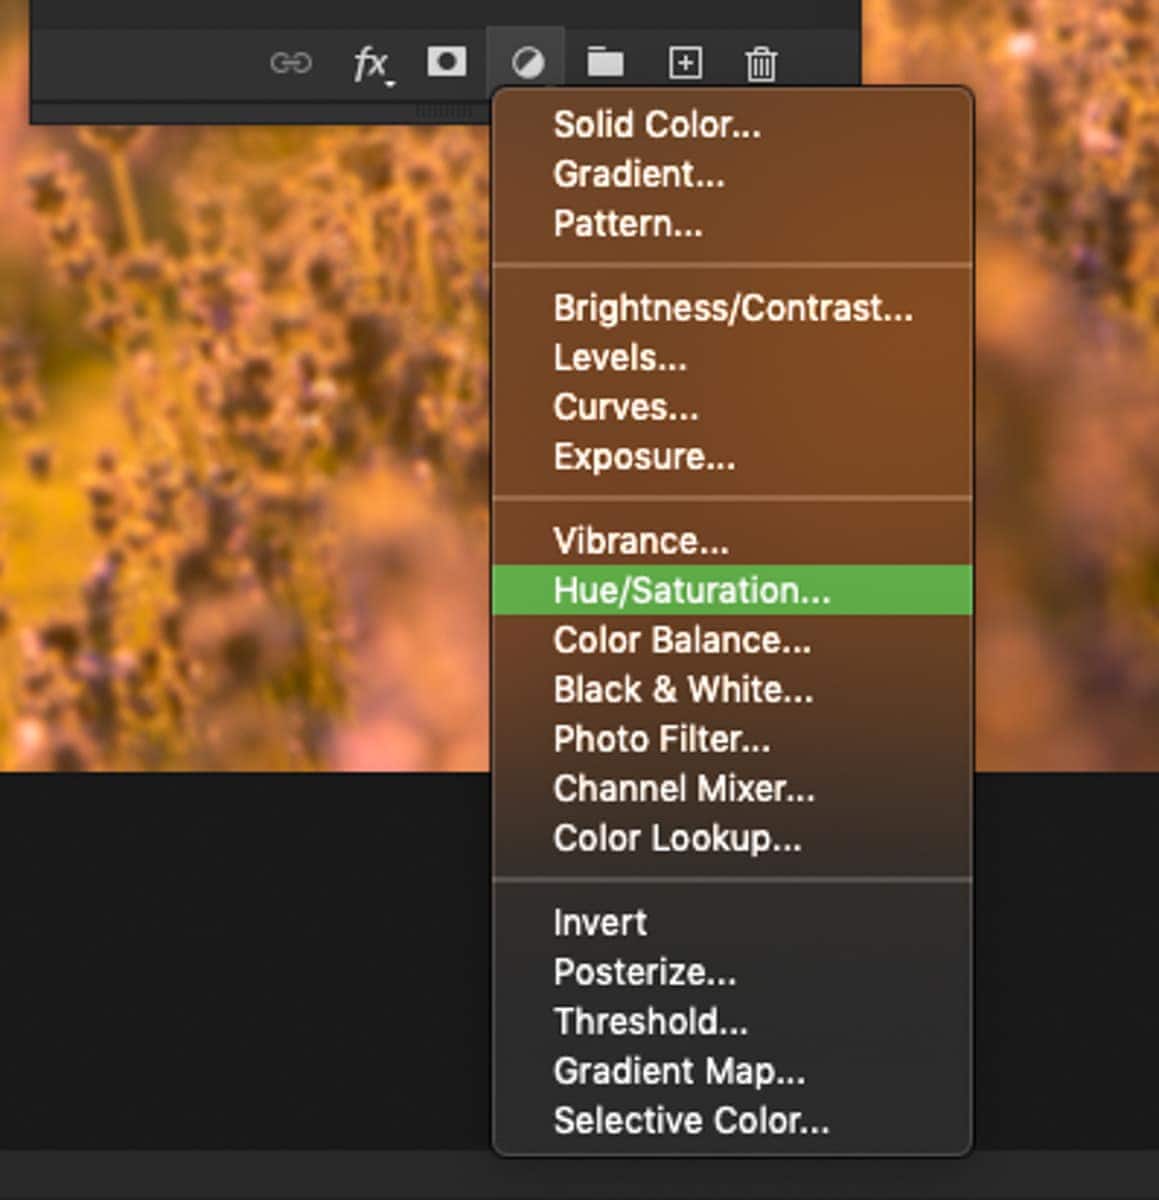
To create a new hue saturation adjustment layer, click on the hue saturation adjustment icon in your adjustments panel.
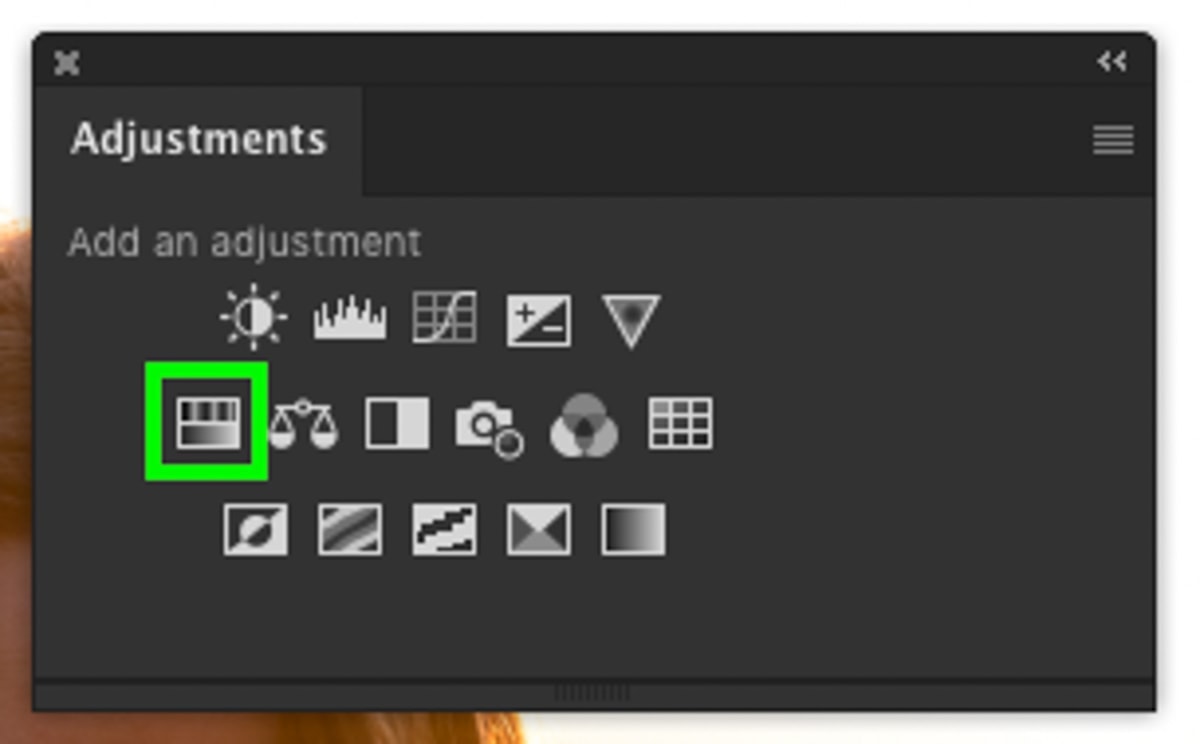
Alternatively, click the adjustment layer icon at the bottom of your layers panel and select “Hue Saturation.”
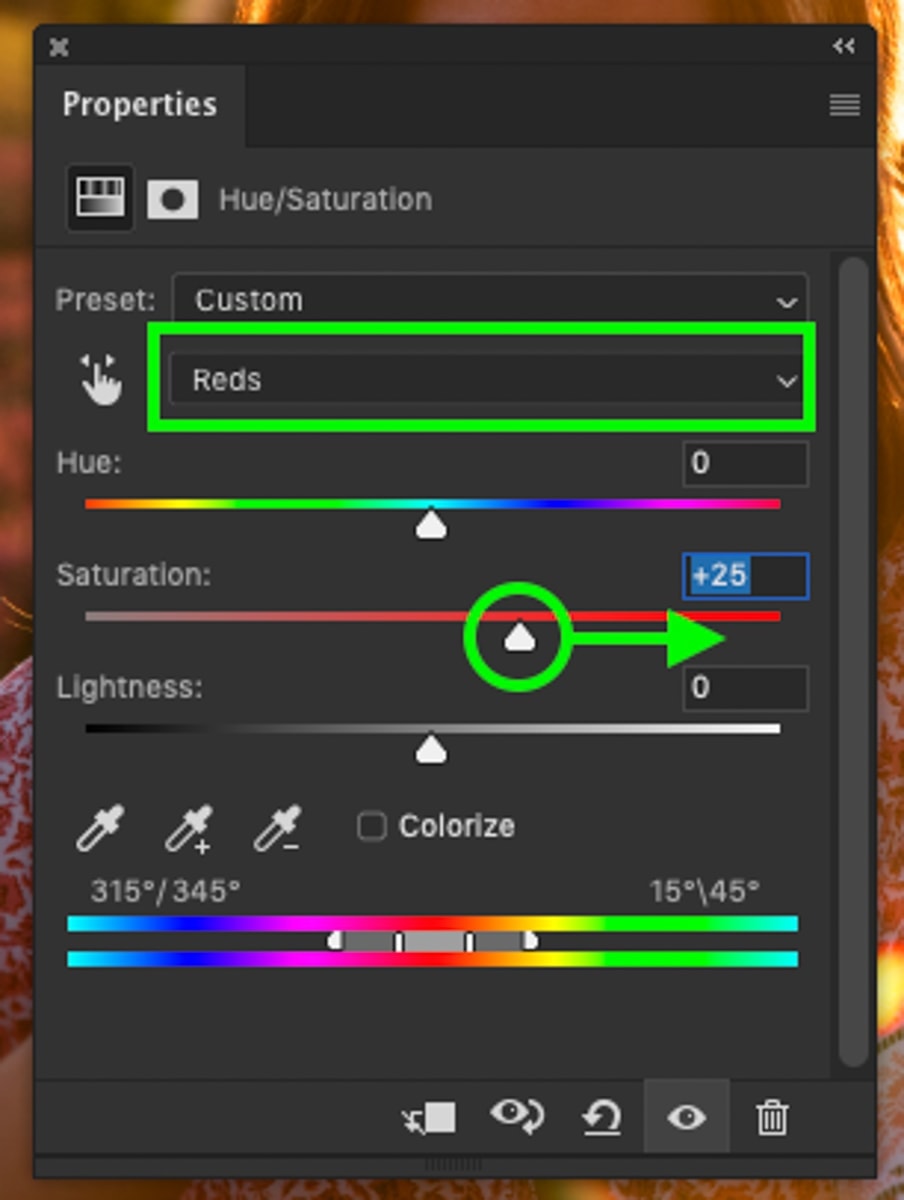
Inside the hue saturation panel, you’ll find a tab called “master.” Click on this to reveal a drop-down menu of other color channels you can target. Go through each one individually and adjust the saturation as necessary.

For this image, I only want to saturate the reds and yellows. I’ll first select the reds tab and begin to increase the saturation slider.
I’ll then do the same for my yellows.
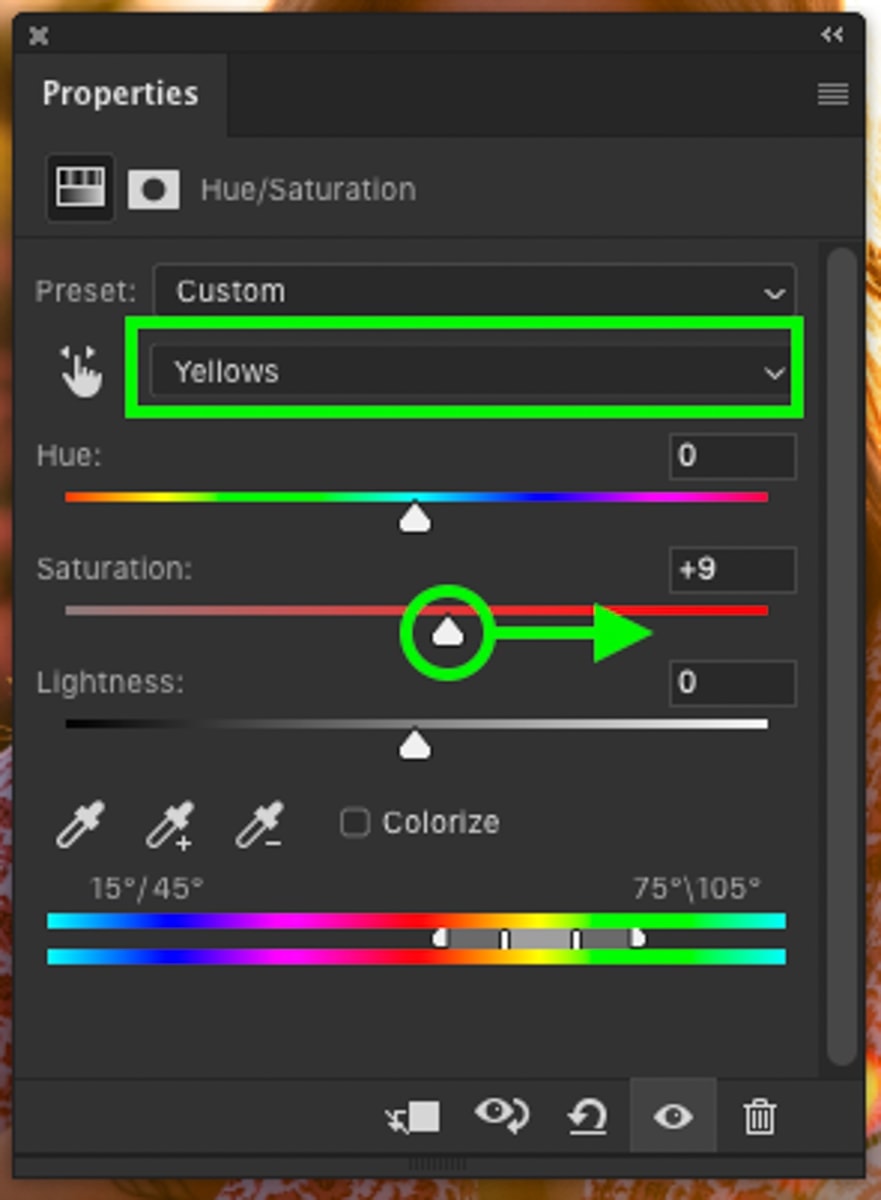
Depending on your photo, different color channels will have more effect than others. That’s why it’s important to explore each of the channels and see what results they provide. The beauty of this tool is that you can increase the saturation of individual channels by different amounts. It’s much easier to refine the adjustments using a hue saturation layer versus dealing with layer mask adjustments.
To learn more about the hue saturation tool and adjusting colors in Photoshop, check out this ultimate guide to changing colors.
Step 4: Create A Glow From Your Light Source
You don’t have to have used a professional flash or a studio to have a light source. The idea here is to boost the exposure to the brightest parts of your photo. If you’re working with an outdoor image, the light source would be the sky. If you have a photo in your house, the light source may be a lamp or a window. Whatever the light source is, the following steps all apply the same.
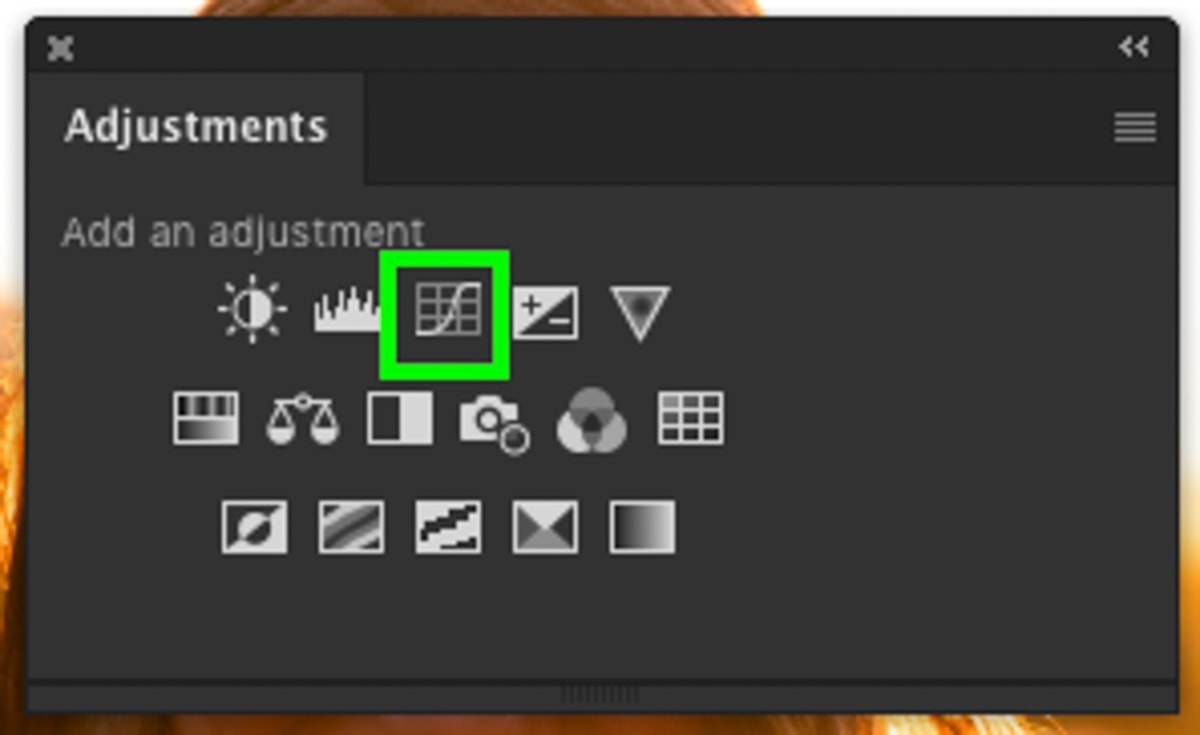
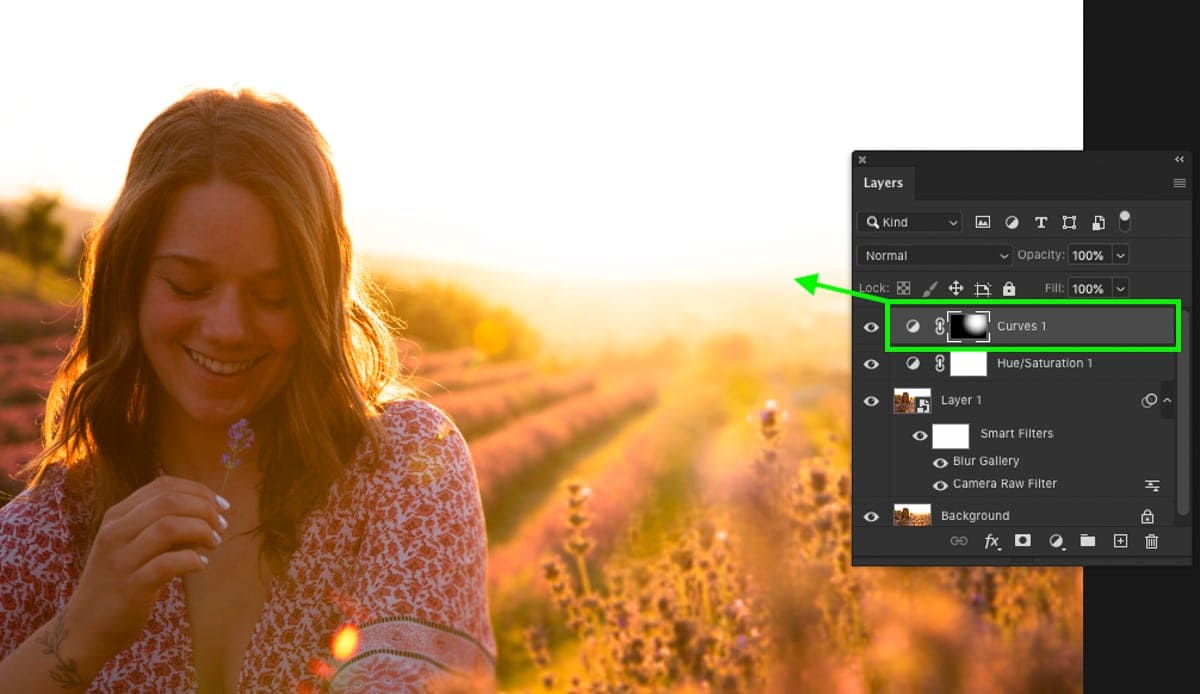
– Create A New Curves Adjustment Layer
To start, create a new curves adjustment layer by finding it in your adjustments panel or clicking the adjustment icon at the bottom of your layers panel.
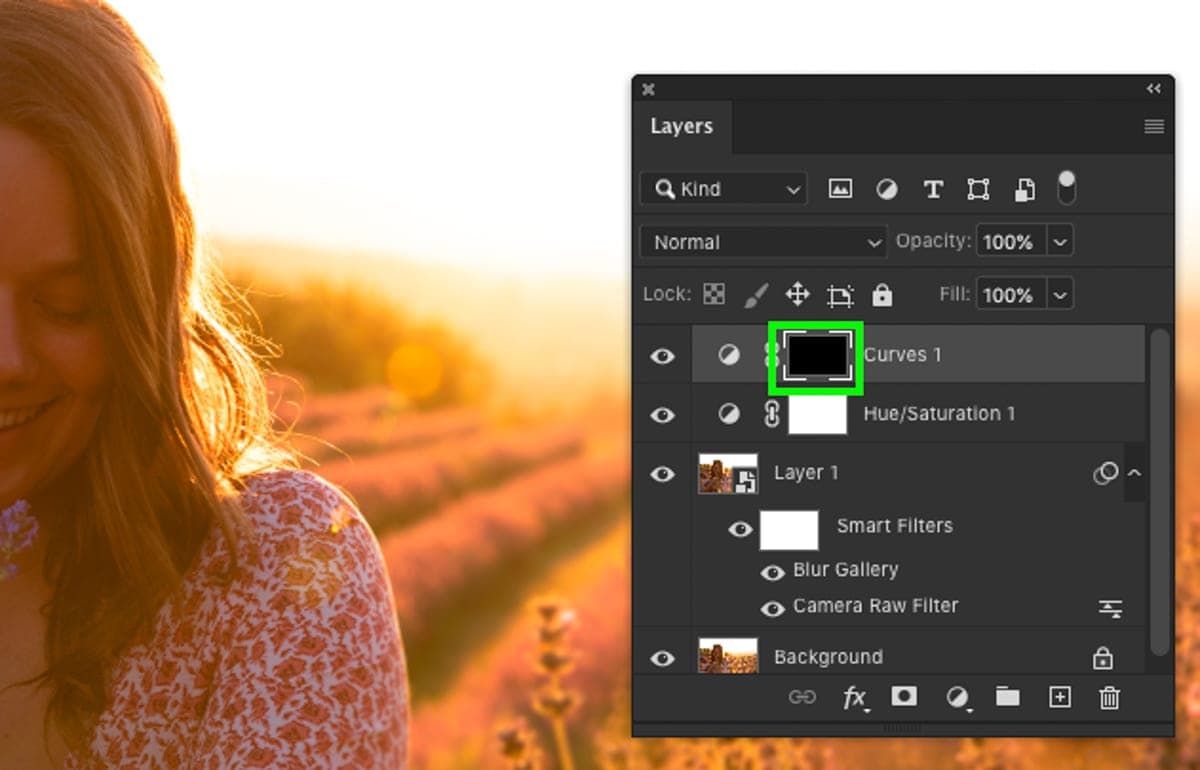
Next, increase the exposure of your image by clicking in the middle of your curve and dragging up. Since you only need to do a general brightening, you don’t need to get specific with your anchor points.

At this point, your photo looks a little too bright. To fix this, click on your curves adjustment layer mask and press Command + I (Mac) or Control + I (PC) to invert the mask. The curves adjustments will become invisible on your photo since your layer mask is completely black.
Since the curves adjustments are invisible, now you have the opportunity to add back in the brightening adjustment selectively. One of the best ways to do this for a dreamy look is with the radial gradient filter.
– Use A Radial Gradient Filter
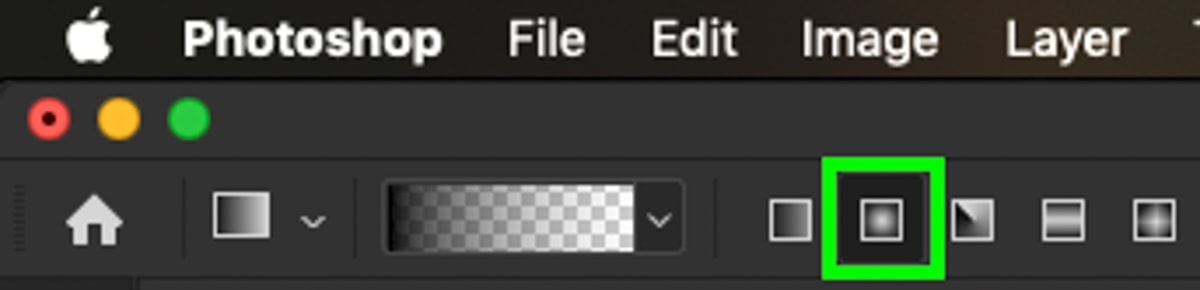
To access your gradient tool, press G. By default, your gradient will be set to a linear gradient, but this can be changed in your tool settings at the top of your window. Just click the radial gradient option to change your gradient.
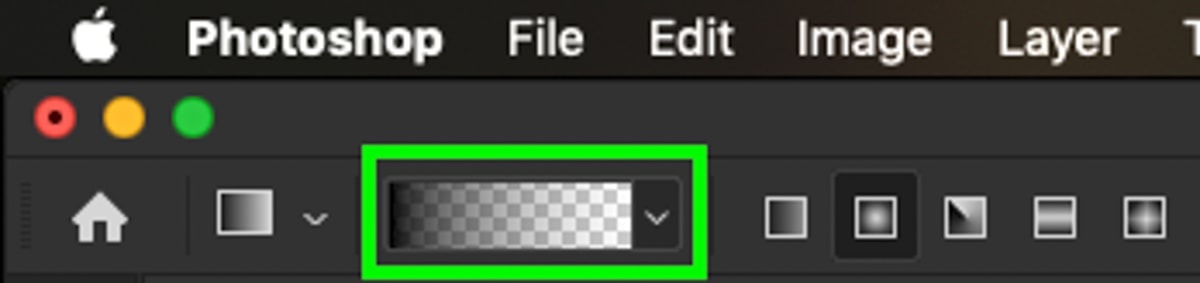
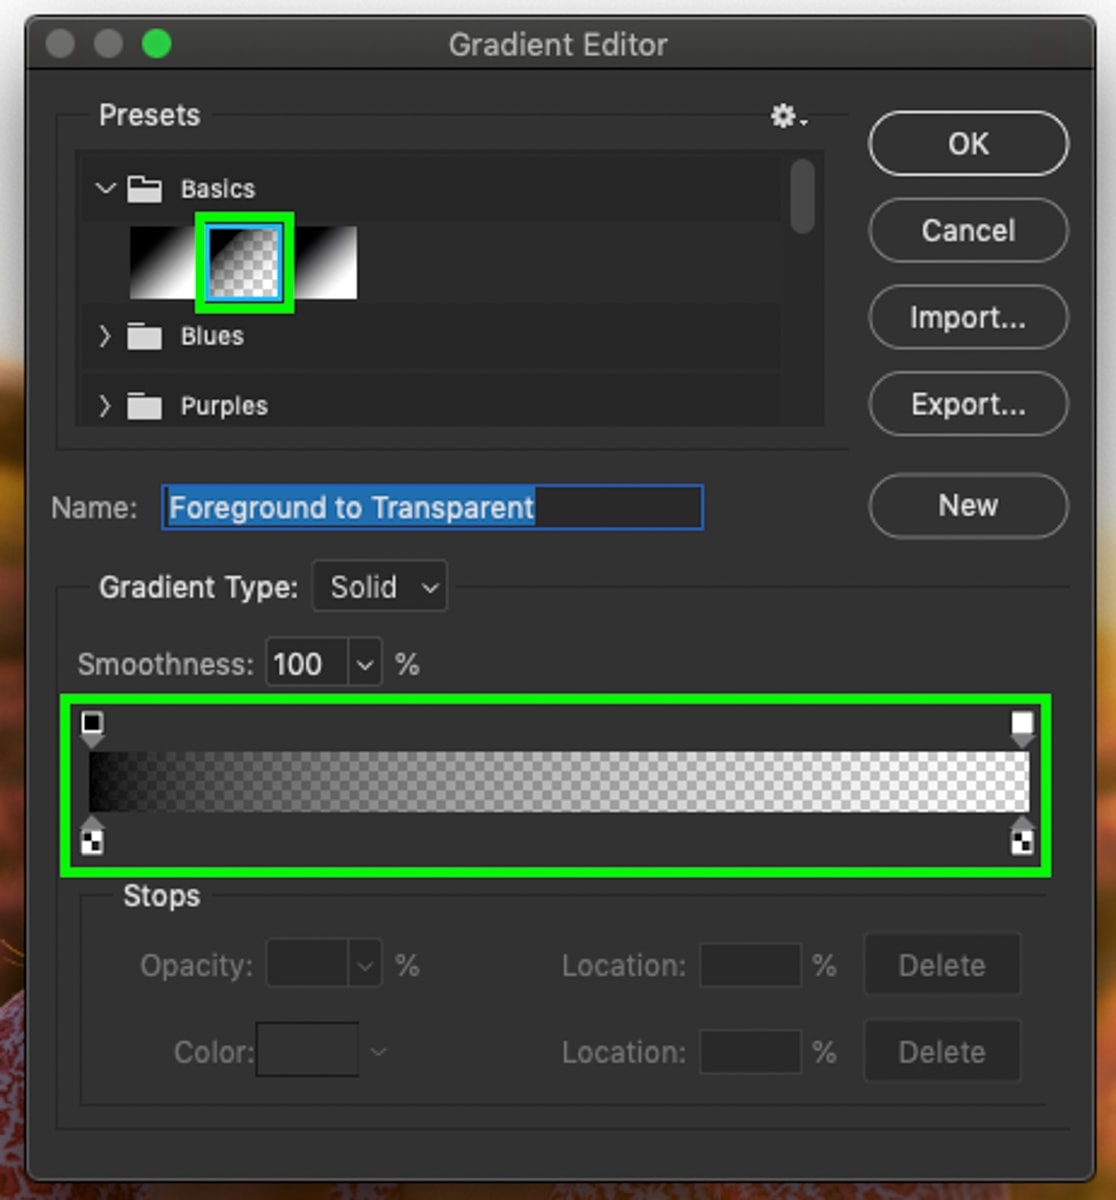
Next, click on the gradient type and make sure your gradient is set as foreground to transparent.
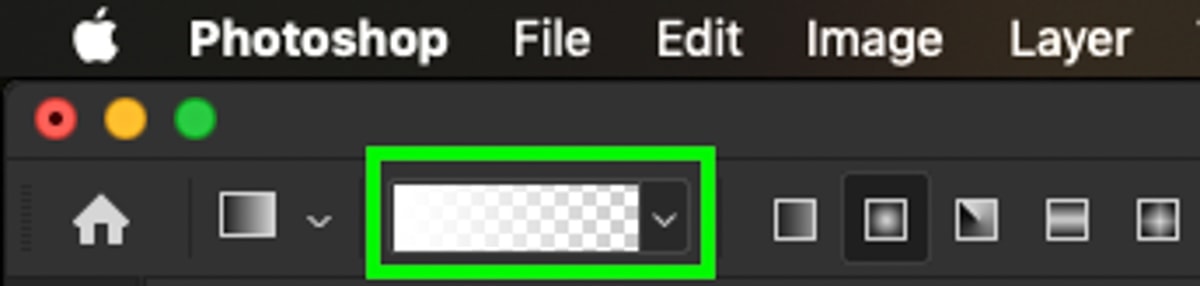
Now ensure your foreground color is set to white by manually selecting it or press D on your keyboard.
With your gradient tool set up, click on your curves adjustment layer mask to select it. With the mask selected, click on the center of your light source in the image and drag out. The further you drag, the larger the brightening effect will be.
You can continue to add multiple gradients to your image until you’re happy with the effect.
Step 5: Create The Orton Effect
At this point, the image has a much softer and dreamier look than what we started with. Now there’s one last adjustment that will really take it to the next level called the Orton Effect.
Although I’ve talked about how to create the Orton effect in a previous post, let’s quickly go over how this effect is created.
First, you’ll need to duplicate and merge all your layers into one. This is easily done using the keyboard shortcut Command + Option + Shift + E (Mac) or Control + Alt + Shift + E (PC).
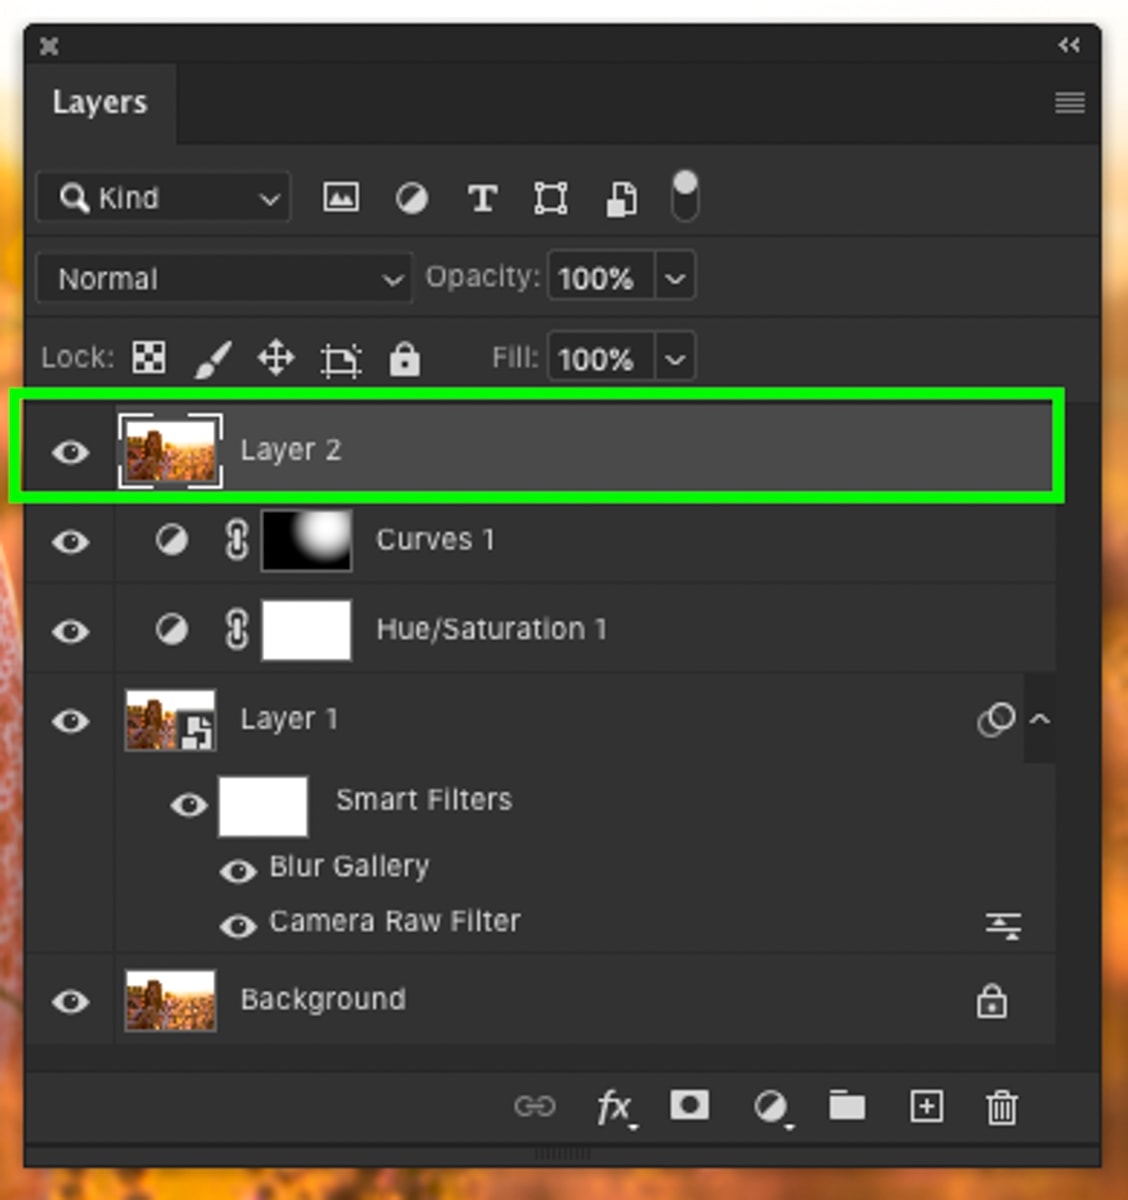
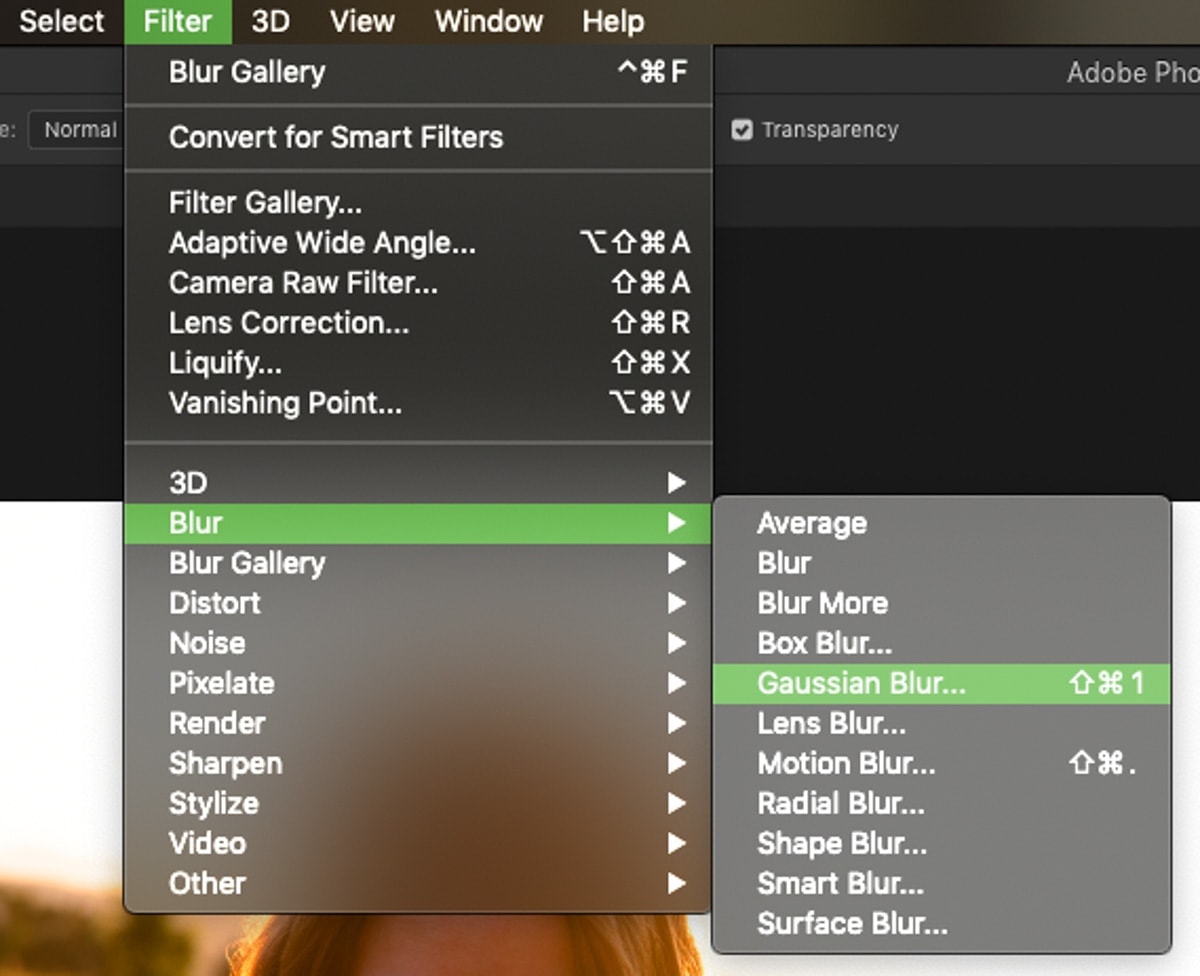
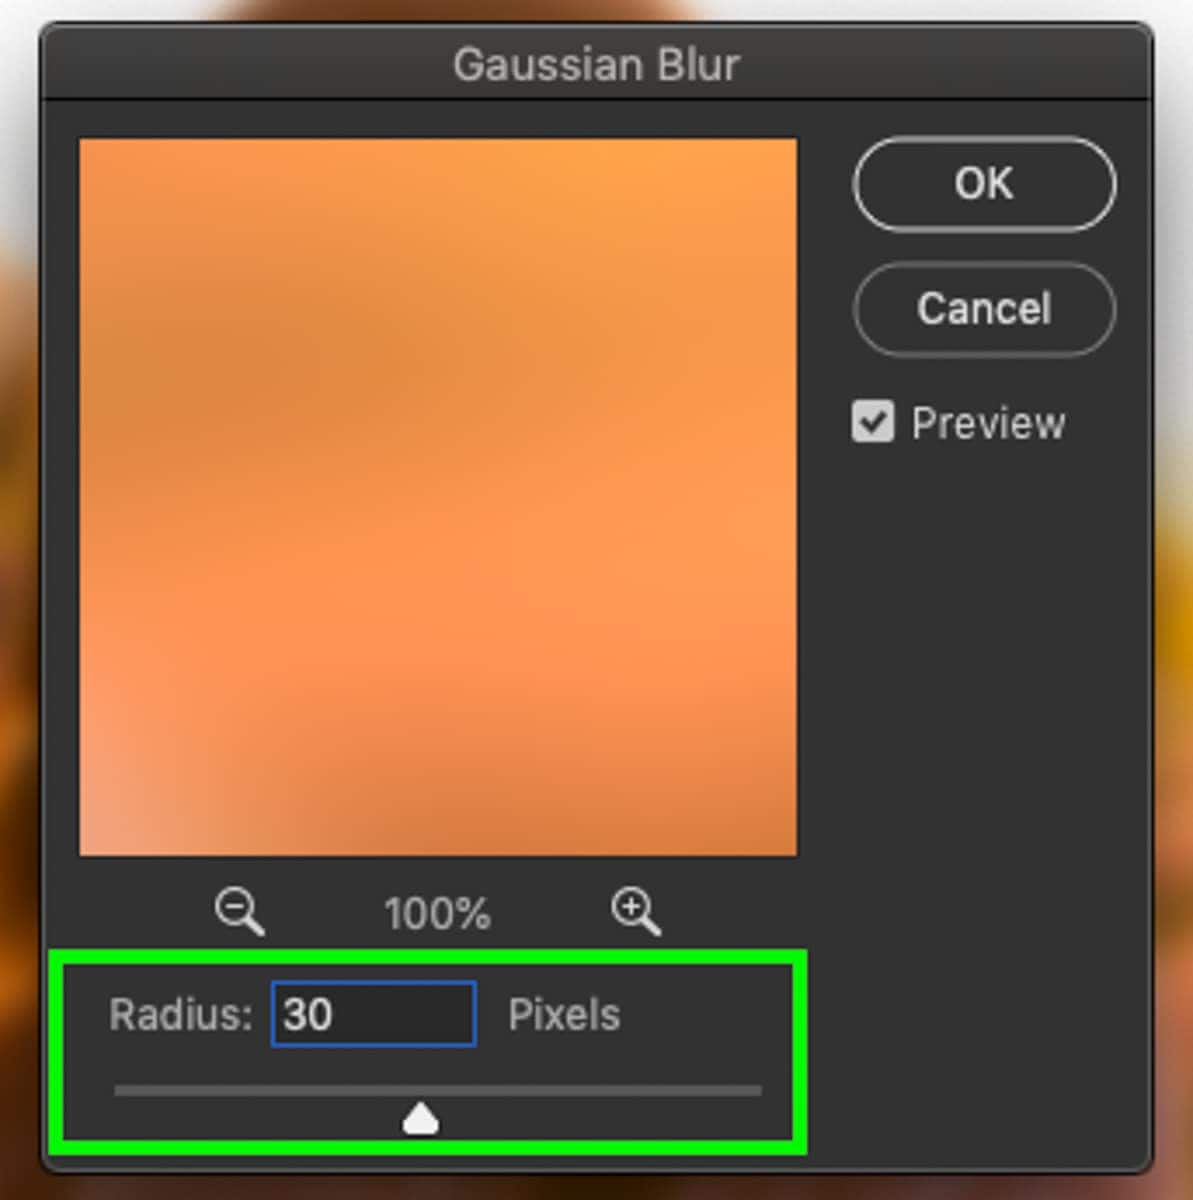
With your new merged layer selected, go up to Filter > Blur > Gaussian Blur. Set your blur intensity to something relatively strong while ensuring you can still make out details in your photo. For this image, I will set the blur radius to 30px.
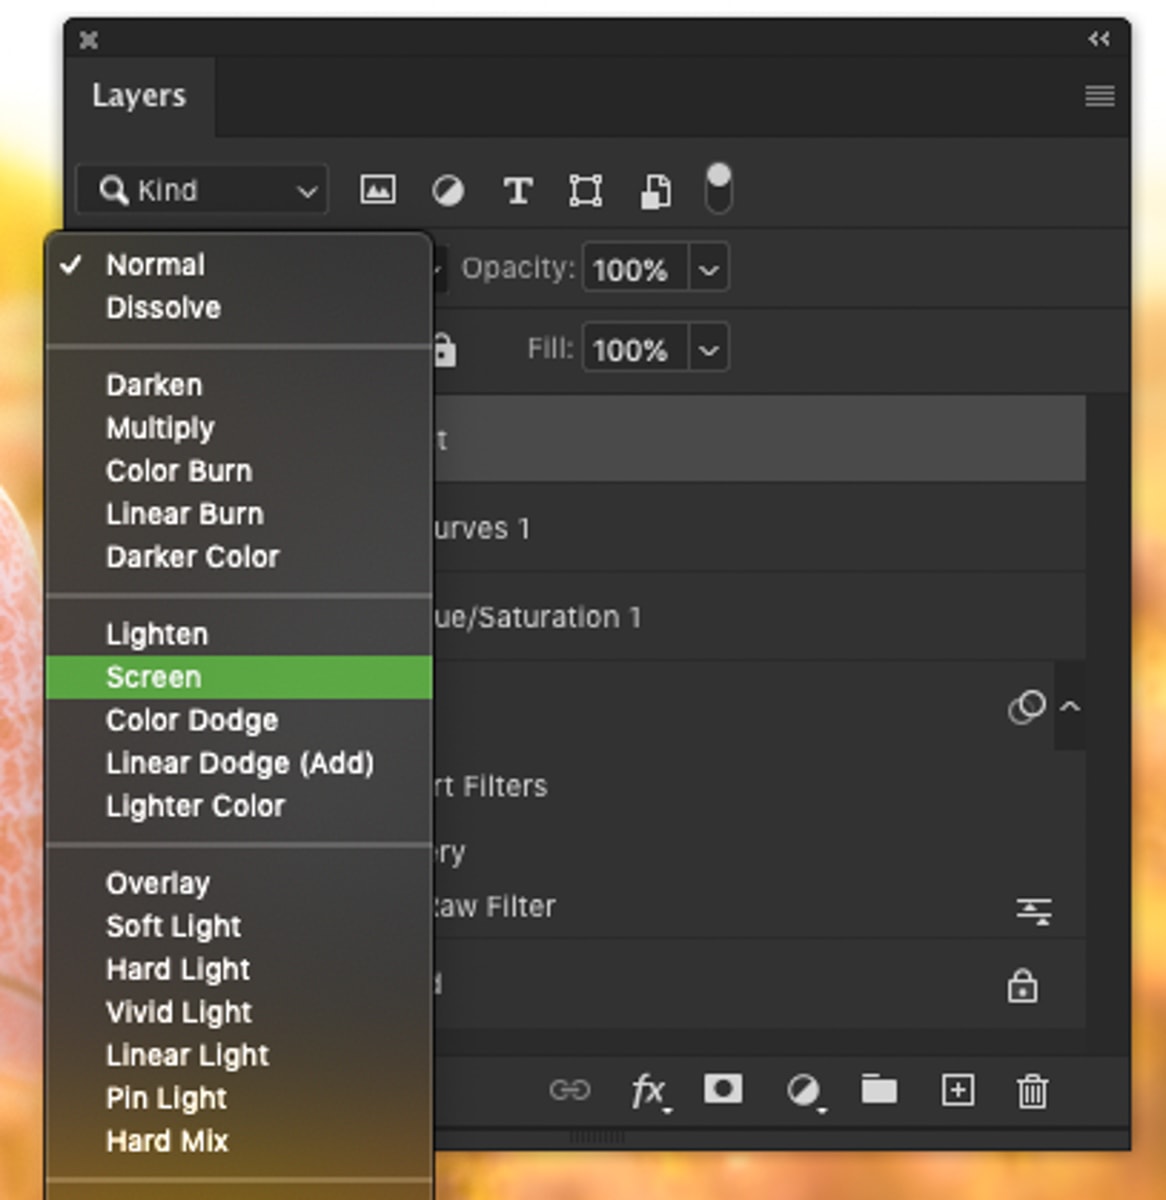
Rename your layer to “Orton Effect” and change the blending mode from normal to screen.
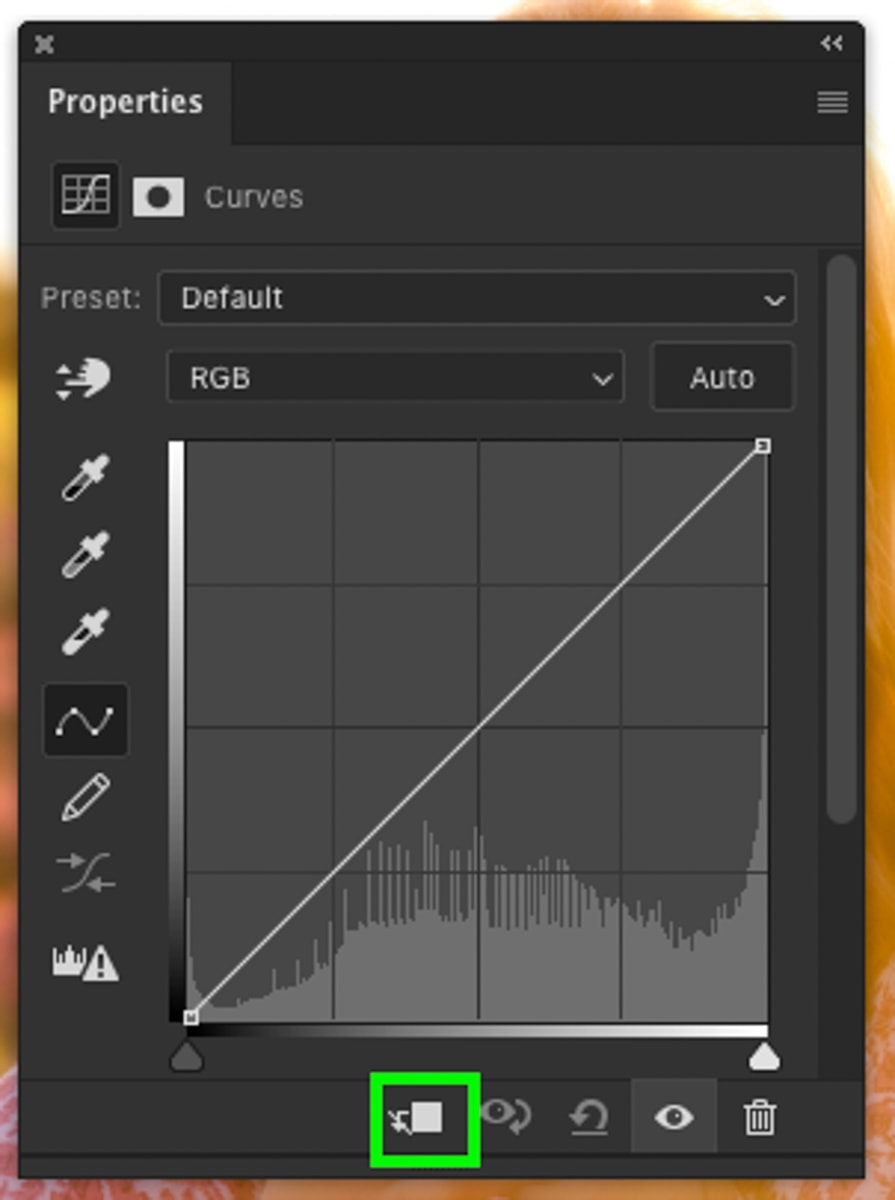
Next, create a new curves adjustment layer by clicking on the curves icon in your adjustments panel or finding it via the adjustment options in your layers panel.
With your curves adjustment open, clip it to your Orton effect layer, so the curves adjustments only affect that layer. The easiest way to create a clipping mask, in this case, is to press the clipping mask icon at the bottom of the curves window.
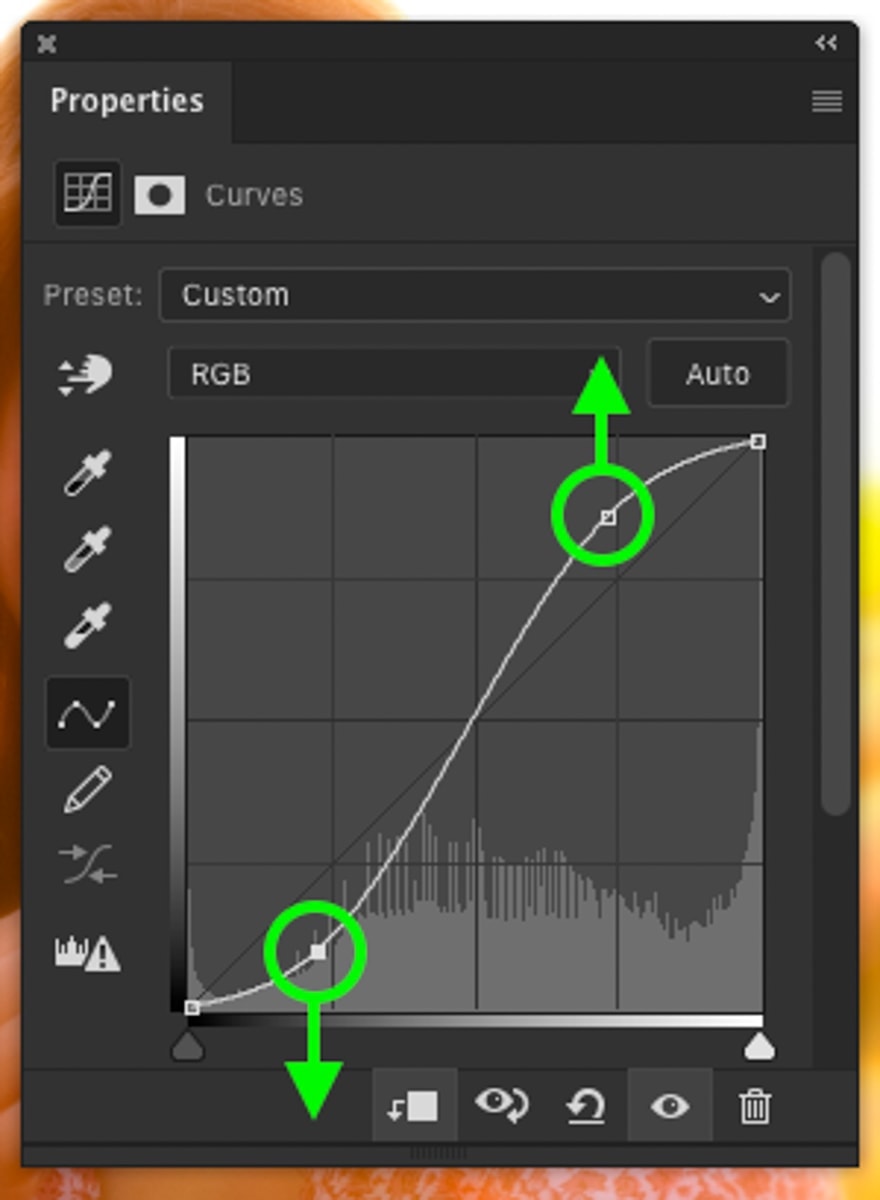
Now drag up the highlights of your curve, and bring down the shadows. The more contrast you add to your Orton layer, the more intense the glow effect will appear.
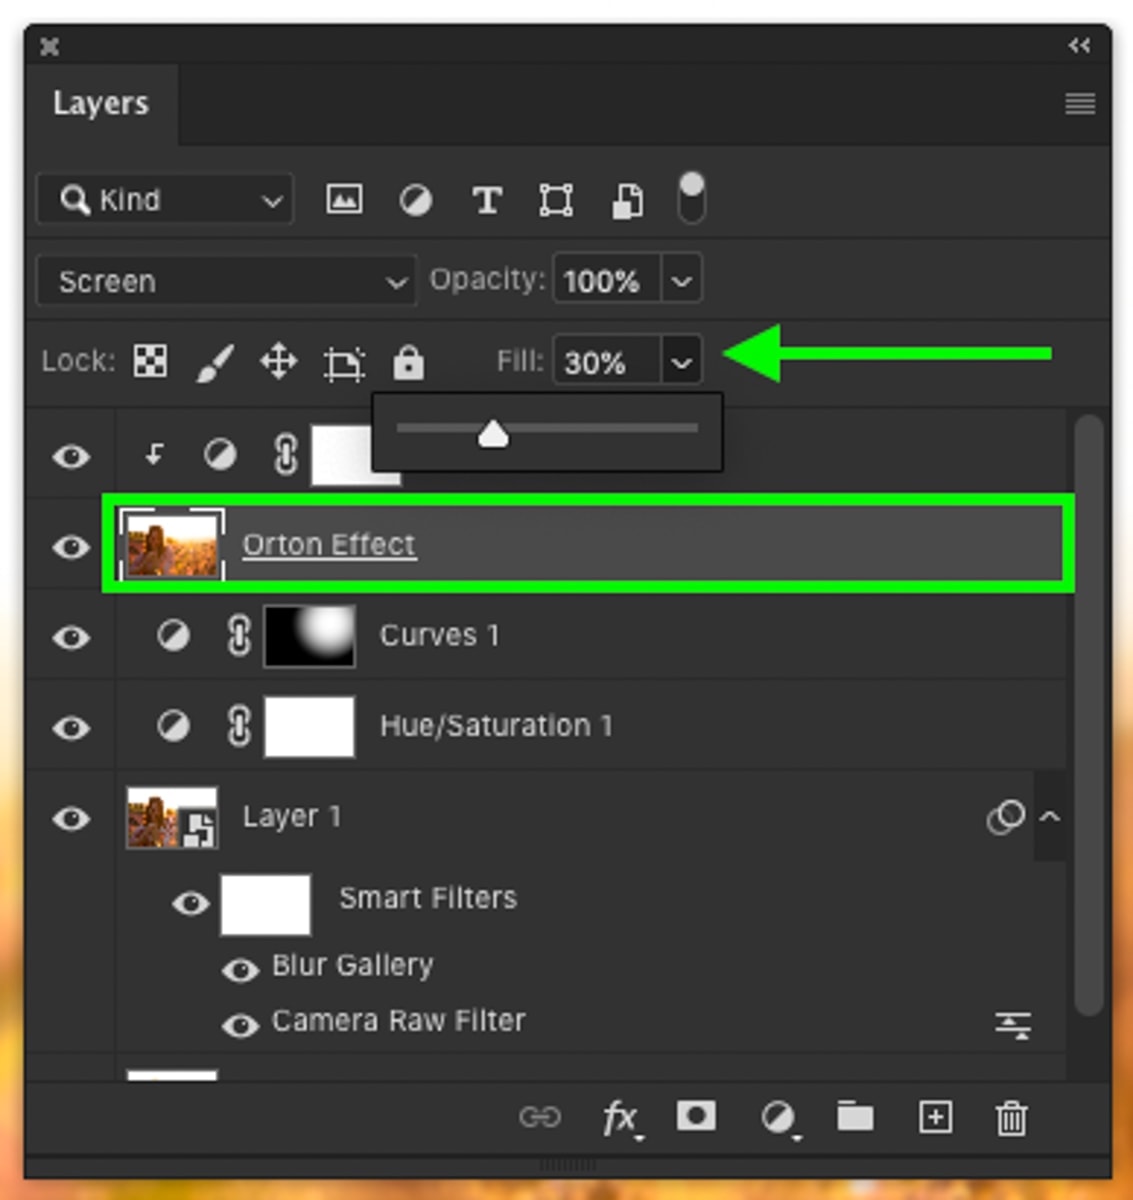
To further refine the effect, click on your Orton layer and bring down the fill value to something that looks more realistic.
If you’re okay with this effect being applied to your whole image, then your job is done. If you want to only apply this extra glow to certain areas, click on your layer mask and paint out any unwanted areas with a black brush.
(Optional Bonus Step) Step 6: Add More Contrast
Although the dreamy effect is complete, certain images can benefit from having more contrast added to them. With more contrast, it’s easy to bring a little more life to your photo and really make things pop.
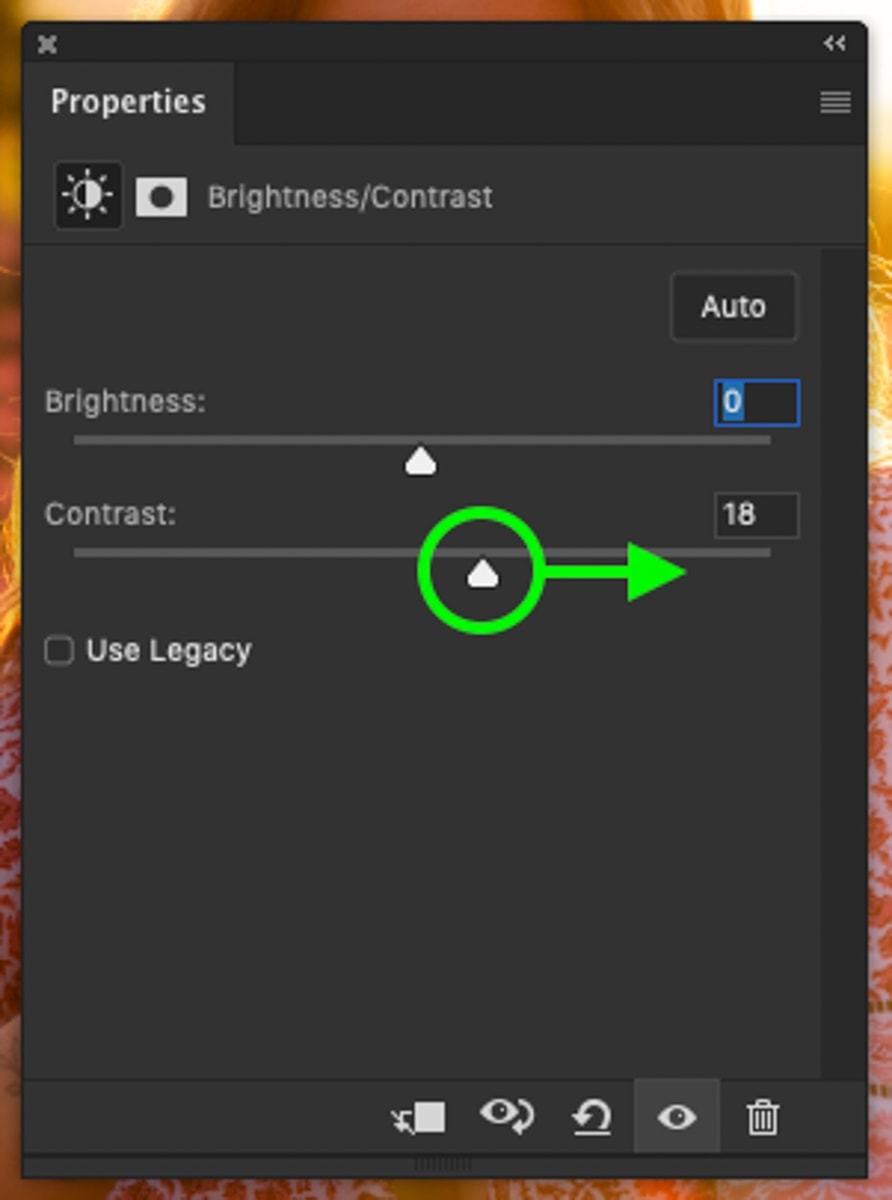
To make this step as easy as possible, we’ll utilize the brightness and contrast adjustment layer.
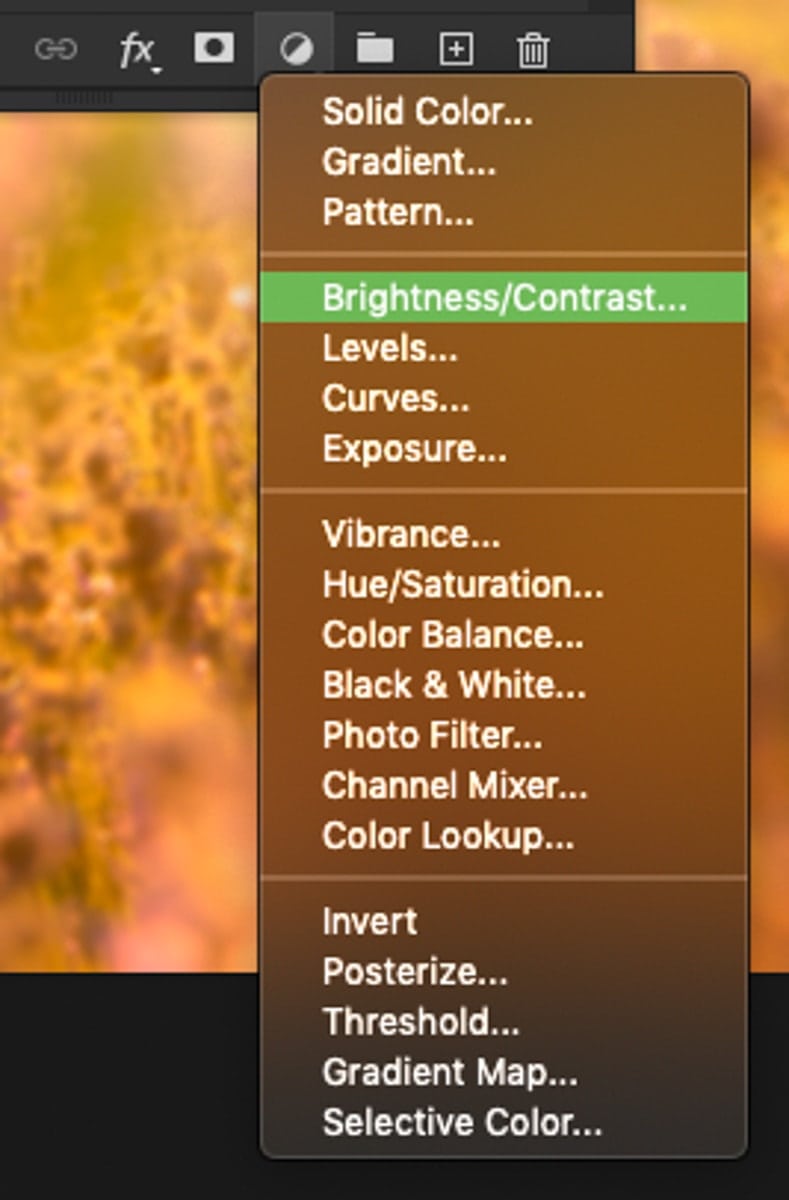
With the adjustment layer open, click on the contrast slider and bring it up to a suitable level. By increasing the contrast, you brighten the highlights while also darkening the shadows. Rather than having to deal with a tone curve, the contrast slider makes this final step quick and pain-free.
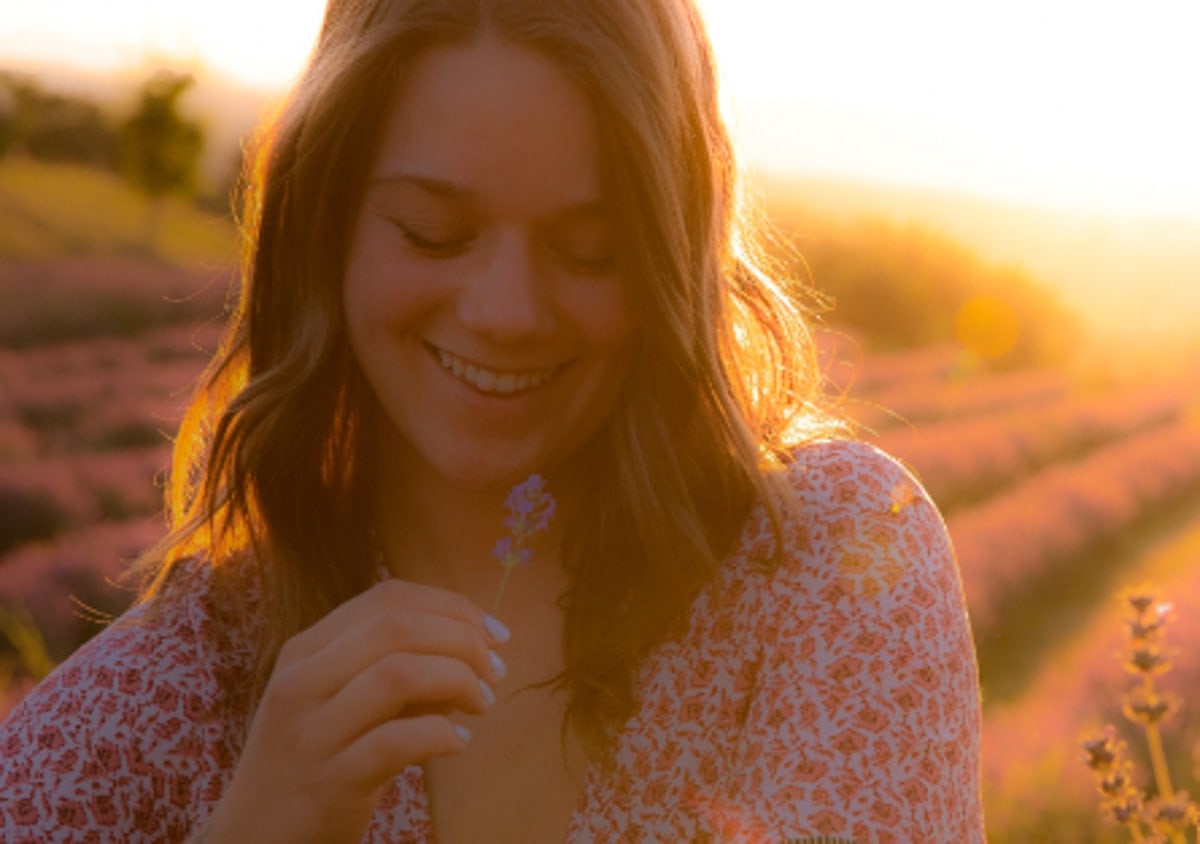
The Final Result
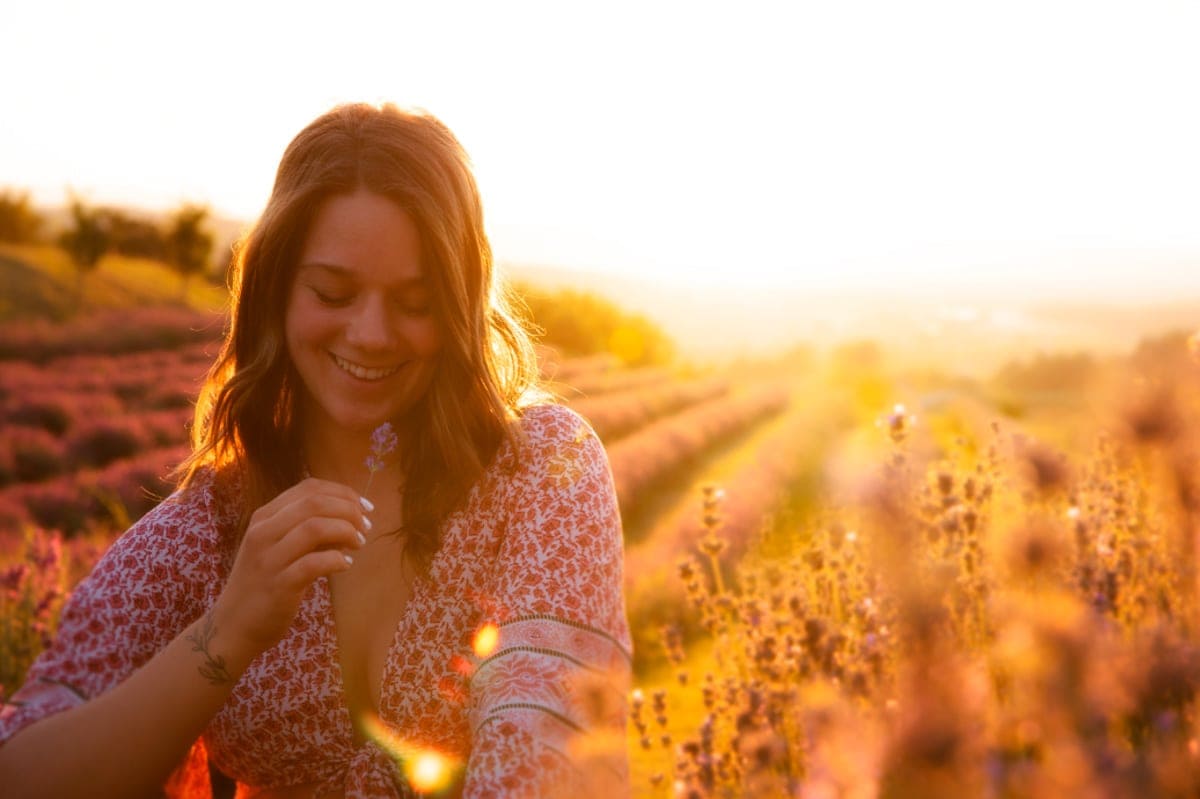
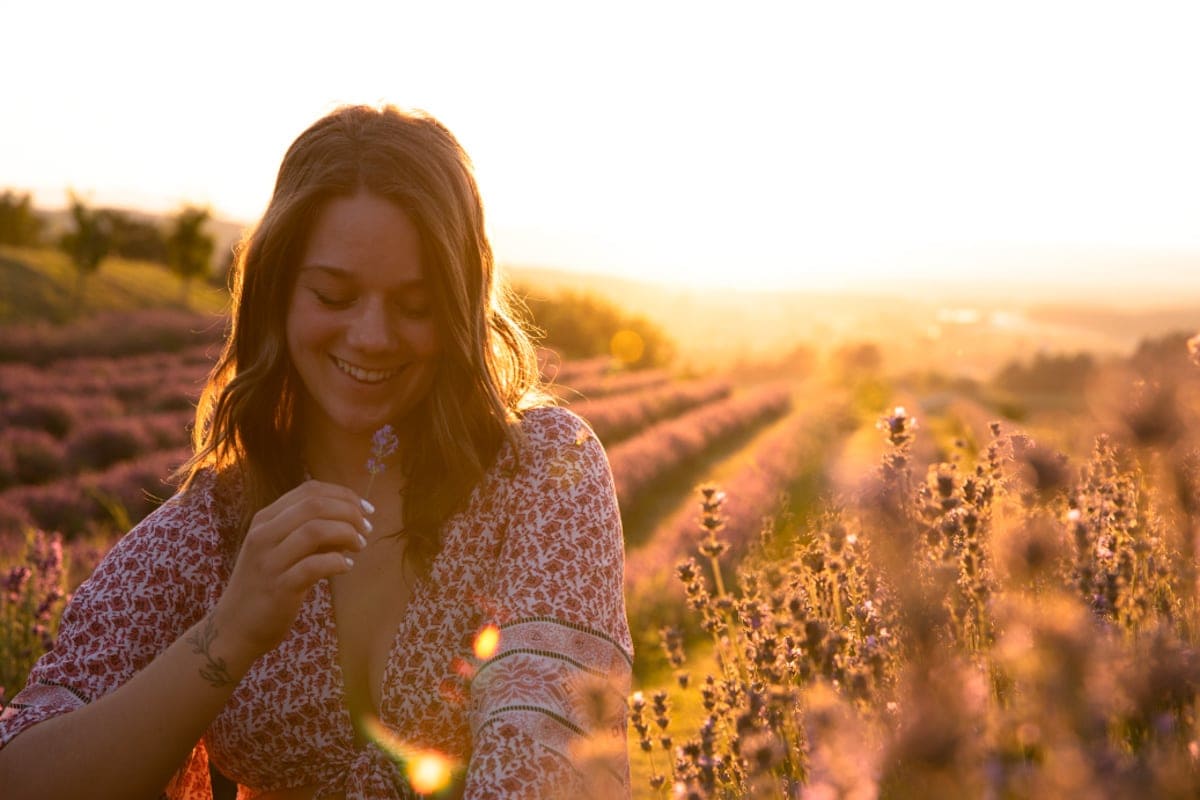
Creating a soft and dreamy look to your photos in Photoshop is made easy with a variety of beginner-friendly tools. Once you have a good understanding of this workflow, you’ll be able to create this effect faster and faster each time you do it. One great way to speed up part of the process is with this Orton Effect Photoshop Action. Rather than having to go through the individual steps of the Orton effect, this action makes it possible in one click!
The soft photo effect is a ton of fun to create and applicable to just about any style of photography. Now that you have the skills to get the job done, you can start blowing the socks off of everyone who sees your kick-butt dreamy photos!
– Brendan 🙂
