The amount of things you can do with Canva is almost endless, including the ability to outline an image in Canva in three easy steps. I will walk you through the process so you can outline anything you want as fast as possible.
Today, you will not only learn how to outline entire images, but also the subject in the image after removing the background. I will also show you how to outline text and shapes to complete your design.


How To Outline An Image In Canva
Step 1: Use The BG Remover App To Remove The Image’s Background (Optional)
Once you have your image on your canvas, remove the background in Canva by selecting it and clicking on Edit Photo. After that, click on BG Remover.
Note: If you want the outline around the entire image instead of only the subject, skip this step and follow the next step.
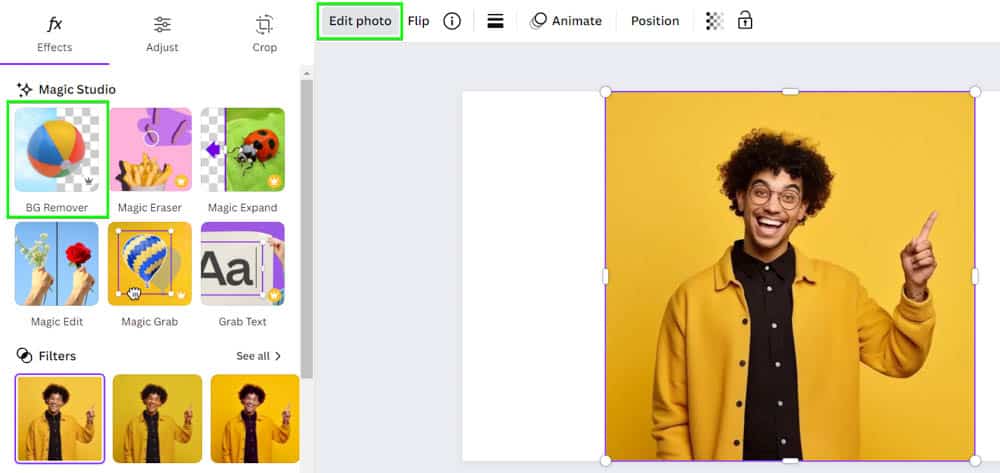
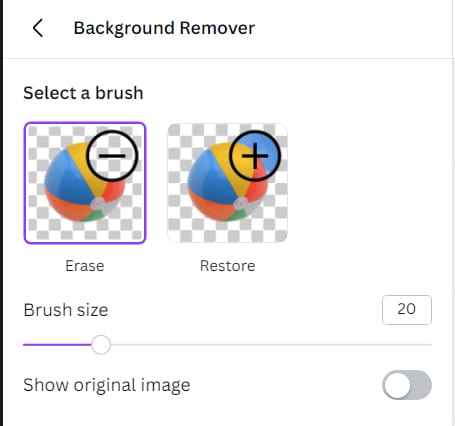
When you click on BG Remover, the image’s background is automatically erased. You can use the Erase Button to erase any extra pixels and the Brush Size Slider to adjust your brush size. You can also use the Restore button to bring back any missing pixels.
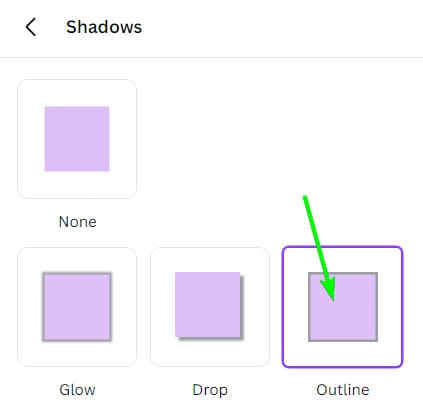
Step 2: Open The Shadows Effect And Select Outline
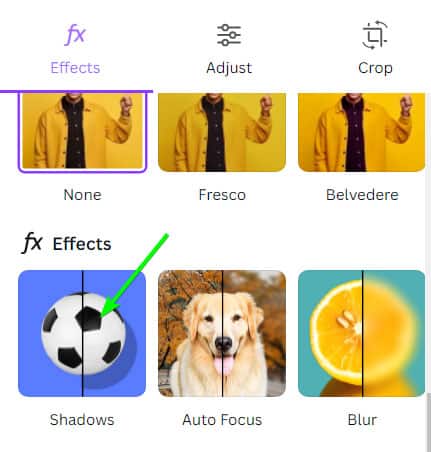
Now that your selection is cut out, click on Shadows in the Edit Photo panel. Then, in the Shadows options, select Outline.
Step 3: Adjust The Outline Settings Based On The Desired Outcome
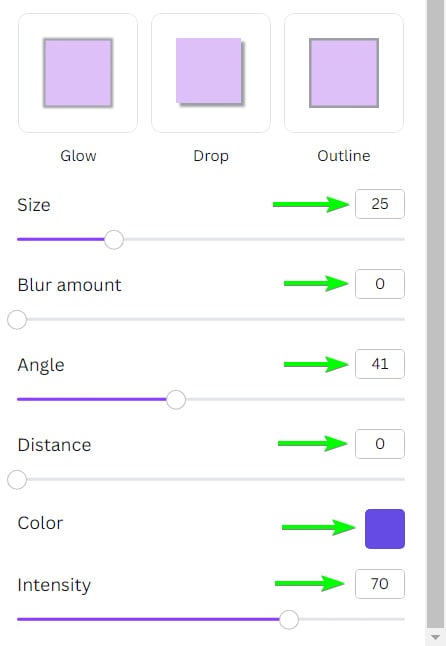
Once you click on Outline, you will notice the default outline appear around your subject. You can also adjust the settings that appear below the Outline button to customize the effect.
- Size: Adjust the size slider to determine how thick or thin you want the outline
- Blur Amount: No blur creates a solid outline, whereas the higher you increase the blur, the more of a glow effect you create on the image
- Angle: The angle works by setting where the outline is offset from the image if you increase the distance
- Distance: The distance creates a drop shadow effect by creating varying thicknesses of the outline around the subject. Set this to 0 to have a uniform outline
- Color: You can change the outline color by clicking on the color swatch and selecting a new color
- Intensity: The intensity determines the opacity of the outline and whether elements behind the outline will show through or not
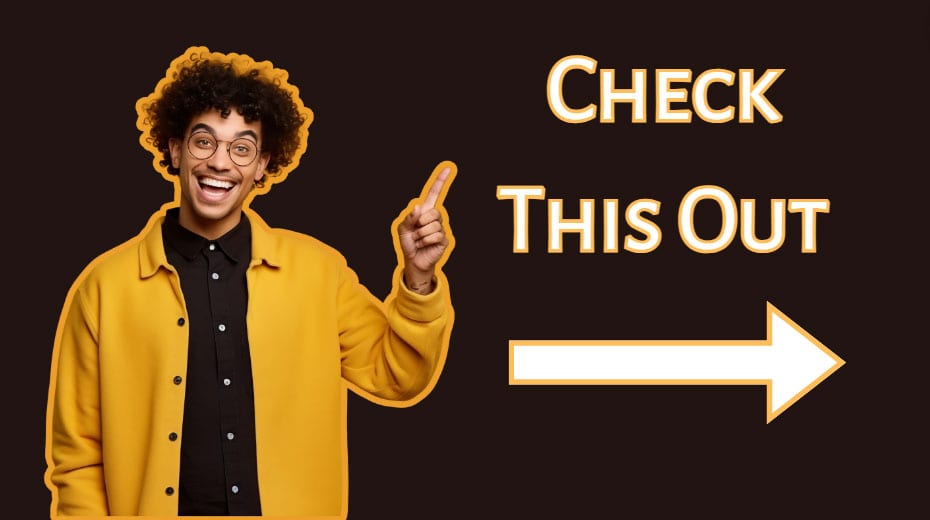
You can simply exit the Edit Photo panel by clicking the back arrows and you now have outlined an image in Canva and can use it for your blog headers or YouTube thumbnails amongst other things.
How To Outline Text In Canva
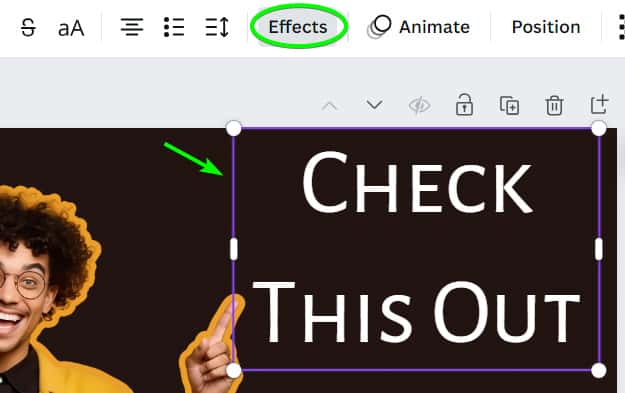
Step 1: Select The Text And Click On Effects
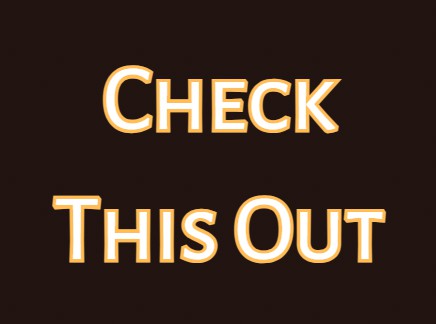
First, add your text in Canva onto the page using the Text tab. Format the text as you’d like, then select it and click on Effects in the top bar.
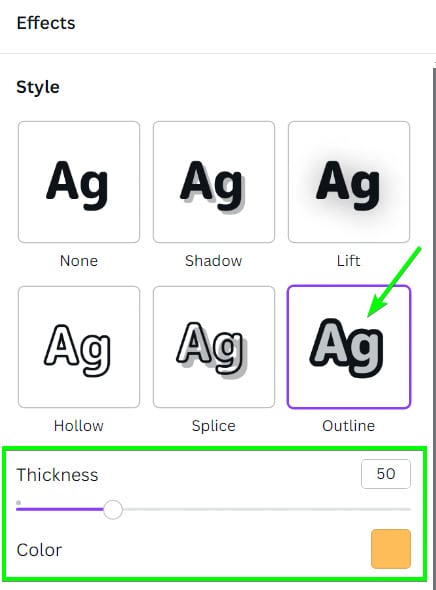
Step 2: Click On Outline And Adjust The Settings
Next, click on the Outline effect and adjust the two settings as desired. You can set the Thickness of the outline and change the Color as needed. You have now added an outline to your text.
How To Outline Shapes In Canva
Step 1: Select The Shape And Click On The Border Style Button
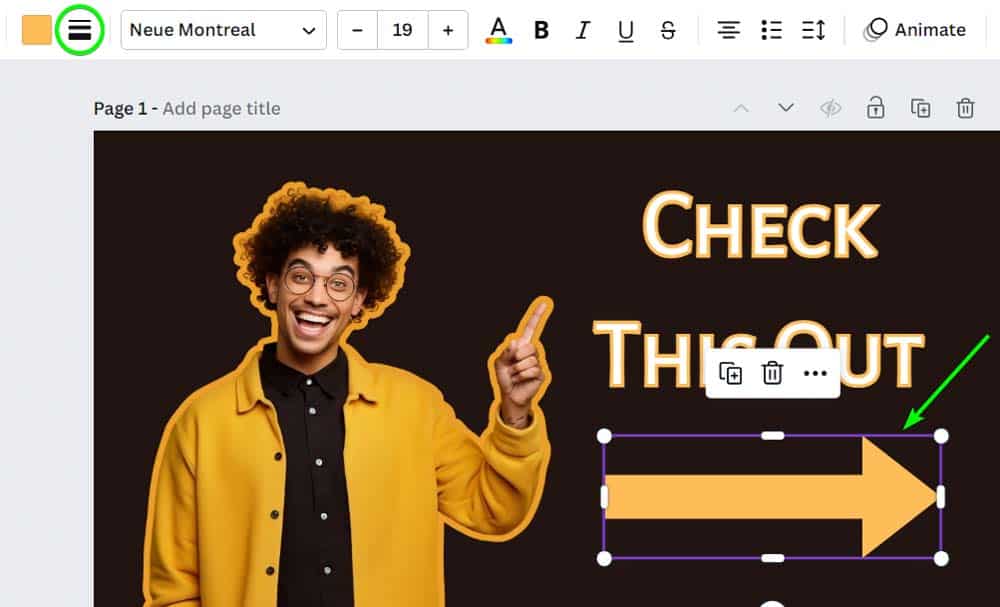
First, add your shape to the page, then click on the Border Style button above the workspace.
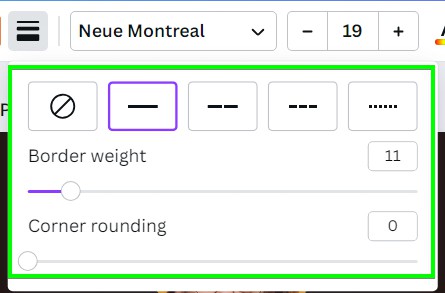
Step 2: Adjust The Border Settings As Needed
You can now select a Border Style using the icons at the top and then adjust the Weight and the Corner Rounding of the border.
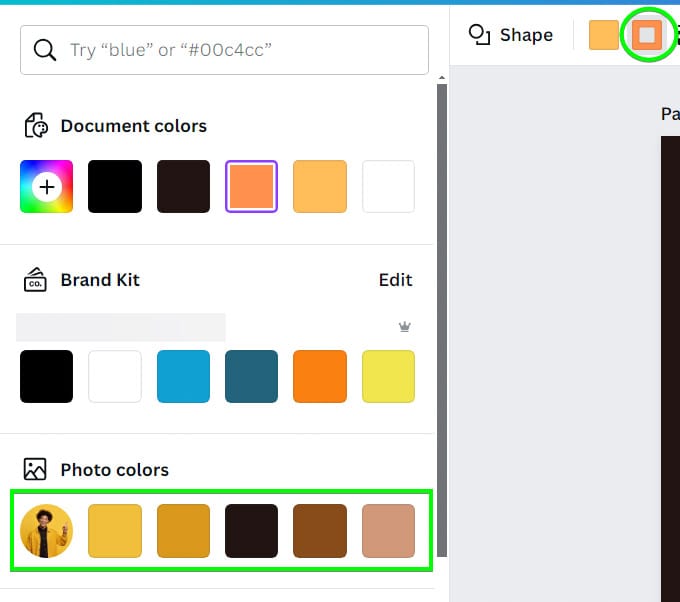
Step 3: Change The Outline Color Using The Color Swatch
You can now click on the outline color swatch next to the Border Style button and select a color for the outline.
You have now outlined a shape and can complete your design with all of the outlines you need.