

With the internet ruled by memes and images, it’s natural to want to jump into the fray with your own social media posts. Until you think, “I’m not a graphic designer!” “I don’t even know how to remove a background from an image!” I’m here to tell you not to sweat it. You can easily remove the background from an image in Canva with the following method.
To remove a background in Canva, click on an image and choose Edit Image in the options bar. In the panel that appears, click the Background Remover. Canva will automatically isolate your subjects and remove the background. If it makes a mistake, use the Erase and Restore brushes to fix any issues.
Canva makes graphic design easy for everyone, including removing the background from an image. It’s as easy as one click with the Background Remover. Canva does most of the work for you, but I’ll show you how to refine the results too in this article.
Also, I’ll show you how to export your cut-out image so the transparency of the image is intact.
How To Remove A Background From An Image In Canva
Yes, you can remove the background of your image in Canva, but there is a catch. This is a feature that is only available to Canva Pro users. So if you’re using the free version of Canva, you are unfortunately out of luck.
Should you pay for Canva Pro for the background removal service? That depends on how often you need to remove the background for images. The other thing to note about the service is that Canva limits the number of pictures you can use the service for. You can remove the background of 500 images per day.
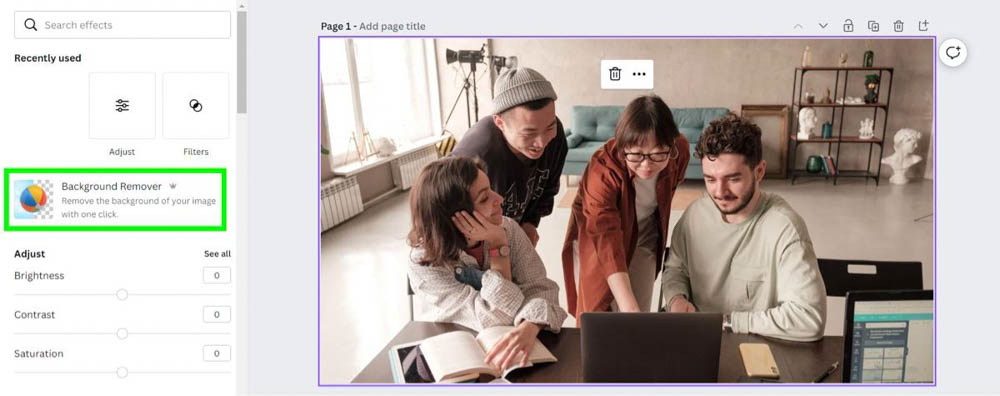
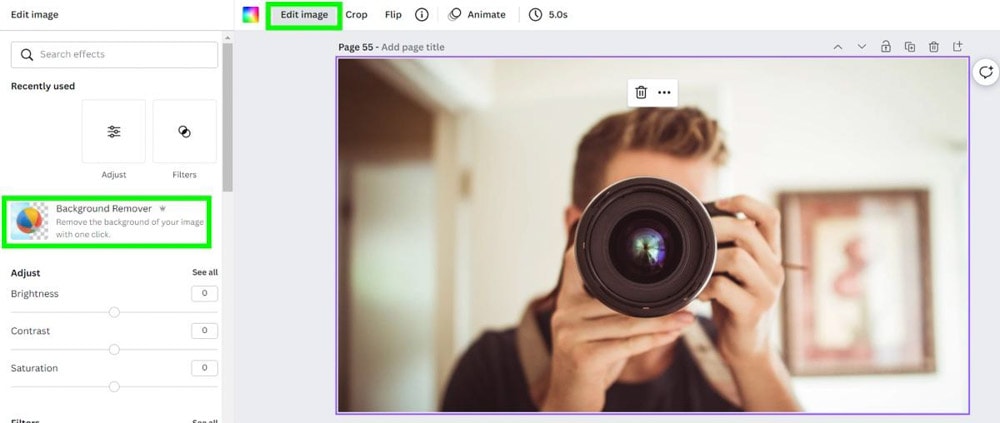
With that out of the way, let’s see how this tool works. To remove the background of an image, first, select the image and then click on Edit Image.

In the left-hand menu, you will find the Background Remover. Click it, and Canva will do the rest. It can take up to 20-30 seconds for the background to be removed depending on how complex it is.
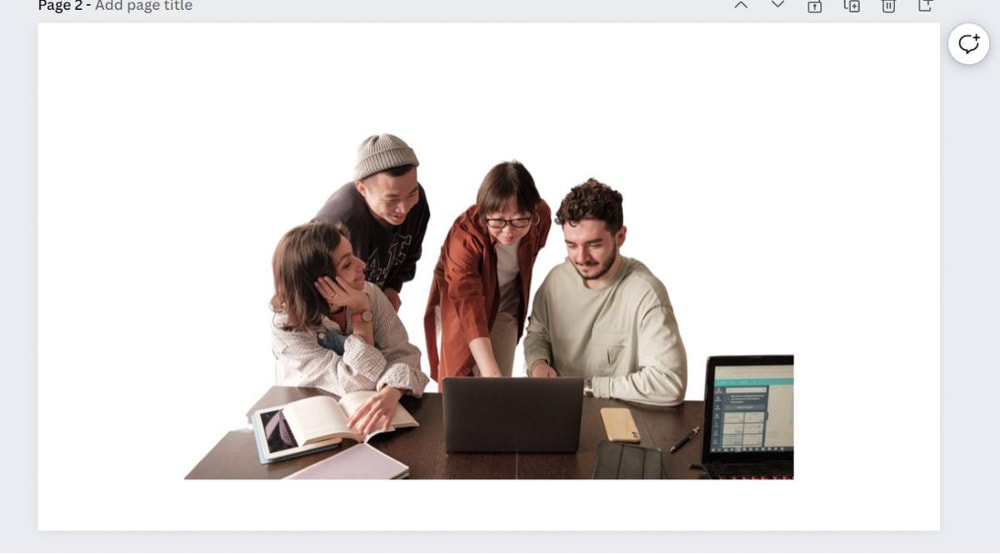
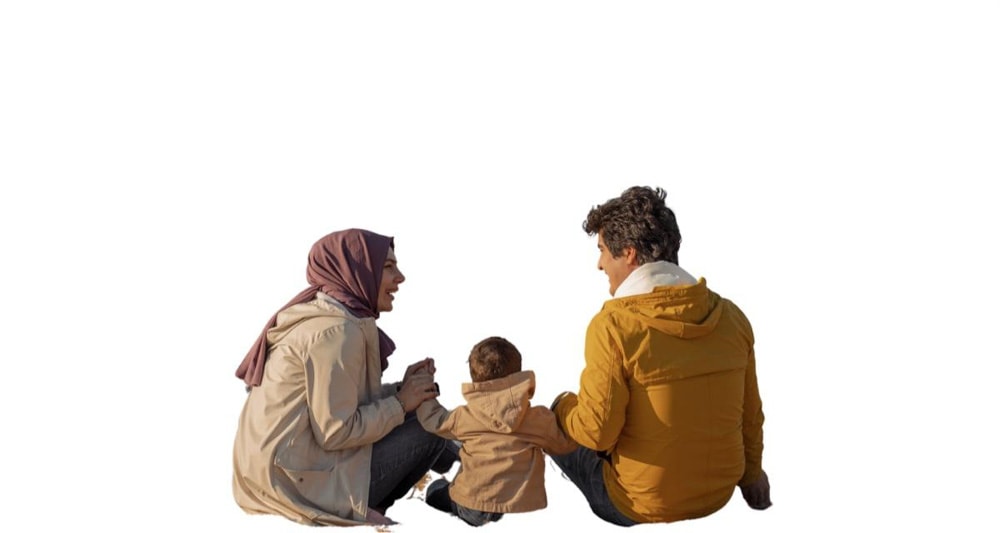
Once Canva has removed your background, it will leave you with what appears to be a white background. The new background is not white but transparent. This would be represented as a checkerboard pattern in other graphic design software. Just remember, in Canva, a transparent background is depicted as white.

You can now add any new background you wish with your background removed. However, not right away.
When you remove the background of an image, Canva will automatically make the image part of the background. You can’t add a new background to the image if the image itself is the background.
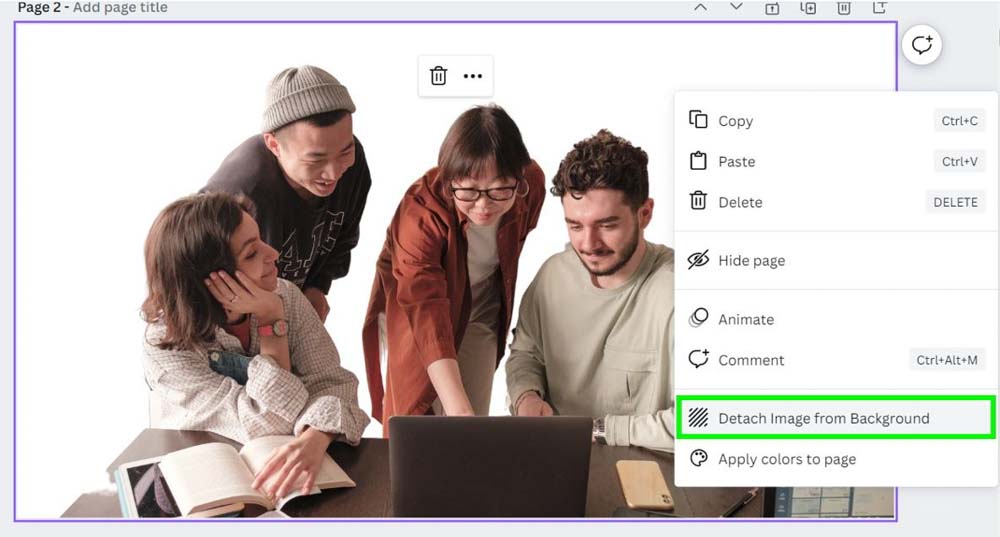
To fix this problem, right-click on the image and select Detach Image From Background. This detaches your photo from the background and shrinks your image a bit.
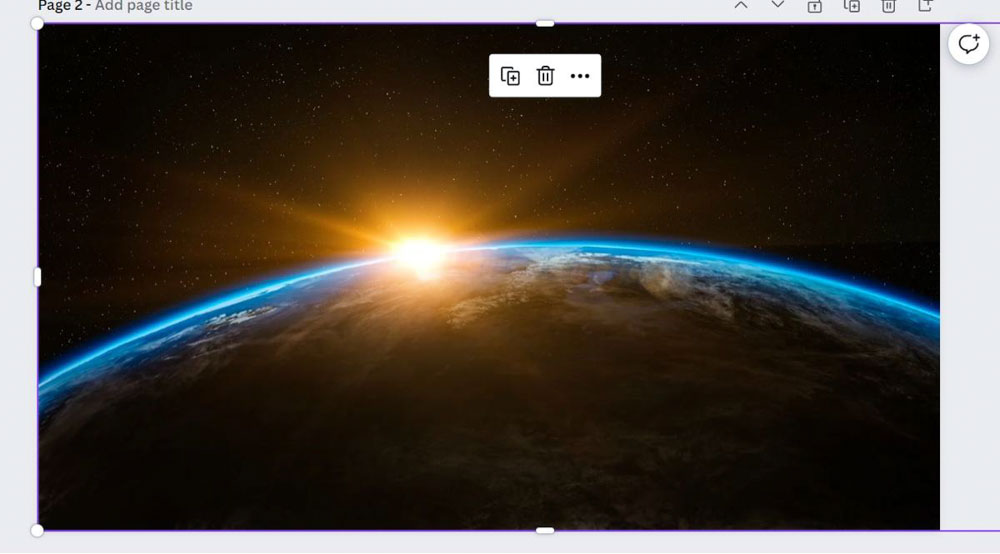
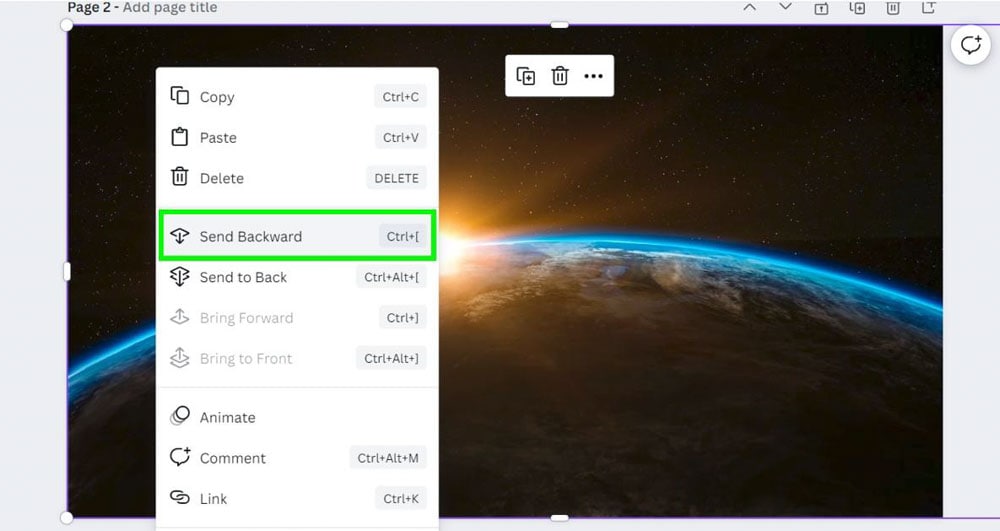
You can now add the image you wish to be the background. Stretch it out to fill the entire canvas. Then, right-click on the image and select Send Backward. This will send the picture to the back of your layer order.
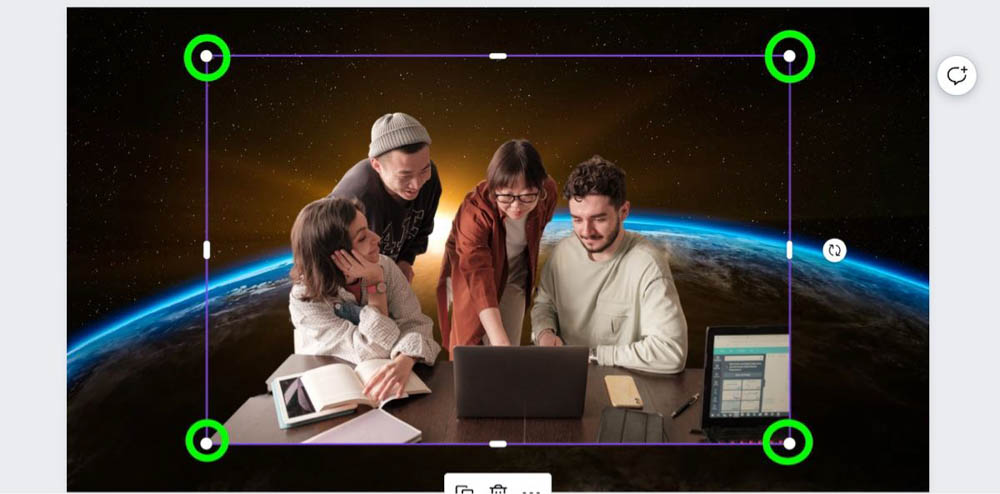
You can now use the Corner Handles on your cut-out image to resize it how you need it.

There’s also a bug in Canva that happens when you resize certain elements. When you resize your foreground element, it may automatically make it part of the background, turning your background white again.
To fix this bug, if it happens to you, just press Control + Z (Win) or Command + Z (Mac) to undo the action. Your image should now look how you intended it to.
Knowing what images work best for removing the background is also important. Canva’s background removal ability is excellent, but it’s not perfect.
The best images to use are images with a single solid background color. These images are the easiest backgrounds to remove for Canva’s AI.


A background with two solid colors is easy for Canva’s background removal tool as well.


Canva’s AI is even good at detecting different shades of the same color. So if you have a subject similar to its background, Canva will cut it out just fine. This is something even Photoshop can have problems with!


Canva’s AI is even good at removing blurry backgrounds.

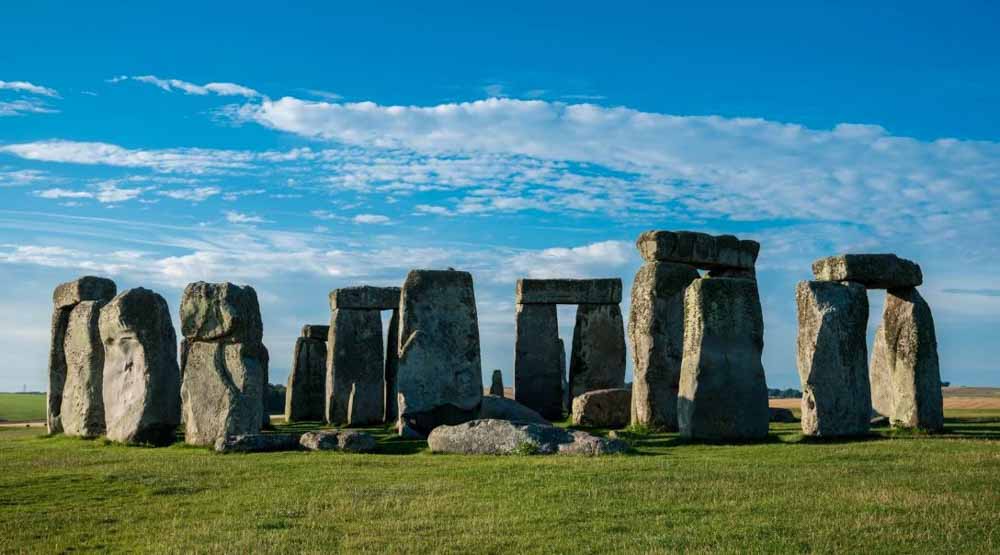
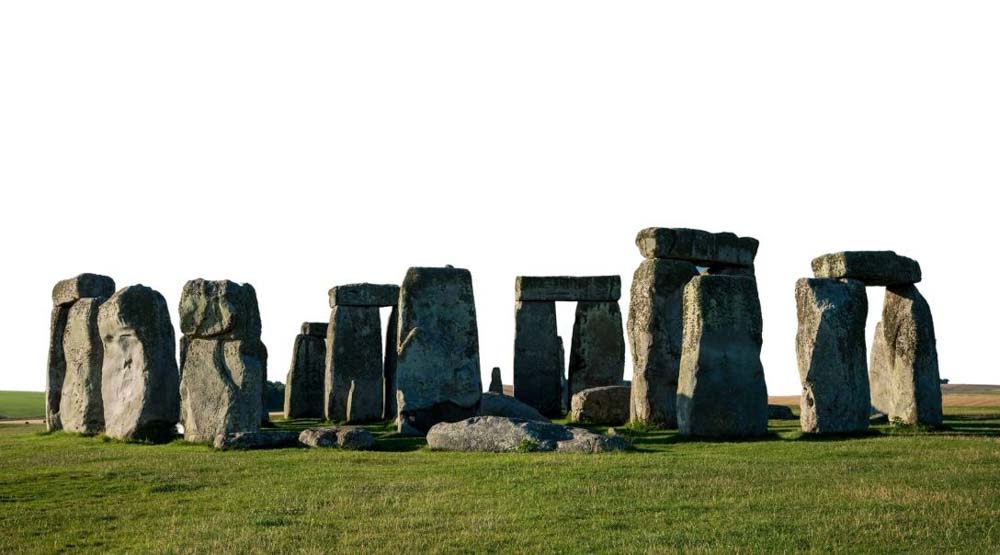
Another reason to use Canva’s powerful background removal ability is its sky detection. Canva can detect the sky in your image, deem it as the background, and remove it easily.


You will most likely be using Canva’s background removal ability to remove the background behind a person. This is where Canva shines.
Canva will make a perfect cutout of your human subject almost every time.


What’s impressive about the background removal tool is how well it removes the background behind hair. Again, this is something Photoshop can struggle with sometimes.


The last thing to note about what images work best when using the background removal tool is what images don’t work with it.
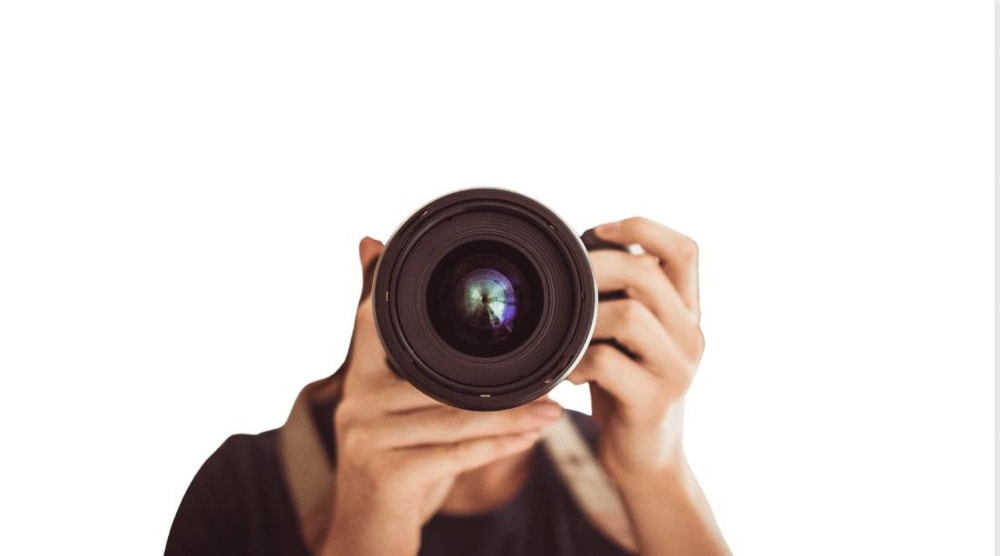
Images with no apparent background will most likely confuse Canva’s AI. Canva will try to work with it and most likely fail.


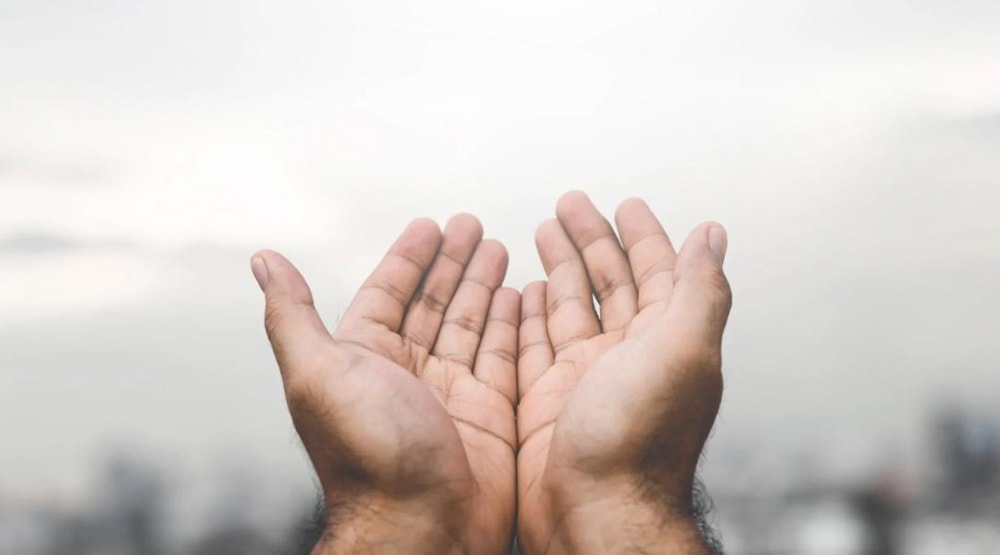
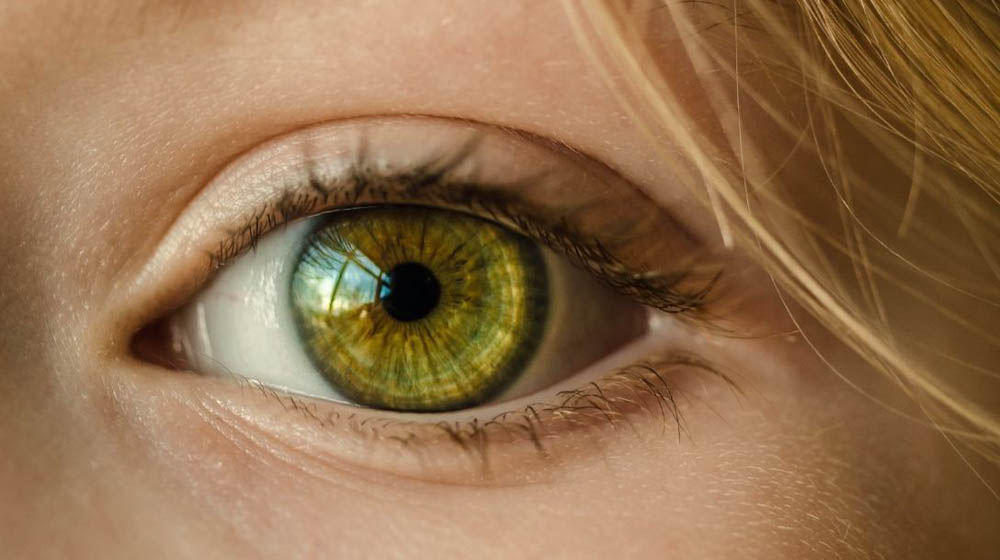
Also, any zoomed-in, close-up image results in Canva giving up on it.

How To Refine Your Background Removal
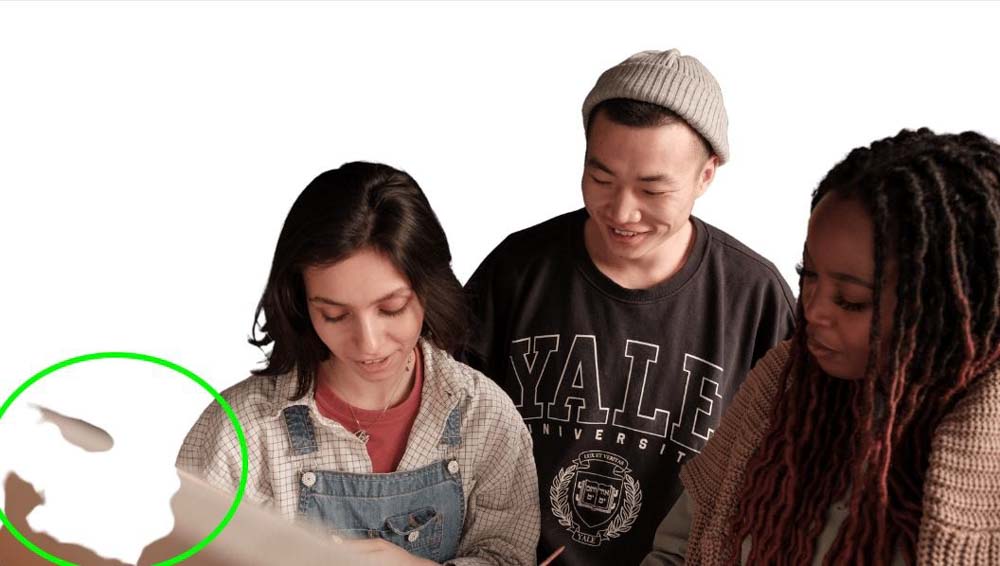
As great as Canva’s background removal ability is, it’s bound to make mistakes. Even when you have an image that looks like Canva will knock it out of the park, it’s clear that AI will never be as good as the human eye.

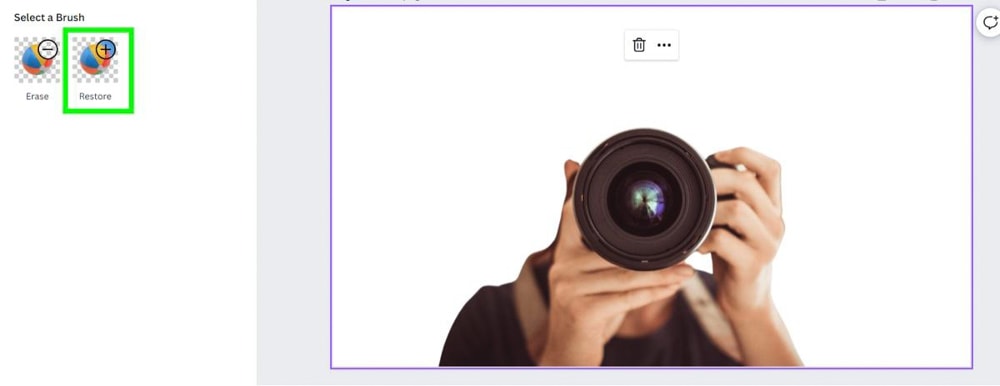
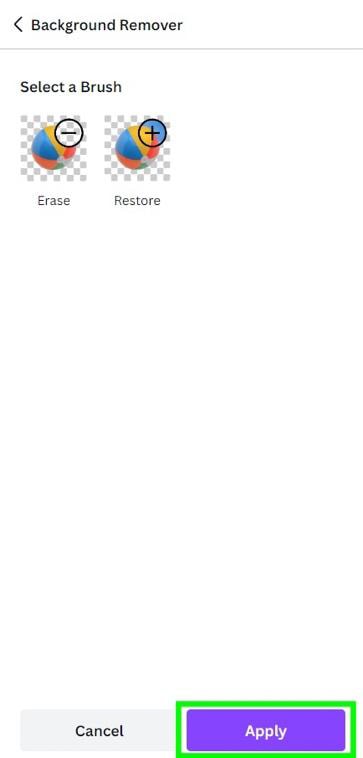
When big mistakes like this happen, this is when you need the Restore and Erase Tools.
To access them, select your image and click on Edit Image. Then, click on Background Remover from the Left Side Panel.
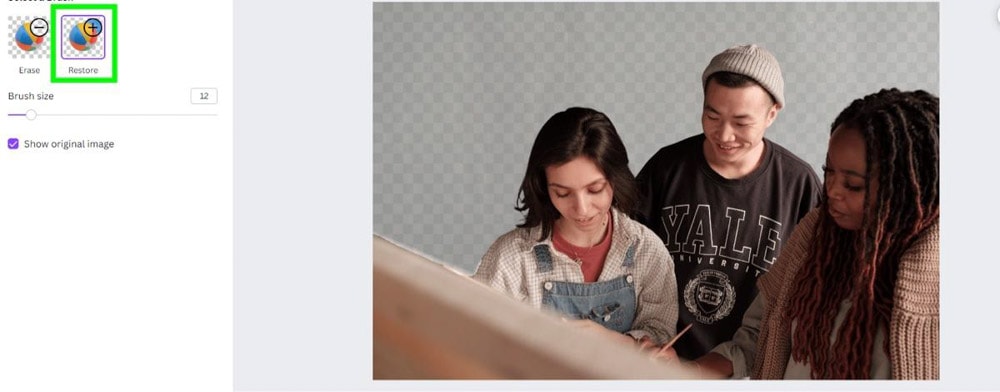
To restore part of your image, select the Restore Tool. This tool acts like a brush. Use your mouse to paint back the details of the photo that you wish to restore.
You can also make your brush bigger or smaller with the Brush Size Slider.
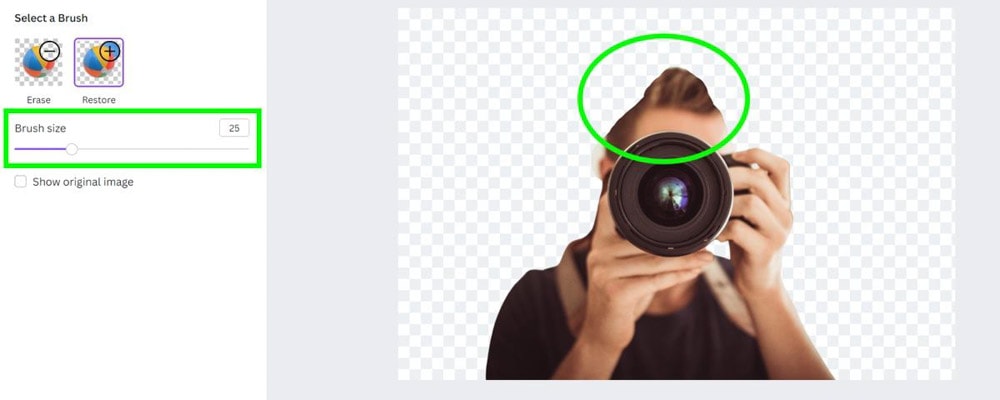
You can try to restore all the pixels you need randomly, but it would be much easier if you had a guide to help you.
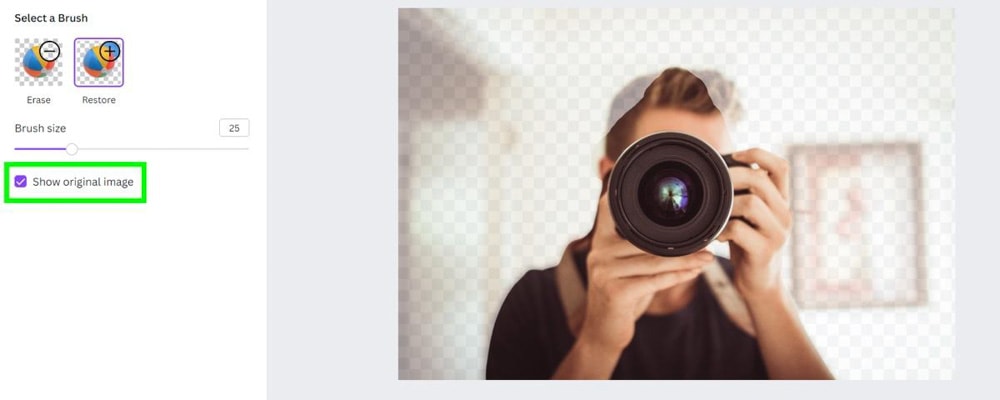
Click the check box for Show Original Image to see a translucent version of your image behind the areas that are cut out. Now you need to add the areas that will complete your final selection.
Carefully paint over the areas that need to be added to “reveal” the pixels from the translucent areas. Unfortunately, you only have one round cursor you can use, and you can’t change your cursor to a straight edge for sharper edges. Do the best you can, using the translucent version as your guide.
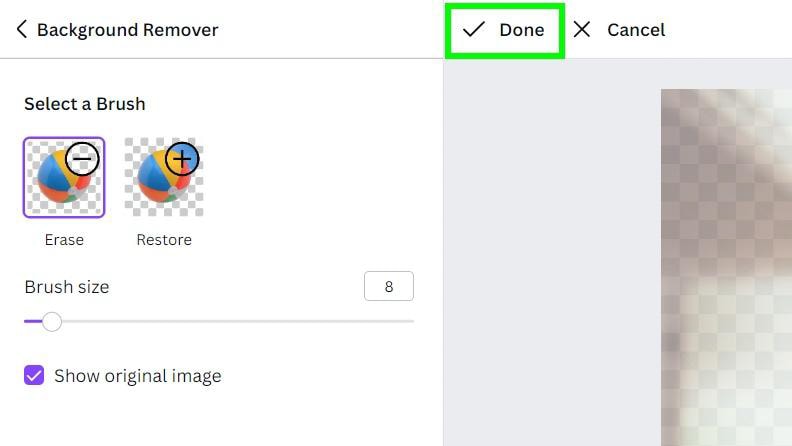
If you add too many pixels at any point, use the Erase Tool to hide those pixels again.

When you’re satisfied with your selection, click on Done in the Top Bar, and then Apply in the Side Panel.

Sometimes Canva will miss a small area when cutting out your image. You can fix this quickly and easily.

One more thing to note before you restore or delete part of your image.
Once you click Apply, when you remove the background, you’ve officially committed to the changes. So if you select your edited image and click on Background Remover, using the Restore Tool won’t work. Canva can not restore pixels that are no longer there.
To get around this, you must make all the necessary changes before hitting Apply. So if you need to restore something in an image you already removed the background of, you’ll need to start from the beginning with the original image.
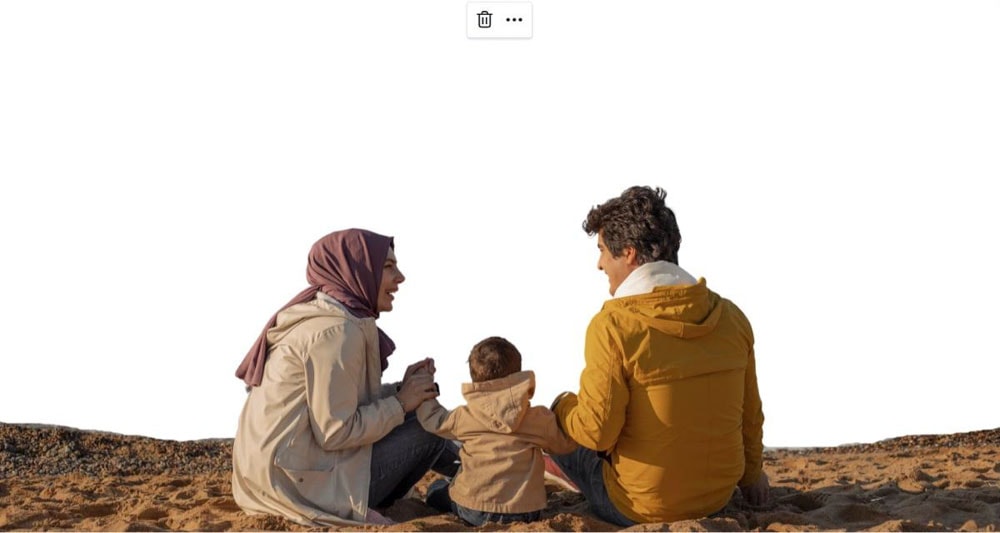
Remember to duplicate your image before removing the background to make this easier. That way, you can make your changes to the duplicate and always have a copy of the original to go back to if you need to make changes.
To duplicate your current page, click on the Duplicate button above the image.
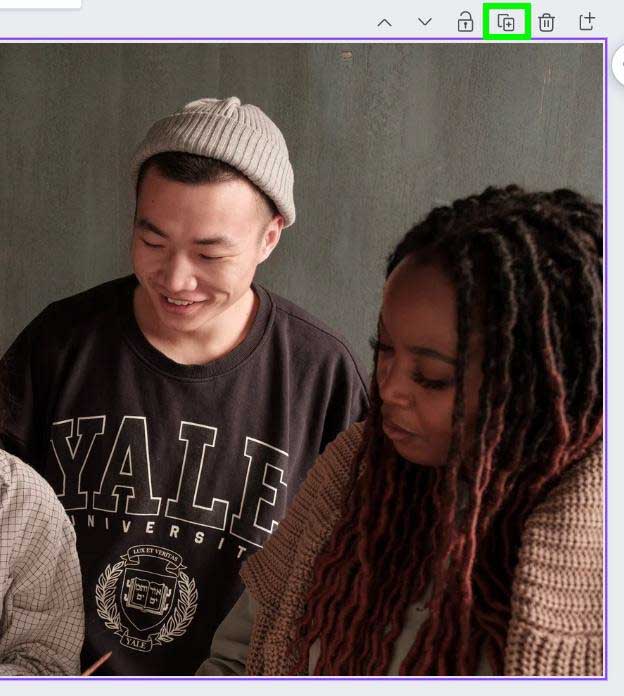
Once you duplicate your image, you can restore the pixels you need to without worrying about editing your only copy.
There is no reason why Canva will miss parts of your image when erasing the background. It’s random when it happens, but it’s not too tough to fix.
Probably the most annoying thing that happens when removing the background with Canva is when the AI randomly removes part of the foreground.
Use the Restore Tool as carefully as possible to restore all the foreground you need.


How To Export Your Image With A Transparent Background From Canva
One of the main reasons to remove the background of your image is to use the cut-out subject in whatever project you’re working on.
The problem is that if you don’t download your image the right way, your image will have a white background behind it. This will render your cut-out image useless.
To save your cut-out image the right way, start by clicking on the Share Button. Then click on Download.
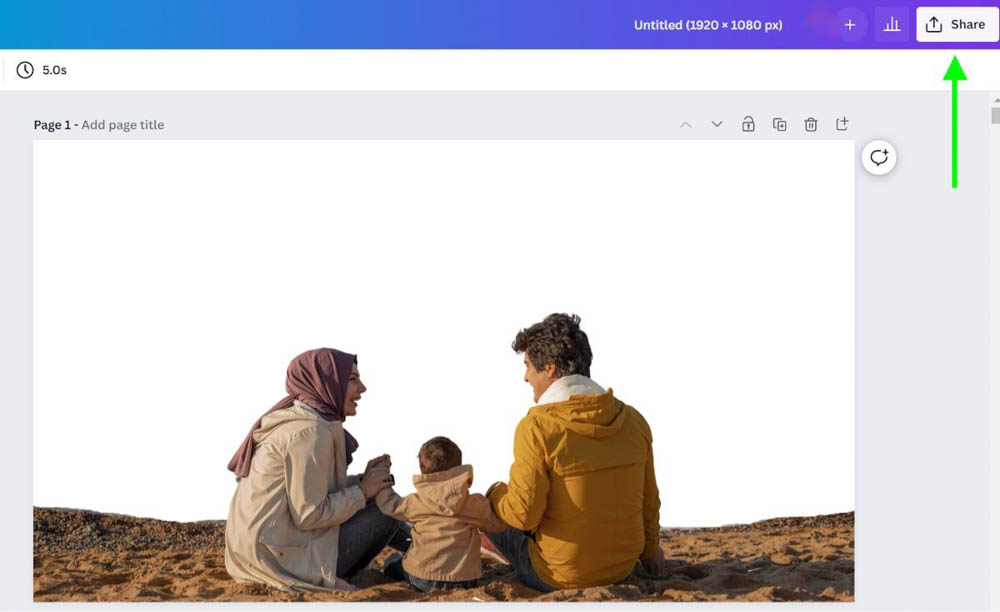
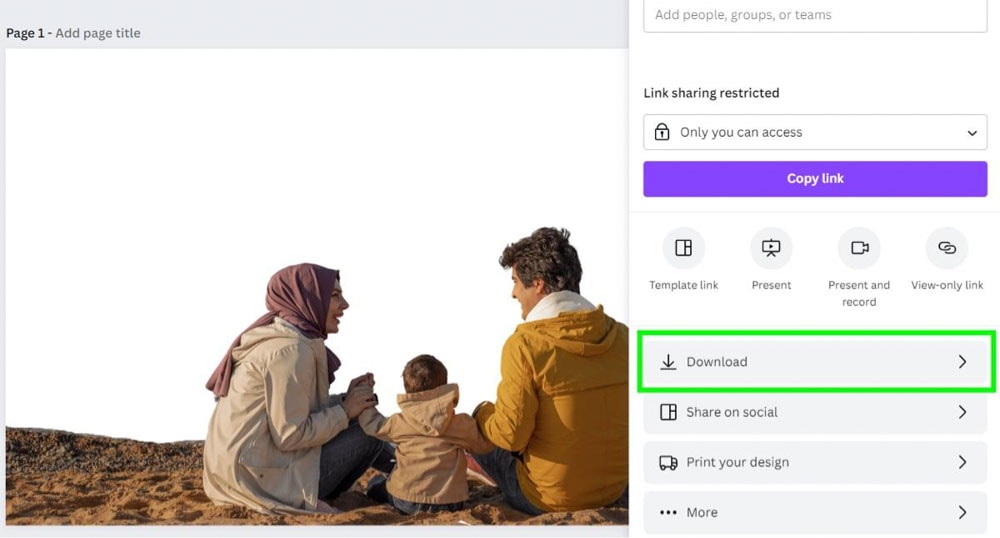
Canva presents you with a list of options; this is where your choices matter.
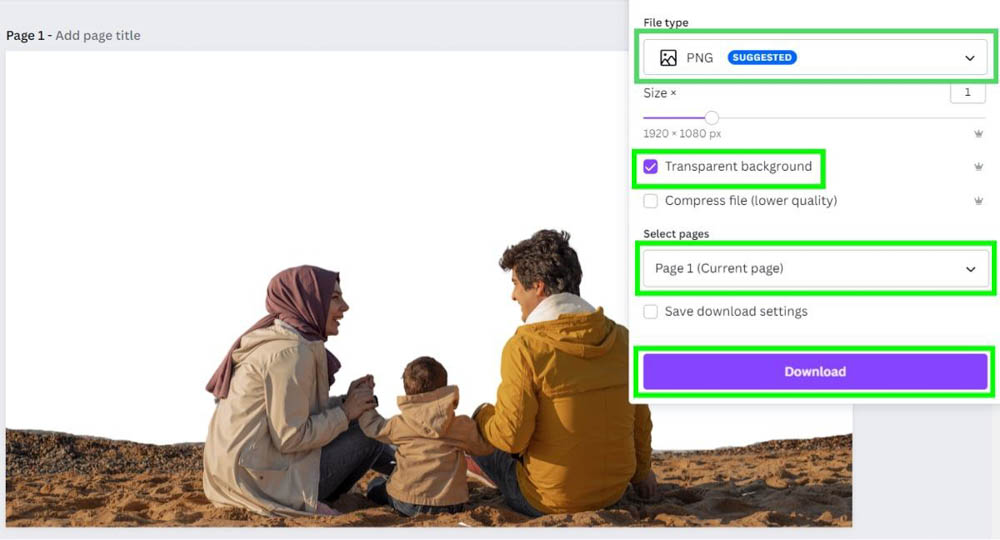
- File Type: Pick PNG. If you choose JPG or a similar format, Canva will flatten your image, and its transparency removed. Choosing PNG keeps all the transparency of your image
- Transparent Background: This should be obvious, but ensure this check box is ticked. Leaving it unchecked will make your background white
- Select Pages: Ensure you select whatever page you want to download from the drop-down menu. If you wish to download every page in the project, select All Pages
When you’re done selecting your options, click on Download to download your image(s) to your hard drive.
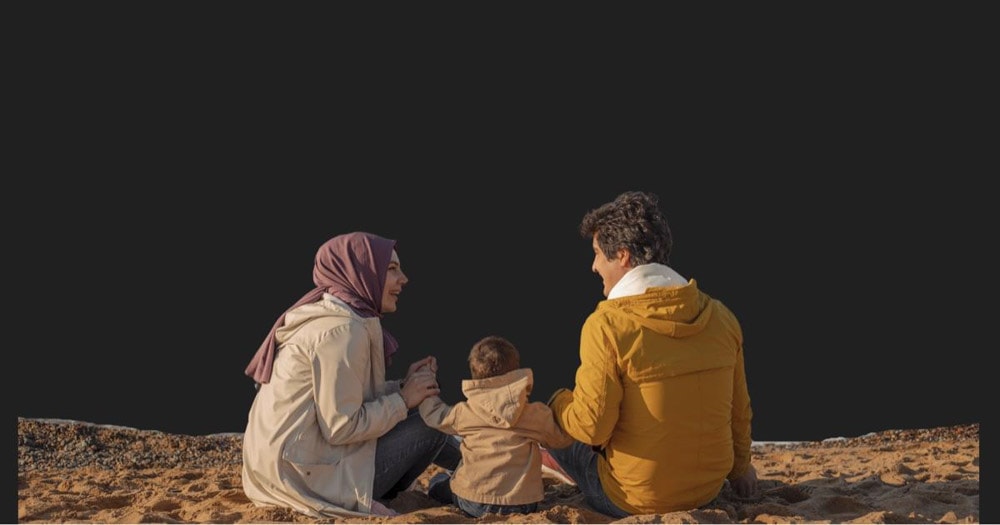
Your cut-out image is now downloaded to your computer, and it keeps its transparent pixels. You can now easily add your cutout image to any background or project you need to.


- 100+ million premium stock photos, videos, audio, and graphics
- 610,000+ premium and free templates with new designs added daily
- Up to 100 Brand Kits to establish your brand's identity online
- Remove image backgrounds instantly with Background Remover
- Resize designs without quality loss with Magic Resize
- Schedule social media content to 8 platforms
- 1TB of cloud storage
- 24/7 customer support


