
You can easily learn how to crop in Canva to create a new composition or cut out unwanted elements. Usually, after cropping, you might need to resize the image.
Whether it be for a new profile photo, a banner for your YouTube channel, or a company logo on your website, it’s simple to crop and resize in Canva. Today, I will show you the difference between cropping an image or graphic and resizing it.


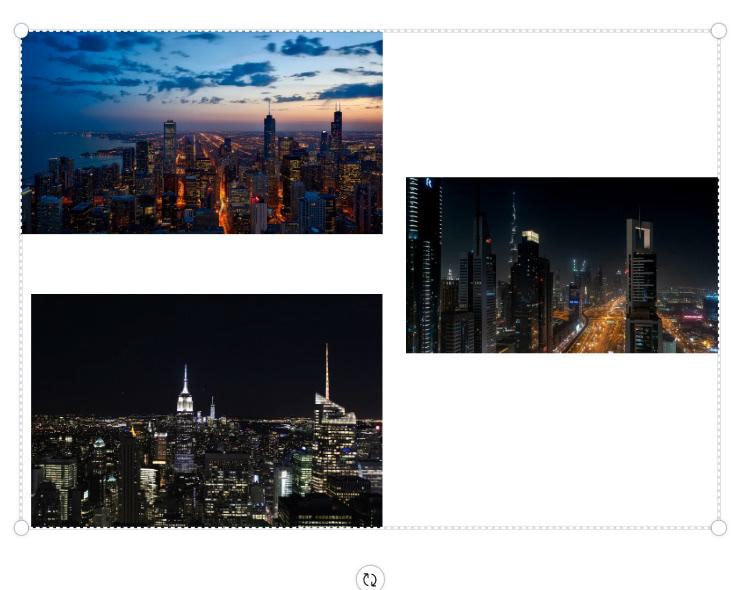
How To Crop In Canva (Images & Graphics)
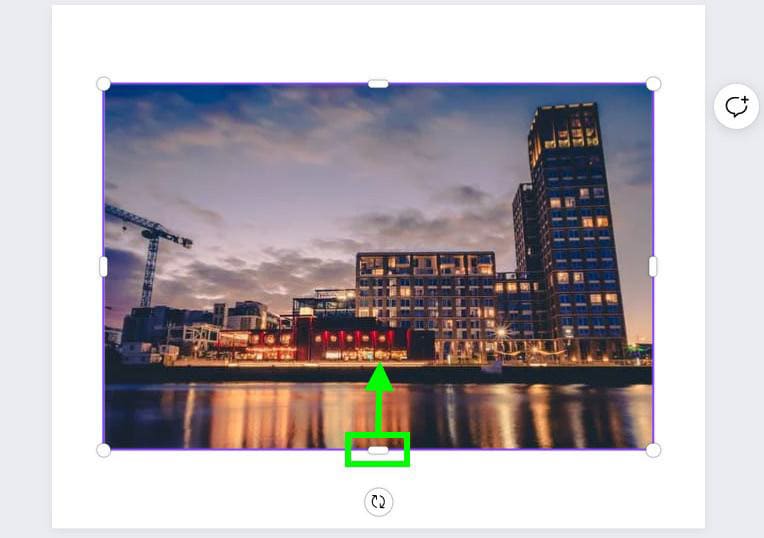
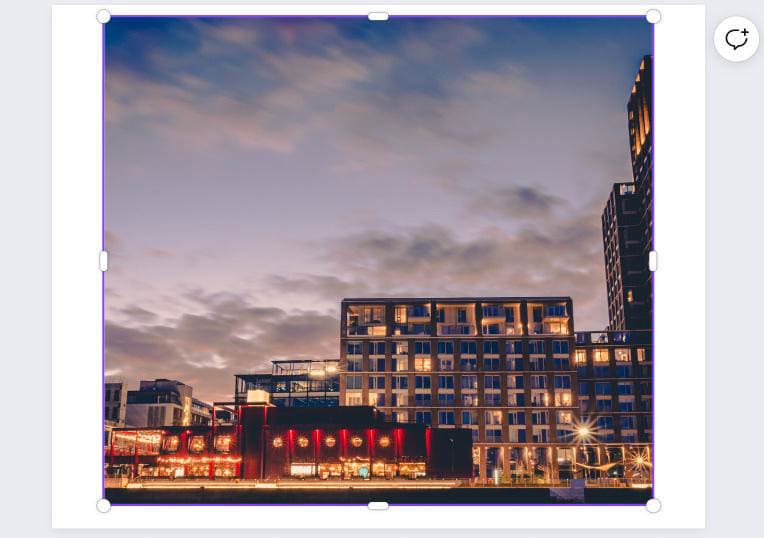
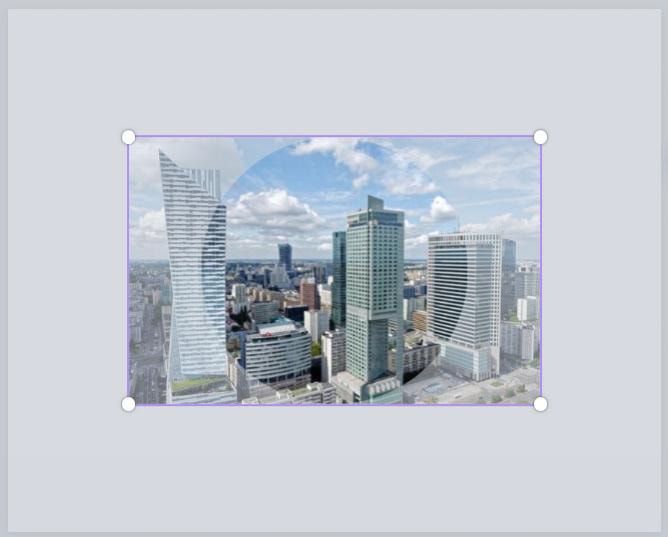
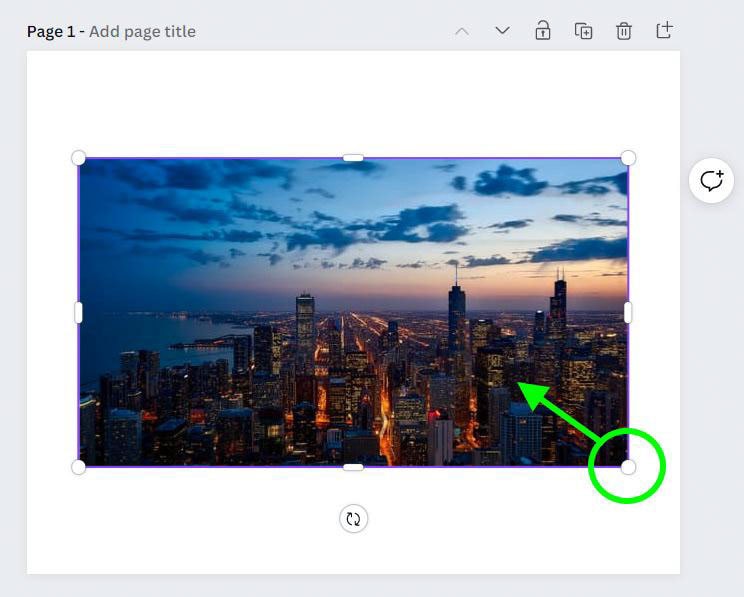
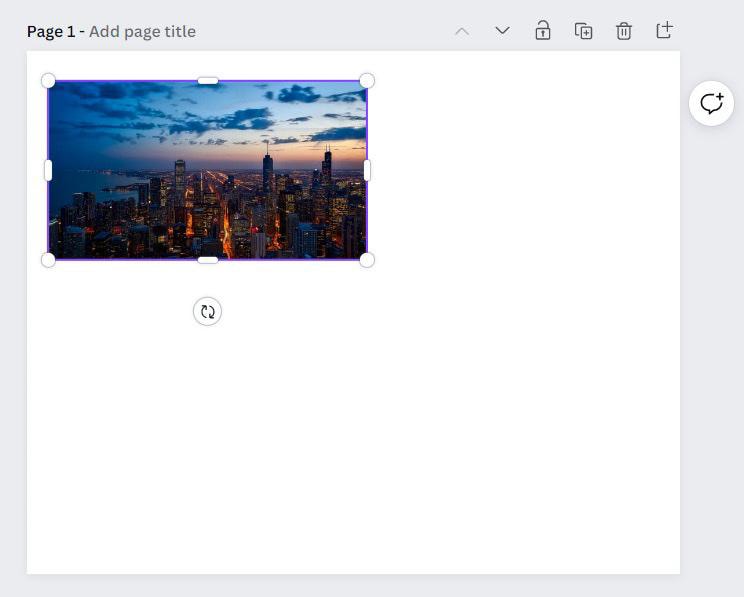
Step 1: Select The Image And Drag A Side Handle Inward
To crop your image horizontally, click and hold on one of the Side Handles and drag toward the opposite handle.

If you want to crop your image vertically, click and hold on the Top or Bottom Handle and drag toward the opposite handle.

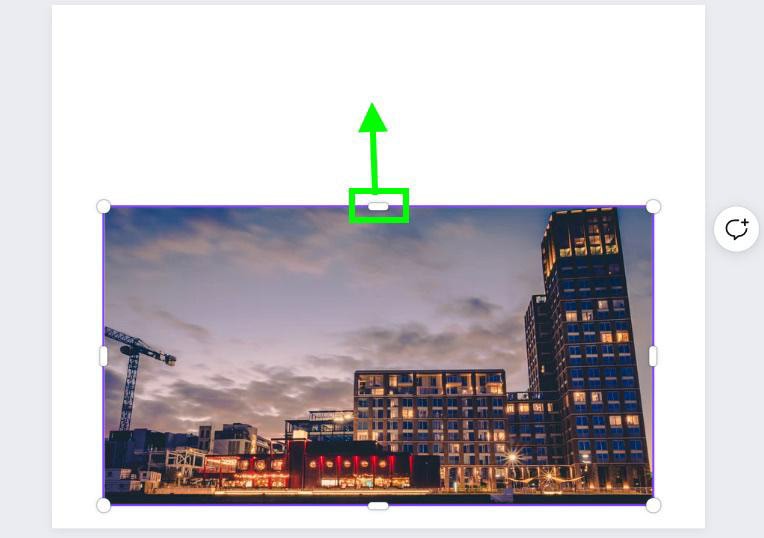
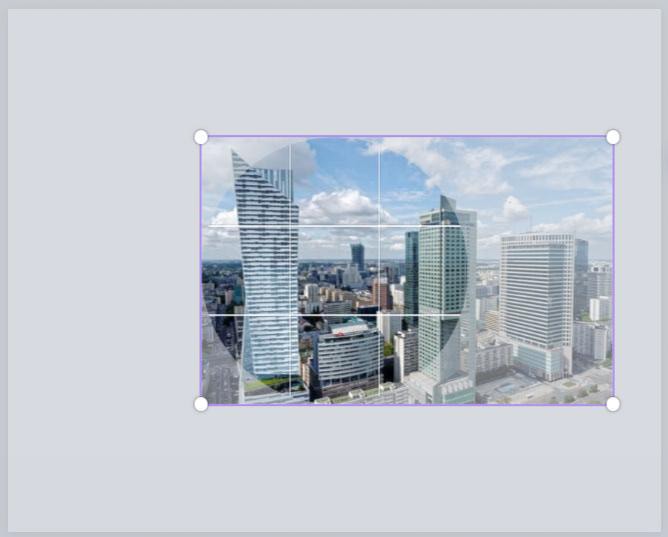
Step 2: Drag A Crop Handle Outward To Zoom Into The Image (Optional)
While cropping your image, if you drag a handle far past its original position, your image will zoom in while it resizes the image.
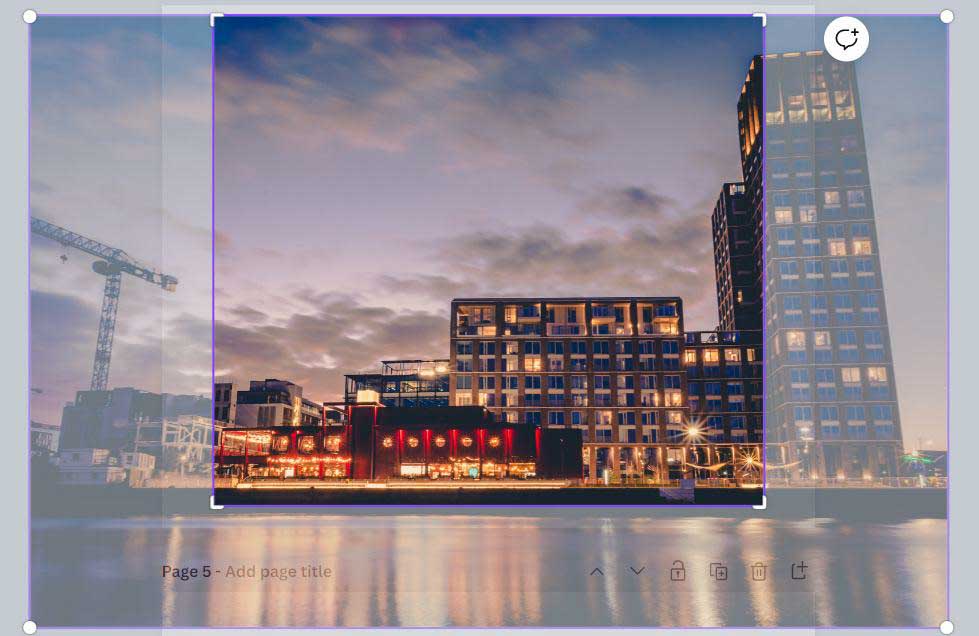
Step 3: Double-Click On The Image To Reposition The Crop
Double-clicking on your cropped picture will reveal a semi-transparent “ghost-like” view of your original picture. You can now click and drag this semi-transparent image to exactly where you want your cropped photo to be.

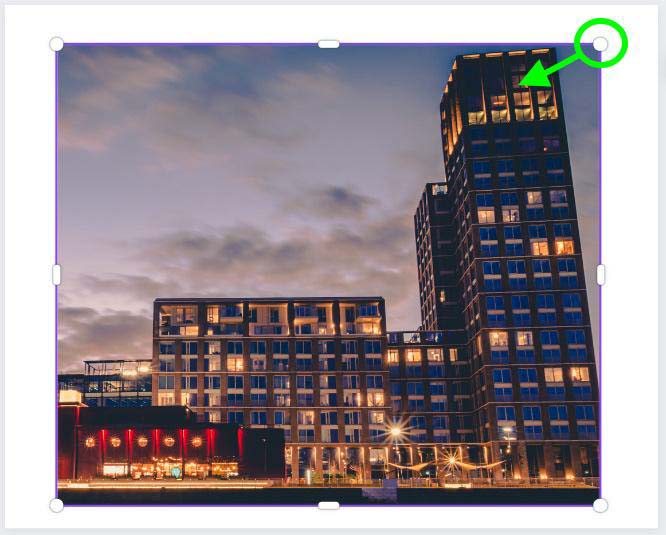
Step 4: Hold Shift And Drag A Corner Handle To Crop And Resize (Optional)
One final way to crop your picture is to click on one of the Corner Handles and hold down the Shift Key. As you drag toward the opposite handle, your image will be resized and cropped exactly where you want it.
How To Crop Elements Into Shapes In Canva
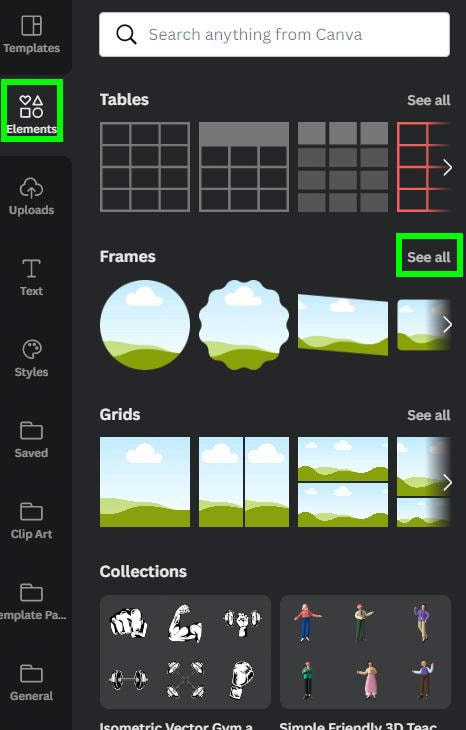
Step 1: Go To Elements > Frames And Select A Frame
To crop your image into a shape, start by finding a frame you want to use. In the Elements Tab, scroll down to Frames and click on See All. Once you find a frame that catches your eye, click on it to add it to your canvas.
Step 2: Drag An Image Into The Frame
Now that your frame is picked out, placing your image inside the frame is easy. You simply need to drag the photo from the Uploads or Elements Tab onto the frame.

Step 3: Double-Click The Image To Reposition It Inside The Frame
If it’s not the middle of the picture that you wish to be showcased within the frame, you can choose what to showcase by double-clicking on the frame and moving the picture left or right (or up or down for portrait images).
Your image will now be cropped into the shape of the frame you selected.

How To Resize Images Or Graphics In Canva
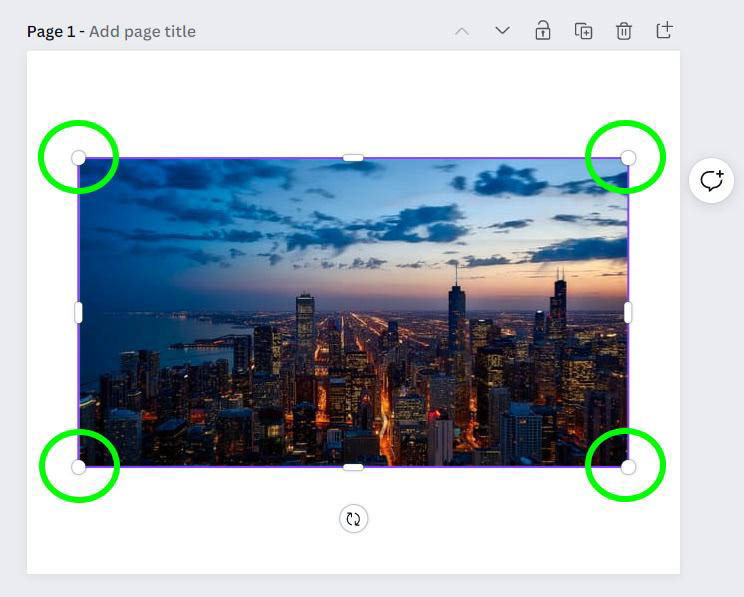
Step 1: Select Your Image In Canva By Clicking On It
When resizing images and graphics, you will use the Corner Handles on the bounding box.
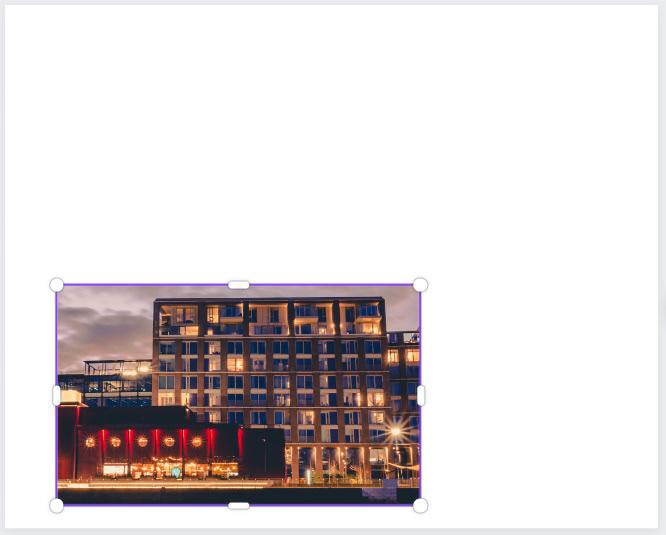
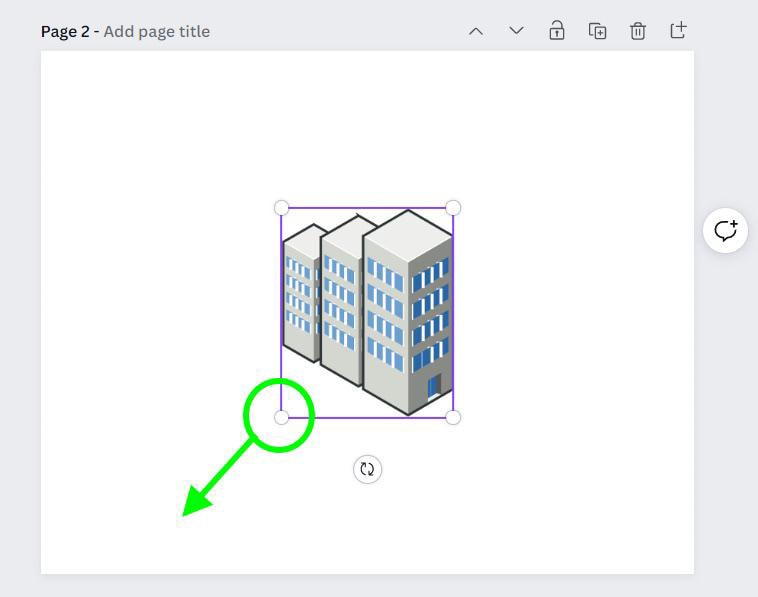
Step 2: Drag A Corner Handle Inward To Decrease The Image Size
If you want to shrink your image, click and hold on one of the Corner Handles and drag toward the opposite handle
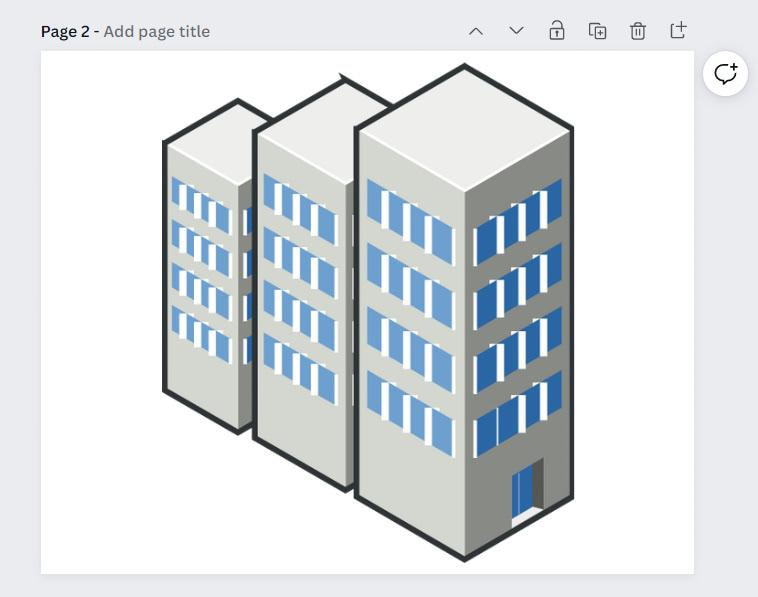
Step 3: Drag A Corner Handle Outward To Increase The Image Size
Resizing graphics works the same way as resizing images. Click on your graphic, and you will see the Corner Handles around the purple bounding box. To enlarge your image or graphic, click and hold on one of the Corner Handles and drag it away from your picture.
Step 4: Select Multiple Images And Resize Together (Optional)
Click on your first image and then hold the Shift Key. Click on the rest of your pictures to temporarily group them. You will know when this works when you see a bounding box around all the images you selected.
Click and hold one of the Corner Handles and drag it toward the opposite Corner Handle.