
The Brush Tool in Photoshop is a versatile and must-know tool in the program. You can use this tool to paint colors onto the canvas and with other tools and functions, such as while masking.
Now, the Brush Tool has many functions and settings that affect how the tool works on the canvas, and understanding these helps you use the tool to its full potential. Here is all you need to know about this tool.
Lesson Summary
- Step 1: Activate the Brush Tool By Pressing B
- Step 2: Open The Brush Preset Picker To Set The Brush Type, Feather, And Hardness
- Step 3: Set The Foreground Color In The Toolbar
- Step 4: Drag On The Canvas To Paint With The Brush
What Is The Brush Tool In Photoshop?
The Brush Tool in Photoshop is a type of digital paintbrush you can use to draw lines and shapes on the canvas or an image. The brush tool is also used on layer masks to add to the mask or remove from the mask.
You can also use brush strokes to get creative with images, such as adding brush strokes over an image with a different Blend Mode.
How To Use The Brush Tool In Photoshop
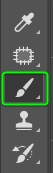
Step 1: Activate The Brush Tool (B) And Set The Foreground Color
Select the Brush Tool from the Toolbar or press B. The brush paints whatever foreground color is selected. To check or change the foreground color, look for the color blocks in the Toolbar. The color block in front is the foreground color, and the one at the back is the background color.
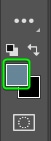
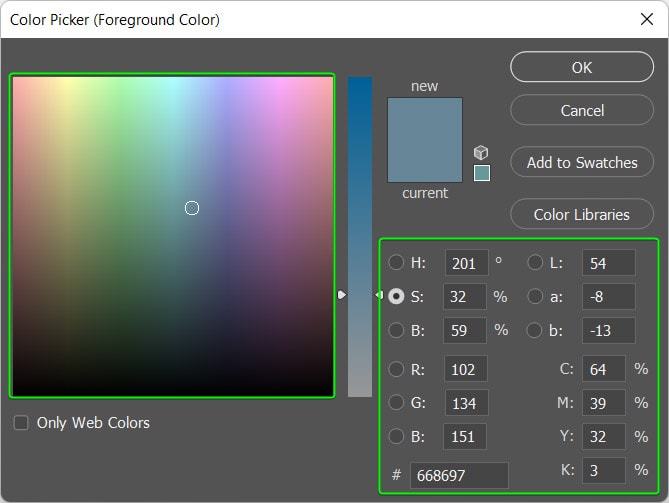
To change the foreground color, double-click on the color block to open the Color Picker dialogue box. In the Color Picker, select the color you want to use by choosing it from the Color panel or providing the Hex code, RGB, CMYK, HSB, or LAB numbers.
Step 2: Set The Brush Type, Size, And Hardness In The Brush Preset Picker
Adjust the brush size and hardness, and select a brush type by opening the Brush Preset Picker from the Options bar. You can also decrease the brush size by pressing [ or increase the size by pressing ].
Step 3: Paint On The Canvas To Add Brush Strokes
To paint using the Brush Tool, click and drag the brush on the canvas to draw what you wish. Every line you create is a brush stroke.
To undo brush strokes, press Control + Z (Win) or Command + Z (Mac). If you want to keep the brush straight while drawing to make straight lines, hold the Shift key while you draw.

Brush Tool Settings Explained
1. Brush Tip
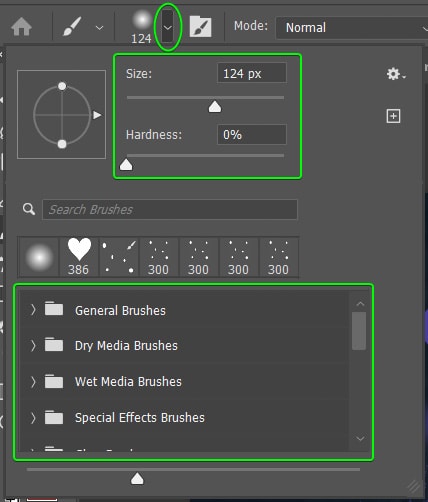
To access the various brush tips, select the Brush Tool (B) and open the Brush Preset Window by clicking on the arrow in the Options bar. The block at the bottom contains the preset brushes.
The default preset brushes and any brushes you create or import into Photoshop are separated into folders. You can navigate through the folders to choose the brush tip you need for your project.
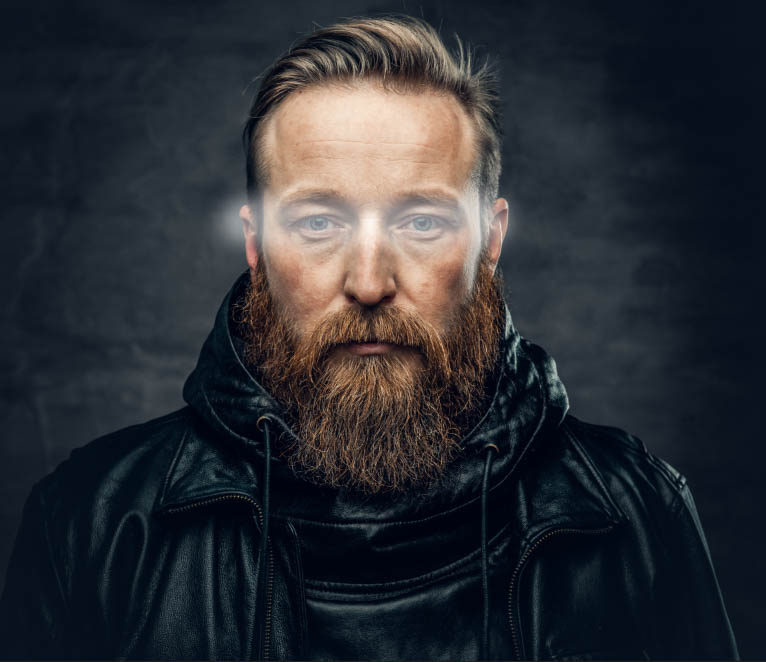
From top to bottom, I have added a stroke using the Hard Round Brush, the Soft Round Brush, and a brush from the Special Effects folder behind my subject in this image.
- The hard brush has well-defined edges and is best when you need solid and obvious brush strokes.
- The soft brush creates a feathered line and is an excellent brush tip when working with layer masks. The soft brushes blend colors and masks well.
- The special effect brush tips are more creative such as spatters.

2. Brush Size
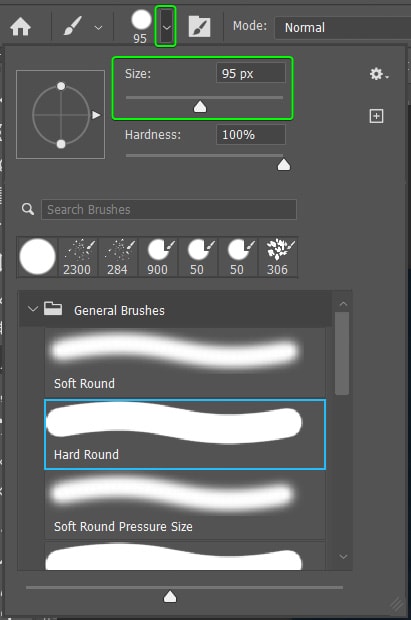
You can adjust the Brush Size while you paint to create smaller or larger brush strokes. The first way of changing the brush size is to use the Size slider in the Brush Preset Window, sliding left to decrease or right to increase the size. Or you can press [ to decrease the size or ] to increase the size quickly while you work.


3. Brush Hardness
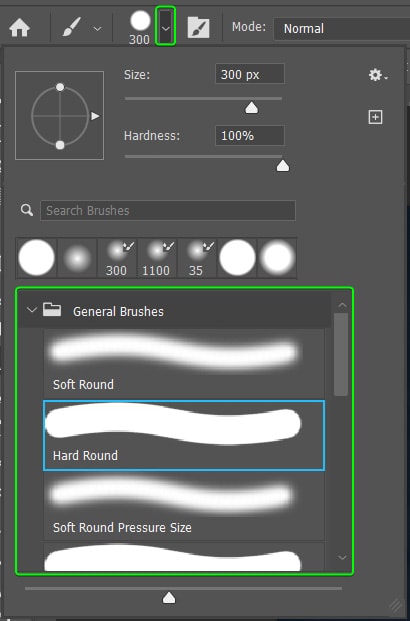
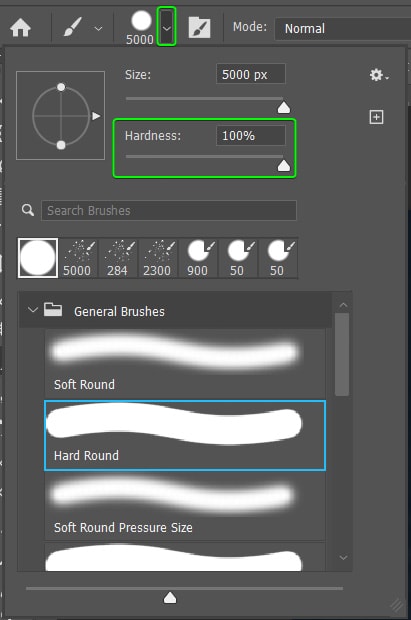
The Brush Hardness determines how well-defined the edges of the brush stroke are. This setting doesn’t work on all the brush presets, such as the Special Effects brushes. The preset brushes in Photoshop generally have a pre-defined hardness value, with a Hard Round brush (100% Hardness) being harder than a Soft Round brush (0% Hardness).
You can adjust the Hardness of a preset brush by adjusting the slider in the Brush Preset Window.
You can adjust the hardness to create various effects. Softer brushes make a feathered effect, whereas harder brushes have definite edges. For instance, using a brush set to 100% hardness to create a circle around the subject of the image looks very different from using a brush set to 50% or 0% hardness.
Note: Clicking once using the round brush preset creates a circle rather than a brush stroke.


4. Flow
The next setting in the Options bar to consider is the Flow slider. This slider determines the speed at which the paint flows from the brush. This slider allows you to paint faded brush strokes and increase the intensity by brushing over a spot multiple times. Adjusting the Flow lets you add elements to your images, such as light and shadows.

To demonstrate the flow of a brush, I select the Hard Round Brush preset and set the flow to 100%. When I draw a straight line, the color is bold. Then, I reduce the Flow to 10% and draw a diagonal and another straight line.
You can see how the lines are much lighter than the initial line. More importantly, even though I didn’t let go of the mouse while creating the lines, the color darkened where the lines overlapped. The darkening of the lines when they overlap mimics when you use a paintbrush on a piece of paper, which is the key difference from the Opacity setting.

There are many uses when adjusting the flow; one is adding subtle highlights and shadows to an image. By adding a blank layer over your photo and changing the Blend Mode to Soft Light, you can use black and white to paint highlights and shadows over the image.
5. Opacity
The Opacity setting determines how much transparency is in the brush stroke. You can use this setting to create semi-transparent brush strokes.

The main difference between Opacity and Flow is that if you keep brushing over the stroke with a low opacity, it won’t darken as the Flow setting does. You need to let go of the mouse and paint a new stroke over the original if you want to darken the stroke a bit more.

6. Smoothing
The Smoothing setting is helpful to reduce hand-shaking, especially when using a mouse rather than a pen and graphics tablet. The Smoothing is set to 10% by default, but you can easily adjust this when you need a smoother stroke.

Remember that increasing the Smoothing percentage results in a slower brush stroke to keep the line steady. While the second line still isn’t perfect, you can see how much the Smoothing reduced the hand-shake that’s obvious in the first line.


How To Create A Brush Preset In Photoshop
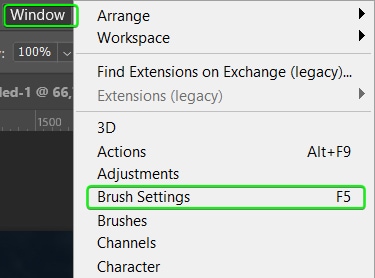
Step 1: Go To Window > Brush Settings
The Brush Tool settings in the Options bar are not the only ways to adjust the tool. You can also use the Brush Settings panel to customize your brush for your project.
To access these additional settings, open the Brush Settings panel. If you can’t find it in the docked or stacked panels, navigate to Window > Brush Settings to open it.
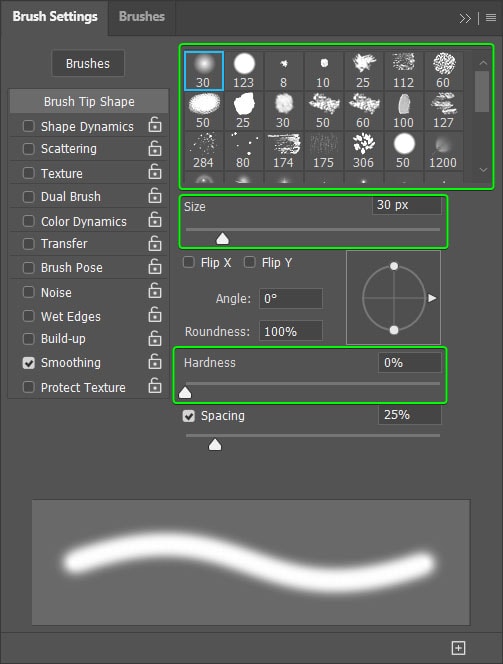
Step 2: Set The Brush Type, Size, And Hardness In The Brush Tip Shapes Tab
The Brush Settings panel offers the settings I have already gone over and much more. You can use this panel to choose a brush tip, adjust the size, and change the brush’s hardness.
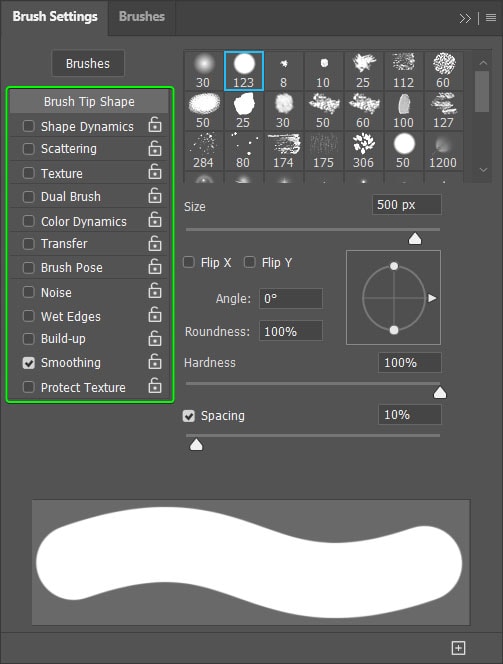
Step 3: Set The Spacing And Other Settings (Optional)
You can then customize the brush further by adjusting the following:
- Angle: works on shaped brushes to change the direction of the brush
- Flip X and Y: flip or rotate a brush tip on a vertical or horizontal plane
- Roundness: determines how square or round the brush tip is
- Spacing: sets the amount of space between each brush tip
You can play around with these settings to see how they work, but the interesting one is the spacing. This setting changes how far apart the brush tips are, allowing you to create a scattered line or a smooth stroke.


Step 4: Adjust The Advanced Settings (Optional)
You can also navigate through the various tabs on the side of the panel to adjust settings such as scattering, texture, jitter, noise, and so much more. This panel gives you several options to customize the Brush Tool for your unique project.
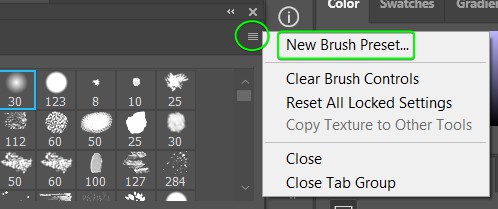
Step 5: Open The Hamburger Menu And Select New Brush Preset
Once you have customized your brush settings, you can save them as a new brush preset, which is saved at the bottom of the Brush Preset Picker. To save the settings, click on the hamburger menu and select New Brush Preset.
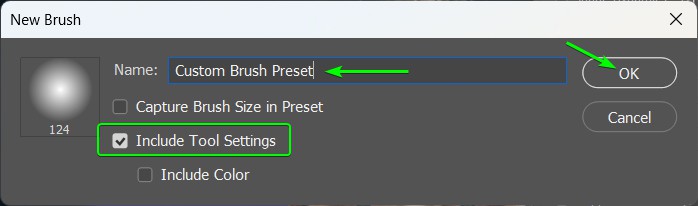
Then, add a name and enable Include Tool Settings. Click OK to save the brush.
How To Import & Use New Photoshop Brushes
The first step is to find a free brush set online. Then, download it using the download link on the page. Unzip the folder if necessary by right-clicking and clicking the Extract All button (Win) or double-clicking on the folder (Mac).
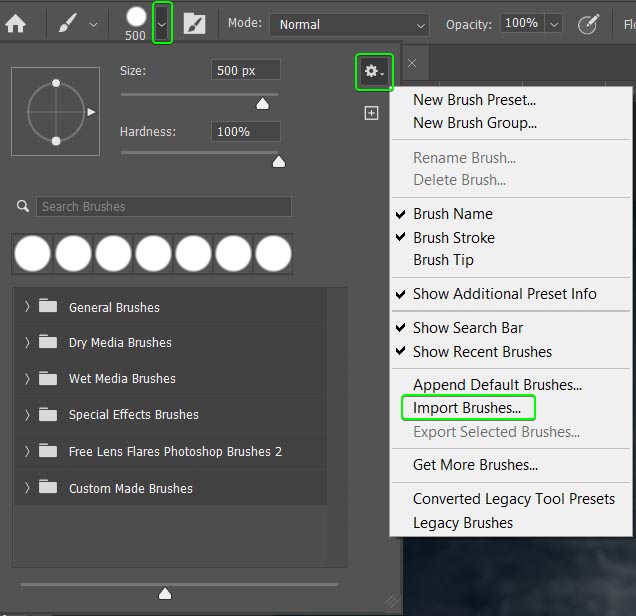
Then, in Photoshop, open the Brush Preset Window, click the settings gear icon, and select Import Brushes.
This option opens your File Explorer or Finder window, letting you find where you saved the new brushes. Click on the ABR file and click Load. Your brushes are now in Photoshop, ready for you to use. You can find them at the bottom of the Brush Preset Window in a new folder.
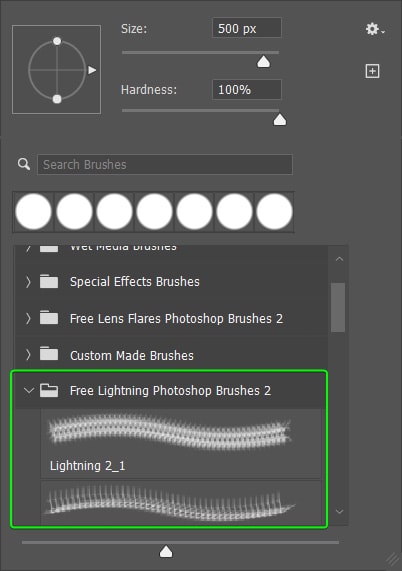
Select your new brush and try it out on your image to see the epic new effects you can create.
The Brush Tool in Photoshop is one of the most valuable and versatile tools in the program, and with the full view of what it’s capable of, its potential is limitless!
Happy Editing!


