

Understanding brush hardness and how to change it can help you create stunning images and designs in Photoshop. But, without guidance, the brush tool can be rather tricky to use. Fortunately, in this tutorial, I’ll explain brush hardness and show you how to easily change it. But first, here’s the most simple way of adjusting brush hardness.
To change brush hardness in Photoshop, click on the Brush tool and then click on the Brush Preset picker. Now click and drag to adjust the Hardness slider to change brush hardness.
Later in this post, you will learn faster ways of changing brush hardness using keyboard shortcuts on Mac and PC.
But first, let’s learn a thing or two about brush hardness.
What Is Brush Hardness in Photoshop?
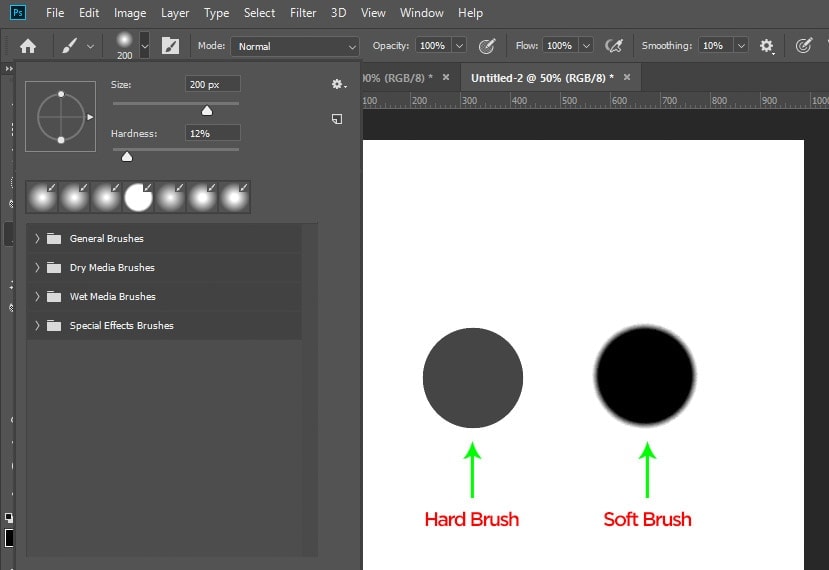
Brush hardness, as the term indicates, is how hard a brush is. A brush can be either hard or soft. A harder brush will have clear and defined edges, but a softer brush will have blurry and less-defined edges, as you can see below.
How to Change Brush Hardness in Photoshop
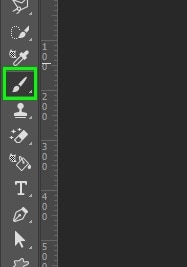
Step 1: Select the Brush Tool
Before you can change brush hardness, you need to select the brush tool. To do this, click on the brush icon in the tools panel. Unless you’ve moved your tools panel around, it should be located at the left of your screen. You can also press B on your keyboard to access it quickly.
Step 2: Select the Brush Preset Picker
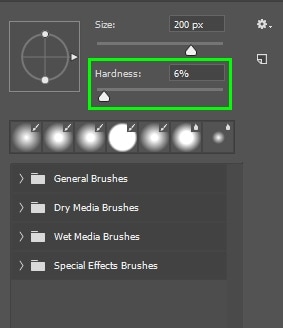
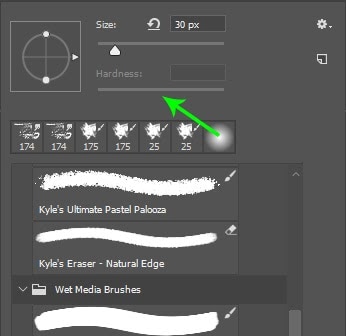
Once you click the brush tool, you’ll get an options bar at the top of your screen. Click on the Brush Preset Picker icon to drop down the panel. You’ll see two slider options right below: Size and Hardness.

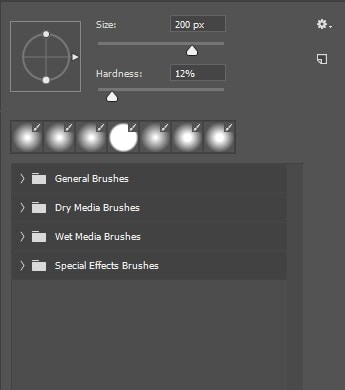
Step 3: Adjust Brush Hardness With the Hardness Slider
Now we can adjust the brush hardness. All you need to do is to move the hardness slider to your desired percentage value.
Keyboard Shortcuts
You can also use keyboard shortcuts to change brush hardness in Photoshop. Here’s a summary of everything you need to know:
Windows:
Increase hardness: press SHIFT + ] OR hold Alt + Control, right-click and drag right.
Decrease hardness: press SHIFT + [ OR hold Alt + Control, right-click and drag left.
Mac:
Increase hardness: press Command + ] OR hold Option + Command, right-click, and drag right.
Decrease hardness: Command + [ OR hold Option + Command, right-click, and drag left.
When Should You Adjust the Brush Hardness?
The Brush tool is designed for digital painting, whether you want to create a painting from scratch or use paint to enhance an existing image.
While working in Photoshop, there are various scenarios where you may want to use a soft or hard brush. It may sound complicated, but by the time you finish reading this section, you’ll know when to adjust the brush hardness in Photoshop to get your intended result. Here are some examples.
Masking Adjustment Layers
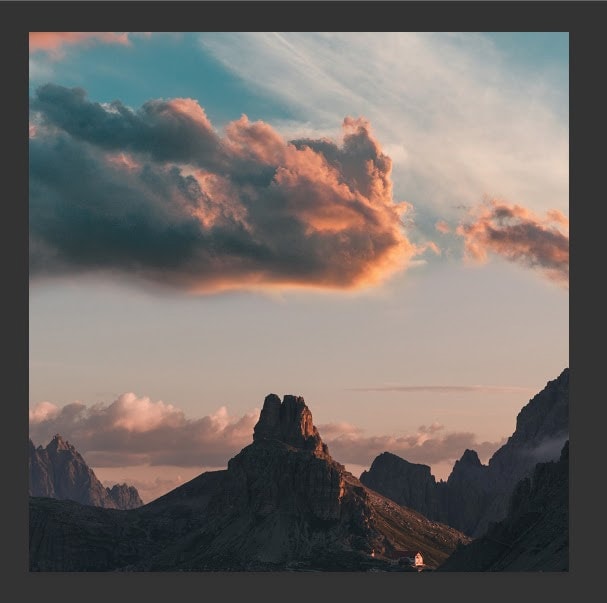
If you’re working with a photograph, you can use the Brush tool to limit the effects of adjustment layers to only certain portions of the photo. For example, the image below is the original photograph before an adjustment layer was attached.

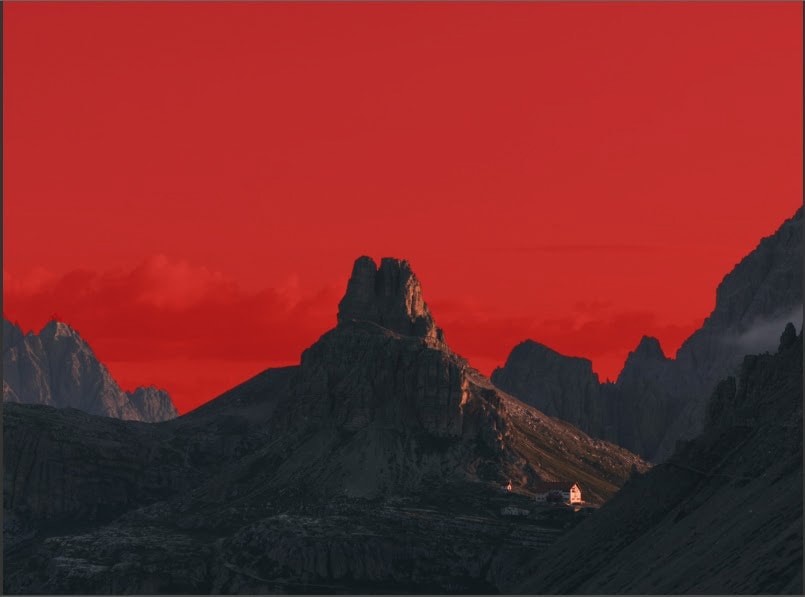
With a layer mask and a hard brush, the black and white adjustment area of the subject was masked to the edges.
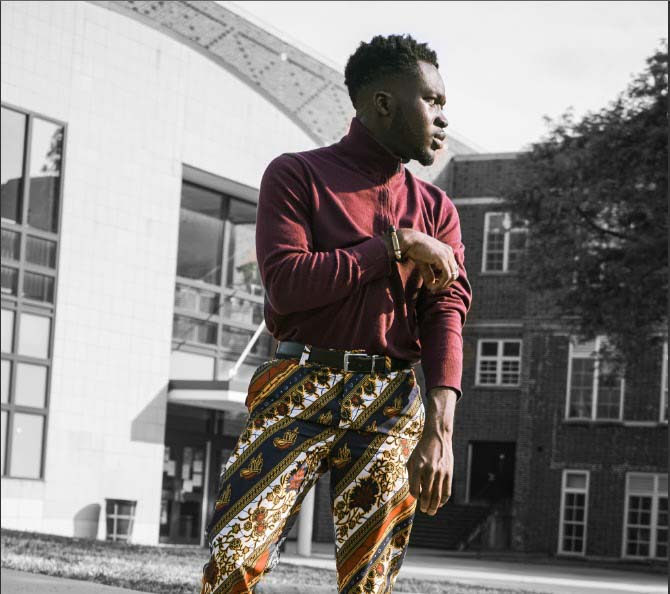
To paint near an edge, you need to make your brush harder. If you want it feathered, adjust it to make the brush softer.
Want to learn how to isolate color in Photoshop? Check out this tutorial on the Color Splash Effect!
Blending Images
You would also want to adjust brush hardness when blending Image layers. To blend two or more images, portions of images are masked away from sight. This is done with a layer mask and a brush.
To get a seamless blend of images layer, brush hardness set from 50% and below will come in handy. A much softer brush helps to gently fade that portion away and fuse the layers of the image seamlessly to make it look realistic. Here’s an example.
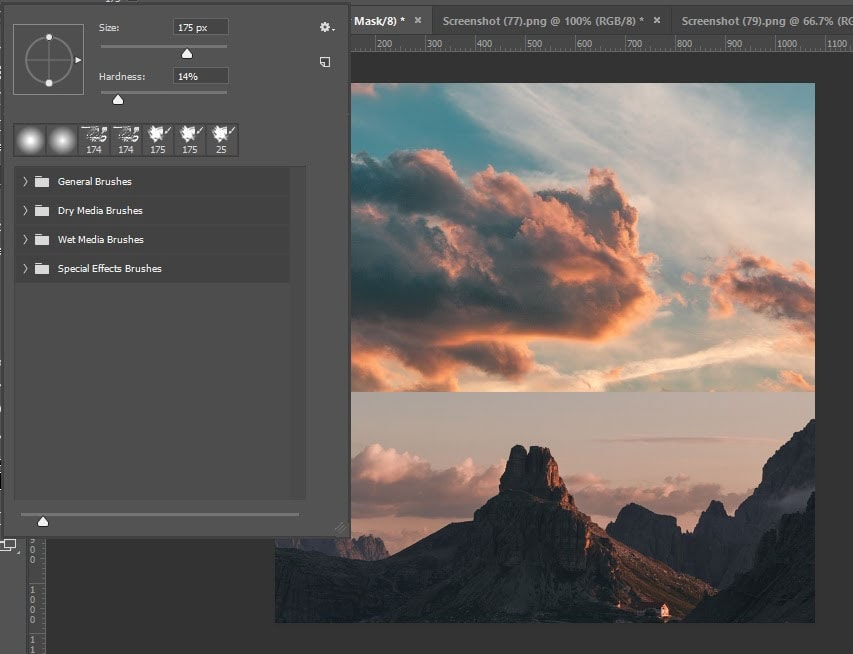
In the screenshot above, I have two separate image layers I want to blend seamlessly with brush hardness at 14% (soft brush).
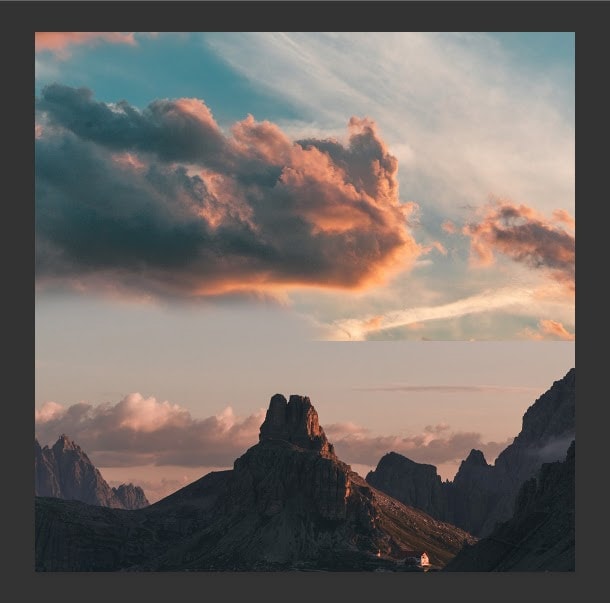
In this second image, I painted on a layer mask attached to the above image on the canvas to mask away (hide) those parts.
Since I’m using a soft brush, the mask creates a smooth and gradual transition from the image above to the image below. After masking, here’s the result.
You can see how seamlessly the two images blend.
Sketching
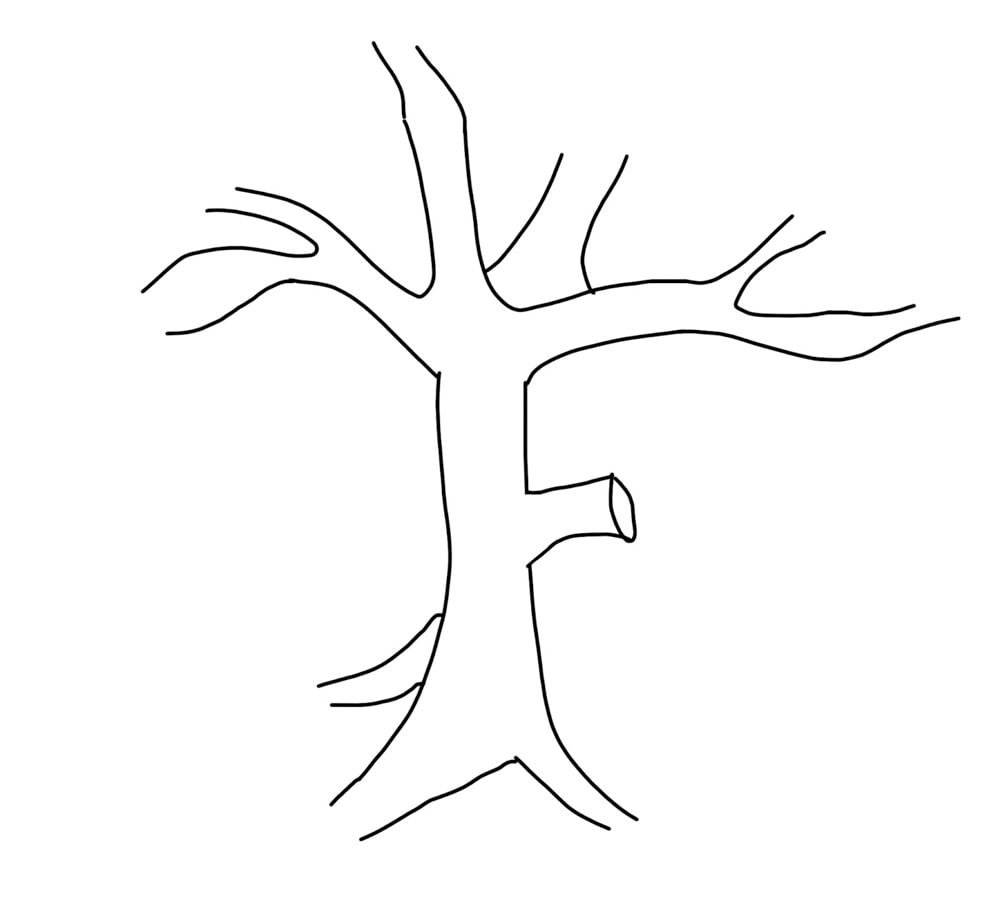
Let’s begin with sketches. If the goal is to make pencil sketches in Photoshop with a brush, you might want to use a hard brush.
With brush hardness set to around 100%, the result will be crispy-edged brush strokes like that of a pencil. This comes in handy in outline drawing for digital illustration and outline drawing. Here’s an example of a sketch using a hard brush. If I were to use a soft brush, the tree branches would appear blurry.
Making Selections
The brush hardness is also important when you want to make a selection using Select and Mask. With Select and Mask, you can select areas of an image layer and mask them out. This makes it easy to cut out an image from a picture.
With the brush tool, you can select areas you want to mask out. A soft brush will be useful if you want feathered edges for your selection. For a more sharp and crisp edge, you should pick a harder brush.
If you are new to cutting out images and removing backgrounds, this post shares the 5 best tools to use in Photoshop!
What To Do If The Brush Hardness Setting Is Greyed Out
If the brush hardness is greyed out and not editable in Photoshop, it is because you are using a brush preset that isn’t compatible with hardness. For example, the pencil brush preset does not allow for the hardness to be adjusted. To make the hardness editable, you must select a different brush.
Even though it is clear that brush hardness is essential and needed for achieving many results, it is not available in all situations.
You may pick a brush preset in the Brush Preset Picker panel in Photoshop, and when you want to adjust the hardness, it’s greyed out and not working.
Is it a bug? Luckily not! Here’s the reason: brushes typically have the hardness setting already configured and cannot be changed.
Once they are created, brush hardness can’t be changed; their brush hardness was determined when they were created. An example of such brushes is pencil brush tips. To fix this, you can simply change to another brush preset that is compatible.
There you have it; now you understand what hardness in Photoshop is and how to change it. You can now refine your images and photos to suit your taste. Adjusting brush hardness is something you’ll have to do a lot in every project you work on, so getting familiar with this setting will prove very useful!
Happy Editing!
