

Feathering in Photoshop is used to soften the areas around images, brushstrokes, or vector shapes. It’s a simple process that proves useful for blending images, softening edges, or creating localized adjustments to your images.
Throughout this tutorial, you’ll learn the different ways feathering works on your images, as well as how to use it to soften the edges of your photos to make them stand out.
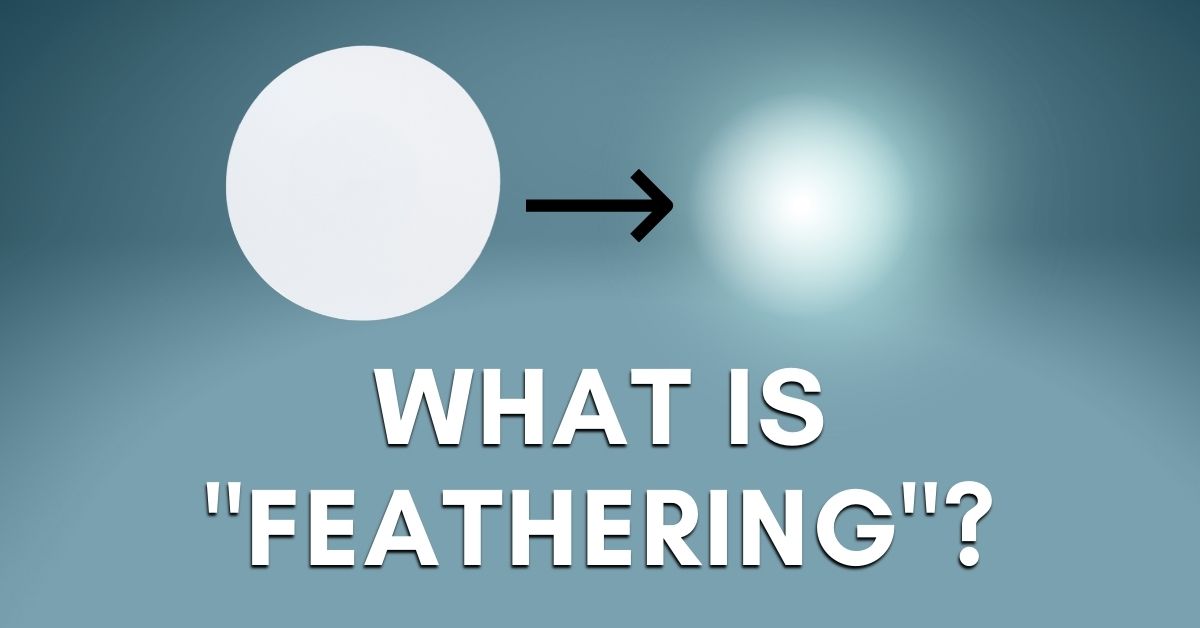
What Is “Feather” In Photoshop?
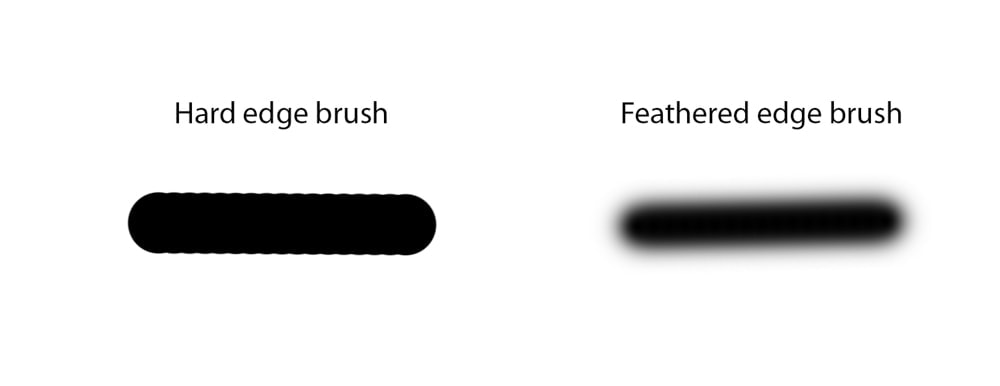
Feathering in Photoshop is used to soften the edge of an image, brush, or layer. For example, a brush stroke with a high feather will have blurred edges that blend into the image. In contrast, a brush stroke with a low feather will have a hard edge.
You can use these soft edges around a selection to blend images, do away with hard edges, or add localized adjustments to objects within an image. It can also be used to fade parts of an image, blend brush adjustments, and make cutouts look more realistic.
How To Feather Edges In Photoshop
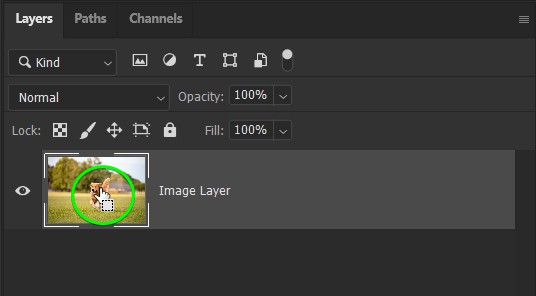
Step 1: Select The Image Or Area You Want To Feather
Once you have your image open, ensure the image layer is unlocked, then hold Control (Win) or Command (Mac) and click the thumbnail of the layer to select the entire image. Otherwise, if you want to select less of the image, use any of the selection tools to create the selection.
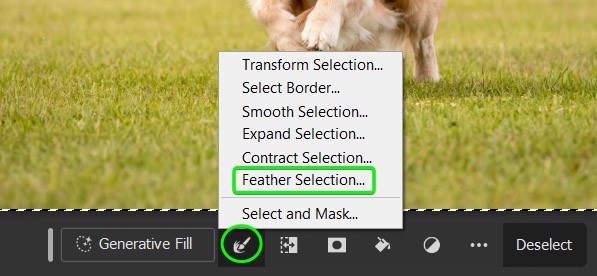
Step 2: Open The Modify Selection Menu
Once the image is selected, you can modify it by clicking on Modify Selection in the Contextual Task Bar and selecting Feather Selection from the options.
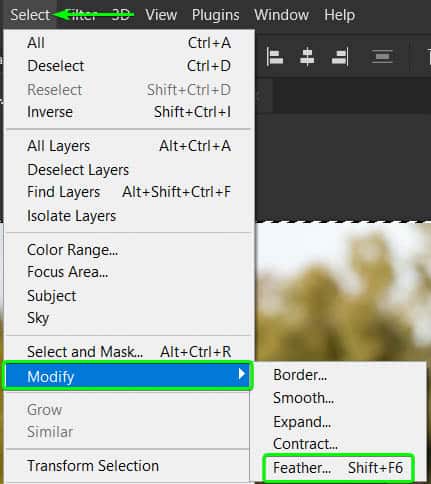
You can also access the Modify menu by going to Select > Modify > Feather or by pressing Shift + F6.
Step 3: Set A Feather Radius For The Selection
In the Feather Selection window, you can set a Feather Radius based on how intense you want the effect to be. Set the radius relatively high to see a change. For example, try it at 100 pixels and adjust from there.
If you have selected the entire image, enable the Apply effect at canvas bounds option to ensure it works on the border of the image.
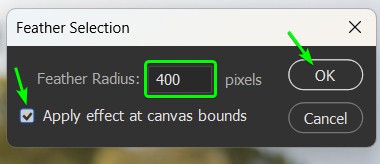
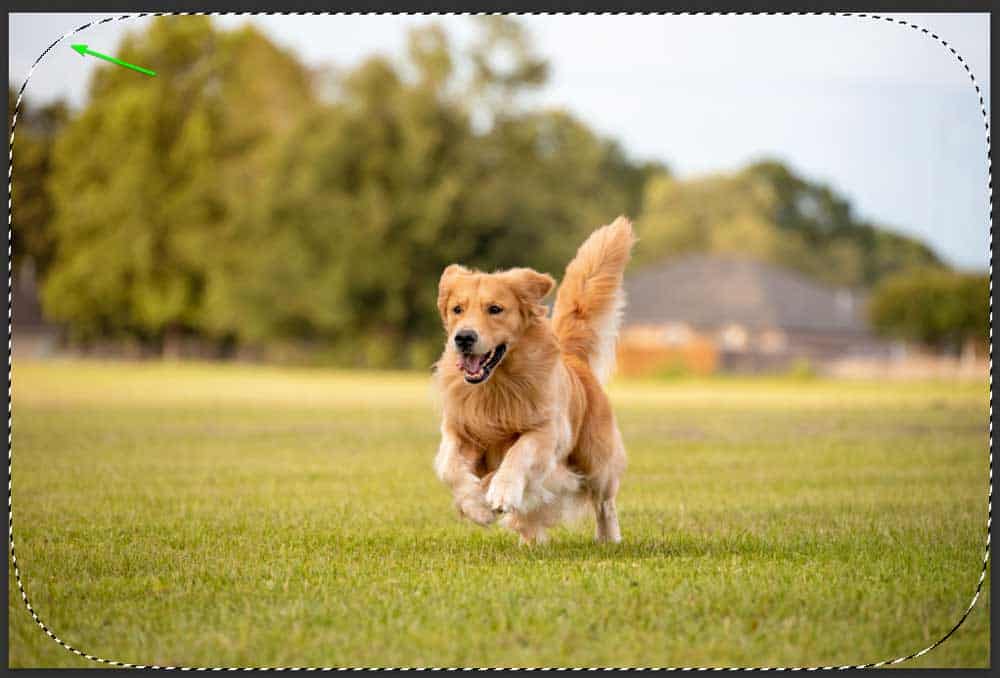
Click OK to add the feather, and the corners of the selection will be rounded, indicating the feather effect.
Alternatively, you can set the feather before creating the selection when using the Marquee Selection Tools (M). Once the tool is selected, adjust the Feather setting in the Options Bar and then create the selection.

Step 4: Add A Layer Mask To The Image
Next, add a layer mask to the image by clicking on the Layer Mask icon at the bottom of the layers panel. This will hide everything outside of the selection but with the feathered effect.
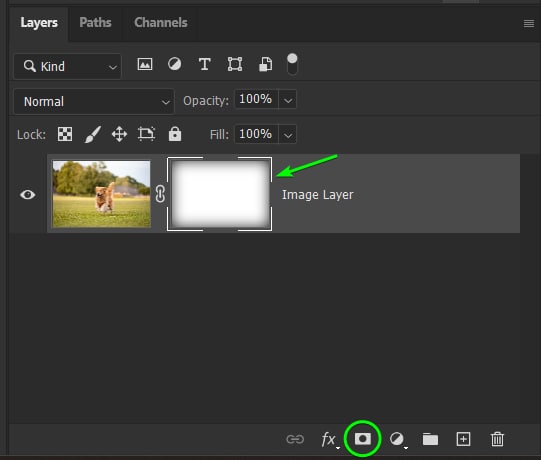
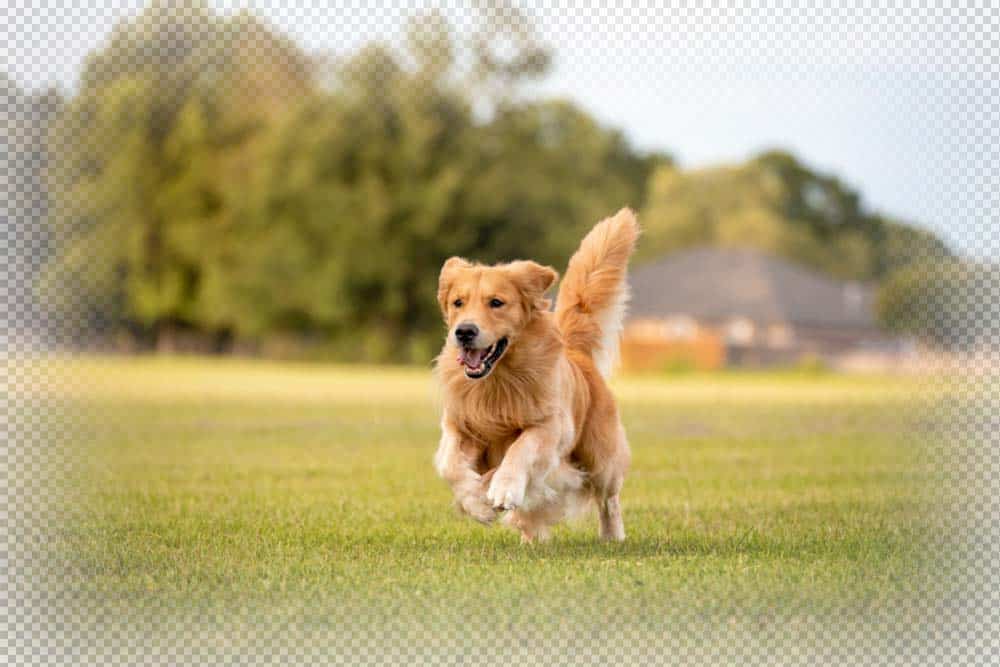
Your image will now have a feathered effect around the edges. You can use this effect to soften the edges of photos and text.
How To Adjust Brush Feathering
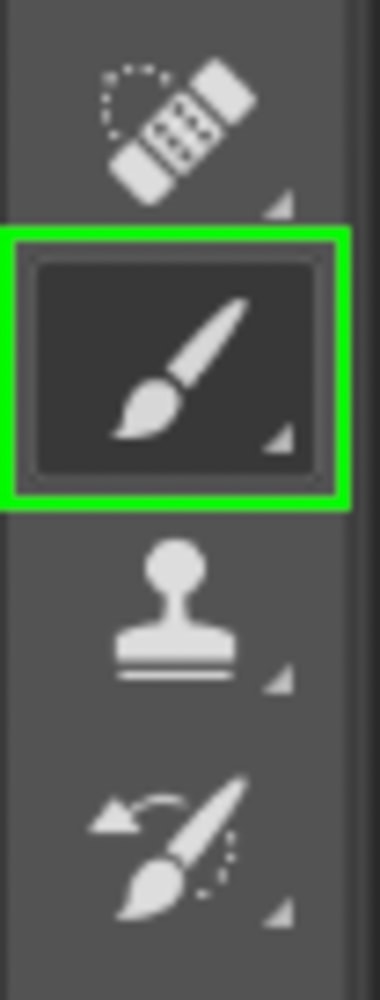
Step 1: Select The Brush Tool (B)
Select the Brush Tool (B) from the toolbar.
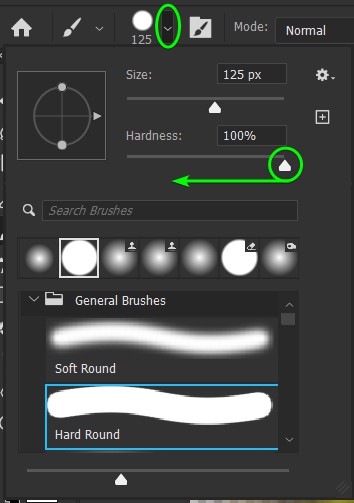
Step 2: Adjust The Brush Hardness
Open up the Brush Preset Picker in the Options Bar, and use the slider to adjust the brush’s Hardness. To add a feather to your brush, bring down the hardness amount.
Step 3: Paint A Brush Stroke
You can now paint a brush stroke and test out the different Hardness levels. You will need to set the Hardness before painting the brush stroke. The hardness is only updated for any new strokes you paint.
Here is how the brush strokes appear with the different Hardness levels.

There you have it; you now know about feathering Photoshop and how to use it. As you’ve seen, feathering is a great way to get rid of rough edges or make parts of a photo stand out on their own.
Happy feathering!
