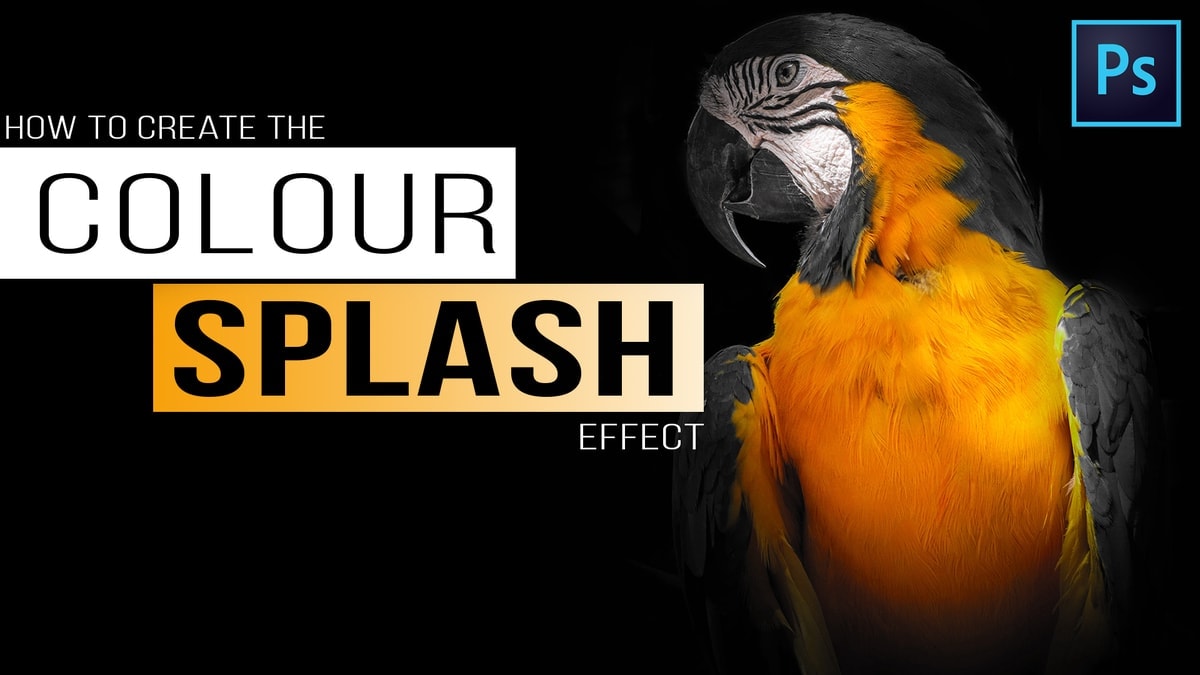
Want to learn how to make a photo black and white except one colour? Well let me introduce you to a little trick called the Colour Splash Effect in Photoshop.
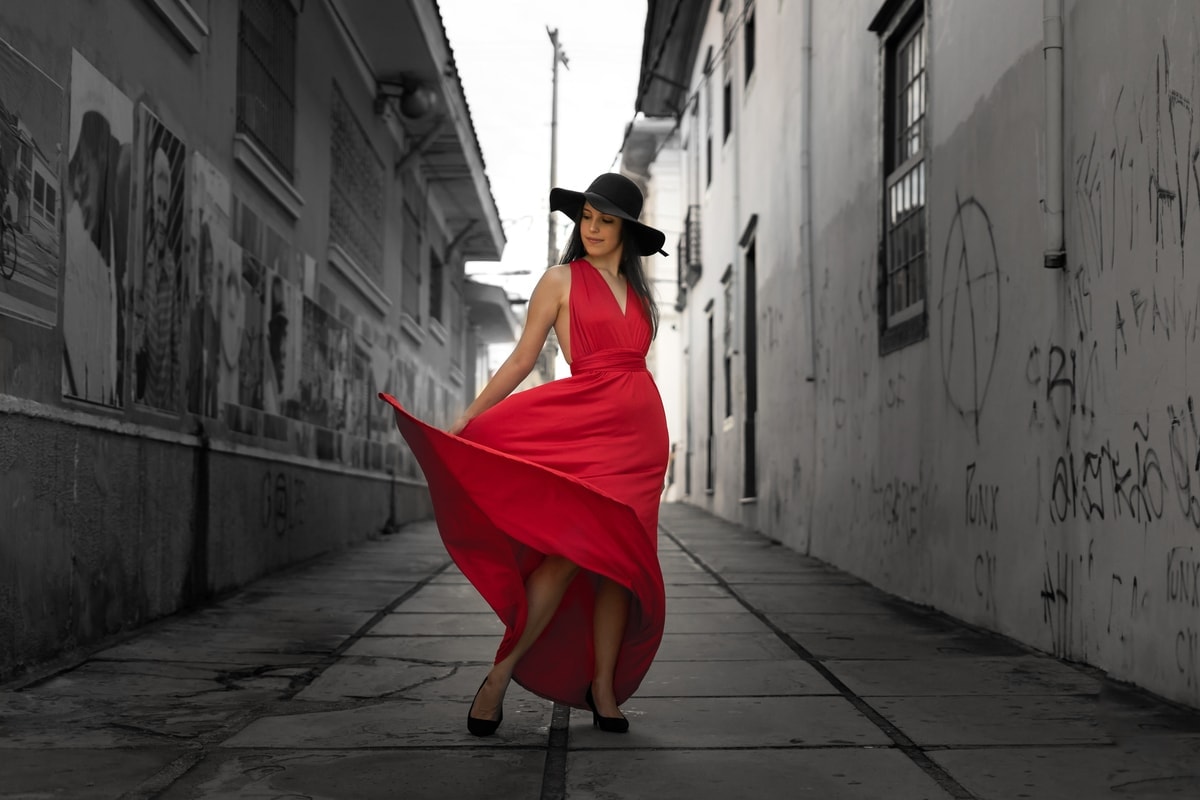
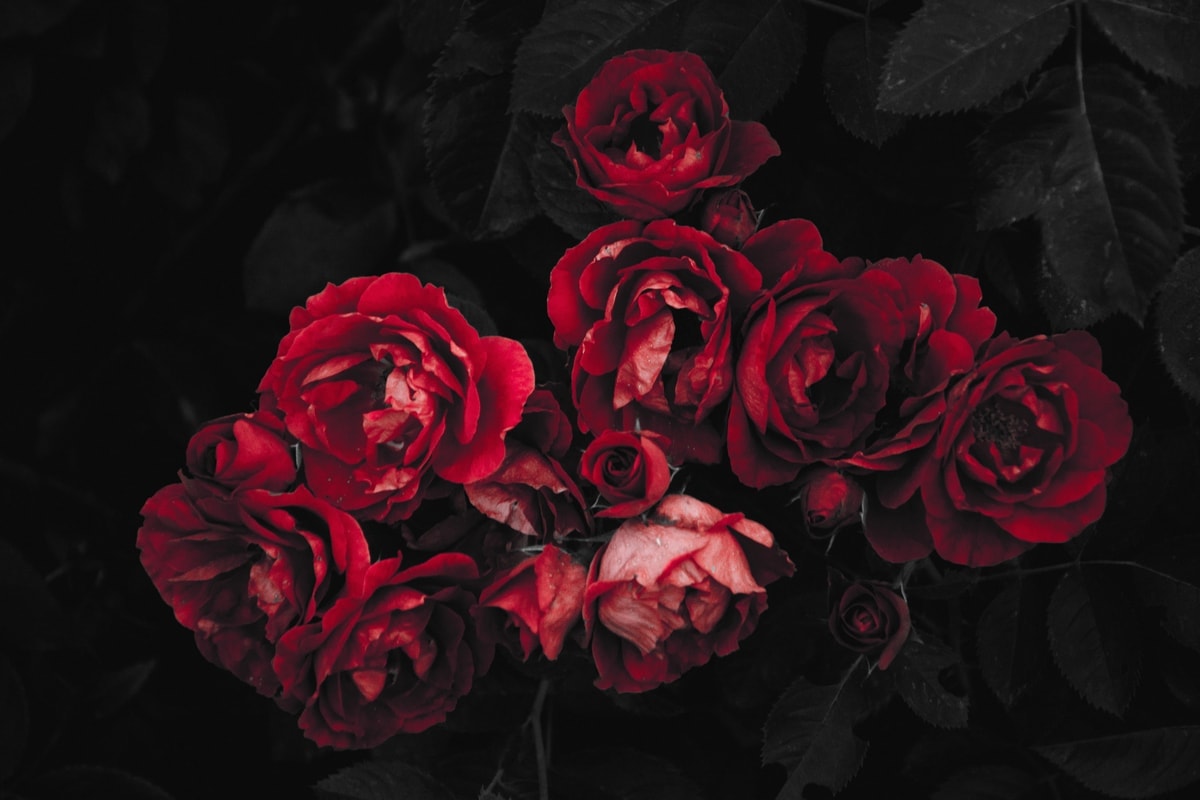
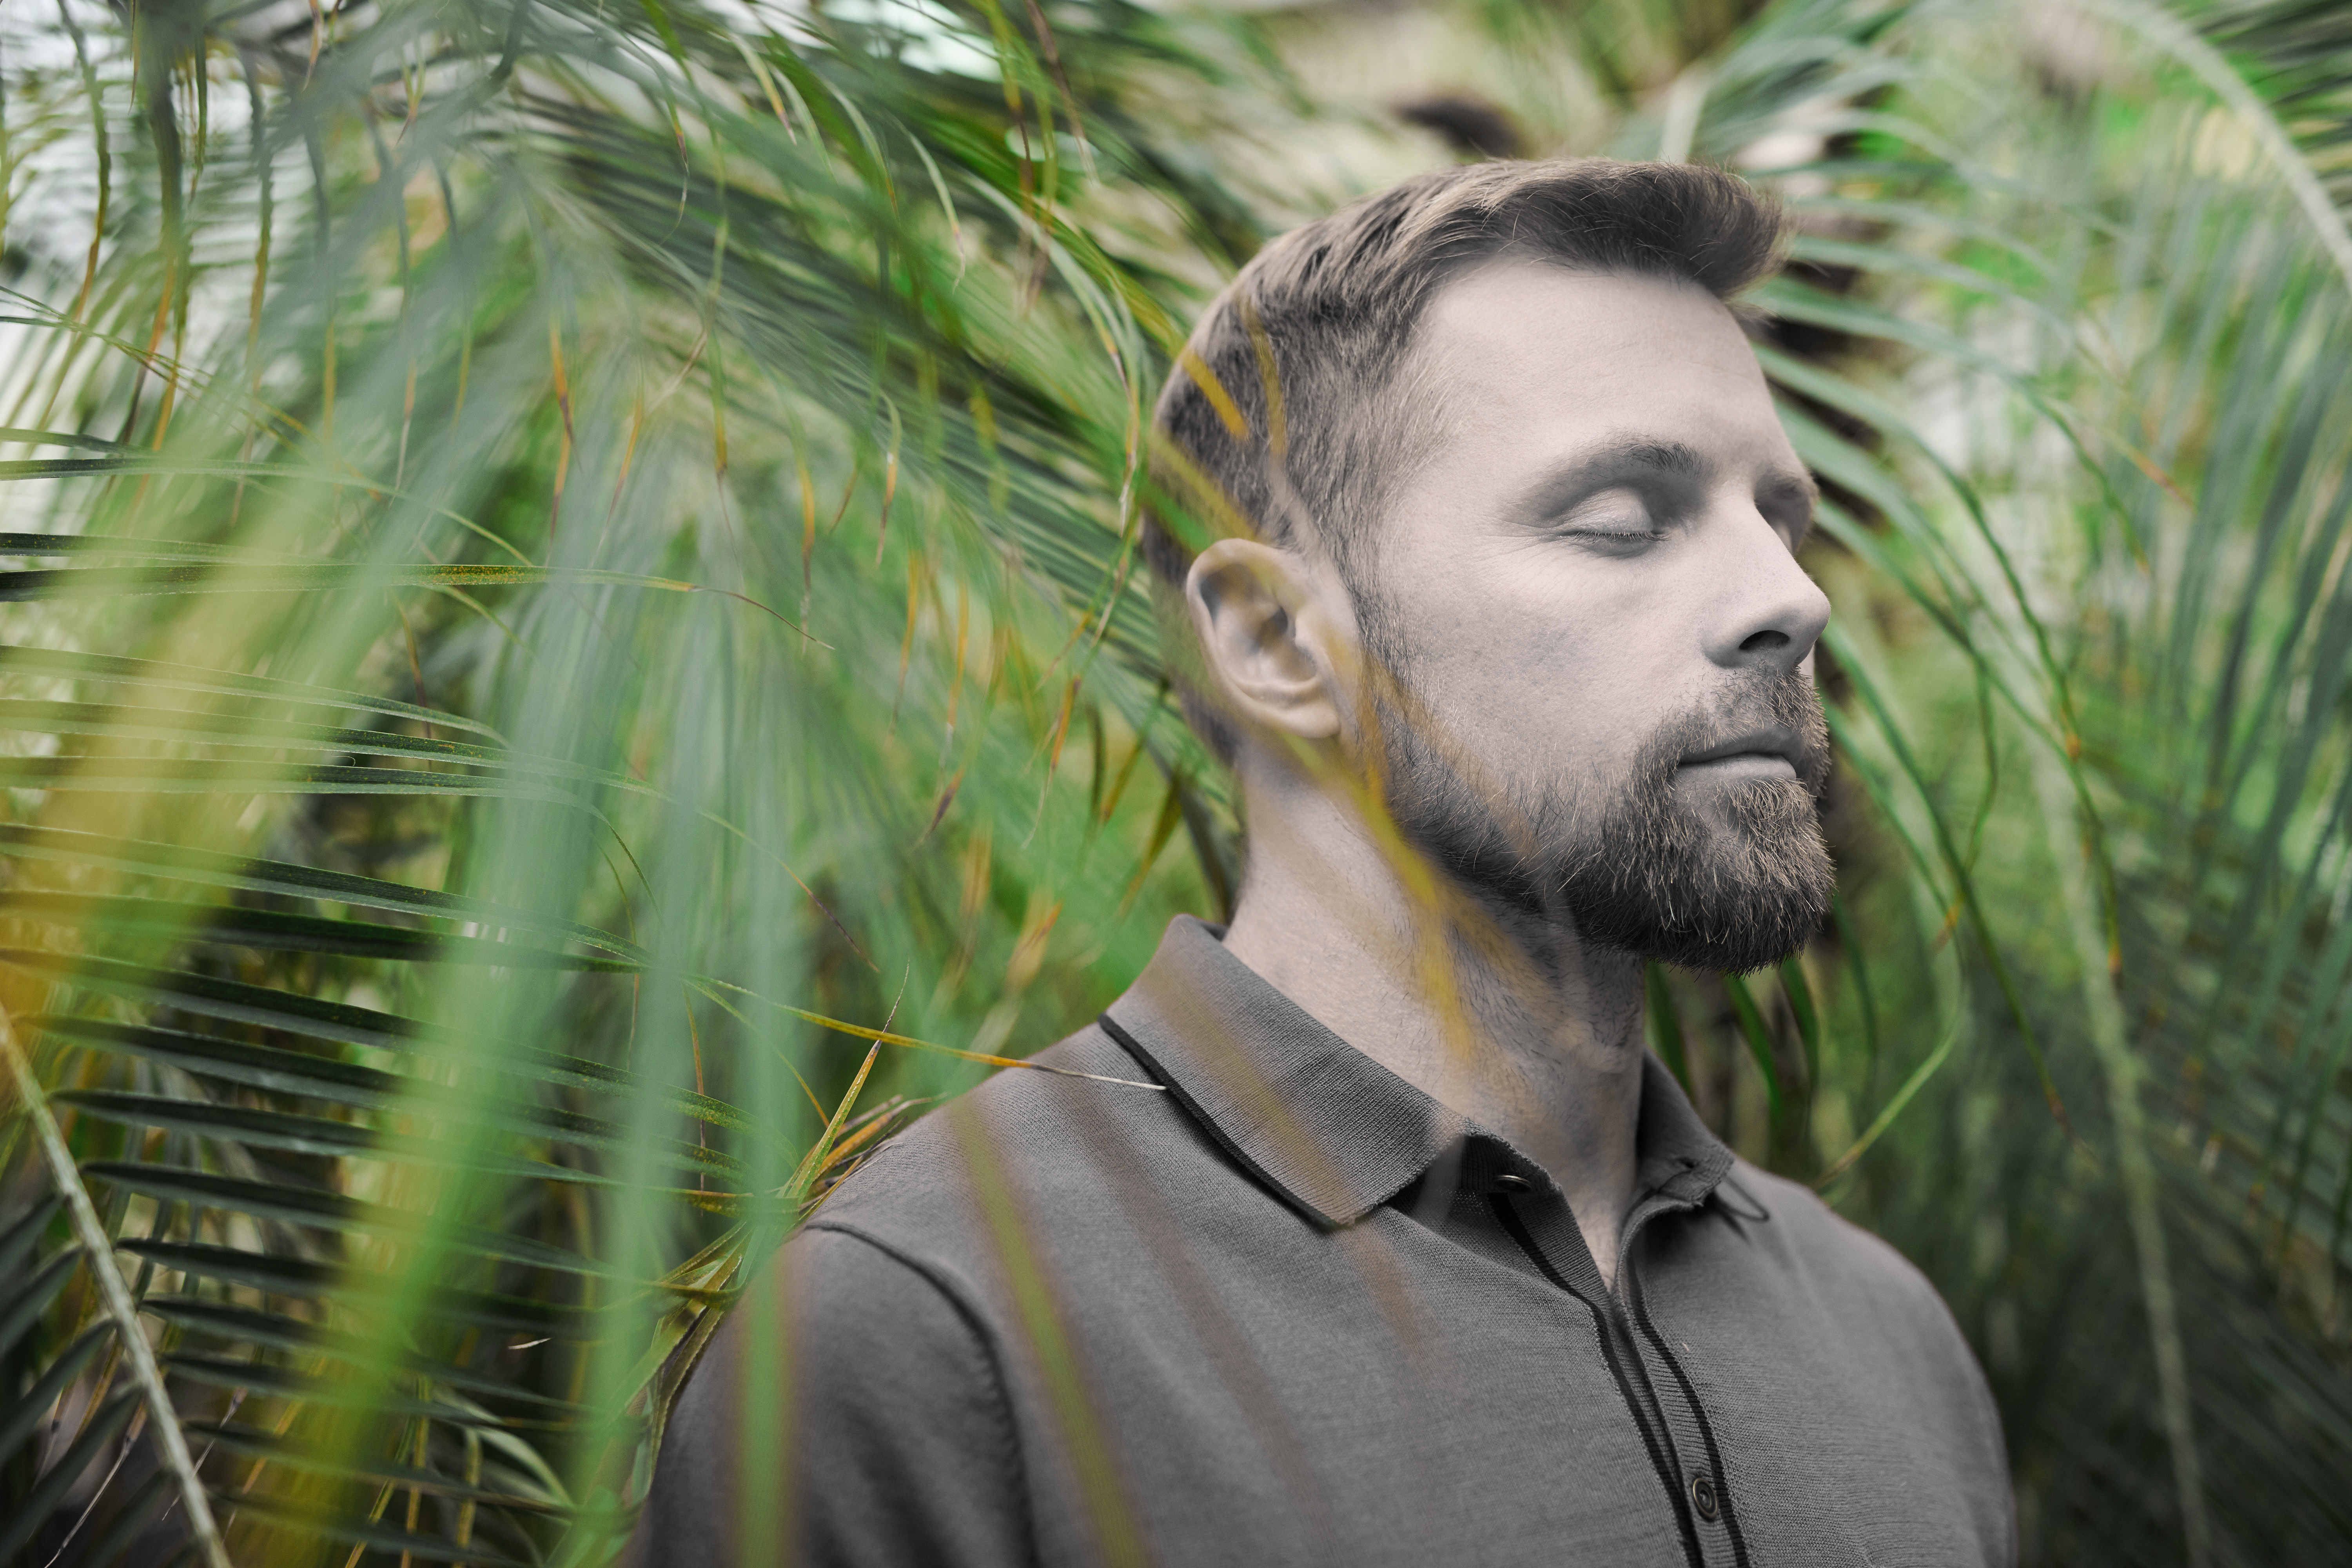
The colour splash effect works by desaturating all of the colour in your photo except for one. Essentially, a black and white photo with splash of colour.
Now the effect’s name is starting to make a little more sense right?
There are a few different ways that we can make a photo black and white except one colour. So, let’s get to it with 3 ways to create colour splash in photoshop.
Method 1: The Colour Splash Effect Photoshop Action
If you are new to Photoshop, the steps to create the colour splash effect can feel overwhelming. That’s why I wanted to make it easy for you with a Photoshop action.
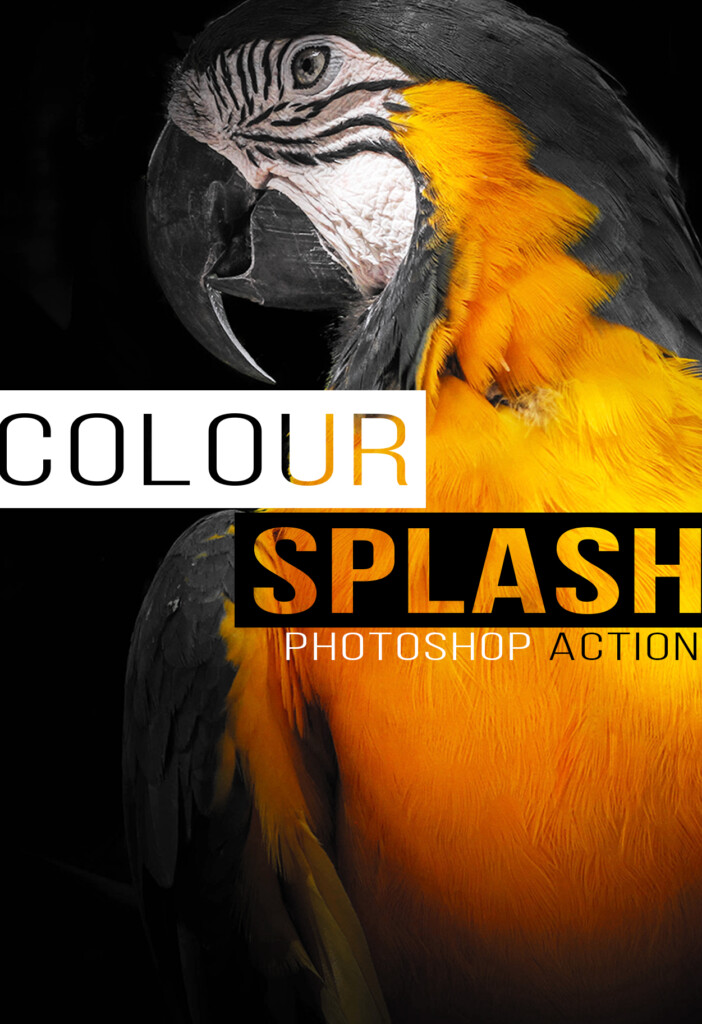
With this colour splash photoshop action, you can turn any photo black and white, except one colour; with one click.
You can pick between preset colour range options, or customize your own colour range to isolate. You get complete control over the finished result, without having to do all the work!
The Colour Splash Photoshop Action can turn a confusing sequence of steps into just one click. Sit back, relax, and let the Photoshop action take care of the rest.
Now you’ll have a little extra time to make another coffee.
Score!
So, if extra coffee and less work sounds good to you, click here to get your hands on the Colour Splash Photoshop Action.
Here’s how to put it to use:
Step 1: Import The Colour Splash Photoshop Action
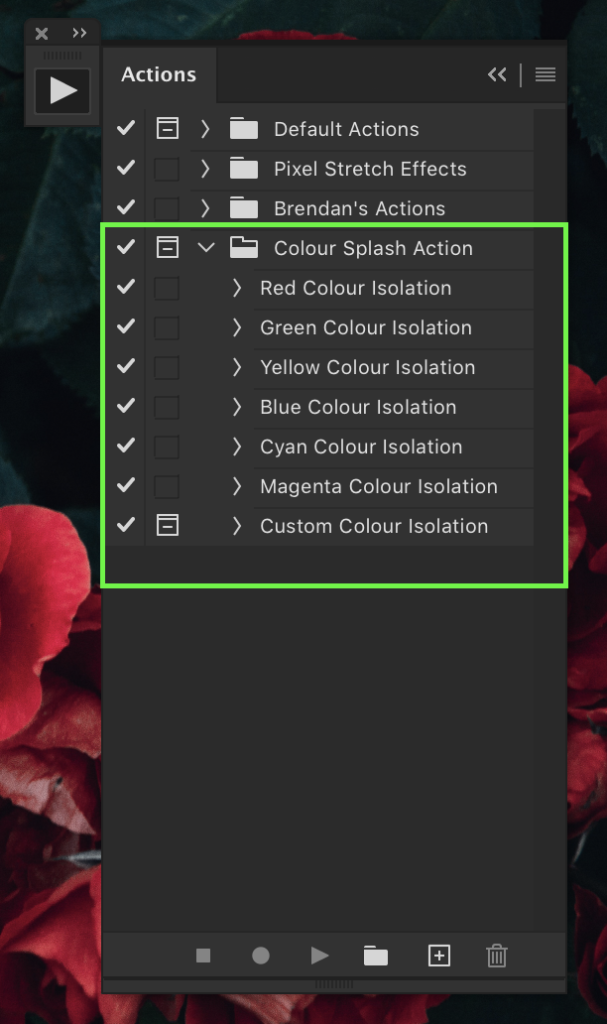
Import the colour splash photoshop action into your actions panel. After importing, you will find a folder called Colour Splash Action.
This folder is home to all the colour splash actions at your disposal. If you don’t know how to import photoshop actions, click here to learn how.
Step 2: Pick Desired Colour Range and Press Play
First you need to pick what colour range you want to isolate. In this example, I will isolate the Red Colour Range.
To run the action, click on the desired colour range and press play at the bottom of the action panel.
Step 3: Bask In The Glory Of Photo Editing Victory
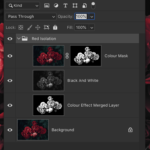
Boom! In just a couple seconds the action works its magic and isolates the colour range you chose. The action even groups and organizes all layers to keep your layer panel neat and tidy. Time to bask in the glory of another job well done.
If you want to get really fancy, you can select the custom range action. This will allow you to manually choose the colour range(s) you want to isolate from your black and white photo.
If actions aren’t really your thing, that’s totally cool. I also wrote about two more great ways to make the colour splash effect in photoshop. So, continue on if you’d rather make the colour splash effect with a little manual labour love.
Method 2: Using Colour Range To Make A Photo Black And White Except One Colour
If you want make a photo black and white except one colour, without the help of a photoshop action, then this is one great way to do it.
Select colour range is a tool in Photoshop that allows you to sample any colour and turn it into a selection. Among its many uses, this tool just so happens to work perfectly for the colour splash effect.
Here’s how to make a photo black and white, except one colour, using colour range:
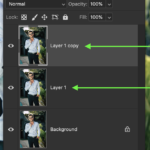
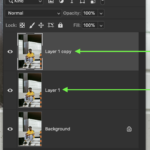
Step 1: Duplicate Your Image 2 Times
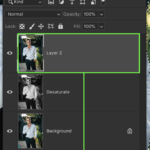
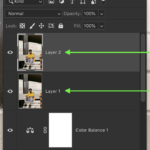
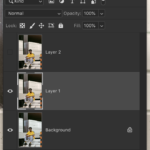
First you have to duplicate your image onto a new layer. You can duplicate your image by selecting the correct layer and pressing COMMAND + J (MAC) or CONTROL + J (PC). Do this process twice to ensure the final effect is non-destructive.
If you have done adjustments to your image already, you’ll want to merge your layers instead. You can duplicate and merge your layers by pressing OPTION + COMMAND + SHIFT + E (MAC) or ALT + CONTROL + SHIFT + E (PC). Do this process twice.
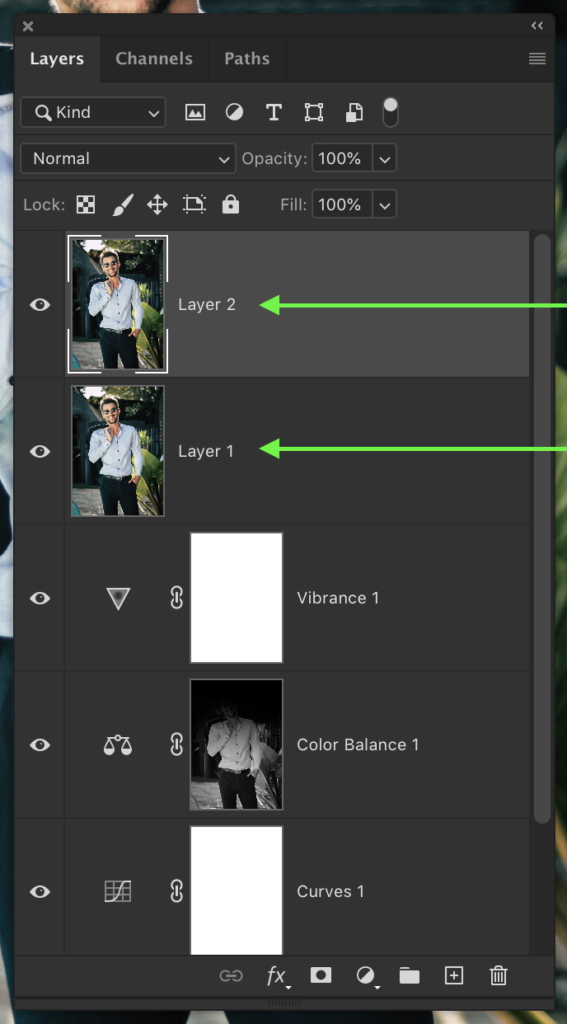
Step 2: Desaturate The Photo
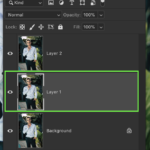
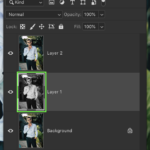
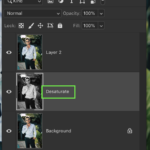
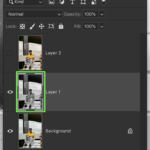
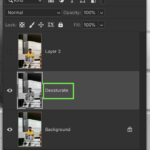
Click on the middle layer and desaturate it by using the shortcut COMMAND + SHIFT + U (MAC) or CONTROL + SHIFT + U (PC). Rename this layer to desaturate to keep your layer panel organized.
You can also desaturate your image by going up to IMAGE > ADJUSTMENTS > DESATURATE if shortcuts aren’t your thing.
Step 3: Select Colour
Now it’s time to select the colour you want to keep in the black and white photo. Go up to the top of your window and click SELECT > COLOUR RANGE.
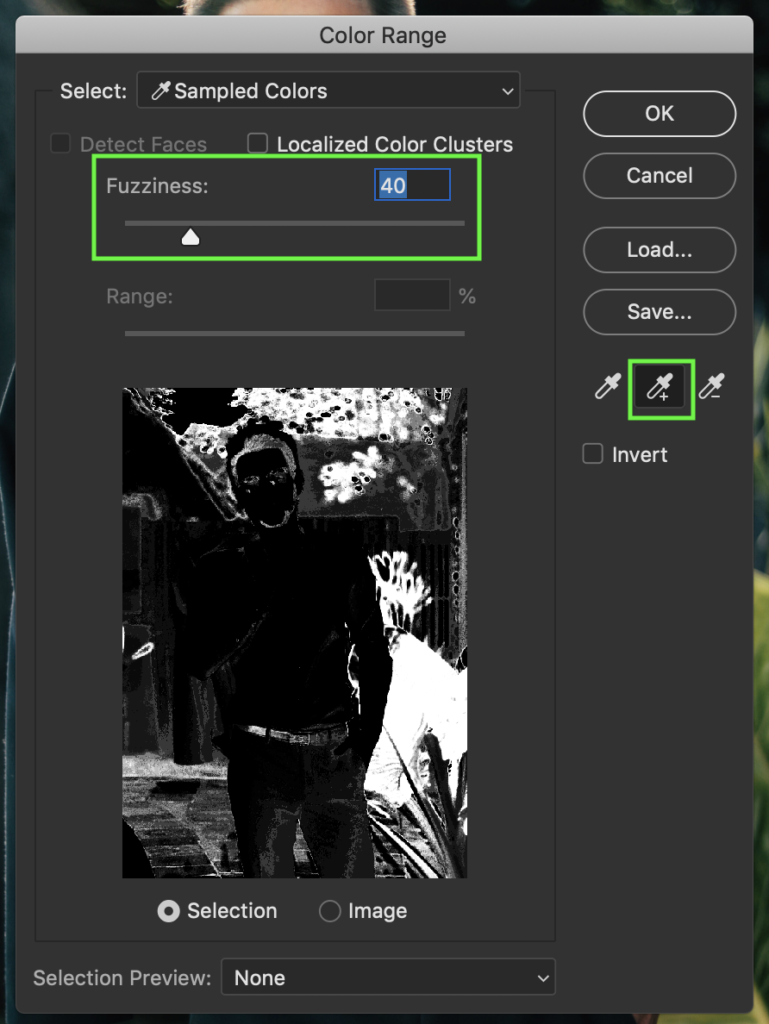
The colour range dialogue box will open up and now it’s time to sample a colour. Click on the eyedropper tool with the plus sign and click on the desired colour you want to isolate in your photo.
Click around in different areas in your photo to ensure the entire colour range is accurately selected.
Notice how the colour you sampled has become white in your preview box. This box shows the areas that are being selected. Set your fuzziness slider to somewhere between 40 and 60.
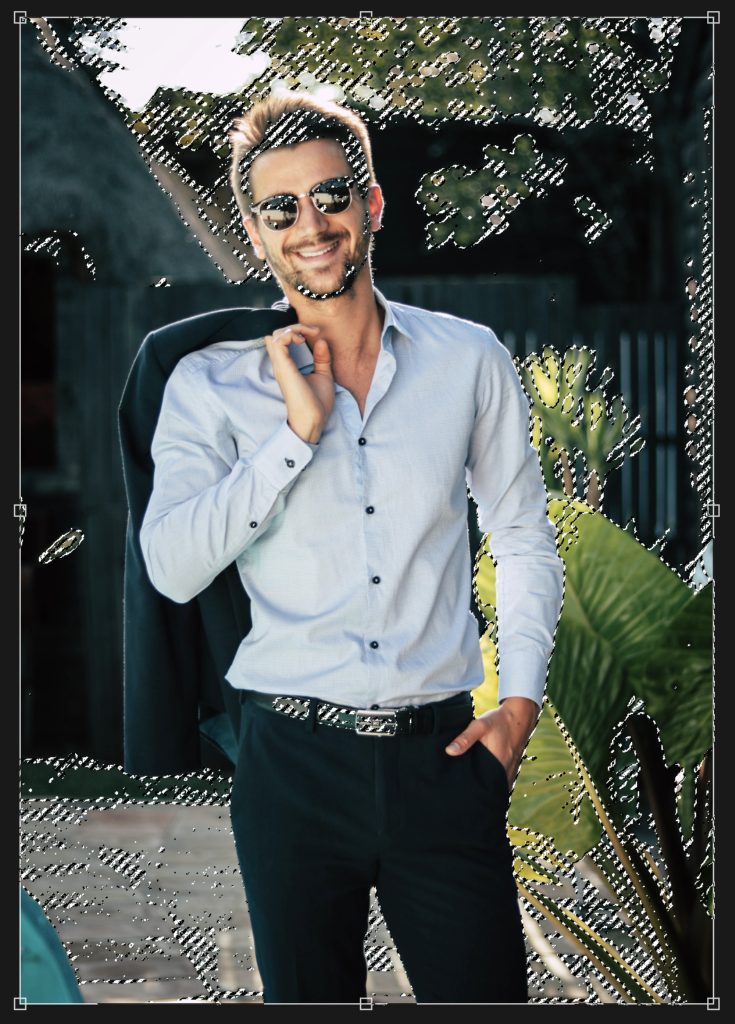
Once you have finished sampling, click OK to activate a selection.
Step 4: Apply Selection To Layer Mask
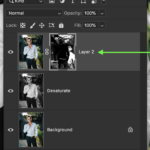
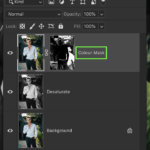
With your selection still active, click on your top layer and add a layer mask. You can add a layer mask by clicking on the layer mask icon at the bottom of your layers panel. Rename this layer to Colour Mask.
Now you’ll notice that the selection has been applied to your layer mask. Only the colour range you selected remains visible. The underlying desaturate layer is showing through underneath.
Congrats! You have successfully made your photo black and white except one colour using the select colour range tool. This method is a great way to isolate colour in your black and white photography.
I personally like to use the colour range tool to get the most customized selections possible for my colour splash effects in photoshop. The down side to this method is it takes a little more time and manual selecting.
Method 3: Using The Black And White Adjustment Layer
Let’s dive into our third method for isolating colour in black and white photos. This time, with a black and white adjustment layer! This method is a little easier with less manual selecting required.
Step 1: Duplicate Your Layer 2 Times
First you need to duplicate your image layer two times. Select your desired layer and press COMMAND + J (MAC) or CONTROL + J (PC) two times to create these new layers.
If you have addition layer adjustments made to your image, you’ll want to duplicate and merge your layers instead. You can duplicate and merge all layers by pressing OPTION + COMMAND + SHIFT + E (MAC) or ALT + CONTROL + SHIFT + E (PC).
Step 2: Hide Layers and Desaturate Image
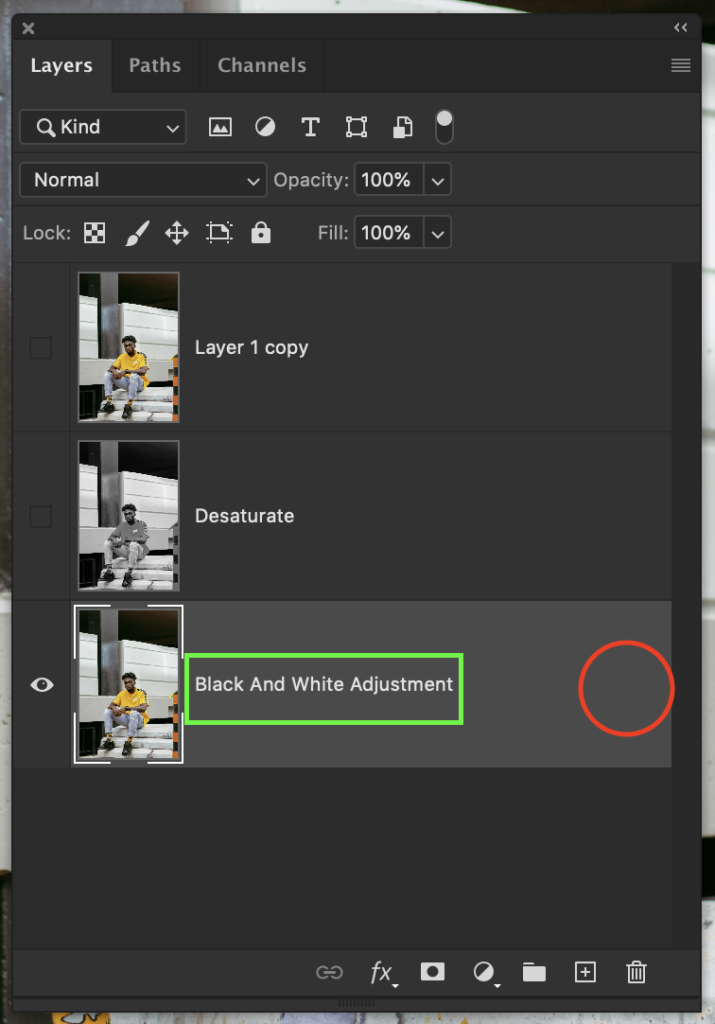
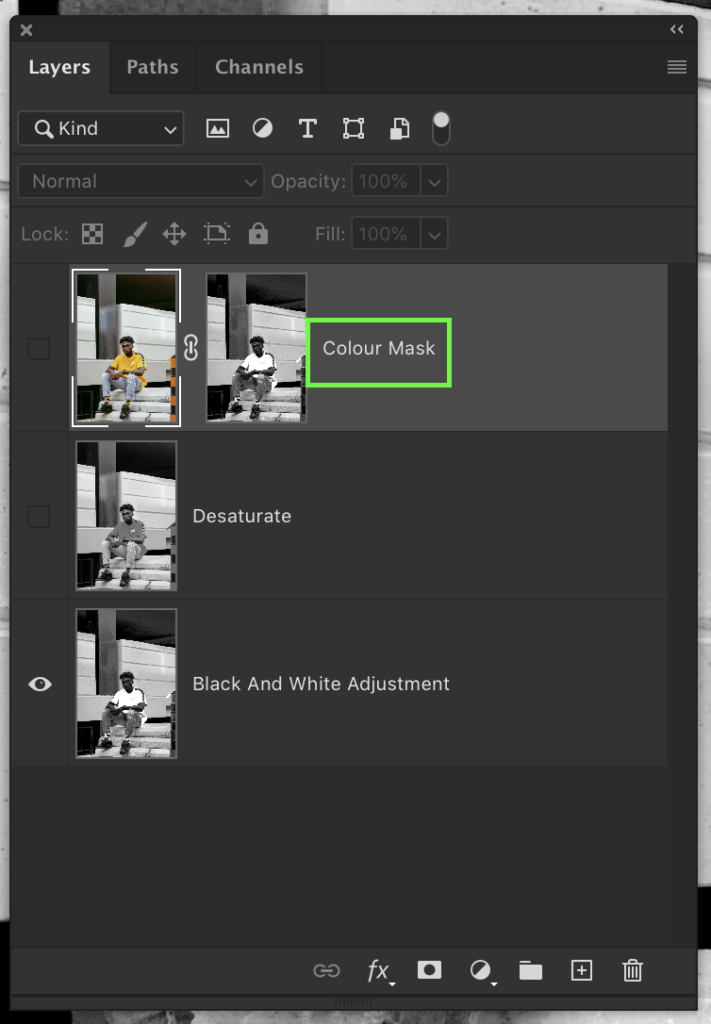
Hide your top layer by pressing on the eyeball icon beside the layer.
Select the middle layer in your layers stack. With the middle layer selected press COMMAND + SHIFT + U (MAC) or CONTROL + SHIFT + U (PC) to desaturate the layer. Rename this selected layer to desaturate
Hide the desaturate layer by pressing the eyeball icon.
Step 3: Apply Black And White Adjustment Layer
Select your bottom layer, rename it to Black and White Adjustment. Unlock the layer by clicking on the lock icon if needed.
With the bottom layer selected, add a black and white adjustment layer by pressing COMMAND + OPTION + SHIFT + B (MAC) or CONTROL + ALT + SHIFT + B (PC). A black and white layer adjustment dialogue box will appear.
You can also access the black and white layer adjustment by going IMAGE > ADJUSTMENTS > BLACK AND WHITE.
Now you get to pick the colour you want to isolate. Set all values to -200%, set the value you want to keep to +300%. In this example I am going to isolate the yellow colour range as shown by my slider values.
Remember the white will define the coloured areas for the final colour splash effect. The black areas will remain black and white. Once happy, click OK.
Step 4: Apply Image Onto Layer Mask
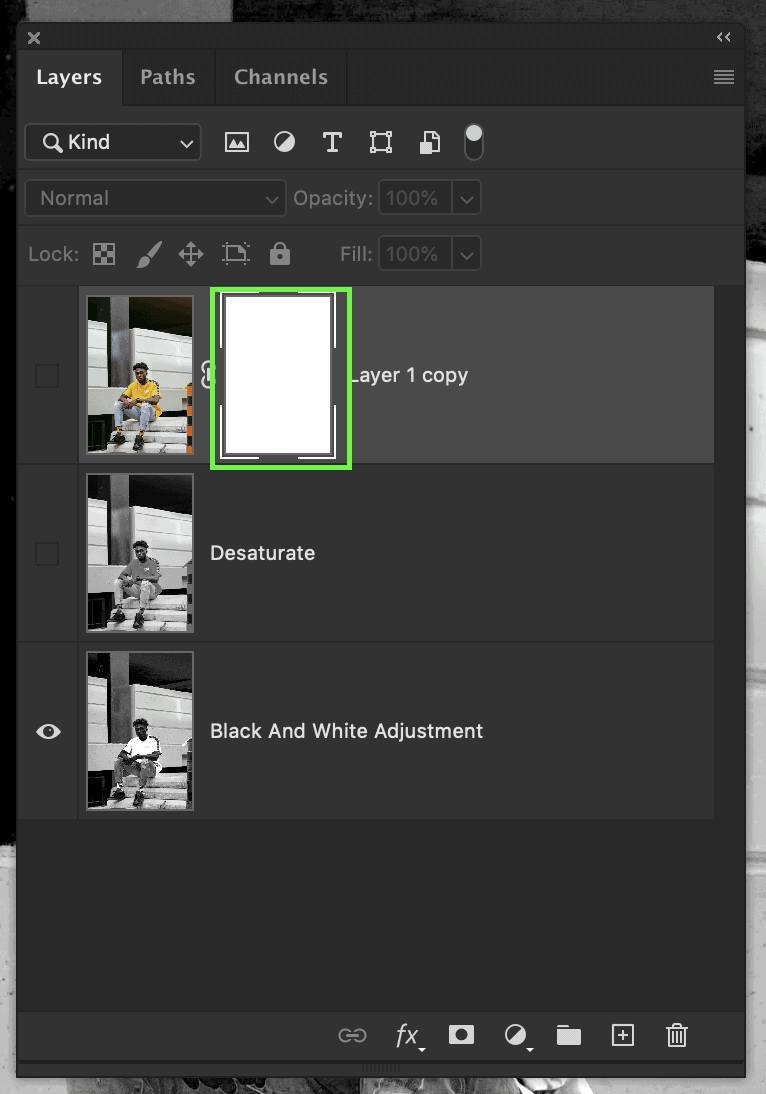
Select the top layer and add a layer mask.
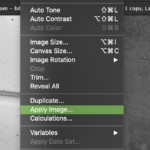
With your layer mask selected, go up to IMAGE > APPLY IMAGE.
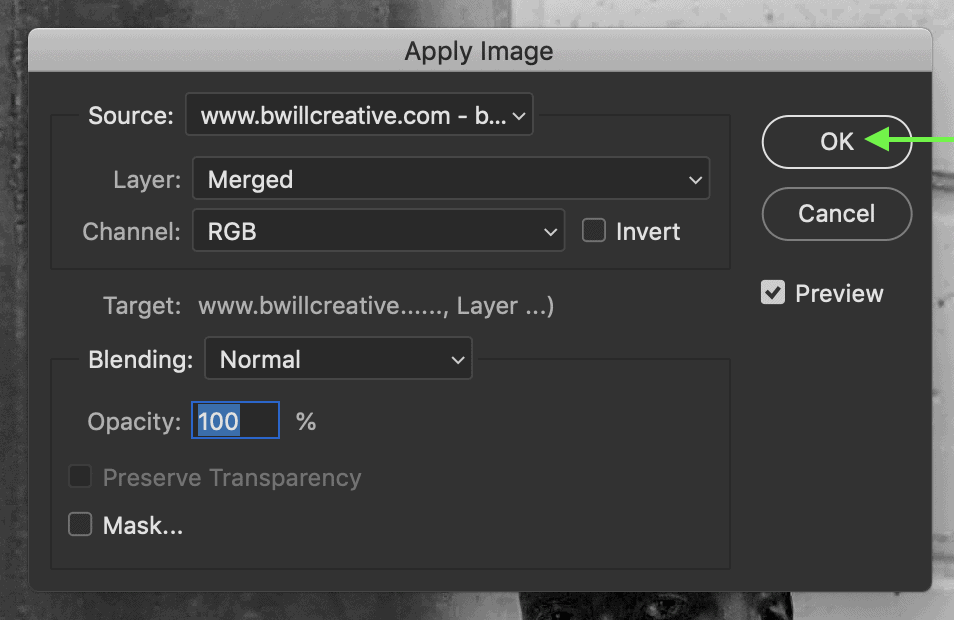
The apply image dialogue box will appear. Make sure your layer is set to merged, blend mode to normal, and 100% opacity. Once everything looks good, click OK.
Your image has now been applied onto your layer mask. Rename this layer to Colour Mask.
Step 5: Make All Layers Visible Again
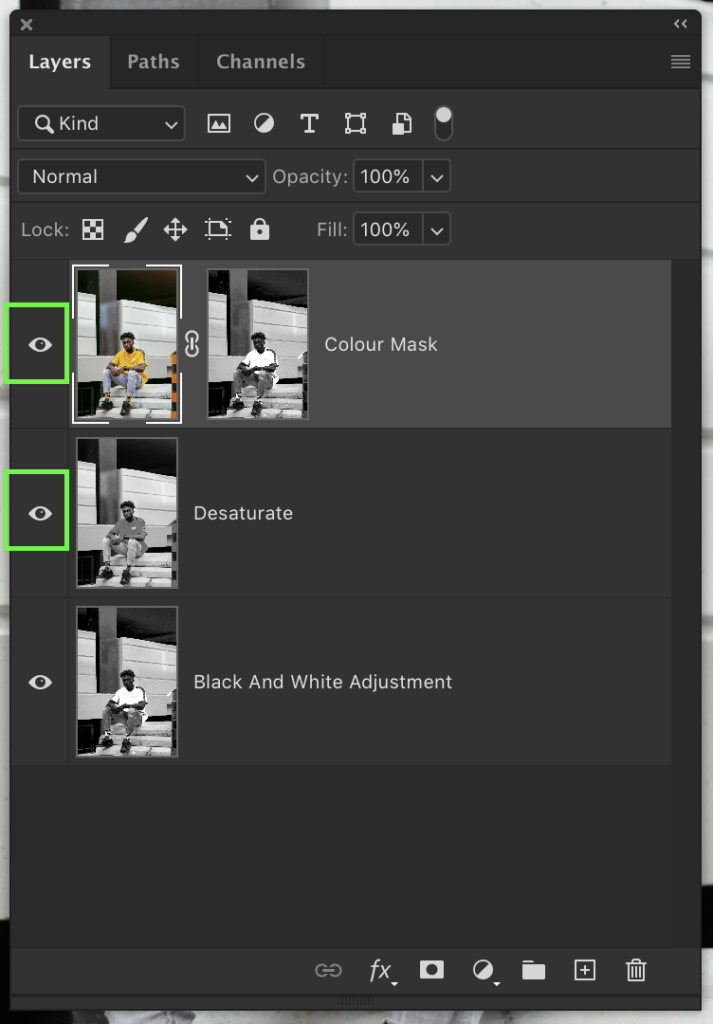
Click on the missing eyeball icons to toggle layer visibility on your colour mask and desaturate layers.
Now your layer mask and desaturate layer will work together to successfully create a colour splash.
This is my preferred way of creating a colour splash in Photoshop. The black and white layer adjustment makes it much more straight forward to select a single colour range.
Final Thoughts On Making Photos Black And White Except One Colour
Creating a colour splash in photoshop can be tedious and time consuming. That’s why I love the colour splash photoshop action. This action takes out all the guess work making the whole process just one click.
Regardless of which method you use, remember to utilize the colour mask layer for fine adjustments. This mask give you wiggle room to mask back in certain areas that may have gotten missed in the initial selection.
Another tip to remember is to try different colour ranges. If you are wanting to select the colour of grass for example, you should check both the yellow and green channels to see which range is most thorough.
Ultimately with a bit of practice, you’ll have the colour splash effect committed to muscle memory!
So now you know how to make a photo black and white, except one colour. What was your favourite method? Let me know in the comments below!
Happy Editing!
-Brendan


















[…] changing colors and unique color effects, you’ll love hearing about a photo effect called the color splash effect. Rather than changing a single color in your photo, it isolates one color and turns the rest black […]