


You will discover there are three variations when learning how to use the Eraser Tool in Photoshop. You can use the brush-like tool to delete pixels you brush over, to delete pixels in a color range that you brush over, or to delete a sampled color across the entire image.
With that said, let’s take a closer look at how each Eraser Tool works and how you can best utilize them in your projects.


Video Tutorial
How To Use The Eraser Tool In Photoshop
Step 1: Activate The Eraser Tool (E)
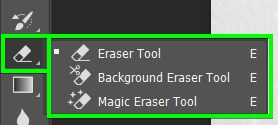
To use the Eraser Tool, select the tool of choice in the sidebar by clicking and holding the Eraser Tool or press Shift + E to cycle through the options.
Step 2: Adjust The Settings In The Options Bar
In the Options Bar, you’ll see the different settings you can use to adjust the tool. Depending on which Eraser Tool you selected, the settings vary slightly.
– The Eraser Tool Settings
When using the Eraser Tool, you can set the brush type, size, and hardness in the Brush Preset Picker. You can then choose the Mode between Brush, Pencil, or Block. The Opacity should always be kept at 100% when you want to fully remove pixels.
Lastly, set the Flow rate and the Smoothing, which will help control brush shakiness and keep the strokes smooth. Feel free to play around with these options to see what works best for your needs.

– The Background Eraser Tool Settings
The most important ones to set are the size, hardness, and spacing, which you can find by clicking the arrow next to the brush tip icon.
You can also set the sampling settings using the three icons and choose whether the pixels are sampled Continuously as you move, Once, or using the Background Swatch. Next, set the Tolerance based on the contrast between the area you’d like to erase and the parts you want to keep — you can keep it higher for more contrast and lower for less.

– The Magic Eraser Tool Settings
In the settings, you can set the Tolerance to determine how similar colors should be to the selected pixels to be deleted. Make sure you enable Anti-Alias and Contiguous for a smoother eraser and set the Opacity to 100%. Enable Sample All Layers if you want the tool to affect all the layers.

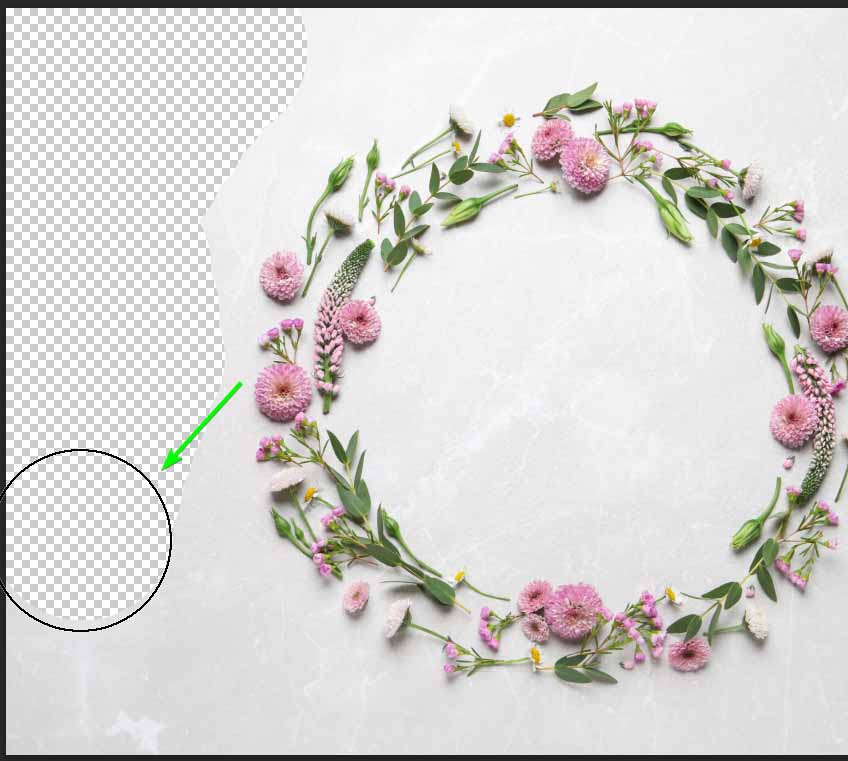
Step 3: Paint Over Areas Using The Eraser Tool To Permanently Delete Pixels
Start painting over the areas you want to delete. As you brush over pixels, they will automatically be permanently removed. In any areas you deem too difficult to erase using the Eraser Tool, you can go as close to the edges as possible and then use a different eraser tool to clean up the edges.
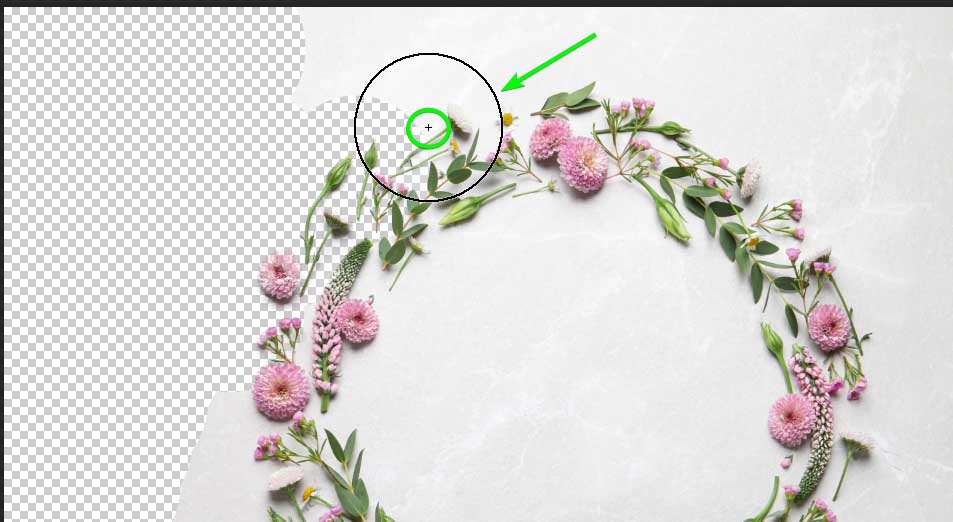
Step 4: Clean Up Areas Using The Background Eraser Tool
The background eraser works a bit differently. Rather than painting over and erasing the pixels, the cursor will change to a circle with a plus sign in the middle. The tool will then sample the color underneath the plus sign as you brush. Next, Photoshop will erase all the pixels close to that color that fall inside the circle.
Brush over the image with the Background Eraser Tool, and be sure to keep the target point on the color you want to erase. Every pixel with the same color or brightness level, based on the tolerance you set underneath the point of your circle, will be erased, while any pixels outside of the tolerance range will remain even when brushed over with the circle.
Step 5: Remove Any Remaining Color With The Magic Eraser Tool
Lastly, if there are pixels of the same or similar color to the area you want to be removed scattered around the image, you can quickly remove these pixels with the Magic Eraser Tool, which works similarly to the Magic Wand Tool.
Click on a pixel of the color you want removed, and all instances of this color and similar colors based on the tolerance range will be removed.
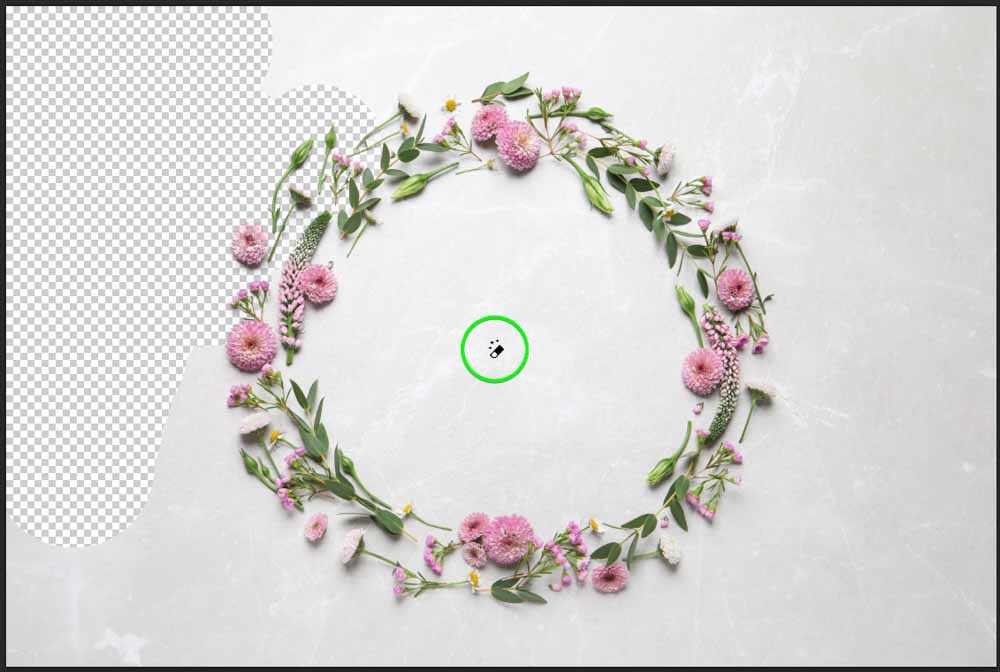
Depending on the tolerance, all the pixels of the same and similar color will be deleted. This is useful when the background or area you want to delete is filled with similar colors while the object you want to keep is filled with different colors and brightness levels.
The variations of the Eraser Tool are useful in certain situations. However, in other cases, to get a more accurate and professional background removal, try one of the eight tools highlighted in my background removal guide.
