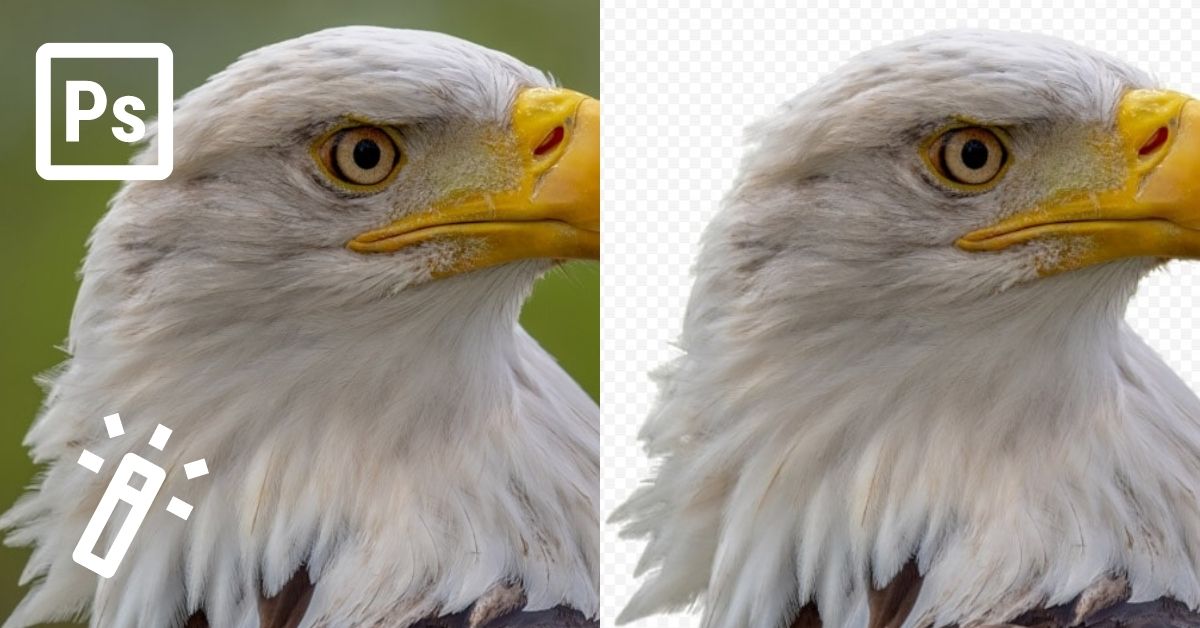
While many people think the magic wand tool in Photoshop is a difficult use (as I once thought myself), it is actually quite simple. The magic wand tool is one of the most intuitive selection tools that you can use to select pixels of similar color and tone. This makes the magic wand tool one of the best tools to use when selecting a background or areas of similar color.
You can use the magic wand tool to make both simple and complex selections. Once you learn how to navigate the settings of the tool, you’ll start to see how easy it is to use too.
So let’s learn what all this tool can do when making easy selections in Photoshop.
What Is The Magic Wand Tool In Photoshop?
The magic wand tool allows you to make selections based on the color and tone of the pixels in the image. This tool is excellent for selecting backgrounds when the background and the rest of the image differ in terms of color. If the area you want to select is similar in tone and color to its surrounding, it might be difficult to make selections using the magic wand tool.
With the magic wand tool, you can make selections that would otherwise be complex. For example, with the pen tool or the lasso tool, you need to make selections manually, while with the magic wand tool, you only need to adjust a few settings and let Photoshop do the rest.
How To Use The Magic Wand Tool In Photoshop – Video Tutorial
Magic Wand Tool Settings Explained
– Selection Types
There are four selection types. You can find them in the Options bar represented by small square icons. Just remember that all of these settings only become available when the magic wand tool (W) is active.

1. New Selection
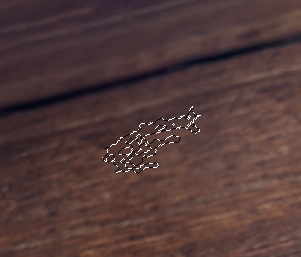
When you click the magic wand tool, you automatically enable the New Selection option. Then, once you click somewhere in your image, the magic wand tool makes a new selection.

2. Add to the selection
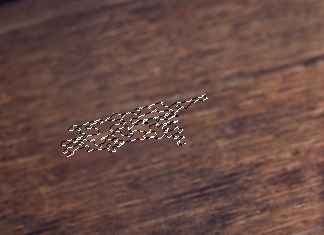
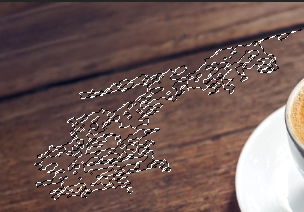
You should click the second block icon when you have already made your initial selection. When you click this option and then click on an area of your image, that area will be added to your existing selection. You can also add content to your selection by holding in Shift while clicking on an area of your image.

3. Subtract from the selection
This third block icon removes parts of a selection. Enable this option by clicking on the third square icon in the Options bar and then clicking on the part of the selection you want to subtract. Alternatively, hold Alt (Win) or Option (Mac) on your keyboard and click the portion of the selection you want to remove.

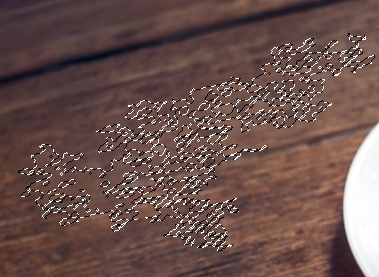
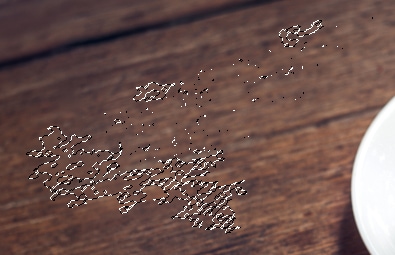
4. Intersect with selection
The fourth icon is useful when there are two selections overlapping with a common space between them, and you want to select the intersecting pixels. To do this, click the Intersect with the selection icon and then click the target area. This allows you to merge two different selections into one, even if the selection was made with a different tool.

– Sample Size
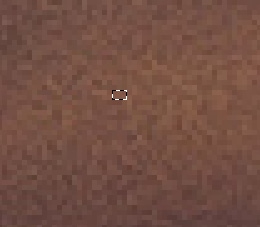
Sample Size is one of the most important magic wand tool settings. By adjusting this setting, you can control the number of pixels used as the basis for your selection.
By default, the sample size is set to Point Sample. When this option is enabled, the magic wand tool will only select pixels from the exact tone and color you clicked.
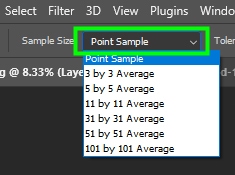
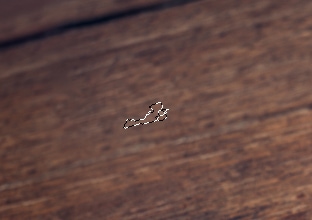
As you increase the sample size, the magic wand tool will use a larger area of pixels as the basis for your selection. This will help you make a larger selection where more color tones are included.
In most cases, however, you won’t need to set Sample Size beyond 31×31. Otherwise, you will end up selecting more pixels than necessary.
– Tolerance
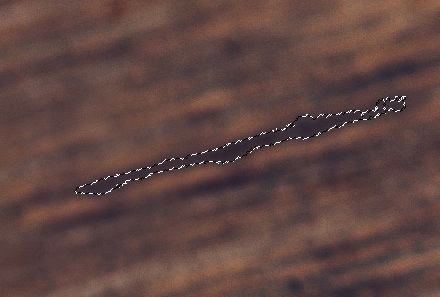
Tolerance controls how much the magic wand tool will deviate from your sample color. If you set tolerance to zero, the magic wand tool will only select pixels with the exact same color and tone from the pixel you clicked.
– Anti-Alias
Anti-alias smooths the edges of your selection by blurring the edges slightly. You should always leave this option checked.

– Contiguous
You should enable Contiguous when you want to restrict the area of your selection. With this option enabled, the magic wand tool only selects pixels of the same tone that are touching. If this option is not checked, the magic wand tool will select similar pixels to the pixel you clicked across the entire image.


How To Remove A Background With The Magic Wand Tool In Photoshop
If you want to remove the background with the magic wand tool, the first thing you need to do is enable the tool. To do this, click the magic wand icon in the toolbar or click W on your keyboard.
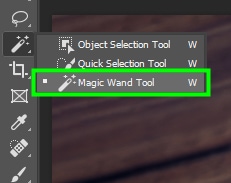
Once the magic wand tool is selected, adjust a few settings on the Options bar.

Start by adjusting the sample size. If your background is composed of a single hue and all pixels have the same brightness, you can set the sample size to Point Sample. But if your background is composed of different colors and different tones you should increase the sample size.
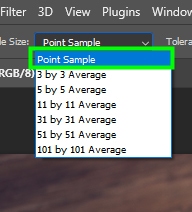
In my case, all the background pixels are brown but there is some variation of brightness between the pixels. Thus, I changed from Point Sample to 3×3 Average.
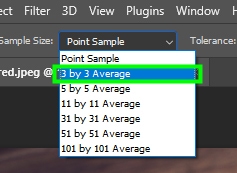
Set a low value for Tolerance when starting to make your selection. Then, increase or decrease such a value as you’re making the selection. The default tolerance value is 32, and for my example, I will keep it as 32.

When using the magic wand tool to select the background, leave Anti-alias and Contiguous checked.
Anti-alias will minimize the chance of getting imperfections at the edges of your selection, such as color fringing. Contiguous, on the other hand, will ensure only the background area is selected and not the rest of the image.

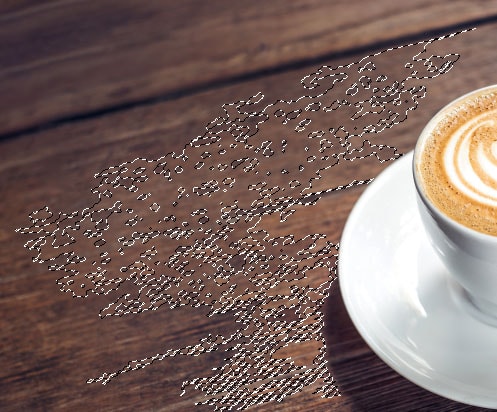
Once you’ve adjusted all the necessary settings, you can start making your selection. To make your selection, first, click anywhere on the background to make the initial selection. In my case, I clicked on the middle of the image and that was the starting point of my selection.

Notice that the magic wand tool selected a large area of the background. And because Contiguous is checked the selection did not affect the cup, but only the background.
However, there are still a lot of pixels left out of the selection. To continue to build the selection, I’ll go back to the Options bar and select the Add to the selection icon, which is the second square icon in the options bar.

When you click this option, you will notice the magic wand icon on the canvas will change. It will get a plus sign, which means the tool is ready to add more content to the selection you made.
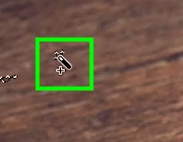
Then, as soon as you click another part of the background, you will add that area to your existing selection.

Alternatively, you can add more content to your selection by holding Shift on your keyboard and then clicking another part of your image.
On the other hand, if you end up selecting more content than necessary, you can click the Subtract From The Selection icon in the options bar or hold Alt (Win) or Option (Mac) on your keyboard while selecting the area you want to deselect.

As I continued my selection, I noticed many pixels at the bottom of the image were not selected. That’s because the area at the bottom of my image has many different tones of brown, and the magic wand tool couldn’t select all of those pixels because the tolerance value I set wasn’t high enough.
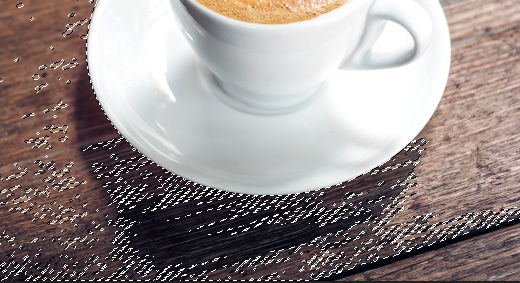
To fix that, I increased tolerance to 46, which allowed me to select more pixels of different tones of brown in that area.

Then, I pressed Shift and clicked the target area to add more pixels to the selection.

However, you may want to lower the tolerance, for example, when selecting an area with more specific tones. In my case, I lowered the tolerance to 33 again. This way, I could select the bright pixels next to the cup without selecting the cup as well.


You can repeat the steps learned here until your background is completely selected.

When you finish making your selection, click the layer mask icon at the bottom of the Layers panel.
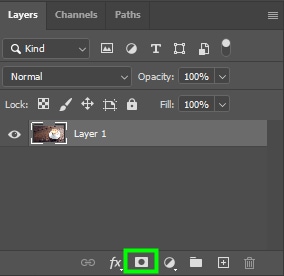
This will create a layer mask linked to the image layer.
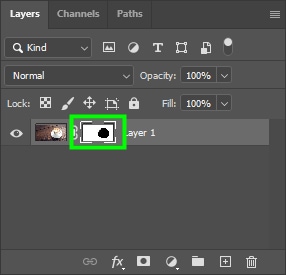
After doing this, you may find it strange that the background is still there and the rest of the image is gone.
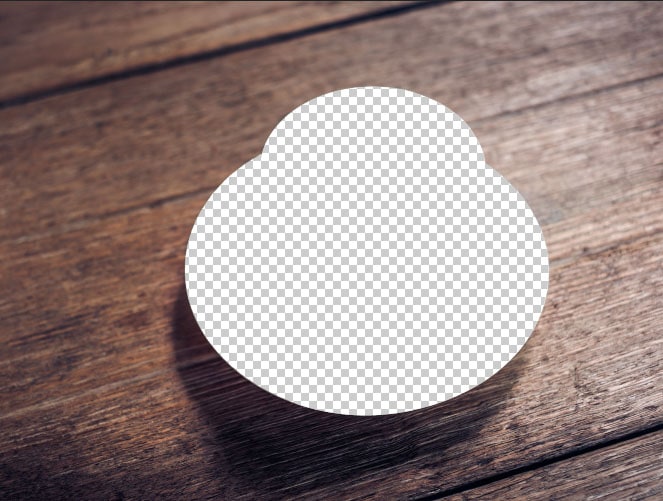
For the background to disappear, you need to press Control +I (Win) or Command + I (Mac). This will invert the selection. Inverting the layer mask is done to reveal the object and hide the background if you have the same result I did with your mask.
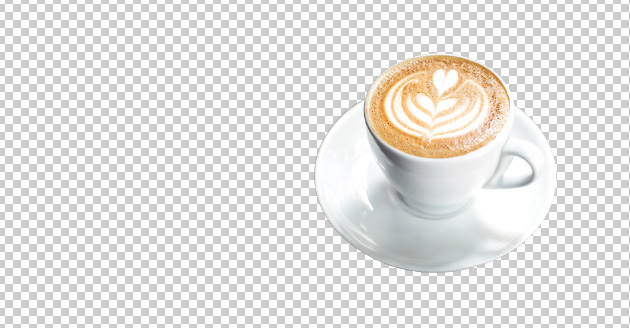
But once you invert the selection, the background disappears, and you can use the resulting image as you like. If you simply want to export the image with a transparent background, you’ll need to export it to PNG.
How To Remove A Complex Background With The Magic Wand Tool In Photoshop
When making complex selections, you can alter the settings to correctly select the background. You can also use the Select And Mask workspace to touch up your selection, and achieve the best results possible. For this example, the background has more color tones, but there are also complex edges around the feathers to deal with.

To select the complex background, select the magic wand tool in the toolbar.
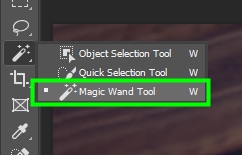
Then, go up to the Options bar to adjust a few settings. In case you have different hues in your image, it is a good idea to increase the Sample Size so that you can add more pixels as the basis for your selection.
In my case, I increased the sample size to 5×5 because my background has green, brown, and even gray tones.
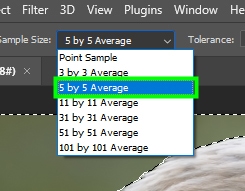
You can set tolerance to 32, which is the default tolerance value. You can change this value later if you need to.

You should always leave Contiguous and Anti-alias checked when removing backgrounds. Anti-alias minimizes imperfections on the selection’s edges, and Contiguous will ensure that only the background is selected.

With all the magic wand tool settings adjusted, you can start making your selection by clicking anywhere in the background of your image.

To add content to your selection, hold in Shift while clicking on other areas of your image. You can also press Shift and then drag over the area you want to add to the selection. The goal here is to select the entire background.

While making your selection, you may end up selecting more than you should. In my case, I was selecting the background and ended up selecting parts of the eagle’s neck.
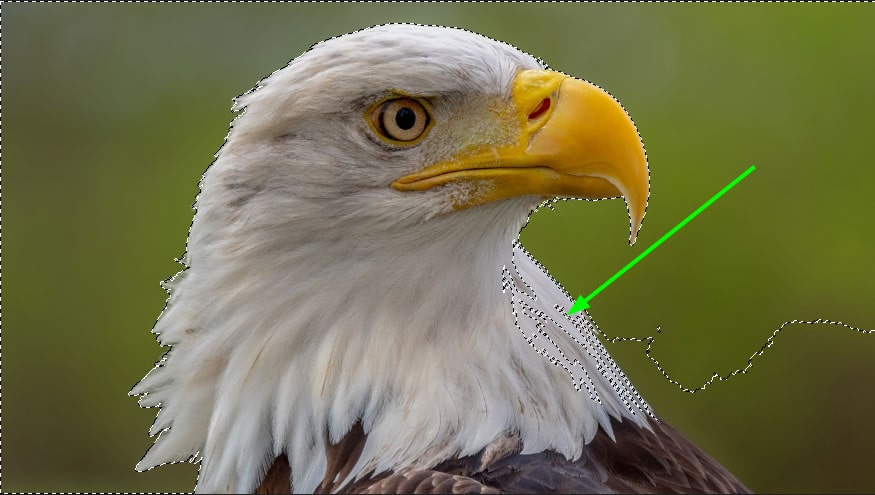
If something like this happens to you, press Alt (Win) or Option (Mac) and click the area to subtract the extra content from your selection.

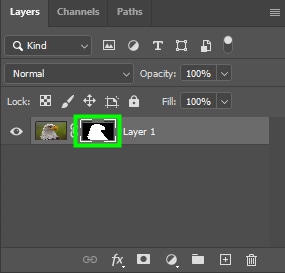
Repeat the steps until you finish selecting the entire background. When you’re finished selecting your image background, click the layer mask icon at the layers panel to create a new layer mask.
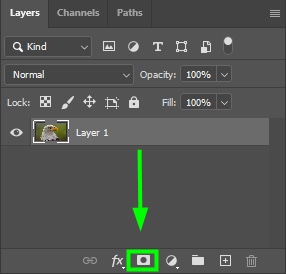
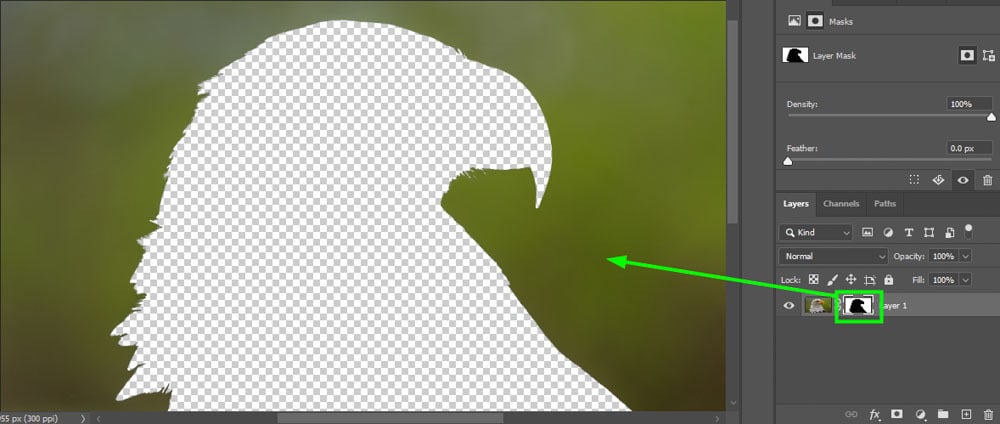
Next, click Control + I (Win) or Command + I (Mac) to invert the selection and make the background transparent.
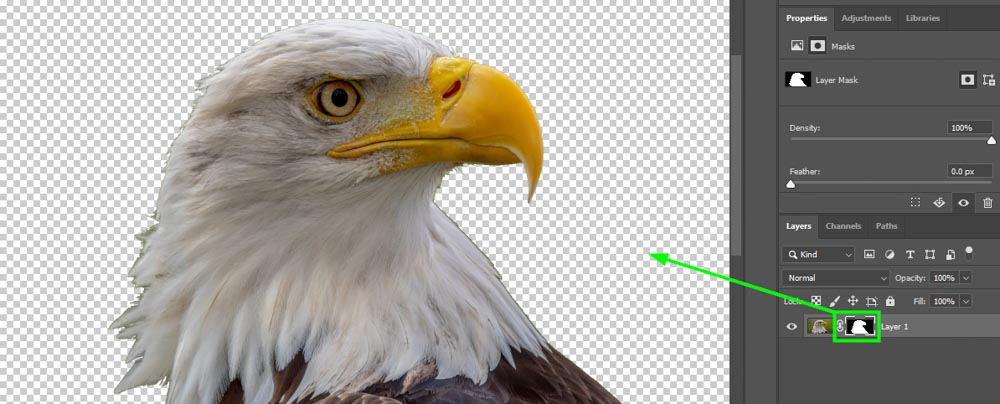
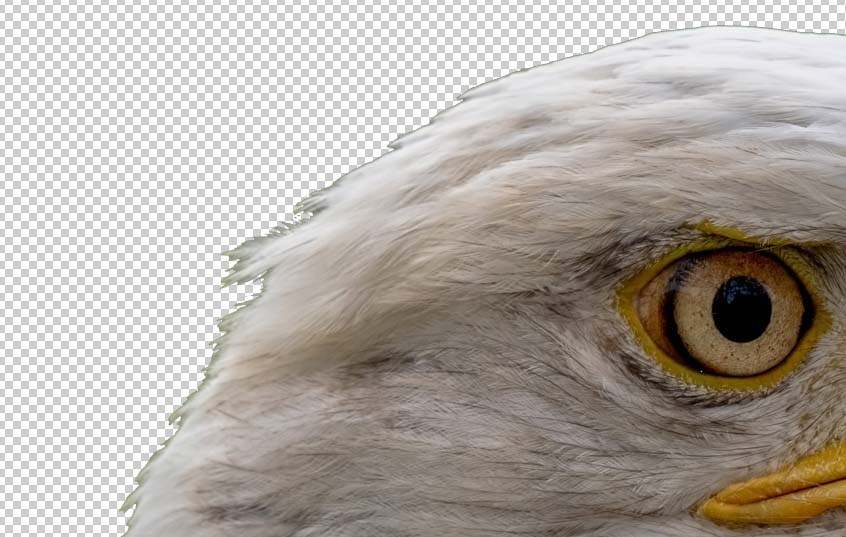
You might want to make changes to your selection after inverting it to remove imperfections from its edges, as its edges may have color fringing and other issues.
To start refining your selection, you can either double-click the layer mask or click Select And Mask in the options bar.

This will open up the Select and Mask workspace.
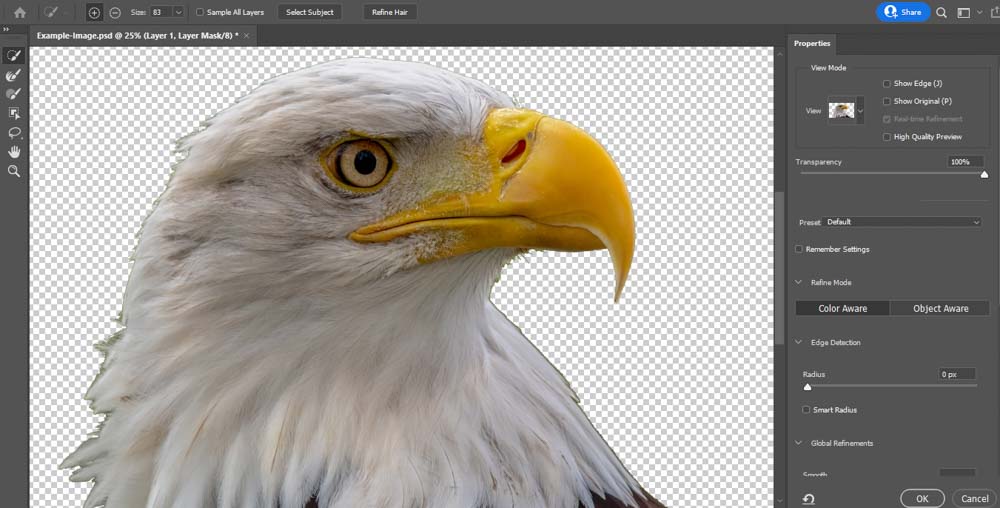
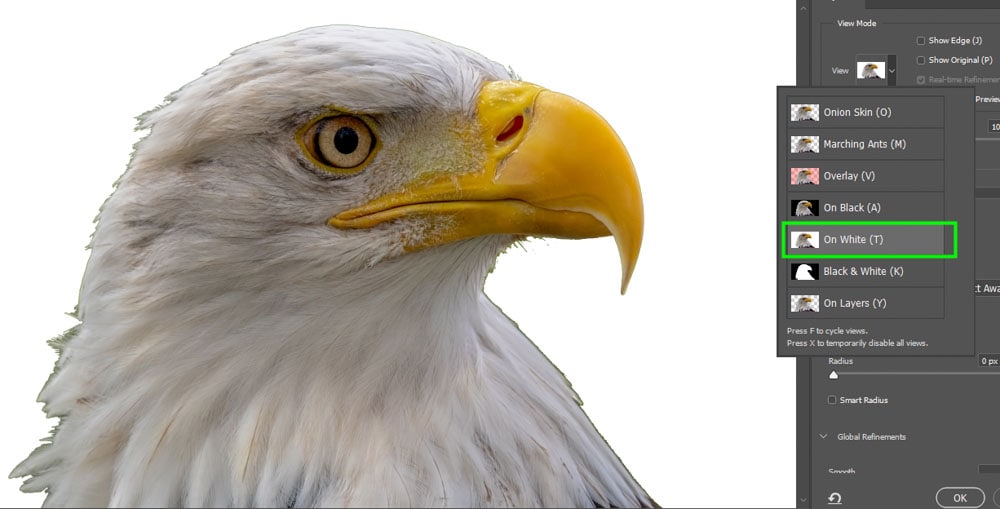
Once the select and mask workspace opens, I advise you to set the view mode to either On black (A) or On white (T) depending on the color of the fringing you have in your selection edges. For example, if your selection has dark fringing, set the view mode to white, and if it has bright fringing, set the view mode to black.
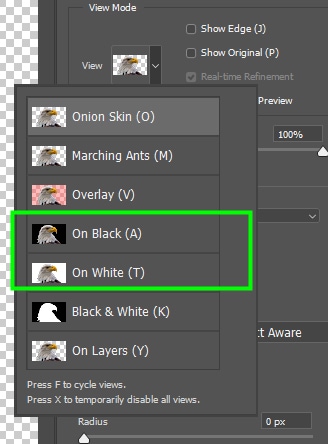
In my case, I set the view mode to white because the color fringing in my selection was dark. That allowed me to see the imperfections at the edges of my selection.
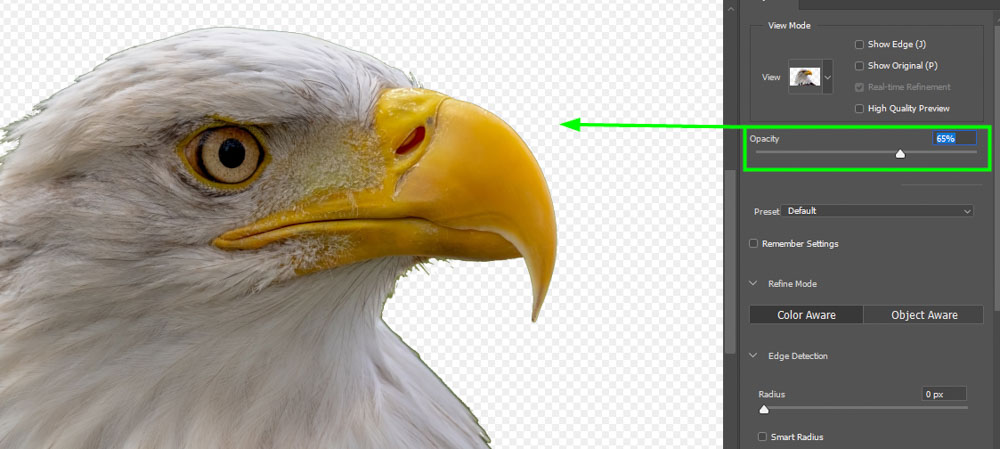
To better see the changes being made, you may also benefit from lowering the opacity of the view mode by moving the opacity slider to the left.
Once you adjust the view mode, you can start refining the edges of your selection. To do this, you can use the Refine Edge Brush Tool, located on the left side of the workspace.

Once you select the tool, you can adjust the brush size on the Options bar. You can move the brush size slider to the right to increase the brush diameter or to the left to decrease it. Alternatively, you can use [ on your keyboard to decrease the brush size or use ] to increase it.
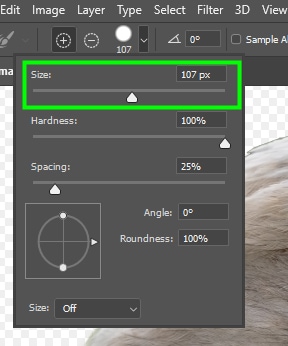
Then, start painting over the edges of the selection. This will remove any brightness/darkness around the edges of your selection, making it look more natural and bringing back the edges’ details.

To better refine the edges of your selection, you may benefit from checking the Smart Radius checkbox on the right side of the workspace. This option uses artificial intelligence to better detect the edges of a selection, making it easier to refine the selection edges with the Refine Edge Brush Tool.
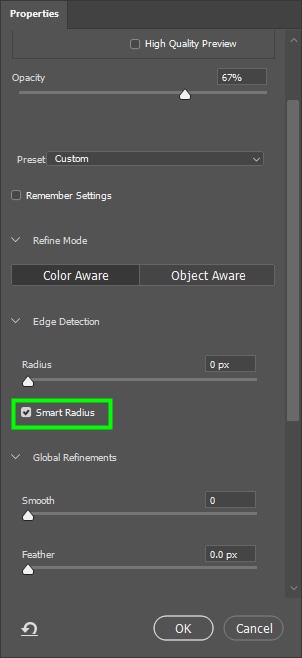
You can continue using the Refine Brush Tool until all the selection edges have lost their color fringing, and you’re satisfied with the result.
To finish retouching your selection, you can check the box next to Decontaminate Color on the right side of the Select And Mask workspace. This option will remove any remaining color fringing from your selection.
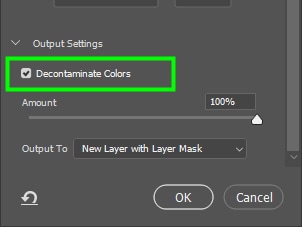

After making all the necessary changes to your selection in the Select And Mask workspace, change Output to New Layer with Layer Mask and click Ok to close the workspace.
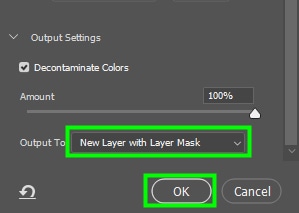
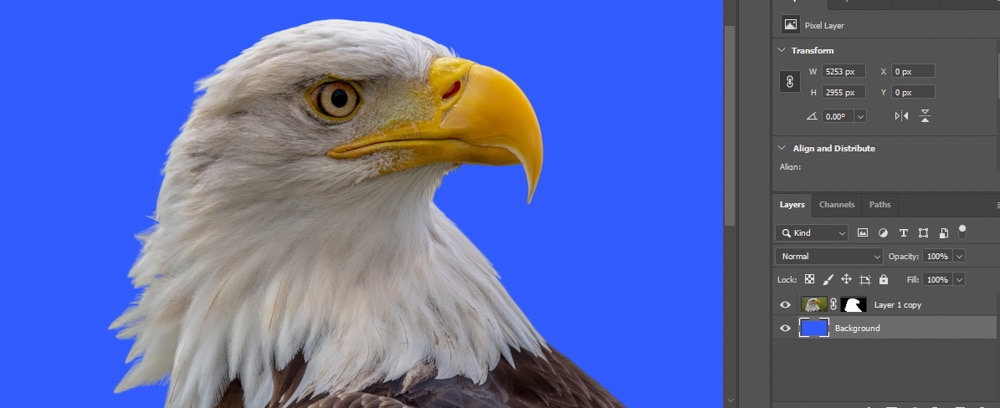
Back in the Photoshop default workspace, you can do many things to your new image, such as changing the background color.
The magic wand tool is easy to use once you understand that it samples color to create selections. When removing backgrounds or creating selections with similar colors, the magic wand too really shines.
Happy Editing!
