


There is a quick and easy way to change the background color in Photoshop, whether you want to add color or create a simple white background. These methods work well for product photos or portraits but can be mixed with any kind of image.
With the tips learned here, you’ll be able to swap the background in no time for a clean, professional studio look. Let’s get started!


Video Tutorial
How To Change The Background Color In Photoshop
Step 1: Use Select Subject To Create A Selection
Select your image layer and click on Select Subject in the Contextual Task Bar.
Note: If you don’t see the Contextual Task Bar, go to Window > Contextual Task Bar or find the Select Subject option under the Quick Actions in the Properties Panel.

Photoshop’s AI will automatically create an accurate selection around your image. If you have a complex subject and the selection isn’t accurate, you can use a different selection method.
Step 2: Clean Up The Selection Using The Quick Selection Tool
If the selection isn’t perfect, you can fix up any areas that the Select Subject may have missed. You can do this using the Quick Selection Tool (W) and the Select and Mask workspace.


Step 3: Invert The Selection Using Shift + Control/Command + I
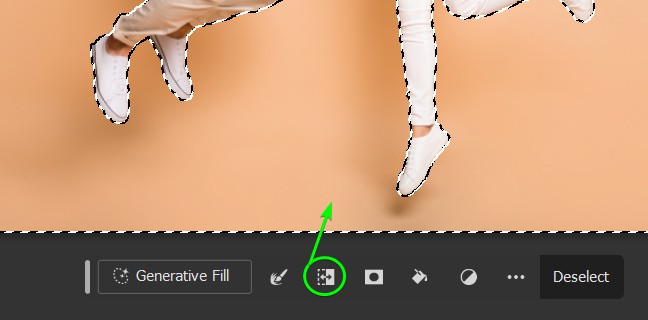
Next, switch the selection around to select the background by clicking on the Invert Selection icon in the Contextual Task Bar or by using Shift + Control + I (Win) or Shift + Command + I (Mac).
Step 4: Go To New Adjustment Layer > Solid Color
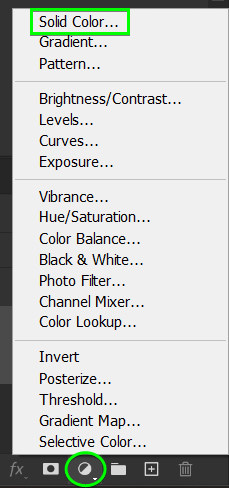
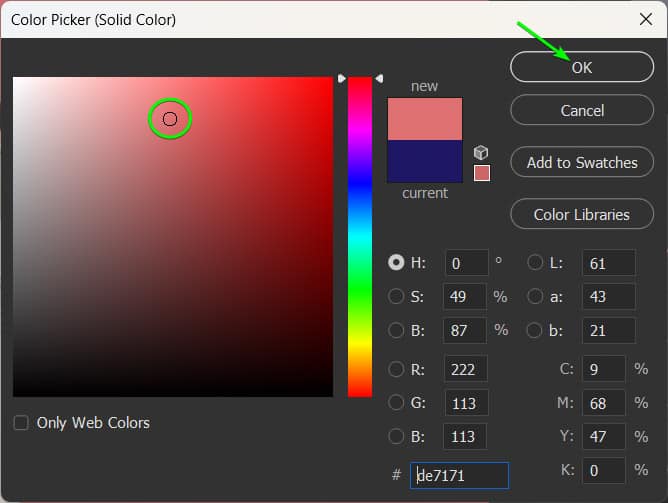
You can now add the new color directly to the background by clicking on the New Adjustment Layer icon at the bottom of the Layers Panel and selecting Solid Color. Then, choose a new background color in the Color Picker and click OK.
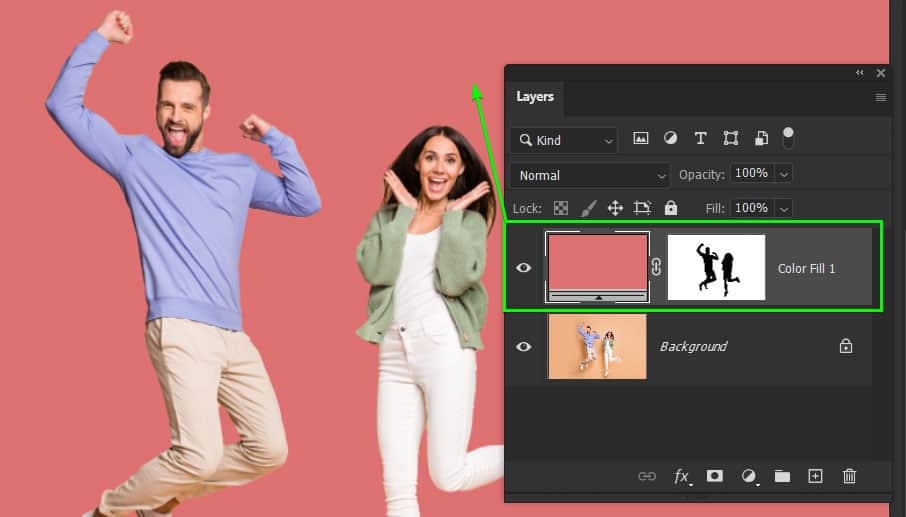
This automatically adds a solid fill layer with a Layer Mask to the image. If you are adding a new background color to a complex background, you can stop here with the new background color. However, if your image is on a solid-colored background and has shadows, continue to refine the background.
Step 5: Change The Color Fill Layer’s Blend Mode To Multiply
Now, to bring back the shadows from the original image, change the Color Fill Layer’s Blend Mode to Multiply in the Layers Panel.
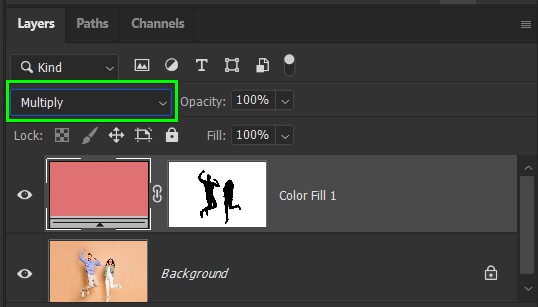
You will see the shadows reappear, and the background looks more realistic. However, the background color will change with the blend mode.

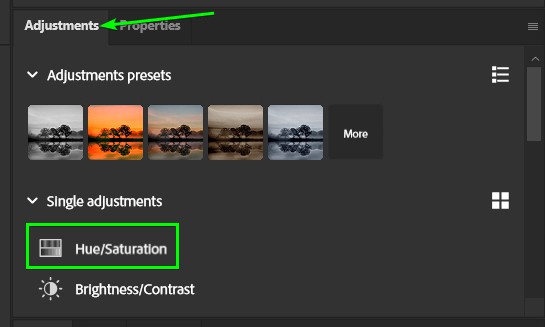
Step 6: Refine The Color With A Hue/Saturation Layer (Optional)
To refine the background color some more, add a Hue/Saturation Adjustment layer by selecting the option in the Adjustments Panel.
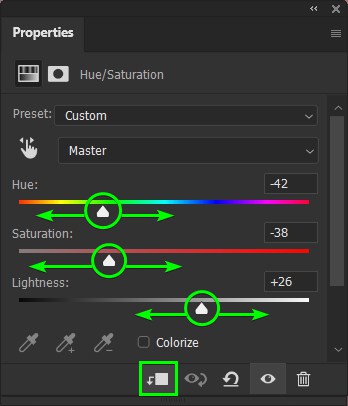
Select the Clipping mask icon or press Alt + Control + G (Win) or Option + Command + G (Mac) to ensure the adjustment layer only affects the fill layer.
Then, use the sliders to refine your new background color. To change the color, move the Hue slider left or right as needed. You can make the color appear more saturated or bright by further adjusting the Saturation and Luminance Sliders.
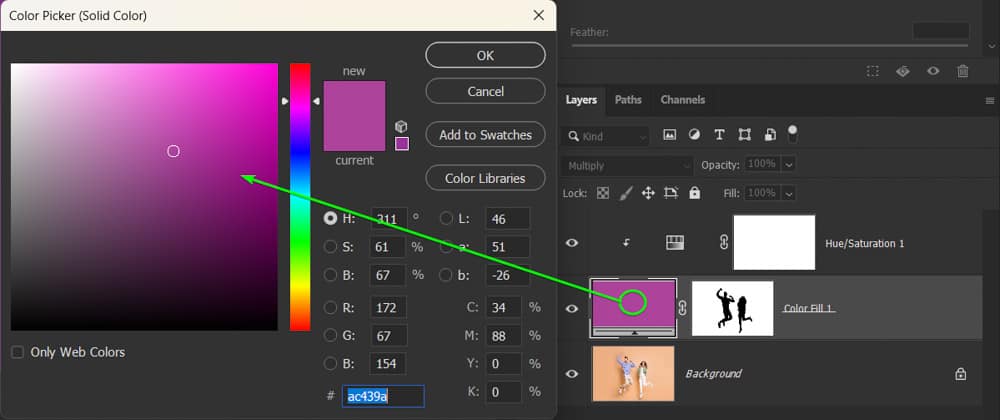
Step 7: Change The Fill Color (Optional)
You can also go back to the solid fill color at any stage to change the background color. Click on the fill color’s thumbnail to re-open the Color Picker and select a new color. You can also re-adjust the Hue/Saturation settings to change the color.
You will now have a new realistic background color on your image.
How To Change The Background Layer Color
Option 1: Changing The Background Layer Color From The New Document Window
The first option you have is to change the background color before you even open your project. In the New Document window, you’ll find an option called Background Contents.
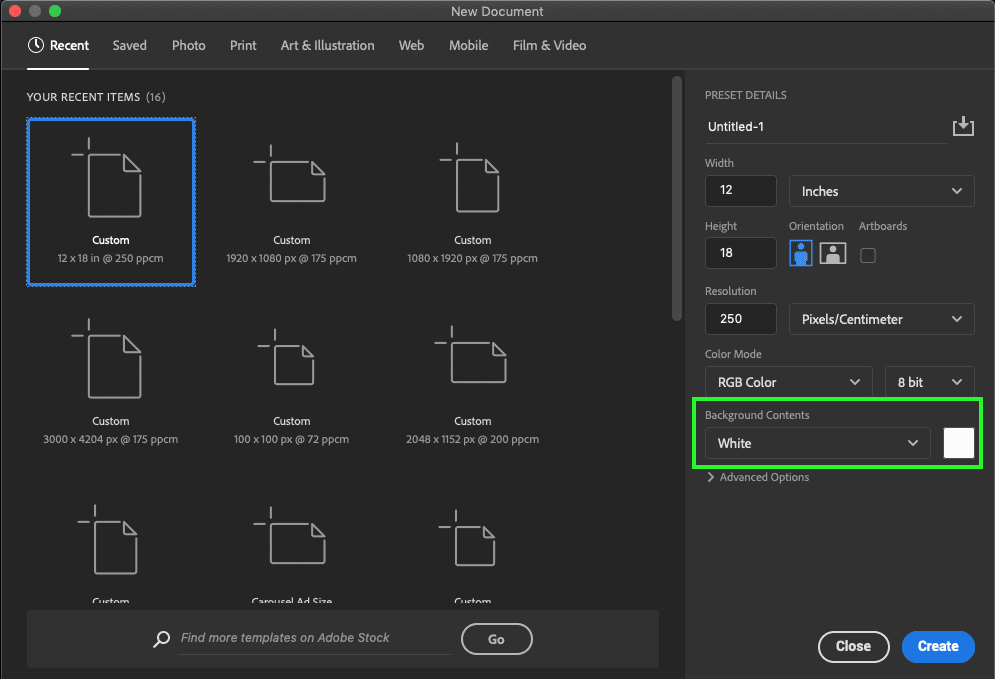
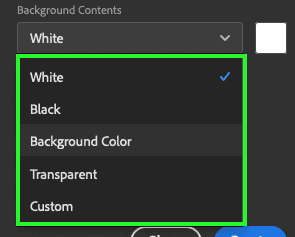
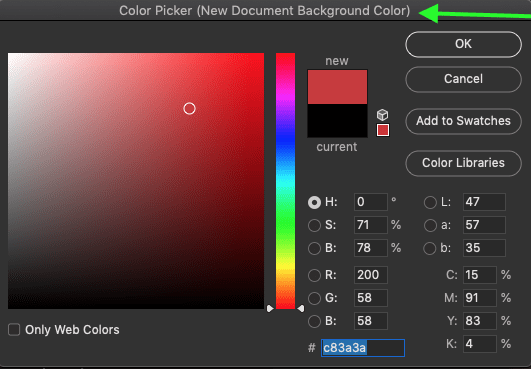
There are several options to choose from within the drop-down menu, such as white, black, your currently set background color, transparent, or custom. With the Custom option, you can select any color you’d like via a color picker.
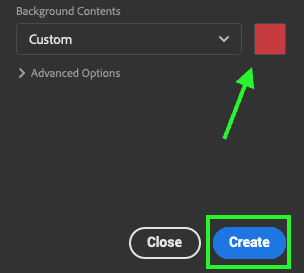
Once you’re happy with your color, click Create to open a new document with the background color you just selected.
Option 2: Changing The Background Layer Color In An Active Document
If you already have a document created, it’d be a pain to go through that entire process again. Instead, you can change the background layer’s color that already exists with an easy keyboard shortcut.
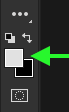
First, click on your foreground color, choose a color you’d like for the background layer, and select a new color from the Color Picker.
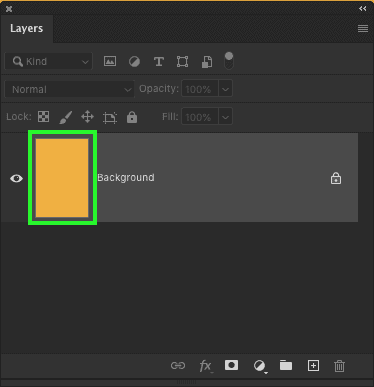
Next, select the background layer and press Alt + Delete (Win) or Option + Delete (Mac) to fill it with your foreground color. Now, your background layer has a completely different color, and you don’t have to make a new document!
Now, you know a handful of ways to change the background color in Photoshop. Whether you’re working with a portrait, product photo, or any other type of image, there’s a technique outlined here to get the job done.
Happy Editing!
– Brendan 🙂
