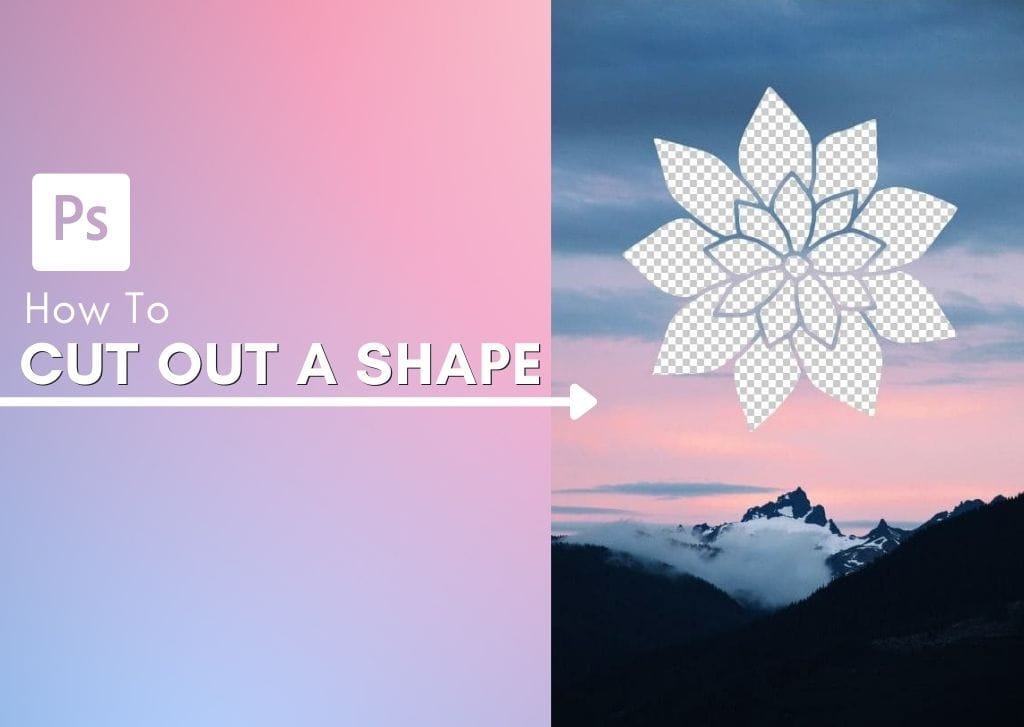

You can use basic shapes to create versatile layouts and image edits, but if you want to be more creative, you need to learn how to cut out a shape in Photoshop. This technique creates a custom-shaped hole in an image or layer that you can fill with another image, color, or texture.
With the help of any shape tool in Photoshop (including your custom shapes), you can quickly cut out any section of an image with a few clicks. Here’s how it works.
How To Cut Out A Shape From A Shape In Photoshop
Step 1: Add A Shape To The Canvas
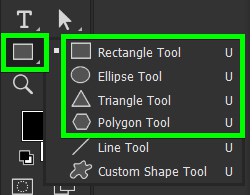
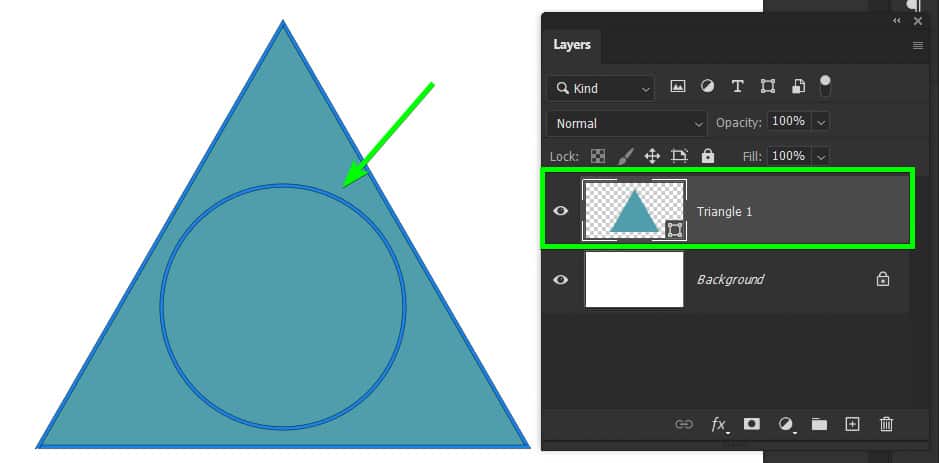
Cutting one shape out of another is a quick and easy way to create a custom shape. To do this, first, add your first shape on the page using the Shape Tool (U).
Step 2: Add The Second Shape Onto The Same Layer
Next, add the shape you want to cut out of the first shape onto the same layer. To do this, select the new shape from the Shape Tool (U) fly-out menu.
Then, hold Shift while clicking and dragging to add the new shape to the canvas. This ensures that the shape is added to the same layer, which is essential for this method to work. Make sure you only have one shape layer in the Layers Panel after adding the second shape.
If the shape isn’t added to the same layer for some reason, or you already have two shape layers, merge the layers by selecting them both and pressing Control + E (Win) or Command + E (Mac). Then, continue with the steps.
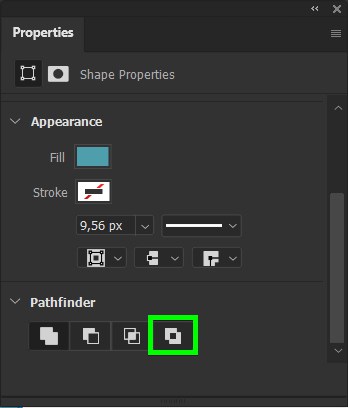
Step 3: Select Exclude Overlapping Shapes In The Properties Panel
With both shapes on one layer, open the Properties Panel (Window > Properties if you don’t see it), and scroll down until the Pathfinder options at the bottom. Click on the Exclude Overlapping Layers option, which is the last icon.
Note: This option is only available when the shapes are overlapping and on the same layer. This option will only remove the overlapping areas of the two shapes and not simply cut out the top layer.
The overlapping shape will then be cut out of the base shape. You can now add elements behind the shape to show through the cut-out or use the shape as intended.

How To Cut A Shape Out Of An Image In Photoshop
Step 1: Select Your Shape
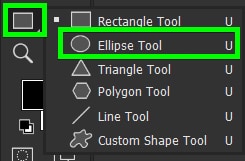
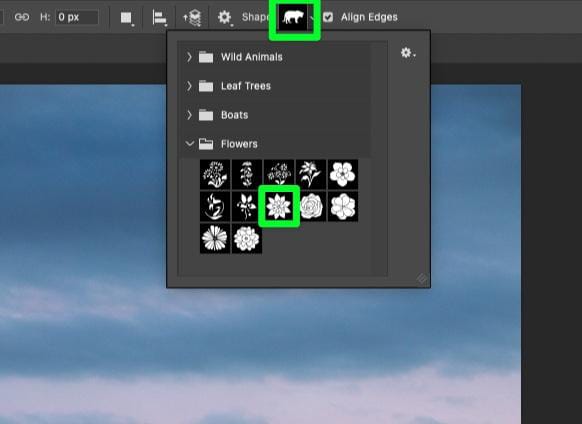
With your image open in Photoshop, click and hold on to the Shape Tool (U) to select a shape. By choosing the Custom Shape Tool, you can find even more unique shapes to choose from in the Options Bar.
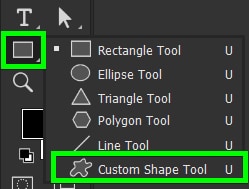
Make sure the mode is set to Shape in the Options Bar.

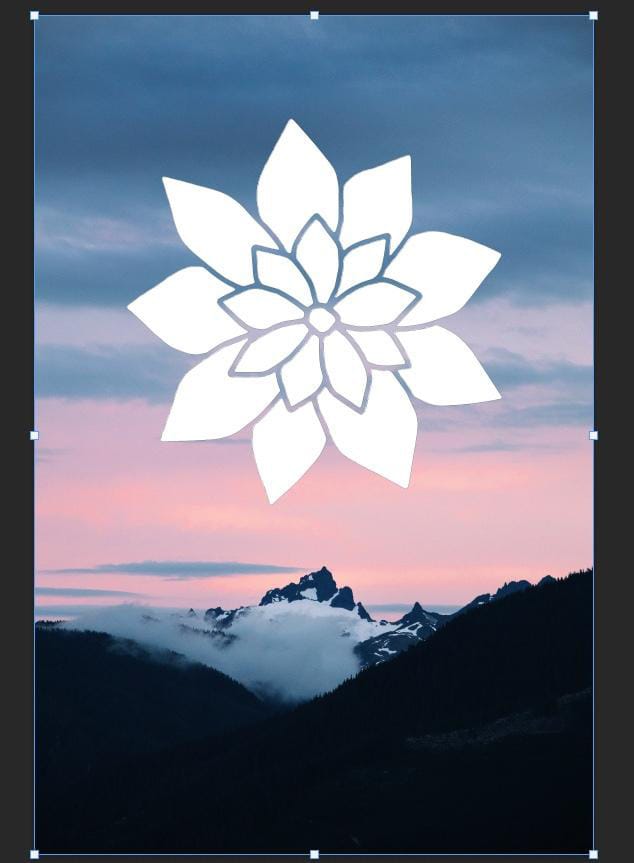
Step 2: Draw Out Your Shape
Once your shape is selected, you can click and drag it on your layer to draw out your shape. Hold down Shift to ensure that your shape retains its proportions.
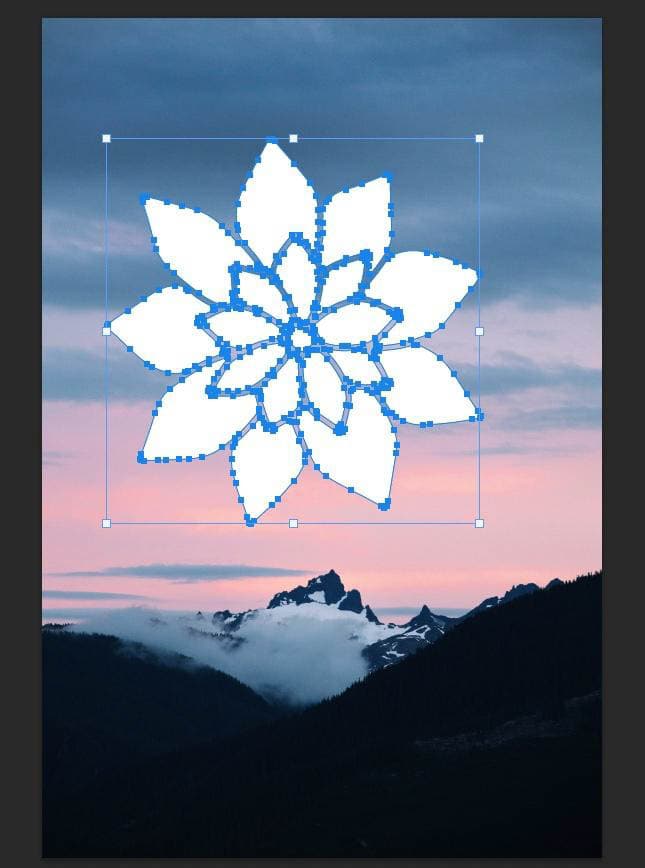
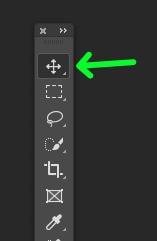
If you need to move your shape after drawing it, click on the Move Tool (V) in the Toolbar.
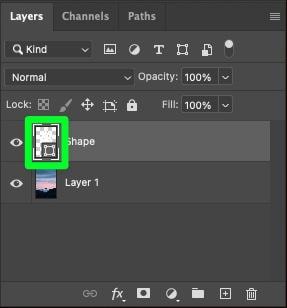
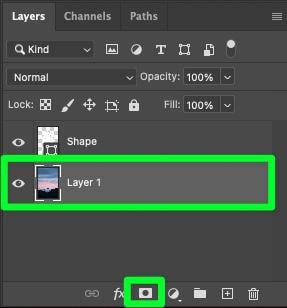
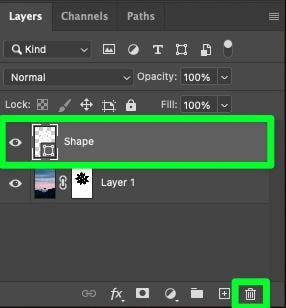
Step 3: Select The Shape In The Layers Panel
With your shape drawn and in place, it’s time to create a selection around the shape. To do this, hold down Control (Win) or Command (Mac), then click the shape thumbnail in the Layers Panel.
You will know that you have successfully selected your shape when you see marching ants around the shape to indicate a selection.
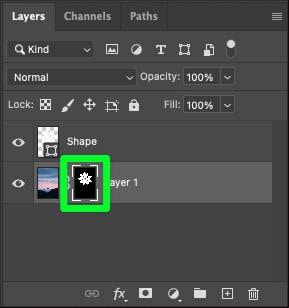
Step 4: Add A Layer Mask To The Image Layer
Now, click on your image layer and add a layer mask by clicking the Layer Mask button at the bottom of the Layers Panel. This applies the active selection of the shape onto a layer mask for your image. You will also see the mask pop up next to your image.
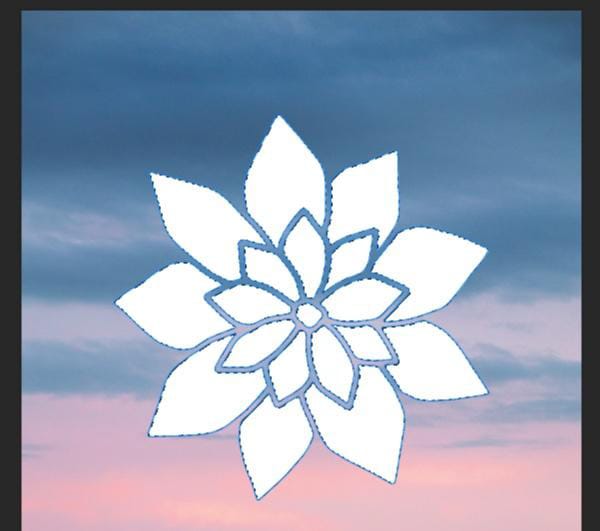
Back on your canvas, the only thing you should see is the shape.
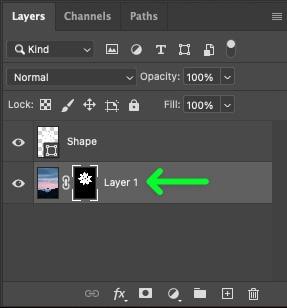
Step 5: Invert The Layer Mask
Your next step is to reverse the effect you have so far. To do this, click the mask itself, then press Control + I (Win) or Command + I (Mac). This will invert the layer mask.
In the Layers Panel, you will see that the thumbnail for the mask is also inverted.
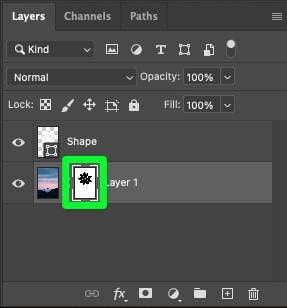
Back on your canvas, it will look like the shape is on top of your layer again.
Step 6: Delete The Shape Layer
Select the shape layer and click on the Trash button to create the cut-out look. You should now only have one layer in the Layers Panel.
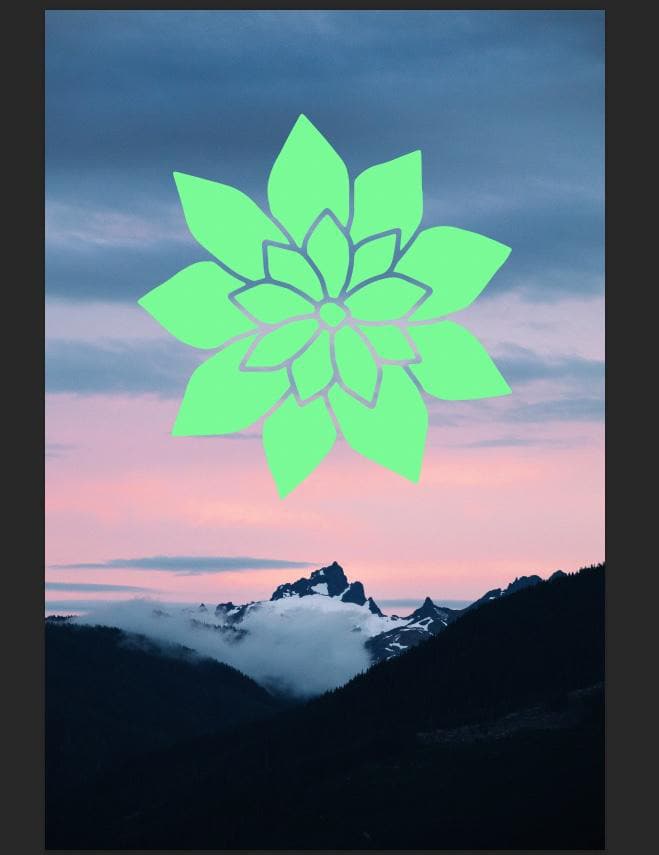
Once you delete your shape layer, you will see a checkerboard pattern behind your cut-out shape, which indicates transparency.

Step 7: Add A Background Layer (Optional)
Now that your shape is cut out, you can add a background layer behind it to complete the effect. You can add another image, pattern, or anything you need for your background.
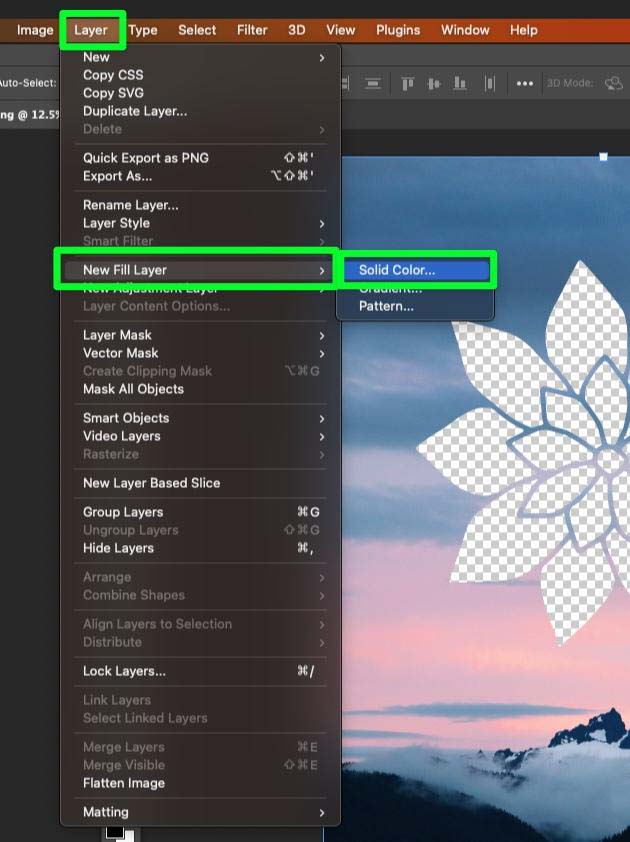
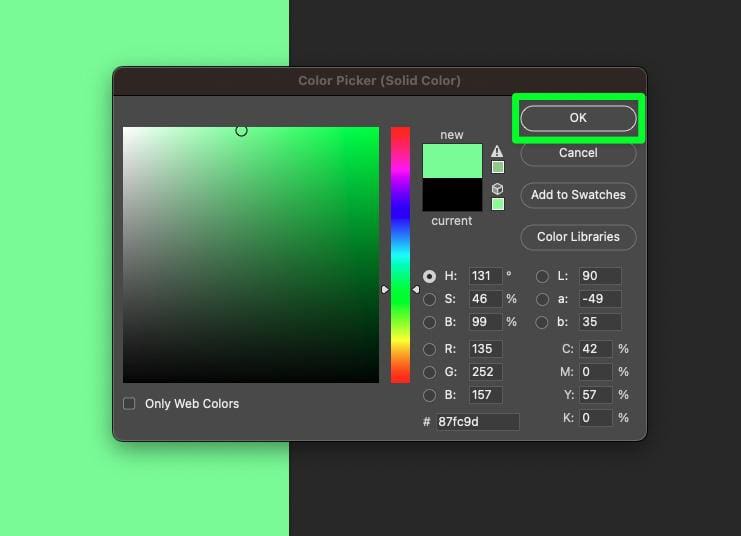
If you want to add a solid color as your background, go to Layer > New Fill Layer > Solid Color.
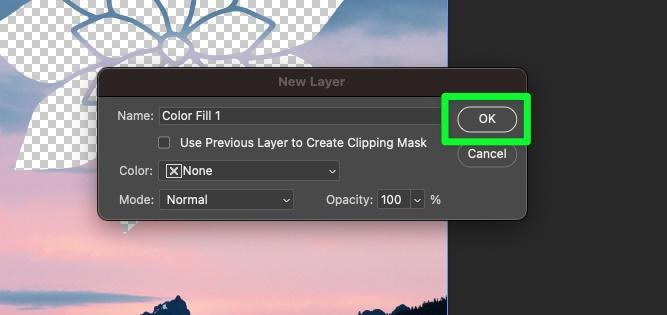
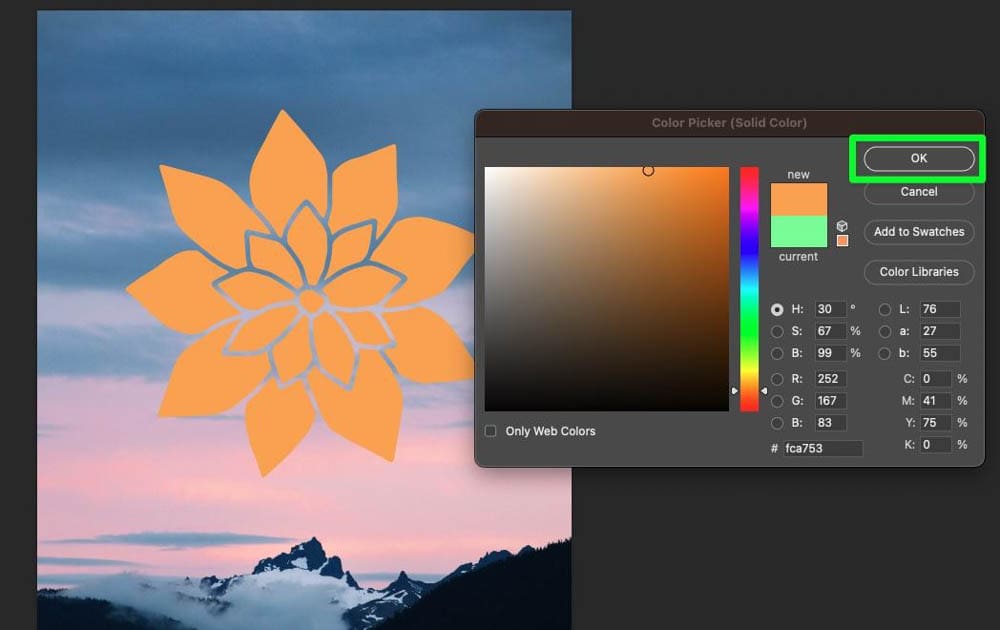
A new window will pop up. Don’t worry about any of the settings, and just click OK.
A Color Picker will pop up. Choose the color that you need, then click on OK.
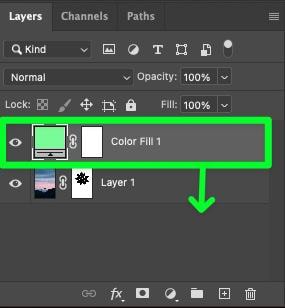
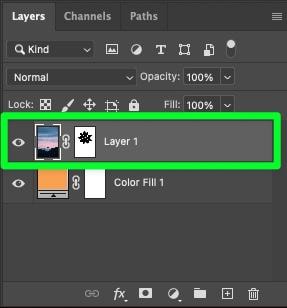
In the Layers Panel, ensure your background layer is below the layer with the cut-out image.
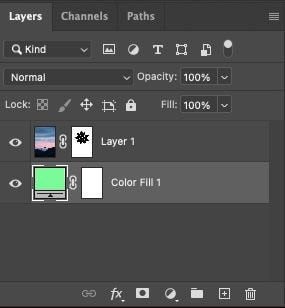
If you want to adjust the color of the layer or change the color completely, you can do so by double-clicking the Color Picker icon on the color fill layer.
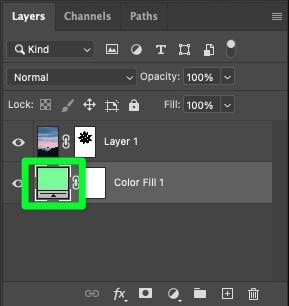
The same color picker will pop up, allowing you to adjust or completely change your color. Press OK when you’re ready.
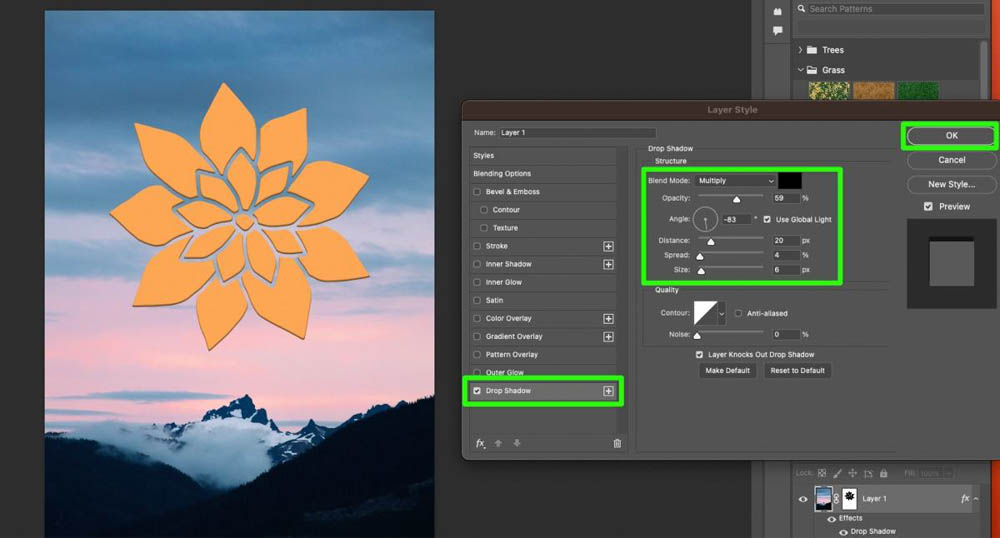
Step 8: Add Depth To The Effect With A Drop Shadow (Optional)
Your cut-out shape looks good so far, but adding depth can make it look even better. The best way to do this is to double-click on the image layer and then click on Drop Shadow.
Use the Layer Style Options Menu to adjust the look of your drop shadow. Play around with each setting until you have the correct amount of depth for the effect you’re going for.
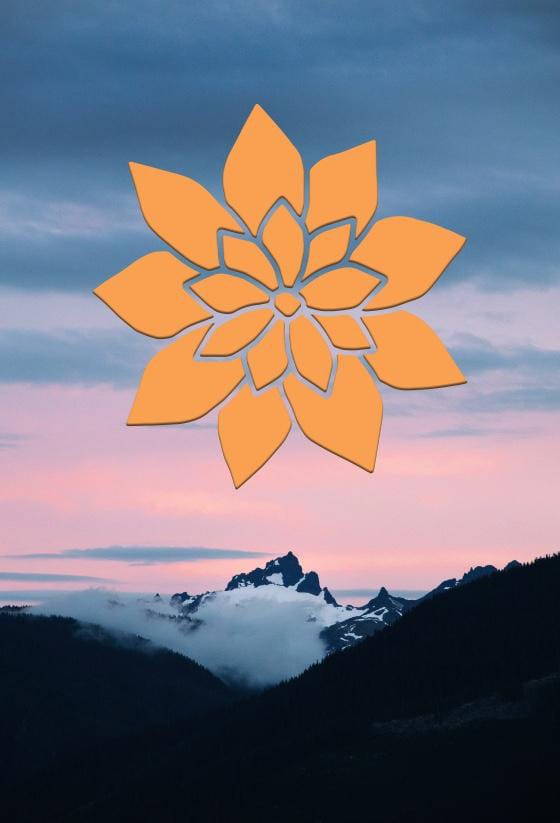
With the different methods outlined here, you can start using shapes to cut out images or even other shapes in Photoshop. This is a great technique to have in your back pocket when designing posters or social banners, and puts your shape tools to use in a totally new way!


