
It’s often hard to get the perfect selection on the first try in Photoshop. Fortunately, you can add or subtract from your selections to ensure it’s pixel-perfect. In this tutorial, you’ll learn how to adjust a selection in Photoshop and tips to use multiple selection tools together to refine your edits.
Understanding The 4 Main Selection Options In Photoshop
As you may know, there are many tools to create selections in Photoshop, such as the Marquee Tool (M), the Lasso Tool (L), and many more. It may seem complicated to figure out these tools when learning Photoshop, but as you continuously practice using them, you will become more proficient.
Fortunately, every selection tool in Photoshop comes with options to help you refine your selections. Then, instead of making an entire selection at once, you can gradually build selections with the help of different selection options.
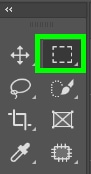
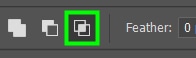
When you enable any selection tool, you will find different selection options in the Options bar to add or subtract from your selections. The icons might vary with the tool, but the sequence of features is the same. Since I selected the Rectangular Marquee Tool (M), the selection options were represented by squares.

Another benefit of these options is that some of them are enabled using shortcuts. I will guide you through each of these options.
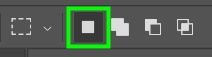
1. Make New Selection
The first selection option available is Make New Selection. This option is selected by default when you enable a selection tool in Photoshop, and it helps you create a new selection.
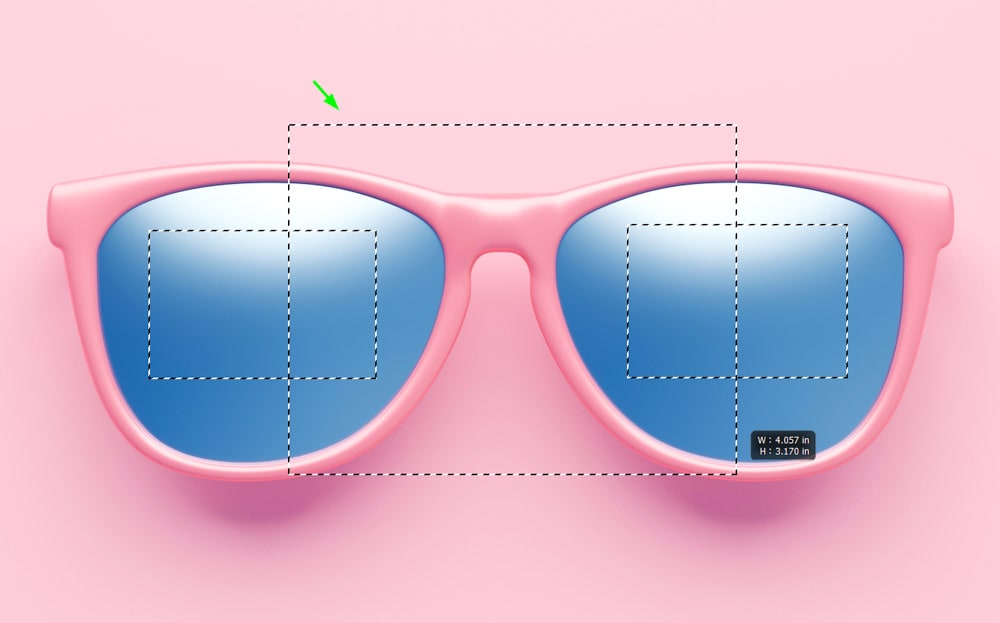
For the image below, I activated the Rectangular Marquee Tool (M) and selected a portion of the glasses lens.

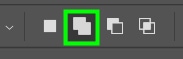
2. Add To Selection
This allows you to add content to an active selection. The shortcut for this option is to hold in Shift.
I added this other portion of the glasses to my initial selection when I activated the Add to Selection option. It’s important to note that Photoshop considers the selections as a single selection even when they’re not touching or connected.

3. Subtract From Selection
This allows you to delete areas within a selection. The shortcut for this option is to hold in Alt (Win) or Option (Mac).

With the Subtract From Selection option enabled, I could remove a portion of the selection in one of the lenses.

4. Intersect With Selection
This option isn’t often used because there are only a few specific cases when you need it. It selects the intersection between two selections. The shortcut for this option is to hold in Shift + Alt (Win) or Shift + Option (Mac).
Notice I drew a selection over the other two selections I initially had. When I released the mouse, only the parts of both selections that were within the new selection remained.

Now with these four selection options in mind, let’s see how they can refine your selections in a more real example.
How To Add To A Selection Using Any Selection Tool In Photoshop
As mentioned in the previous section, the Add To Selection option is only useful if you already have an active selection and want to add content to it.
In the picture below, for example, I chose the Quick Selection Tool (W) to create my selection.
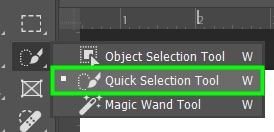
To select an object with this tool, simply drag over the desired area.
With the area selected, go to the Options bar and select the Add To Selection option, the second option available regardless of your chosen tool. Alternatively, hold in Shift to activate the option. You can also switch to a different selection tool before selecting the Add to Selection option.
Next, zooming in on the desired area is a good idea to better track what you’re doing with your object. To do this, press Control + + (Win) or Command + + (Mac).

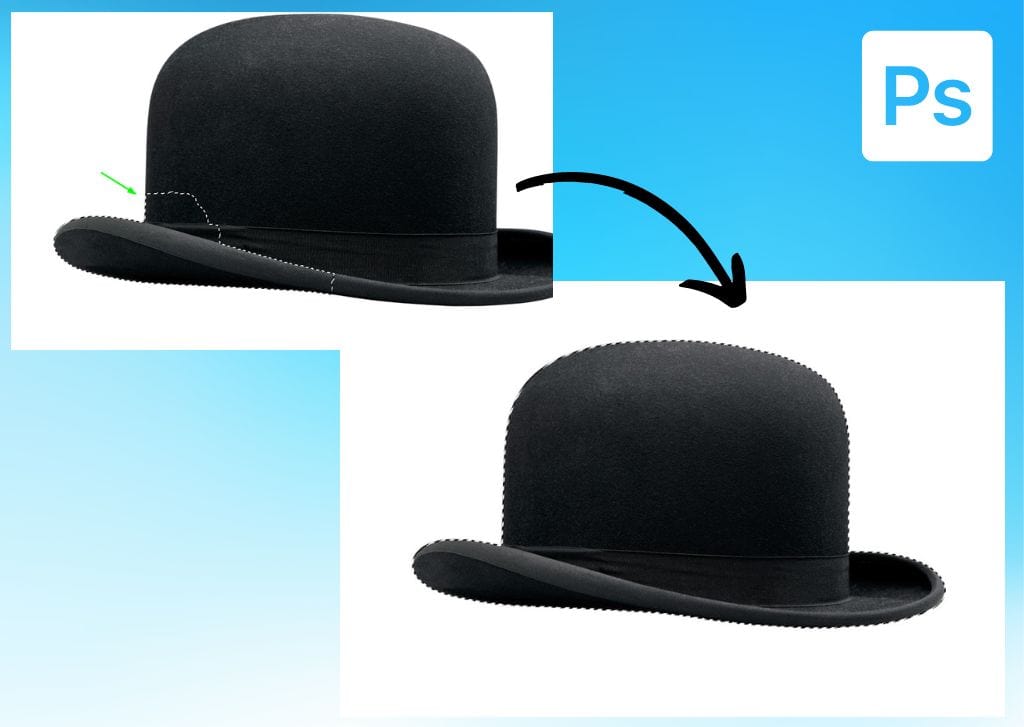
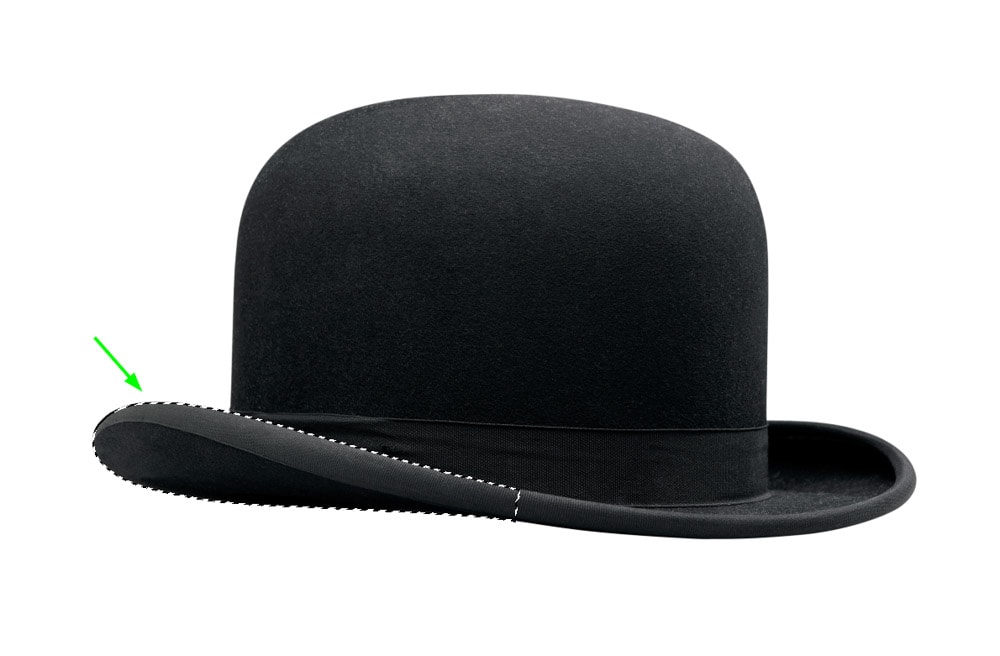
Now drag over the content you want to add to the selection. For example, I started covering the top part of the hat.
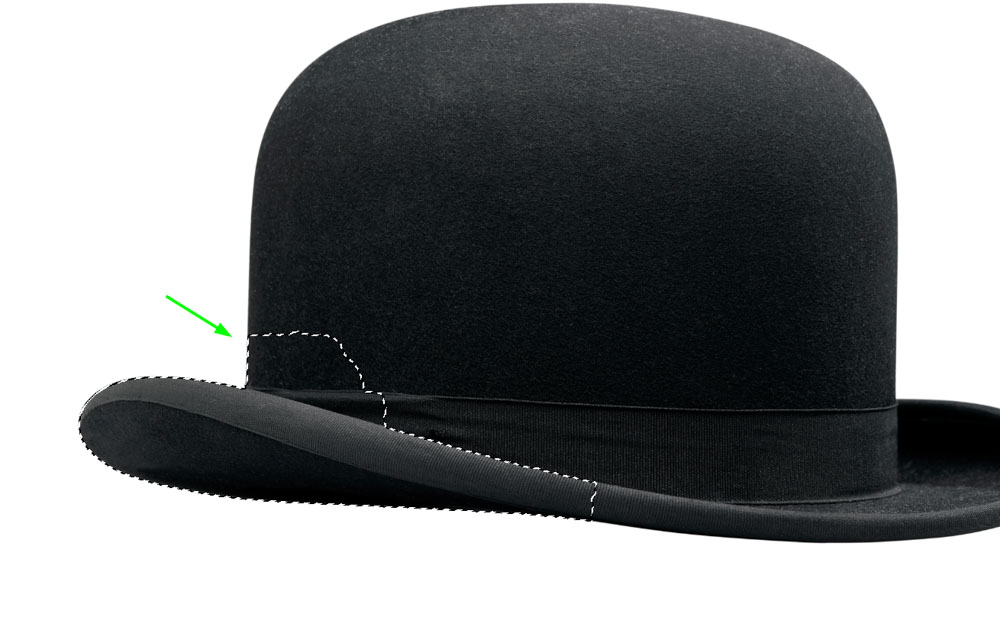
Keep dragging over your object to add more areas to the selection, and release the mouse once you’re finished with your selection.

How To Subtract From Any Selection In Photoshop
It is common to select more areas than we should when creating a selection. Luckily, the Subtract From Selection option allows us to remove parts of a selection. Furthermore, this option will enable you to shift between different tools while you build a selection.
I selected my object using the Object Selection Tool (W) in the example below.
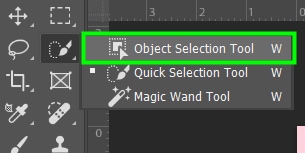
To select an object using such a tool, hover over the object you want to select. Then click once in the object to select it. The Object Selection Tool often does a good job of selecting an entire shape on the first try.
However, sometimes, you will end up with extra content in your selection, as happened to my selection, where the tool selected not only the glasses but also part of the background.
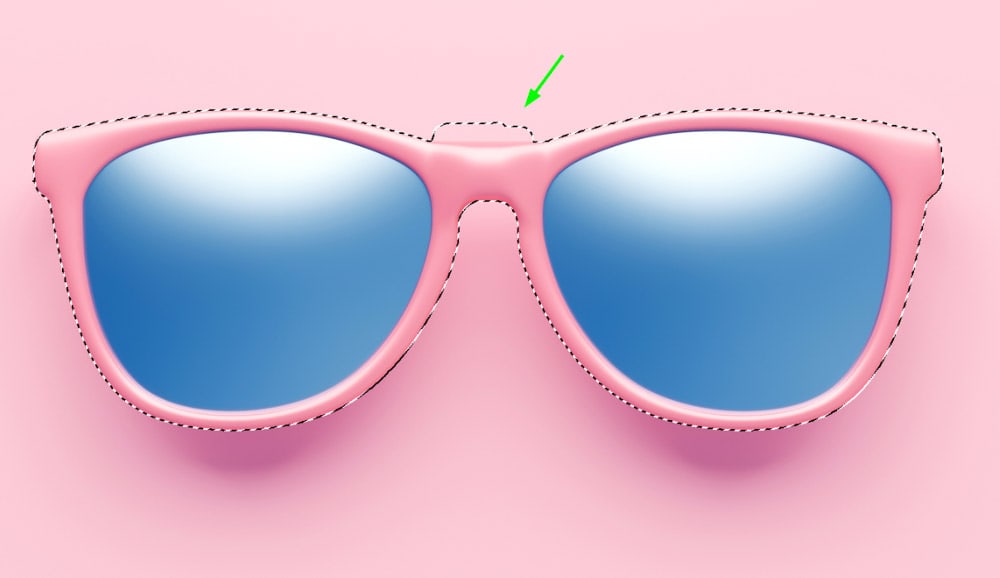
You can’t use the Object Selection Tool to remove that area since it doesn’t select small areas but only considers objects as a whole. To fix this, I selected the Lasso Tool (L).
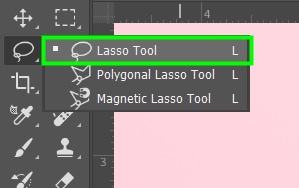
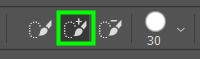
Once the Lasso Tool is enabled, go to the Options bar and select the Subtract From Selection option, the third option available in the sequence.
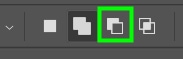
Alternatively, hold in Alt (Win) or Option (Mac) while dragging over the area to subtract from the selection. If you don’t want to hold the key the entire time, then select the icon in the Options bar, as then the selection tool you are using will only work on subtracting contents from a selection.
Generally, when you enable a selection option, your cursor will change. In my case, the cursor turned into a lasso (the symbol of the Lasso Tool) with a minus sign next to it.
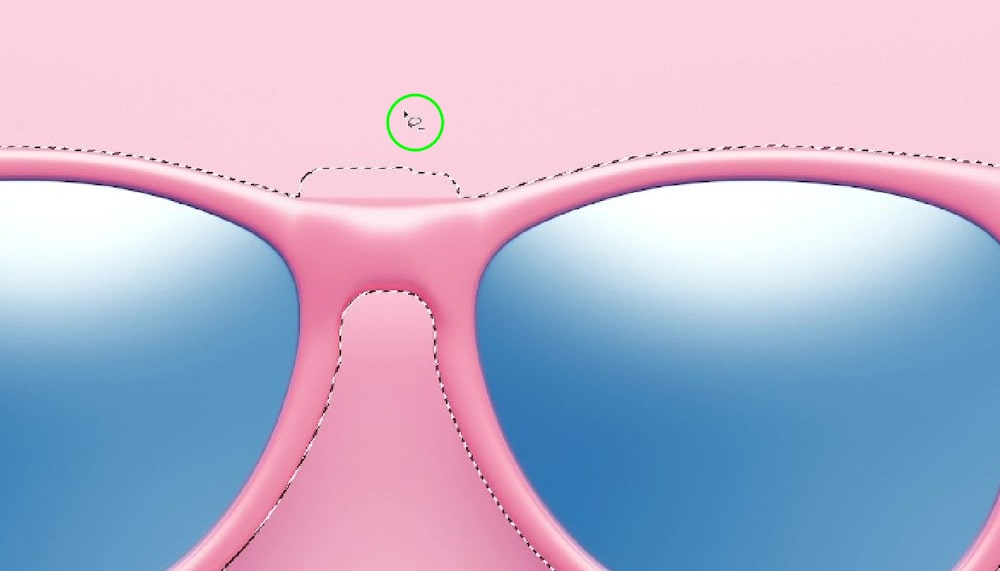
Next, drag over the area that you want to subtract from the selection, drawing a path around it.
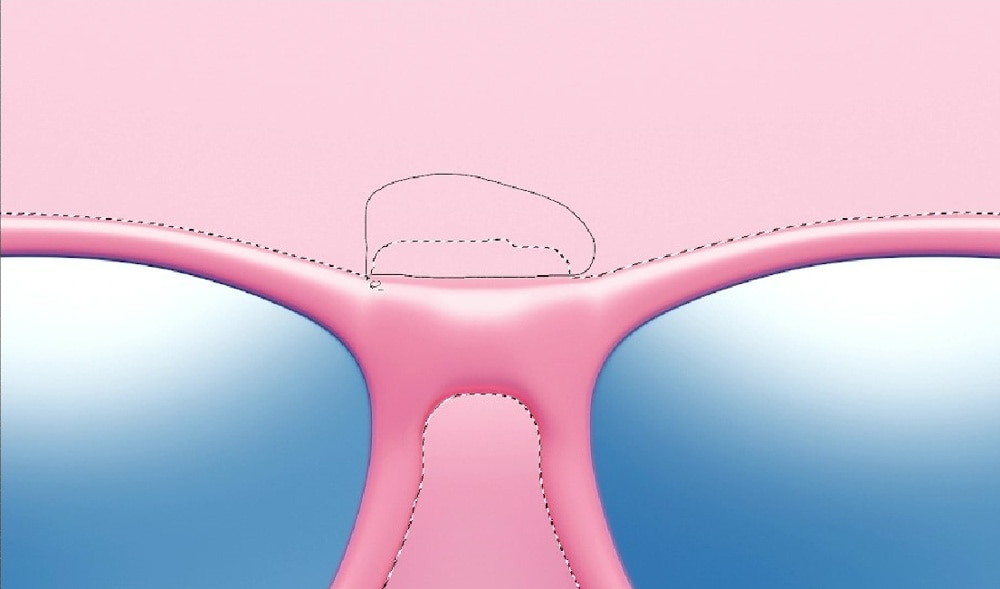
After doing this, the extra content will be successfully removed from your selection.

You don’t need to put too much effort into making selections because you can make selections much faster, easier, and more efficiently using the options presented here. This basic Photoshop skill will make all the difference in your workflow.


