


The Quick Selection Tool in Photoshop is a handy tool to know and use as you can create fast and easy selections or use it to touch up other selections you’ve created. This tool should be your go-to selection tool when the selection is relatively basic.
In this tutorial, you’ll learn all the use cases for this tool, an explanation of all its settings, as well as how to cut out objects and apply selective adjustments with it, too!


Video Tutorial
What Is The Quick Selection Tool?
The Quick Selection Tool is primarily used to create a selection around an object, subject, or region of an image. Once you paint over an area, Photoshop detects edges and refines the selection to select the area as best as possible. The tool is best used on images with well-defined edges and contrasting areas.
How To Use The Quick Selection Tool in Photoshop
Step 1: Activate The Quick Selection Tool (W)
To create a selection using the Quick Selection Tool, open your image and select the tool from the toolbar (W). If you don’t see it, click and hold on the Object Selection Tool or the Magic Wand Tool, as they are lumped together in the same tool panel.

Step 2: Adjust The Settings In The Options Bar
The Quick Selection Tool will already be set to make a New Selection. Adjust the other settings as follows:
- Choose the right Brush Size for your image
- Check the box next to Sample All Layers
- Check the box next to Enhance Edge

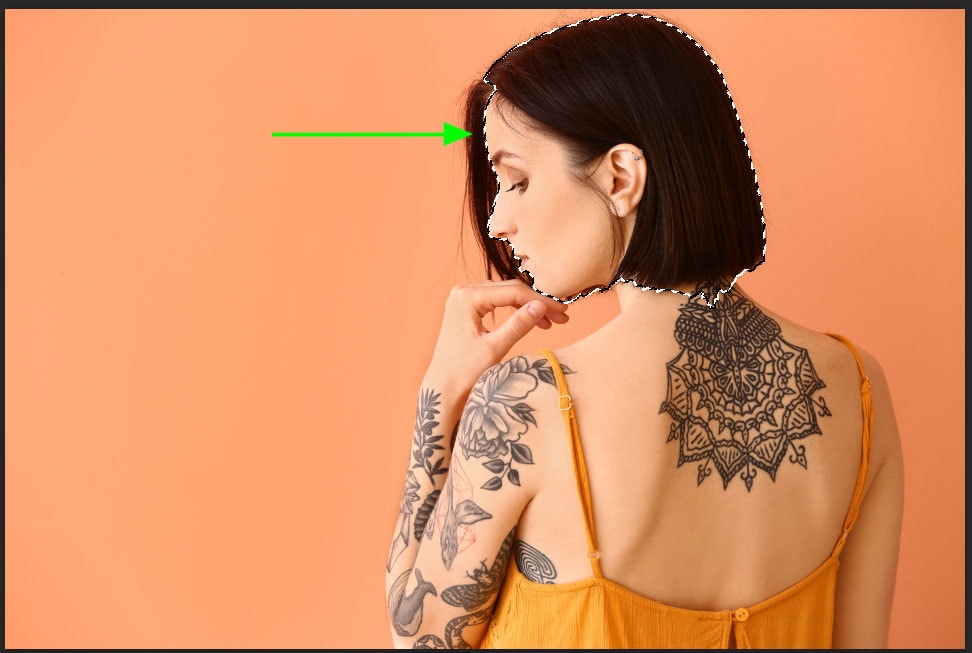
Step 3: Brush Over The Subject To Select It
Then, start brushing over the subject you want to be selected. Every time you let go of the mouse, it will show you the selection after Photoshop snaps the selection to the edges.
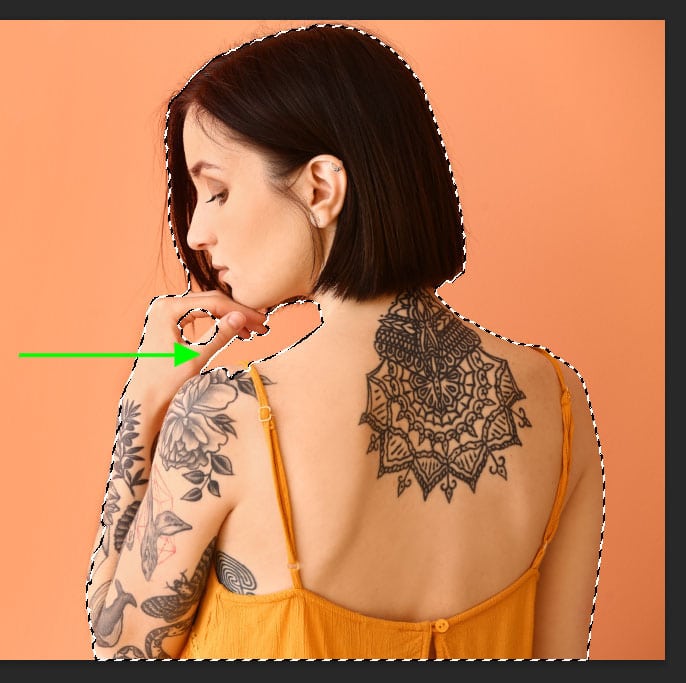
Once you let go, the tool will switch to Add to Selection, so you can keep brushing until you have selected the entire subject. In some cases, the tool may select parts of the background if the colors are similar.
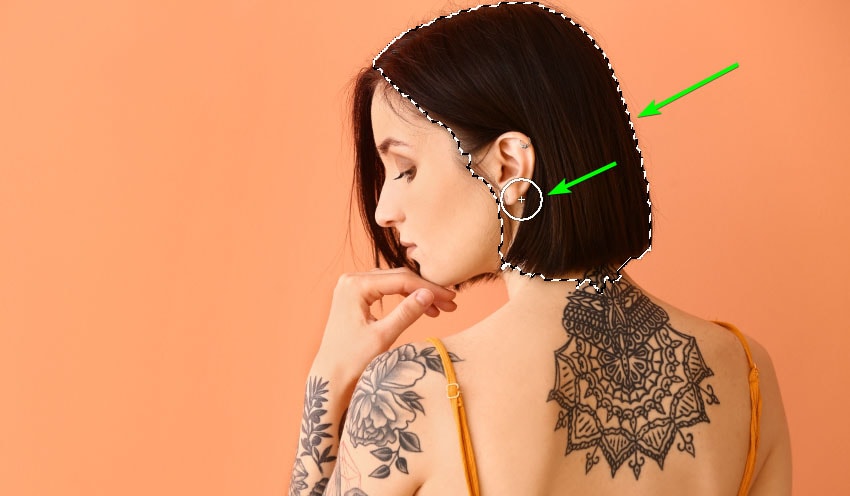
Step 4: Subtract Areas From The Selection (Optional)
To remove areas that were incorrectly selected, select the Subtract from Selection setting in the Options Bar.

Then, paint over the area you want to remove from the selection. You can also simply hold in Alt/Option to activate the subtraction option, and once you let go, the tool will revert to Add to Selection.
Step 5: Open The Select And Mask Panel (Optional)
To refine the selection further, press the Select and Mask button in the Options Bar or press Control + Alt + R (Win) or Command + Option + R (Mac).

Once this button is selected, it will open the Select and Mask workspace, where you have multiple options to refine the selection.
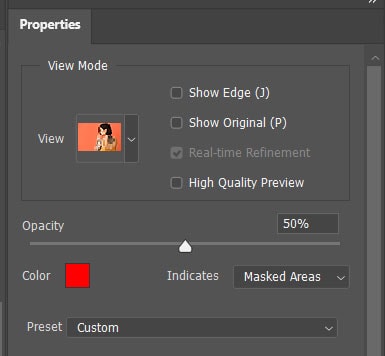
– Select The View Mode For The Selection
You can decide how the selection shows by choosing between the overlay, marching ants, on a white or black background, or others. You can also adjust the opacity and color of the overlay in the Properties Panel.
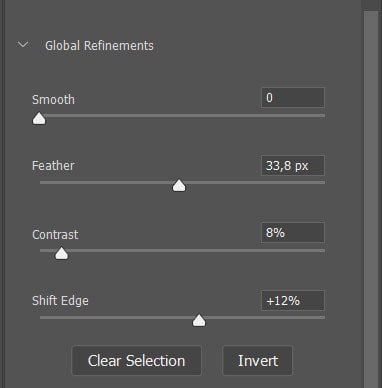
– Adjust The Selection Using The Global Refinements Tab
Under the Global Refinements tab in the Properties Panel, you can clean up the selection with the options displayed.
- Move the Smooth slider to reduce irregular shapes. The smooth option is usually used on horizon lines
- The Feather slider blurs the edges of your selection
- Adjust the Contrast slider if you want to create a harsh edge in the selection or correct the feather
- Use the Shift Edge slider to adjust the edge of the selection inwards or outwards
– Adjust The Selection Using The Toolbar
Another important use of this workspace is the toolbar on the left. You can use the following tools to refine the selection better.
- The first tool is the Quick Selection Tool, which you can use to create a new selection or add to your selection
- The Refine Edge Brush Tool lets you clean up edges in certain areas around the subject
- Then it’s the Brush Tool, which you can use to brush more areas into the selection or subtract areas from the selection in the same manner as when working with the Quick Selection Tool in the Photoshop workspace
- Next are the Object Selection Tool and Lasso Tool, offering more tools to create selections with
- The last two icons are the Hand Tool to move the image around and the Zoom Tool to magnify specific areas of the image

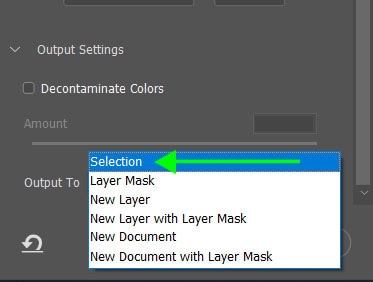
– Change The Output Setting
Once you have refined the selection enough, you can choose the Output To option at the bottom of the Properties Panel. In this case, choose Selection and then press OK.
You will now have a more precise selection of your subject, which you can go on to cut out of the background, edit separately from the rest of the image, or use in a different project.
Step 6: Click On Add A Layer Mask In The Layers Panel
Add a layer mask by clicking on the Add Layer Mask icon in the Layers Panel. You will see a layer mask thumbnail added next to the layer. The selected areas will show as white in the mask, and the rest will show as black.
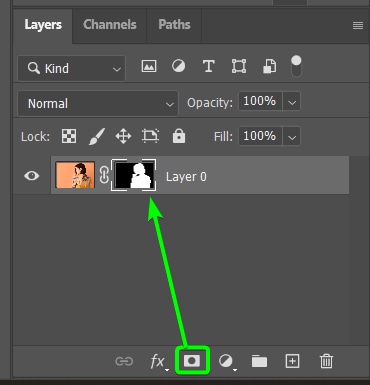
The layer mask will hide the areas that weren’t selected, leaving the selection visible on the canvas. Which, in my case, removed the background from the image.
Additional Quick Selection Tool Settings Explained
The tool is automatically set to create a New Selection, the first brush icon in the row of three icons in the Options Bar. Select the second icon to Add to a Selection that is already made.
Then, select the last icon to Subtract from a Selection if you have selected too much. You can also hold in Option (Mac) or Alt (Win) while brushing over areas to subtract from the selection.

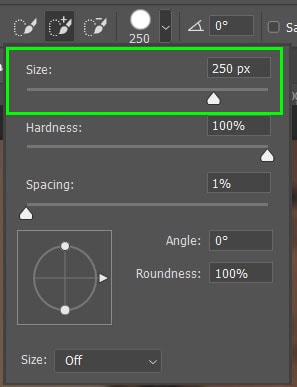
The Brush pop-up menu allows you to adjust the size of the brush. A different size brush enables you to select larger areas quicker or refine your selection better with a smaller brush. You can also use [ to decrease the size of the brush or ] to increase the size.
Enable Sample All Layers if you want the selection to factor in information from all layers in your project and not only the active layer. Then, enable Enhance Edge to reduce the roughness of the selection boundary. This button automatically applies edge refinement to the selection, which will help when cutting an object out of the background to produce a cleaner look.

To skip painting over the subject you want to select, you can also press the Select Subject button. Photoshop will automatically detect the image’s subject and create a selection around it. You can then refine the selection further if needed.

Using The Quick Selection Tool For Spot Adjustments In Photoshop
To add a spot adjustment to an image, select the Quick Selection Tool (W) and make a selection of the area you want to edit, as you learned in the first section. Use any of the refining techniques to clean up the selection.
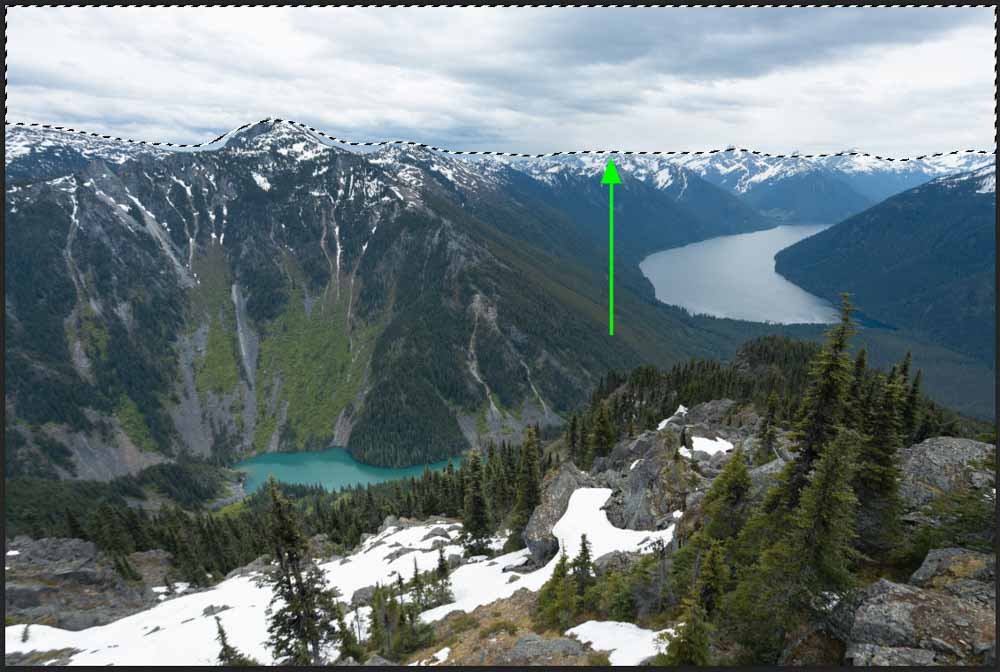
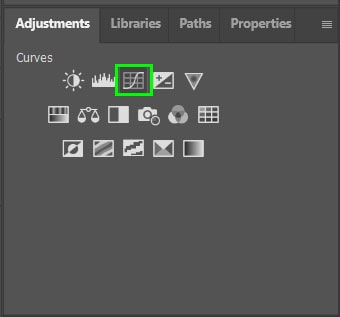
Next, choose the adjustment layer you want to use to edit the selected area. In this case, I will use the Curves Adjustment Layer to increase the intensity of the sky by darkening it slightly. I will choose the Curves icon in the Adjustments Panel to do this.
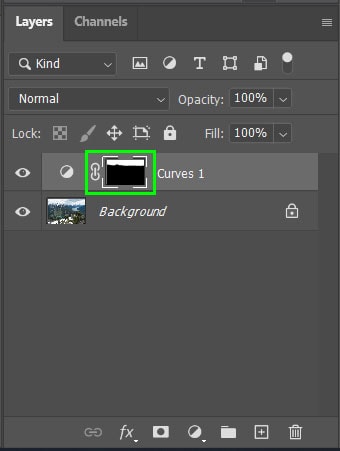
Once the Curves adjustment is selected, it will add a new Curves layer to the Layers Panel with your selection applied to the mask.
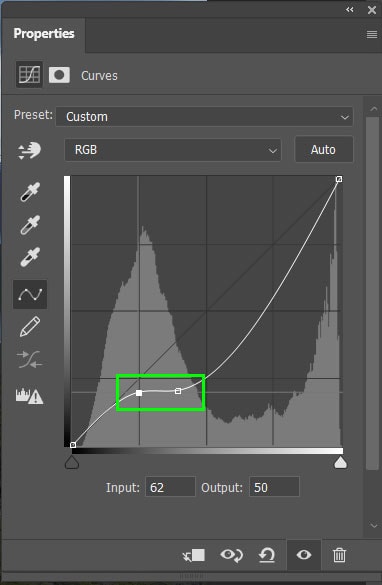
In the Properties Panel, adjust the line on the graph by clicking to create points and dragging them around to change the image’s tonality. Dragging a point down will darken while dragging upwards will lighten it.
Once you have the adjustment to your liking, your edits will only be visible in the white sections of your layer mask (the sky, in this case). That’s because white is 100% visible, while black is 100% transparent in the world of masks.
You can select this layer mask at a later stage to re-edit the adjustment if needed by accessing the Properties panel and re-adjusting the points on the curve.
On the image, you will see that the sky (or the area you selected) has changed according to the adjustment layer, and the rest of the image is unaffected.
Now that you know how to use the Quick Selection Tool in Photoshop, keep your progress going with my free Photoshop Blueprint ebook. This free ebook shares six effective techniques to transform your editing and workflow, regardless of your experience in the program. Click here to learn more or click the button below!
