

Adjustment layers are the creative tissue that makes up any project in Photoshop. From enhancing your images, colors, or adding creative effects, these layers can be used in many ways. Unfortunately, not all adjustment layers are intuitive, so it’s worth learning what each one does and how to use them. So let’s do just that with this complete guide to Photoshop’s 16 adjustment layers.
And yes, we will be covering every adjustment!
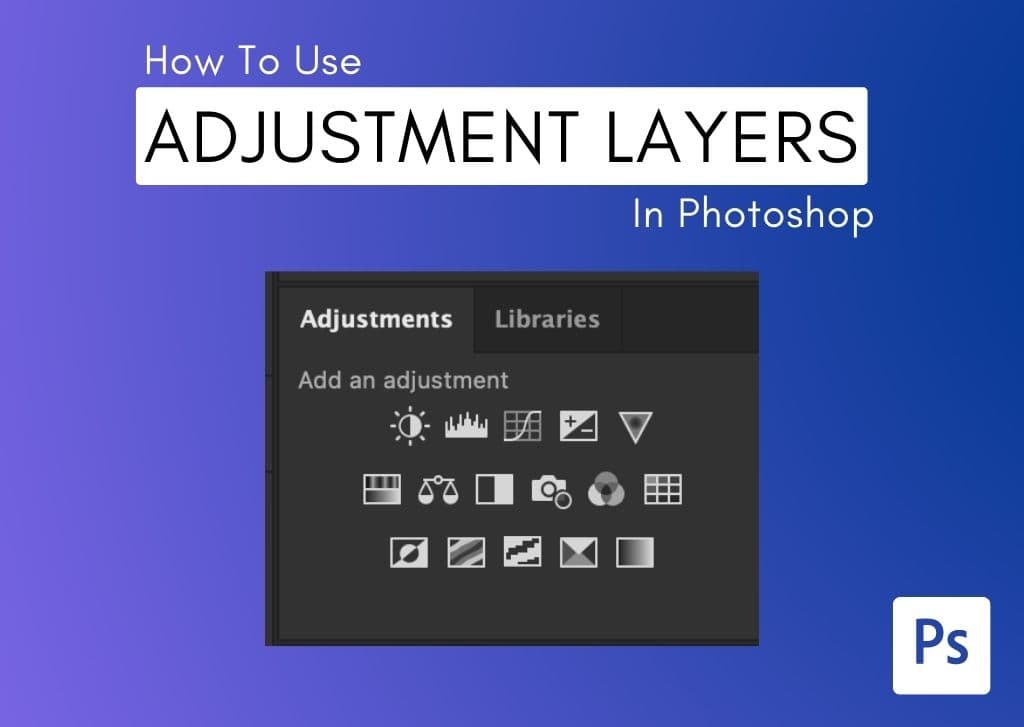
All 16 Adjustment Layers In Photoshop Explained
Adjustment layers are dedicated to modifying a photo with brightness of color adjustments. They are nondestructive layers since any effect in an adjustment layer isn’t made directly to an image. Instead, it takes place on its own dedicated layer, separate from the layers beneath.
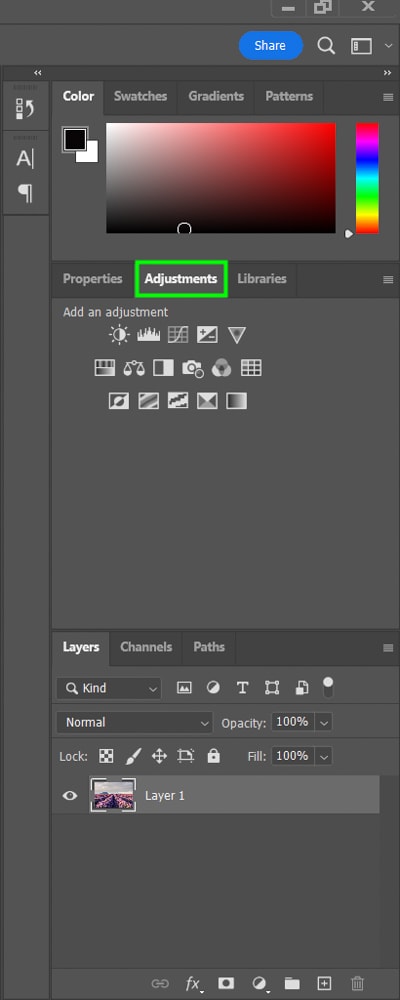
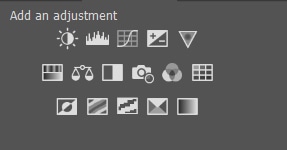
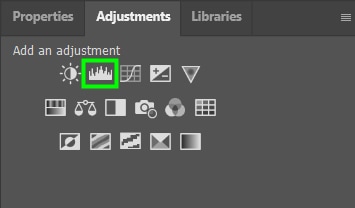
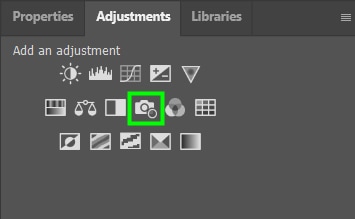
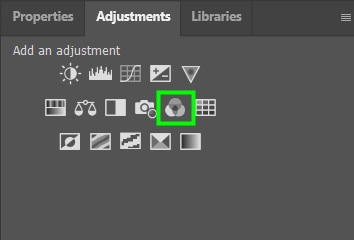
You can find the adjustment layer options in several parts of Photoshop workspace. The Adjustments Panel appears above the Layers Panel on the right side of the workspace.
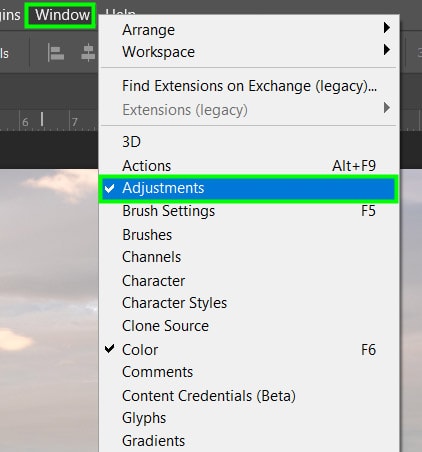
If you don’t see the panel, enable it by going up to Window > Adjustments.
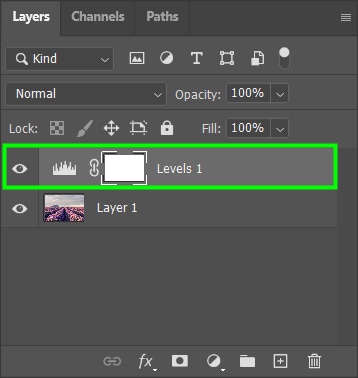
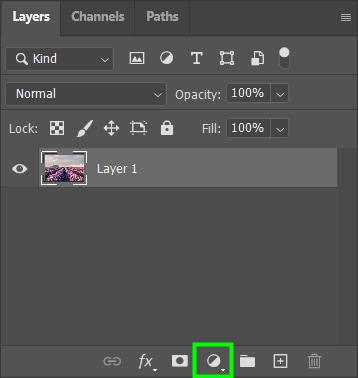
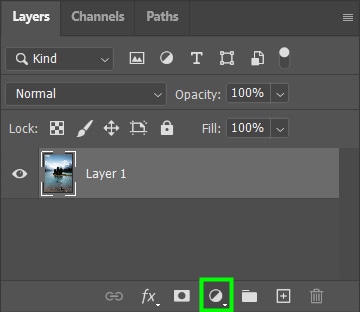
Another way of bringing up the adjustment layer options is by clicking the half-moon icon at the bottom of the Layers Panel.
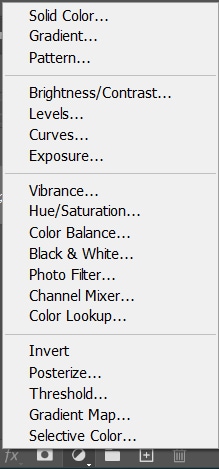
Photoshop offers 16 adjustment layer options, but so many options can be overwhelming if you don’t know what they do exactly.
Depending on your use of Photoshop (graphic design, photography, drawing, etc.) you will need to use some of these adjustments more often than others. But either way, it’s good to have an overview of them all.
1. Brightness/Contrast Adjustment Layer
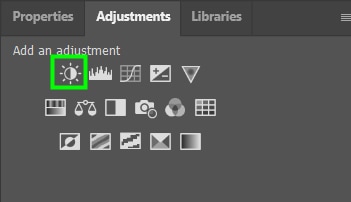
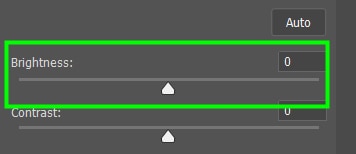
The Brightness and Contrast adjustment layer contains two sliders that make your image appear darker or lighter. Once you add an adjustment layer, you can change the available settings in the Properties Panel.
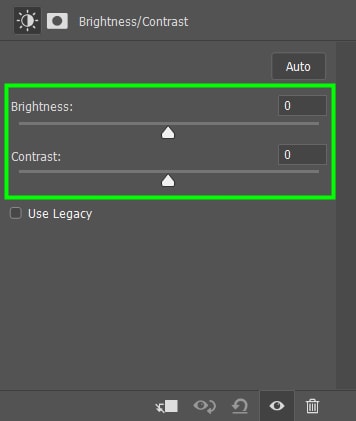
Brightness controls the amount of white in your image. If you move the slider to the right, the amount of white in your image will increase. Increasing brightness can bring out details in images that are too dark.
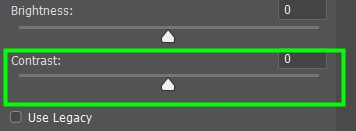
The Contrast slider controls the difference between blacks and whites in an image. When an image has little difference in contrast, for example, it looks lifeless, so increasing the contrast will make it look less dull.
When contrast is too high, on the other hand, an image can seem to consist of blacks and whites only, making it devoid of detail.

2. Levels Adjustment Layer
The Levels adjustment corrects the luminosity of your photo, adjusting shadows, highlights, and mid-tones.
It contains a histogram ranging from 0 to 255, where zero represents completely black pixels, and 255 represents completely white pixels. In the middle of the histogram, you can find the midtones.
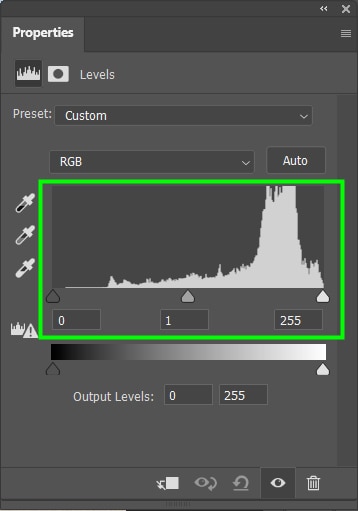
Moving the black arrow to the right increases the amount of black in the darker areas. Moving the white arrow to the left, the white parts of an image become whiter.
Changing the midtones, on the other hand, will lighten or darken the image as a whole.
You can also use the Levels adjustment to adjust the contrast of your image more precisely. Thus, you create a more balanced contrast between the image colors by adjusting the amount of white and black tones.

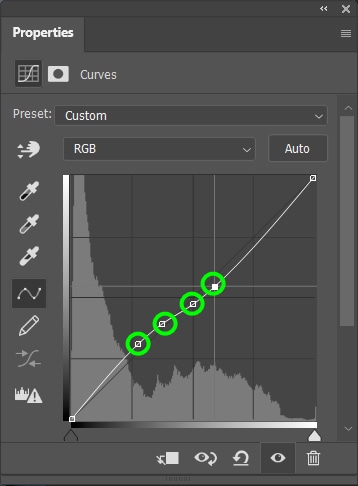
3. Curves Adjustment Layer
The Curves adjustment layer works similarly to the Levels adjustment, controlling image shadows, highlights, and midtones. You can adjust it by changing the curve in the middle of the panel. Moving the curve up lightens the image, and moving it down darkens it.
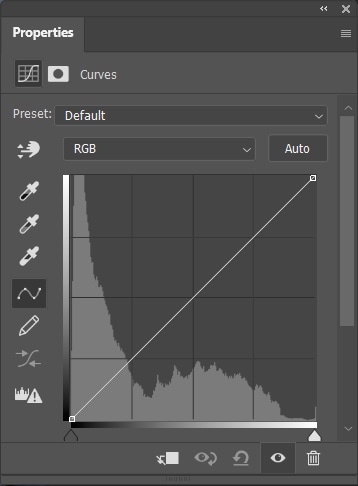
You can create several points for the midtones by clicking the middle of the curve as many times as you want. This gives you more precision in adjusting the luminosity of your photo.
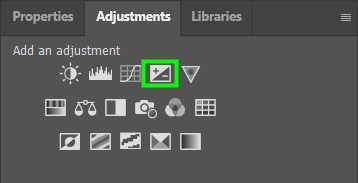
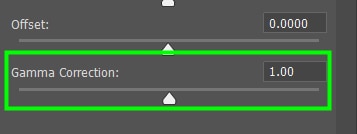
4. Exposure Adjustment Layer
The Exposure adjustment layer is the easiest way to correct the exposure of your image. For example, how much darker or lighter it appears overall.
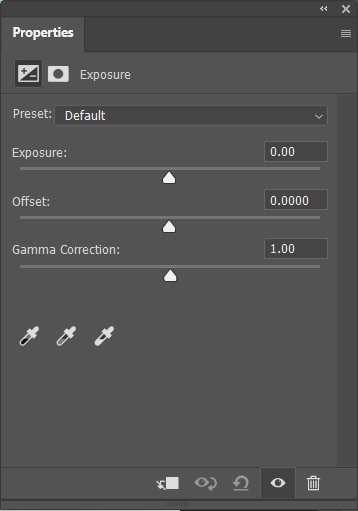
To adjust the overall exposure, move the Exposure slider to the left or the right.
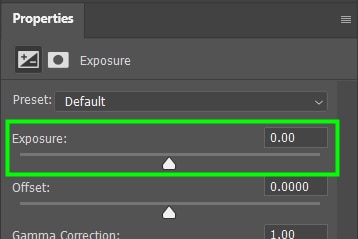
Use the Offset slider to adjust the midtones.
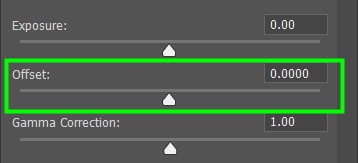
And use the Gamma Correction to target the exposure of dark pixels only.
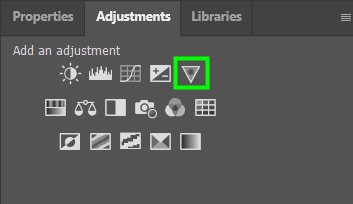
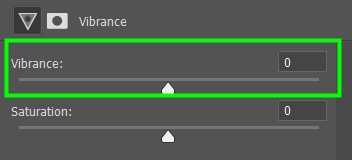
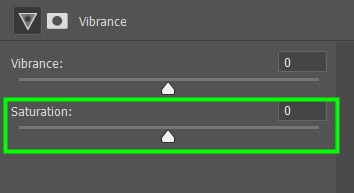
5. Vibrance Adjustment Layer
The Vibrance adjustment controls the vividness of colors in your image.
The vibrance and saturation sliders are similar, but they produce different outcomes.
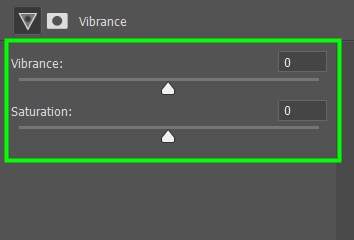
Vibrance doesn’t boost all colors. It doesn’t strongly affect warm tones like yellow and orange.
Saturation boosts all colors equally.
6. Hue/Saturation Adjustment Layer
The Hue/Saturation adjustment is a powerful tool in Photoshop. It has several features for you to boost a color in your image.
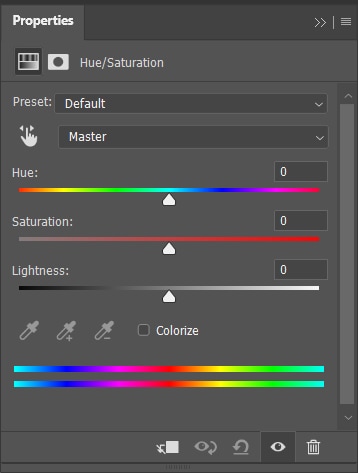
The Hue/Saturation panel contains three sliders.
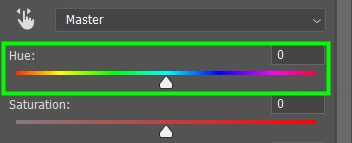
Hue is the shade of color itself.
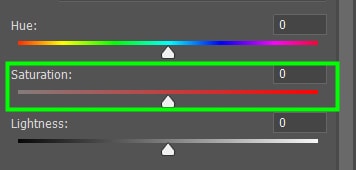
Saturation is the amount of a specific color.
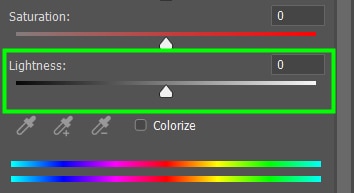
Lightness is the amount of light in a color.
When the color drop-down menu is set to Master, any adjustments you make to the Hue/Saturation sliders will be applied to the entire image.
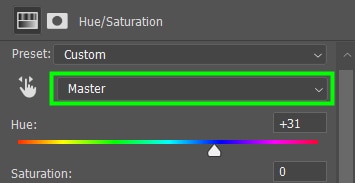
By moving the Hue slider, you add or subtract hues to the colors in your image.
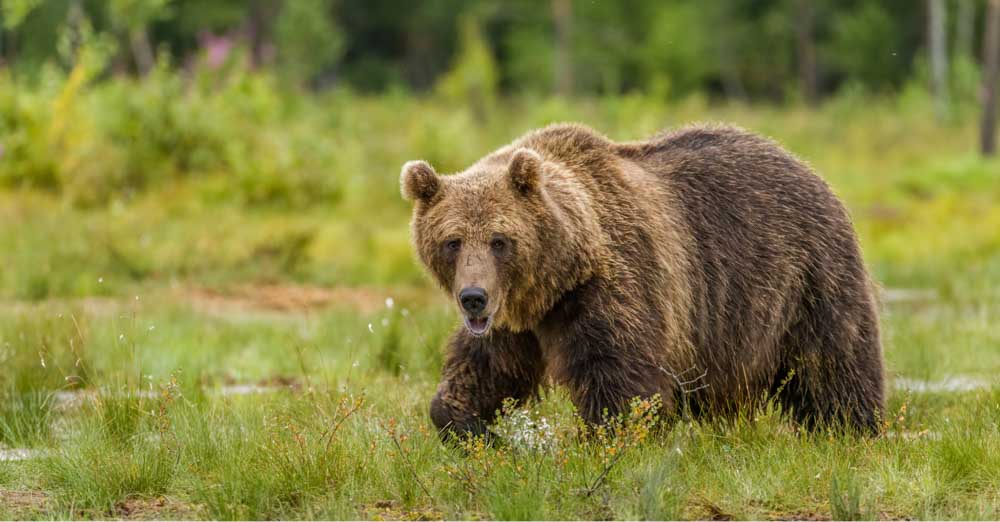
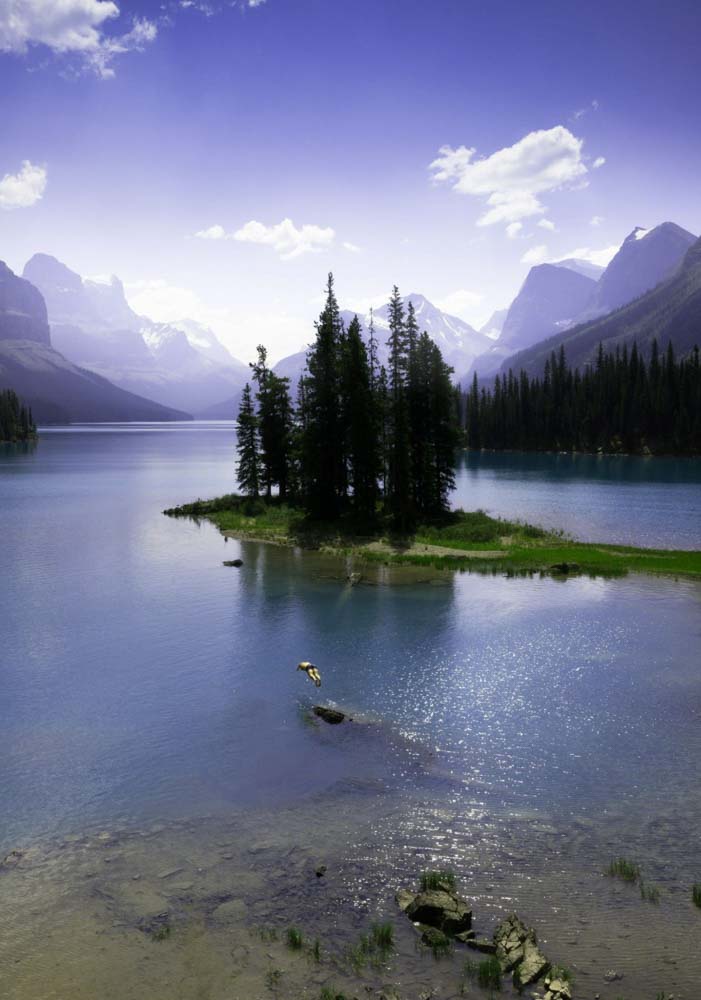
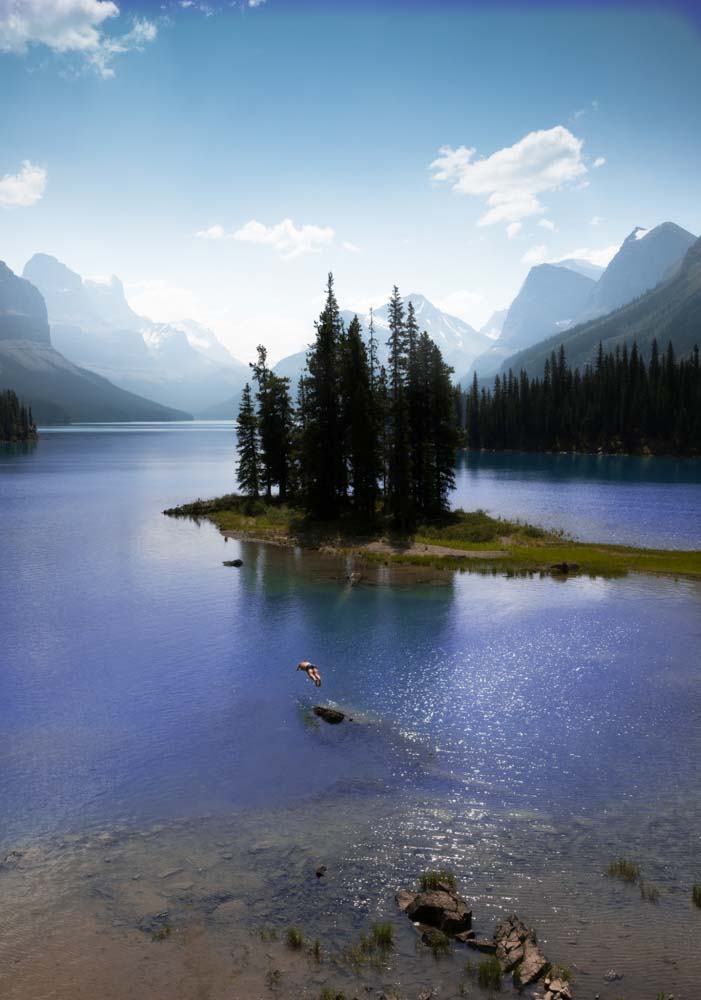
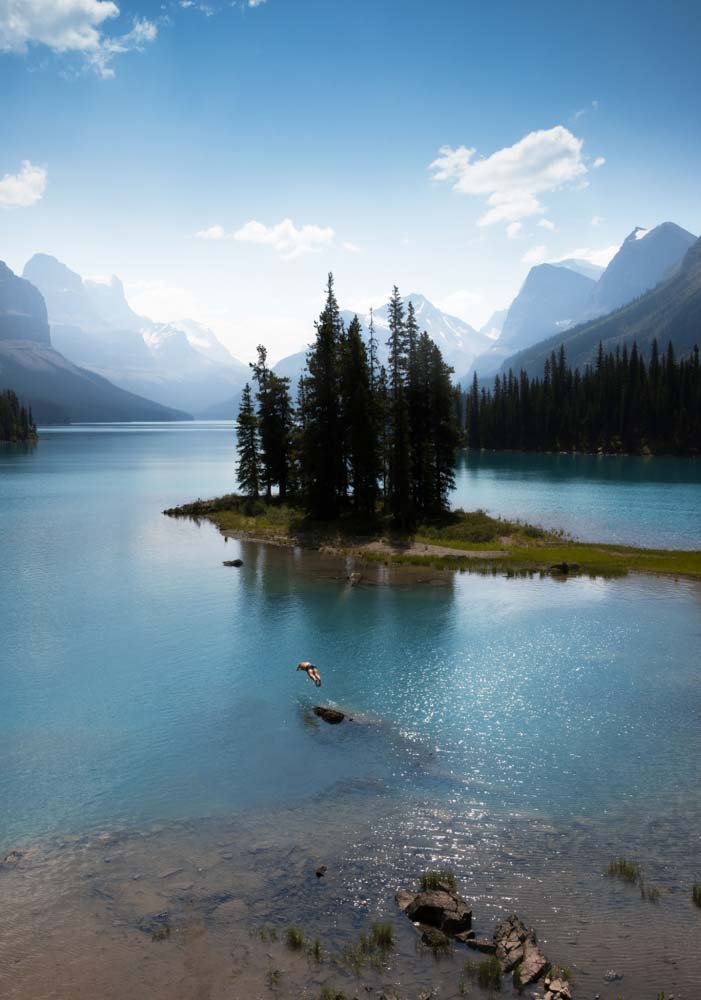
For example, when moving the Hue slider to + 31, the cyan of the water in the image will gain another 31 hues and turn into a purple shade. Similarly, the stones in the water will gain +31 hues and become greenish, and so on.

If you want all the colors in your image to change to a certain Hue, click on Colorize and move the Hue slider to the desired color.
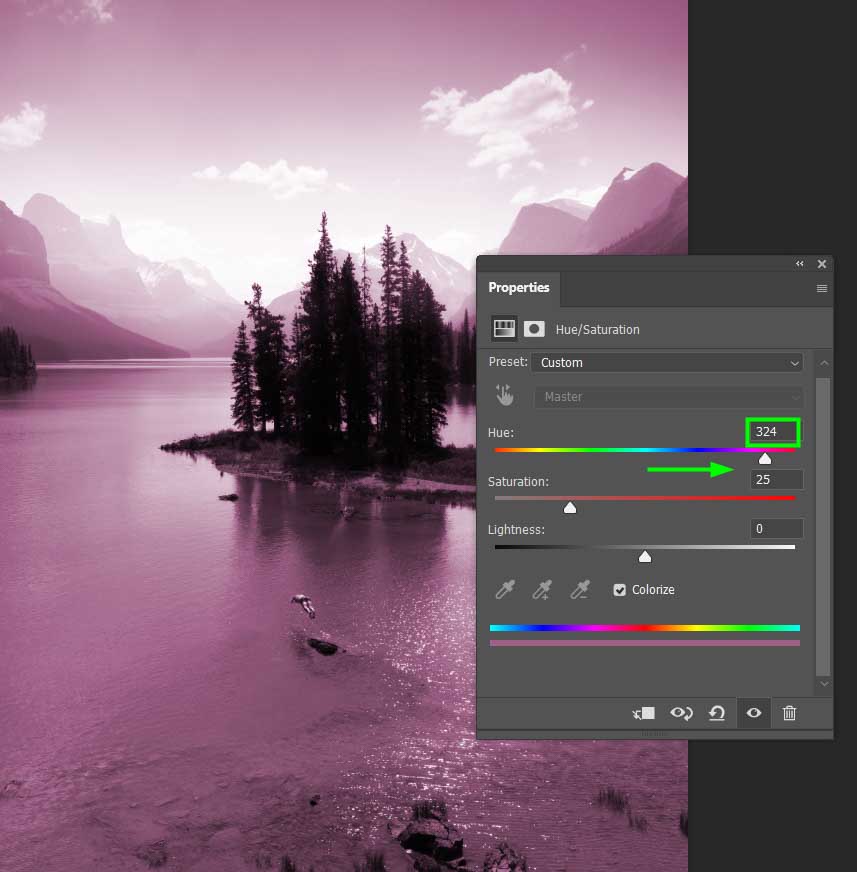
The most common way to use Hue and Saturation adjustment is to change a certain color in an image.
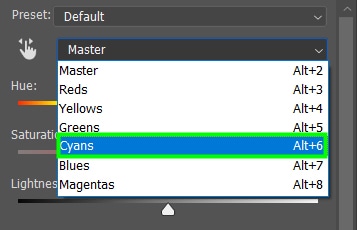
To do this, go to the image color drop-down menu and select the color range you want to alter. In my case, I chose Cyans because I wanted to change the color of the lake from my image only.
Then, move the Hue slider toward the color you want. In my case, I moved the slider to a dark shade of blue.
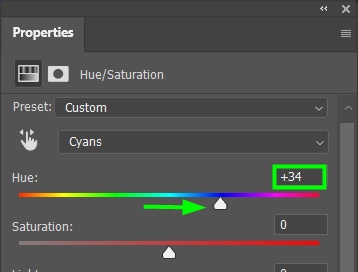
If the hue adjustment has affected areas, it shouldn’t. You can create a layer mask and erase the effect on the unwanted areas.
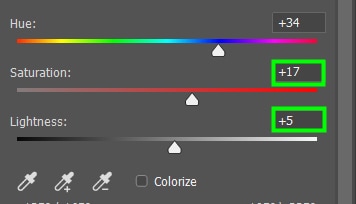
After changing the colors of your image, you can adjust the Saturation and Lightness of the picture. In my case, I set Saturation to +17 and Lightness to +5. Below is an exaggerated example to highlight the targeted adjustments.
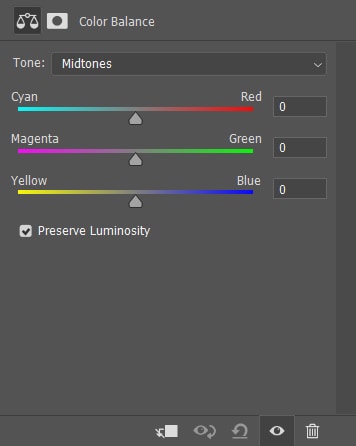
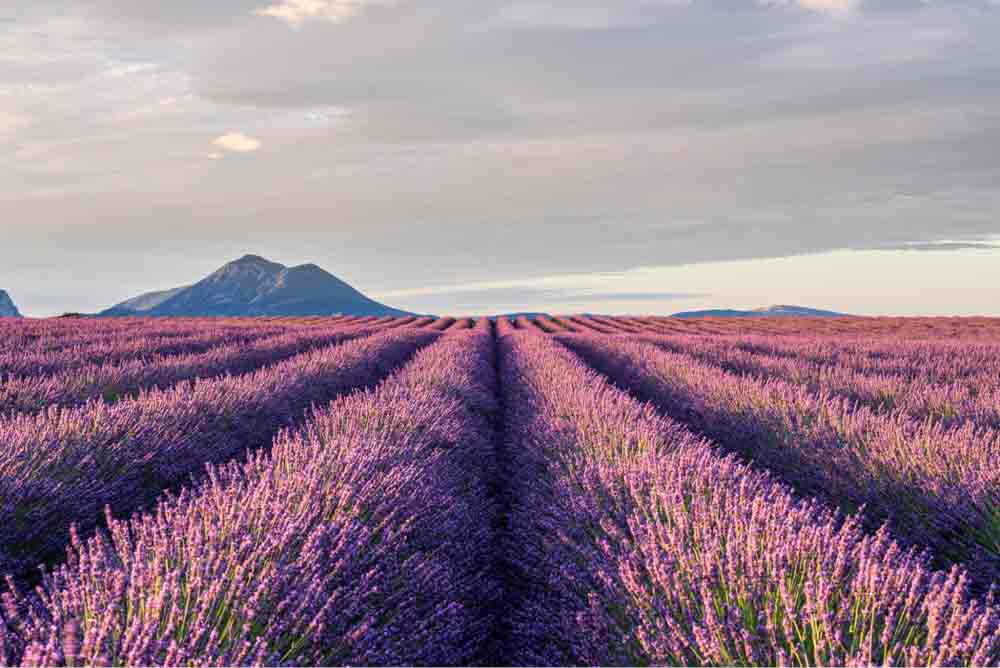
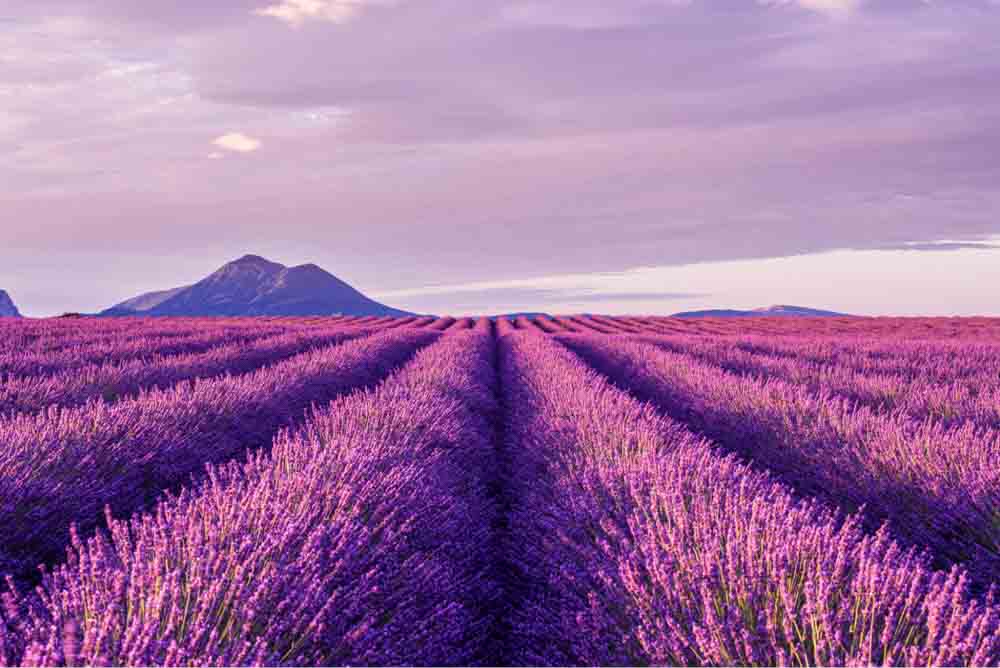
7. Color Balance Adjustment Layer
Color Balance boosts or takes away certain colors to create an entirely different look in your image in terms of colors.
Each slider contains a duo of colors that are opposite each other. Then, when you increase the cyans, for example, you are automatically decreasing the reds and vice versa. You can set individual color settings to the Shadows, Midtones, and Highlights range by choosing an exposure range to edit in the Tone menu.
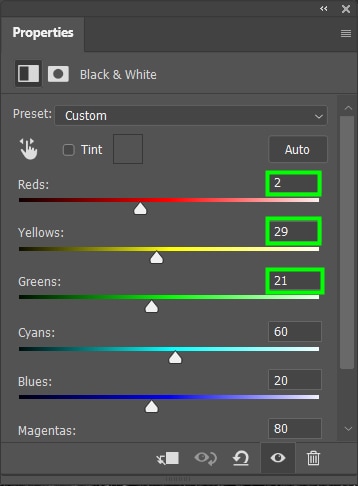
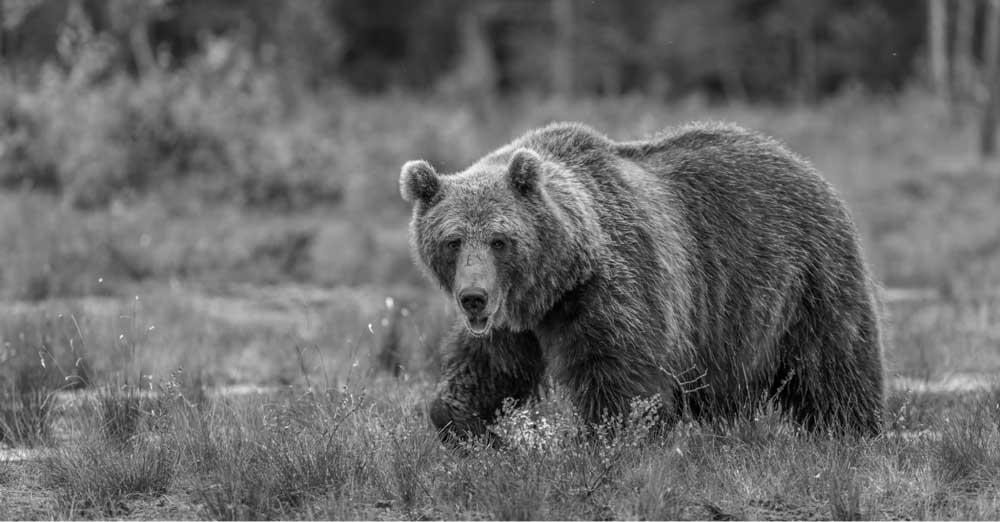
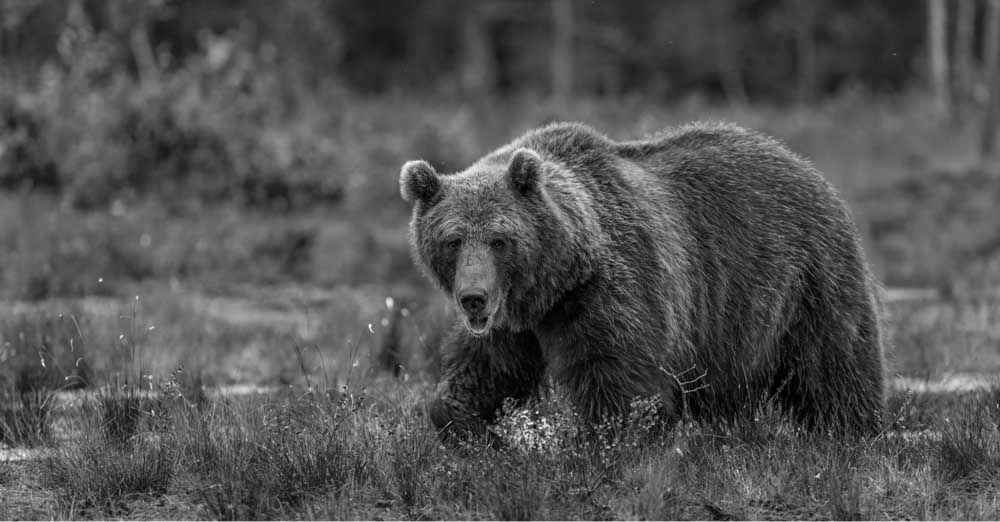
8. Black And White Adjustment Layer

This adjustment instantly turns any photo black and white. Additionally, it gives you great control over the effect because it allows you to leave parts of the image darker and other parts lighter.
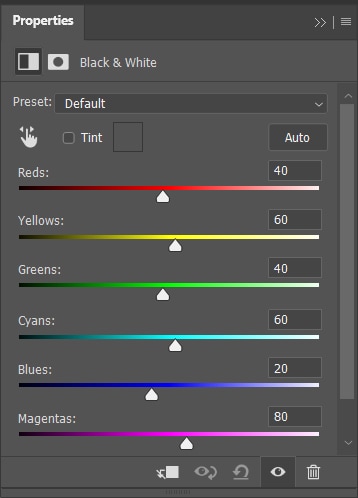
For example, by moving the reds, greens, and yellows further to the left, those tones will become darker, making certain areas of my image appear darker than others.
For more details on how to use the adjustment slider to create a black-and-white effect, click here.
9. Photo Filter Adjustment Layer
This adjustment offers a wide array of preset filters to apply to your image, including warming, cooling, and some color-based filters.
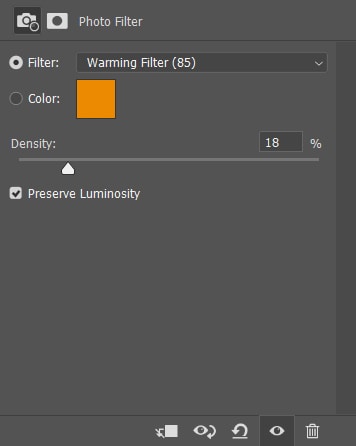
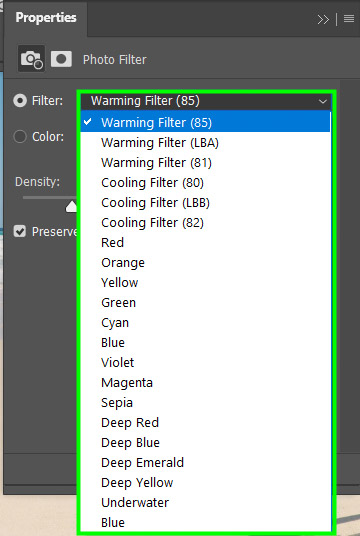
You can also adjust the strength of the filter using the Density slider.
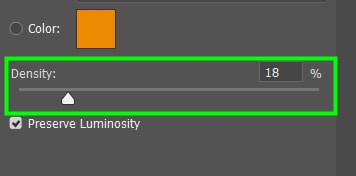
These are excellent options to add the finishing touches to your projects.
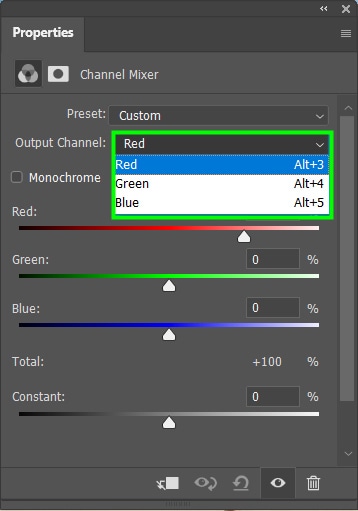
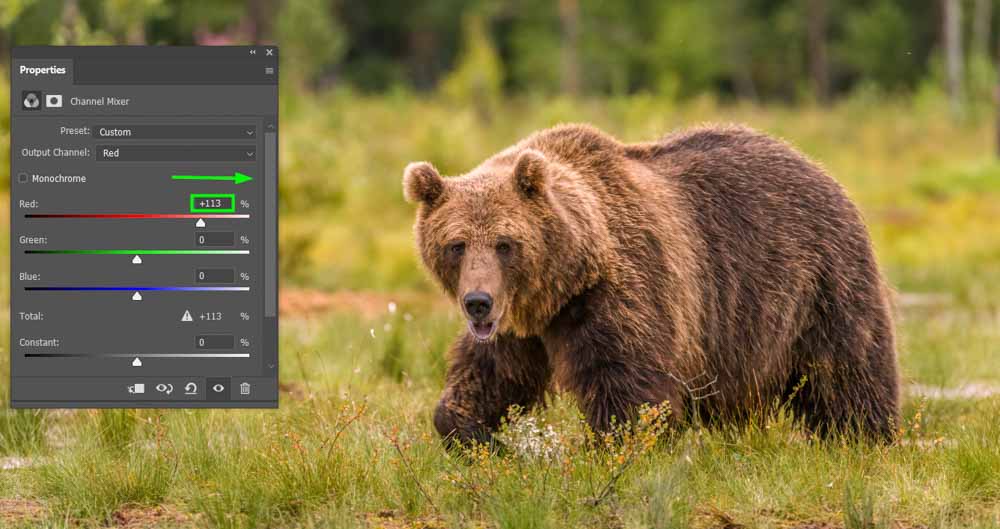
10. Channel Mixer Adjustment Layer
Within the Channel mixer panel, you can find an Output Channel drop-down menu that lists the Red, Green, or Blue channels, which are the color channels that compose your image.
After determining the output channel, you can adjust the Channel mixer sliders: Red, Green, and Blue.
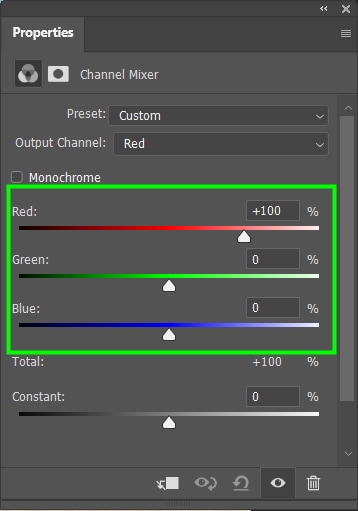
Moving the sliders to the left or right allows you to adjust the amount of a primary color in a given area.
For example, moving the reds to the right increases the amount of red in the red areas of your image.
And by shifting the green to the right, you increase the amount of red in the green areas of your image.
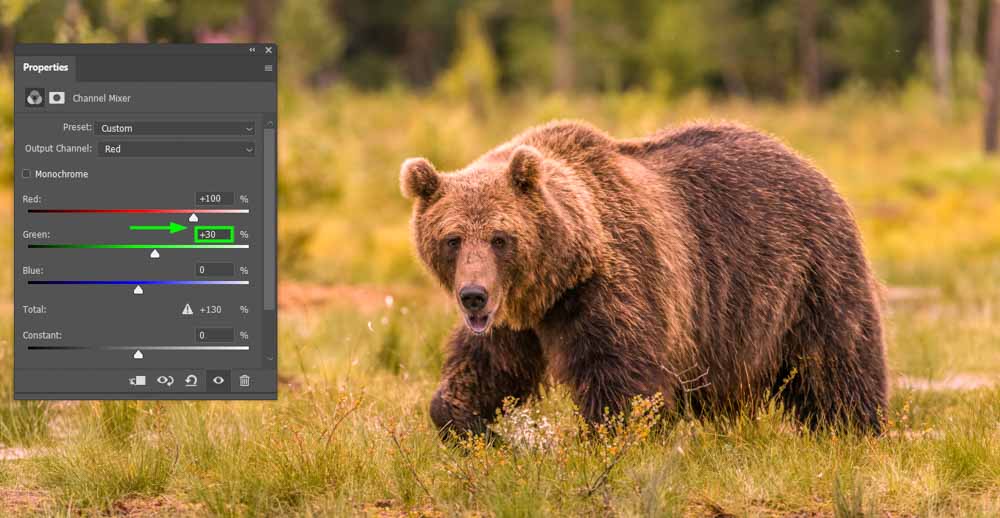
On the other hand, if you move the green slider to the left, you can decrease the amount of red in the green areas.
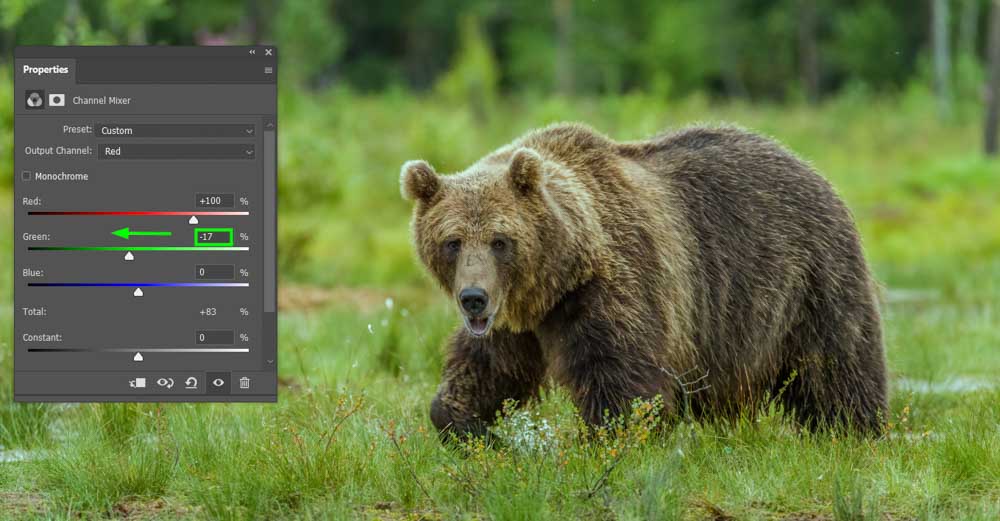
Using these sliders, you can adjust your image’s color temperature, making it warmer or cooler as desired.
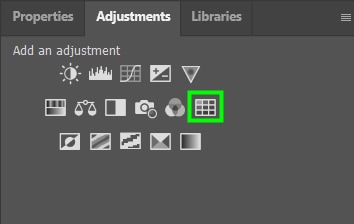
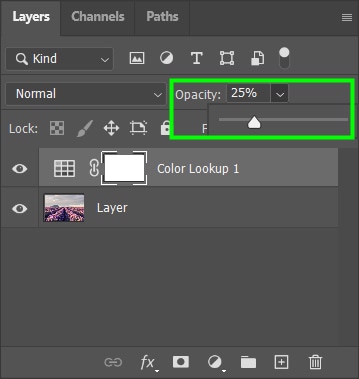
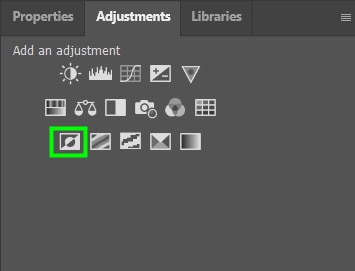
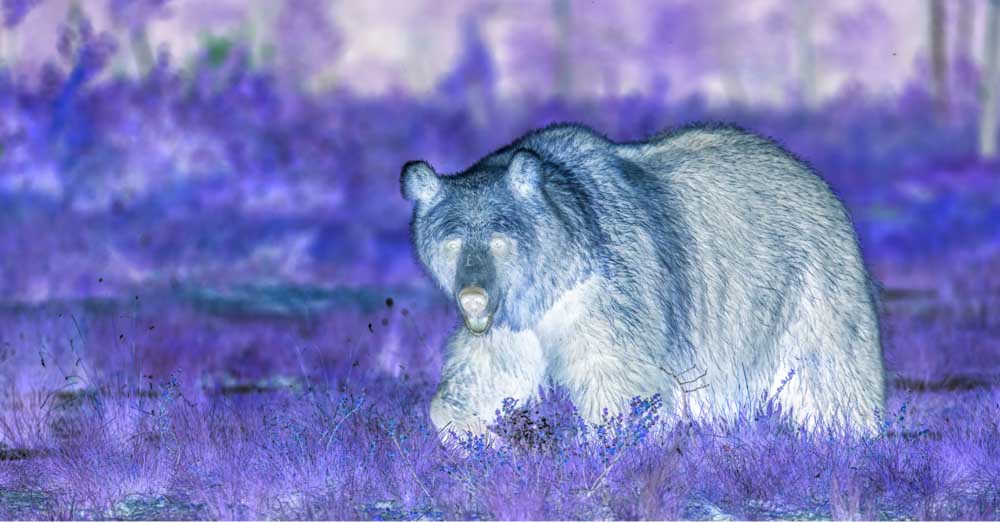
11. Color Lookup Adjustment Layer
This Color Lookup adjustment layer remaps the colors of your image to new colors present in lookup tables (LUTs), which are Photoshop preset effects.
There are several effects for you to apply to your image.
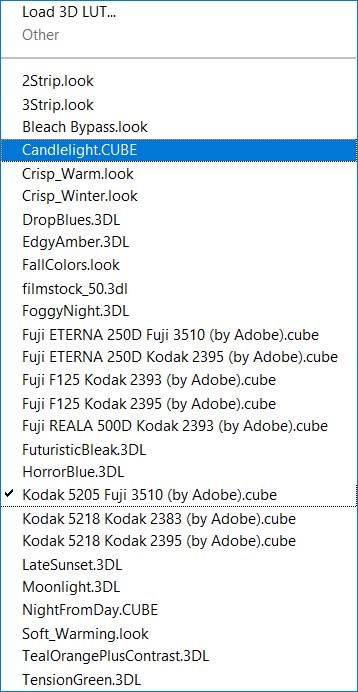
After choosing a filter and applying it to your image, you can adjust it, lowering the opacity of the adjustment layer in the Layers Panel.
12. Invert Adjustment Layer
This adjustment instantly inverts the colors in your image, creating a negative out of your image, just like the negatives photographers used to get when taking pictures with an analog camera in the 80s or 90s. There are no settings you can change for this adjustment layer.
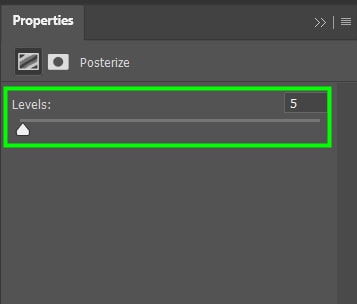
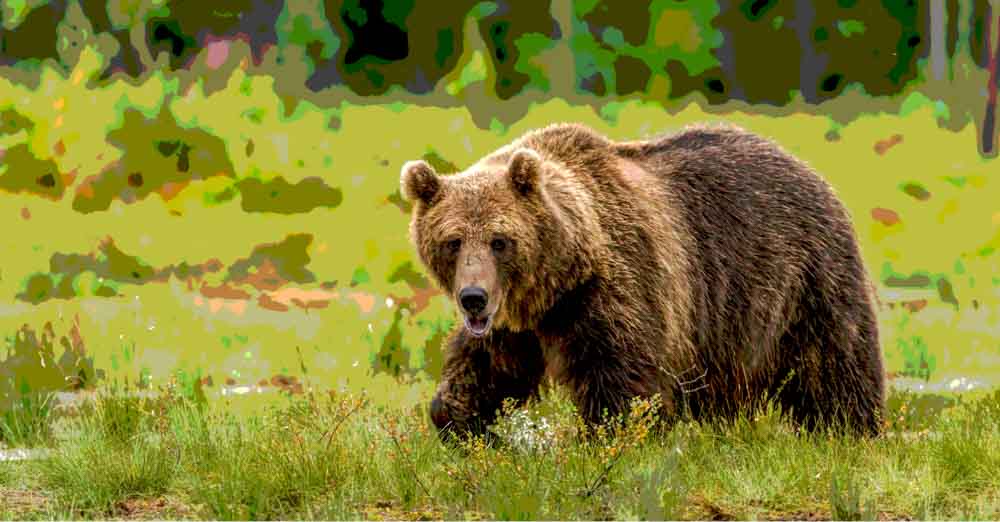
13. Posterize Adjustment Layer
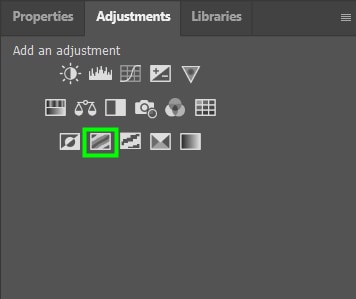
This adjustment alters the colors in your image, making it appear like a simple poster similar to the ones found in ads, flyers, comics, and other creative pieces.
In the Properties Panel, you can play around with the Levels slider to determine how many colors will appear in your new image/poster.
The fewer colors you choose, the more similar your image will look to a poster. For my image, I selected five colors.
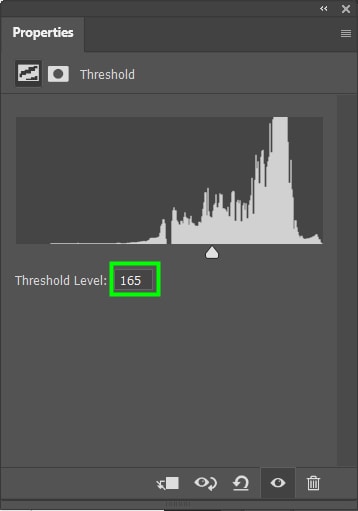
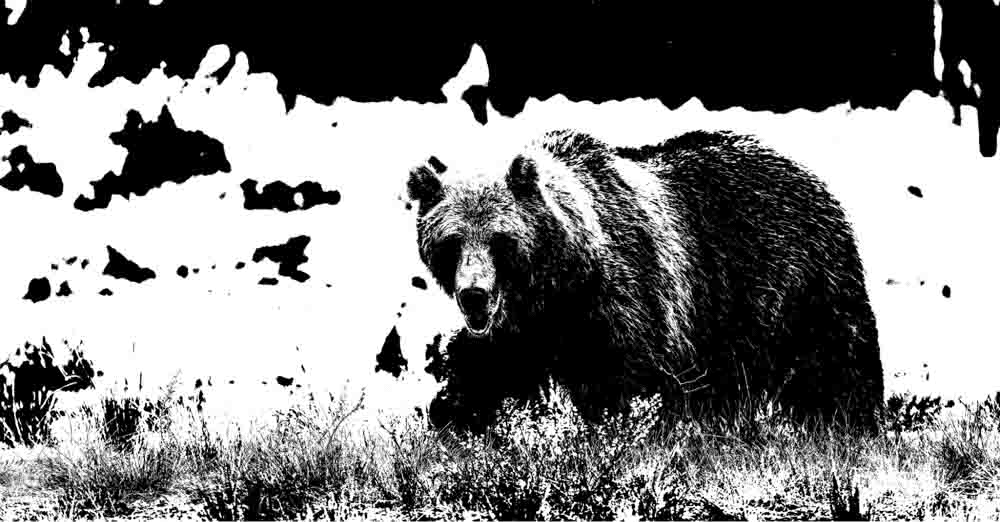
14. Threshold Adjustment Layer
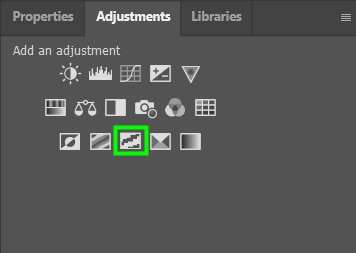
This adjustment makes your image look like a black-and-white vector illustration.
In the slider Threshold Level box, you can control the effect’s intensity.
15. Selective Color Adjustment Layer
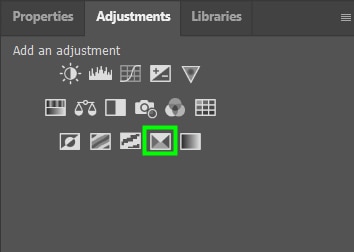
This adjustment allows you to target a specific color in your image, increasing or decreasing its strength.
First, you have to choose the color group you want to change. For example, the Reds, Yellows, or Greens.
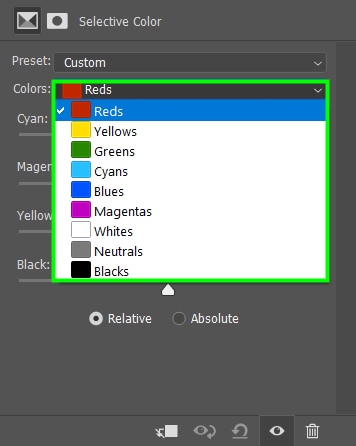
After selecting the color you want, you can control the amount of cyan, magenta, black, or white in that color by adjusting the Selective color sliders.
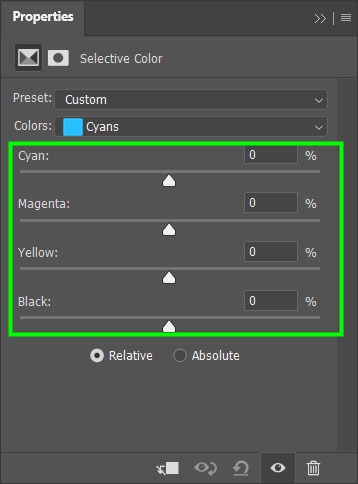
For example, I increased the amount of cyans in my image and the amount of blacks in the cyan. This resulted in a more prominent cyan.
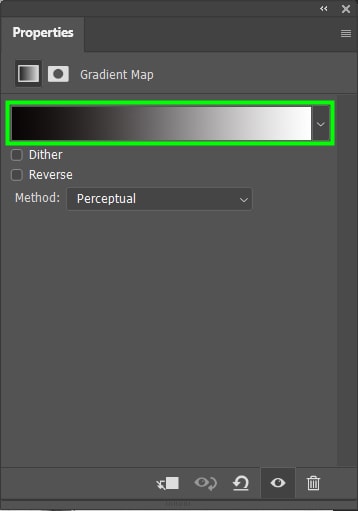
16. Gradient Maps Adjustment Layer
In gradient maps, images are transformed into gradients, which are color combinations made up of two or more colors.
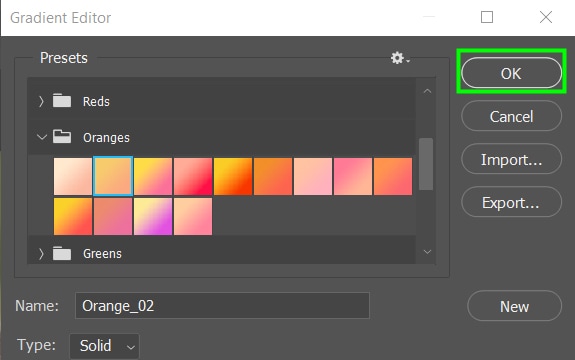
When you select a gradient map option, your photo will change to a default gradient that goes from foreground to background color. You can double-click the gradient bar to find more options.
You will find several gradient presets to apply to your image. For example, I chose this orange gradient for my image.

When you’re finished selecting the desired color, click OK.
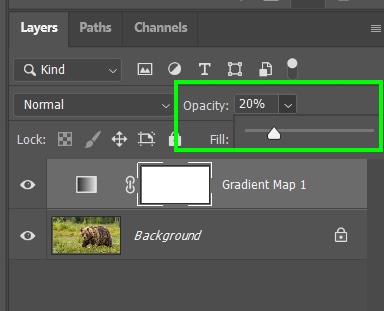
Back to the Layers Panel, you can soften the gradient by lowering the layer opacity. I lowered mine to 20%. You can also use layer blend modes such as Overlay to improve this effect.
How To Apply An Adjustment Layer To One Layer In Photoshop
When you work with multiple layers in Photoshop and create a new adjustment layer, it’s applied to all layers below it. Fortunately, there is a way to apply an adjustment layer to an individual layer only.
I will use the Selective Color Adjustment Layer to demonstrate this feature.
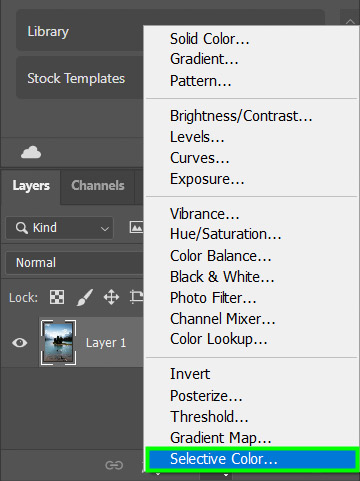
First, open the photo you want to work with.
Then, select the desired adjustment layer. You can do this by clicking the half-moon icon at the bottom of the Layers Panel and choosing Selective Color or any other filter you want.
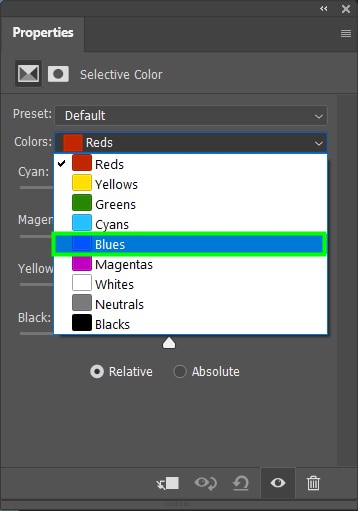
After that, select the color you want to adjust. In my case, I chose the Blues.
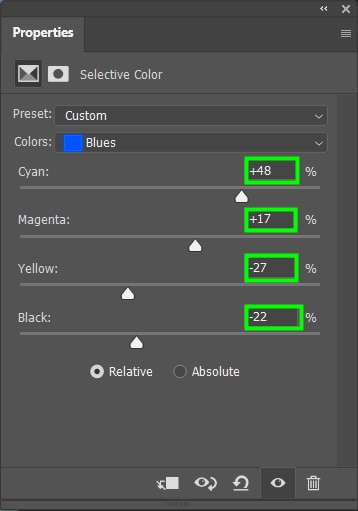
Then alter the Cyans, Magentas, Yellows, and Blacks present in the color you selected. I chose the following values: Cyan (+48), Magenta (+17), Yellow (-27), and Black (-22).
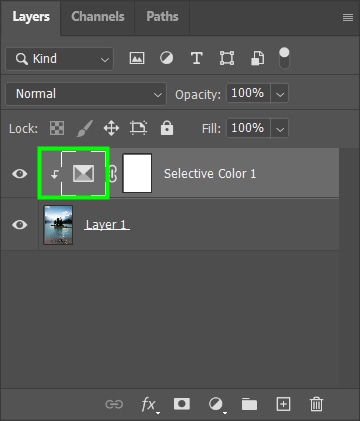
Finally, the secret to applying an adjustment to an individual layer is clicking the clipping mask icon at the bottom of the Properties Panel.
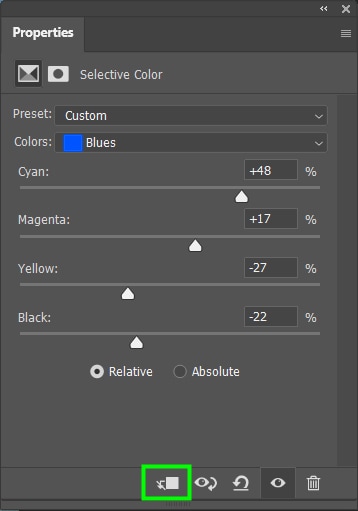
This will apply the effect to the layer immediately below the adjustment layer. An arrow next to the adjustment layer will indicate a clipping mask was created. That way, if a layer is placed below my adjustment later in my project, it will only affect the layer it is clipped to.
All of these adjustment layers will take time and practice to understand, and it’s unlikely you’ll regularly use all of them. As a photographer, my top 3 favorite adjustment layers are the Hue/Saturation adjustment, the Color Balance adjustment, and the Curves adjustment since they help to transform my images the fastest. But now it’s time you give all these adjustments a try for yourself and see which ones work best in your work.
Happy editing!
