
Whether you need to darken your entire photo, a single layer, or only target a specific area, it’s easy to darken an image in Photoshop. With the tips outlined below, you’ll be able to correct your bright photos in no time.
To darken an image in Photoshop, go to Image > Adjustments > Exposure to create a new Exposure Adjustment Layer. In the dialogue box that appears, move the “Exposure” slider to the left to darken your photo. This will darken your entire image at once and correct any overexposed areas.
Depending on the exact darkening adjustment you want to perform, there are a few different ways to do it. Let’s get into the specifics!
Lesson Summary
- Step 1: Go To Layer > New Adjustment Layer > Exposure
- Step 2: Name The New Layer And Click OK
- Step 3: In The Properties Panel, Move The Exposure Slider To The Left To Darken The Image
Video Tutorial
How To Darken An Image In Photoshop
Use the first method for images with blown-out highlights, as it darkens the image with one slider. The second method is perfect for Camera RAW images and also uses one simple slider. The third method allows you to adjust the brightness and the contrast of the image.
Method 1: Using The Exposure Adjustment Layer
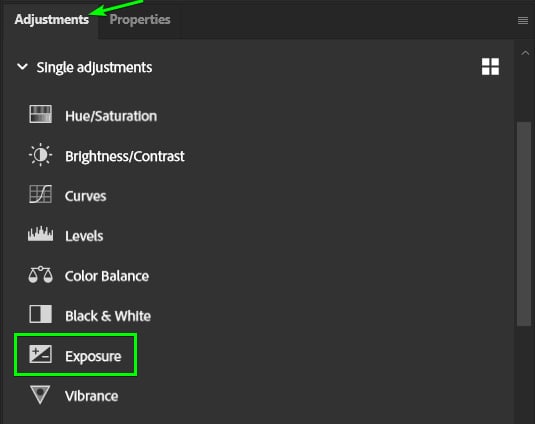
Step 1: Select The Exposure Adjustment Layer From The Adjustments Panel
First, add the adjustment by selecting the Exposure Adjustment icon in the Adjustments Panel.
Note: If you don’t see this panel, go up to Window > Adjustments.
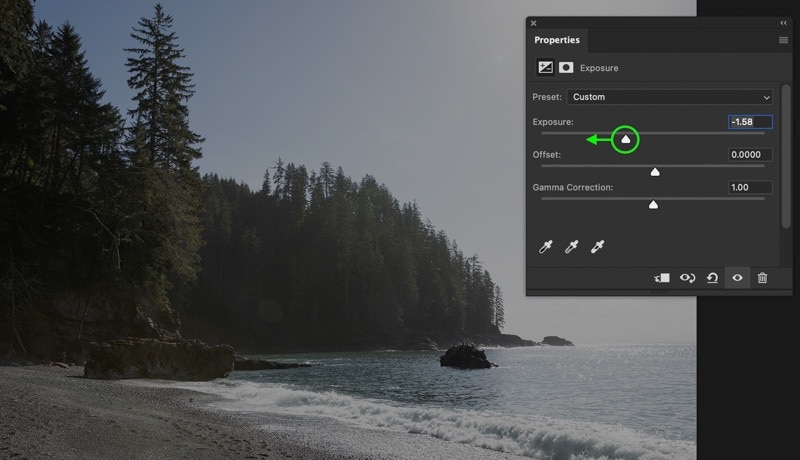
Step 2: Move The Exposure Slider To The Left
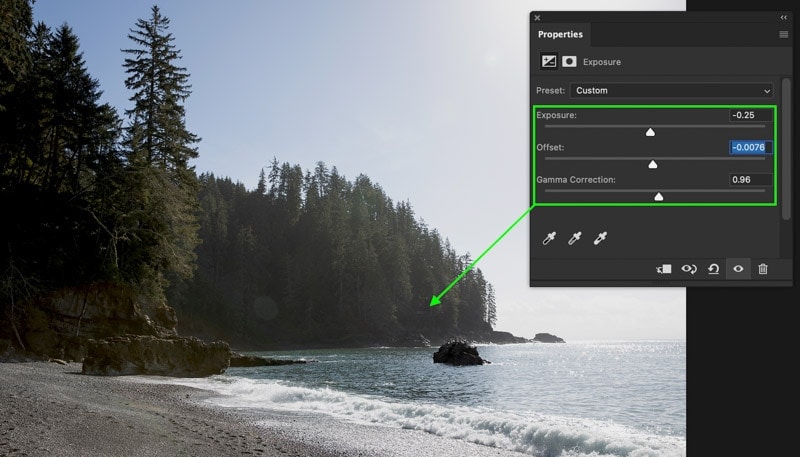
The Exposure slider controls the overall brightness or darkness of your photo. As you move this slider further left, your image will become increasingly dark. Depending on how bright your photo was to begin with, the right setting will vary.
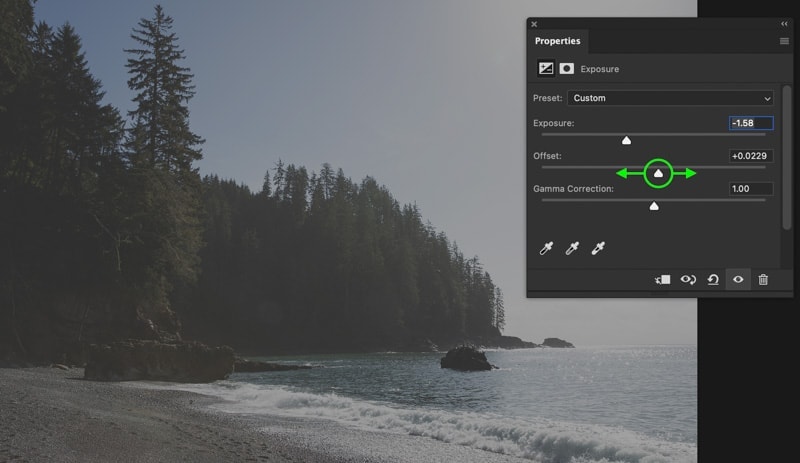
Step 3: Adjust The Offset Slider Based On Your Image (Optional)
The Offset slider will lift or lower the base point of your shadows. By increasing this slider, your image will take on a matte appearance while taking on deeper shadows when decreased.
Step 4: Adjust The Gamma Correction Slider Based On Your Image (Optional)
Meanwhile, the Gamma Correction slider offers further control of the brightness of the mid-tones. By adjusting this slider, you can brighten or darken the middle exposure values to further refine your darkening adjustment.

If you just want to make a quick darkening adjustment to your photo, decreasing the Exposure Slider will do the trick. The other sliders offer an easy way to improve your exposure further if needed.
Method 2: Using Camera RAW
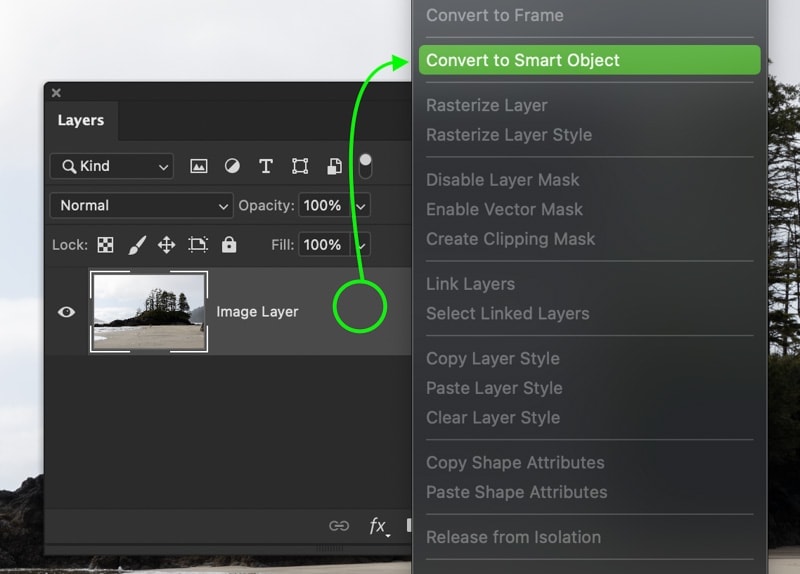
Step 1: Convert The Image To A Smart Object
If you open a RAW image, you’ll automatically open the Camera RAW workspace. However, you can also access this from the main Photoshop workspace.
If you want the option to edit your Camera RAW Filter later on, first convert your layer to a smart object by right-clicking > Convert To Smart Object.
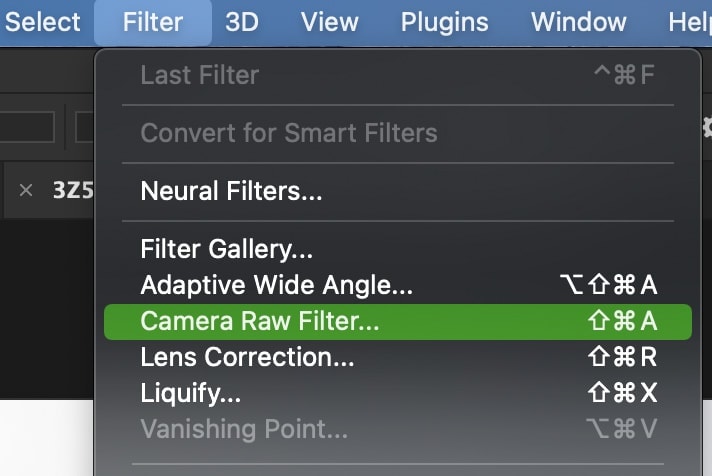
Step 2: Open Your Image In Camera RAW
Even if you aren’t working with a RAW file or have already opened your photo in Photoshop, Camera RAW is easy to access. With your image layer selected, go to Filter > Camera RAW Filter to open Camera RAW.
Step 3: Move The Exposure Slider To The Left
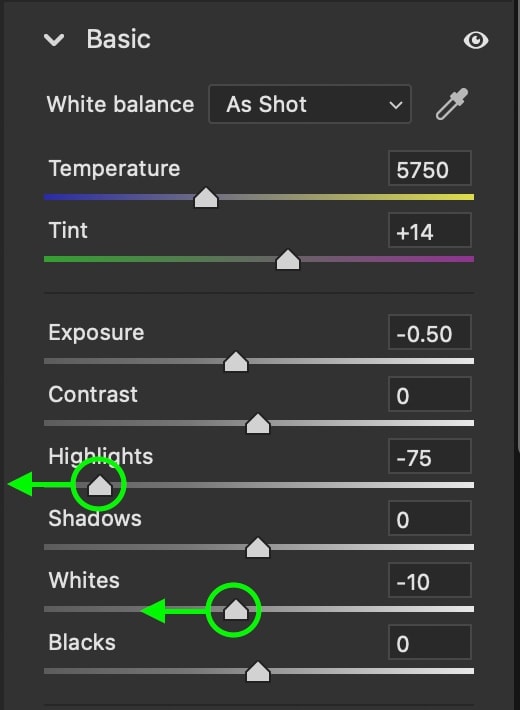
Once inside, make sure you’re in the Basic Panel and look for the Exposure Slider. By dragging this to the left, you can darken your entire photo at once.
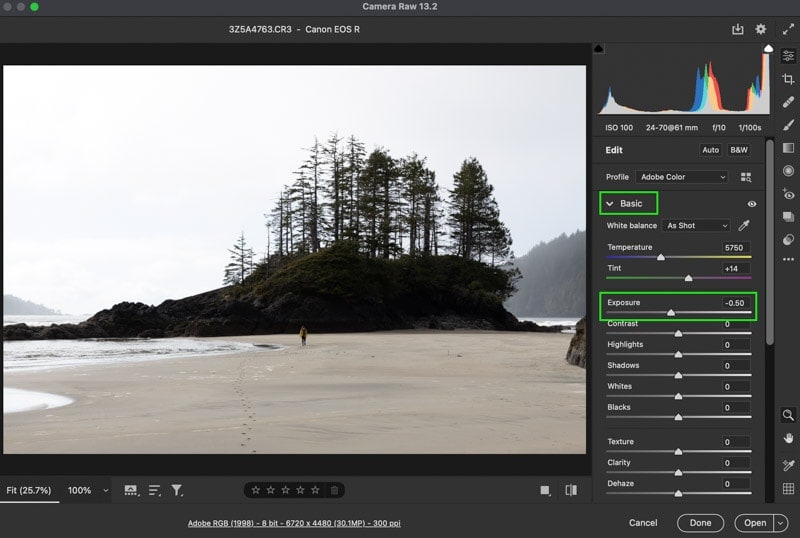
Step 4: Drag The Whites And Highlights Sliders To The Left (Optional)
In many cases, you may only want to darken the brighter parts of your photo. Things like an over-exposed sky or the highlight on someone’s face. In this situation, the whites and highlights sliders prove useful as well.
Using either one, you’ll only darken the brightest parts of your photo, leaving the shadows untouched.
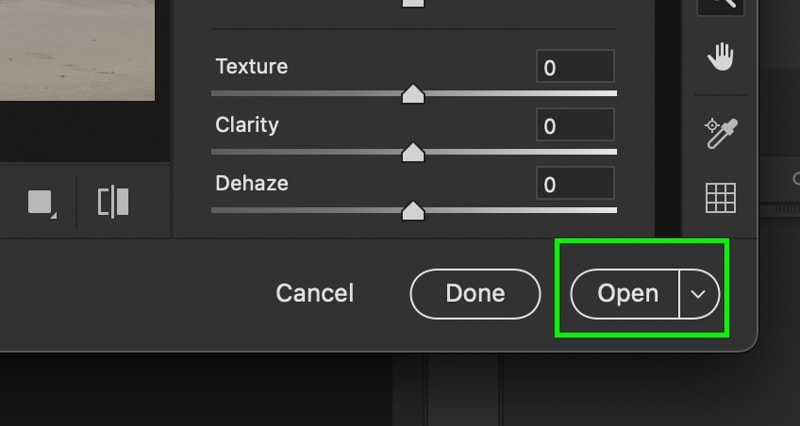
Step 5: Press OK Or Open To Exit Camera RAW
Once you’re happy with the adjustment, press OK or Open to exit Camera RAW.
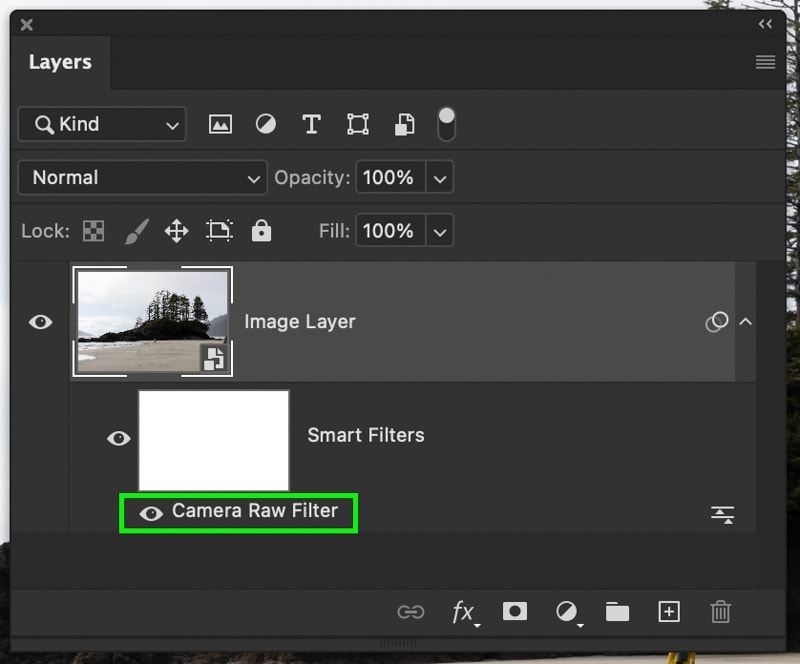
If you want to get back to your adjustments, just double-click on the filter to gain access.
Method 3: Using The Brightness & Contrast Adjustment Layer
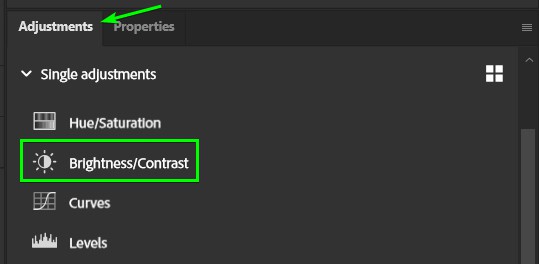
Step 1: Add A Brightness And Contrast Adjustment Layer
First, create a new Brightness & Contrast Adjustment layer by clicking on the icon in the Adjustments Panel. This will create a new adjustment layer in your Layers Panel, allowing you to edit non-destructively.
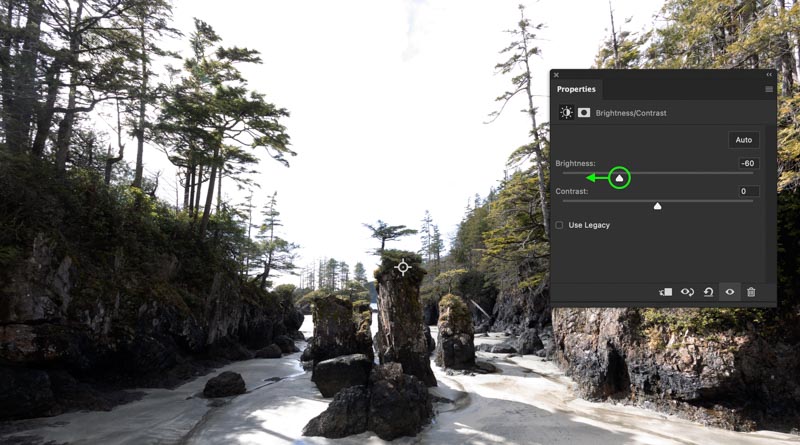
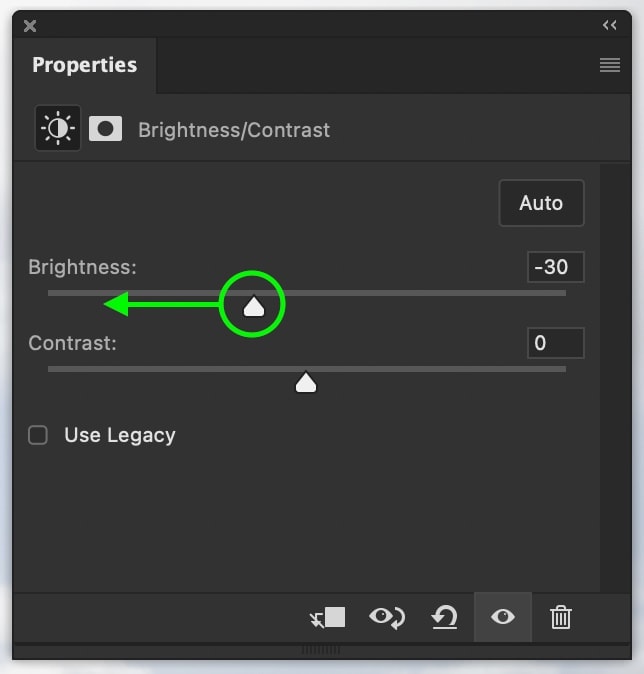
Step 2: Move The Brightness Slider To The Left
The Brightness slider will control the overall exposure of your photo. To darken your photo, move the brightness slider to the left.
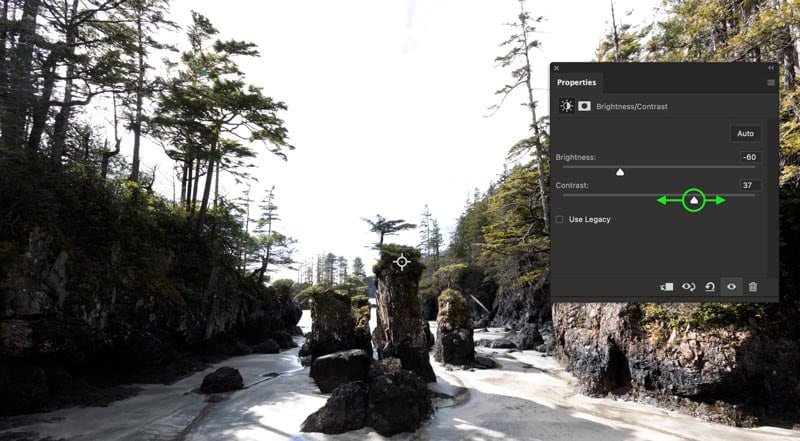
Step 3: Adjust The Contrast Slider Based On Your Image
The Contrast slider controls the intensity of your highlights and shadows. Once your photo is darkened, you can play around with the contrast slider to enhance the darkening adjustment. For a more moody look, try increasing the contrast.
How To Darken A Layer In Photoshop
Step 1: Add An Exposure Adjustment Layer
Note: Of the three darkening tools you learned about previously, only the exposure adjustment and the brightness & contrast adjustment will work with a clipping mask. That’s because clipping masks only work with adjustment layers.
Start by clicking on the Exposure Adjustment Layer in the Adjustments Panel. Then, make sure the exposure adjustment layer is above the layer you want to target.

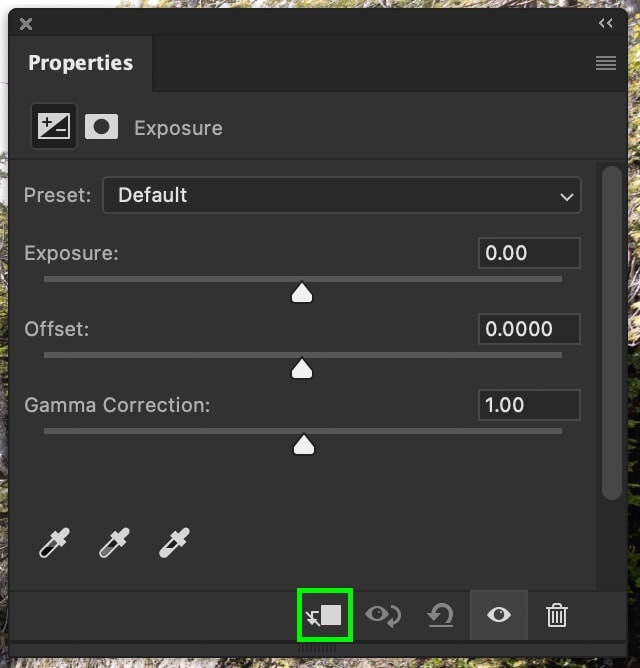
Step 2: Add A Clipping Mask Using Control + Alt + G (Win) or Command + Option + G (Mac)
Once the exposure dialogue box appears, click on the clipping mask icon to create a new clipping mask. Alternatively, you can press Control + Alt + G (Win) or Command + Option + G (Mac) to create a clipping mask.
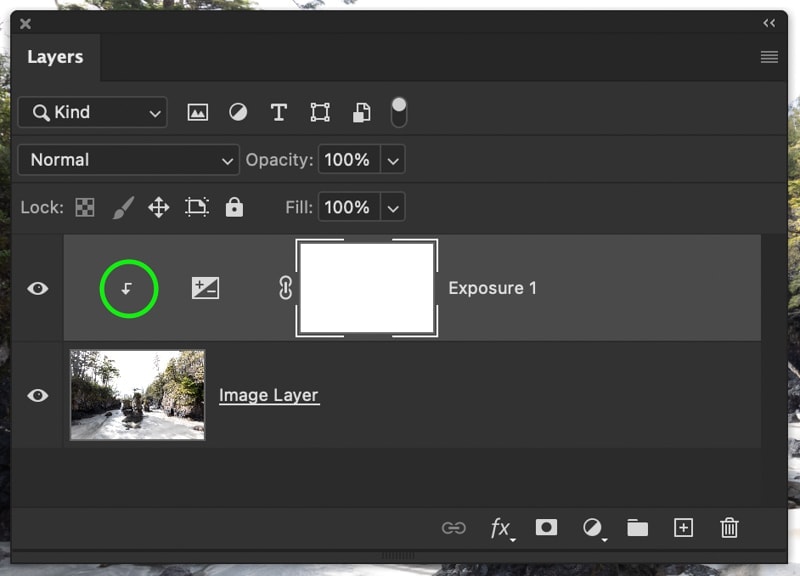
Step 3: Adjust The Exposure Layer As Needed
Now, the Exposure Adjustment Layer will have a right-angle arrow icon indicating a clipping mask. When you make changes to the exposure adjustment layer, the effects will only be applied to the layer it’s clipped to.
How To Darken Part Of An Image
Step 1: Add A Brightness And Contrast Adjustment Layer
This method also only works with the adjustment layer methods, so create a new Brightness & Contrast Adjustment Layer. Then, adjust the sliders as needed.
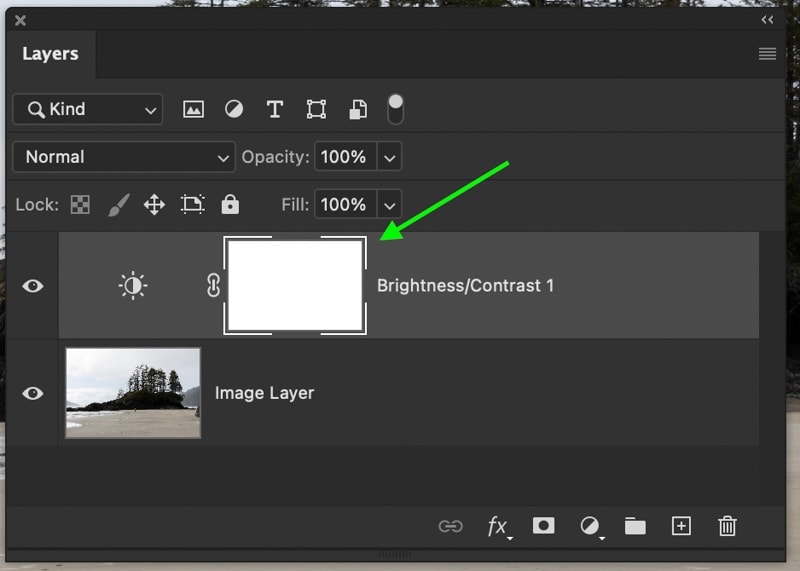
Step 2: Select The Layer Mask Thumbnail In The Layers Panel
By default, the adjustment layer will appear in your Layers Panel with a white box beside the layer icon. This is your Layer Mask. Make sure your layer mask is selected, as indicated by the white outline.
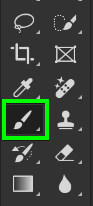
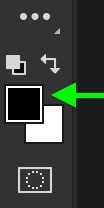
Step 3: Activate The Brush Tool (B) And Set The Foreground Color To Black
When the layer mask is white (100% visible), that means every part of your image will be affected by your adjustment layer. To make certain areas transparent, you need to paint black onto the mask. To do this, select your Brush Tool (B) and set your foreground color to black.
Step 4: Paint Over Areas Of The Image To Lighten It
Then, begin to paint over the areas of your photo that you don’t want to be darkened. Once you’re finished, the darkening adjustments will only be visible in the white areas of your mask.

Since I wanted to darken the sky, you can see that the white area of my mask matches up with the upper section of my image.
Now, you’re a master at darkening images in Photoshop with a wide array of helpful techniques to make the job easy. Using the Exposure Adjustment, Camera RAW, or the Brightness & Contrast Adjustment, darkening photos has never been easier.
Happy Editing!
– Brendan 🙂


