

Knowing how to invert colors in Photoshop allows you to create a negative of your image. While this technique was designed during the film camera era, it’s still a popular editing technique used today. Inverting the colors of your image can lead to some eye-catching effects for your designs.
Inverting colors is simple and quick, but here are a few tips and tricks to take the effect further and create unique results with layer masks and selections.


How To Invert Colors In Photoshop
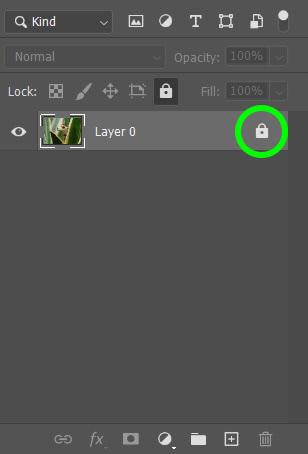
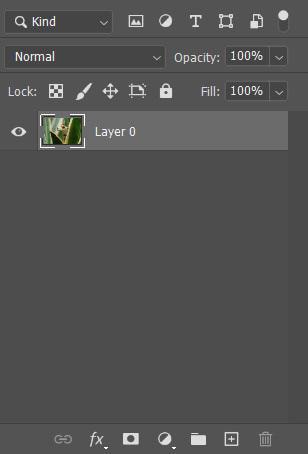
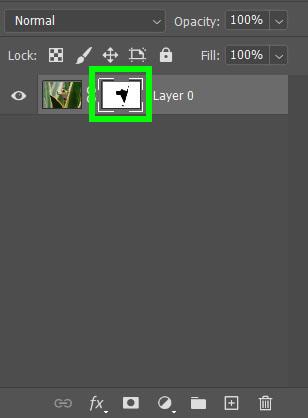
Step 1: Click The Lock Icon To Unlock Your Image Layer
Before you invert the colors for your image, you must make sure that your image’s layer is not locked in the Layers Panel. If there is a little Lock icon on your image’s layer, click on it to unlock the layer.
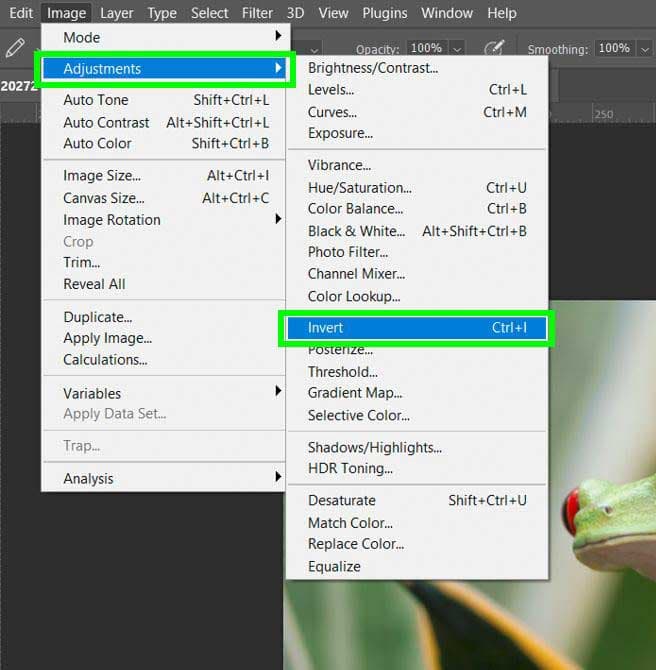
Step 2: Go To Image > Adjustments > Invert
With the layer unlocked and selected in the Layers Panel, go to Image > Adjustments > Invert. A faster way to invert your colors is to select your layer and press Control + I (Win) or Command + I (Mac).
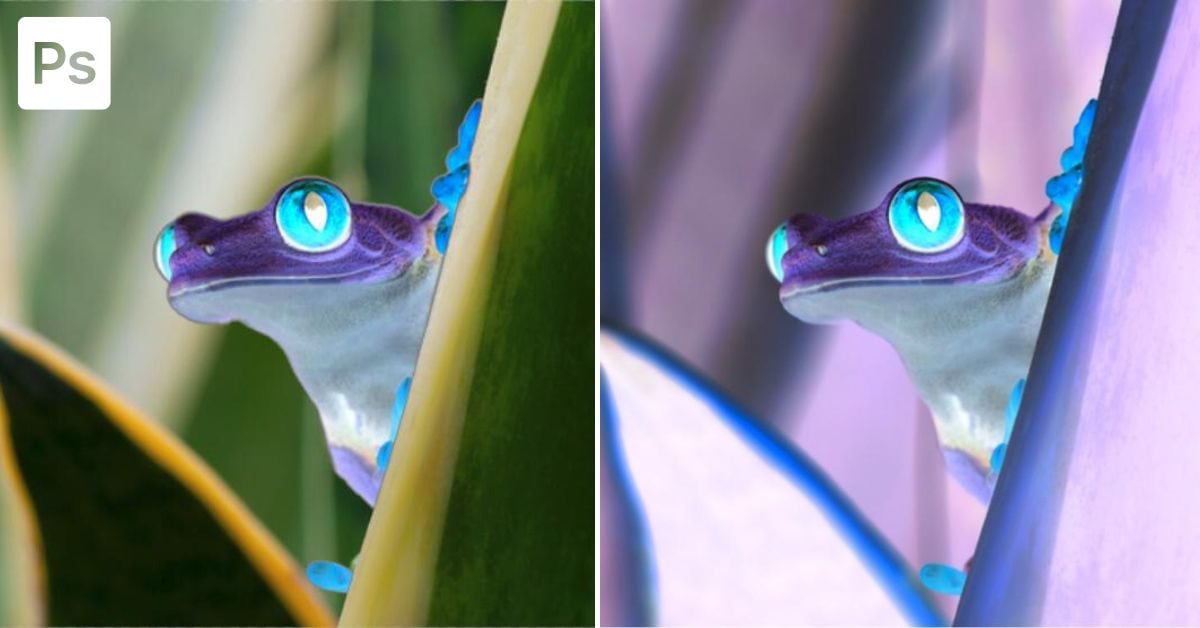
The colors in your image will invert to the opposite colors.
How To Selectively Invert Colors In Photoshop
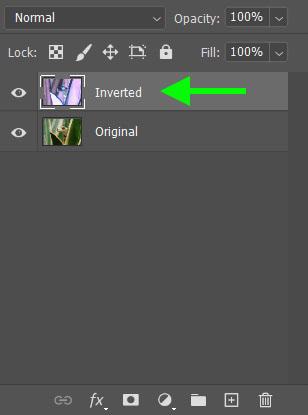
Step 1: Duplicate Your Layer And Invert The Copied Layer
The first thing you need to do is duplicate the layer you wish to invert the colors on. Click and drag your layer onto the New Layer icon in the Layers Panel.

Now that you have a duplicated layer, you need to invert the colors of the entire copied image. To do this, click on your new layer and press Control + I (Win) or Command + I (Mac). You will see that your layer has been inverted in the Layers Panel.
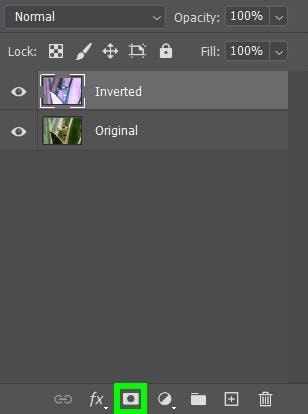
Step 2: Add A Layer Mask Using The Add Layer Mask Icon
To add a layer mask, select your layer and click on the Layer Mask Button. You will see a white layer mask pop up next to the layer.

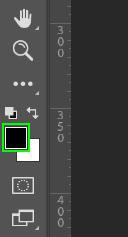
Step 3: Set The Foreground Color To Black Using The Color Swatch
When it comes to using a layer mask, the general rule goes, “white reveals, black conceals.” So, if you paint on a layer mask with black, you will hide the pixels on the top layer, making it possible to see the pixels on the layer below. So, for this process to work, set the Foreground Color to Black.
Step 4: Fill Your Selection With Black On The Layer Mask
You can select the area using the Quick Selection Tool (W).
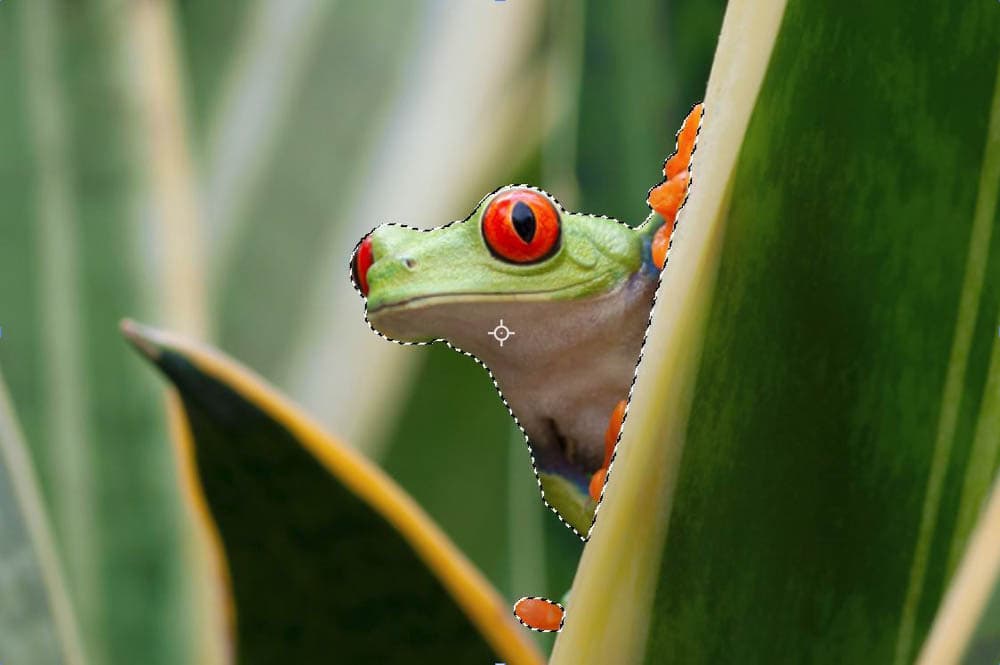
Then, click on the layer mask and press Alt + Delete (Win) or Option + Delete (Mac). Since you click on the mask itself, the color black conceals the selected pixels on the mask.
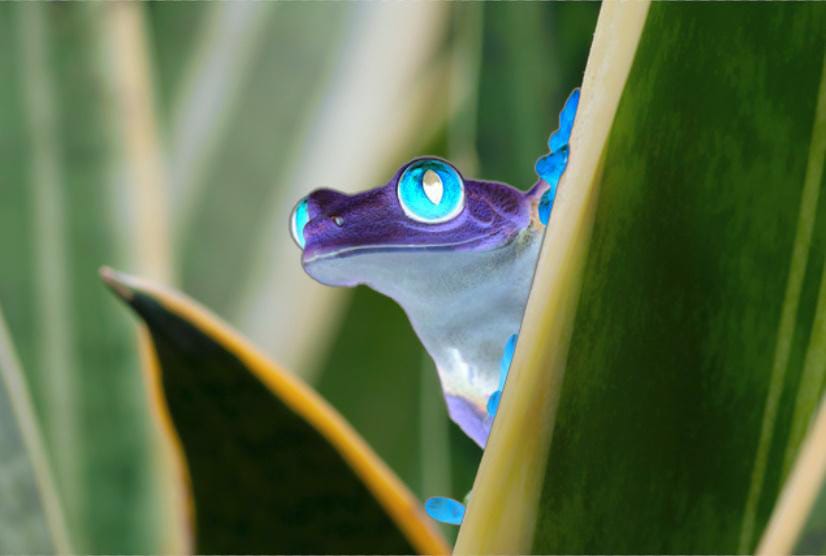
The hole you just made in your mask makes it possible to see the pixels of the layer below it. Giving the illusion in your image of your subject being surrounded by inverted colors. To deselect your selection, press Control + D (Win) or Command + D (Mac).

It’s also easy to see what your image would look like if your subject was inverted and the rest of the image was normal. To do this, click on your mask again and press Control + I (Win) or Command + I (Mac). This inverts the colors of your mask so that your subject is white and the rest of the image is black.
Experimenting with your colors by inverting them can result in some amazing effects!
