
If you’ve been using Photoshop for a while, you probably know how to delete selected pixels with the Delete key. Sure, using the Delete key is quick and easy, but those pixels are gone forever. That’s where adding a layer mask to your layers becomes so much more valuable.
Today I’m going to show you how you can add a layer mask to the layer you’re working on and how to edit the mask to fit your design. You’ll also learn how to create a shortcut for this action to save yourself even more time while you work.
Let’s get started!
How To Add A Layer Mask To A Layer In Photoshop
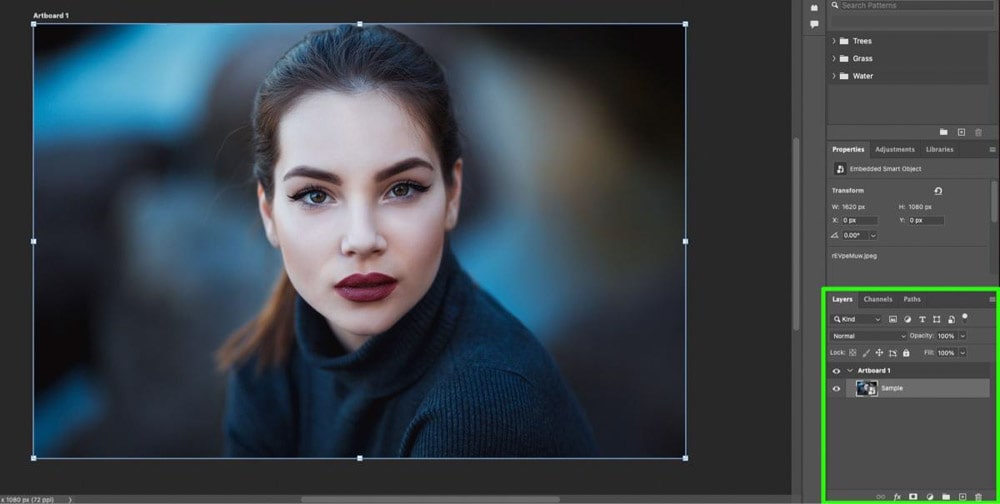
To create a layer mask in Photoshop, click on your image layer in the Layers Panel to select it. Now click on the layer mask icon (the white box with a dark circle in it) to add a mask to your selected layer. You can now edit the mask using the Brush or Gradient Tools to hide parts of your layer.
Let’s take a closer look at this process.
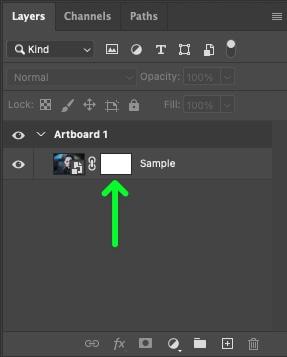
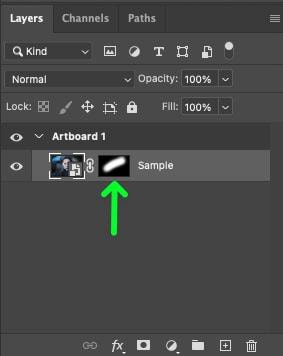
To add a Layer Mask to your layer, you need to find the Layer Mask button in the Layers Panel.
You can find the Layer Mask button between the Layer Style button and the Layer Adjustment button.
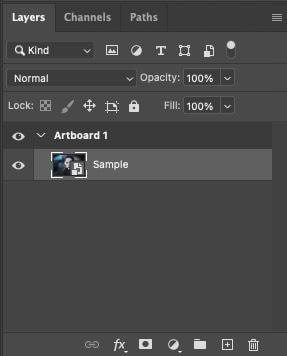
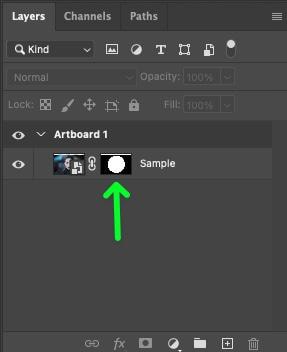
To add a Layer Mask, make sure your layer is selected by clicking it, then click the Layer Mask button.

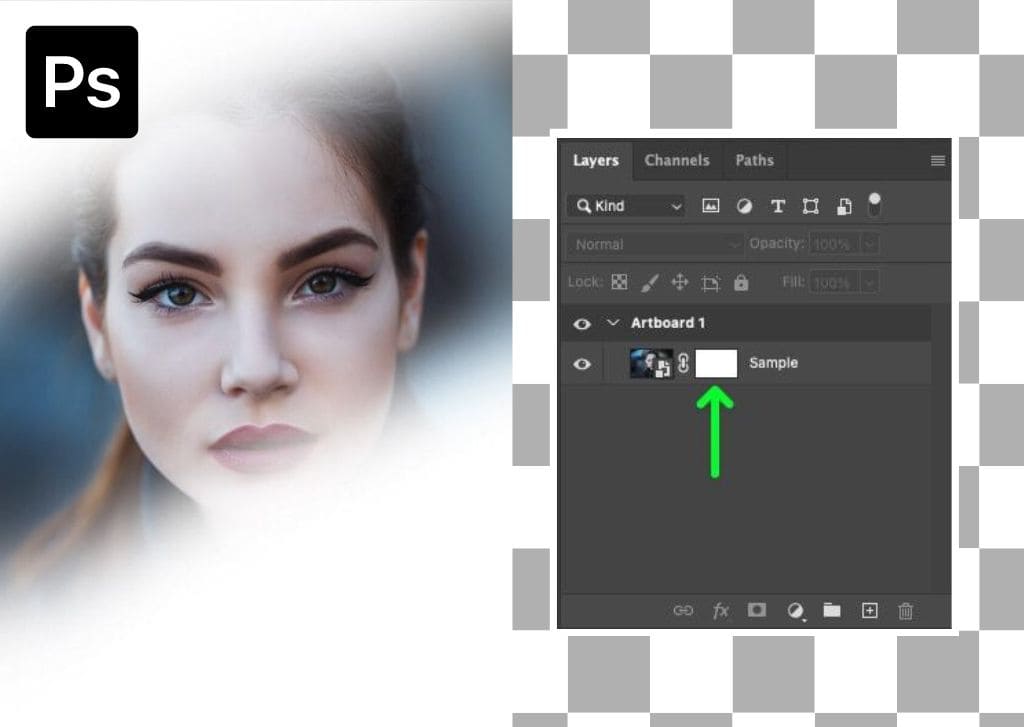
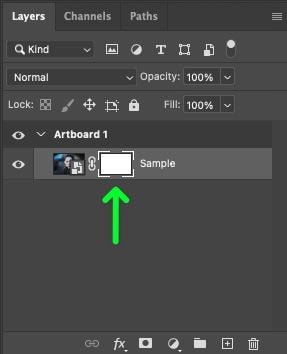
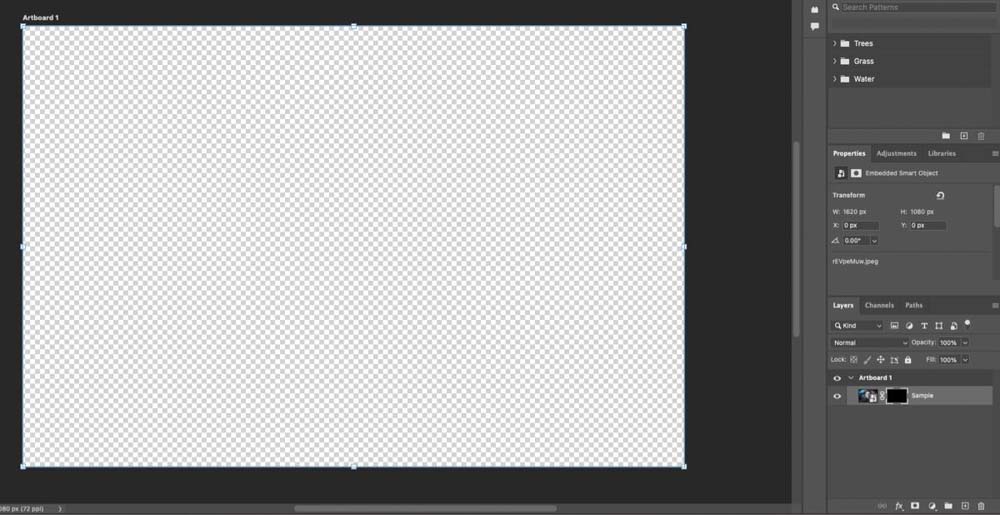
Once you press the layer mask button, you will see a blank mask next to your layer.
The main rule when using a layer mask is: black conceals, white reveals.
This means if you paint your layer mask using black, you will hide those pixels from your image.
You can bring any hidden pixels back to your image by painting over them with white.
Additionally, painting with grey will either lower or raise the opacity of an area depending on how dark or light the gray color is.
You will see how all of this works in the demonstrations below.
How To Create A Layer Mask Keyboard Shortcut In Photoshop
If you find yourself adding layer masks often, you should create a keyboard shortcut for this action to save time in the long run.
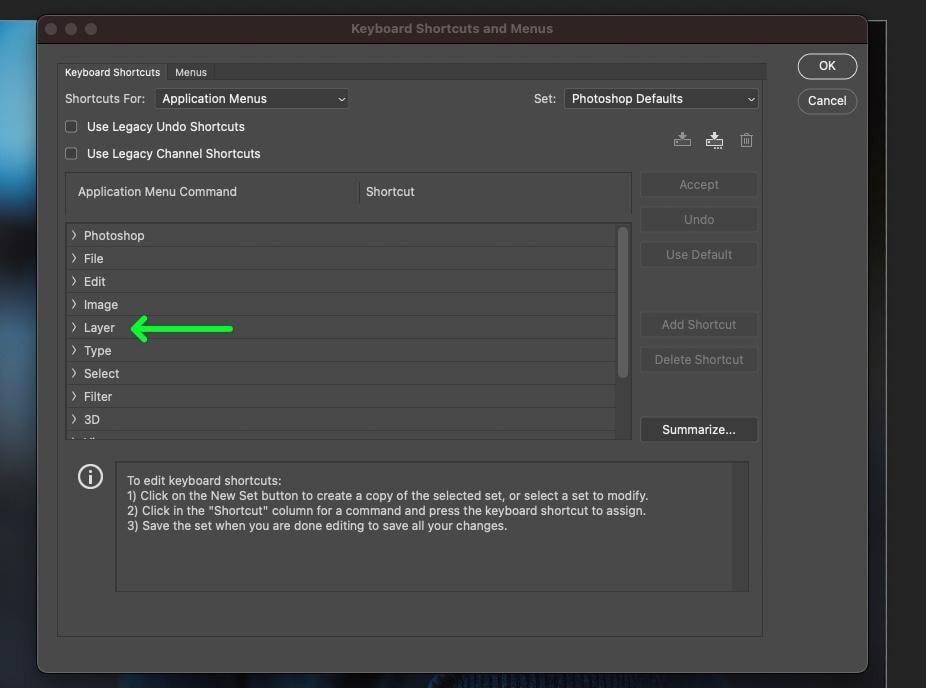
To create this shortcut, go to Edit > Keyboard Shortcuts.
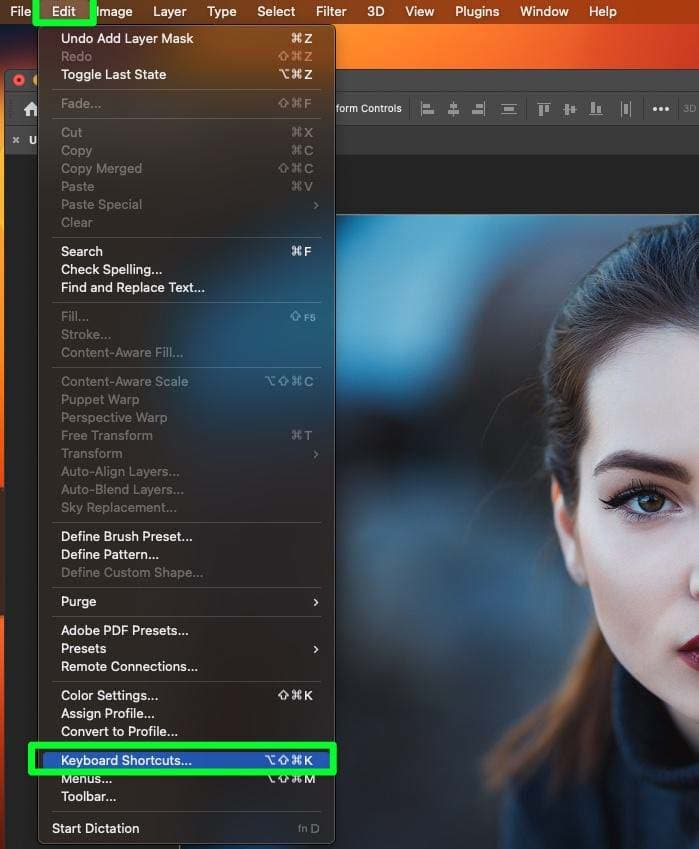
You will be presented with an overload of options. You don’t need to worry about most of them.
In the middle panel, select Layer.
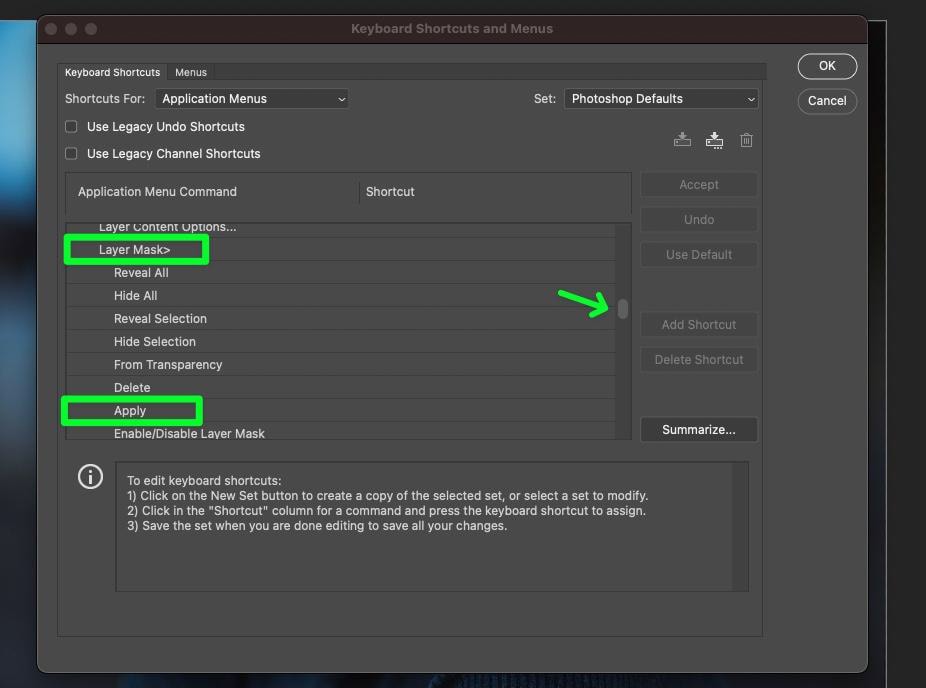
Again, there are a lot of options to choose from. The option you’re looking for is under the Layer Mask tab. This tab is about halfway down the list.
Scroll down and click Apply.
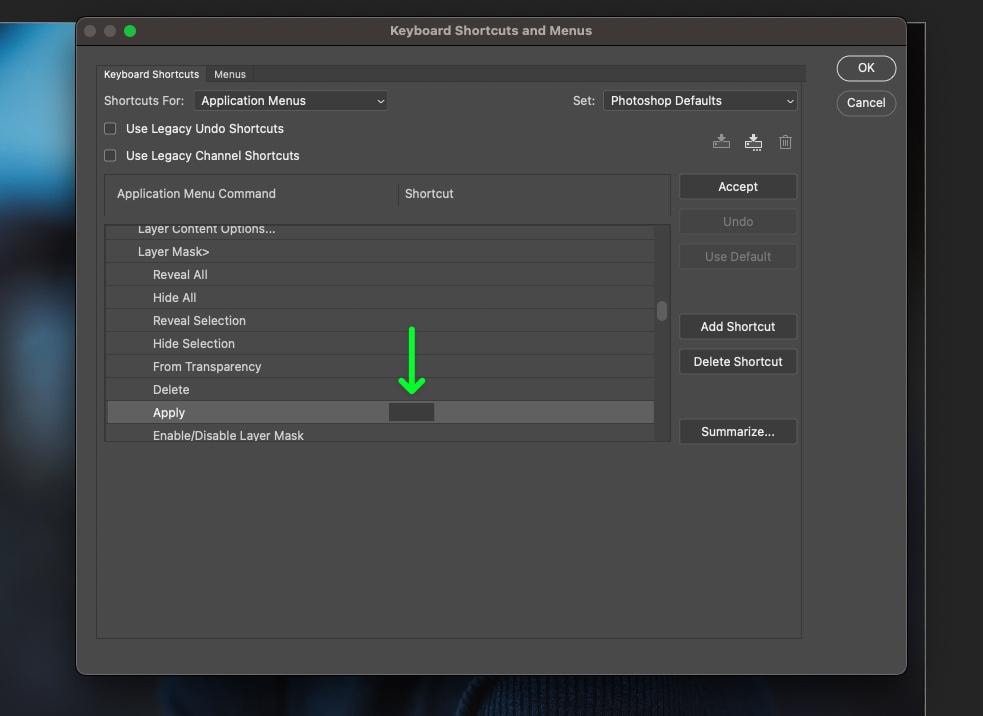
When you click on Apply, a box will appear in the middle of the Apply line. Input your keyword shortcut into this box.
You won’t be able to input any keyboard shortcut that comes to your mind. Most keyboard combinations have already been taken in Photoshop.
You will need to come up with a keyboard combination that hasn’t been used yet. For example, Shift + Control + 0 (Win) or Shift + Command + 0 (Mac). Another great example is Control + Alt + . (Win) or Command + Option + . (Mac).
Click OK to confirm your shortcut.
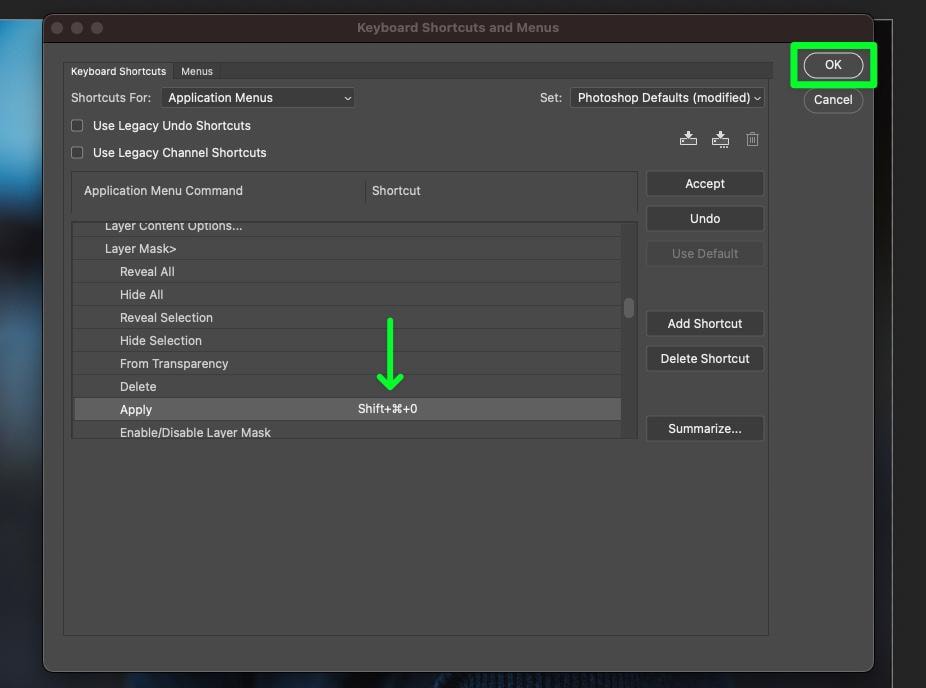
Your shortcut is now official. You can test your shortcut by clicking on a layer, then performing the keyword shortcut.
You will know this worked if you see a blank layer mask appear next to your layer.
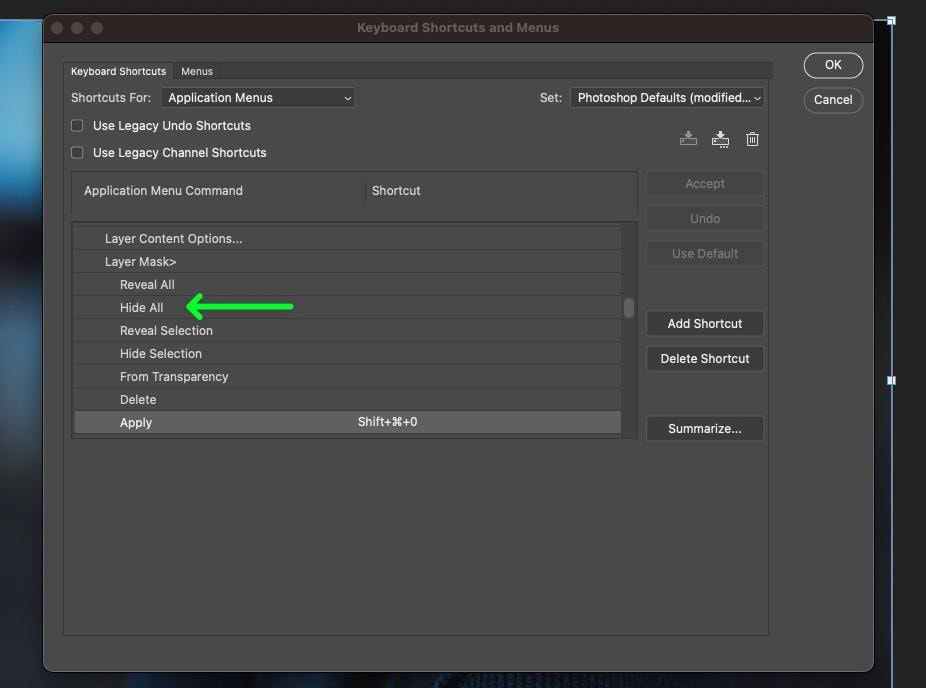
While you are already in the Keyboard Shortcuts Menu, you can make a keyboard shortcut for another type of mask: the transparent mask.
Just a few options above Apply is the Hide All option. Click on it, and add a custom keyboard shortcut.
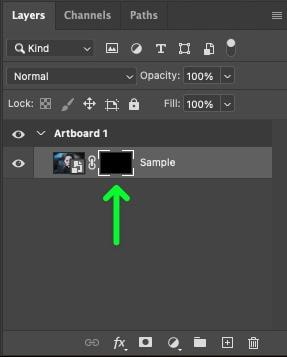
Using this shortcut on your layer will create a black layer mask on your image. You will also notice instantly that your entire layer has been hidden.
By painting white on this transparent mask, you will reveal the pixels below it.

The brushstrokes you make on the transparent mask will also be reflected on the mask in the Layers panel.
How To Edit A Layer Mask In Photoshop
The number of ways you can edit a layer mask in Photoshop is almost endless.
In the following demonstration, I’ll show you one of the more basic ways of doing so. You can use this technique as a building block to let your imagination run wild.
To start, select your layer, then click on the Layer Mask Button. This will add a blank layer mask next to your layer.
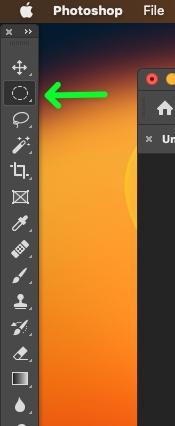
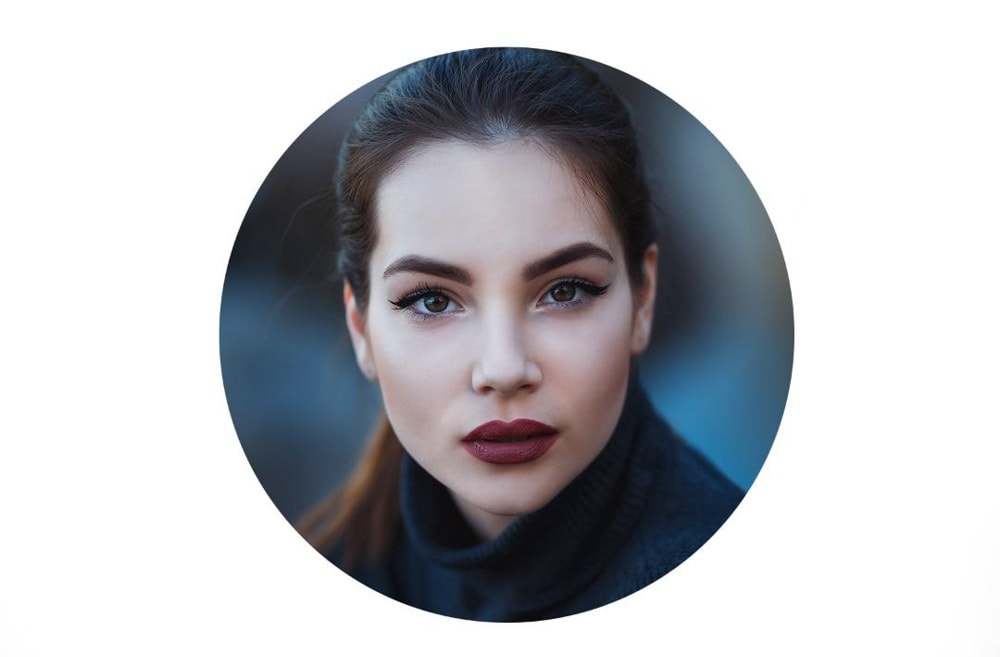
If you want to cut out a basic shape in your mask, for example, a circle, select the Elliptical Marquee Tool (M).
Alternatively, you can use the Brush Tool to achieve a similar effect as the demonstration below using one of Photoshop’s hundreds of digital brushes.
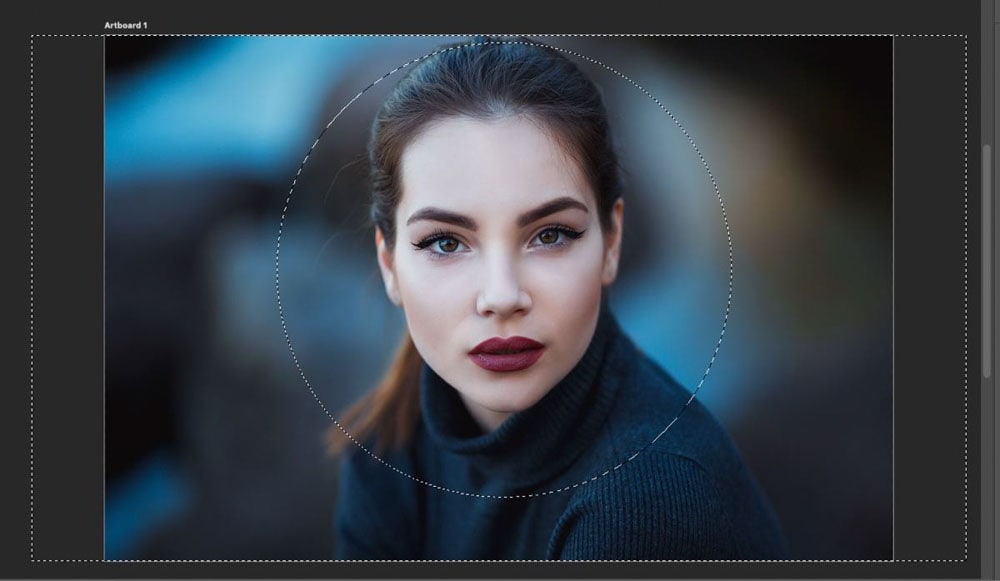
With the Elliptical Marquee Tool, drag the mouse over the area where you would like the shape to be.
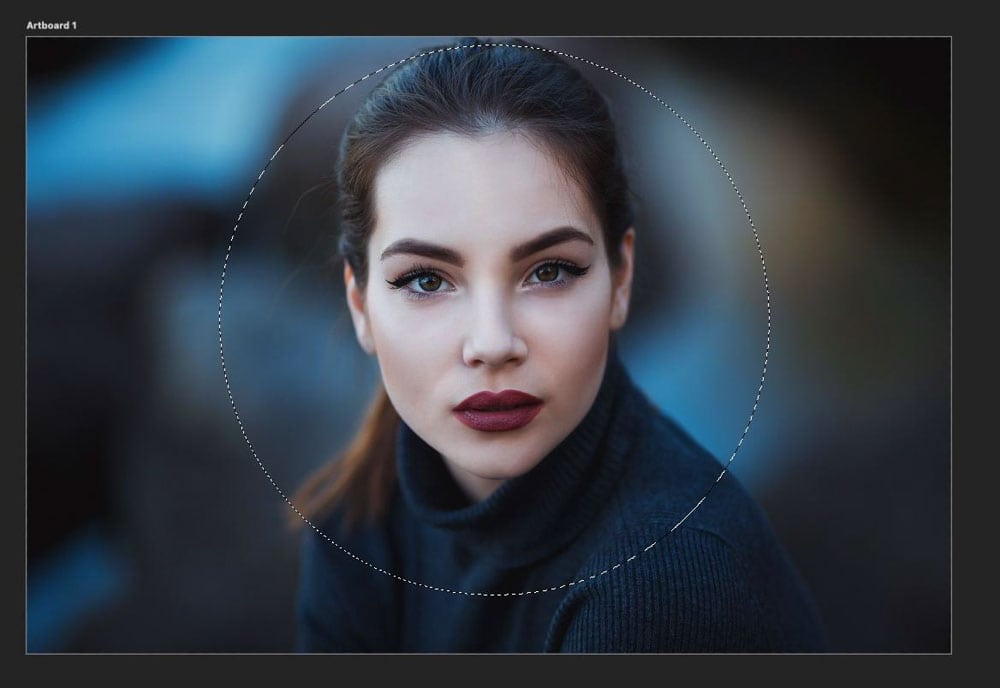
The area that you now have selected is within the circle itself. So anything outside this circle cannot be altered in any way. You need to reverse this selection so that the area outside the circle can be affected.
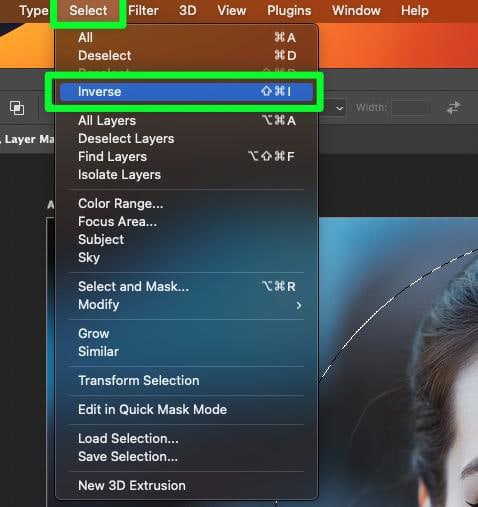
Go to Select > Inverse. This will reverse the selected area, allowing you to edit outside your shape.
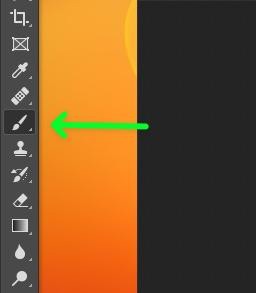
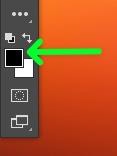
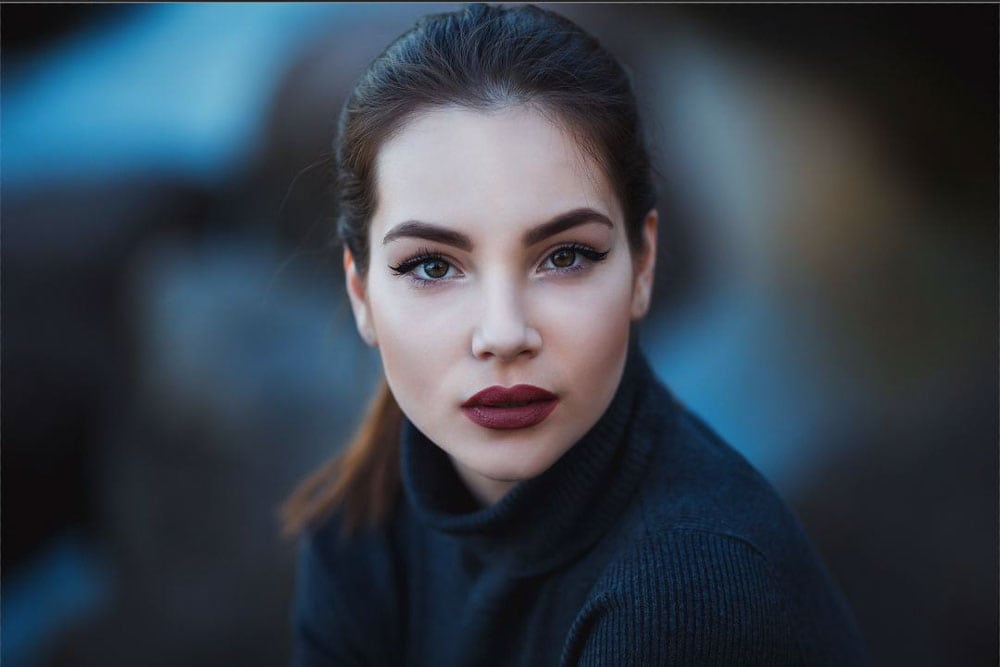
Now that you have the correct area set up select your Brush Tool (B), and make sure that Black is your foreground color.
Remember, the color black conceals when working with a layer mask. Drag your brush around the perimeter of your shape to hide the pixels around your selected area. Remember that you can always bring pixels back by painting over them with white.

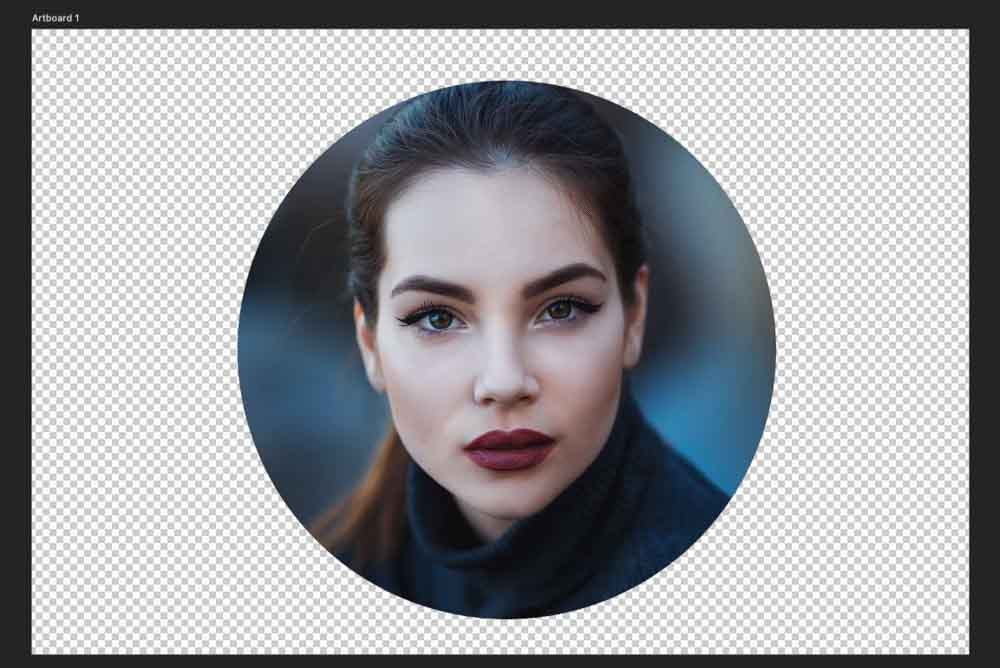
Drag the brush around your selected area until all that is left is your selection shape and the image inside it.
You can also use the shortcut Shift + Control + Delete (Win) or Shift + Command + Delete (Mac) to hide everything inside the selection, automatically painting that area black on the layer mask. The brush works well when you have uneven and odd areas to edit on the layer mask.

If you check the Layers panel, you will see your shape cut out of the layer mask.
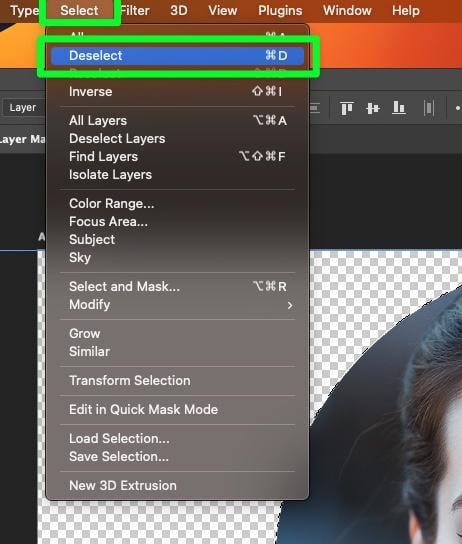
When you’re finished editing your layer mask, you need to deselect your selection so you can make future edits to your entire image and not just your selection.
To deselect your selection, go to Select > Deselect or press Control + D (Win) or Command + D (Mac).
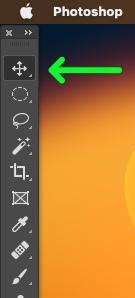
Next, if you need to center your cut-out image or move it somewhere else on your canvas, you can select the Move Tool (V) and move your photo where it needs to be.
Finally, you can easily add a background behind your cutout image.
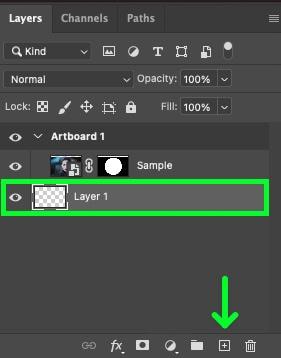
First, click the New Layer button to add a new layer. Drag that layer below your main layer.
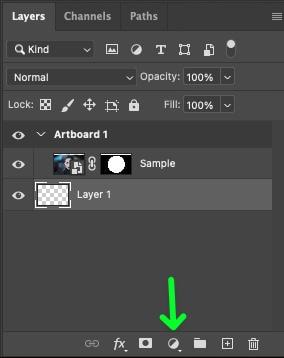
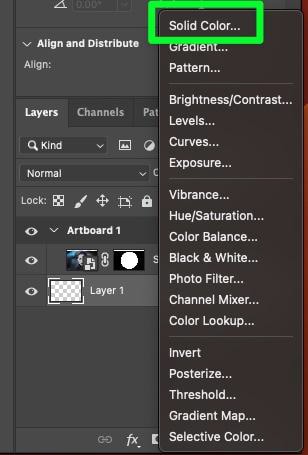
Then, click the Adjustments Layer button. Choose Solid Color.
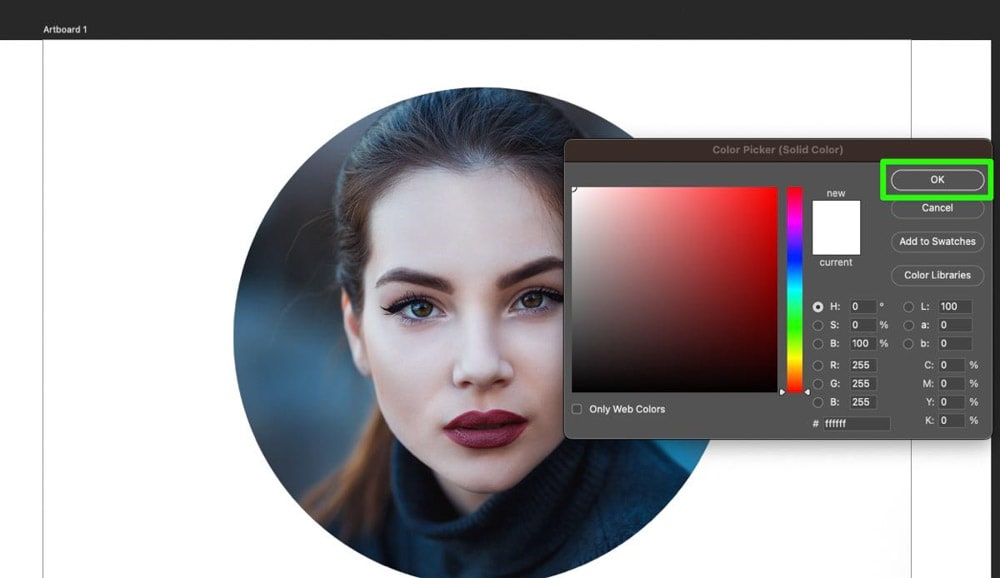
You can now choose whatever color you want for the background with the Color Picker window. If you just want to stick with a white background, click OK.
You now know how to add a layer mask and edit it. You can now use this technique to create amazing and unique photo effects.
This is just a taste of what adding a layer mask can do in Photoshop. To learn more about why layer masks are so helpful in the program, see this guide on the 8 reasons why you should use layer masks in your editing.


