
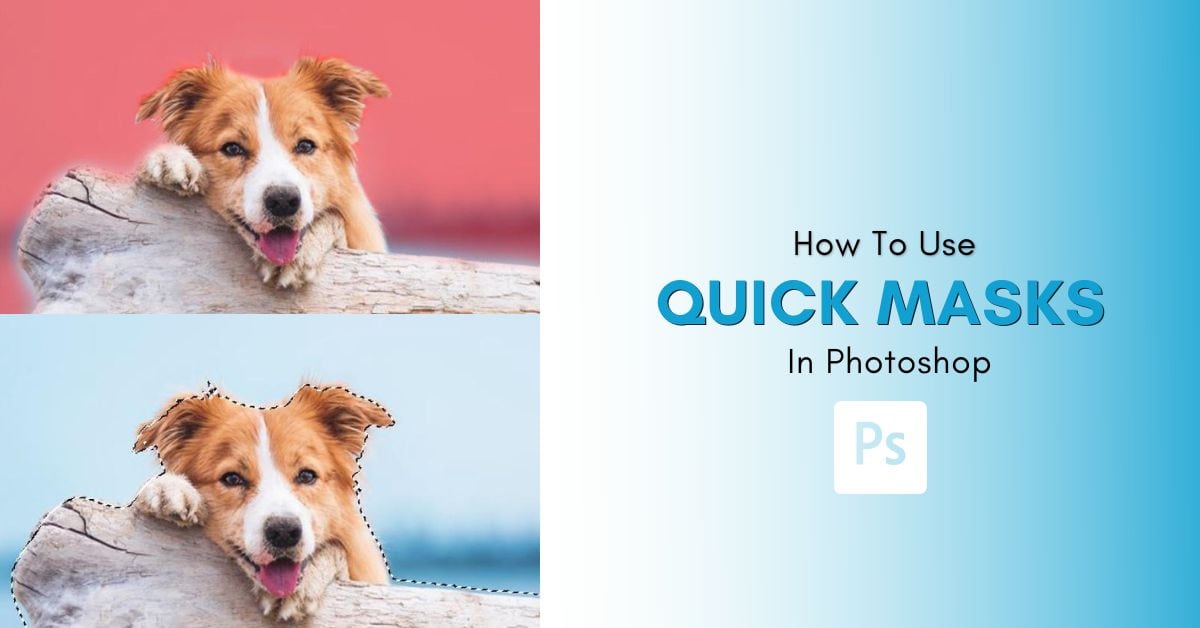

Making selections in Photoshop is common practice, and a great method to create and refine selections is by using the Quick Mask Mode. Selecting a subject in your image is sometimes time-consuming, but using a Quick Mask to select or refine your selection will save at least half the time it would typically take. The best part about Quick Mask Mode is that it’s quick to use and quick to learn how to use it.
Just as the name might suggest.
Not only will we cover how to select something quickly using a Quick Mask, but I’ll also cover the quickest ways to access Quick Mask Mode. I’ll cover the two different ways to work within this mode and explain the best settings to stick with. I’ll also showcase how to efficiently use a Quick Mask by isolating a subject and removing the background of an image.
What Are Quick Masks In Photoshop?
Quick Masks are used to create or refine selections in Photoshop by turning parts of your image a semi-transparent red to indicate the selected areas. These masks can be refined with the Brush Tool and operate similarly to a regular layer mask. To enable or disable Quick Mask Mode, press Q.
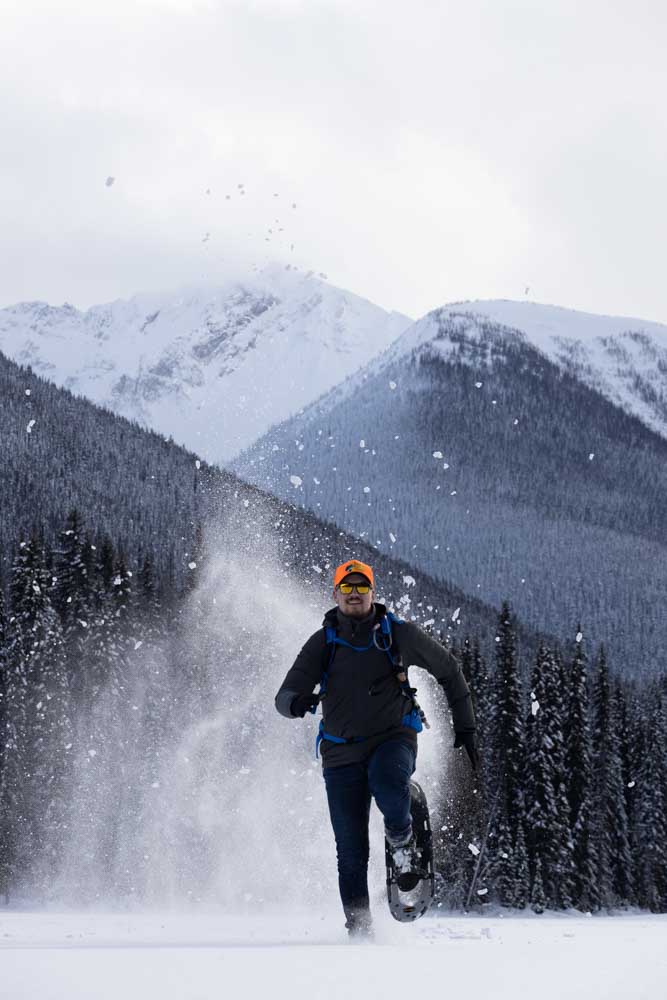
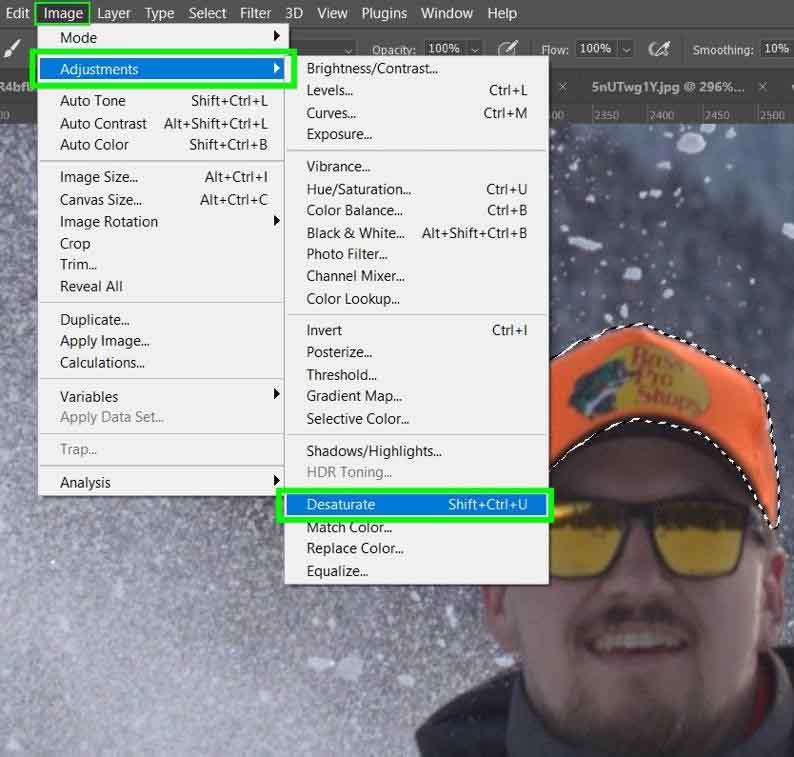
Using the Quick Mask feature is perfect for both small selections and selections that take up most of the image. I will use the Quick Mask feature to select this man’s hat for a quick example.
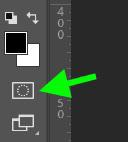
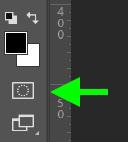
First, I’ll click on the Quick Mask icon, then grab the Brush Tool (B).

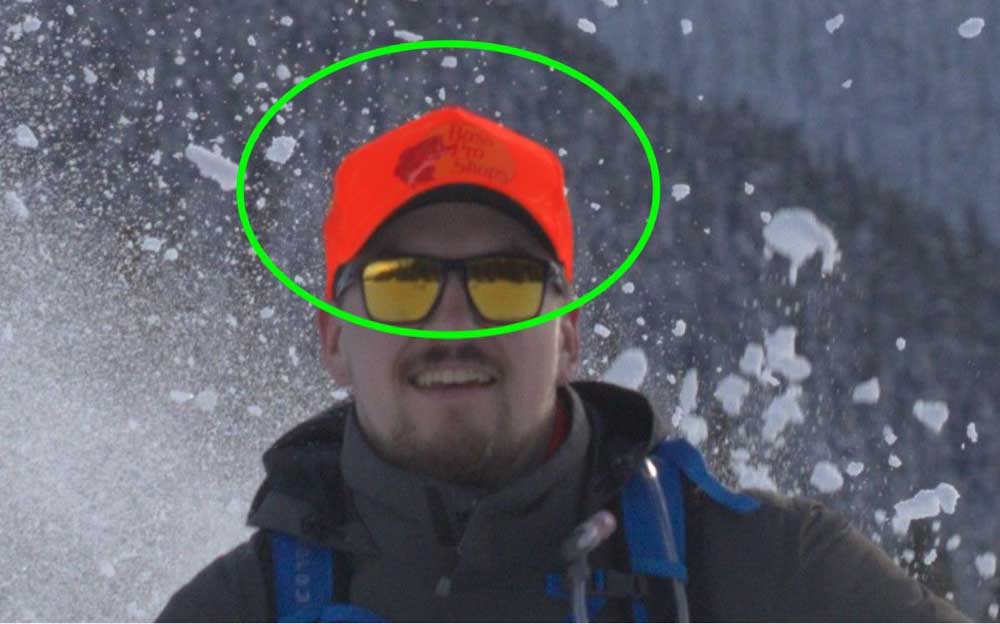
Next, I’ll paint the hat using black as my Foreground Color. While in Quick Mask Mode, everywhere I paint will be an opaque red.
When I turn off the Quick Mask, everything outside of the opaque red color is selected. To quickly select the man’s cap only, I press Shift + Control + I (Win) or Shift + Command + I (Mac) to inverse the selection.

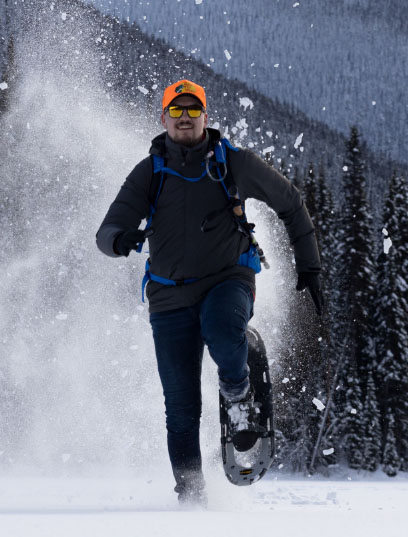
Once I have my selection, I can do whatever I need to do with it. For this example, I’m going to go to Image > Adjustments > Desaturate to match the bright hat with the rest of the background.

Using the Quick Mask feature is perfect for small jobs like this.
How To Access Quick Mask Mode In Photoshop
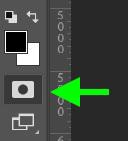
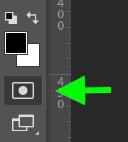
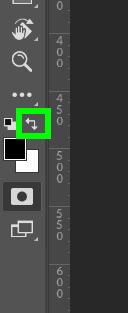
To enter Quick Mask mode, click on the Quick Mask icon. You can also press Q.
When you enter Quick Mask mode, the icon changes to a “pressed-in” look.
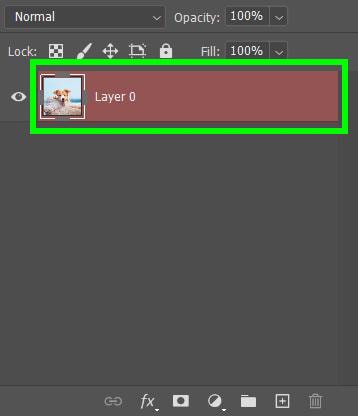
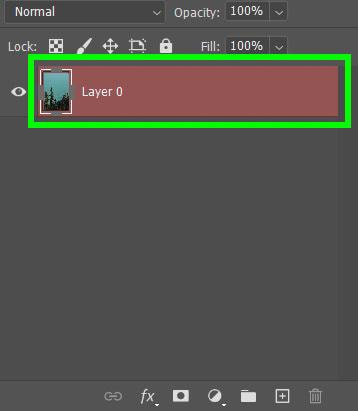
Another way to know that your layer is currently in Quick Mask mode is to look in the Layers panel. The layer that is highlighted in red is in Quick Mask mode.
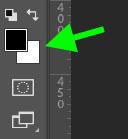
You may also notice that no matter what colors you have selected for your Foreground and Background colors, once you click the Quick Mask icon, your colors will default to black and white.
When using the Brush Tool to paint on a selection, black will add to your selection, and white will erase from your selection.
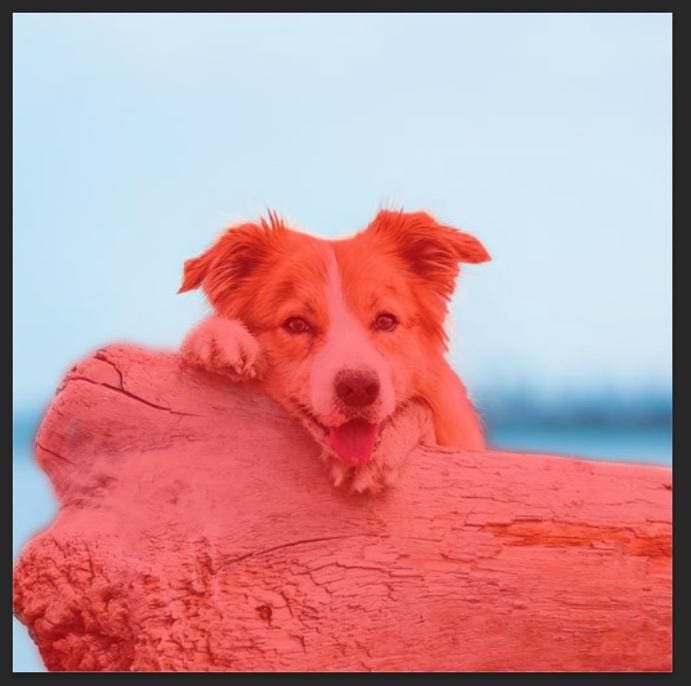
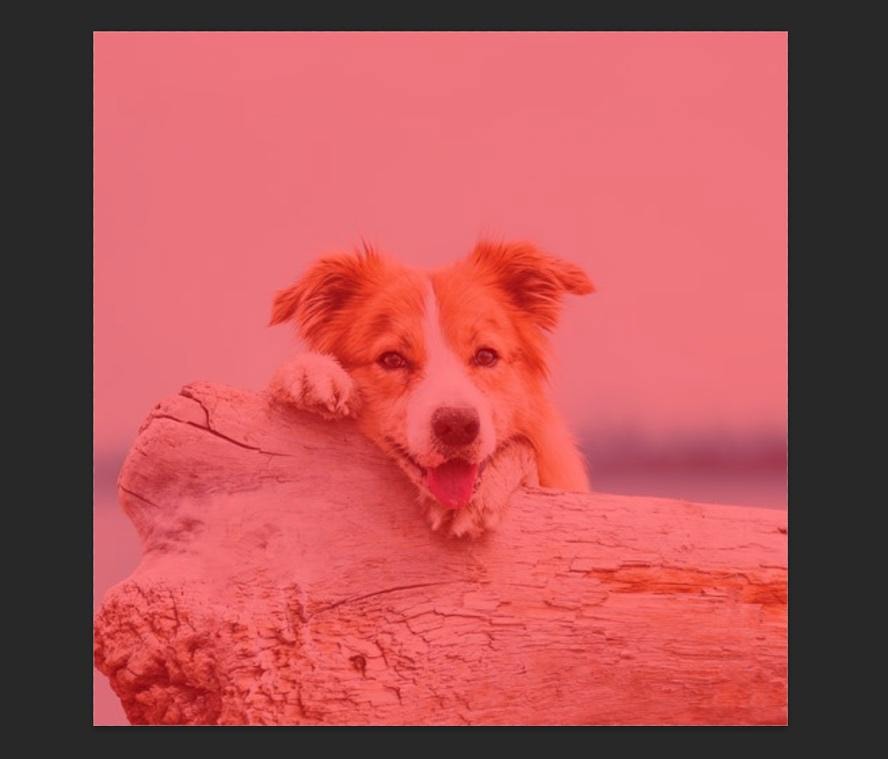
There are two ways to work within Quick Mask Mode. The first way is to paint the masked areas on your image, which are represented in opaque red. This is the default way to use Quick Mask Mode.
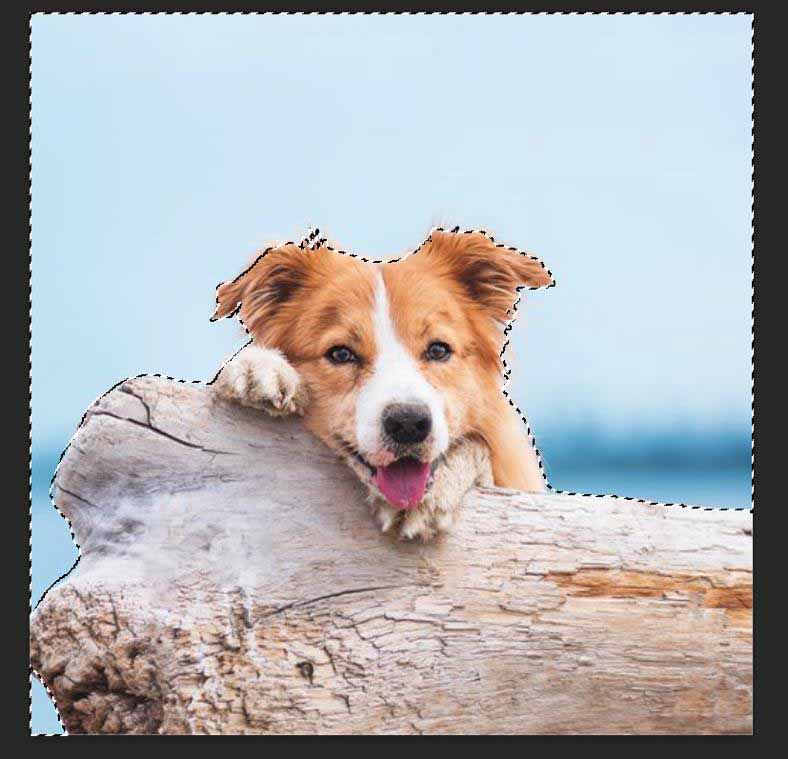
While painting with black as your Foreground Color in Quick Mask Mode, your selection will be represented by everything that isn’t an opaque red. Turning off the Quick Mask will reveal the selection. Which, in this case, is the background behind the dog.

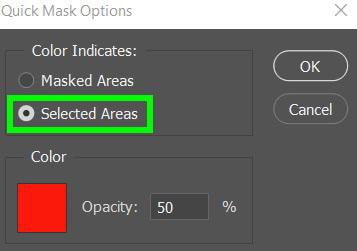
The other way to work within Quick Mask Mode requires you to go into the mode’s settings and change one of the options.
Double-click the Quick Mask icon and the Quick Mask Options will pop up. By default, I’ve been using Quick Mask Mode with Masked Areas checked on. To access the second way to work within this mode, click on Selected Areas and hit OK.
The Quick Mask icon will change slightly, and your image will now be filled with the opaque red color to show where the image is masked.
Now, you can paint using white as your Foreground Color to reveal the parts of your image that you want to select.

Like working in the first option, press Q to turn off the Quick Mask to see the final selection.
It’s a personal preference how you want to work in Quick Mask Mode. You will end up with a great selection using either option.
– Check The Brush Opacity Of Your Quick Mask
While using the Brush Tool in Quick Mask mode, the one setting you need to pay attention to is the Opacity.

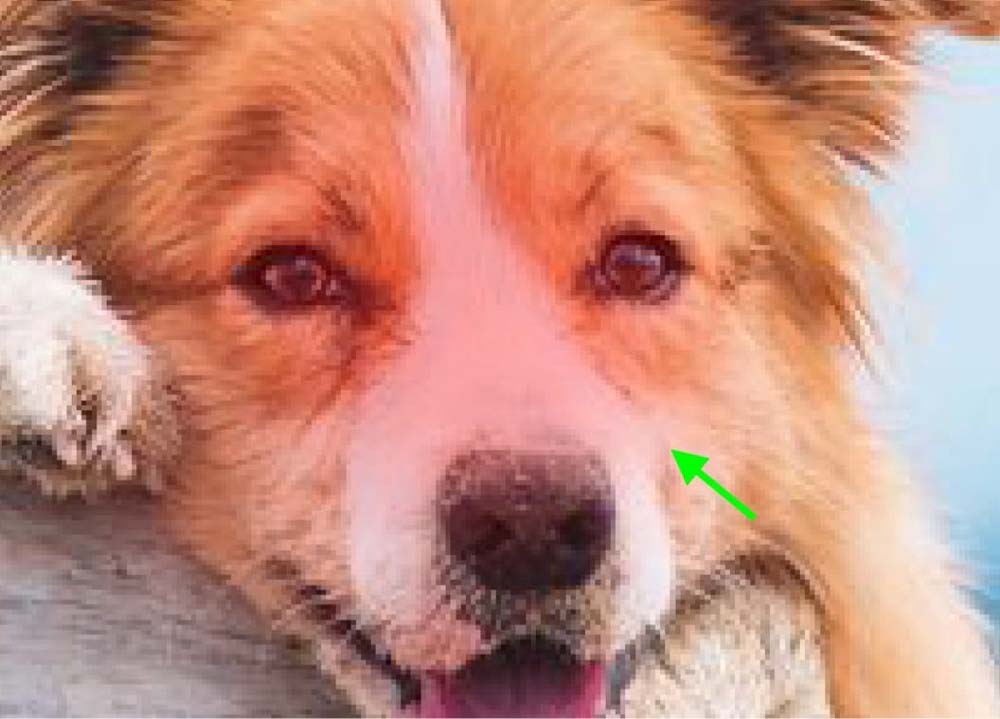
In the Options bar, ensure that the Opacity is 100%. Let me show you what happens if you use the Brush Tool in Quick Mask mode at 25% Opacity.

In this case, most of the dog’s face is painted. So, in theory, most of the face should be selected when I turn off Quick Mask Mode.
Here’s what happens when I turn off Quick Mask.
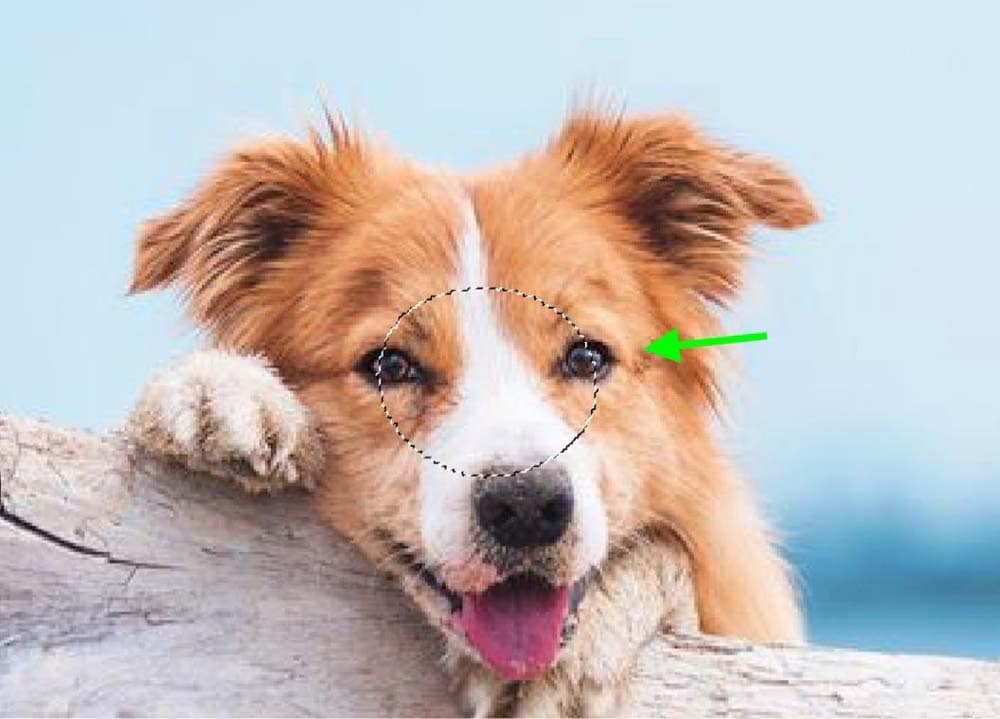
Only some of the dog’s face is selected. This is why it’s essential to ensure your Opacity is set to 100% and select everything you intend to. Unless you want to create a feathered selection, which is sometimes useful.
– The Quick Mask Color Overlay
There are many different ways to work within Quick Mask Mode. These options are all up to your taste. However, changing the color may be required for one of your projects.
To access the Quick Mask Options, double-click the Quick Mask icon. You will see the color of the overlay at the bottom of the panel.
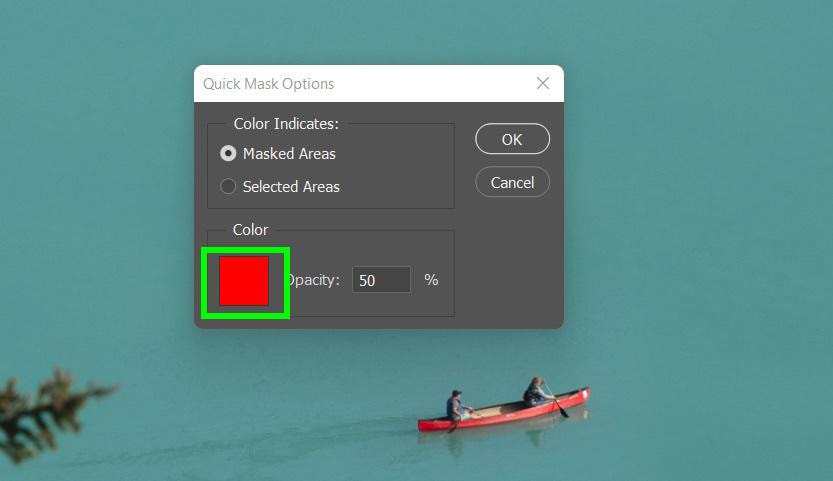
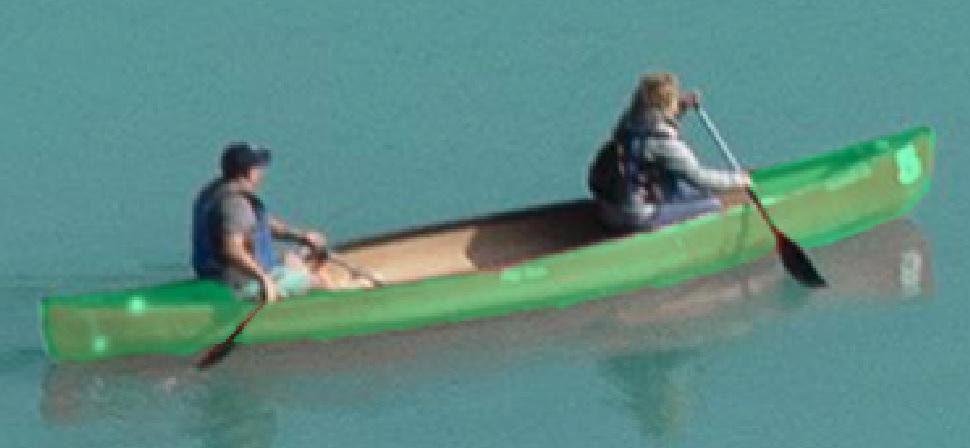
Before I change the color, let me show my problem with my example below. I want to select the red canoe, but look what happens when I use the current color settings.
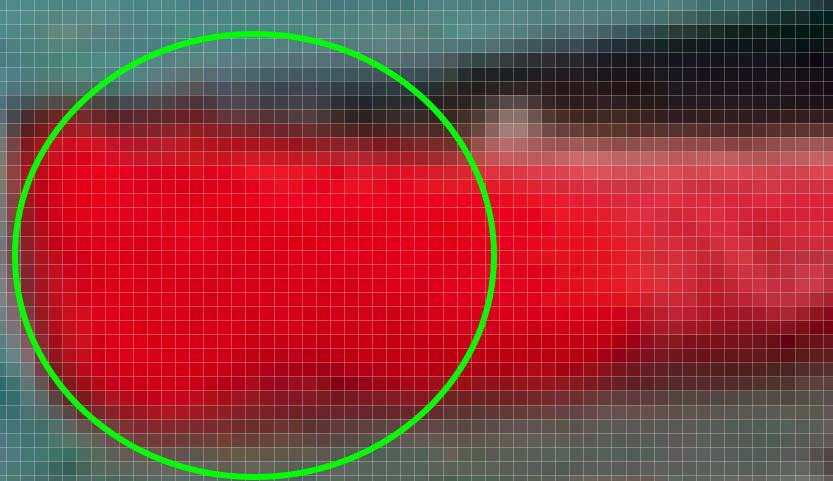
I colored in a good amount of the canoe, and it’s almost impossible to see due to the similar color.
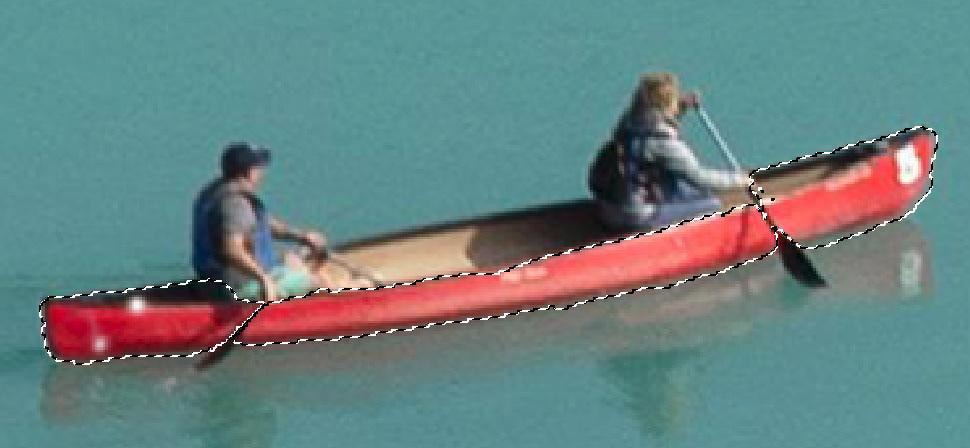
By clicking on the Color Option, I can change the color of the Quick Mask to a color I can see better.
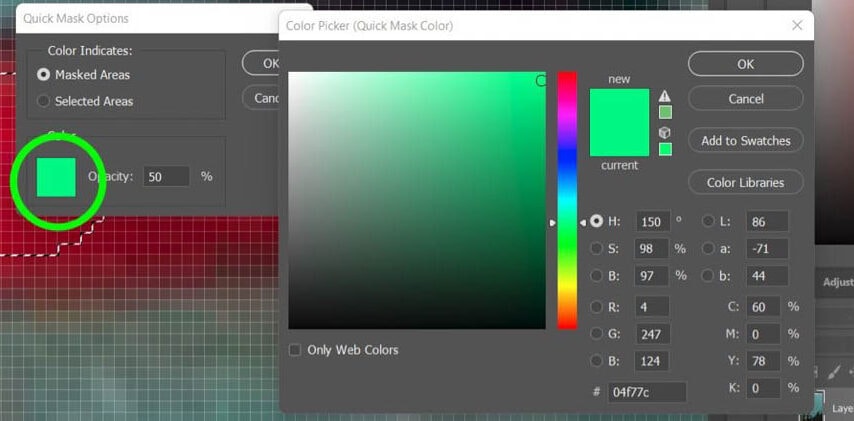
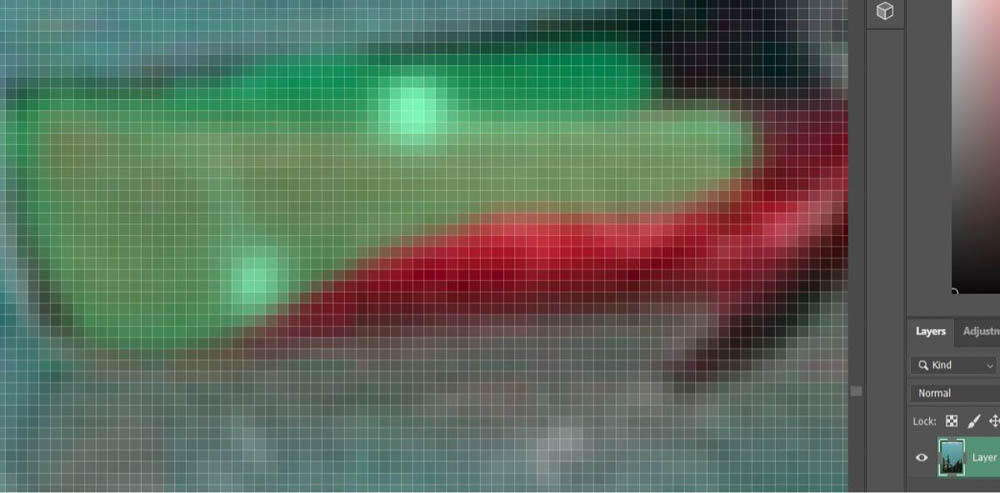
This makes it a lot easier to make the selection I need to.
How To Use A Quick Mask In Photoshop
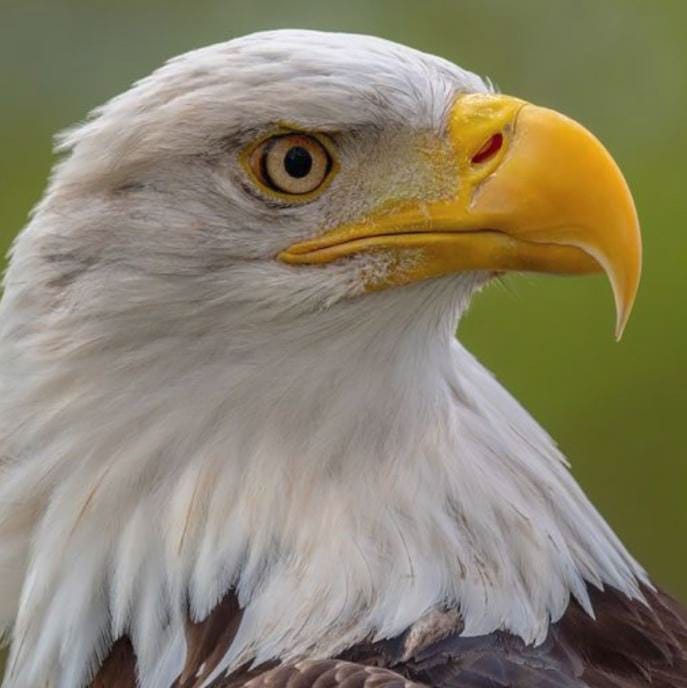
The most efficient way to use Quick Mask Mode in Photoshop is in combination with the Selection Tools. I’ll show you now how to use a Selection Tool to select a subject in an image and define the selection using a Quick Mask. I will then add a Layer Mask to remove the background.
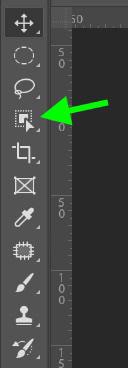
Any of the Selection Tools will work with this tactic. I’m going with the Object Selection Tool (W) with this one.
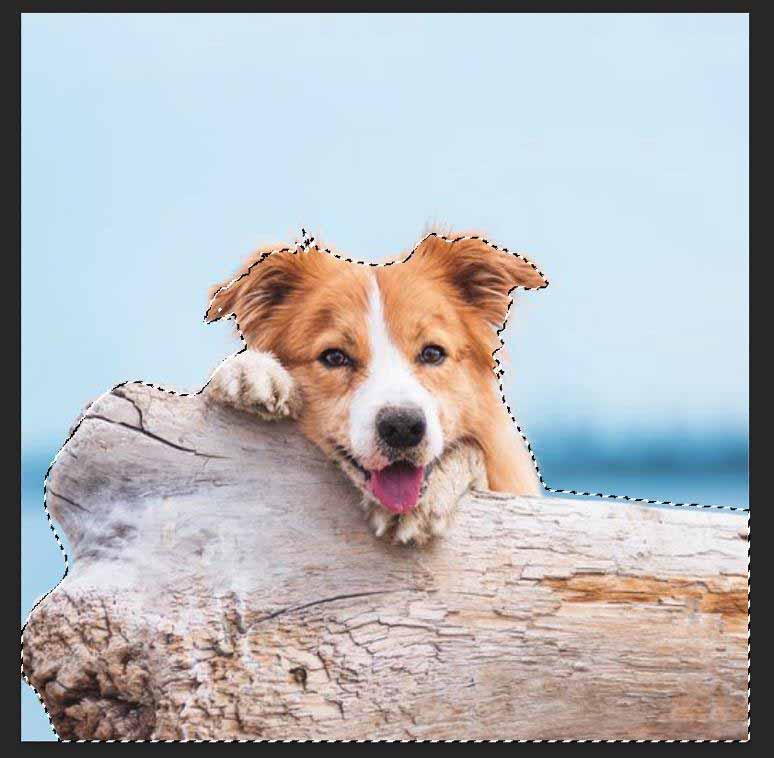
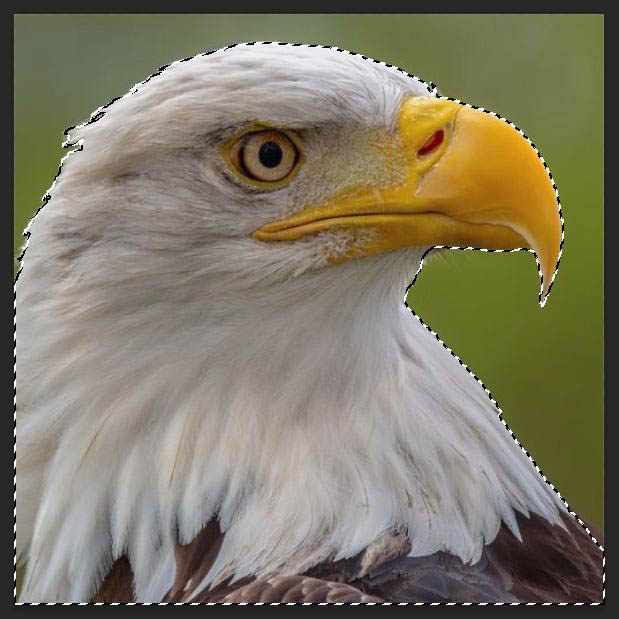
Click on your image, and the Object Select Tool should select most of the subjects you intended to select.
The Object Selection Tool is not perfect, however. Sometimes, parts of the subject aren’t selected by the tool.
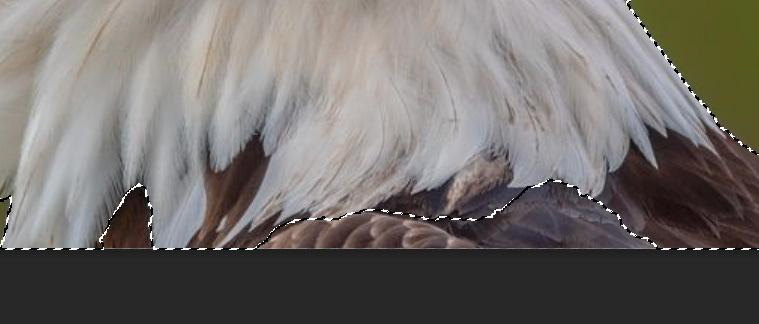
To select the rest of the subject and refine this original selection, click on Quick Mask. The mask appears on the areas that aren’t selected.
Then, select the Brush Tool (B).
Now, paint over the areas you want added to your selection.
With the Brush Tool selected press or hold down [ and ] to decrease and increase your brush size to make the process easier.


Check for other spots around your subject that need to be cleaned up. Use black to mask pixels and white to add pixels to your selection.
The quickest way to switch your Foreground Color from black to white or vice versa is to press X. You can also click on the Color Switch button shown below.
After you finish painting all the areas you wish to be selected, turn off the Quick Mask by clicking on Quick Mask.
You’ll see your final selection when you turn the Quick Mask off.
This doesn’t have to be the final selection, of course. If you see some trouble spots that you missed, you could always turn the Quick Mask back on, grab the Brush Tool (B) and paint what you need to add or delete to the selection.
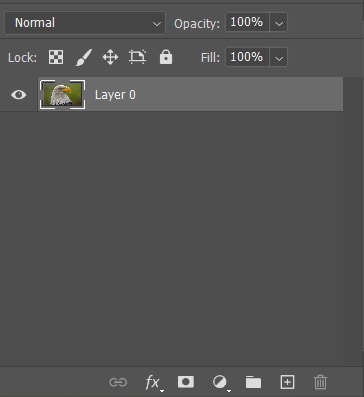
One more thing, before you can delete the background, make sure that your layer is not locked. You won’t be able to delete the background easily with a locked layer.
So double-check that your layer is unlocked in the Layers panel. If there’s a little Lock icon on your layer, click it to unlock it.

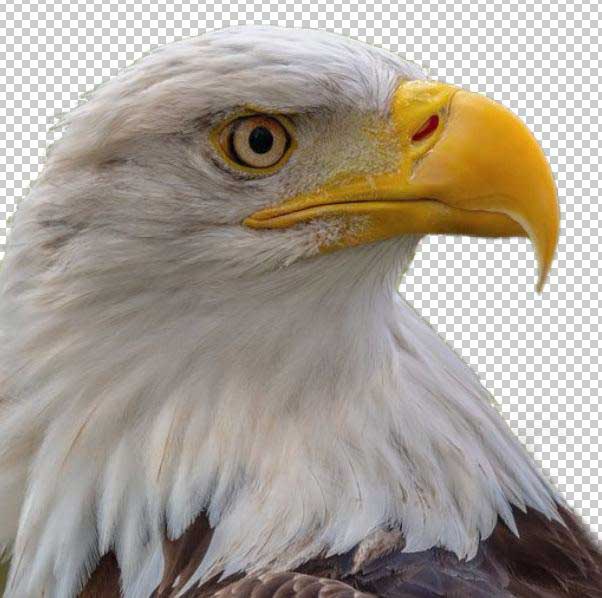
To remove the background, click on Add Layer Mask at the bottom of the Layers panel. The background will now turn into a checkerboard pattern, which indicates transparency. Remember that the red overlay indicated the areas that will be masked.
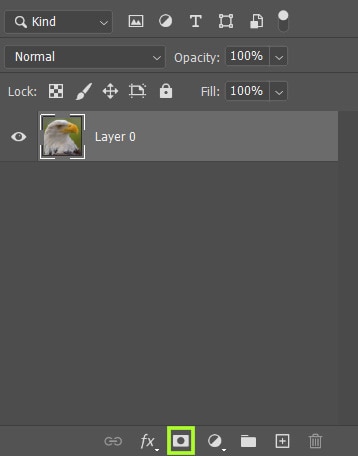
This is a non-destructive way to remove the background pixels. The Layer Mask will be added to the Layers panel, allowing you to bring back any deleted pixels if you need to.
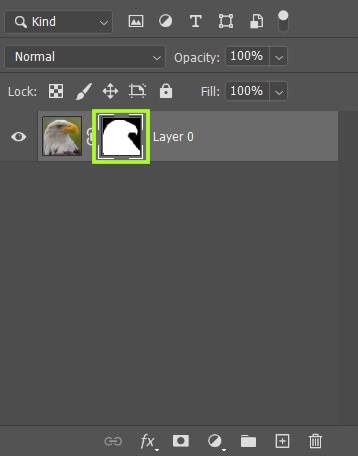
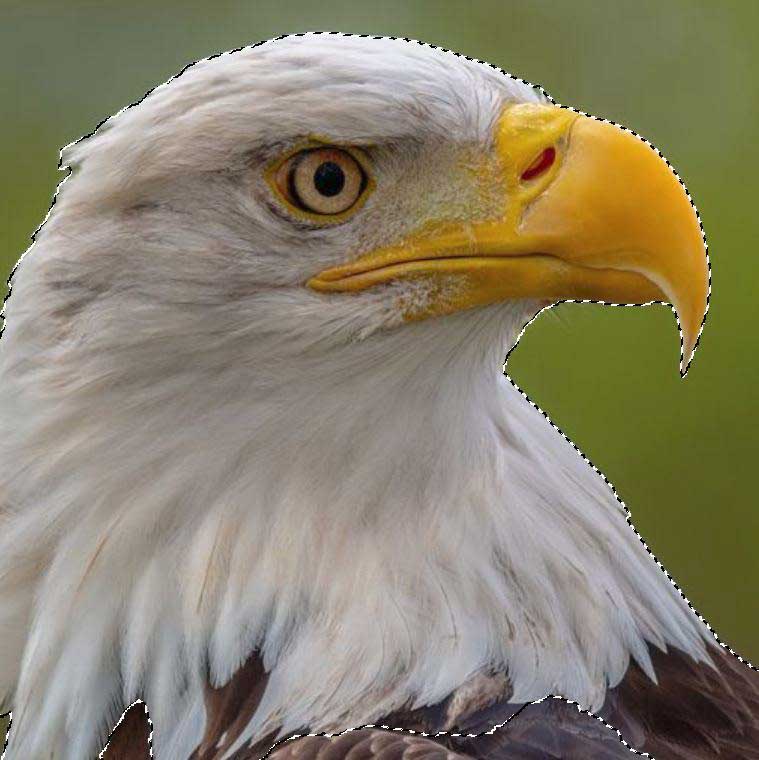
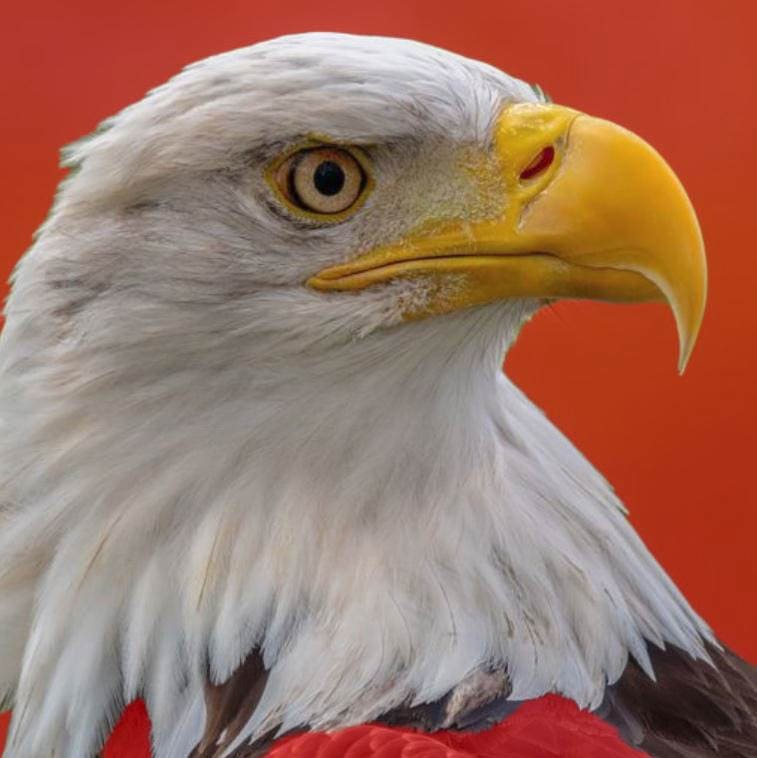
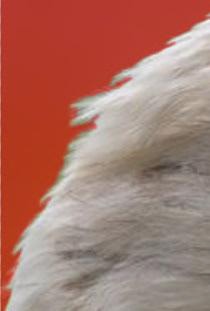
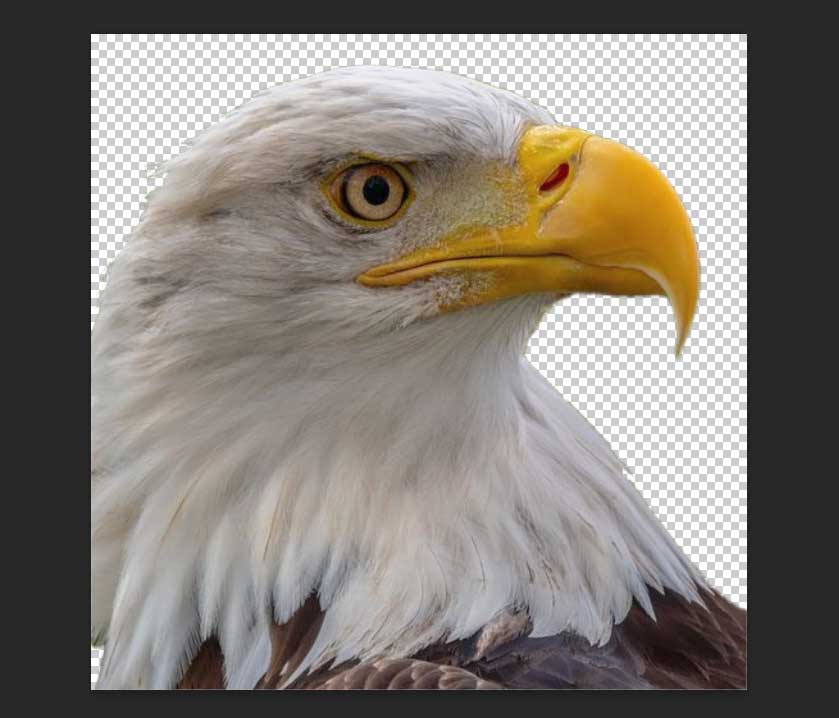
Now that the Layer’s Mask has been applied, your subject will officially be cut out from your original picture. You can now add any background you want behind your subject. Let’s go with this stereotypical eagle background for the sake of example.

Quick Mask Mode has the word “quick” in it for a reason. It’s the fastest and easiest way to refine a selection and mask your image.
How To Turn Off Quick Mask Mode In Photoshop
The quickest way to turn off Quick Mask Mode is by pressing Q.
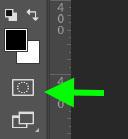
You can also turn off Quick Mask Mode by clicking the Quick Mask icon.
The icon itself will change, indicating that the Quick Mask is off.
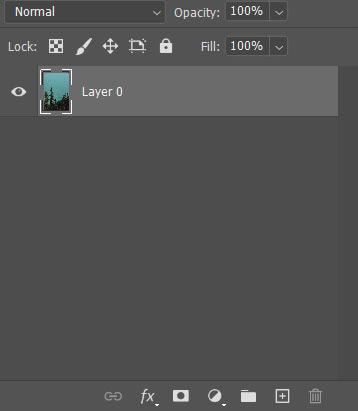
By checking the Layers panel, you will also know when the Quick Mask is off. If Quick Mask Mode is on, the layer will be highlighted red.
When Quick Mask Mode is off, the layer will be its normal color.
Now that you know how to use the Quick Mask Tool in Photoshop, there are still a handful of other useful selection methods to learn about. I share 8 of the best selection tools in Photoshop here in my guide to removing backgrounds.
