
Knowing how to delete a selection in Photoshop is basically a necessity these days. Whether you’re replacing a sky, making a meme, or creating new marketing materials, every savvy internet user will need to learn how to select a background and delete it eventually. Luckily, It’s pretty easy to do!
To delete a selection’s contents, first create a selection around the object you want to delete. With the selection active, select the desired image layer and press the Delete key. Alternatively, hold Alt/Option and click the layer mask icon to delete the contents non-destructively.
These are the two options you have when deleting the contents of a selection in Photoshop, but there are some important steps to make this process even easier. So let’s get into how to delete the contents of a selection more in-depth, remove backgrounds, deselect selections, and more.
How To Delete A Selection In Photoshop
To delete a selection in Photoshop, select an object using any selection tool, then delete the contents using the Delete Key or by holding Alt (Win) or Option (Mac) and clicking on the layer mask icon. Then, deselect the selection using Control + D (Win) or Command + D (Mac).
Deleting the contents of a selection is simple. However, there’s a step afterward that can be tricky for those new to Photoshop.
Step 1: Select The Object Selection Tool (W)
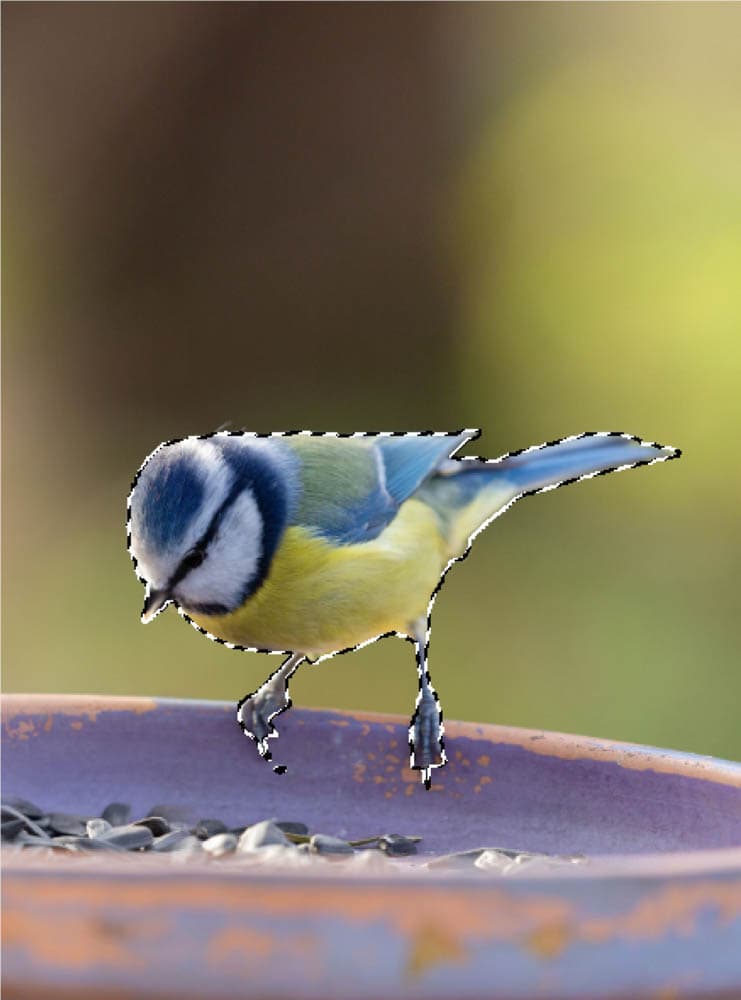
First, select the Object Selection Tool (W), or you can use any selection tool that works for your image.

Then, select the object you’d like to delete from your image. In my photo, I will click on the bird to create a selection.
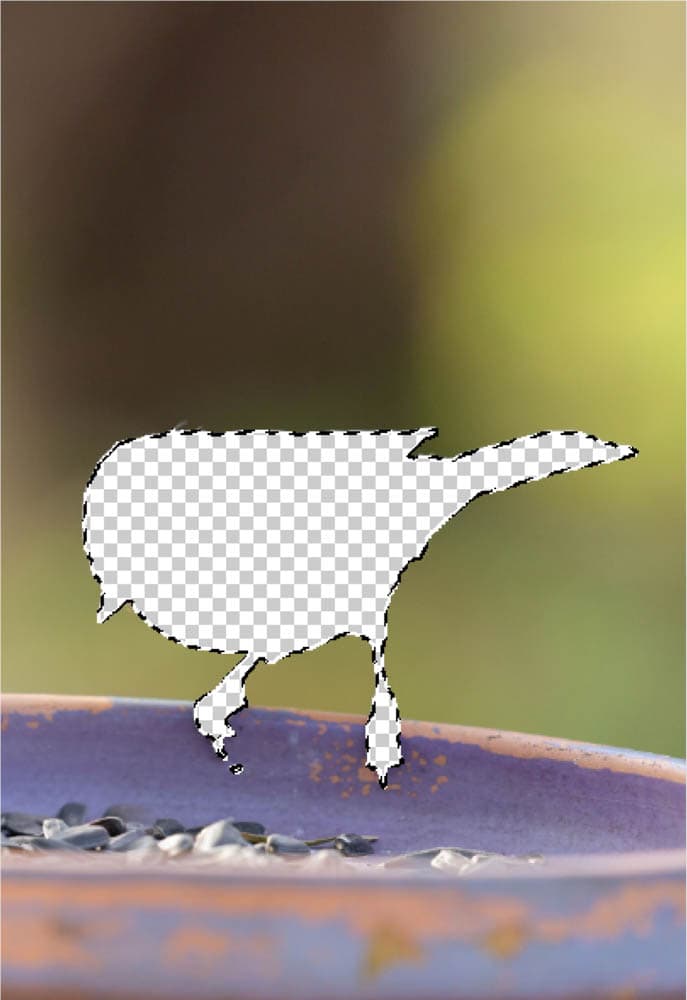
Step 2: Delete The Selection Using The Delete Key
To delete the contents, simply press the Delete Key. Then, follow the next step to prevent any other actions you take in Photoshop from only affecting the area inside the active selection.
Step 3: Deselect The Selection
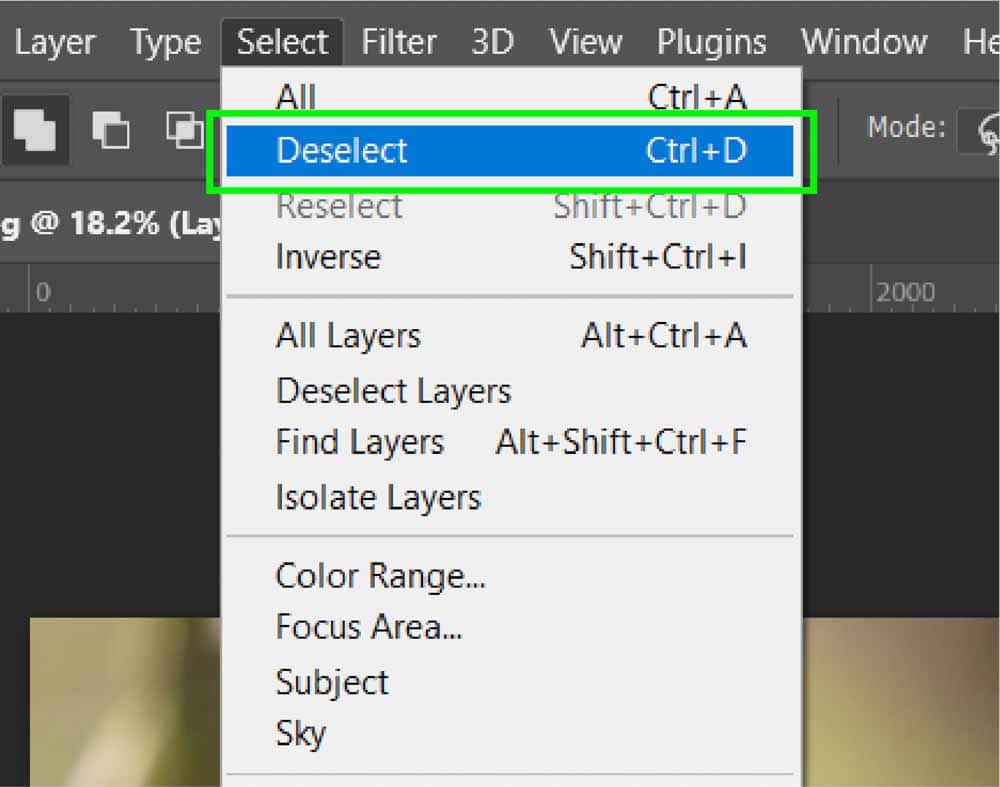
There are three main ways to deselect your selection. The first is done by going to Select > Deselect.
The second is using the keyword shortcut Control + D (Win) or Command + D (Mac).
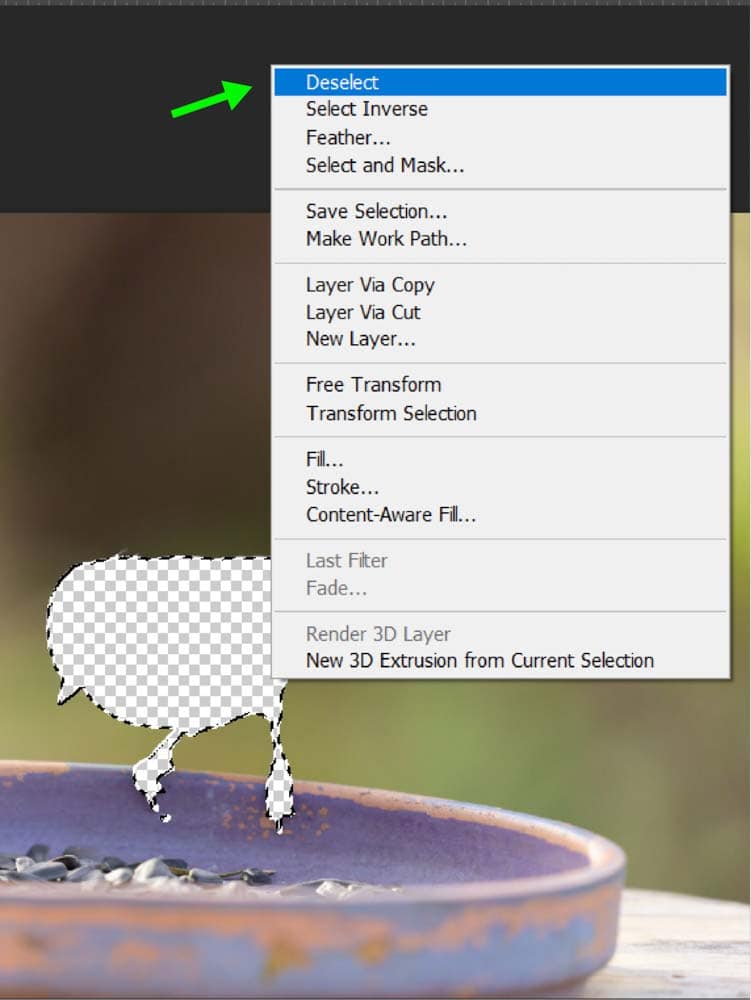
The third main way is to right-click on your selection and choose Deselect.
It’s important to do this after you’re finished with a selection so all your adjustment tools going forward will adjust the entire image rather than the contents of the selection.
How To Delete The Outside Of A Selection In Photoshop
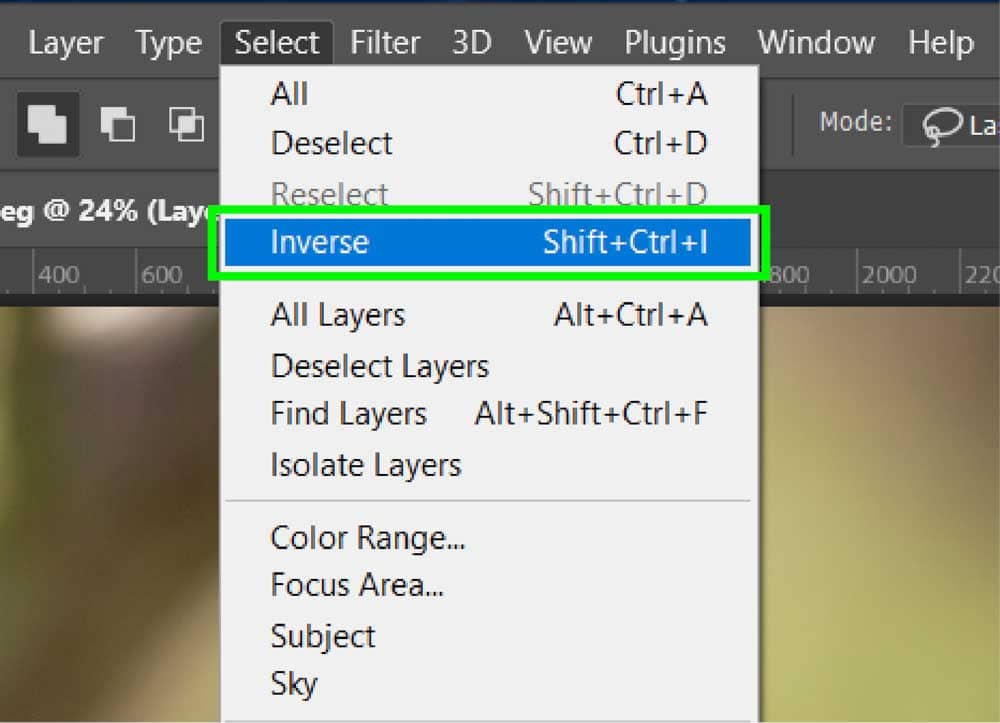
To delete the contents outside of a selection in Photoshop, you need to invert the active selection. To do this, press Shift + Control + I (Win) or Shift + Command + I (Mac) or go to Select > Inverse. Now press Delete or add the selection to a layer mask to remove the contents.
Sometimes, you want to select something not to delete it but to preserve it so you can delete everything else around it. Here’s how to select an object, invert the selection, and hide the pixels you don’t want to be seen.
Step 1: Create A Selection
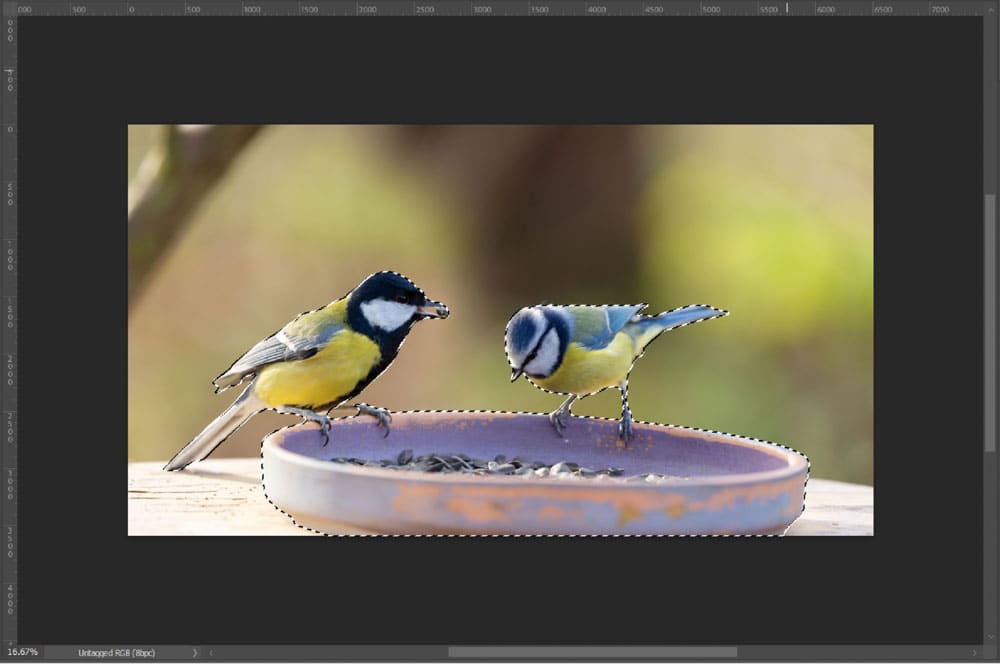
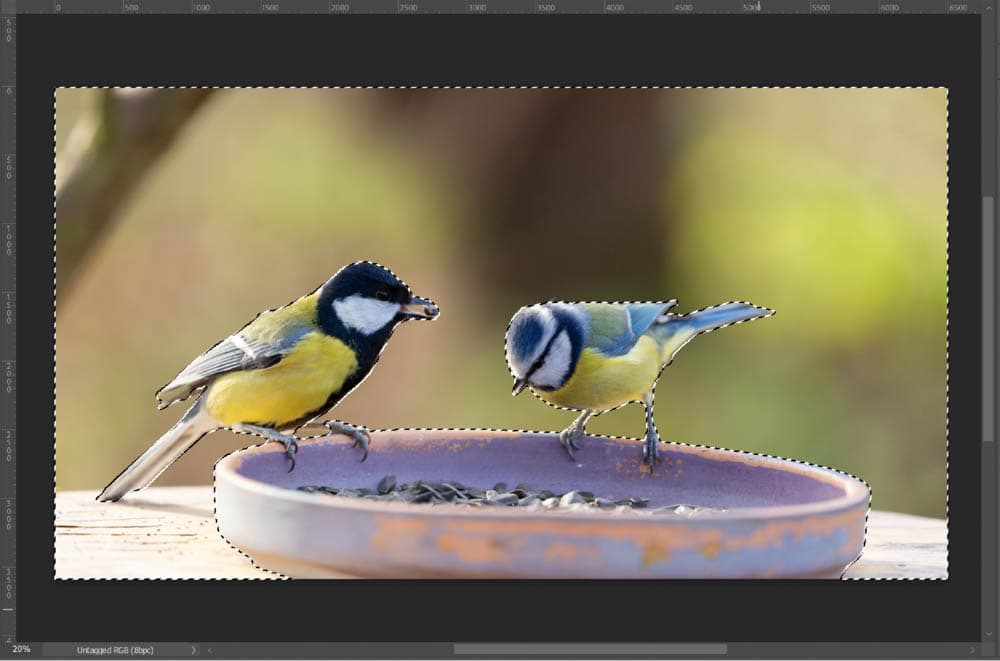
First, select the object(s) you want to keep. For instance, I will select these birds sitting on a bowl so that I can delete the background around them.

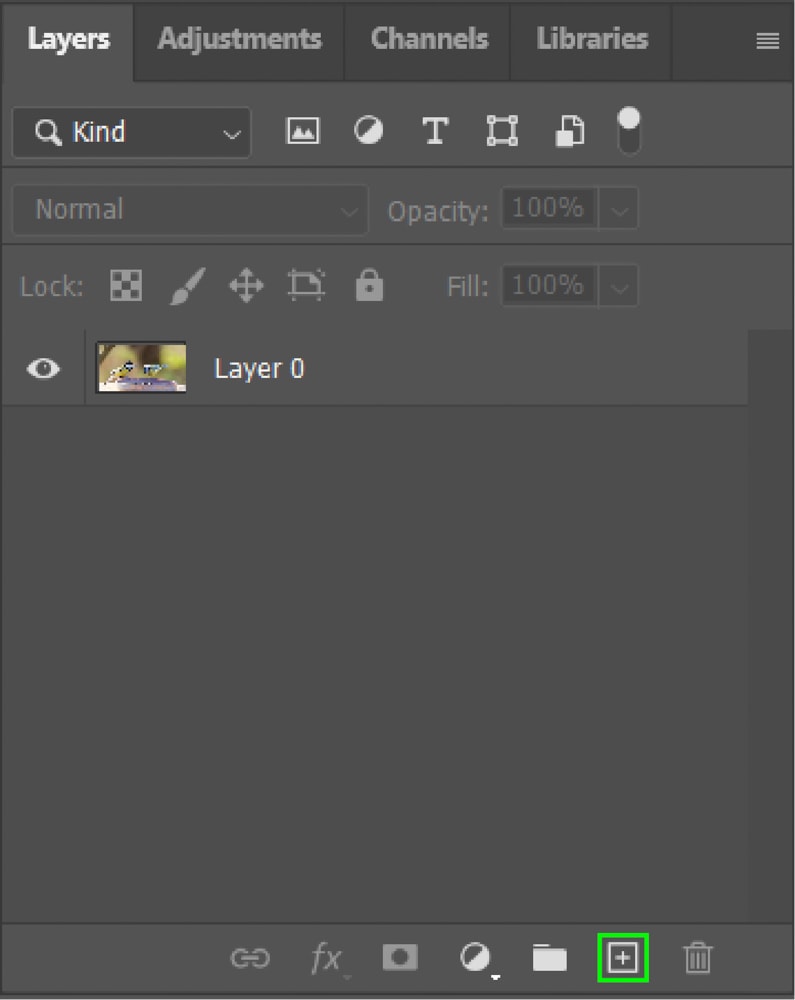
To do this, add a new layer with the New Layer Button. Drag the New Layer below the original layer.

Next, select the Object Selection Tool (W).

With the Object Selection Tool selected, click on the first object you want to select. Make sure that the Add To Selection option is selected.

Click on the second object (if there is another one you want selected). Repeat this for all the objects you want to keep. I will select the second bird and the bowl.
Step 2: Invert The Selection
To select the background, go to Select > Inverse or press Shift + Control + I (Win) or Shift + Command + I (Mac). Now, the background is selected instead of the objects
Step 3: Delete The Selection Contents
From here, you can press the Delete Key while the image layer is selected to delete the selection. All the pixels selected will be destroyed in this case. This is fine if you know for certain you won’t need those pixels later on.
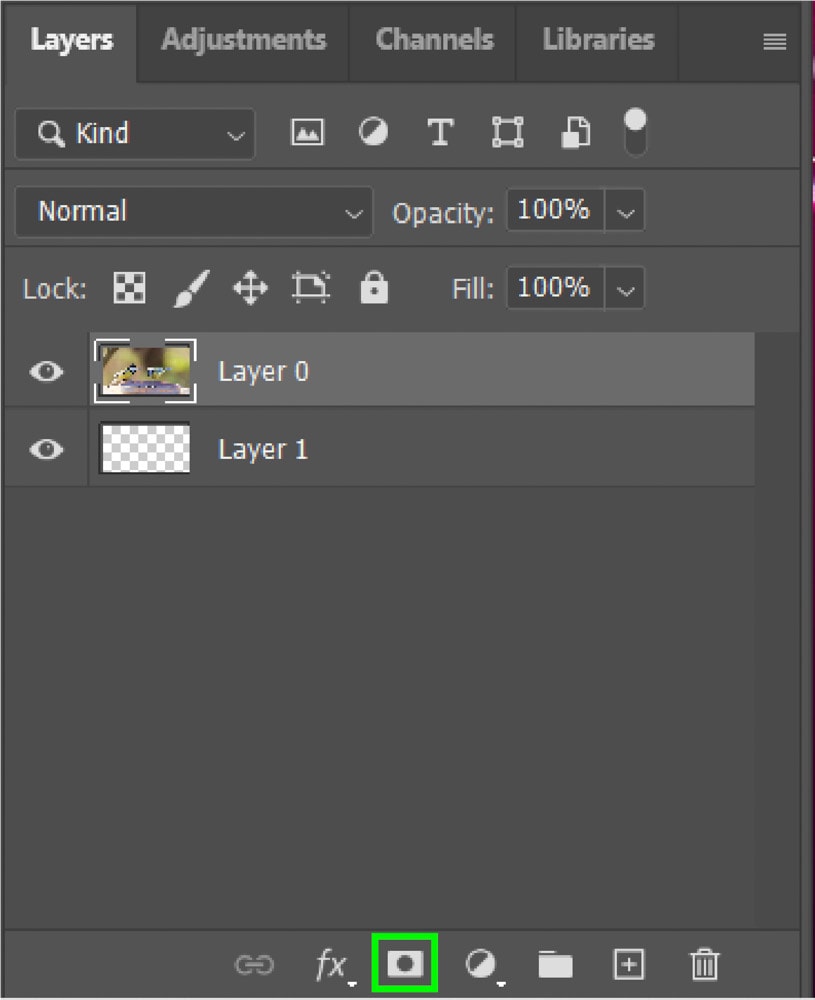
However, if you might need the pixels, use a layer mask for a non-destructive method. With the original layer selected, hold in Alt (Win) or Option (Mac) and click on the Mask icon in the Layers Panel. This will hide the pixels in the selection.
Note: When using the Layer Mask method, if you click on the layer mask icon, it hides everything outside the selection. Holding Alt/Option when clicking it hides everything inside the selection.
Step 4: Touch Up The Layer Mask If Needed
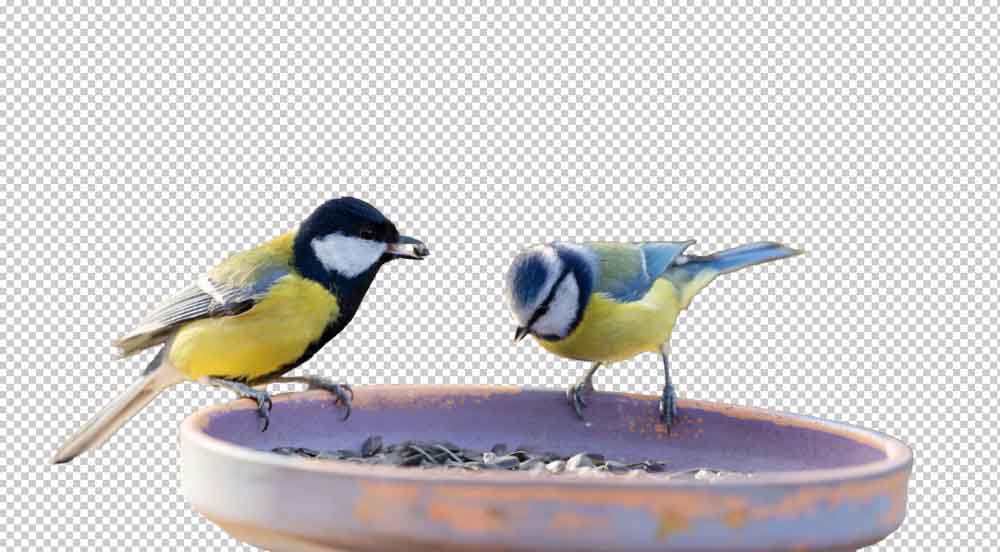
Now, you can easily touch up any problem areas by refining the selection. Follow this tutorial for a complete guide to using layer masks. You have now successfully removed the area outside the original selection.

How To Move A Selection In Photoshop
If you want to move an object in your image, you can make a selection and move the contents of the selection. This means you move the pixels within the section, leaving transparent pixels in its place.
Step 1: Create A Selection Around The Object
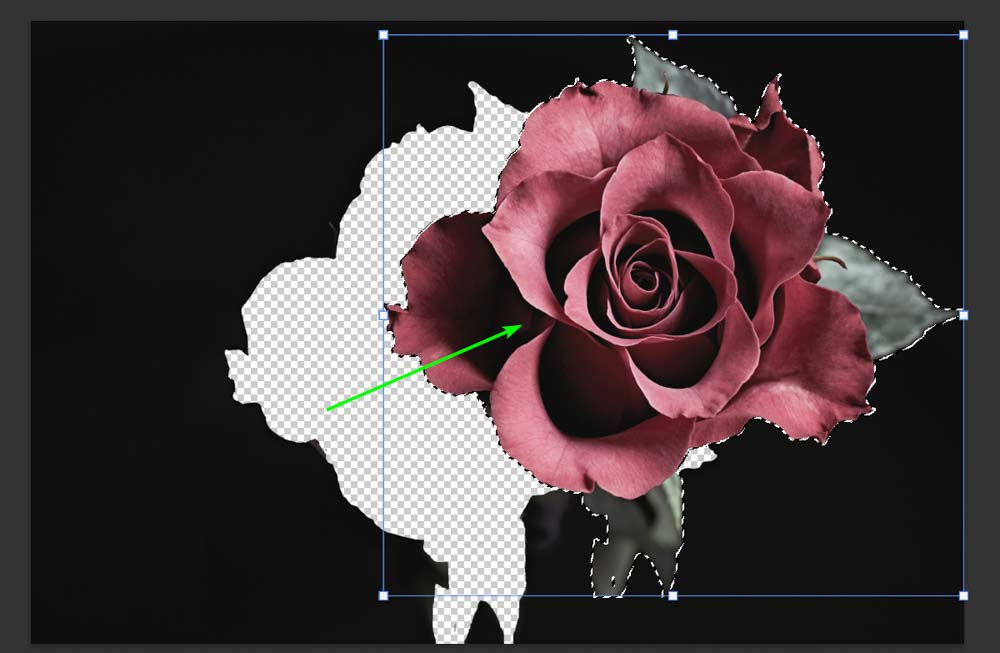
First, use any of the selection tools to create a selection around the object or multiple objects you want to move. I will use the Object Selection Tool (W) and click on the rose in my image.

Step 2: Activate The Move Tool (V)
Next, select the Move Tool from the Toolbar or press V.

Step 3: Click On The Selection And Move It
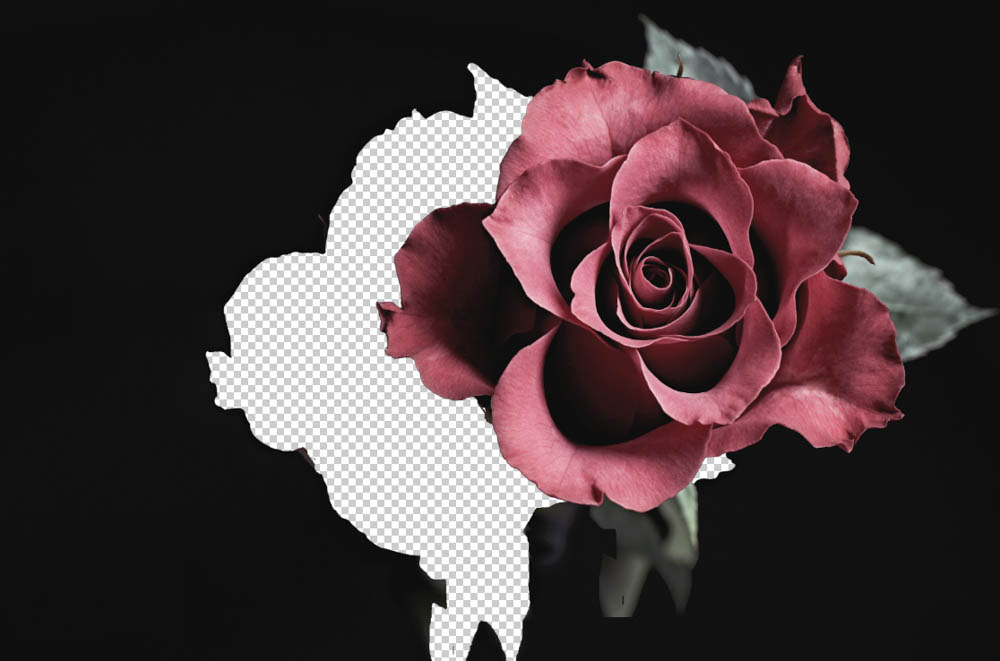
Now you can click inside the selection and drag it to move it anywhere on the canvas. The contents of the selection will move, and in its place will be whatever is on the layer below the image layer, which, in my case, is a transparent layer.
You can then deselect the selection using Control + D (Win) or Command + D (Mac).
How To Copy & Paste A Selection In Photoshop
If you want to copy and paste a selection without affecting the contents of the original layer, you can copy the contents of the selection onto a new layer.
Step 1: Select The Object Selection Tool (W)
Activate the Object Selection Tool (W) or use any selection tool that works for your image.
Step 2: Select The Object
Select the object(s) using your chosen select tool, I will select the rose.
Step 3: Duplicate The Selection Using Layer Via Copy
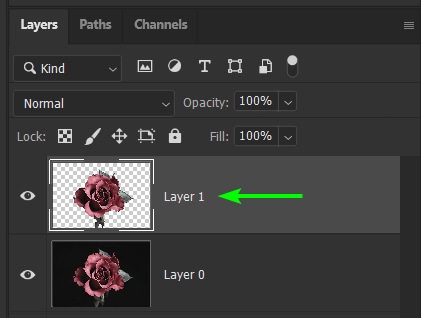
To quickly copy and paste the selection, you can duplicate it, and it will automatically paste on a new layer. To do this, right-click and select Layer Via Copy or press Control + J (Win) or Command + J (Mac).
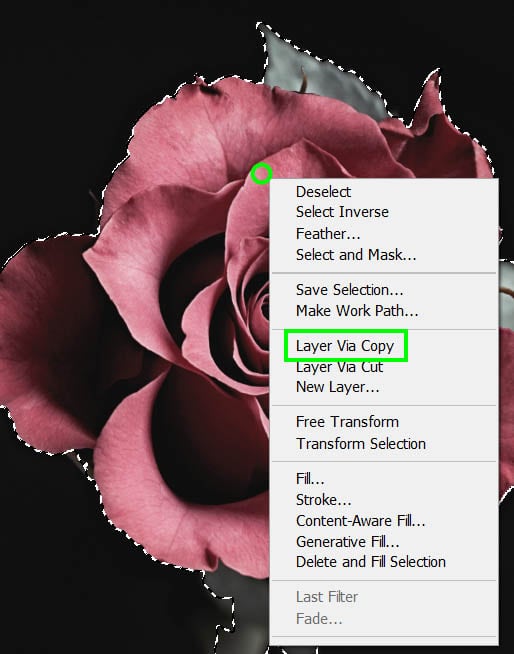
You will see the selection is added to a new layer in the Layers Panel, and the original image is unaffected.