Learning how to make a selection transparent in Photoshop gives you the opportunity to change the background of images, add images to frames within other images, and so much more. Creating transparency in images can be frustrating unless you use the right techniques, such as these easy methods to make a selection transparent.
To make a selection transparent in Photoshop, first, create a selection around the area you want to make invisible. With your selection active, select the desired layer and add a layer mask. Now press Command + I (Mac) or Control + I (Win) to invert the layer mask and make the selection transparent.
The advantage of using layer masks is that you can easily go back and refine your selection later on. With other methods such as deleting selection contents, you are committed to the changes you make. With that said, both have their time and place depending on the project you’re working on. So let’s break down how to make a selection transparent using layer masks, deleting selection contents, and finally creating layers via cuts.
Option 1: Using A Layer Mask
A layer mask allows you to make non-destructive selections, so you can reverse any actions if you make mistakes. You can also make a selection transparent using a layer mask.
When you use a layer mask, you also have access to the ‘Select And Mask‘ workspace, which gives you options for refining your selections.
With the help of a layer mask, you can hide or reveal parts of a layer without permanently erasing anything. This makes them ideal for removing backgrounds and making the contents of a selection transparent.

Before using a layer mask to make a selection transparent, you need to make a selection of the area you want to remove. To do this, grab the quick selection tool from the toolbar. You can use any other selection tool you’d like, but the quick selection tool is one of the easiest.

Once the tool is selected, click and drag over the image around the areas you want to select. In this case, I painted over the background to select the area behind the subject.

After making your selection, you can add more content to the selection if mistakes were made such as in this example.
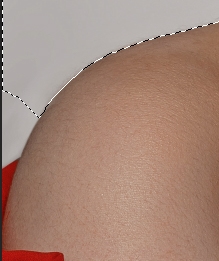
To add more content to the selection, hold in Shift on your keyboard while dragging around the area you want to add. A plus sign (+) will appear next to the selection indicating areas are being added to the selection.
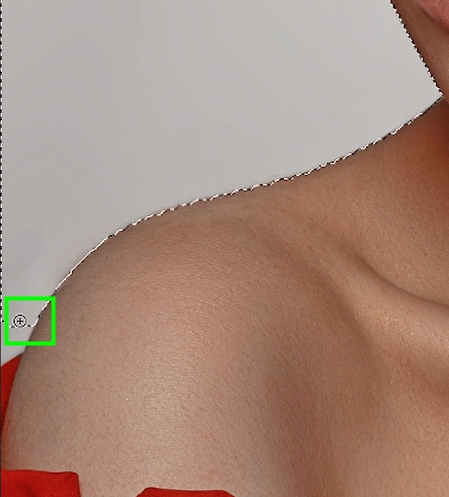
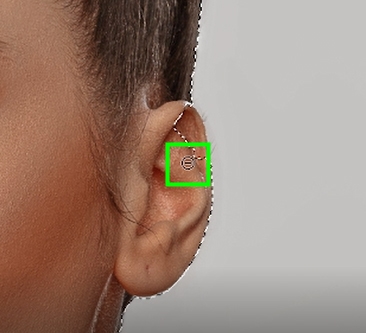
If you want to subtract content from your selection, hold in Alt (Win) or Option (Mac) on your keyboard while dragging around the area to be subtracted. This will help you remove areas of the image that were accidentally selected by the quick selection tool.
Once you’re satisfied with your selection, select your desired layer and click on the layer mask icon at the bottom of the Layers panel to create a layer mask.
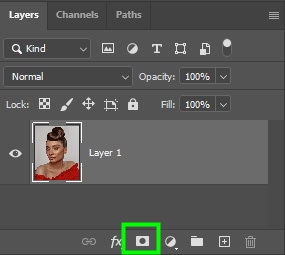
A layer mask thumbnail will appear linked to the image thumbnail.
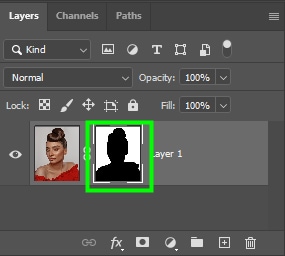
The unselected areas become transparent once you create a layer mask. This happens because a layer mask shows content within a selection and hides everything outside of it.
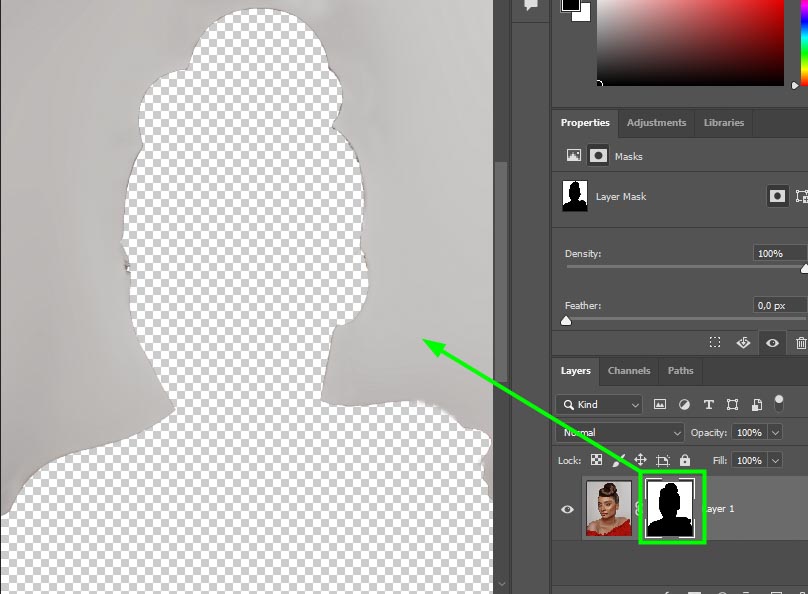
To invert the selection, press Control + I (Win) or Command + I (Mac). This will make your original selection transparent and reverse the layer masks visibility.
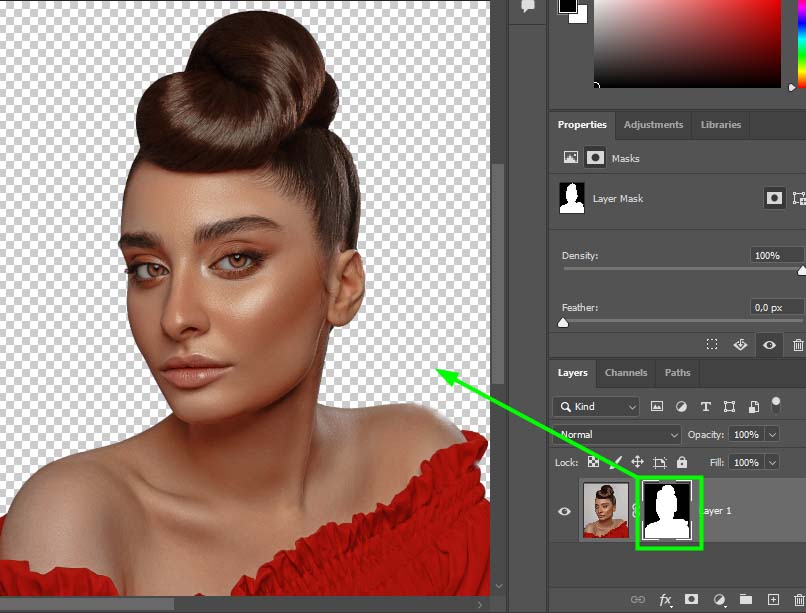
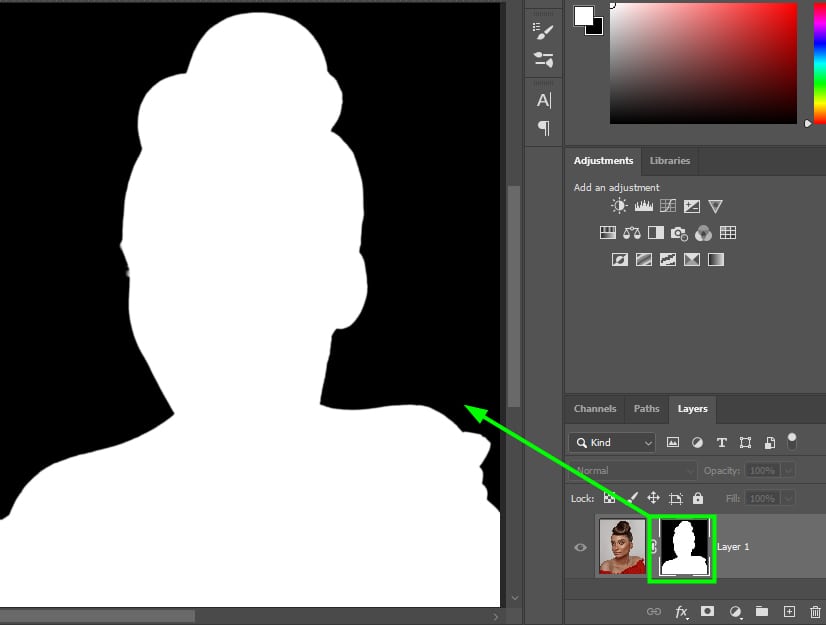
The layer mask is shown as black and white. White indicates the visible parts of the image, while black indicates the hidden parts of the image. Both areas are still editable, but the layer mask is hiding the area I selected since the mask was inverted using the Control + I (Win) or Command + I (Mac) command.
Refining The Edges Of Your Selection
After making a selection transparent, you can check the part of the image you want to keep to see if its edges need refining.
To check if your image edges need refining, place the image on a solid background. If no pieces of the content you erased appear in the background, the image edges do not need refining.
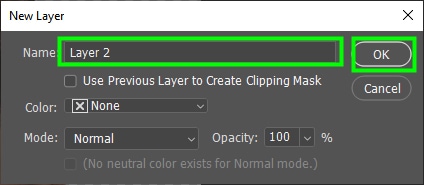
To create a background layer, click Control + Shift + N (Win) or Command + Shift + N (Mac). This will open the New Layer panel. You can name the new layer if you want. Click OK to close the panel and create the new layer. Then, drag the new layer under the image layer.
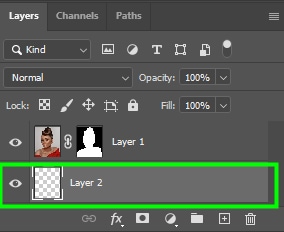
Next, go to the toolbar and make sure your foreground color is black and the background color is white. If it is not, press D on your keyboard to make the foreground color black.

After that, select the paint bucket tool from the toolbar (G).
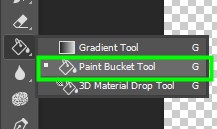
Then click on the background layer. This will make the background black, which will help you spot any flaws on the edges of the image. In my case, I could spot jagged white fringes around the subject of the image.

When you cut out an image from a light background, you may notice white outlines, but when you cut out an image from a dark background you may observe dark outlines.
To fix the edges, double-click the layer mask thumbnail. This will open the Select and Mask workspace.
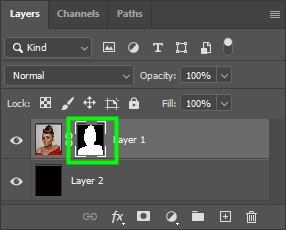
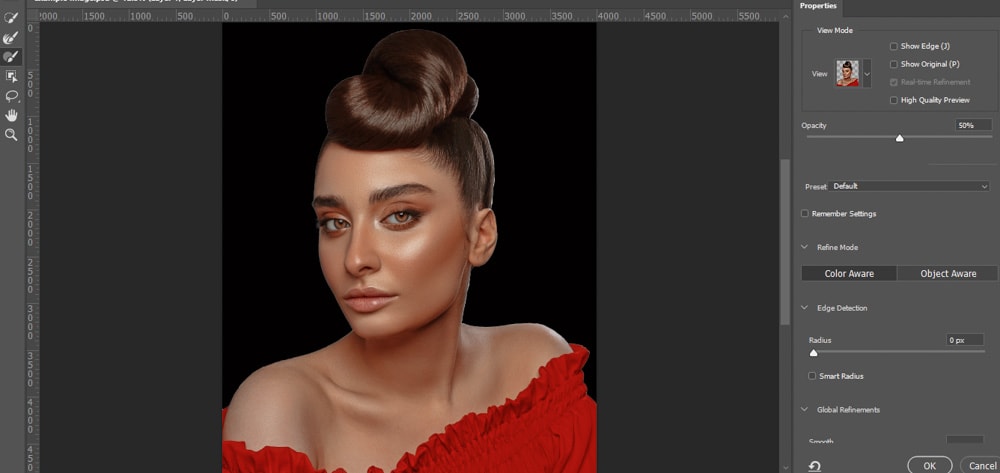
In this panel, you can find tools to manually fix your selections on the left-hand side. The Properties panel, located on the right side of the workspace, also has several sliders you can use to refine your selection.
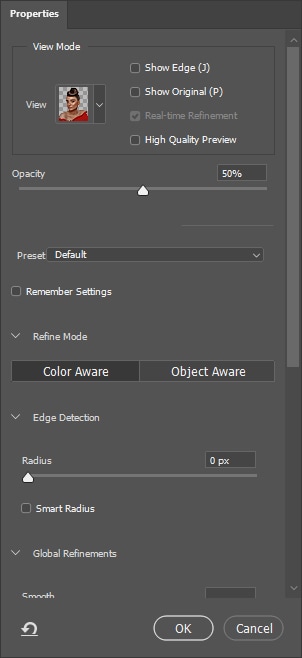
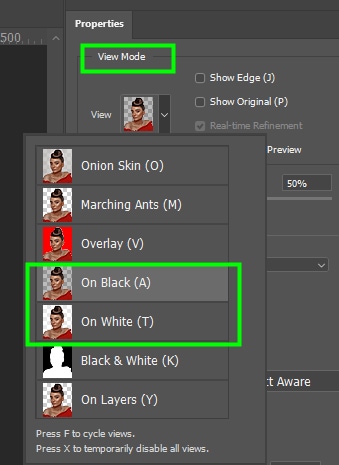
In the Properties panel, set the View Mode to black if your image has white edge fringes or white if your image has dark edge fringes. This will help you see the changes you make to the image.
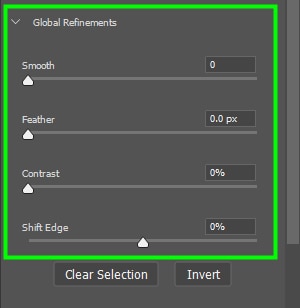
A good function to use to remove fringes from an image is Global Refinements, which can be found toward the bottom of the Properties panel.
To see the changes being made to your image, zoom in on the area that needs refining. To zoom in press Control + + (Win) or Command + + (Mac).
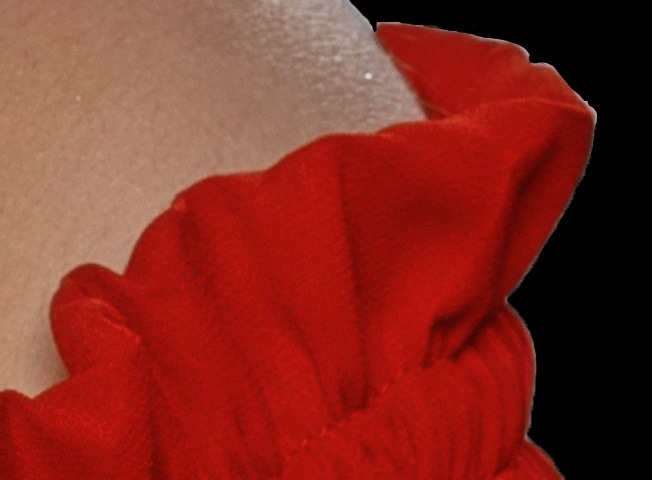
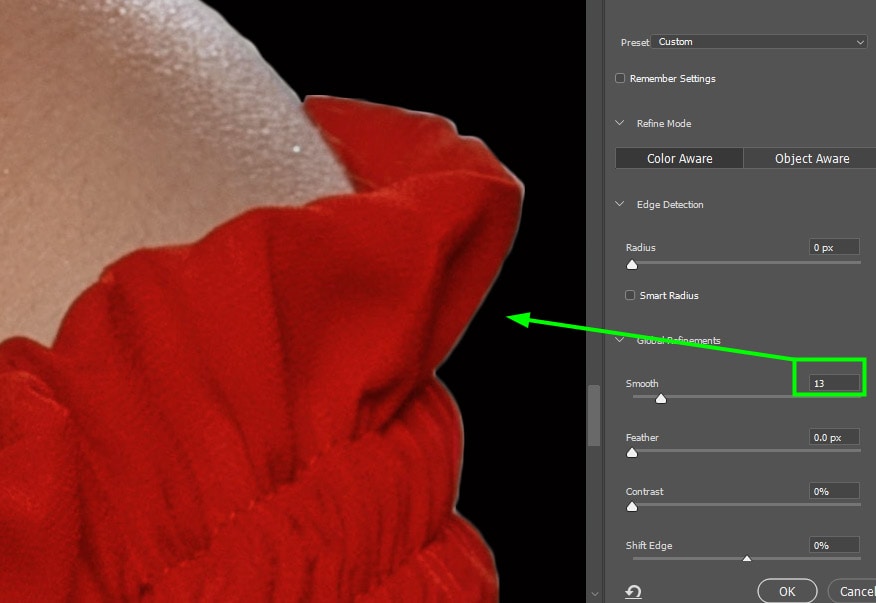
Using the Smooth slider, you can remove the jaggedness from the image’s edges. Increase the value of this slider until the white fringing becomes smooth enough.
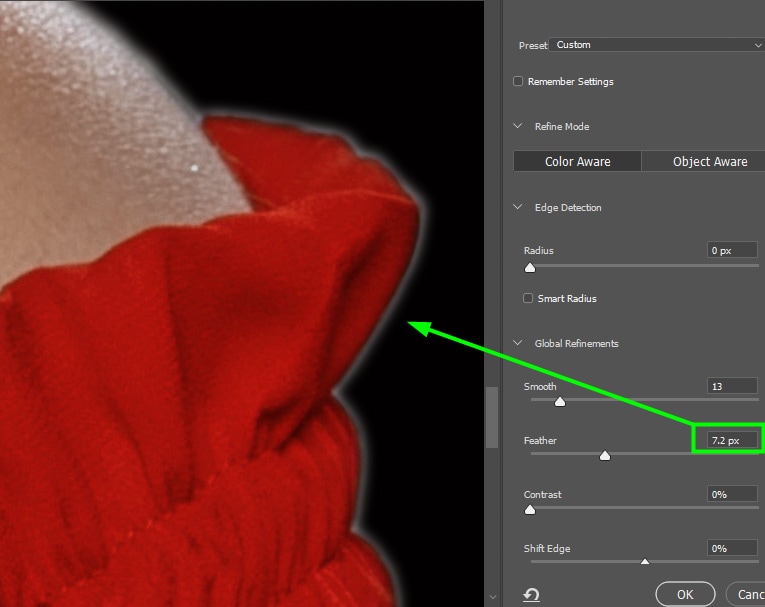
Then, increase the Feather slider value until the fringe becomes uniform on all edges. The fringe may get thicker, however, this will be fixed with the other sliders.
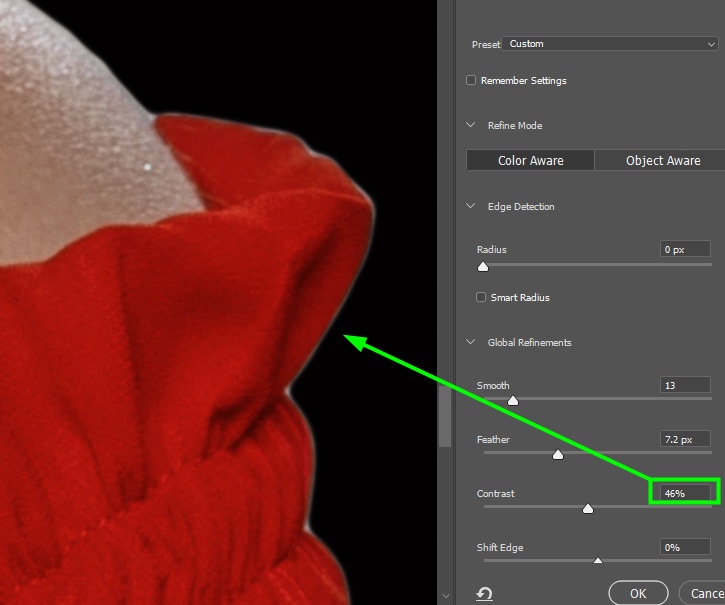
Once the Feather slider is correct, increase the Contrast slider value until the fringe looks sharp.
Lastly, the Shift Edge slider contracts or expands a selection. When you have edge fringes in your image, you need to contract the selection until the fringe disappears. Move the slider to the left to shift the edges inwards.
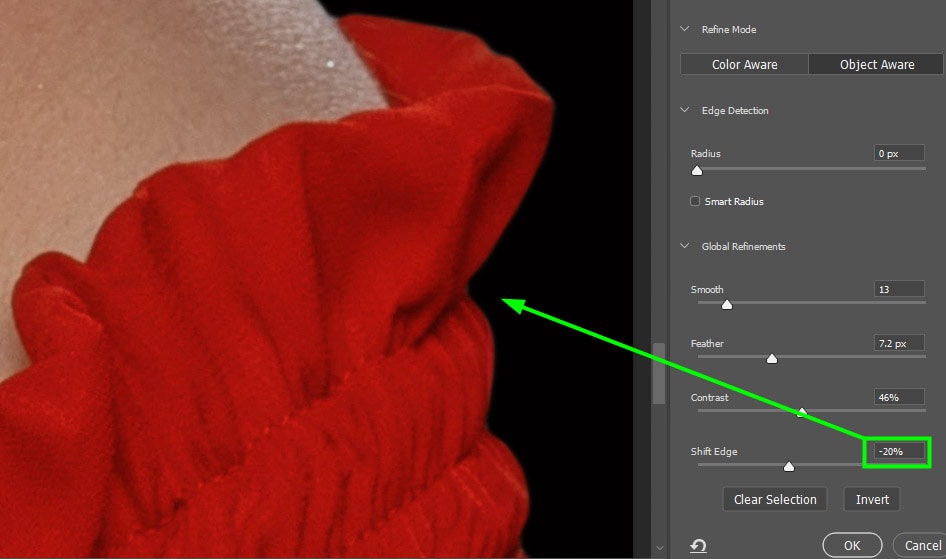
The white outline should disappear from the selection after these refinements. If there are still edges, you will need to tweak the sliders to match your image.
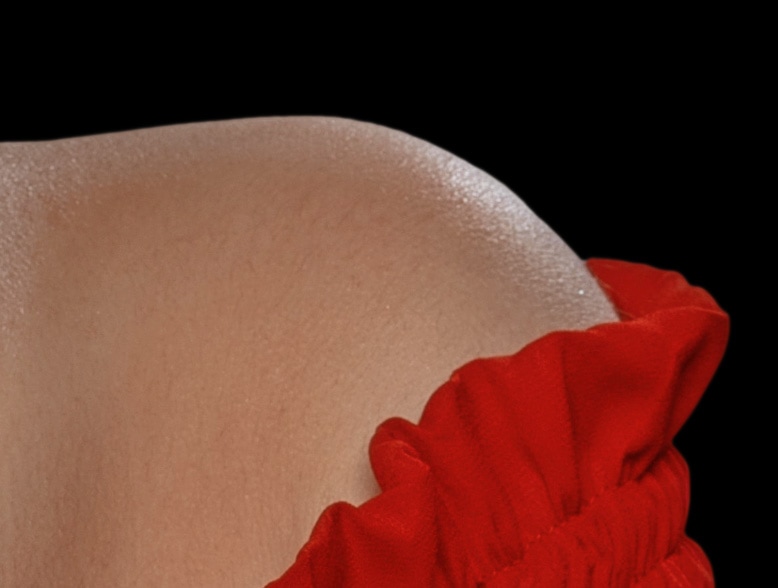
Now when placing the image on a black background, there are no white edges around the subject. This image can now be placed on another background without it looking as though it was pasted onto it.


Option 2: Delete Selection Contents
You can also make a selection transparent in Photoshop by deleting the contents you want to make transparent. It’s a much faster method than using a layer mask, but this method doesn’t allow you to refine your selection.
If the area you selected is easy to remove, and you are sure you will not need to refine your selection, this method will save you time.
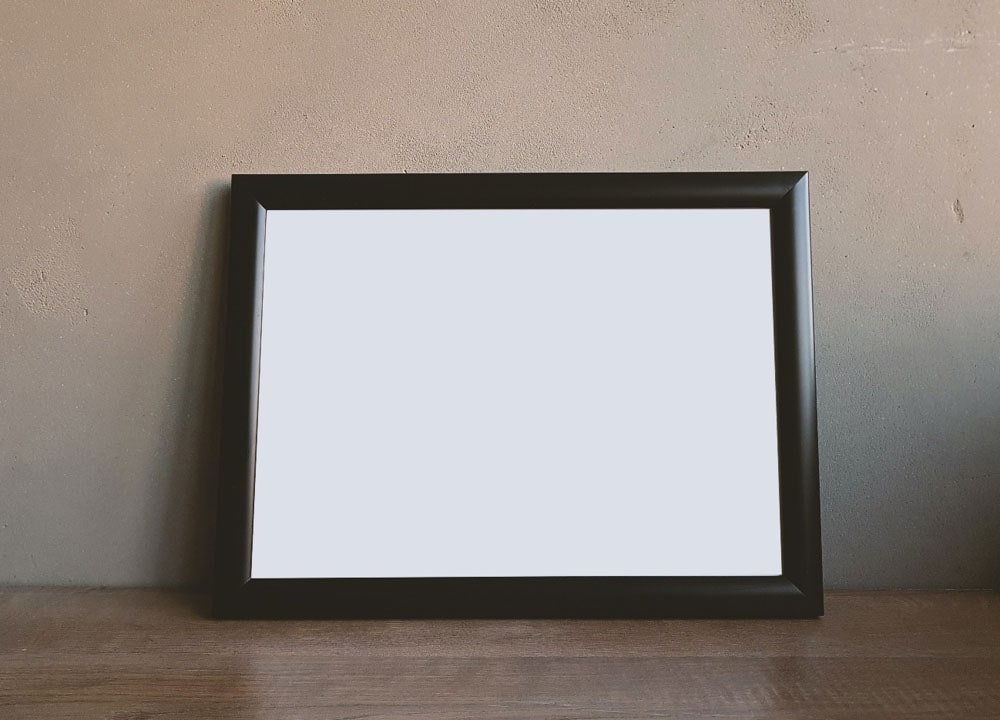
For simple selections, you can use the magic wand tool. Start by selecting the magic wand tool (W) from the toolbar.

After selecting the magic wand tool, click on an area of the image to select it. This tool works by finding similar colors to the area you clicked and creates a selection based on that. In this case, I sampled the white frame contents, so the tool will select everything inside of the picture frame.
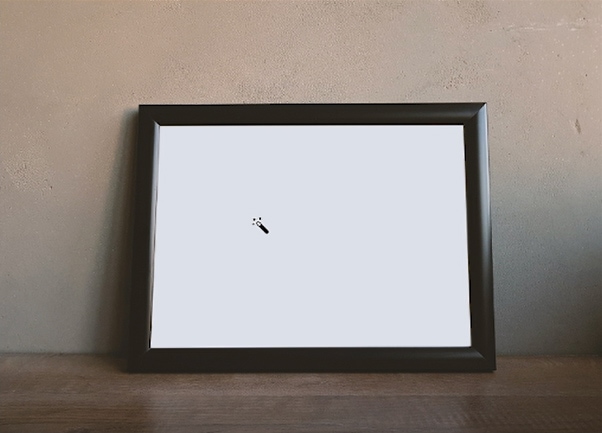
Once you do this, a pattern of marching ants will appear around the target area to indicate a selection.
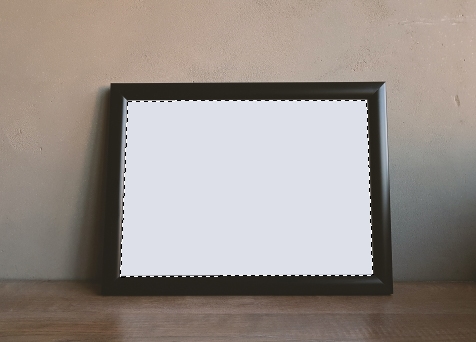
Once the area is selected, press Delete on your keyboard. The area will instantly turn transparent as the pixels within the selection are deleted.
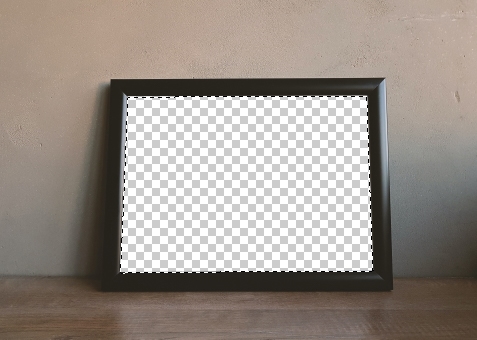
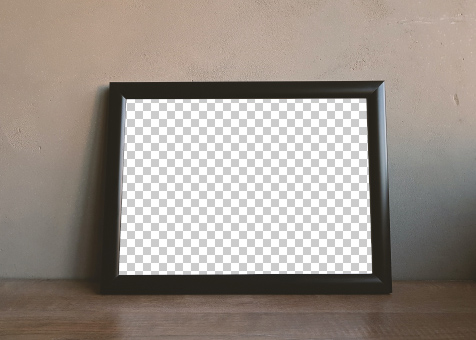
Finally, press Control + D (Win) or Command + D (Mac) to deselect the transparent area. Now you can place anything you want in the empty space by placing a layer behind the cut-out image layer.
Option 3: Layer Via Cut
Layer via cut is another quick method to make a selection transparent. When you use this selection method a second layer is created. The main layer will keep the selected area, while the other layer will contain the unselected area of the image.
To use this method, select the portion of an image you want to make transparent. You can use any selection tool you want. I used the quick selection tool here.

After selecting the part of the image you want to make transparent, right-click the layer and choose Layer Via Cut.
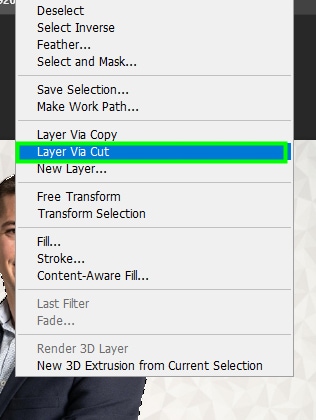
When you do this, the canvas will remain the same but the area will no longer be selected.

However, both the selection and what was left of it are still active and visible, but they are now separated. Looking at the Layers panel, you can see both the selection and the other part of the image on separate layers.
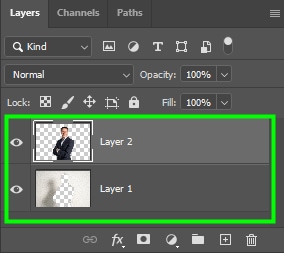
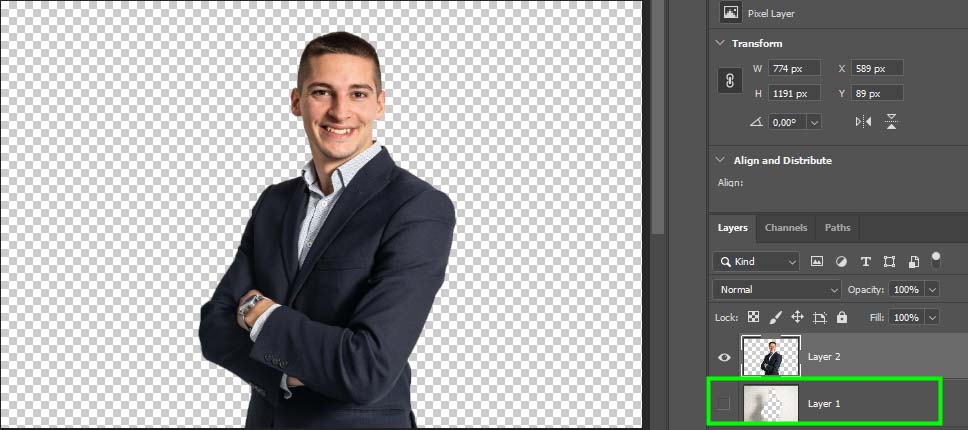
When you click the layer visibility icon on the background layer, you will be left with the subject in its own layer.
However, when you turn off the second layer, you will see the background without the subject included.
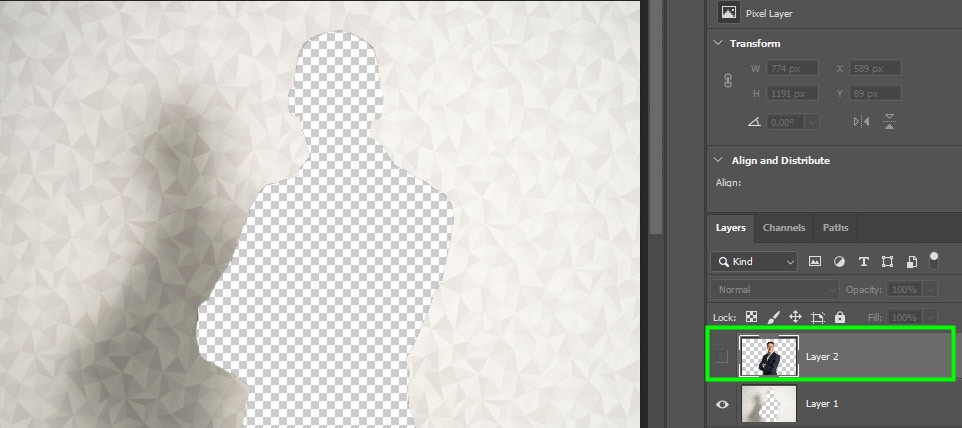
This is a good method for keeping both your selection and what was left of it on separate layers for reference purposes or to use later in the project. The downside of this method is that you will create a new layer every time you use the Layer Via Cut method, this can increase your file size unnecessarily.
Regardless of which method you choose, these three techniques offer fast and effective ways to make a selection transparent in Photoshop. Whether you want to remove a background, select a subject, or separate your layers via selections, it can all be done rather quickly with these methods. To help you get a better grasp of the best selection tools in Photoshop, check out this next tutorial sharing the 5 best ways to cut out images in Photoshop!
Happy Editing!


