

With so many adjustments and tools to use in Photoshop, it is helpful that there are some keyboard shortcuts available to speed up the workflow. But not every tool or adjustment has a keyboard shortcut. You may find that you use one of the tools so often that it would save you time to have a keyboard shortcut for this tool.
Luckily, Photoshop makes it easy to set keyboard shortcuts for different commands. Let’s look at the steps to follow to create a custom keyboard shortcut in Photoshop.
Step 1: Go To Edit > Keyboard Shortcuts
The first step is easy, open Photoshop and head to Edit > Keyboard Shortcuts. You’ll have to scroll down as it is all the way towards the bottom of the list, or just use the shortcut’s own shortcut — Alt + Shift + Control + K (Win) or Option + Shift + Command + K (Mac).
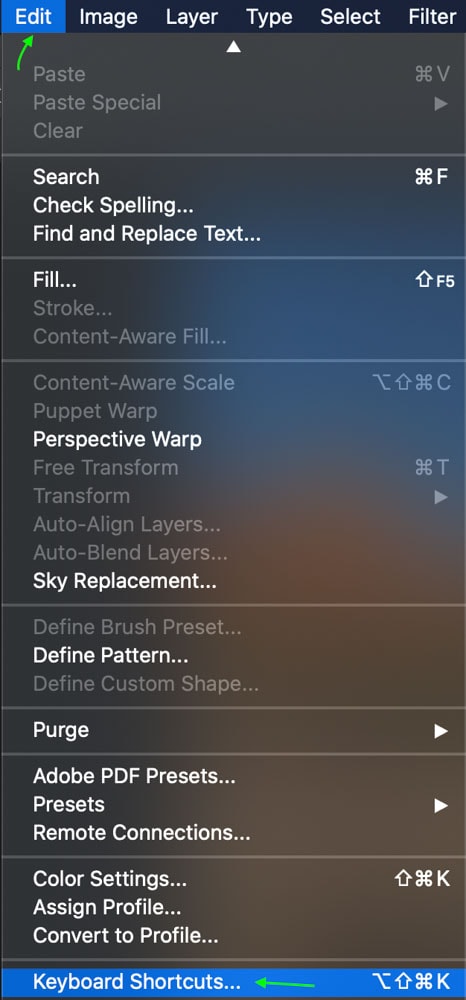
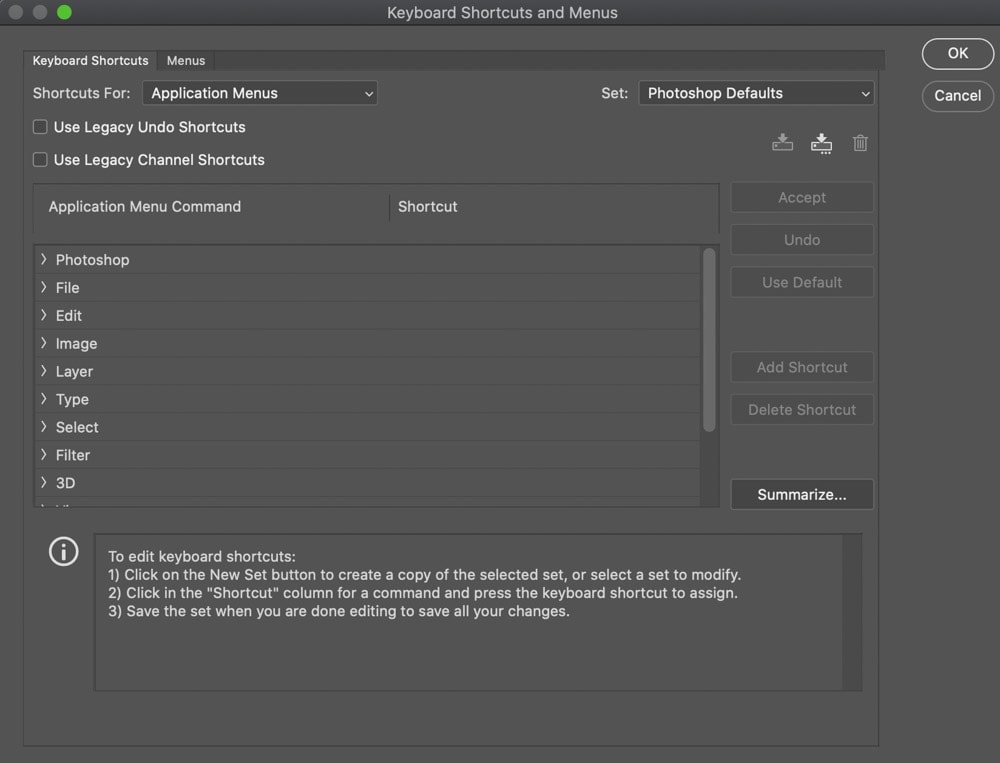
This will bring up the Keyboard Shortcuts and Menus window.
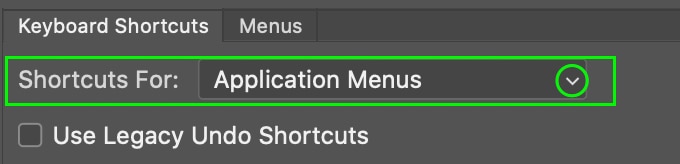
Step 2: Set A Shortcut Type In The “Shortcut For” Option
Now you’ll set the type of shortcut you’d like to make in the Shortcut For area at the top of the window.
Click the drop-down arrow, and you’ll see the different shortcut options. You can choose from Application Menus, which refers to the menu options at the very top of the Photoshop application window; Panel Menus, which are the different panels you can access; Tools, such as those on the vertical toolbar to the left; and Taskspaces.
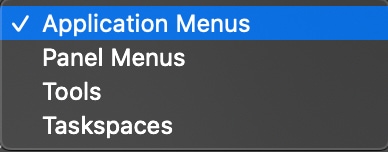
Choose the one you’d like to create a shortcut for and continue to the next step.
Step 3: Choose A Shortcut Group To Customize
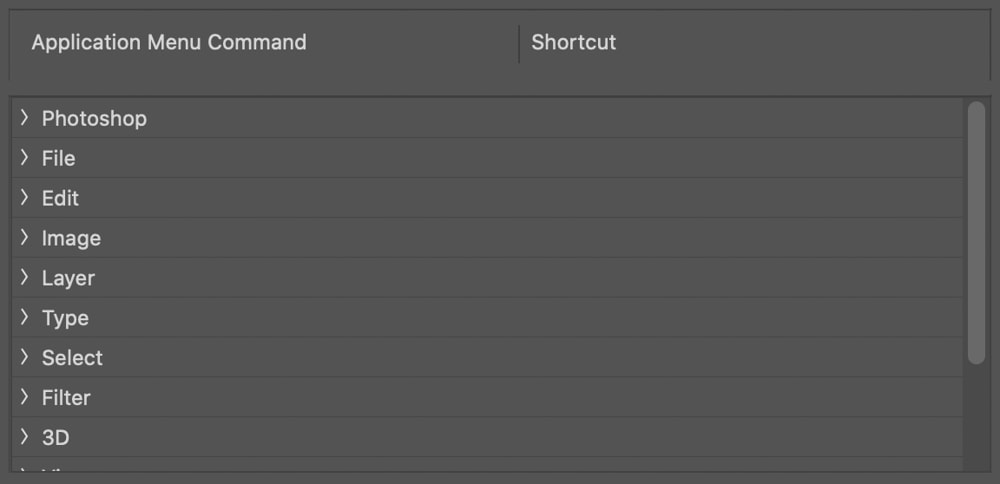
Once you select a shortcut type, the different options you can create a shortcut for will appear in the table below. For instance, if I wanted to make a shortcut for one of the Application Menu options, I’ll see the following table:
Step 4: Select The Command You Wish To Customize
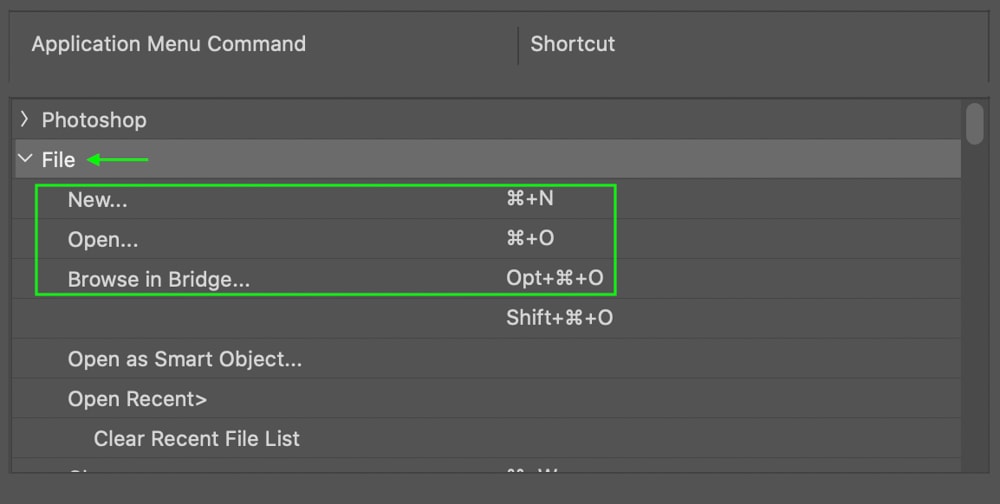
On the left is the Menu Command, and on the right, you’ll see any existing shortcuts for that command. You’ll notice many commands already have a shortcut, such as many of the commands under the File tab.
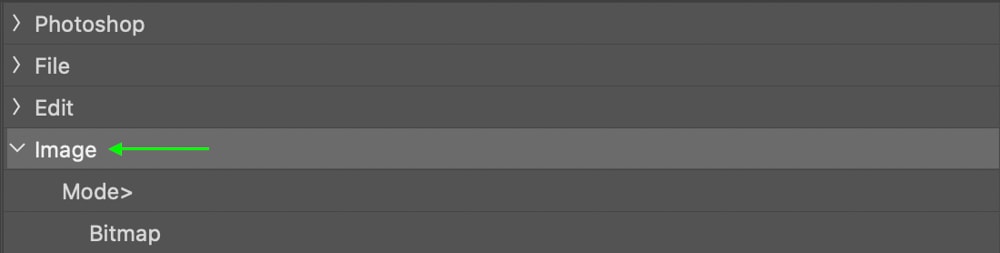
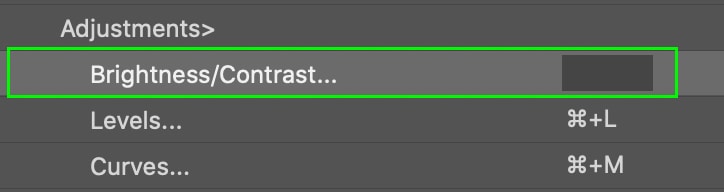
Find and select the tab containing the command you’d like to make a shortcut for. If I’d like to make a shortcut to adjust the brightness and contrast of my image, I’d head to the Image tab and scroll until I find Brightness/Contrast under Adjustments.
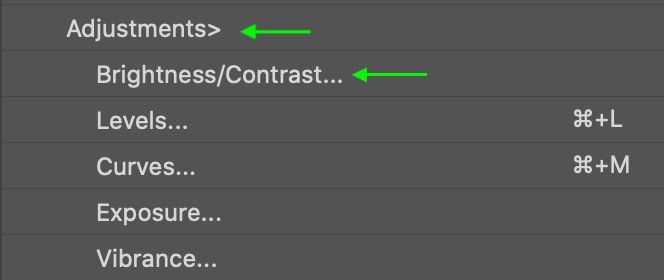
Click the command you’d like to add a shortcut for, and the shortcut type box appears in the right column.
Step 5: Type In Your Custom Shortcut
At this point, you can type the shortcut you’d like to take you to the Brightness/Contrast adjustments. Enter the shortcut exactly as you would use it while working, holding the keys down simultaneously.
Note: Menu shortcuts must include Control (Win) or Command (Mac) and/or one of the F-keys. Shortcuts for Tools can be a letter on its own.
As an example for the Brightness/Contrast shortcut, I’ll hold Control + Command + B (Mac), which translates to Control + Windows + B (Win).

You’ll notice that many shortcuts are already in use. If you try to enter a shortcut that is already used for another command, you’ll see a yellow triangle beside the command and a message saying the key is already in use.


If you continue with this shortcut for this command, it will not be used for anything else. You can still use the shortcut as long as you don’t mind the other command being overwritten, so I suggest only overwriting shortcuts for commands you rarely, if ever, use.
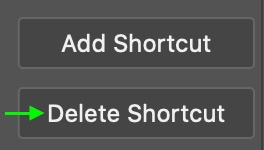
If you want to delete any shortcuts, you can find the shortcut you’d like to delete and click the Delete key. This will free up the shortcut for use elsewhere, but I don’t advise doing this with too many shortcuts as you never know when they may come in handy.
Once you’ve set your shortcut or shortcuts the way you’d like, click Accept to assign the shortcut, and then OK to close the window and return to the workspace.
Step 6: Test Out Your New Shortcut
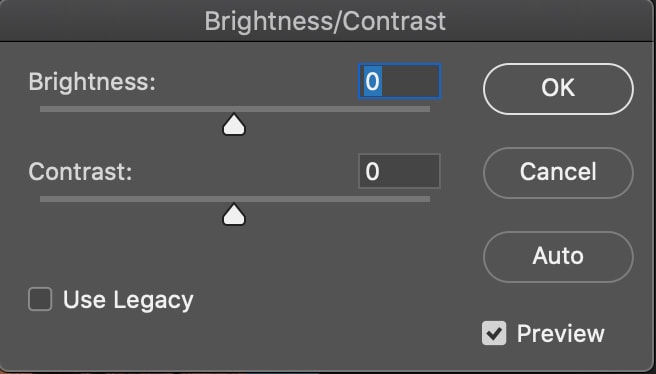
Once you’ve created your shortcut, it is time to test it. As I’ve created a shortcut using Control + Command + B (Mac) or Control + Windows + B (Win), I’ll go ahead and press those keys.
When I use my shortcut, the Brightness/Contrast adjustment is successfully triggered, and the window appears when I press the shortcut. This lets me know the shortcut is working.
Now you are free to create as many shortcuts as you’d like to make your workflow easier and faster.
How To Share Your Shortcuts With Someone Else
All of your shortcuts in Photoshop exist as KYS files, which is the file format Photoshop uses to read and save keyboard shortcuts. You can access these files and even share them with others so that they can save and use the same shortcuts you’ve created. This is especially useful if you’re working in a team, as you’ll all likely be using the same commands regularly.
First, you’ll need to ensure you’ve saved your shortcut set as a .kys file on your computer. You can click either of the two save buttons from the Keyboard Shortcuts window. The first icon will save the changes you’ve made to the current set, while the second icon will save the changes as a new set.

In the window that appears for both, you can name the set and select its location in your files in the window that appears for both. Make sure you save it somewhere you can find it easily.
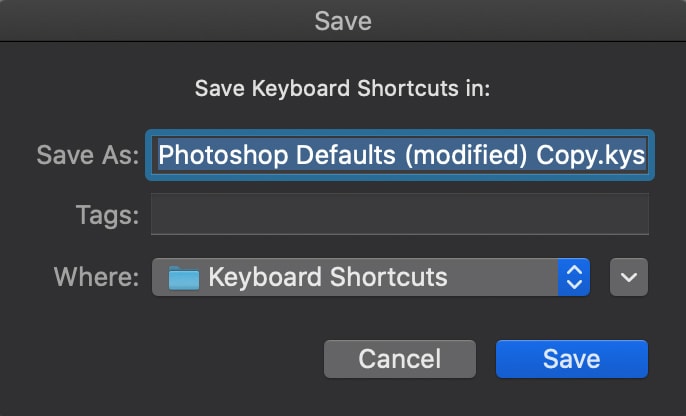
Click Save when you’re done. The set will appear in the location you’ve selected in your files, and you can easily send this file to anyone you’d like.
When someone saves and double-clicks the .kys file you’ve sent to open it with Photoshop, the program will update the default shortcuts used to match the .kys file. Don’t worry if nothing comes up on the screen — Photoshop does this process automatically in the background.


