
It can be frustrating to notice that a panel is missing from the Photoshop workspace, but you have no idea how to get it back. Luckily, it’s pretty simple to locate a missing panel in the program.
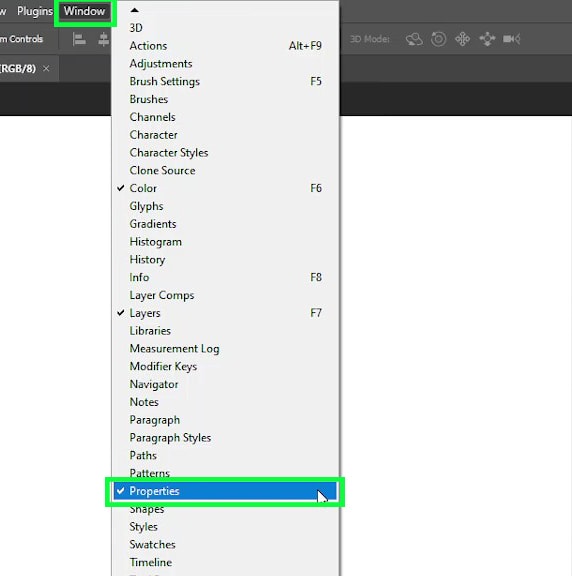
If a panel goes missing in Photoshop, it can be quickly located by going to “Window” in the upper menu bar. From the drop-down menu, select the name of the panel you are missing to reveal it in your workspace.
Now although simple, if you aren’t sure what the name of your panel is, it may be tricky to know what to select. There are also other reasons why your panels may be missing, such as the screen mode you are in. Luckily every solution you need is covered in this post!
How To Locate A Missing Panel In Photoshop
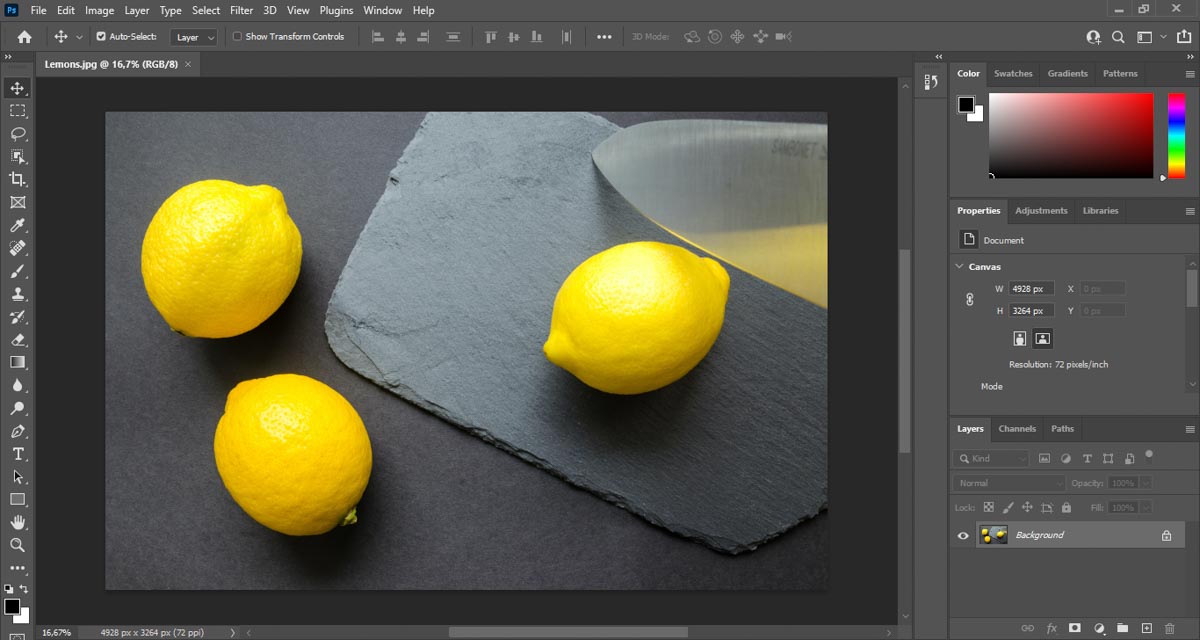
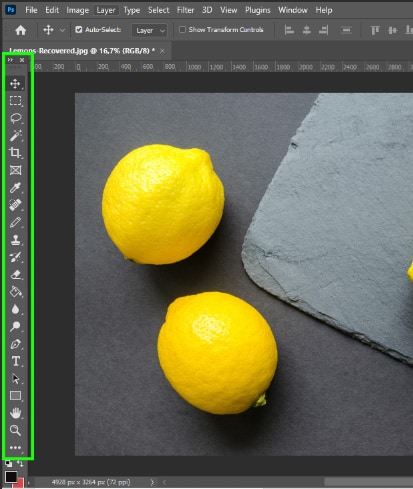
Before you learn how to get a panel back when it vanishes, you must know where the Photoshop panels are located by default. This is how the Photoshop screen looks when you open the software for the first time.
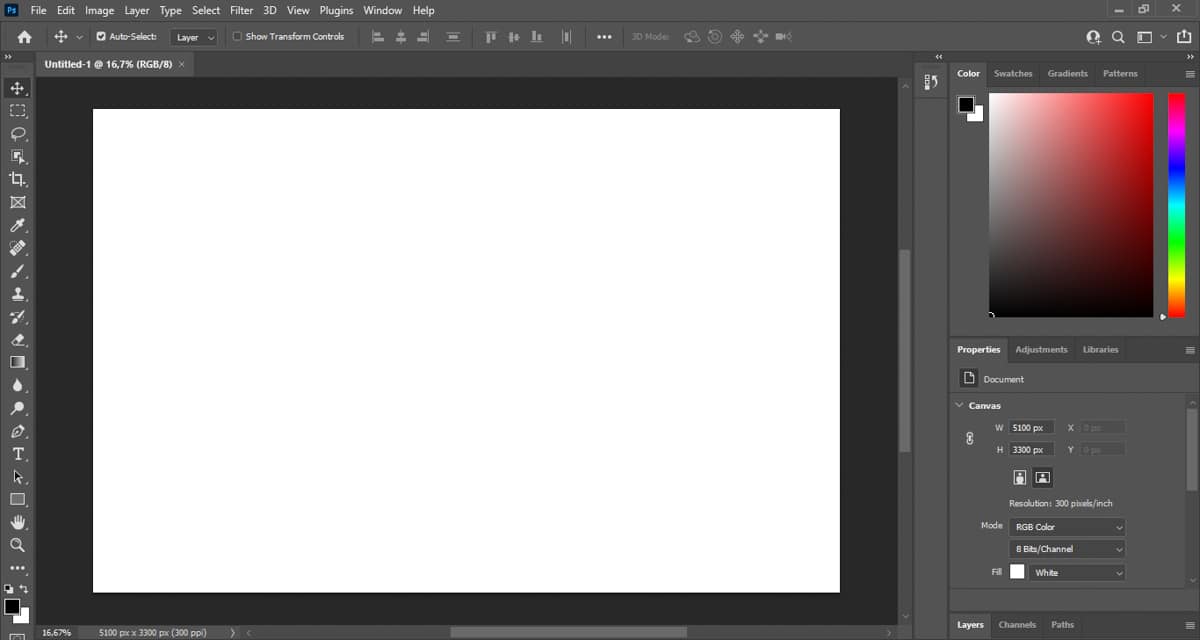
This workspace is called Essentials, and it remains the same unless you personalize it or switch to another workspace preset. The Essentials workspace contains the main resources needed for your editing.
If you want to switch your workspace to the default mode, go up to the Window menu and choose Workspace > Reset Essentials.

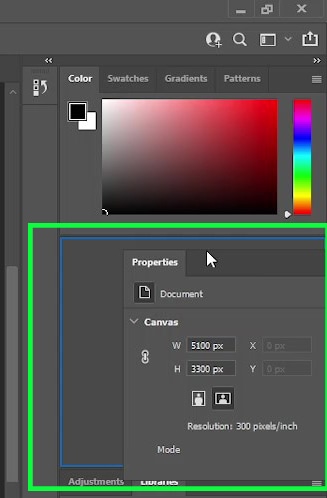
Panels in Photoshop are located on the right side of the screen. I highlighted the most important ones in the screenshot below.
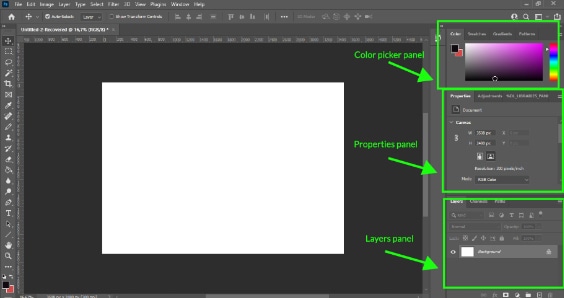
In the color picker panel, you can choose the colors for objects and backgrounds in the project. The properties panel offers adjustments to the layers it is linked to. The layers panel, on the other hand, helps you organize your workflow. So every time you grab a tool or apply an effect to a picture, for example, a new layer is created.
So let’s go back to our initial question. Let’s say that your layers panel vanished from the workspace.
You can get it back by going up to the menu bar and clicking on the Window menu. Then, find the desired panel in the list, and click it. In this case, that panel is Layers.

You can locate any panel you want in this menu, hence all Photoshop’s panels are listed there. You can see if a panel is active or not when a checkmark appears next to its name.
What To Do If The Entire Photoshop Workspace Disappears
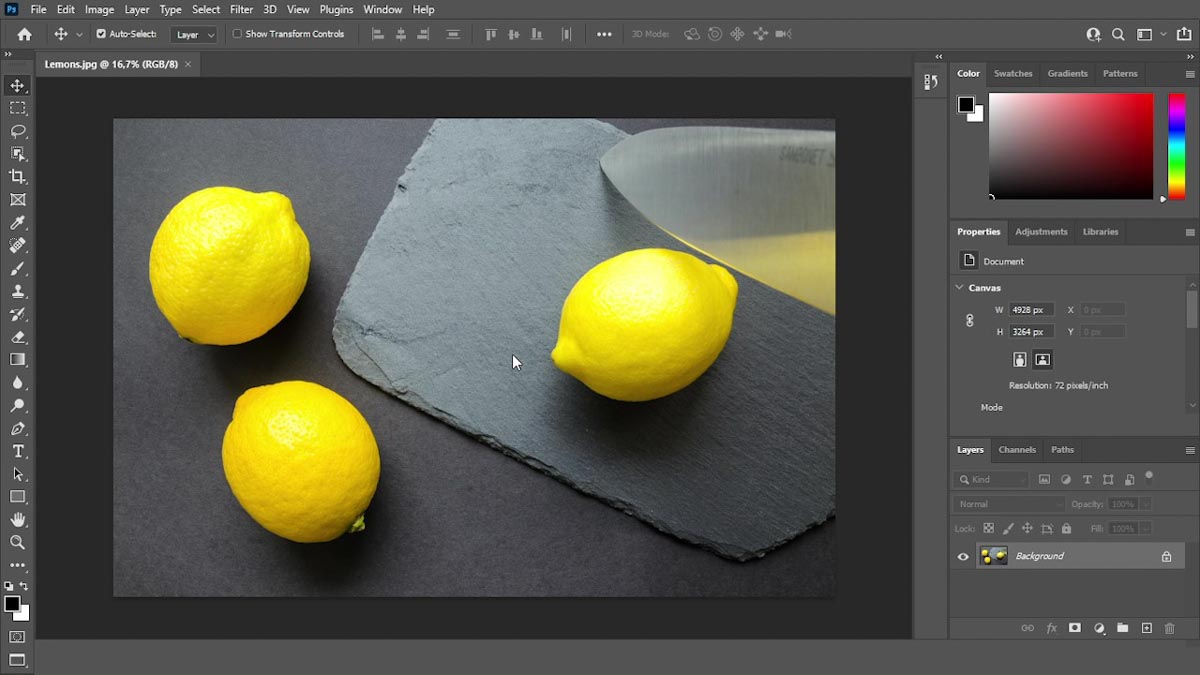
In some cases, you may notice the entire workspace is gone. You don’t know how it happened, but this is how your screen looks:

If that happened to you, you probably pressed the ‘F’ key on your keyboard. This key allows you to switch between all Photoshop screen modes and one of them is the full-screen mode, as shown in the screenshot above.
The full-screen mode allows you to have a distraction-free view of your image. In this screen mode, you can’t see panels, bars, or menus.
But if it wasn’t your intention to do this, you can easily exit this view mode by pressing ‘Esc’ on your keyboard, so you go back to the previous workspace.
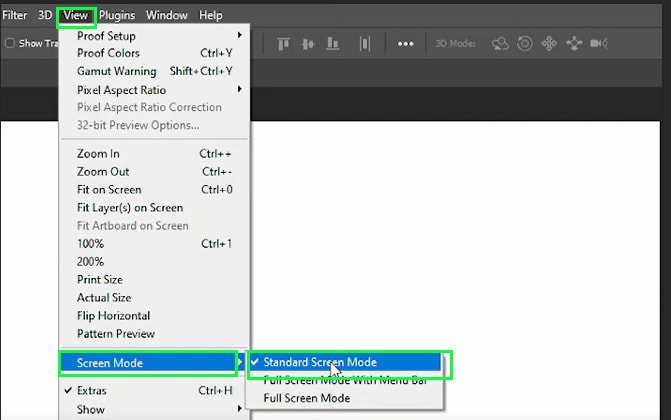
There are another two screen modes in Photoshop called the “standard screen mode” and the “full-screen mode with menu bar.” You can cycle through each of them by pressing F on your keyboard.
You can also activate them in the view menu. So for example, let’s say you want to activate the standard screen mode. You can do that by going to View > Screen Mode > Standard Screen Mode.
In this screen mode, all the main Photoshop panels, bars, and menus are displayed.
Finally, in full-screen mode with the menu bar you can have a broader view of your document, and still have the main panels, bars, and menus in the workspace.
How To Get The Toolbar Back When It Disappears In Photoshop
The toolbar is a very important part of the Photoshop workspace. It contains tools to create designs or edit a picture, so no wonder why it’s frustrating when you can’t locate it. Luckily it’s pretty simple to get the toolbar back when it disappears.
You can fix this by going up to the Window menu and choosing Tools.
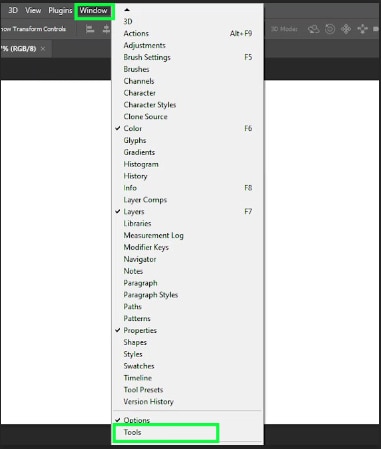
The toolbar will instantly go back to its default location.
How To Locate A Missing Properties Panel
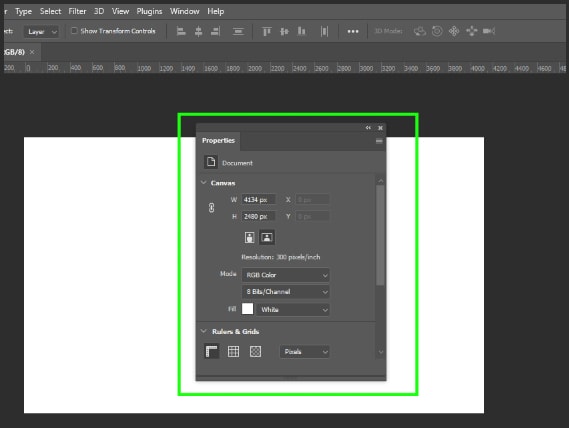
The properties panel is located in the panel’s area by default.
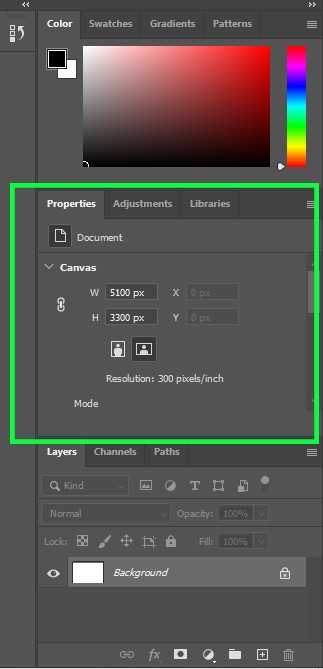
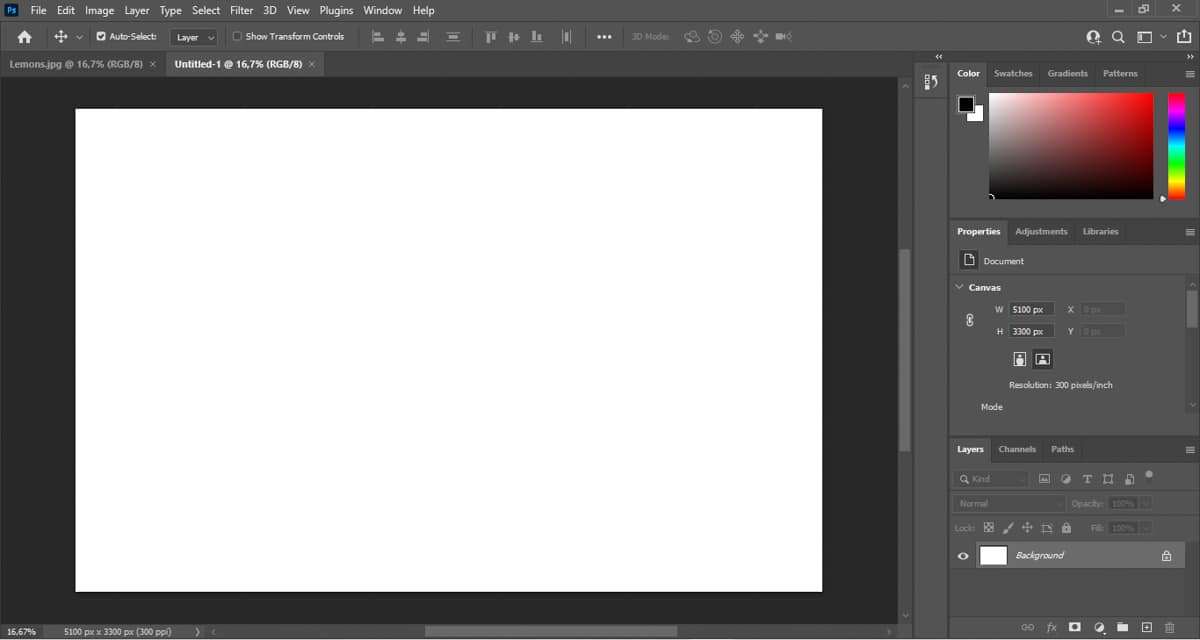
The contents of this panel change according to what type of adjustment you are making. When you open a new document (as shown in the picture above), the only options available in the properties panel are document settings such as height and width.
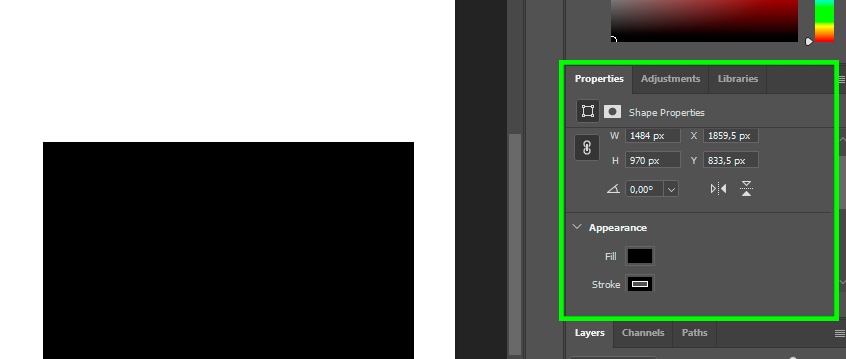
When you draw a shape, for example, more options appear so you can control the fill or stroke of the shape.
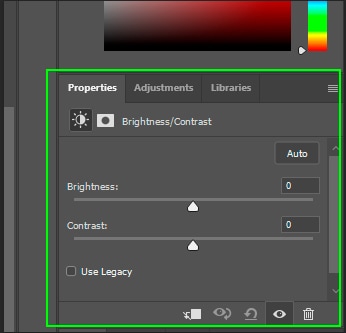
The properties panel also pops up when you are using adjustment layers.
For example, if you choose the Brightness/Contrast adjustment layer, a properties window will appear where you can edit the adjustment.
But let’s say you closed the properties panel accidentally and can’t get it back. You can fix that by going to the Window menu and checking Properties.
How To Unattach And Reattach Panels In Photoshop
As Photoshop is very flexible when it comes to organizing your workspace, you can move panels anywhere you want.
So let’s say you don’t like the properties panel where it is.
And you prefer it floating on your screen.
To do that, click on the panel and then drag it from its current location to where you want to drop it.
To reattach the panel, drag it back to its default position and when the panel’s borders turn blue, you can let go of the mouse.
Photoshop is very customizable, but it’s easy to accidentally close a panel and feel like it’s gone for good. Luckily it’s simple to solve problems like these, so you don’t need to worry when these things happen. All your answers can typically be found within the “Window” menu!
Happy Editing!


Thanks for the easy video on ‘finding a missing panel” saved me time messing around clicking all the buttons. A lot of info out there about skills in Ps but not what to do in certain cases.
Great
Glad you found it helpful, Debbie.