How To Access Full Screen Modes In Photoshop
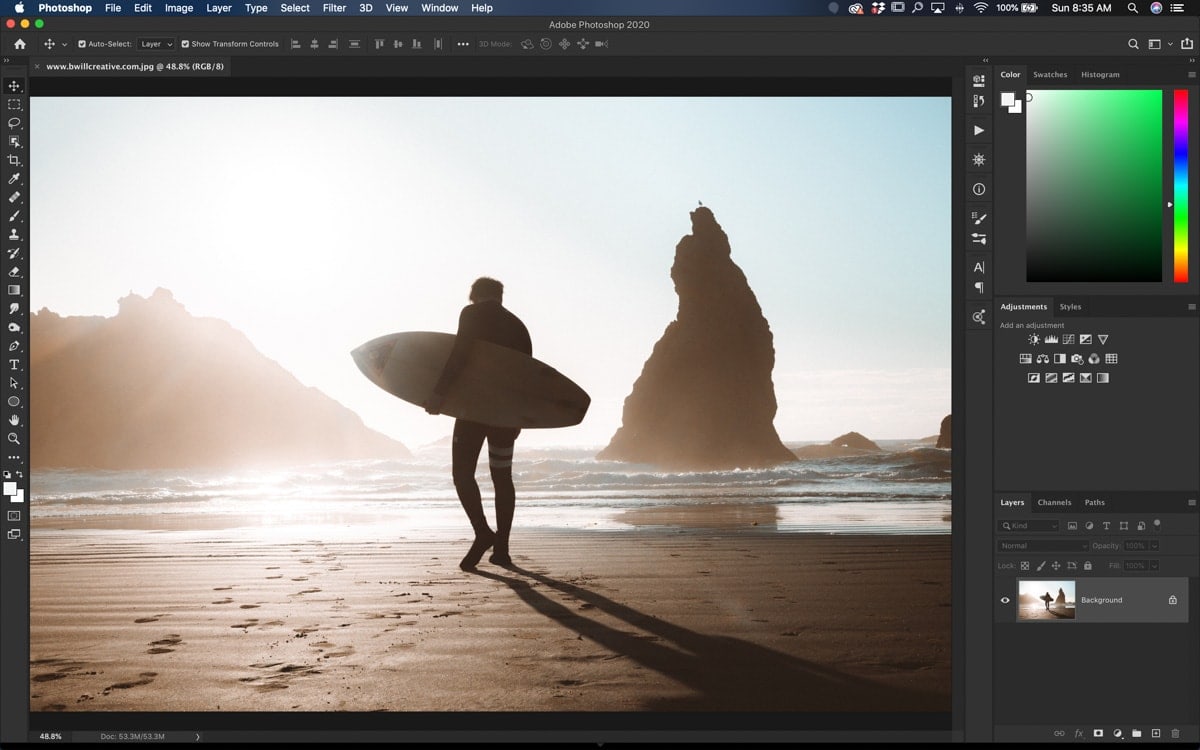
Wouldn’t it be nice if there was a way to hide all the panels at once in Photoshop? With all your toolbars, panels, and settings options, there’s a lot of stuff in the way. With so much going on, the default Photoshop workspace might give hardcore minimalists heart palpitations. Fortunately, there’s an easy way to toggle between different full screen modes in Photoshop to get a better view of your image.
The great thing about Photoshop’s full screen modes is that you still have the option to edit your image. No matter what view you’re using, it’s still possible to access your layers, toolbar, and other essential settings to edit your project. Let’s get started!
How To Toggle Full Screen In Photoshop With A Shortcut
To access the full screen in Photoshop, you don’t need to go through the process manually. All you need to do is press F to toggle between the three main full screen options.
The three types of screens you can toggle between with this shortcut are:
– Standard Screen Mode
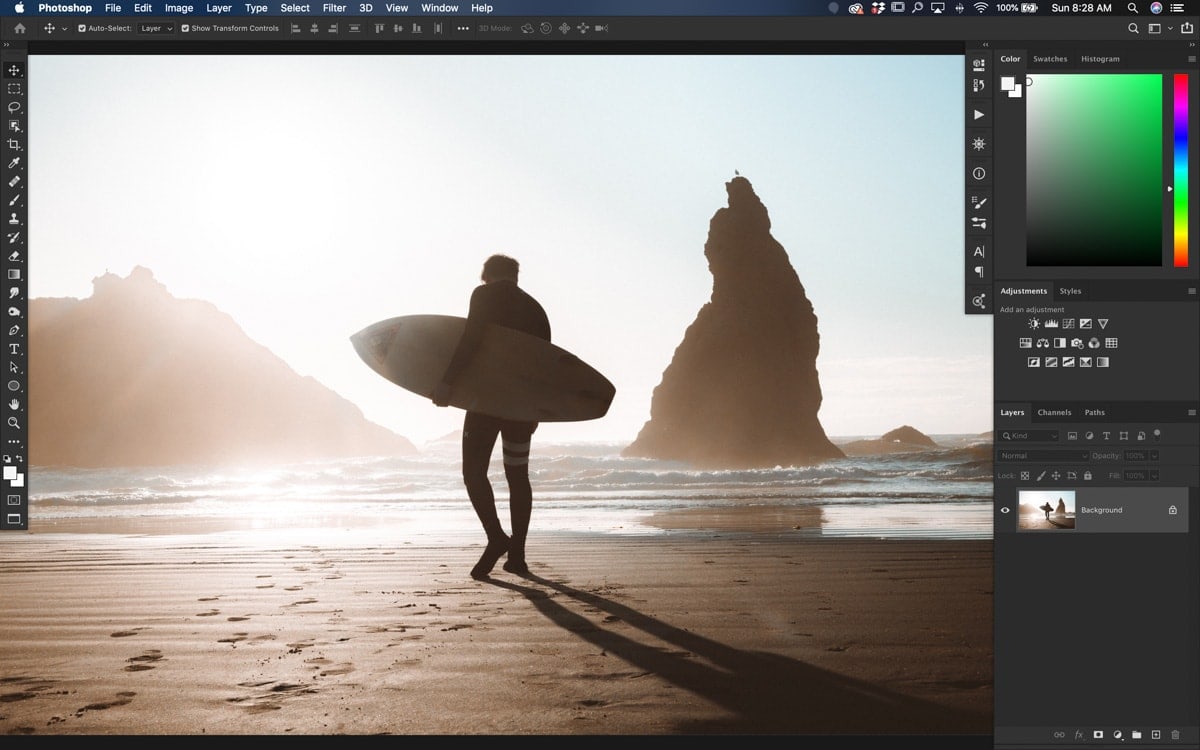
This is the default view you are likely using right now. In this screen mode, everything is visible at once.
– Full Screen Mode With Menu Bar
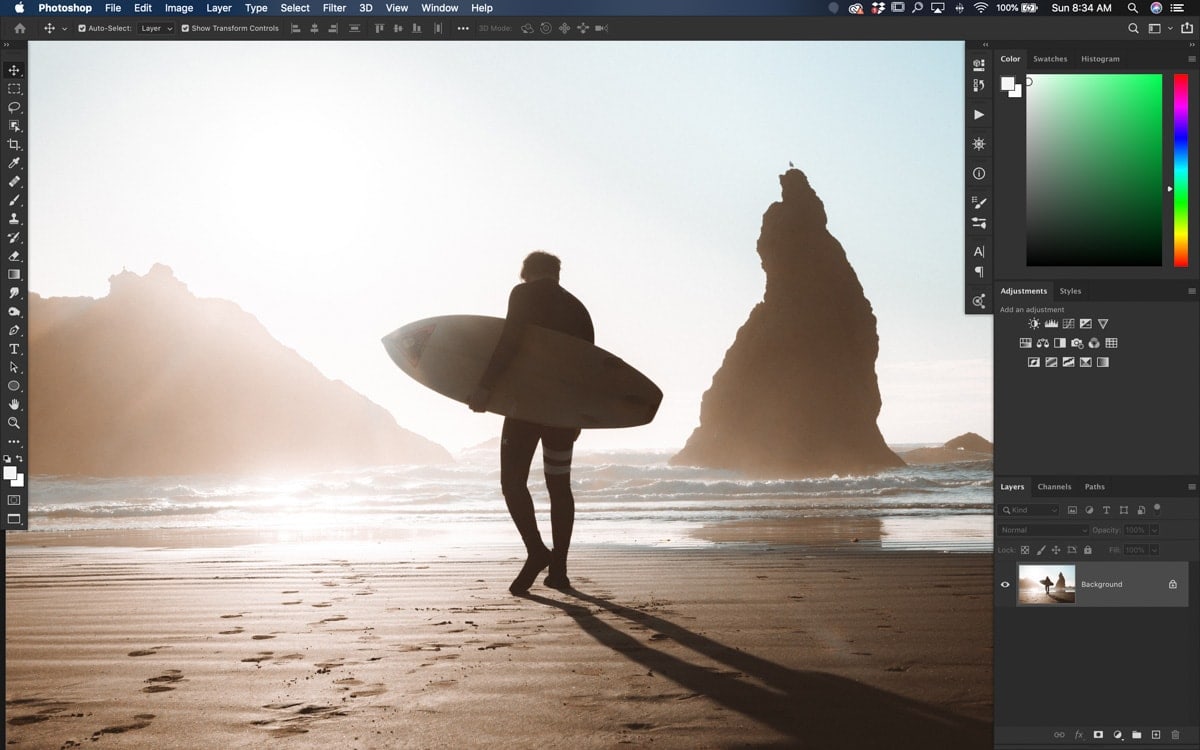
This screen mode gives you a more minimalist look by taking out the project window and creating floating panels. Rather than seeing extra areas you don’t need, such as project tabs, you can focus on what matters. This is a preferred view by many who favor a cleaner Photoshop interface.
– Full Screen Mode

Full screen mode takes it one step further by getting rid of all your adjustment panels. All you see is your image, creating a distraction-free workspace!
You can still access most of your adjustment panels by moving your mouse to the left or right of your screen.
The right side will bring up your layers panel, while the left will reveal the toolbar.
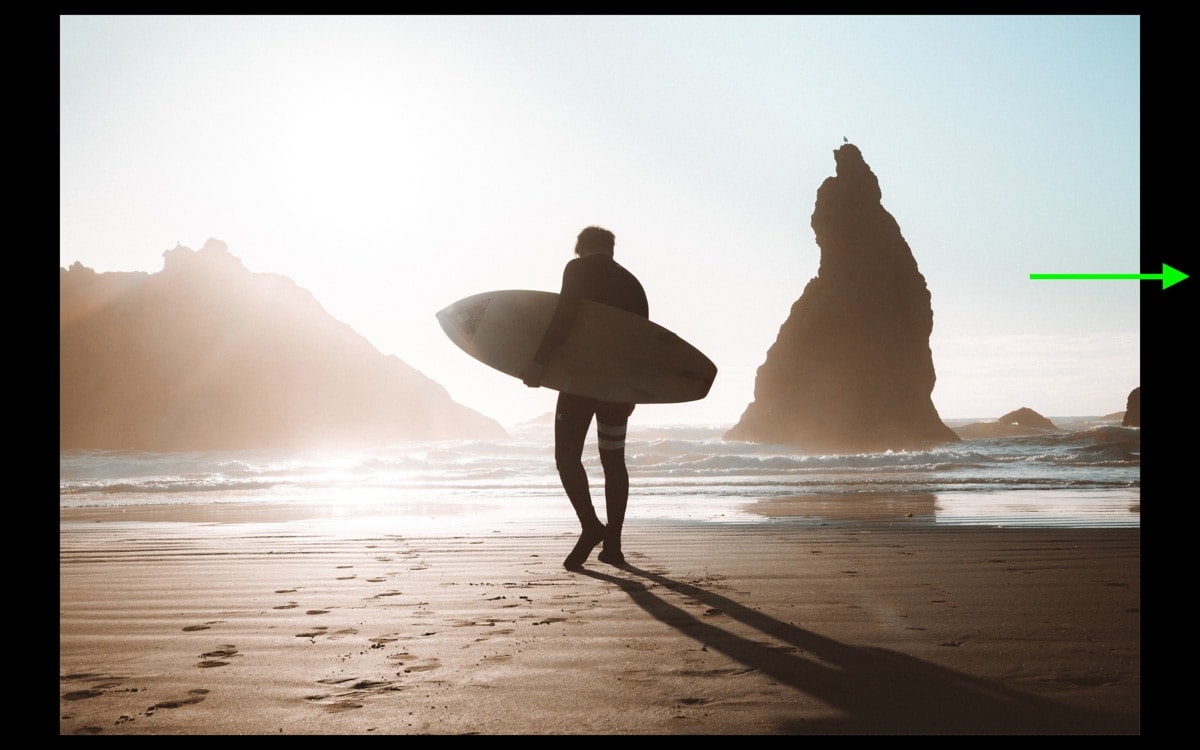
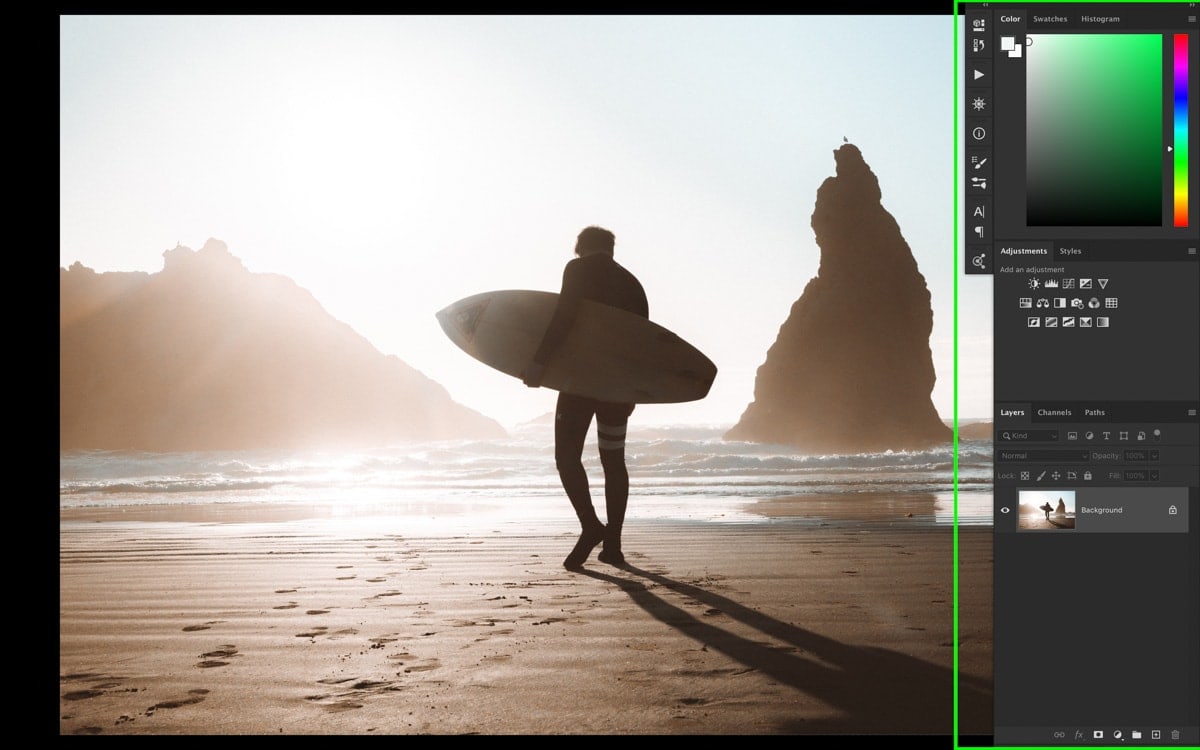
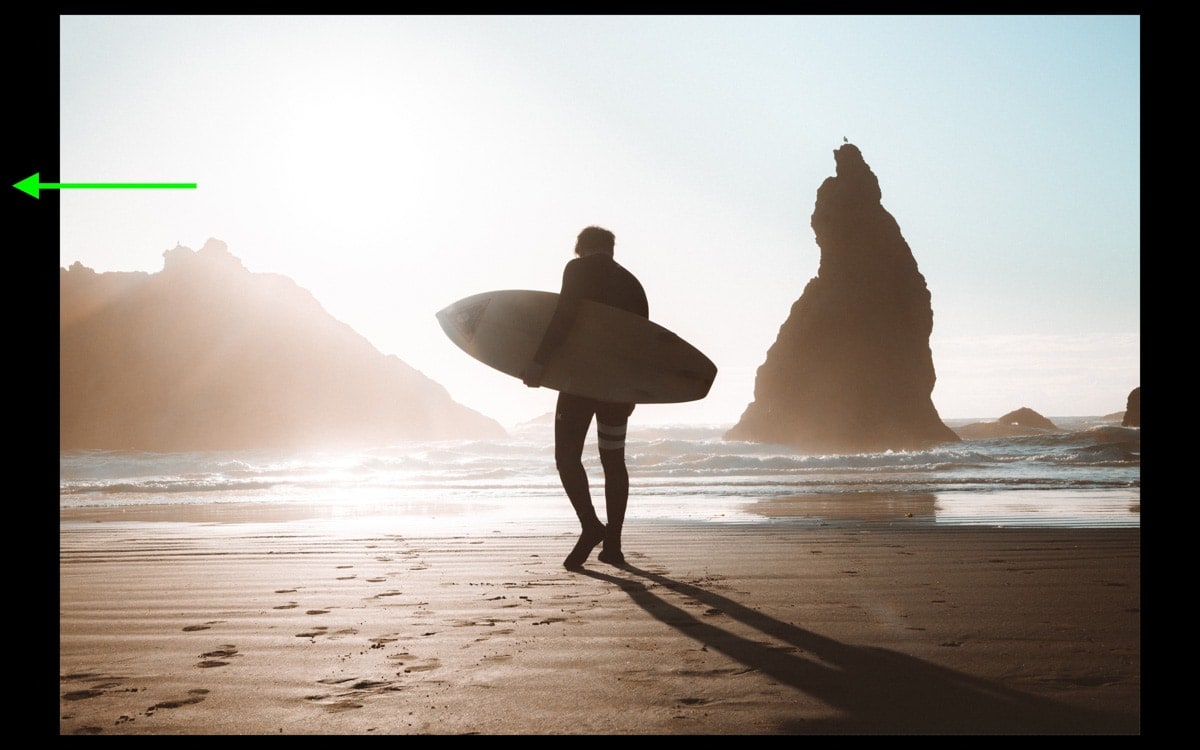
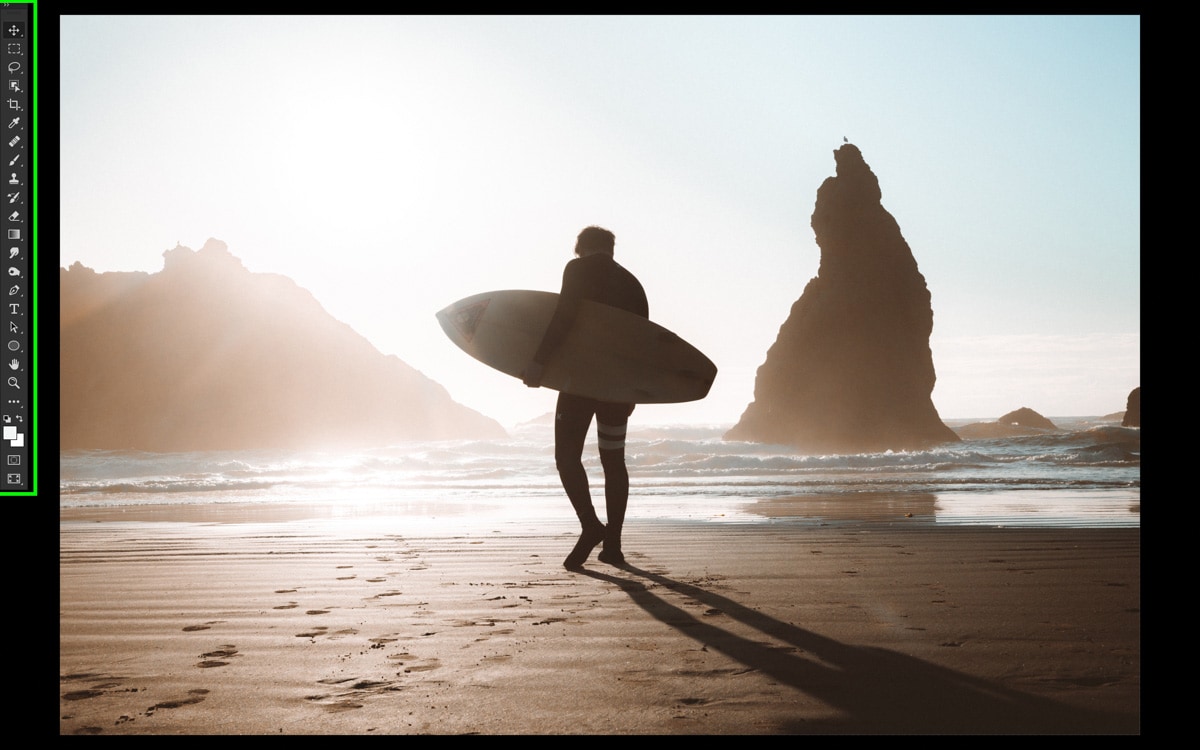
These panels will only be visible while your cursor is hovering over them; otherwise, they disappear.
How To Exit Full Screen Mode In Photoshop
If you find yourself in full screen mode and want to go back, you can continue pressing the F key to toggle screen modes.
Alternatively, you can press the ESC key to switch back to the standard screen mode.
How To Manually Switch Between Photoshop’s Full Screen Options
Although keyboard shortcuts are much faster, it’s still nice to know how to do the process manually. To switch between full screen modes in Photoshop, you’ll need to look to the bottom of your toolbar.
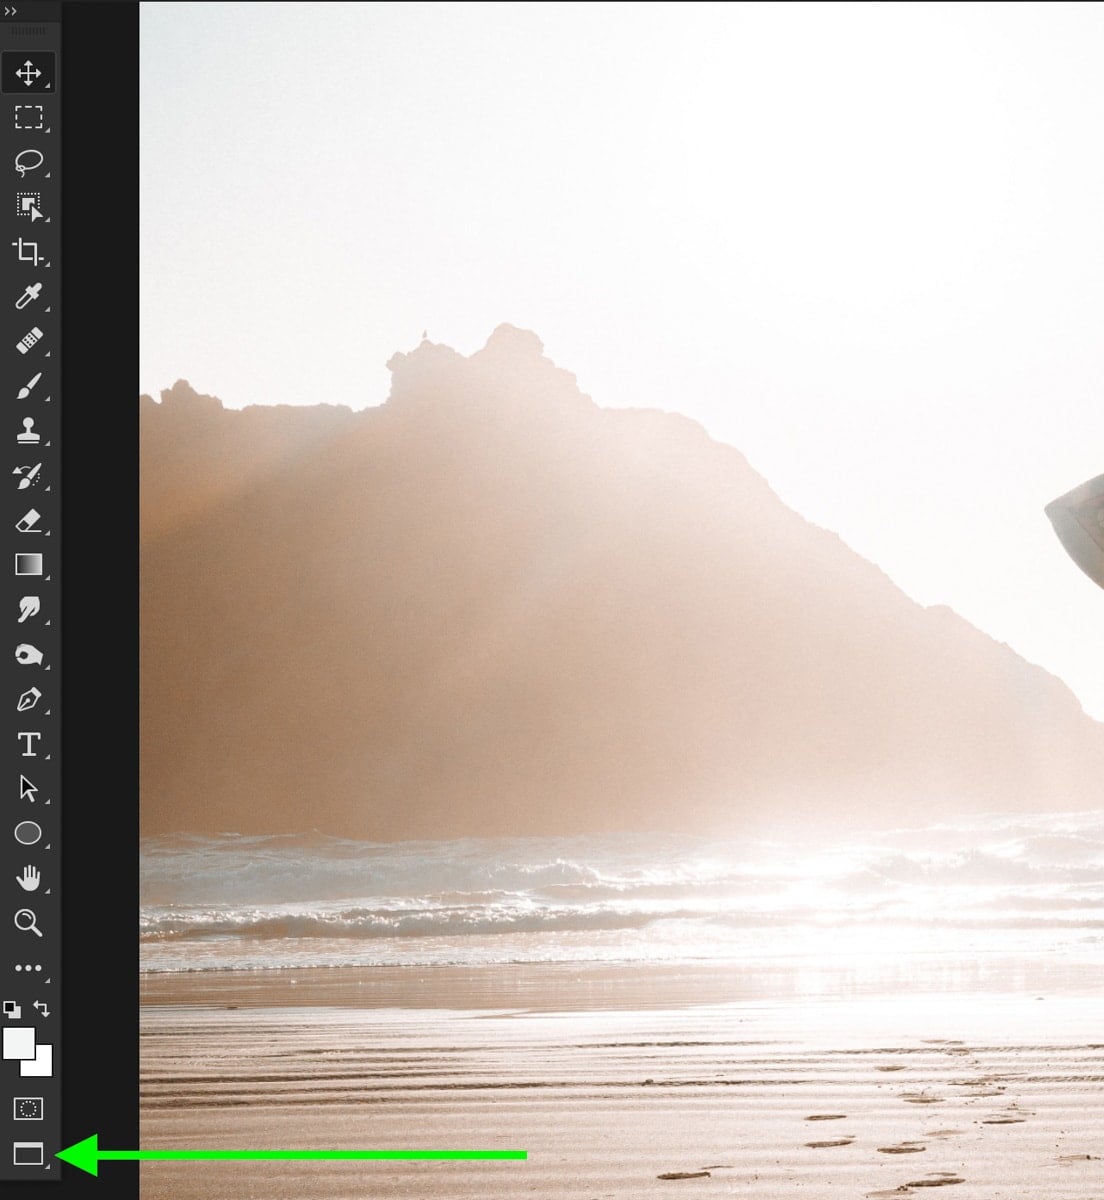
At the very bottom of the toolbar is screen mode options. Click and hold on this icon and select the screen mode you want to use.
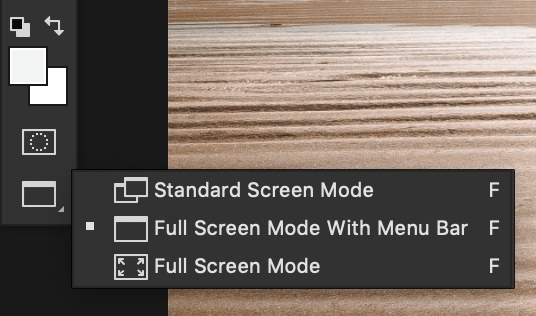
When you use the keyboard shortcut (F), you are simply switching between each of the screen mores you see here.
How To Show And Hide Panels In Any Screen Mode
Regardless of what screen mode you’re using, you can show and hide different panels to further refine your workspace.

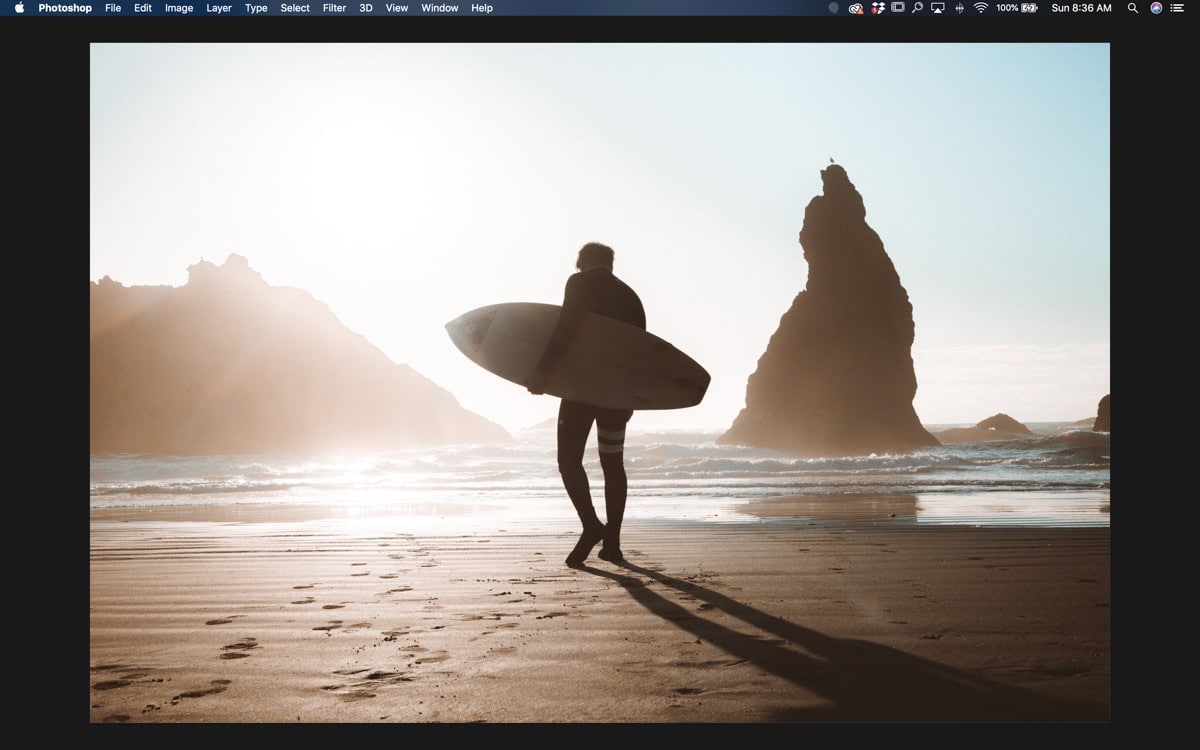
To hide all the adjustment panels and toolbar, just press the Tab key. This hides everything to offer a better view of your image. To show your panels again, just press the Tab key once again.

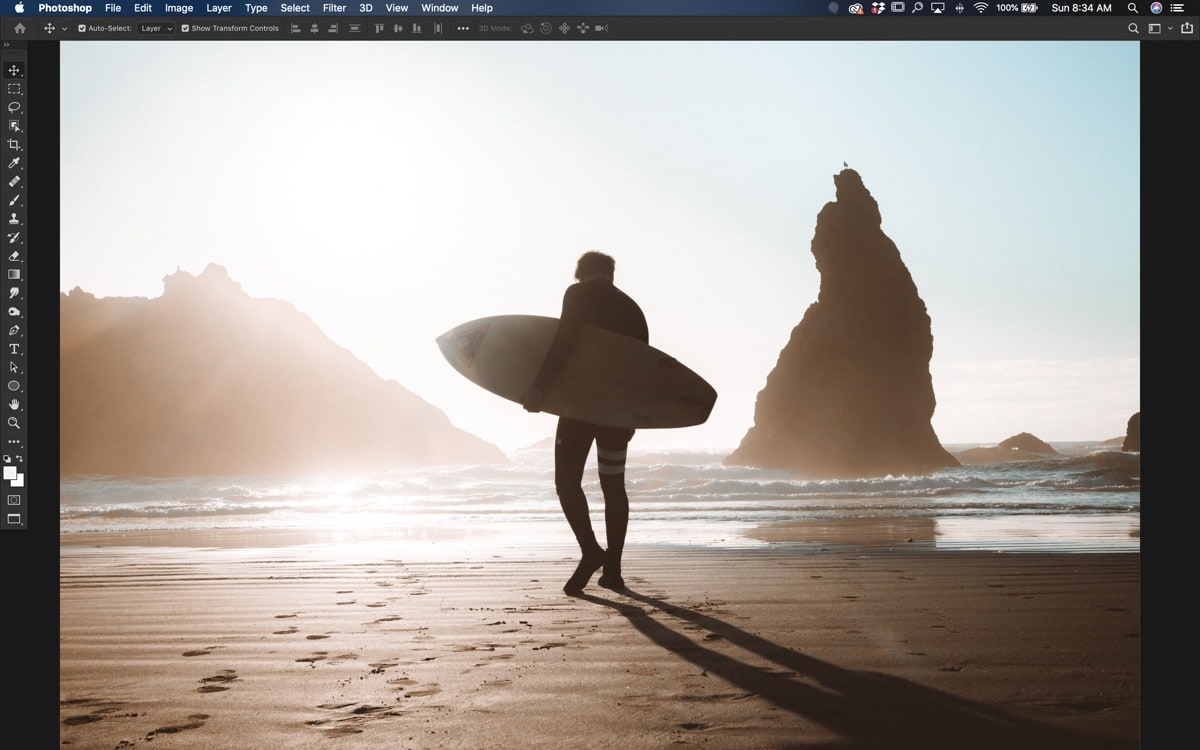
If you want to just hide your adjustment panels but keep your toolbar, hold Shift + Tab. This will hide all your layers and other adjustment panels, giving you a more open workspace. To reopen these panels, press Shift + Tab again to toggle their visibility.
How To Fit Your Image To The Screen
When you’re more zoomed out of an image, it will be hard to see all the details in any screen mode. Rather than zooming in to a better size, there’s another simple shortcut to fit your image to the screen.
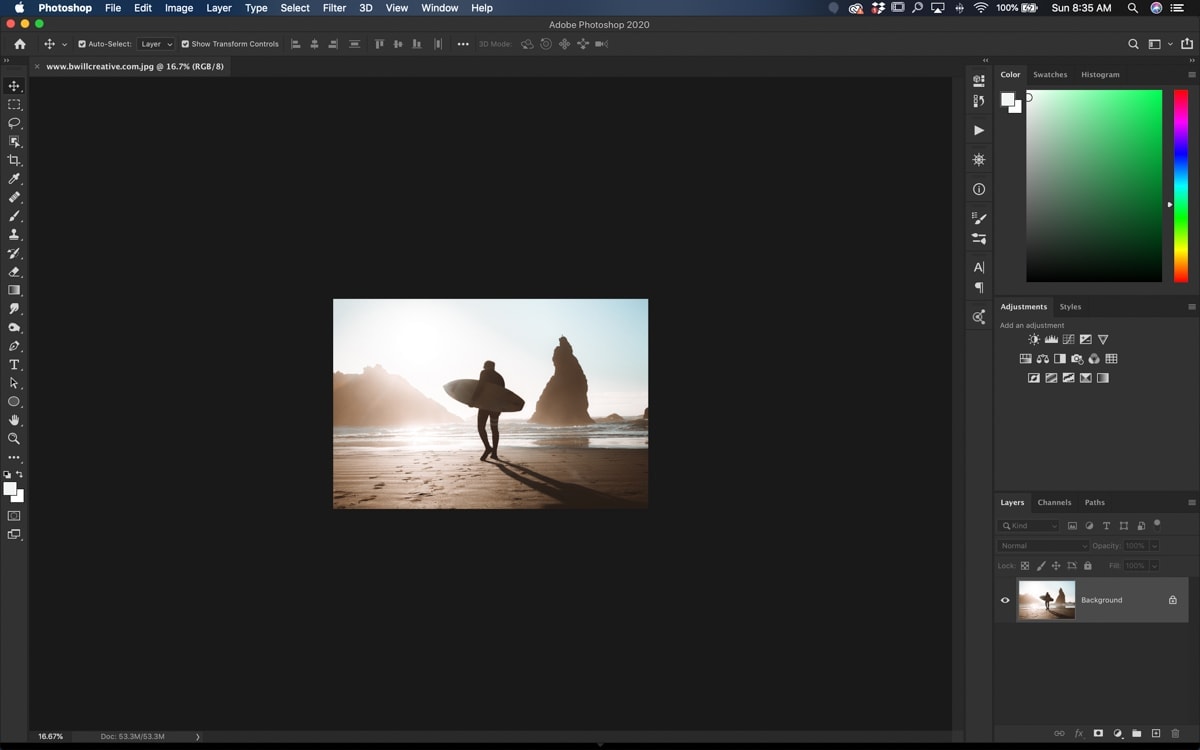
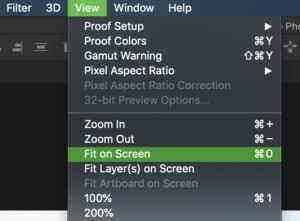
Just press Command + 0 (Mac) or Control + 0 (PC) to fit your image to the screen. The exact size of this will change depending on what screen mode you’re using.
If you prefer to do it manually, just go up to View > Fit On Screen.
Conclusion
Using the different full screen modes in Photoshop can help you to get a better view of your image as you work. Rather than dealing with heaps of distracting panels, you can keep things simple with a distraction-free interface. What screen mode do you prefer to work with?
Want more tutorials like this? Subscribe to our weekly newsletter for more photography and photo editing tips!
Happy editing,
– Brendan 🙂
