

When learning how to use Photoshop for the first time, it can feel like a monumental task. When I first started to learn Photoshop, I felt like I would never get the hang of it. It’s easy to feel overwhelmed with so many different adjustments, settings, tools, and steps to remember. Luckily, there’s an easy way to learn Photoshop, and I want to share exactly how to get there. So let’s start with the basics.
Although there are many things to remember in Photoshop, there is only a handful of essential things for you to know. However, once you have a handle on the different concepts outlined throughout this post, you’ll have a solid foundation to build upon with more task-specific skills in photo editing or graphic design!
How To Create A New Blank Document In Photoshop
Let’s start with creating a blank document. Try to think of this as your blank canvas that you’re about to paint a masterpiece onto. There are two different ways to create a new document in Photoshop.
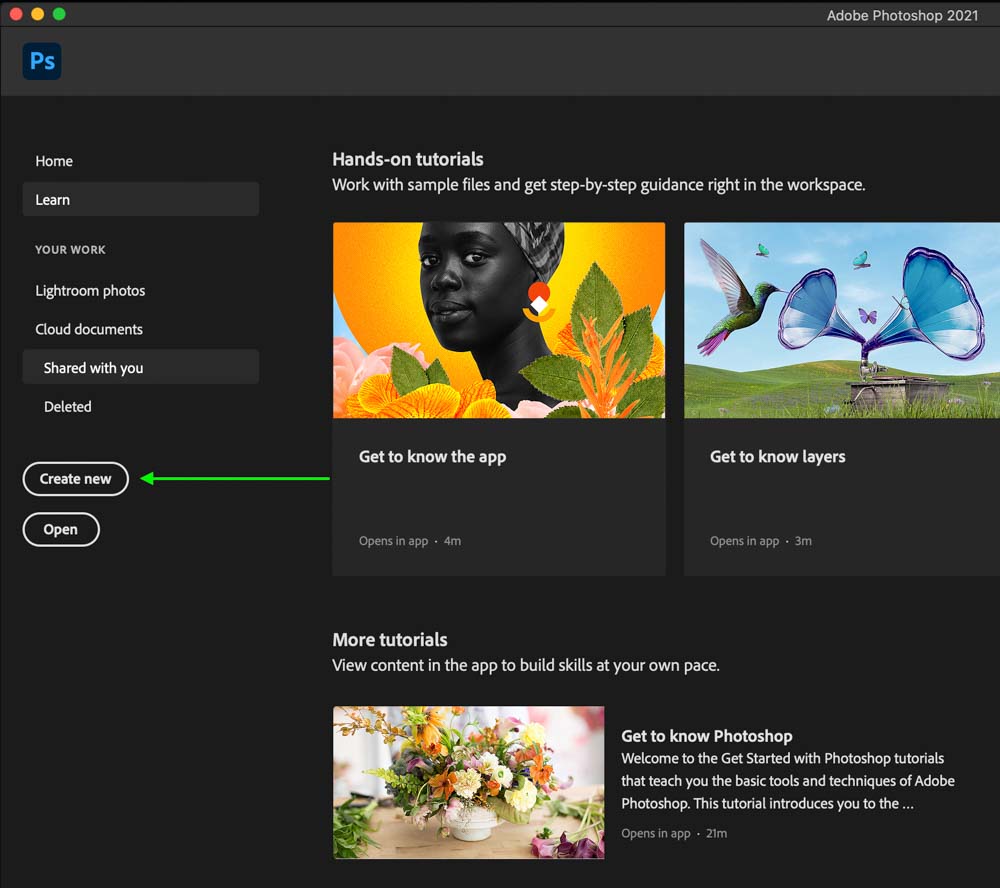
The first option applies if you have just opened Photoshop and are still on the start screen. By clicking on “New Document,” you will open your new document setting window.
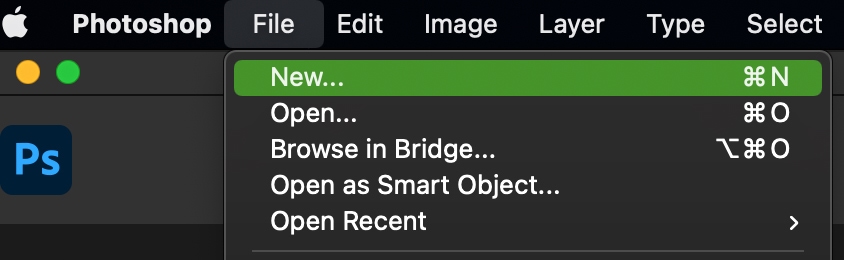
Your second option is to go to the upper menu and select File > New which will open the same new document window.
The new document window may look a bit complicated at first, but it’s quite simple once you break it down. On the left, you will see a variety of document sizes you have recently used, along with a few preset document settings for you to choose from.

Navigating between the tabs in the upper bar allows you to find different preset document options to suit your project.
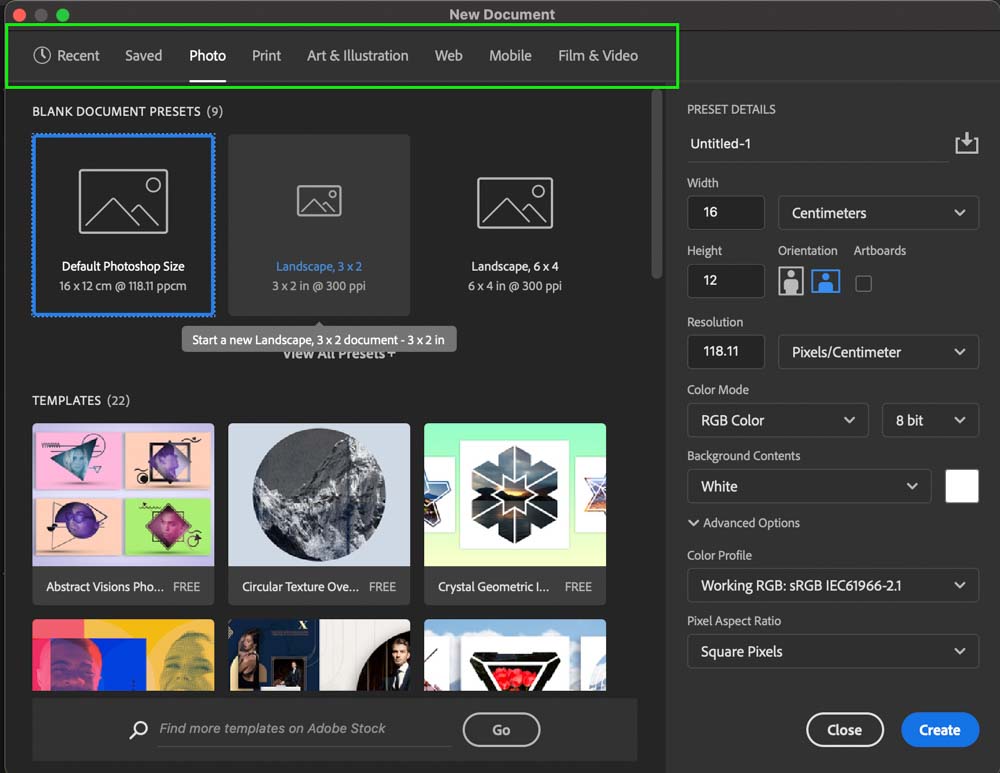
However, you will want to create your own document settings in many cases, which means you need to focus on the document settings options panel on the right. Let’s break down what each of these settings means for your new document.
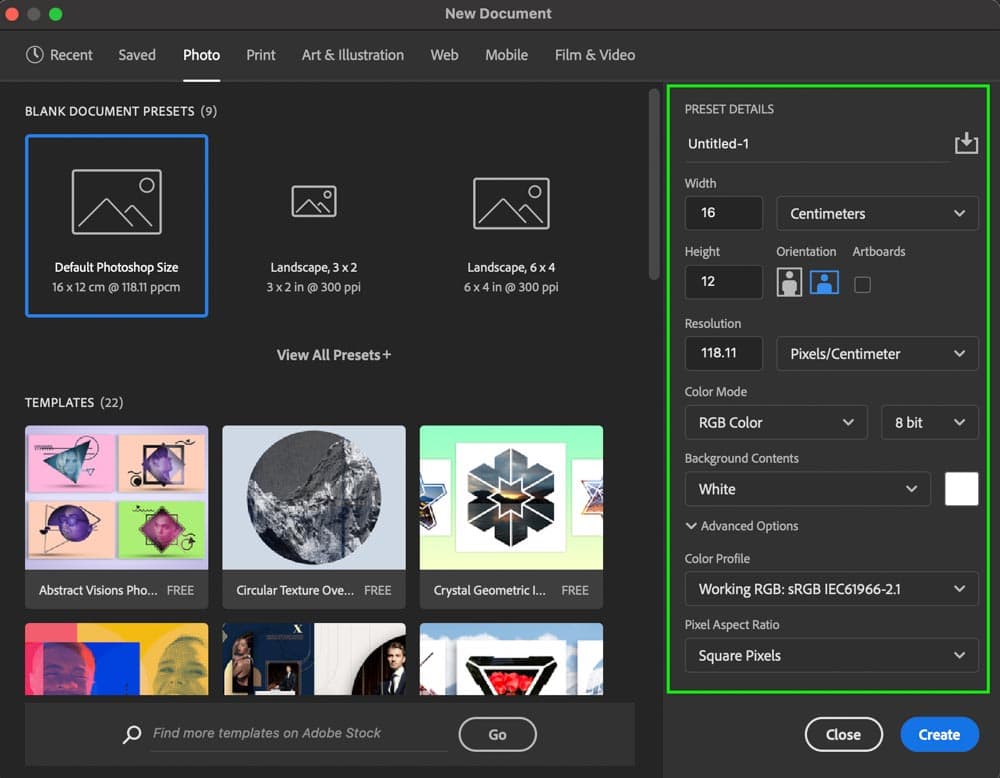
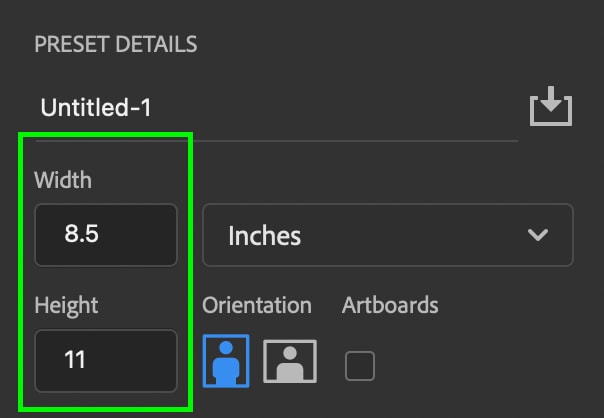
– Width & Height Settings
The width and height control the length of your document both horizontally and vertically.
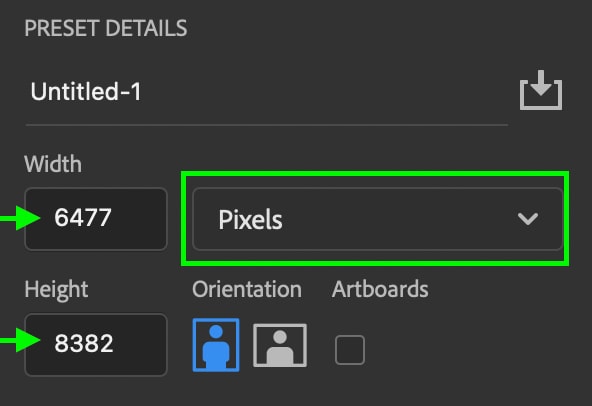
Here you can also control the measurement type for your document by choosing any of the provided measurement options. Pixels will work fine in most cases, but other measurements can work well for a specific project. For example, if you wanted the project to match the size of a standard piece of paper, you could change the measurement to Inches; then add an 8.5 width and an 11 height. Now your project would match a piece of paper exactly.
If you change your measurement type after setting the dimensions (in this case, 8.5×11 inches), the measurement will automatically change to the equivalent of the new measurement type. This is how 8.5×11 inches turned into 3778×4890 pixels. It is the equivalent value in a different measurement.

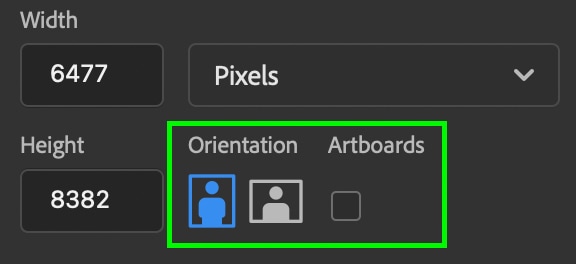
– Orientation Settings
By selecting the horizontal or portrait setting, your dimensions may flip to match the aspect ratio you’re looking for. The orientation that you will apply to your photo is highlighted in blue. If you make a mistake and choose the wrong orientation, there are ways to change the orientation later on.
– Document Resolution
The resolution plays an important role in the overall quality of your project. The higher the resolution, the more pixels per inch (PPI) are displayed in your image. Especially when working with graphics or printing your images, a higher PPI such as 300 is recommended.
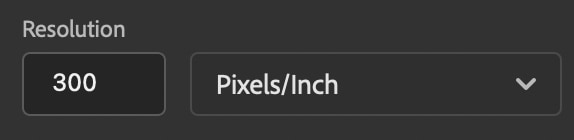
With that said, a higher resolution will increase the size of your Photoshop projects and potentially cause Photoshop to run slower. If you plan to upload your project to the web only, consider a lower resolution between 125PPI and 200PPI.
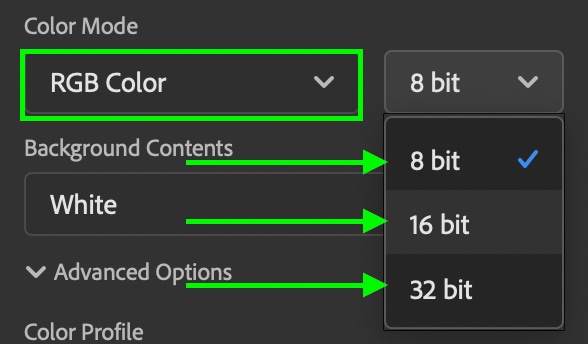
– Color Mode
For 99.9% of your projects, leave the color mode set to RGB Color. RGB color is best for images published online, while CMYK color is best for preparing images for print.
As for the bit rate, a higher bit rate allows for a broader range of exposure and colors in your project. If you are a photographer, a RAW image is usually 16 bit, while a JPEG file is 8 bit for reference. A higher bit rate is best when adding heavy adjustments to a photo or preparing an image for print. If you are unsure what to use, simply leave this set to 8 bit.
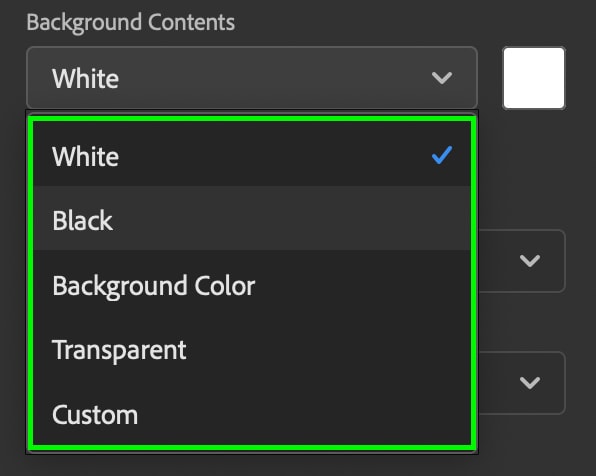
– Background Contents
For every project you create in Photoshop, a background layer is created by default. In the new document window, you can choose the contents of this layer to be a solid color or transparent. In most cases, leaving this set to white will do, but if you want a transparent background, selecting that here will save you some time. Luckily making changes to the background layer is simple once you’re inside the Photoshop workspace.
– Advanced Settings
Lastly, you have the advanced settings, which can be left untouched unless you have a specific reason to change them. You should set the color space to sRGB (Standard Red Green Blue) as it’s the most widely recognized color space across digital devices. That means the colors you see on your computer now will look the same on your phone, your friend’s computer, and any other device, it’s viewed on. In other color spaces, there can be discrepancies in how certain colors are displayed.
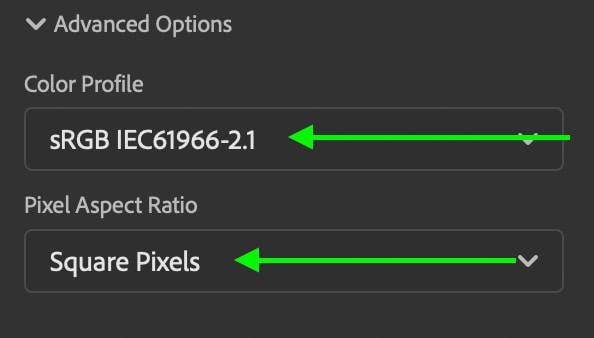
Then with the pixels option, leave this set to square pixels for every project you work with. After 10+ years of using Photoshop, I have never needed to change this.
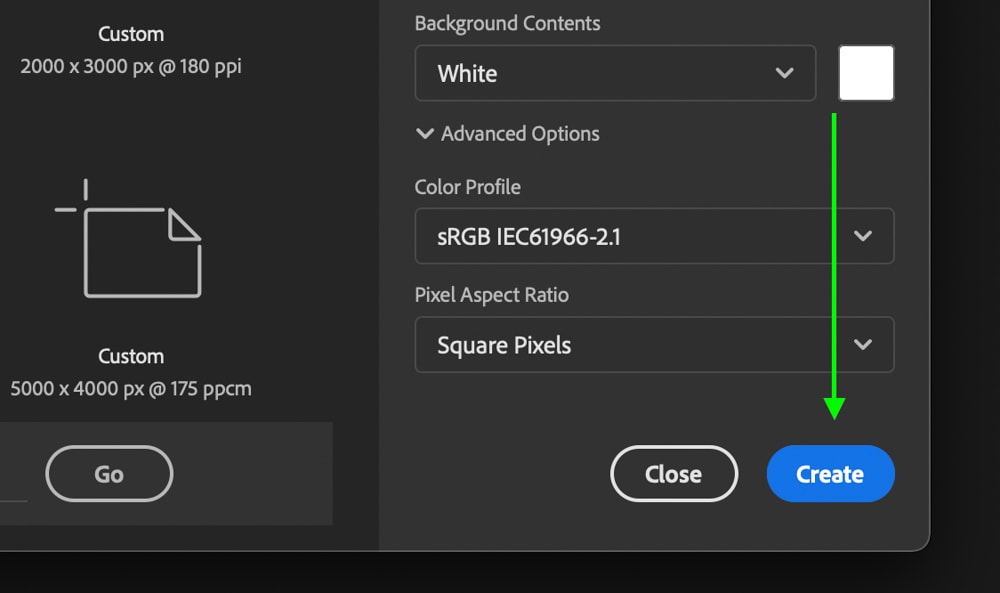
Once all your settings are in order, press “Create” to open your new document into Photoshop!
How To Open An Image In Photoshop
Now you know how to create a brand new blank document, but what if you just want to open a photo? This process is much more straightforward since there are no document settings to mess with. Instead, Photoshop creates a new document based on the specs of your photo.
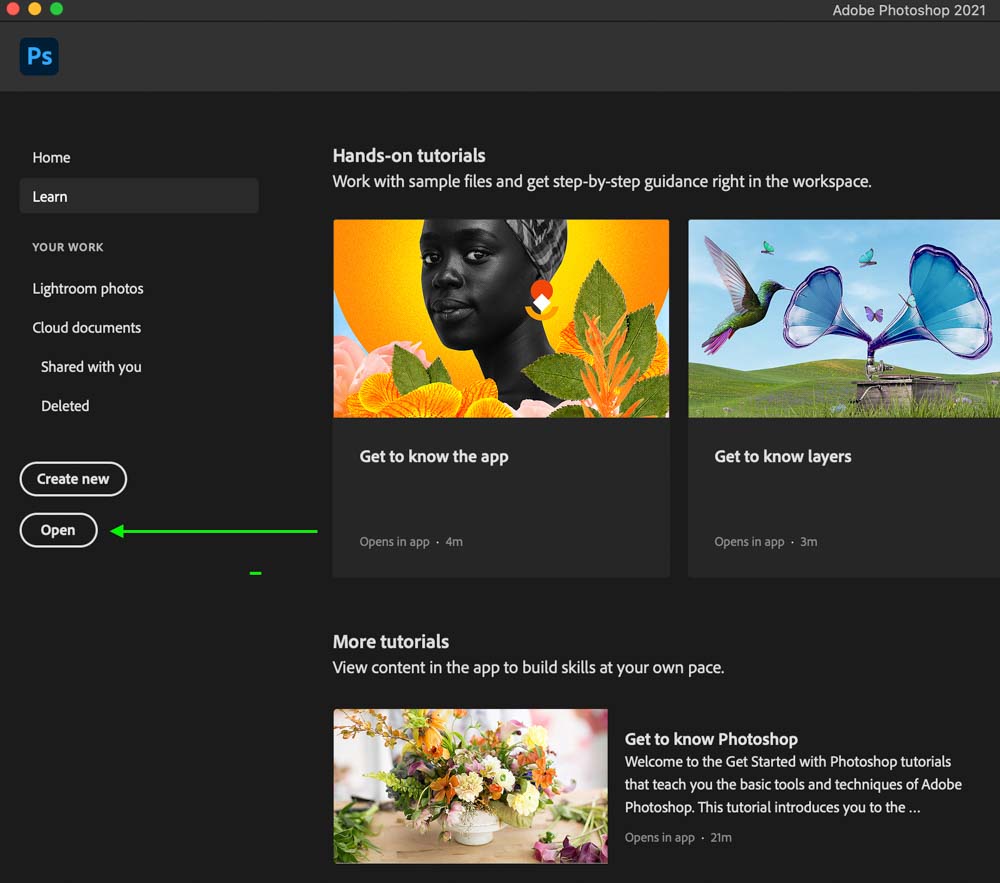
The first way to open an image is by clicking “Open” on the Photoshop start screen. From here, you can select an image from your computer to bring into Photoshop.
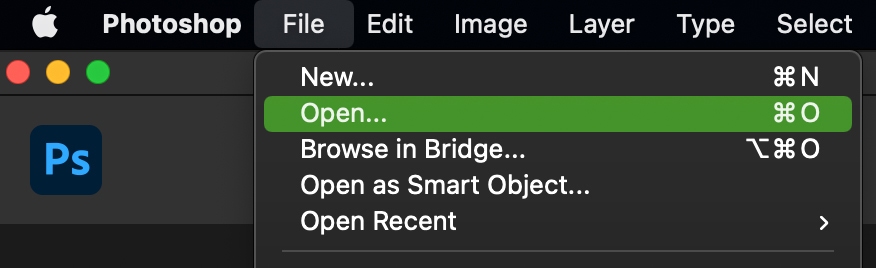
Alternatively, you can press File > Open for the same result.
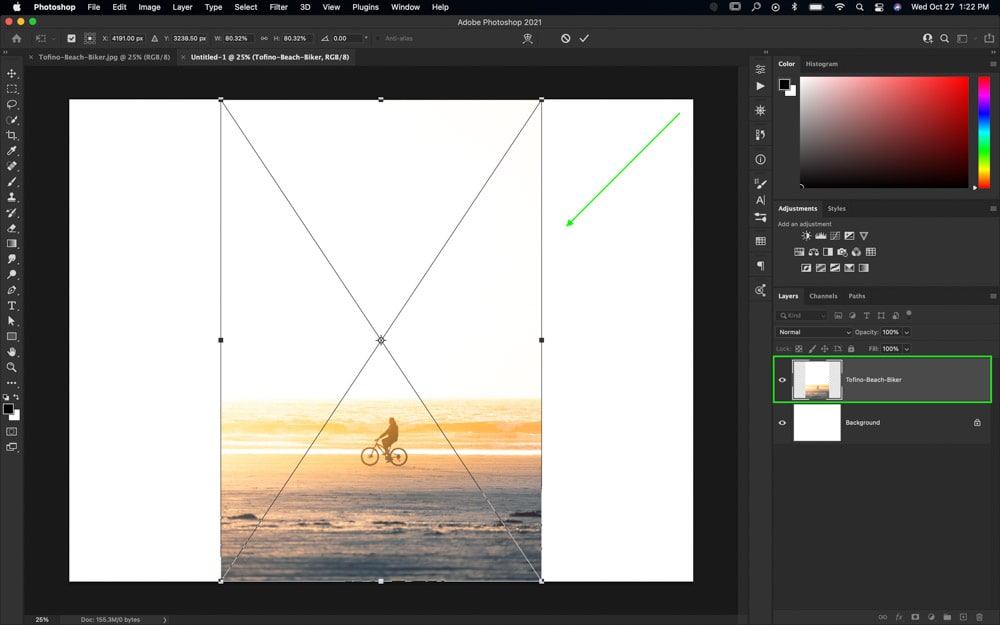
Now, if you already have a new blank document created, you can add an image directly to the canvas quite easily. The fastest way is to drag and drop the photo from your computer onto your canvas. The image will be added to your project as a new layer (more on layers later).
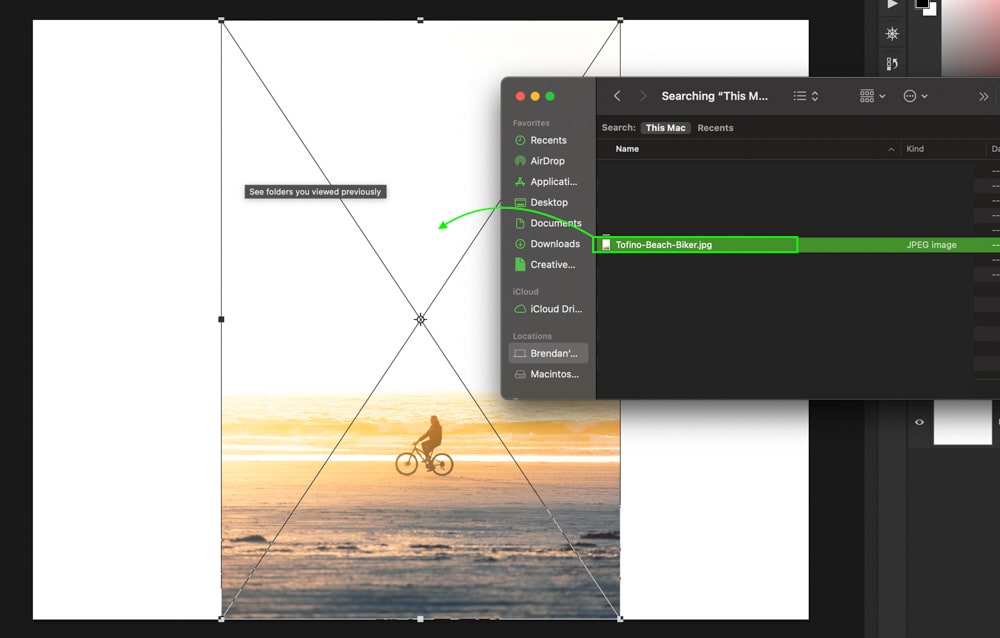
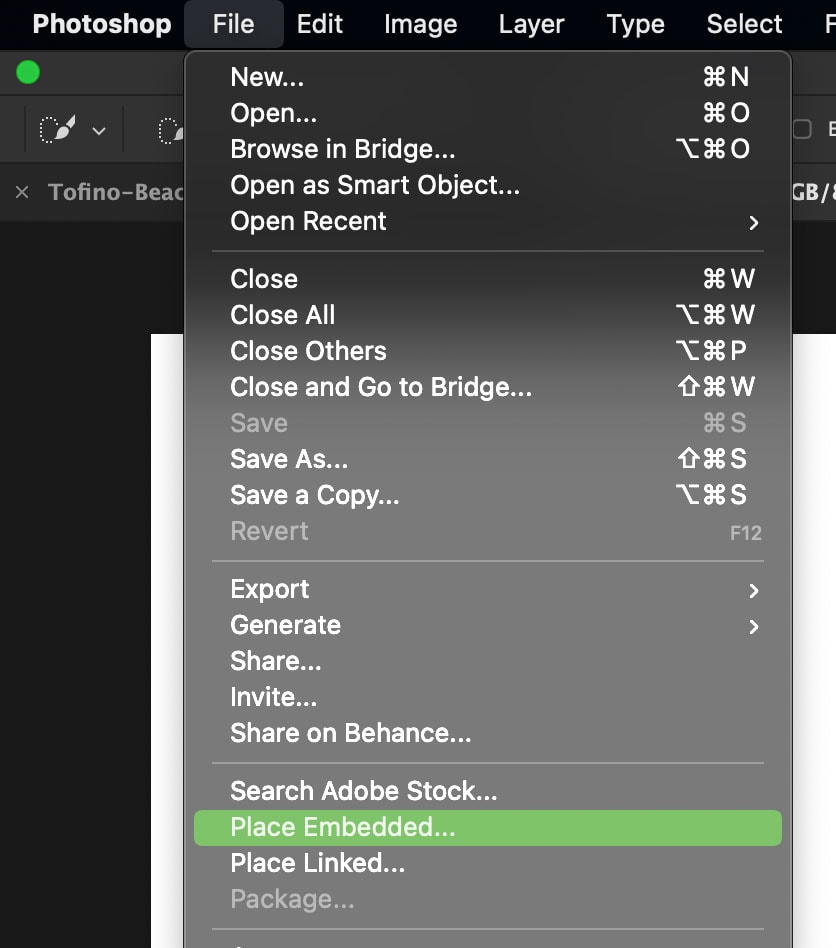
With dragging and dropping images, the size of the photo may not match your document dimensions. To solve this, open your image by pressing File > Place Embedded instead. This will add your image to your document and force it to fit within the dimensions of the project.
Understanding The Photoshop Workspace
Once inside the main Photoshop workspace, this is where all the fun begins. However, as a Photoshop beginner, this can look quite overwhelming. Luckily it’s very straightforward once everything is broken down.
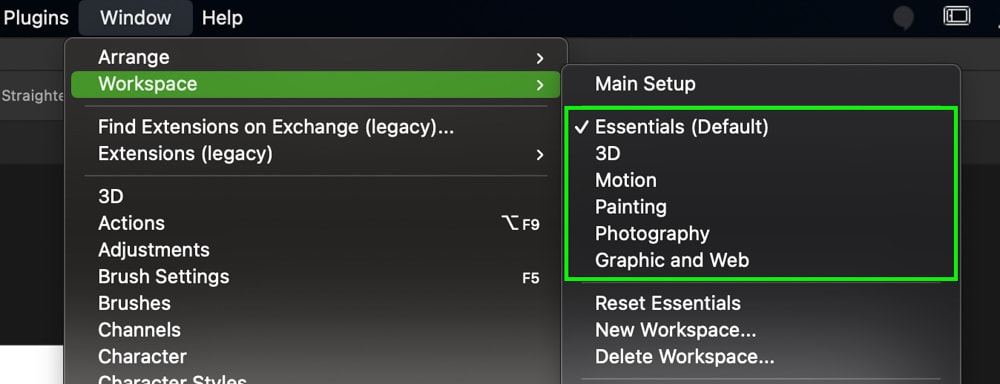
The overall layout of the panels and tools you see in Photoshop is called the workspace. By default, your workspace will be set to what’s known as the “Essentials Workspace,” which offers a general layout for any type of editing.

However, if you want to experiment with other workspace layouts, you can go to Window > Workspace and choose from the provided options.
Regardless of which workspace you use, you can move every panel you see by clicking and dragging it out. By dragging panels out of their standard positions, they will become floating panels that will hover anywhere you wish.
To anchor them back to a certain area, click, drag and hover over the area you want the panel to be placed. Once you see the blue highlight, let go of your mouse to place the panel.
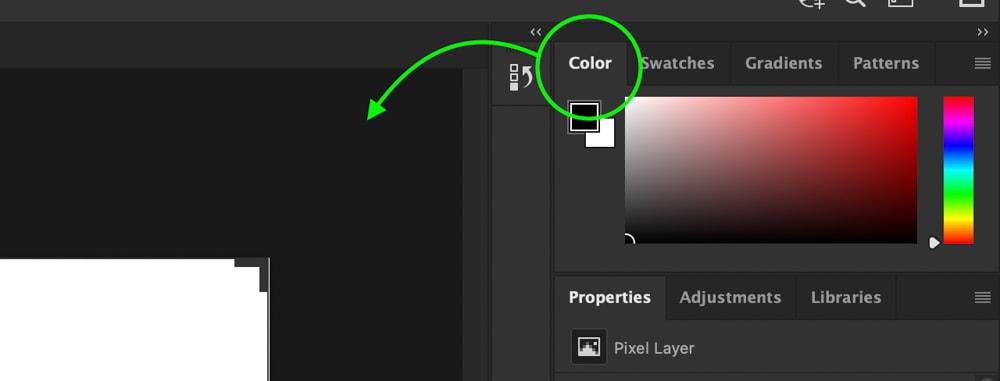
At the top of every panel is a tab with the panels’ names. So, for example, you can see the layers panel has a tab called “Layers.” These tabs and names make identifying panels a lot easier!

If you ever lose a panel and need to get it back, go up to Window and choose the panel you have lost. For example, if you lost the layers panel, you would go to Window > Layers to reveal it again.
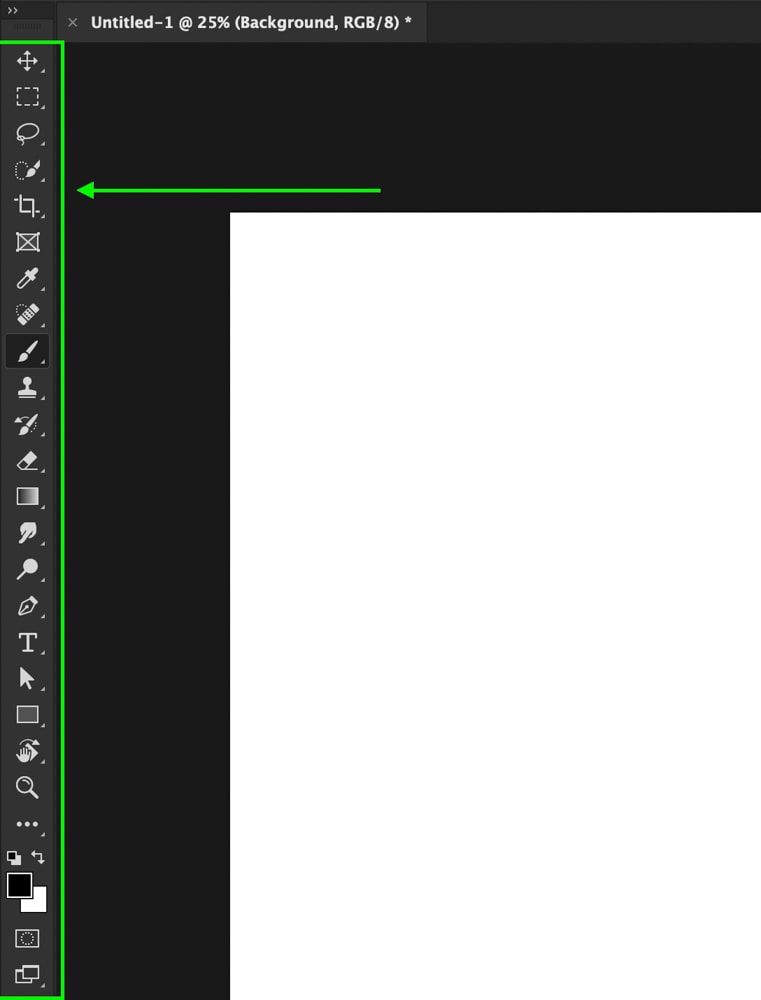
Besides the layers panel, the other two most important parts of your workspace are the toolbar and the upper settings bar. The toolbar is located on the left edge of your screen by default and is home to every tool available in the program. You can click on any tool to activate it or click and hold on tools to reveal additional tool options.
Once a tool is selected, you can adjust all of its settings in the upper settings bar. This will be important to remember when you learn about the most important Photoshop tools for beginners later in this tutorial!

Navigating Your Documents & Images
Besides knowing where your different panels and tools are located, learning how to zoom in and navigate around your document is quite important too. To zoom into your canvas, press Command + (Mac) or Control + (PC).
Once zoomed in, you can move around your document by holding the space bar and clicking and dragging to reposition your canvas.
Lastly, to zoom out, press Command – (Mac) or Control – (PC). Alternatively, you can press Command + 0 (Mac) or Control + 0 (PC) to fit your canvas to your screen in one click, regardless of how zoomed in you were.
How To Use Layers In Photoshop
With the basics of creating new documents and understanding your workspace out of the way, the next most important thing for beginners to learn in Photoshop is layers. Layers are the bread and butter of the program that allows you to create complex adjustments and get more creative with your projects.
In a nutshell, every adjustment in your project is added to individual layers. These layers can be moved and adjusted independently in the layers panel but appear as one on your canvas.
Think of layers like looking at a window. From the side, a window is made up of multiple layers of glass that work together to create the entire window. However, when you look straight through these layers of glass, it all appears as a single piece. Layers work the same way in your project, all working together to create the final result visible on the canvas.
Types Of Layers In Photoshop
In Photoshop, there are a few different types of layers that you will work with; let’s break down what each of them is:
1. Transparent Layers
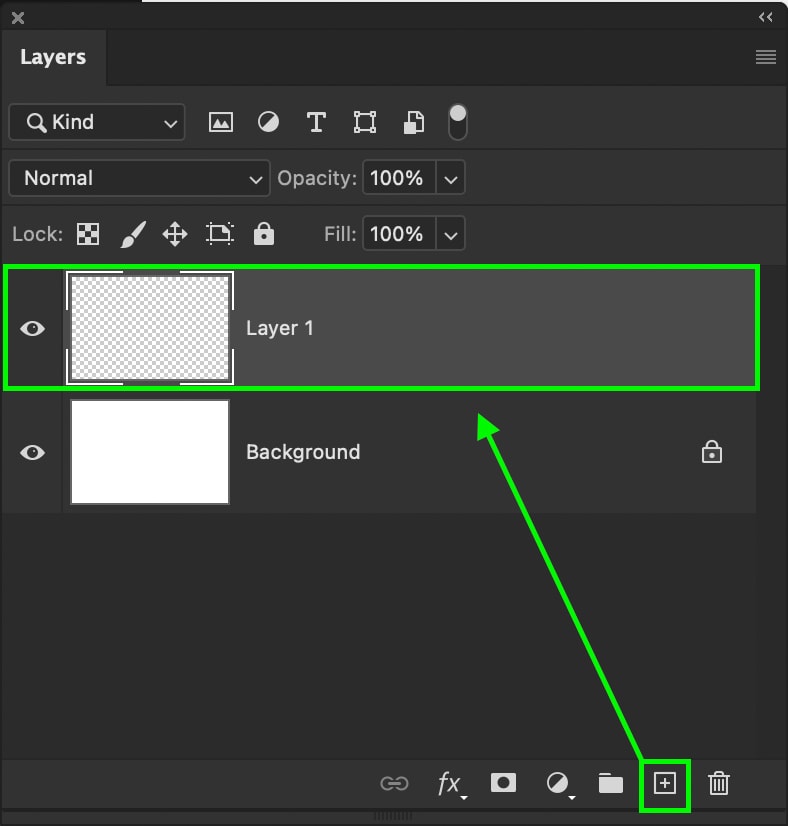
A transparent layer is a layer with no fill contents. Think of these as a blank canvas to add anything you want to. A transparent layer can be created by clicking on the new layer icon at the bottom of the Layers panel. You can tell it is transparent because the layer thumbnail shows the grey and white checkerboard. This indicates transparency.
2. Adjustment Layers
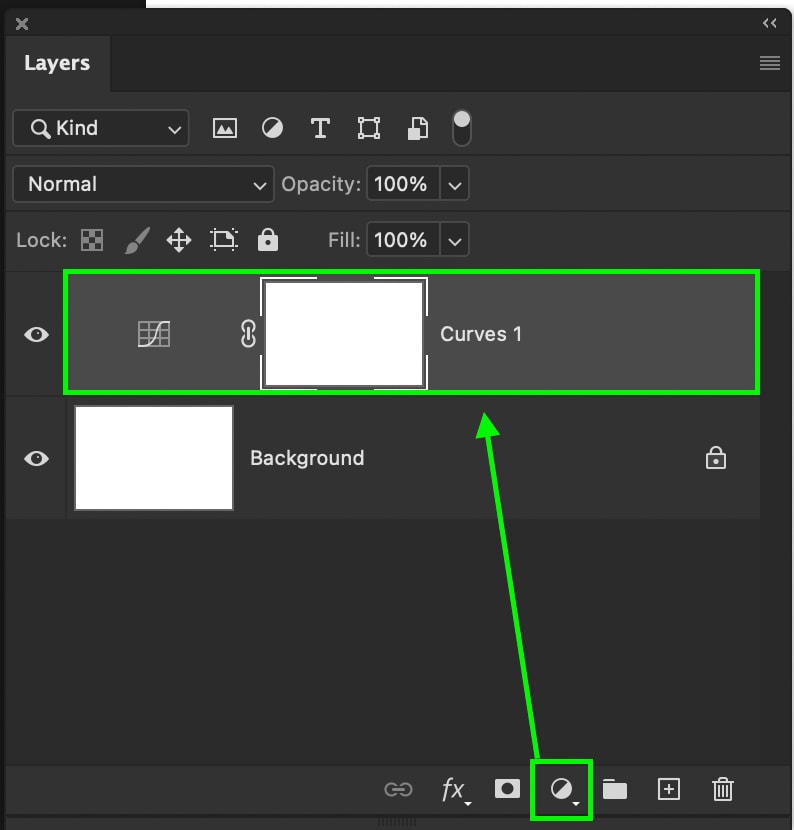
Whether you want to edit the exposure or color of a layer, adjustment layers are the best tools for the job. There are many different types of adjustment layers in Photoshop. Some that edit color, some that edit contrast, along with any other editing adjustment you need. They can be created by clicking on an adjustment within the Adjustment Panel or selecting the new adjustment layer option at the bottom of the Layer panel.
I’ll dive into how to use these types of layers later in this post!
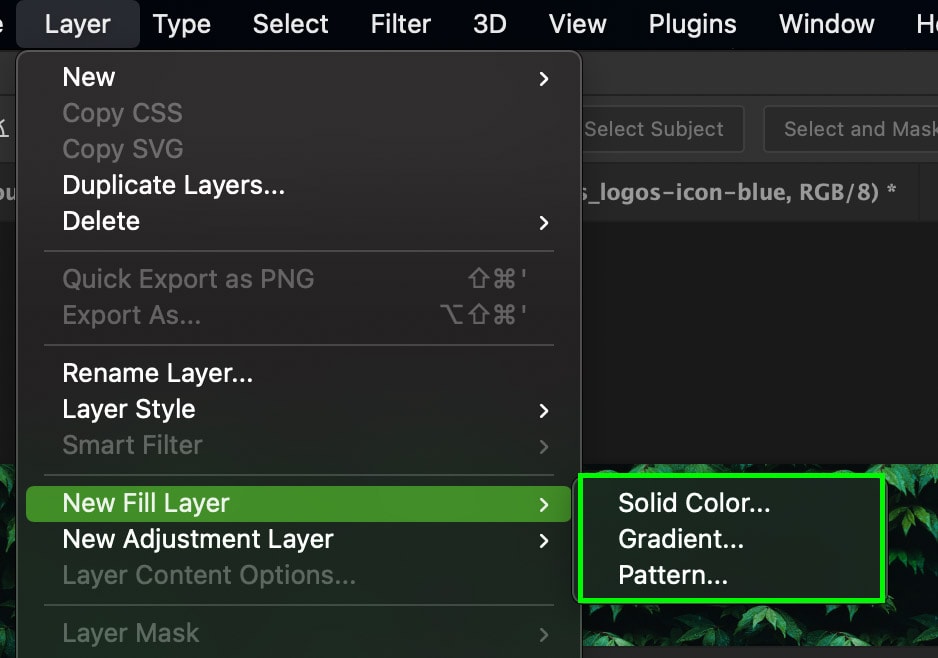
3. Fill Layers
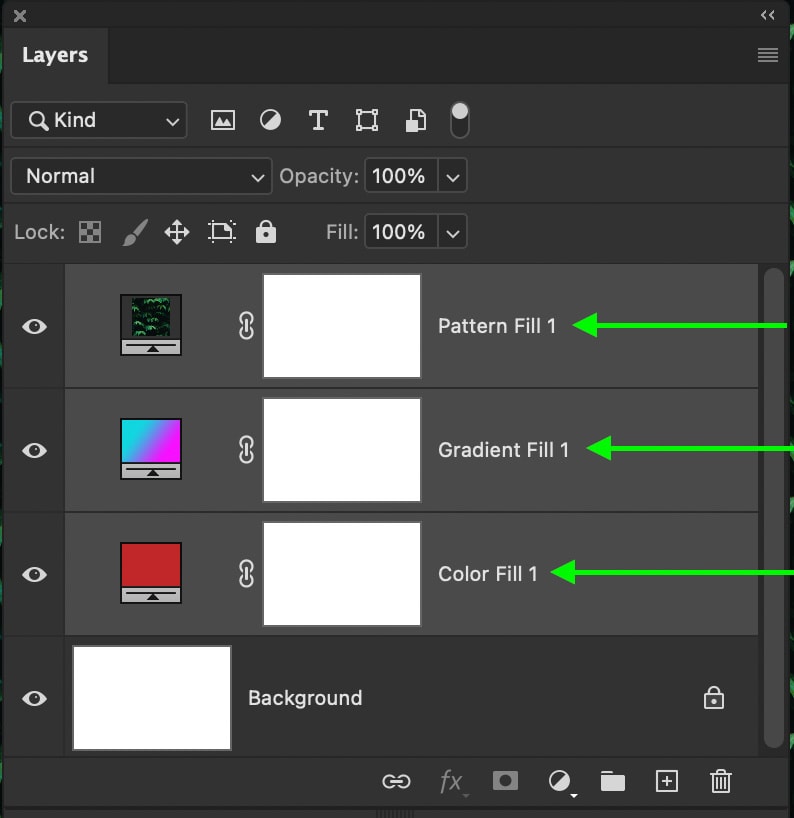
Fill layers create a new layer filled with either a solid color, a gradient, or a pattern. New fill layers work well to add a general background color or colors into a certain shape or selection.
You can create these three fill layer types by going to Layer > New Fill Layer and selecting your desired layer type.
4. Smart Objects
A smart object acts as a “container” that holds other regular layers inside. Thus, they are very useful for scaling your images without losing quality or combining a related group of layers non-destructively.
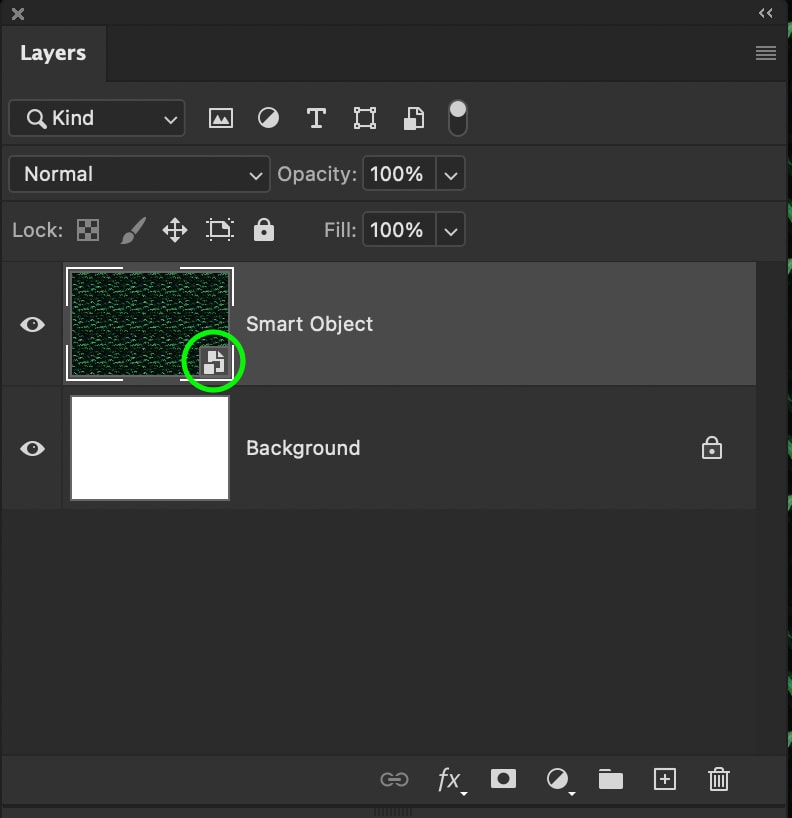
For example, if you replaced the sky in your photo, combining any relative layers into a smart object could help streamline your Layers Panel. I talk about the uses of smart objects in another post, but for now, you just need to know the basic premise of this layer type.
5. Text Layers
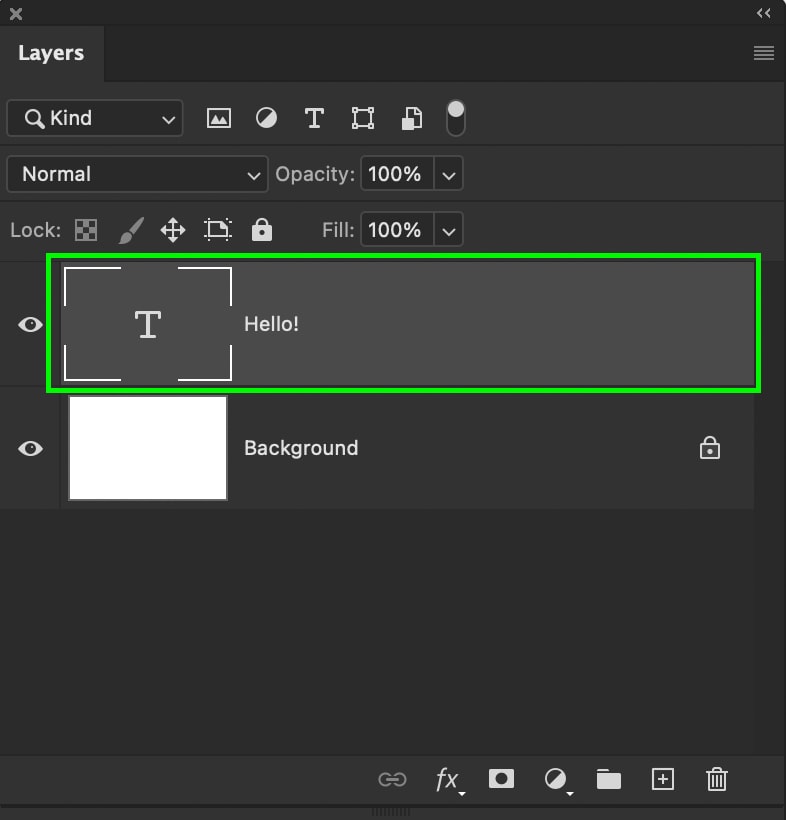
A text layer is created for each piece of text added to your project with the Type Tool. By selecting these layers, you can edit the attributes of your text and reposition it with the Move Tool.
6. Shape Layers
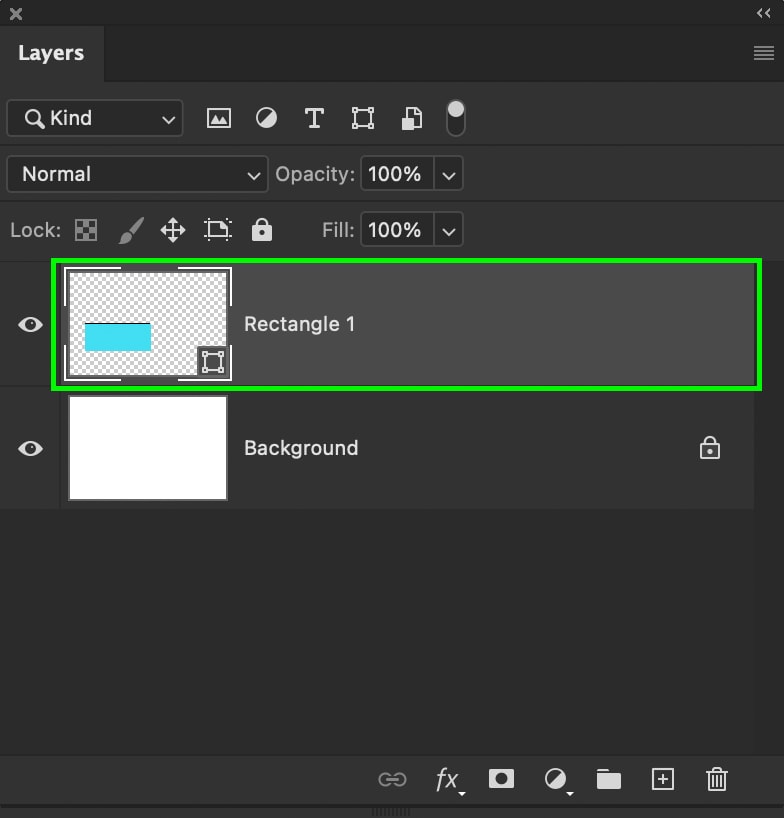
Shape layers are made each time you create a new shape with the Shape Tool. Shape layers allow you to easily control the fill and stroke colors of your shape and offer quick adjustments to the look of your shape compared to a rasterized layer.
The Different Ways To Organize Your Layers
In many Photoshop projects, you will have dozens or even hundreds of layers on the go. This can get quite chaotic and hard to manage if you don’t organize your layers properly. Luckily there are a few simple ways to keep your layers organized and easy to locate at any time.
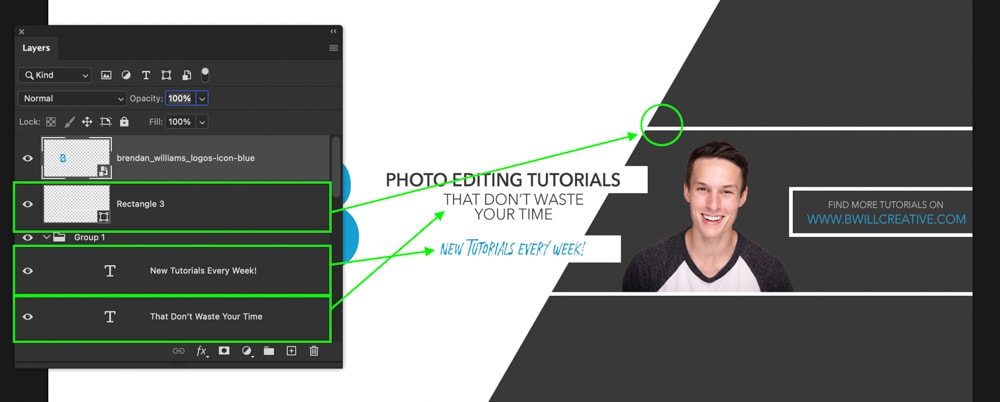
1. Grouping Layers
A group acts as a folder that contains multiple different layers. Typically these can be used when you have more than one layer editing the same part of your image. For example, you could group all the layers related to cutting out a subject from the background.
To create a group, press Command (Mac) or Control (PC) and click on the layers you want to group. Then, with the layers highlighted, press Command + G (Mac) or Control + G (PC) to create a new group.
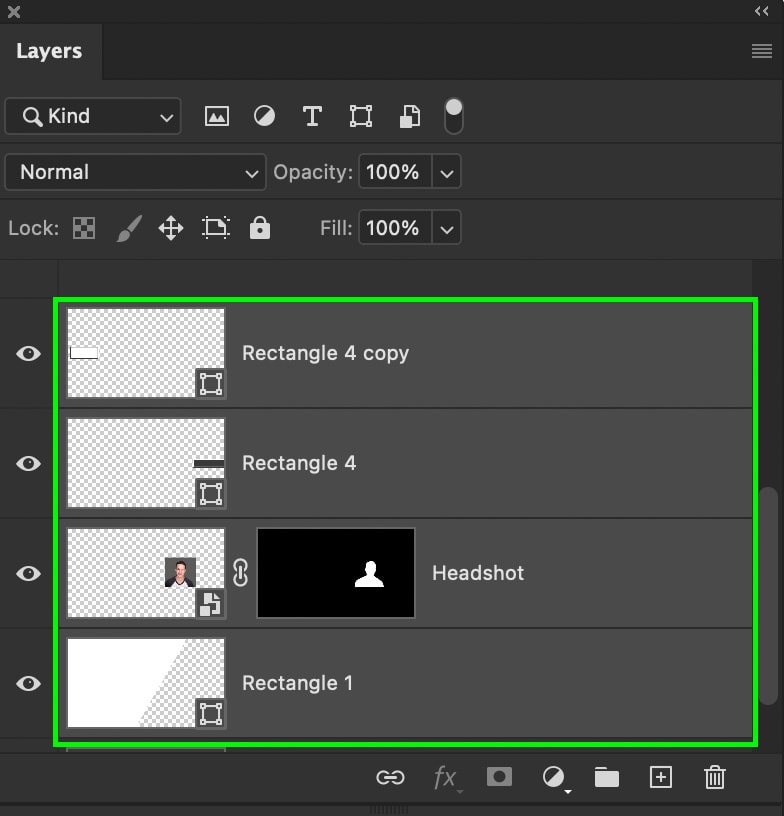
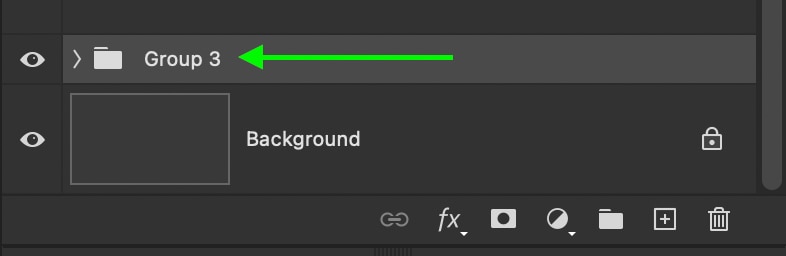
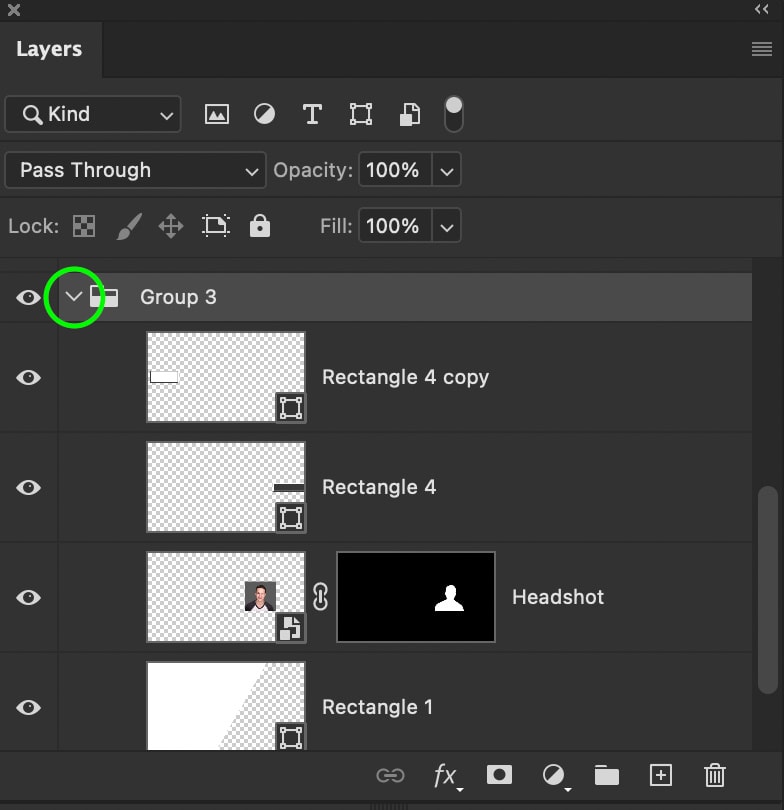
You can then view all the layers within your group by clicking on the arrow icon beside the folder.
2. Renaming Layers
Another great option for staying organized is to rename your layers. By double-clicking on the layer title, you can then rename it. This is very similar to renaming a file on your computer.
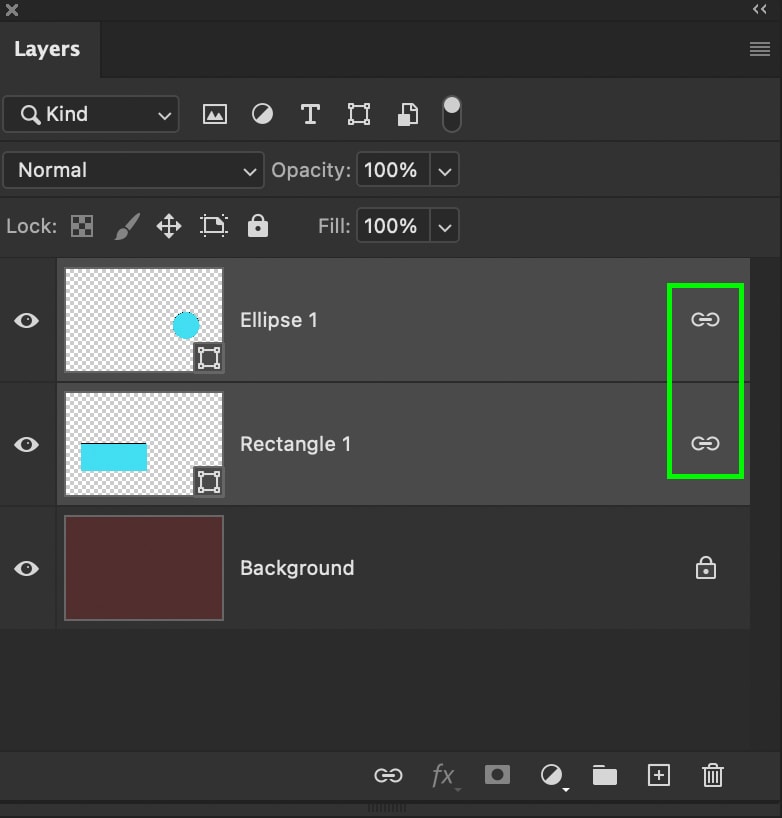
3. Linking Layers
The final way to organize your layers is to link related layers. Linked layers are a bit different than grouping layers because they do not consolidate into a folder. Instead, they appear as normal individual layers. However, when you adjust the size or positioning of one linked layer, the same adjustment will apply to all the other linked layers.
To link two or more layers together, hold Command (Mac) or Control (PC) and click on the layers you want to link. Then press the link icon at the bottom of the Layers panel to link them.

To learn more about the uses of linked layers, click here.
How To Use Layer Masks In Photoshop
Layer masks are crucial for editing non-destructively and applying selective adjustments to your Photoshop projects. Layer masks can be added to any layer in Photoshop but are added by default to all adjustment and fill layers. You can click the layer mask icon with your desired layer selected to add a layer mask to a transparent layer, text layer, or shape layer.
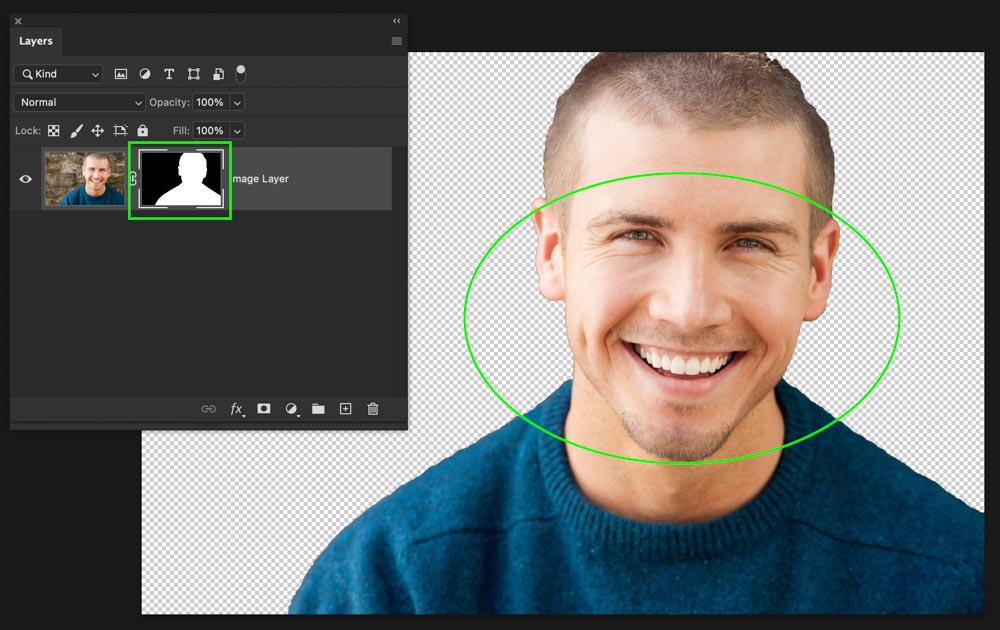
By default, your layer masks will be a white box beside your layer thumbnail. This may not seem significant at first, but the color of your layer mask is key to knowing where and how your layer is being shown in your project.
Layer masks are used to hide or reveal certain parts of a layer. You can use them for basic edits like applying a brightening adjustment to a localized area or more advanced adjustments like removing the background from a photo.
This works by painting white, grey, or black onto the mask (with the Brush Tool) to hide or reveal parts of your layer. In the world of layer masks, white is 100% visible, black is 100% transparent, and the varying shades of grey represent varying levels of transparency. So, for example, painting 50% grey would make the layer 50% visible in those areas.
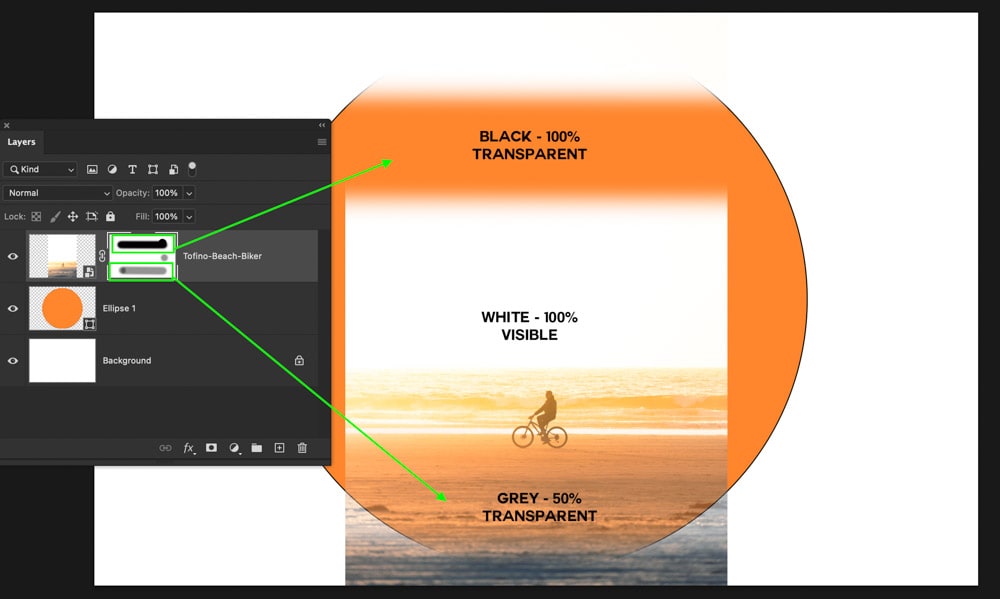
That also means when you see a fully white layer mask, that means the entire layer is visible.
If you have a fully black layer mask, it means the entire layer is transparent.
But then, if you have a white mask with some black sections, certain parts of the layer would be visible while other areas are transparent (represented by the black).
Now you might be thinking this is like deleting part of your layer, and you’d be right…kind of. Unlike deleting or erasing parts of a layer, a layer mask never truly gets rid of the layer’s contents. Instead, it is hidden from view. This means if you need to add or remove more parts of a layer, you can easily do so with a layer mask. If you erased a part of your layer, that pixel information is gone for good.
How To Edit A Layer Mask In Photoshop
The same steps will apply to any type of layer mask you work with. If your layer has yet to have a layer mask applied, select the layer and then press the layer mask icon to create a new mask.
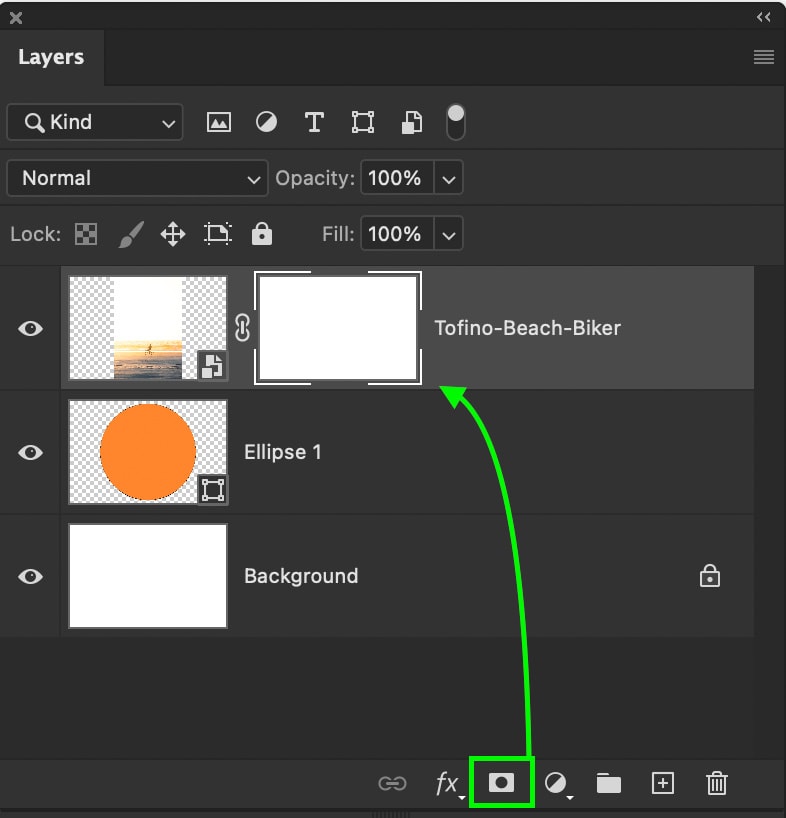
Once a mask is created, make sure it is selected by clicking on it. A selected layer mask will have a white outline around it in the Layers panel.
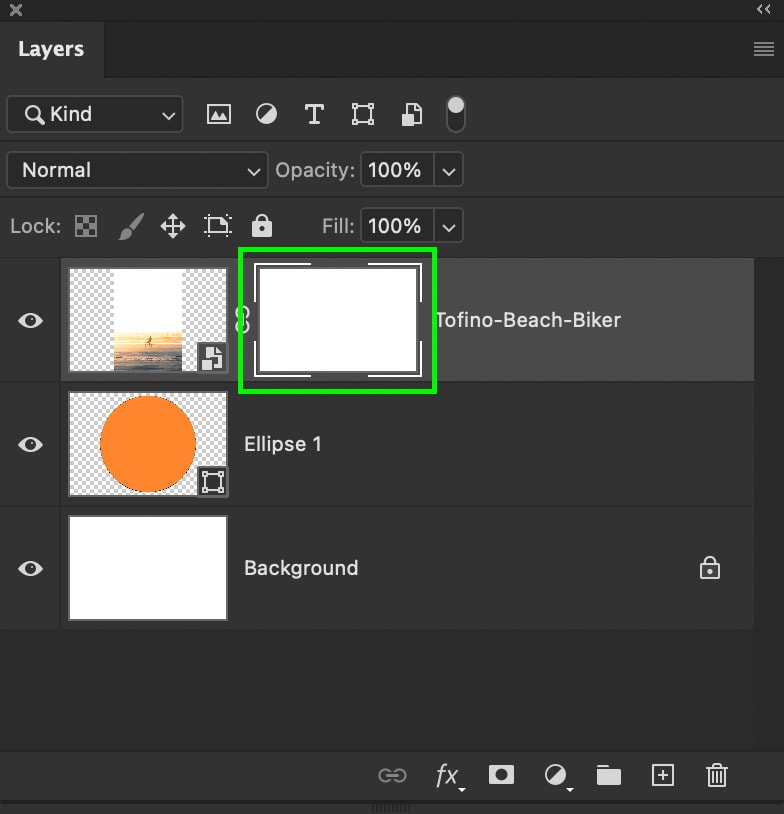
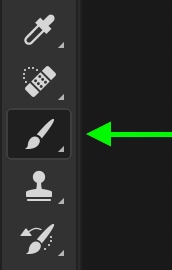
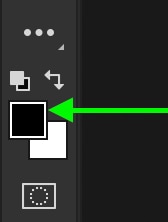
Since this layer mask is white (100% visible), I want to paint black to hide parts of this layer. To do this, select your Brush Tool by pressing B and then setting your foreground color to black at the bottom of your toolbar.
With the brush settings in order, begin to paint on your canvas to hide parts of your selected layer. Notice how the areas you paint over will become transparent.
If you decide that you want to add something back from your layer, switch your foreground color to white and paint over any transparent areas of the layer. Now those areas will become visible once again!
There are many reasons why you would want to use a layer mask, but I share 8 of their most important uses here.
5 Important Tools In Photoshop For Beginners
Although there are dozens of tools available in Photoshop, that’s a little overwhelming to digest all at once. So instead, let’s focus on the most important tools for beginner Photoshop users.
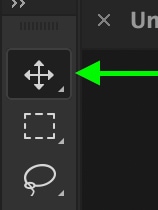
1. The Move Tool
As the name suggests, the Move Tool allows you to reposition images and layers in Photoshop. You can access this tool at the top of the toolbar or by pressing V on your keyboard.
With the Move Tool active, click on any layer in the Layers Panel to select it. A box will appear around your selected layer called the transform box, which indicates the Move Tool is active.
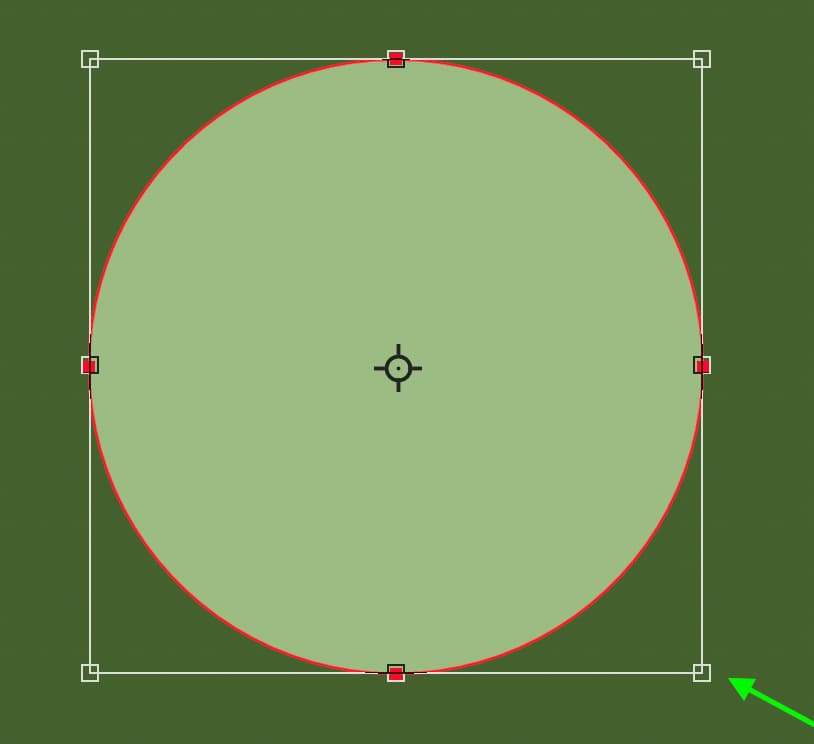
To reposition your layer, click in the middle of the transform box and drag your cursor to move the layer.
If you want to scale your layer up or down, you can click and drag it out on any of the anchor points on the edge of the transform box.
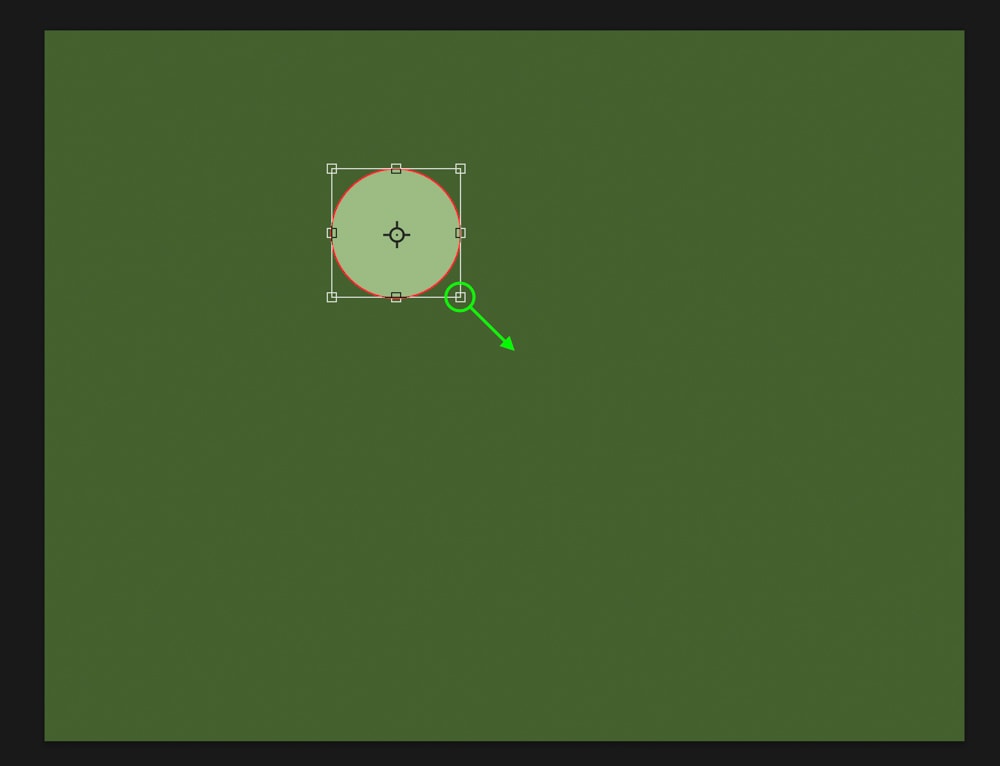
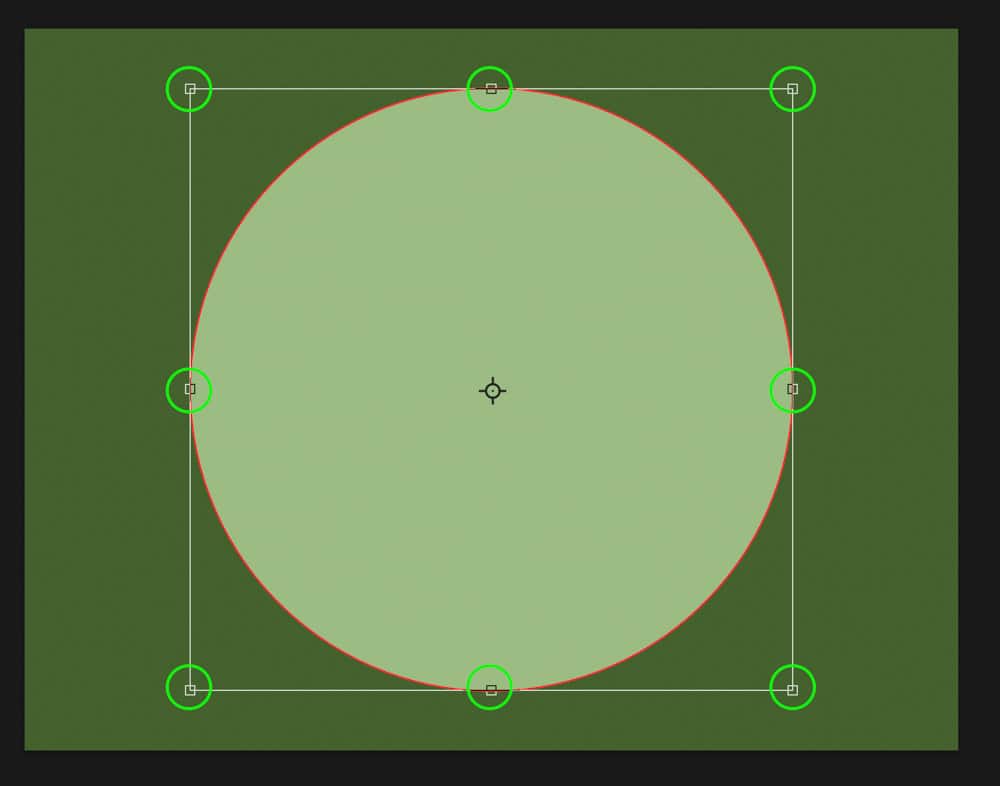
In some cases, the transform box may not appear even after your layer is selected. To fix this, go to the upper settings bar and check off the “Show Transform Controls” option.

The Move Tool is very easy to use, but it’s one that you will constantly use in your projects. If you need to move or resize any layer in Photoshop, the Move Tool is the fastest way to do it!
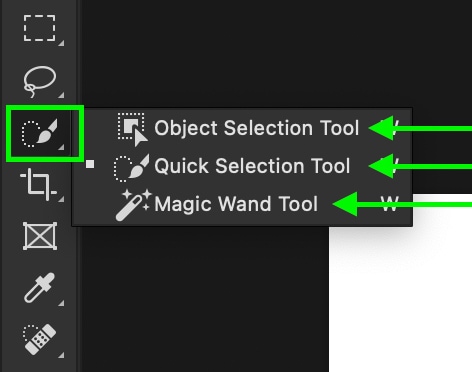
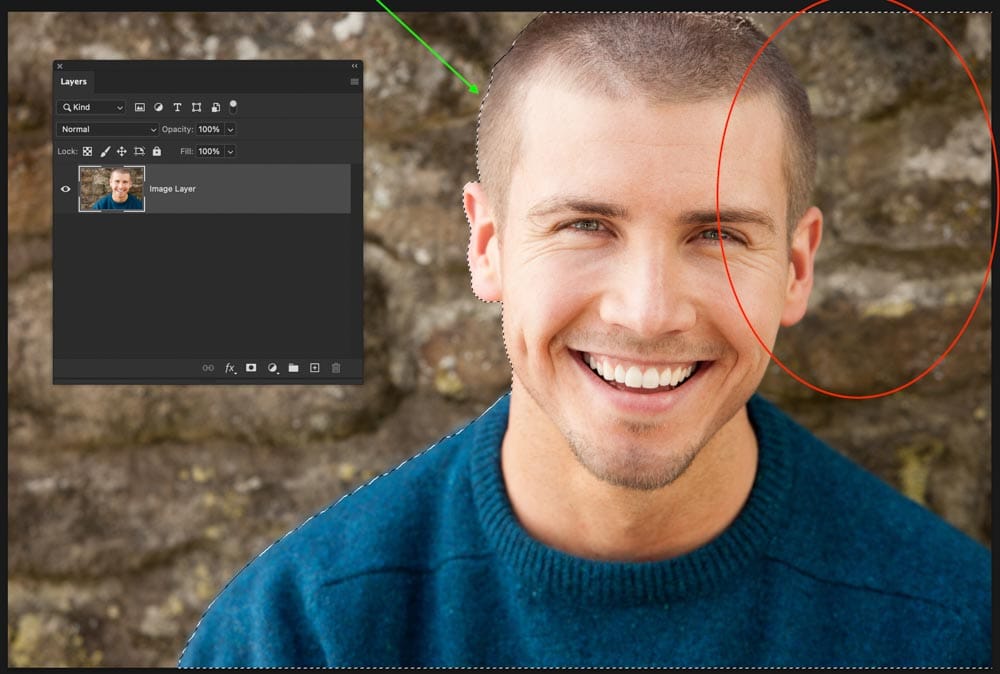
2. The Quick Selection Tool
The Quick Selection Tool is great for creating easy selections around people, objects, or shapes in your photos. You can then use these selections to remove backgrounds or apply selective adjustments to your project. Although there are many selection tools in Photoshop, the Quick Selection is one of the most beginner-friendly.
To access this tool, press W on your keyboard or locate it in your toolbar.
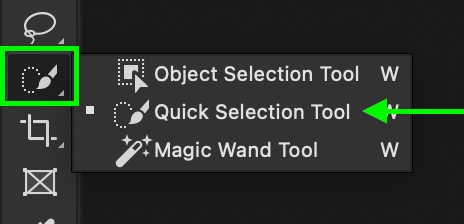
Then in the upper settings bar, make sure the “add to selection” option is chosen.
You can also choose whether you want to base your selection on only your selected layer or all the layers in your project. If you check off the “sample all layers” option, the tool will look for edges across all the layers in your project rather than your one selected layer.

To create your selection, click and drag around the object you want to select. The Quick Selection Tool will automatically locate and snap to the edge it thinks you’re trying to select. The selection you create is represented by something called “marching ants,” aka the black and white lines that appear as you create a selection.
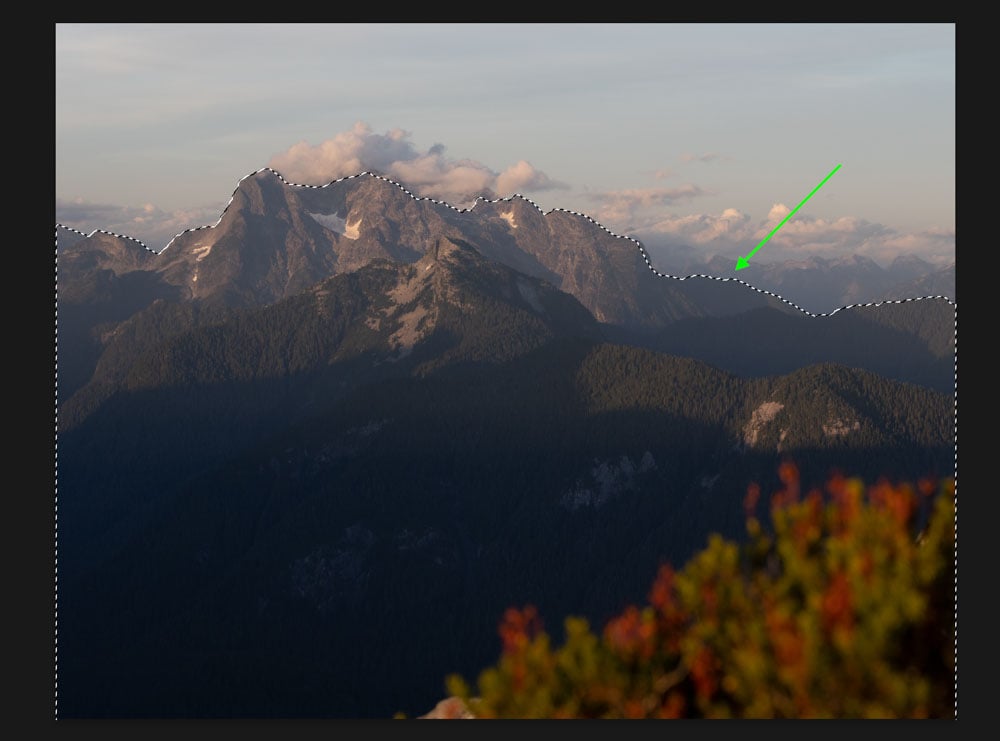
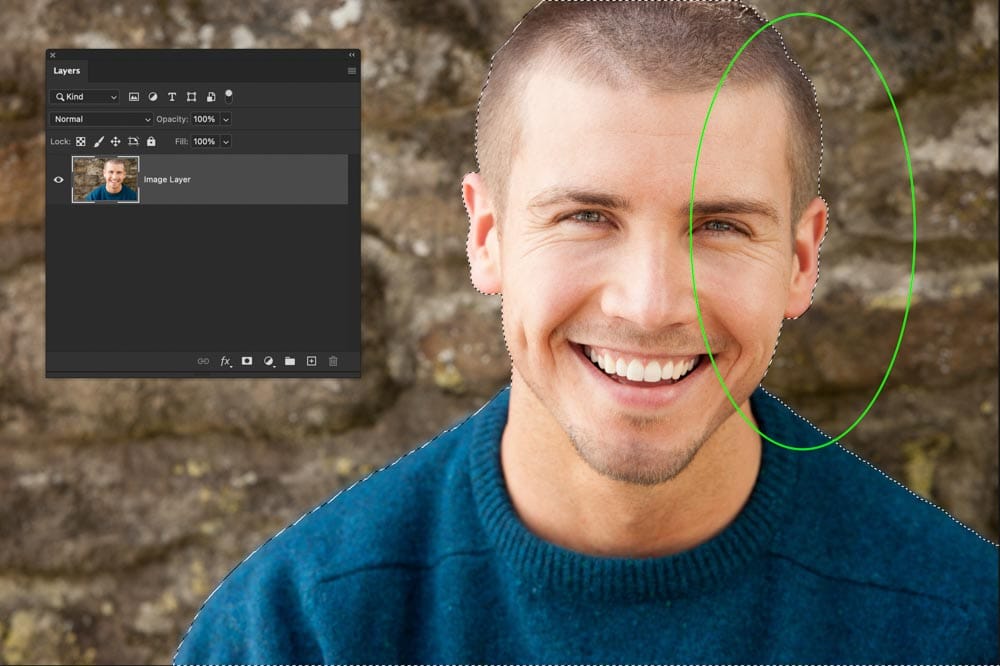
In some cases, it may select something that you didn’t want. By holding the Alt (PC) or Option (Mac) key, you can subtract from the selection to get it back to the correct location.
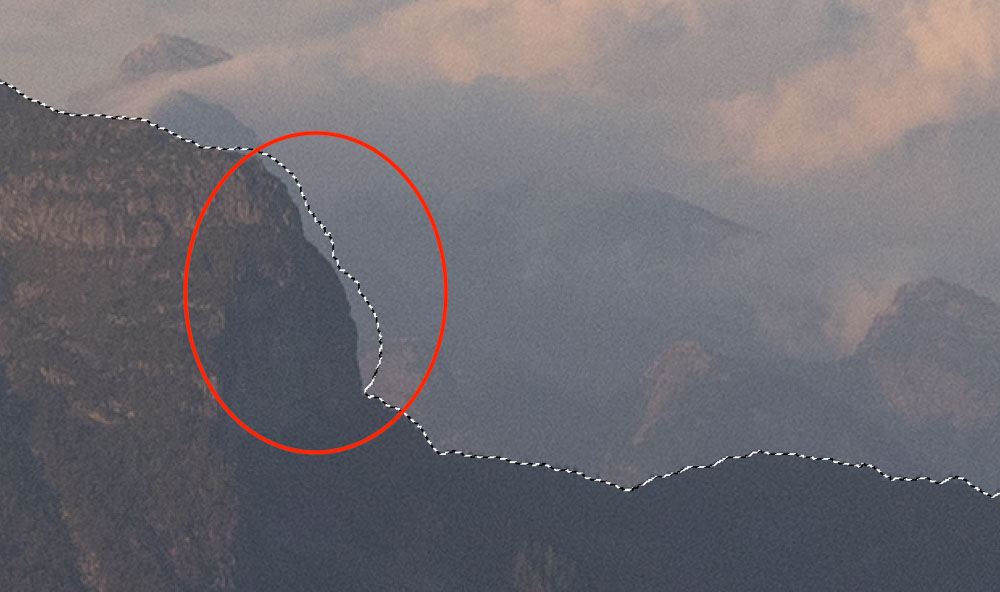
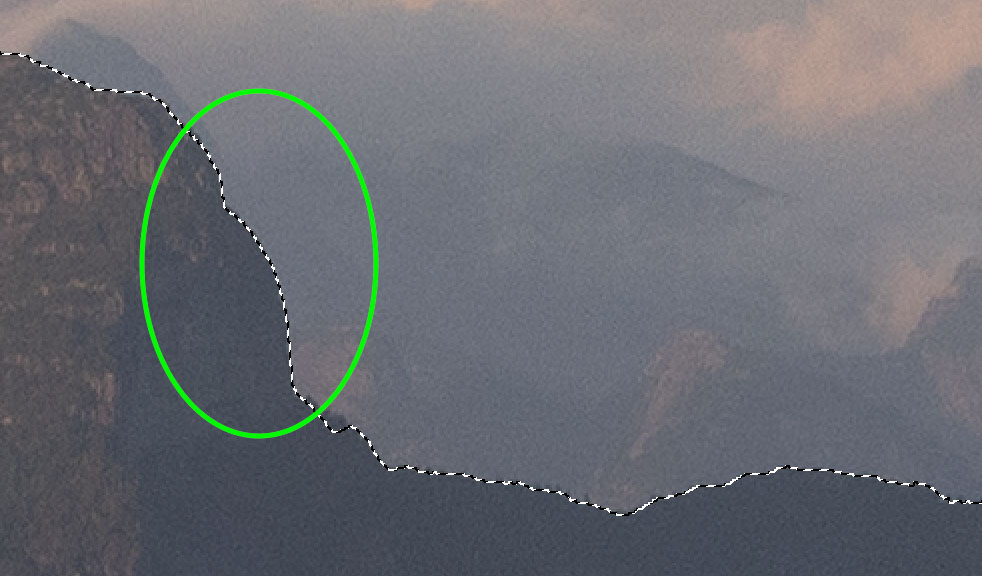
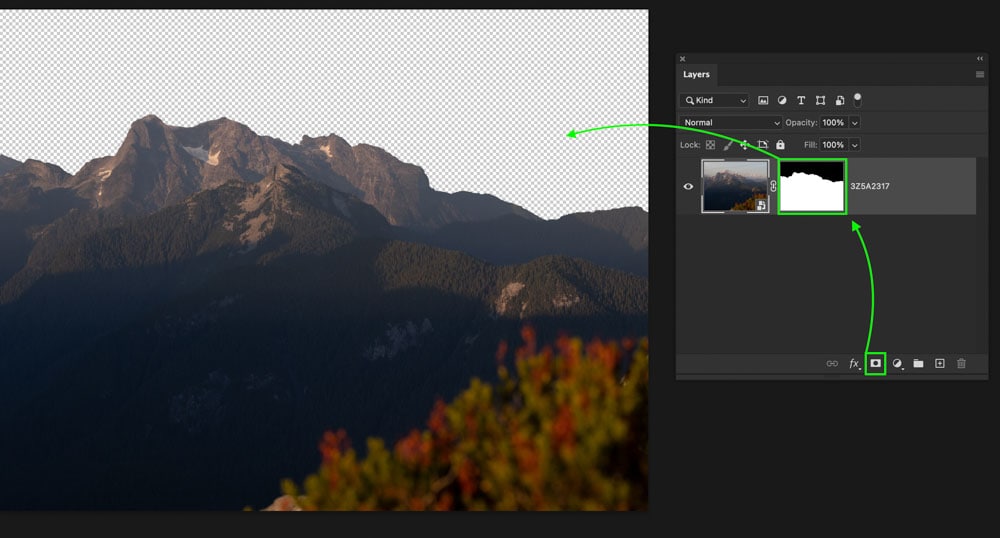
Once your selection has been made, you can apply it to a layer mask or duplicate the selection to a new layer. In this case, I want to remove the sky from my photo. That means I will check the image layer’s selected and press the layer mask icon to add my selection to a mask. Now only the selected foreground is visible while the sky has been removed.
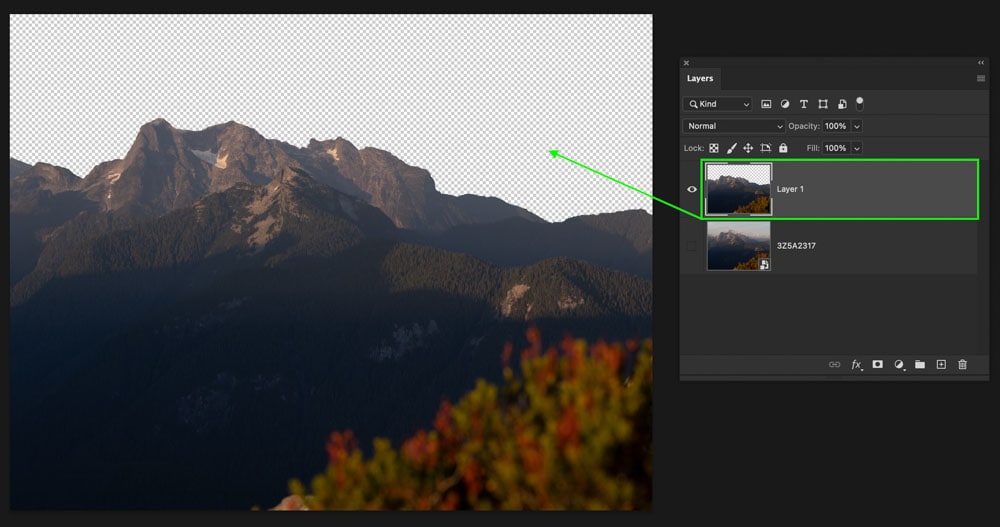
Alternatively, you could press Command/Control + J (Mac/PC) with your image layer selected to duplicate the selection onto its own layer.
3. The Spot Healing Brush Tool
The Spot Healing Brush Tool will automatically remove things from your photo using something called Content-Aware. In layman’s terms, that means Photoshop will take the area you paint over and find similar areas in your photo to cover it up with. For removing blemishes, sensor spots, or small objects from a photo, this tool works wonders.
You can access the Spot Healing Brush by pressing J on your keyboard. You can also locate it in your toolbar manually.

Once active, make sure the “Type” is set to “Content-Aware” in the upper setting bar.

Now with your image layer selected, click and drag over the areas you want to remove. In most cases, it’s best to work in small sections to get the best result. You can change the size of your healing brush by using the [ or ] keys to scale up or down. I would recommend sizing your brush to be only slightly larger than the object you want to remove.
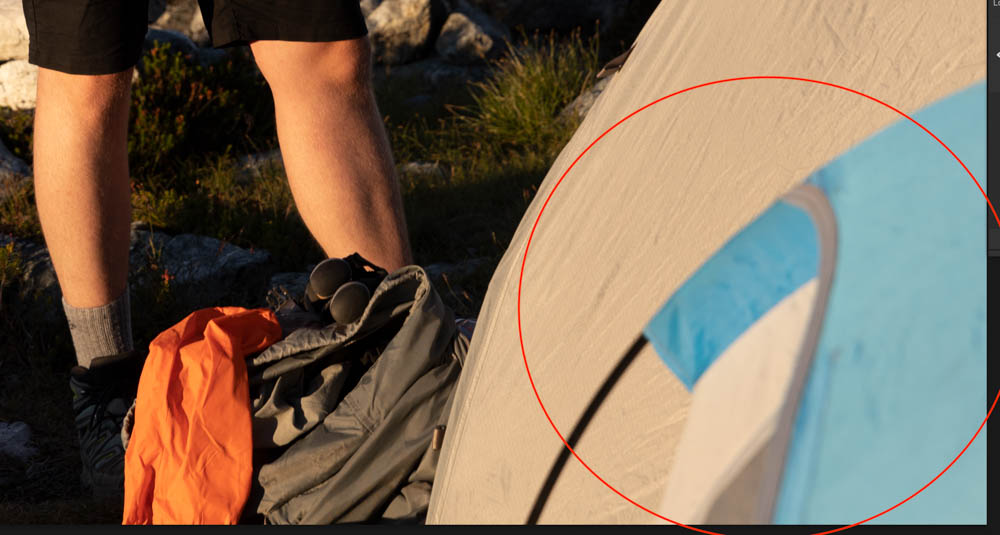
As you drag over your image, a black line will appear indicating your sampled area.
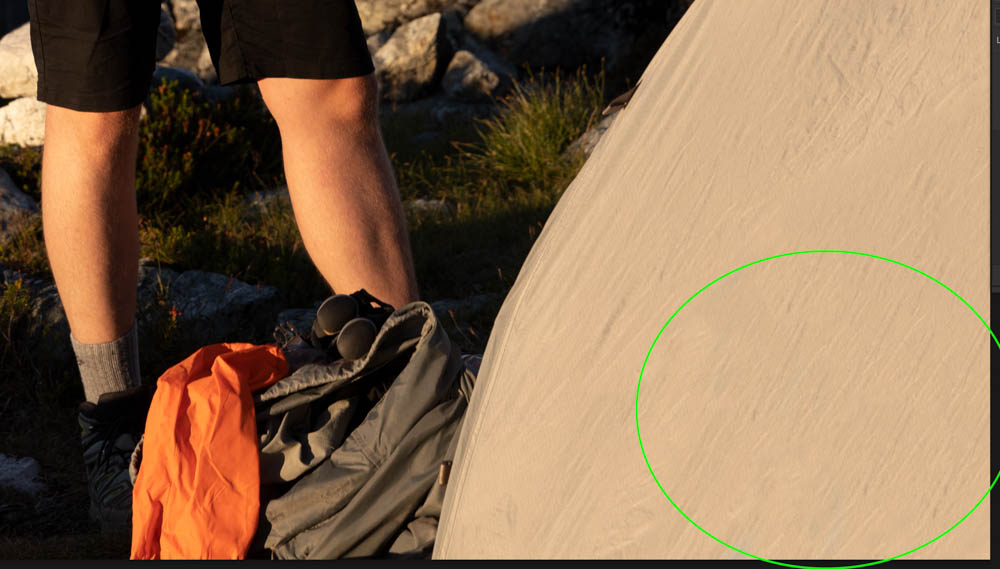
Photoshop will then replace this black area with a different, similar part of your image. What you’re left with is a quick and effective way to remove things from your images!
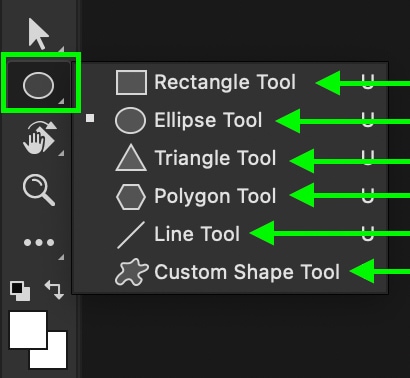
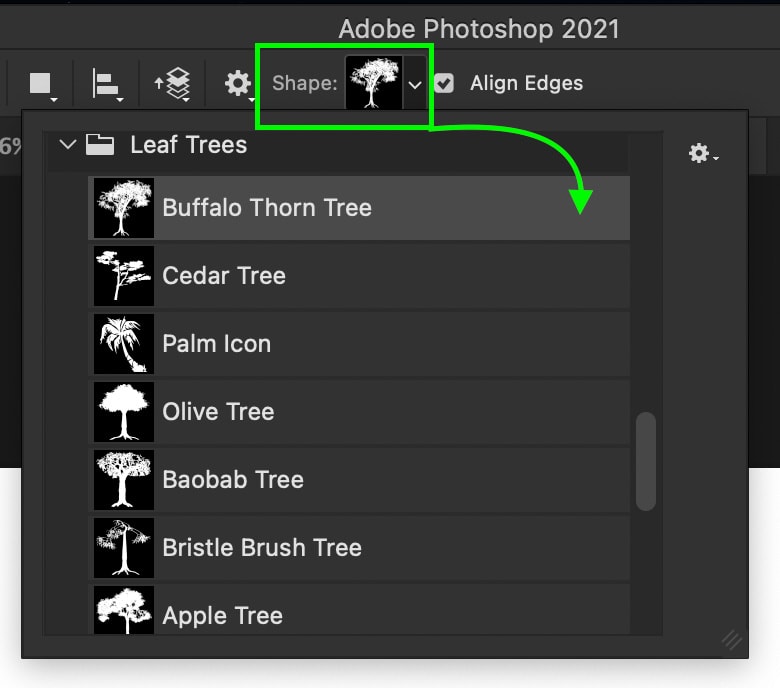
4. The Shape Tool
Especially if you plan on doing graphic design work, the Shape Tool is another important tool for any Photoshop beginner to know about! You can access the Shape Tool by pressing U on your keyboard, or you can click and hold on the Shape Tool icon to access other shape options. In Photoshop, there are a few different Shape tools you can choose from:
- Rectangle Tool
- Ellipse Tool
- Polygon Tool
- Line Tool
- Custom Shape Tool
Obviously, the shapes you can create will depend on which tool you have selected. However, you can choose from a catalog of shape options in the upper settings bar with the Custom Shape Tool. These options will appear after the Custom Shape Tool is selected!
With your shape of choice, click and drag out on your canvas to create a shape. By default, the shape will scale freely, but hold down the Shift key while creating the shape if you want a perfectly symmetrical shape. Once you let go, a new shape layer will be created in the Layers Panel.
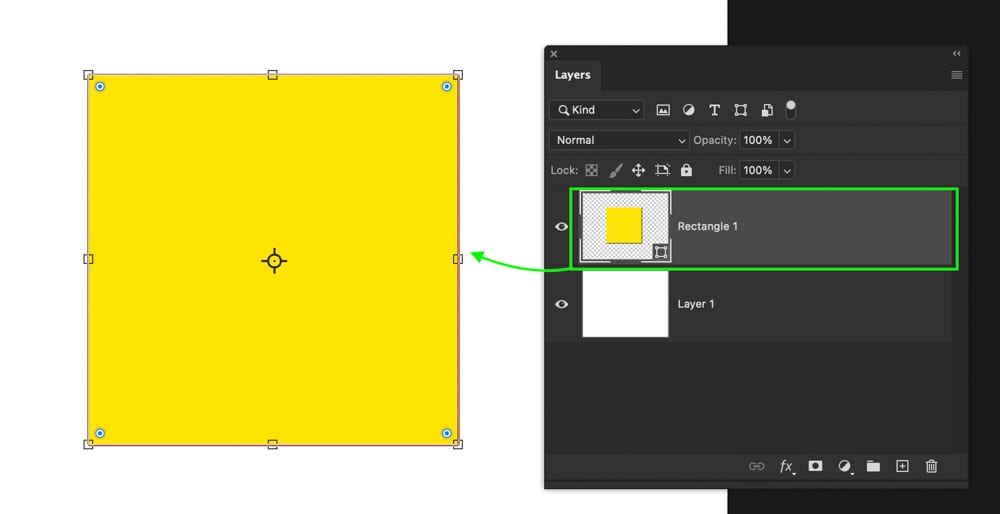
After a shape is made, you can edit the color and outline in the upper settings bar. You can change the color by clicking on the Fill option or changing the outline by clicking on the Stroke option. I explain everything you need to know when changing the colors of shapes in this post.

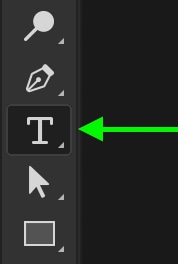
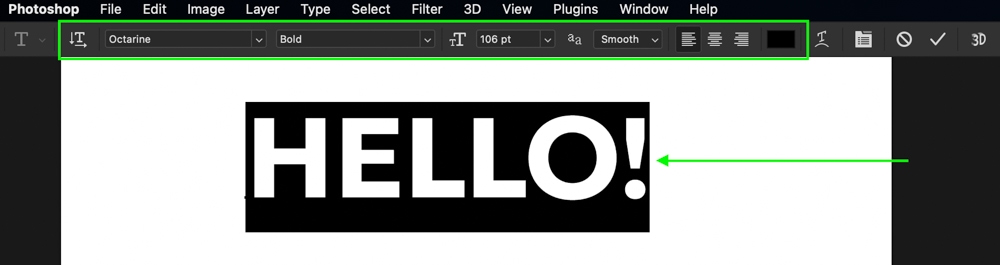
5. The Type Tool
You can access the Type Tool by clicking on the icon in your toolbar or pressing T on your keyboard. To add a piece of text to your project, just click on your canvas and begin typing!
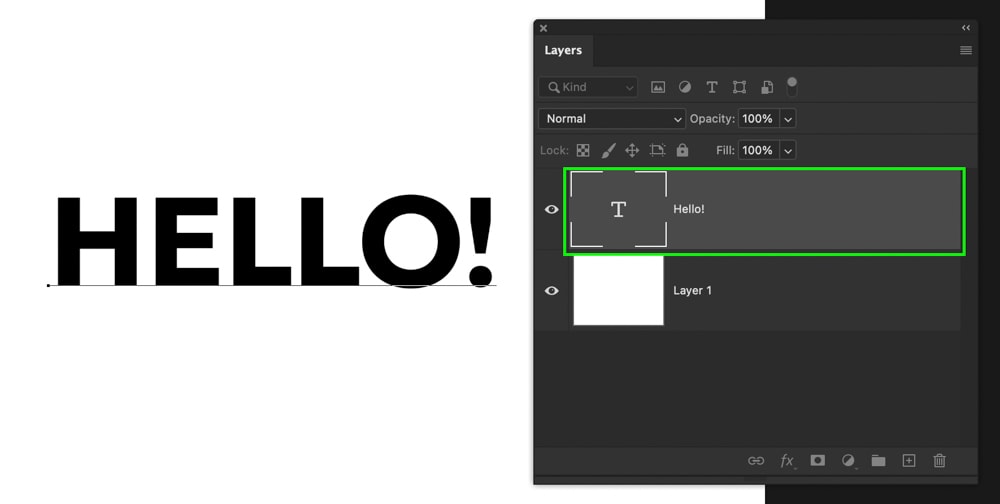
Once your text is added, a new Type Layer will be created too. With this layer selected, you can easily change your text’s font, size, and color.
The most basic way to edit your text after it’s created is to click on it, then drag over it to highlight it, similar to a word document. From there, you can look to the upper settings bar to change the attributes of your text. I share all the little details of working with text in another post you can find here.
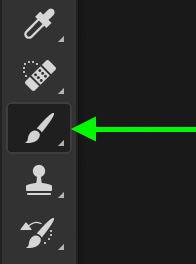
6. The Brush Tool
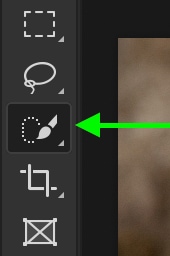
The Brush Tool is the final important tool you should know about when learning Photoshop. You can use this tool to create brush strokes, adjust layer masks, and more. To access this tool, simply press B on your keyboard or click on the Brush Tool icon in the toolbar.
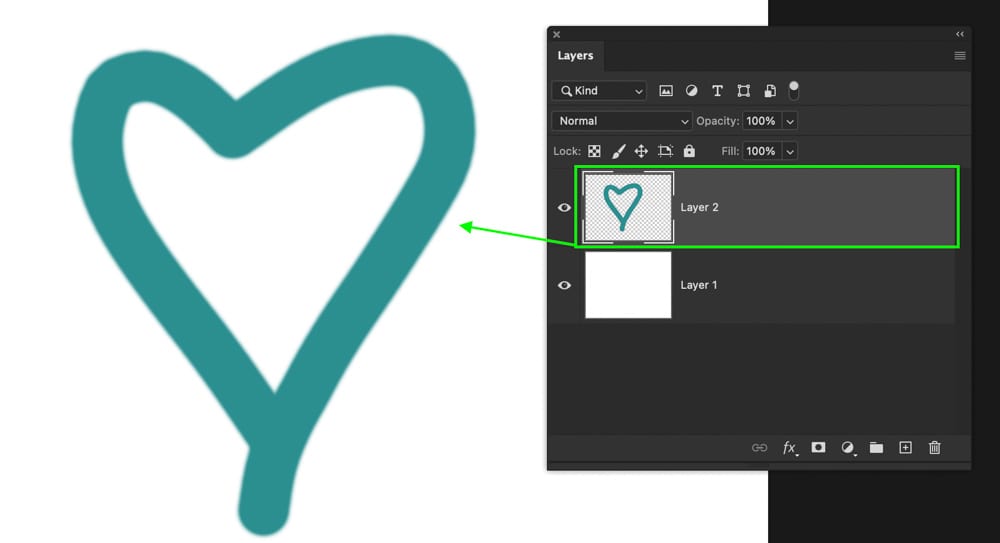
For this example, I will add a brushstroke onto a new transparent layer. There are several settings to note before creating brush strokes in Photoshop, the first being your brush tip. By going up the Brush Preset panel, you can find various brush options to suit your style. You can also get free brush packs online for added effects like watercolor or charcoal brush strokes. For this example, I will choose the “Soft Round” tip.
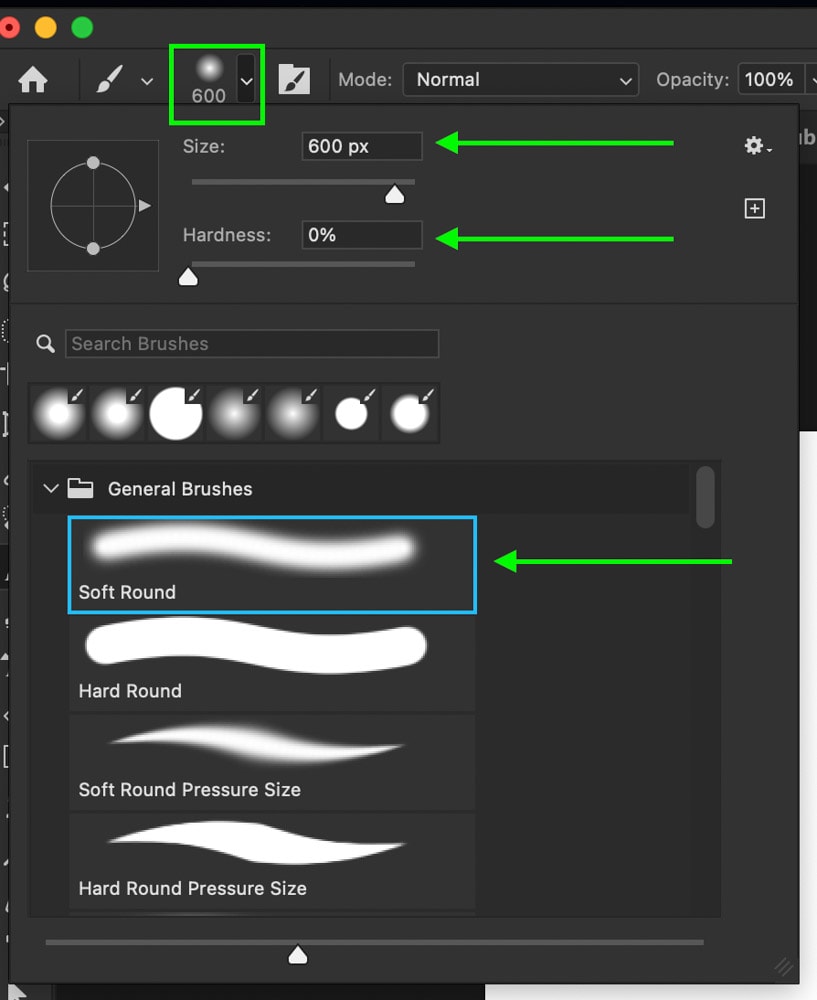
Next, you can control the size and hardness of your brush. The size will control how large your brush stroke is, while the hardness will control how soft the edges of your brush strokes appear. For a more blended brush stoke, select a lower hardness setting.
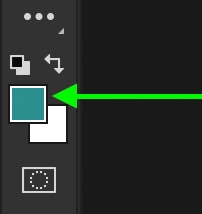
Now the last adjustment to choose is your brush color. Since I am painting on a new transparent layer, I can choose any color I want. However, if I were painting on a layer mask, I could only choose colors between black, white, and grey.
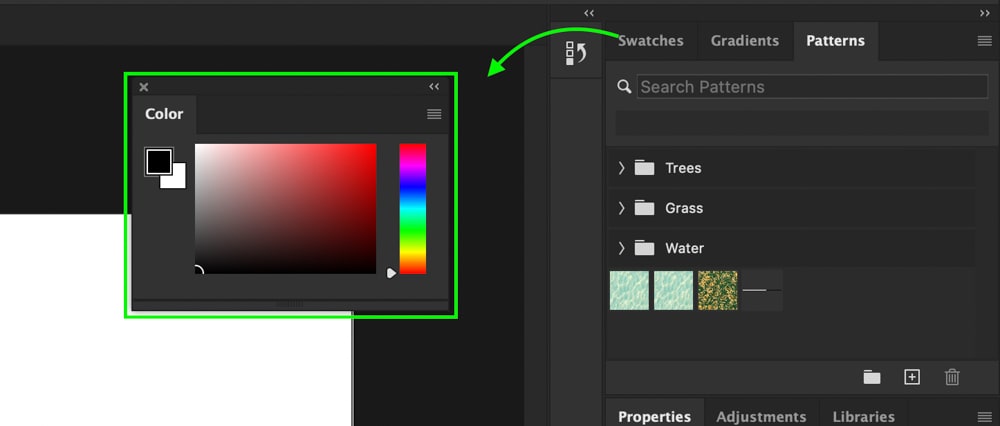
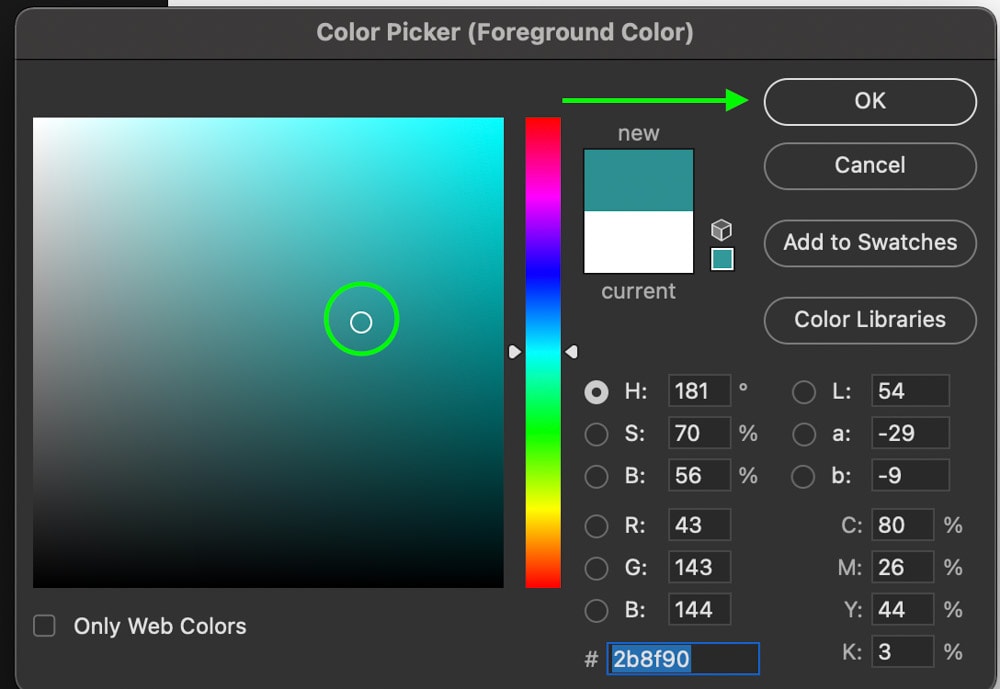
In Photoshop, the Brush Tool will paint whatever color is set as your foreground color. By clicking on your foreground color at the bottom of the toolbar, you can select a custom color from the color picker.
To paint on your canvas, simply click and drag to add your brush strokes!
The Basics Of Removing Backgrounds In Photoshop
One of the most common reasons people use Photoshop is to remove the background from their images. Whether you think you will use this feature or not, it’s a skill that will definitely come in handy!
For this example, I will show you how to use the Quick Selection Tool and a layer mask to remove a background. Since you learned about each of these features earlier in this post, you may be surprised by how simple it is! With that said, there are a variety of other easy background removal methods that I highlight in the video below:
Now to remove a background with the Quick Selection Tool, make sure your image layer is highlighted in the Layer Panel.
Then press W on your keyboard to access the Quick Selection Tool.
Now begin to click and drag over the part of your image that you want to select. Photoshop will automatically snap your selection to the edges that it thinks you want to cut out.
Although it usually does a good job, it can make mistakes. To subtract from your active selection, hold Alt or Option and paint over the selection areas you want to remove. After a bit of refining, you will have a nice selection around part of your image!
With that selection active, click on the layer mask icon to apply your selection to a mask. Anywhere inside your selection area will remain visible, while anything outside of it will become transparent (black on the layer mask).
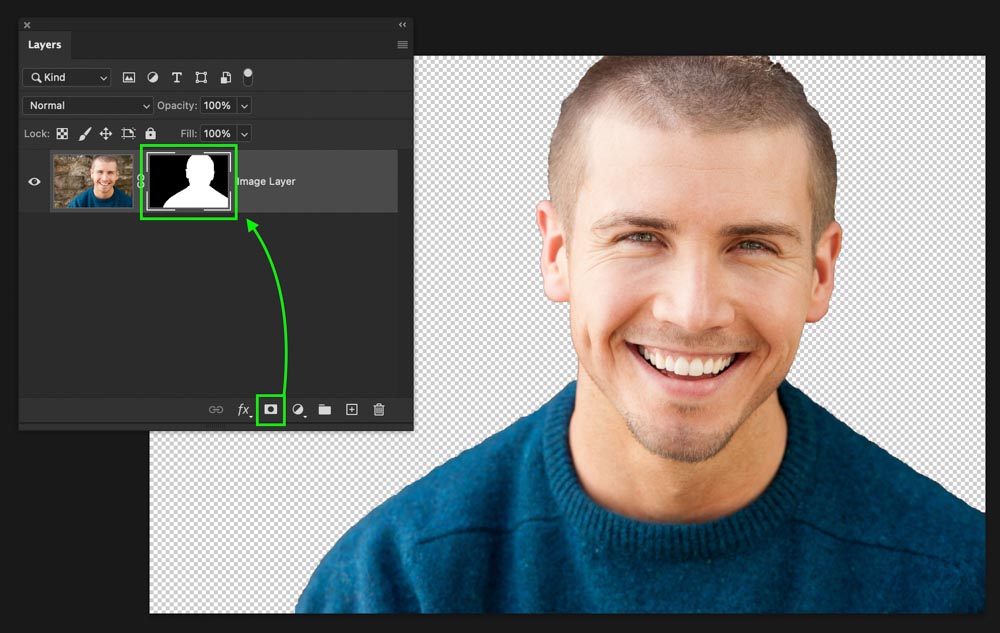
If you end up with the opposite of what you wanted selected, click on your layer mask and press Command + I (Mac) or Control + I (PC) to invert your layer mask.
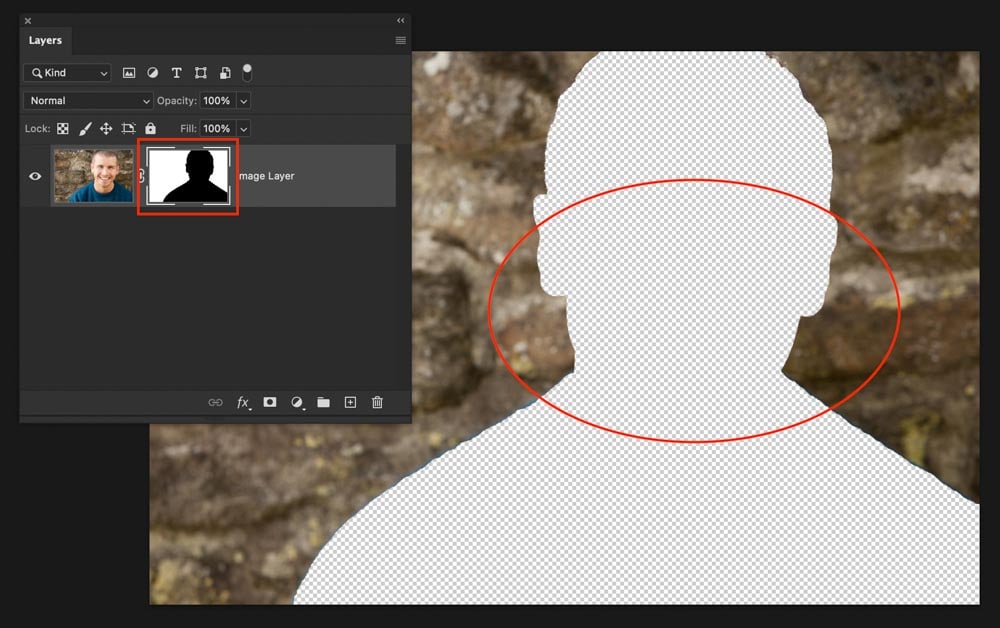
Now you have successfully removed the background from your photo! If you want to export this cut-out with a transparent background, click here to learn how.
Intro To Adjustment Layers In Photoshop
Earlier in this post, I mentioned the uses of Adjustment layers briefly, so I wanted to expand on it a bit more. Adjustment layers allow you to add exposure, contrast, and color adjustments to layers in your project. So for any type of image enhancement, adjustment layers are going to be the answer.
– How To Create Adjustment Layers
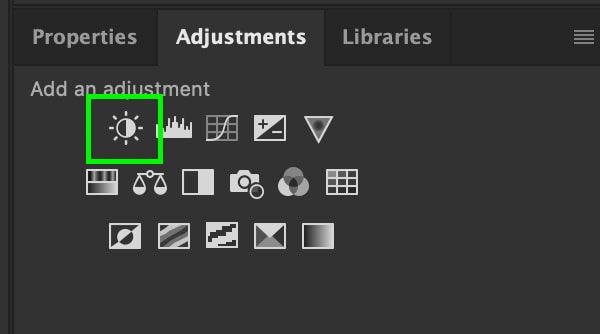
There are two different ways you can create adjustment layers. The first is via that Adjustments Panel which is home to all your adjustment layers.
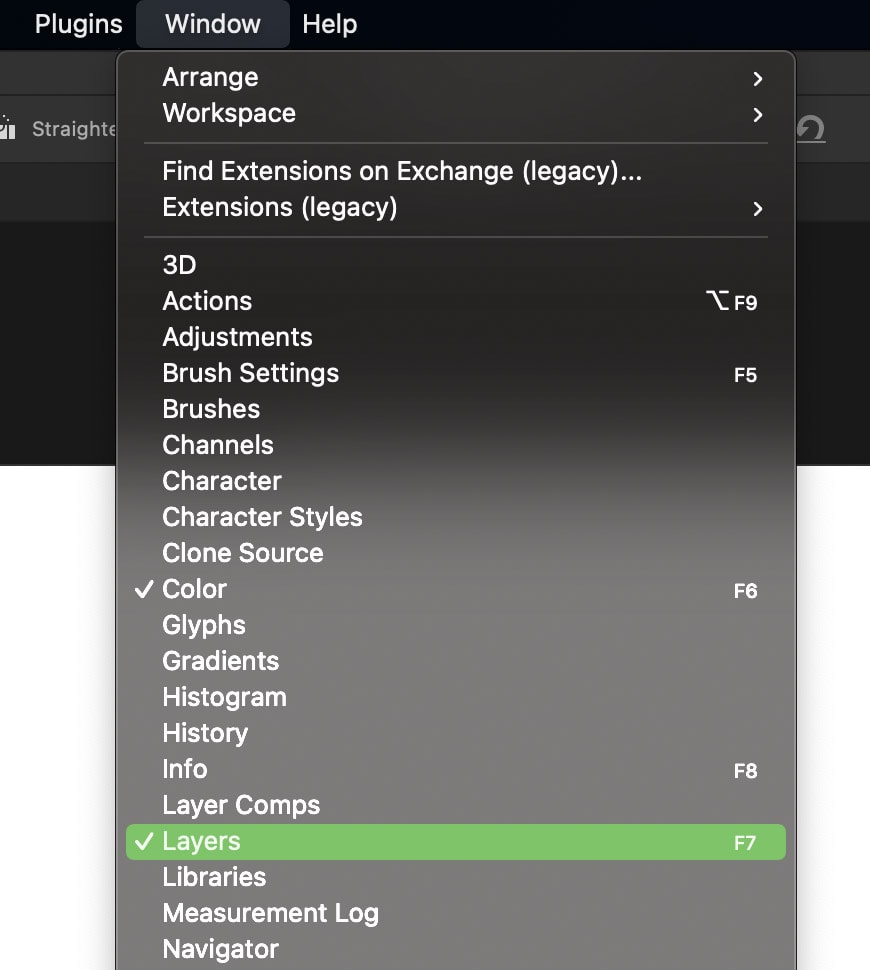
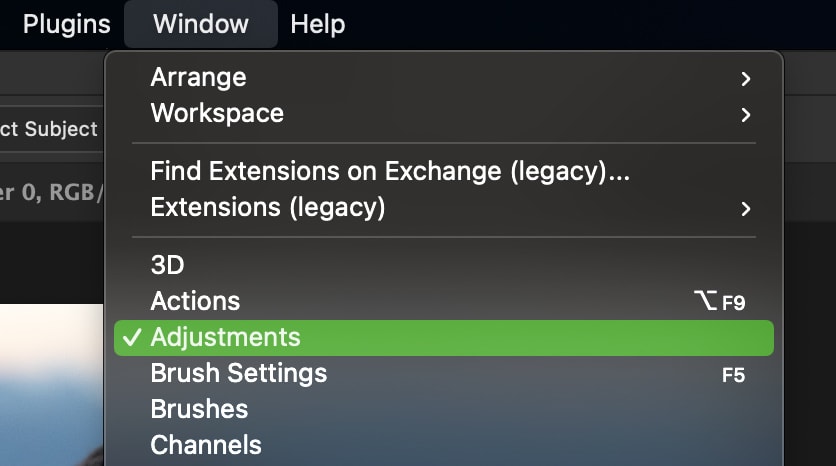
If you don’t see this panel, go to Window > Adjustments to reveal it.
The second option is to click on the adjustment layer option at the bottom of the Layers Panel and choose your adjustment from the provided list.

For this example, I will create a new Brightness & Contrast adjustment by clicking on the icon. A new adjustment layer will be made in my layers panel, with a layer mask added by default.
– How To Edit Adjustment Layers
In most cases, the properties panel will automatically open after you create an adjustment layer. This is where you can find all the settings for your adjustment layers, which will change with each adjustment you use.
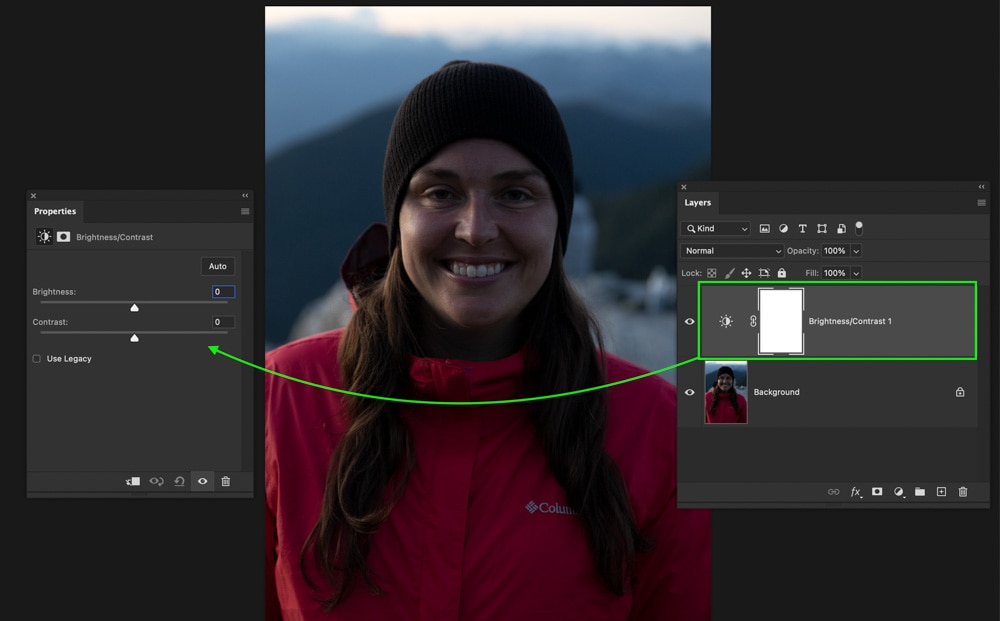
If you accidentally close this panel, however, you can reaccess it by double-clicking on the adjustment layer icon in the Layers Panel.
With the Brightness & Contrast adjustment, I have two sliders to control the brightness and contrast of my photo. How simple is that? By dragging these sliders left or right, the brightening adjustments will be applied to my photo.
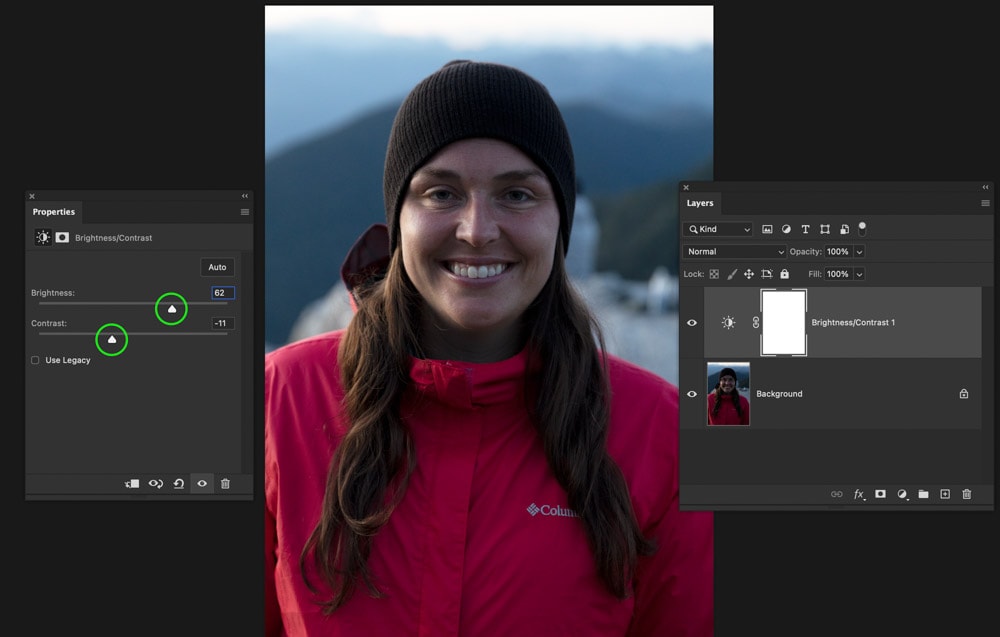
It’s important to remember that adjustment layers will only affect the layers beneath them in the layers panel. Anything above an adjustment layer will be left unaffected by its adjustments.
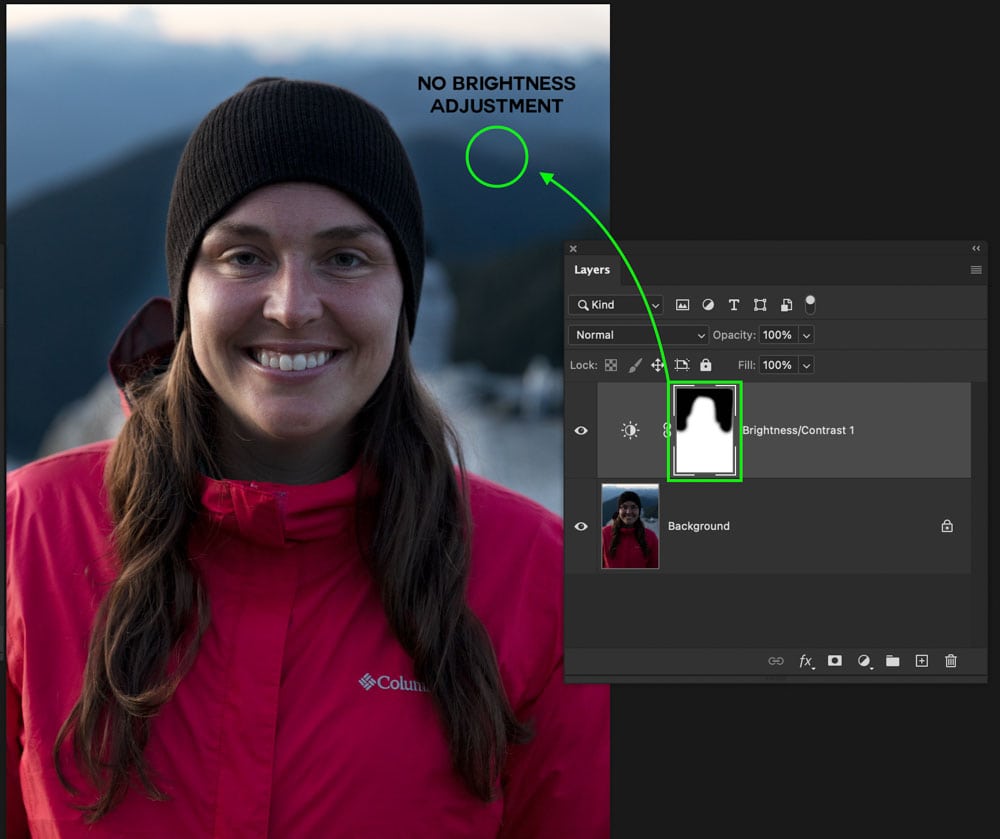
– Using The Adjustment Layer Mask
With every adjustment layer, you will have a white layer mask added by default. You can edit this mask to change where your adjustment layer is visible in your project.
For example, if I only wanted this Brightness & Contrast adjustment to affect the subject of my photo, I could paint black onto my layer mask.
By selecting the Brush Tool (B) and setting my foreground color to black, I can paint over the places I don’t want brightening adjustments to appear. Now the layer mask will have black added to it (indicating transparency), and my adjustment layer is only applied to my subject.
This same idea applies to any adjustment layer you work with in Photoshop!
How To Save & Export From Photoshop
After you have finished working on your project, you need to save and export it to begin sharing it with the world! So let’s first talk about saving a Photoshop project so you can continue editing later on.
– Saving A Project
Unlike exporting, saving as a PSD file (Photoshop Document), gives you the ability to open up your image and work with all the layers later on. For example, these files are not meant to share on social media but are mainly used to create revisions.
To save a project, go to File > Save As.
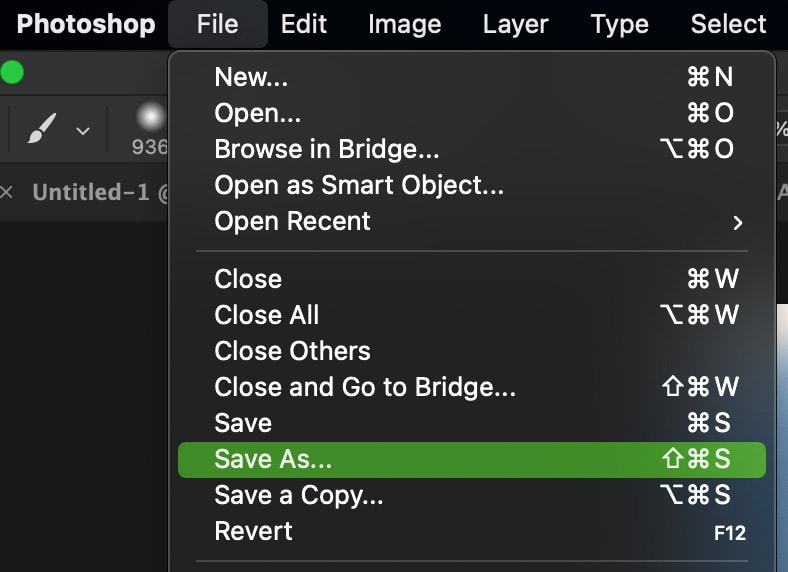
Then in the Format option, set this to Photoshop.
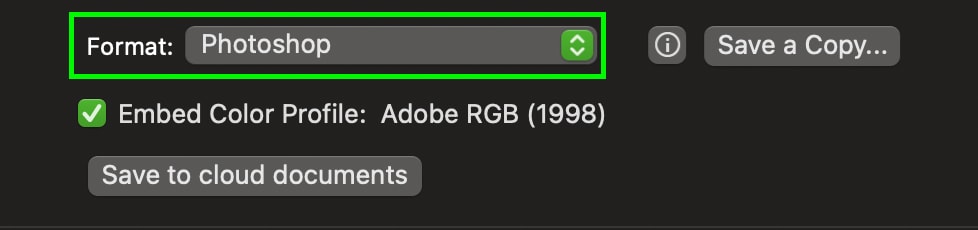
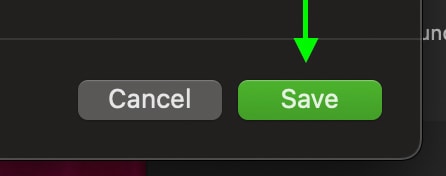
You can then write a file name for your project and choose a location on your computer to save it to. Finally, click Save to save your file as a Photoshop project!
Even after you close down Photoshop, you can easily reaccess your project by double-clicking on the PSD file you just created!
– Exporting A Photo To JPEG
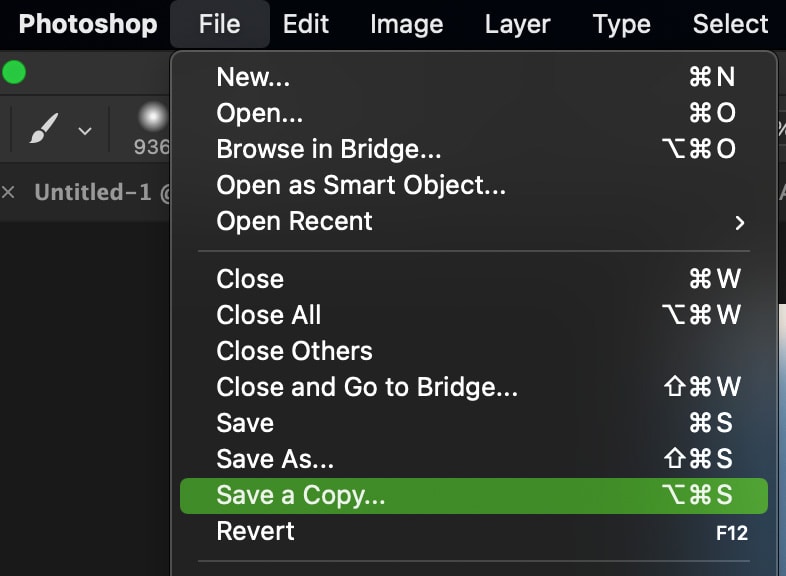
After you have saved your project as a PSD, it’s time to export it to a JPEG file so you can share the image!
This time go to File > Save A Copy. In older versions of Photoshop, you will not have this option, so choose File > Save As instead.
In the Format option, set the file type to JPEG.
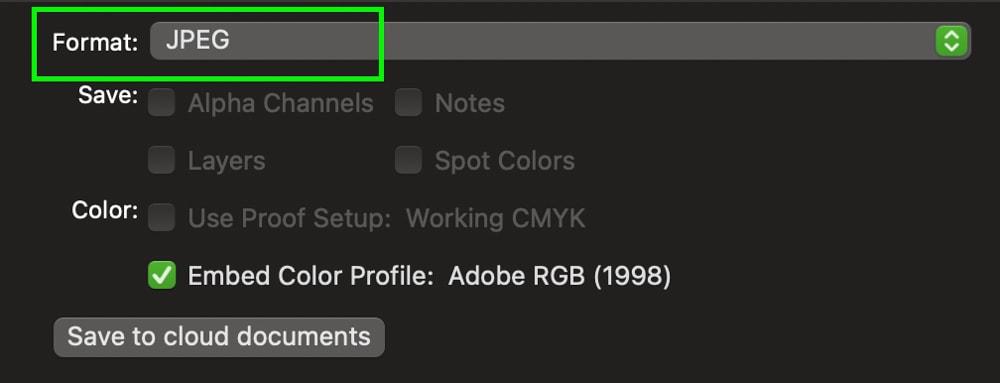
Then choose a place to save your file and give it a name to help you remember it. Finally, click Save to begin exporting your file.
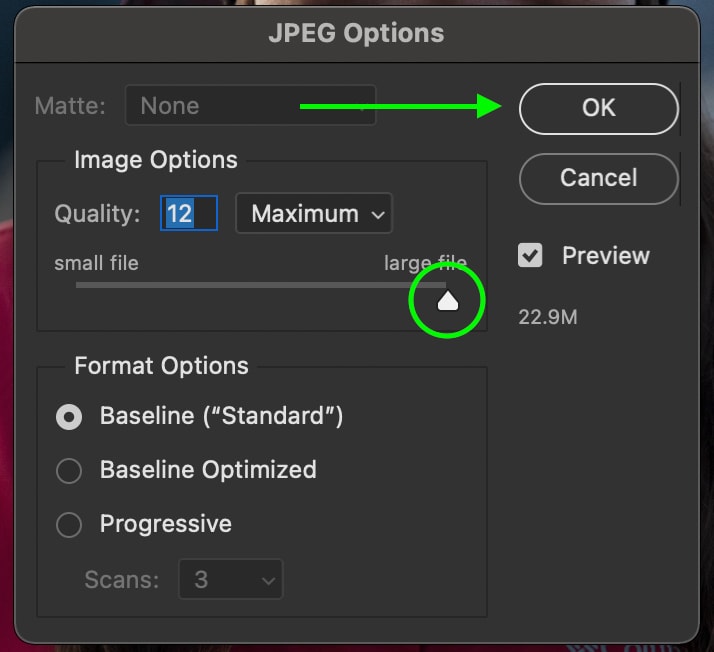
In the JPEG settings window that appears, set your quality to 12 and click OK. Now your photo has been exported to JPEG and is ready to be shared!
With all the tools, features, and techniques you learned here, you’re well on your way to understanding how to use Photoshop. Although some of these concepts might seem mundane, they are things that you will find yourself regularly using—especially things like zooming in and out or creating new layers in a project. Just like anything, Photoshop takes time and practice to learn, but with a bit of patience, you’ll be a pro in no time! Now that you know how to use Photoshop as a whole let’s talk about how to edit a photo in Photoshop!
Happy Editing!
Brendan 🙂


