
After taking a picture, you might look back on it and wish you captured it in a different orientation. Luckily, with the help of Photoshop, you can quickly change a photo from portrait to landscape and vice versa. In this tutorial, you’ll learn three effective techniques for changing your images’ orientation, all inside Photoshop.
The easiest way to change a photo from a portrait to landscape orientation is by cropping the image. With your image open in Photoshop, select the Crop Tool by pressing C, then click on your image to activate the crop adjustment. You can then press X to switch your crop orientation from vertical to horizontal and vice versa. Click and drag to reposition the framing, and your photo will be changed to a new orientation.
Video Tutorial
3 Ways To Change The Orientation Of A Photo In Photoshop
Changing the orientation of a photo all comes down to the crop tool. Although it is possible to rotate the entire canvas, this doesn’t always work in photography. Instead, rotating the canvas only works for graphic design needs where the overall image looks the same from any rotation.
The problem with photos is that your subject will be standing straight up in your photo. That means that rotating the canvas will make the entire photo look sideways. To solve this issue, you’re left with crop adjustments when switching a photo from portrait to landscape.
In the three tips below, you’ll learn all the options you have for changing a photo from portrait to landscape in Photoshop. Tips one and two work best for actual photos, while tip three can be useful for a graphic design where the orientation isn’t set in stone.
1. Cropping Your Image Into A New Orientation
This first technique uses the crop tool to change the aspect ratio from vertical to horizontal or vice versa. The downside to this method is that it will significantly crop your image to change the orientation. With that said, if you’re shooting with a good camera, you’ll still be left with a high-quality image.
Here’s how it’s done.
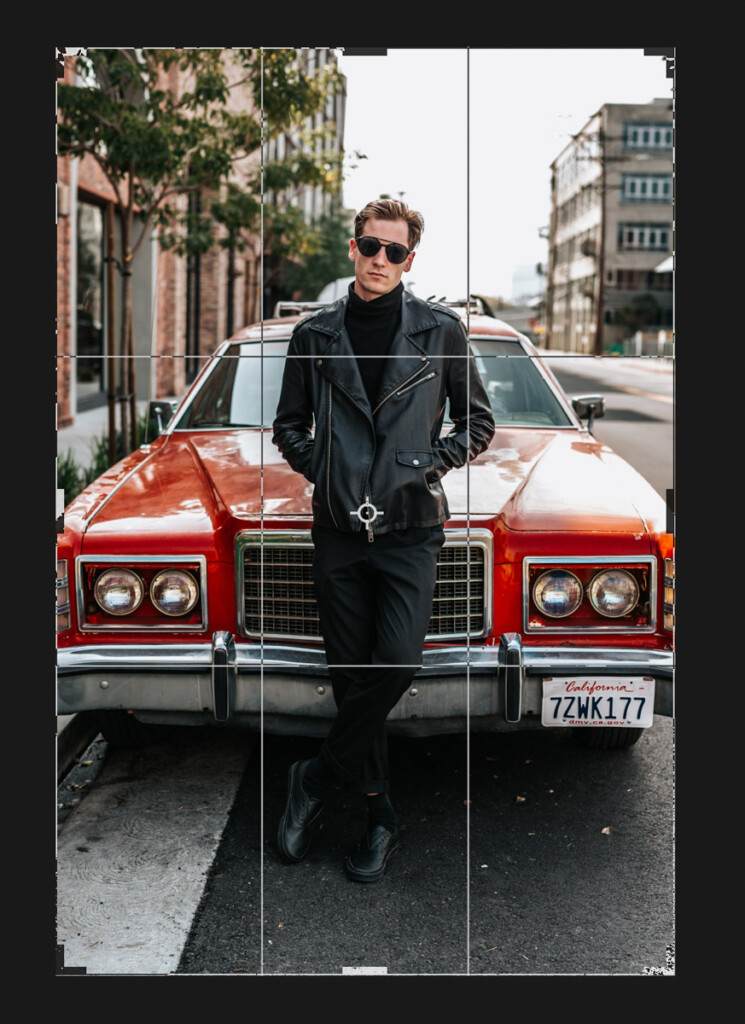
Step 1: Access The Crop Tool
With your image already opened in Photoshop, grab the Crop Tool for the toolbar or press C on your keyboard.
To activate the Crop Tool, click on your canvas to enable crop adjustments.
Step 2: Set Your Aspect Ratio
The aspect ratio is the relative size of the width and height of your image. Your photo will have a default aspect ratio setting when first using the crop tool; however, it can be worthwhile to change this ratio. For example, if you intend to upload to Instagram, you could set a 4:5 crop to match Instagram’s aspect ratio.

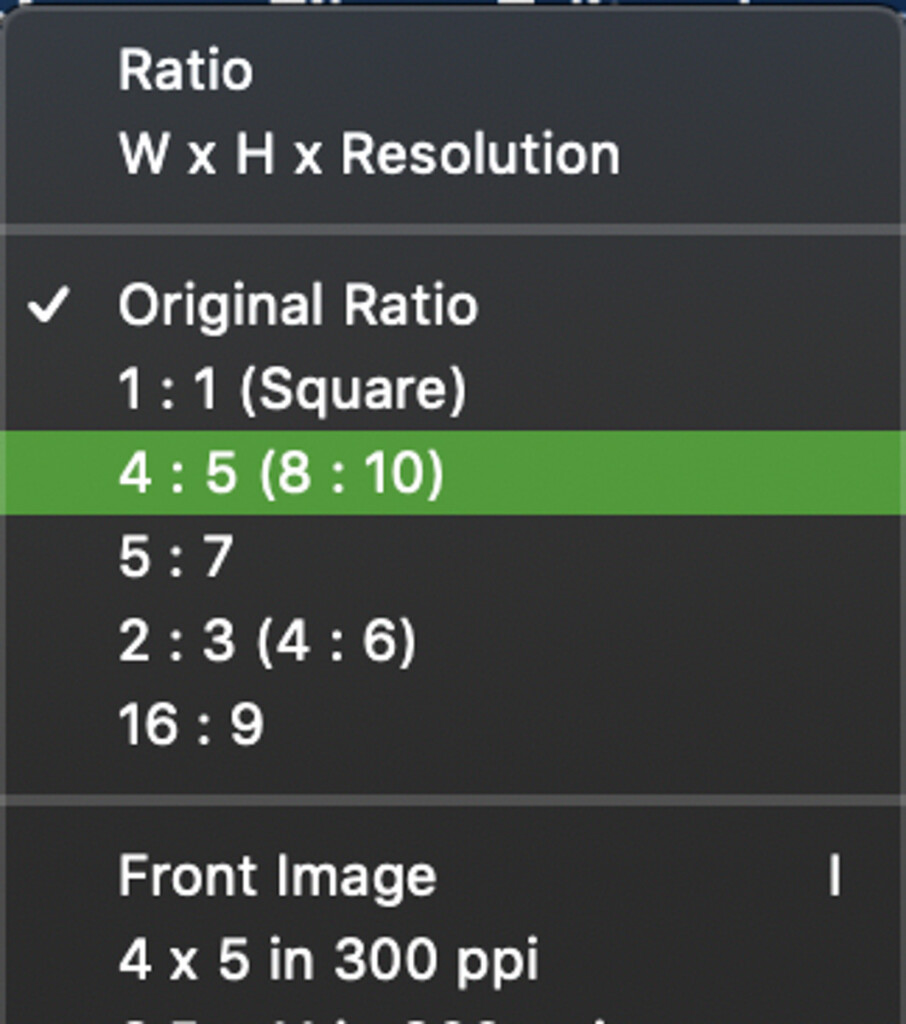
For this example, I’ll leave the crop aspect ratio to “Original Ratio.”
Step 3: Switch The Orientation Of The Crop
Before you flip the crop adjustment, make sure to uncheck the “Delete Cropped Pixels” option in the settings bar. Otherwise, you won’t be able to go back and alter your crop later on. This is important to ensure that you edit non-destructively.

Now to flip the orientation of your images crop from portrait to landscape (or vice versa), just press X on your keyboard. Alternatively, you can press the double arrow icon in the upper settings bar. This will switch the width and height ratio around, giving you the opposite of your current image orientation.

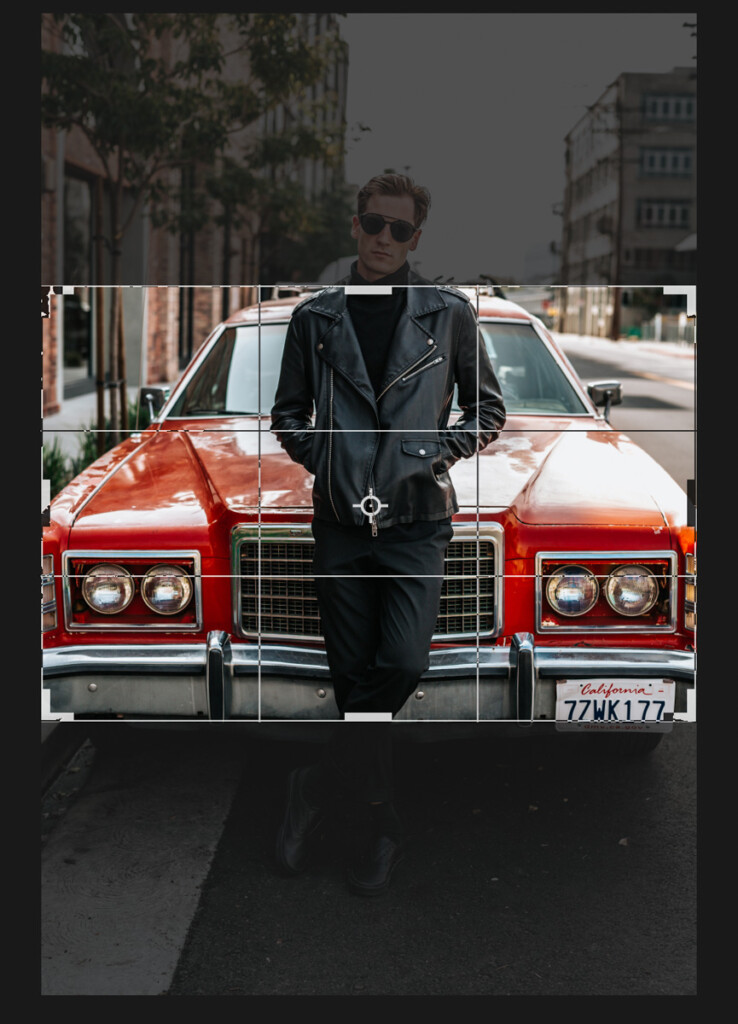
Step 4: Reposition The Cropping Area
Once the orientation is switched, click and drag on the cropping area to reposition it. Anything that is greyed out will be excluded from the crop, while everything inside the cropping box will be included.
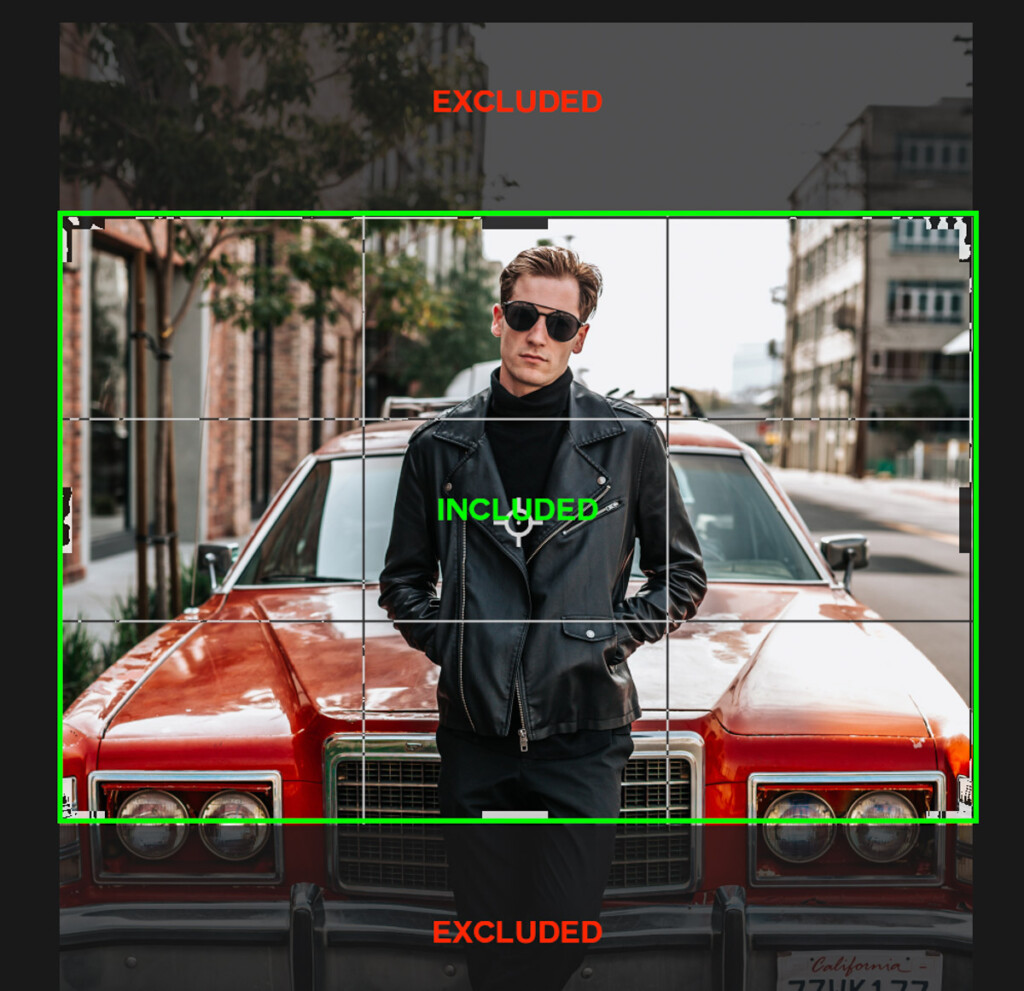
For this example, I want to reposition the crop to focus on my subject’s face.
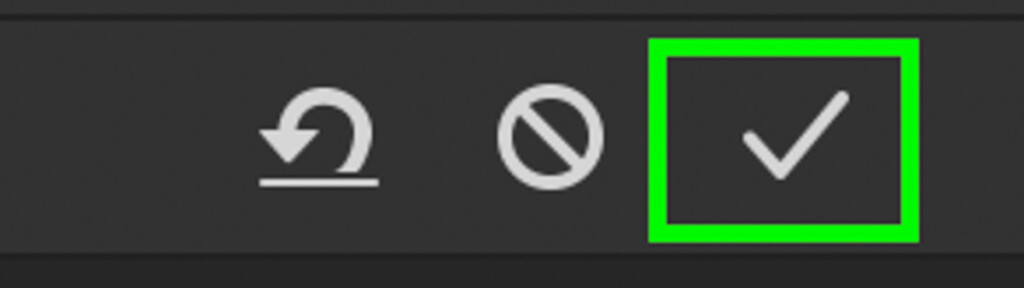
Once you’re happy with the adjustment, press the checkbox in the upper settings bar. You can also press Enter on your keyboard to speed up the process.
– The Result

Now your image has been cropped from portrait to landscape just by changing the crops aspect ratio. This method does significantly crop into your photo, but it’s the only way to do things without extending the background.
If you want to maintain most of your original image, then the techniques outlined in the next step offer the perfect solution.
2. Cropping And Extending The Background
Rather than cropping in to change the orientation, you can extend your photo’s background to match a new orientation. That means you can make a portrait photo landscape or vice versa while keeping all of your original photo.
It’s worth remembering that this method will only work with images that have simple backgrounds. Since you end up distorting part of the background, it doesn’t always look realistic in every image. Backgrounds with solid colors or straight lines tend to work best with this technique.
Here’s how to do it.
Step 1: Select The Crop Tool And Switch The Aspect Ratio
Start by selecting the Crop Tool from your toolbar or press C on your keyboard, then click on your image to activate the crop adjustments.
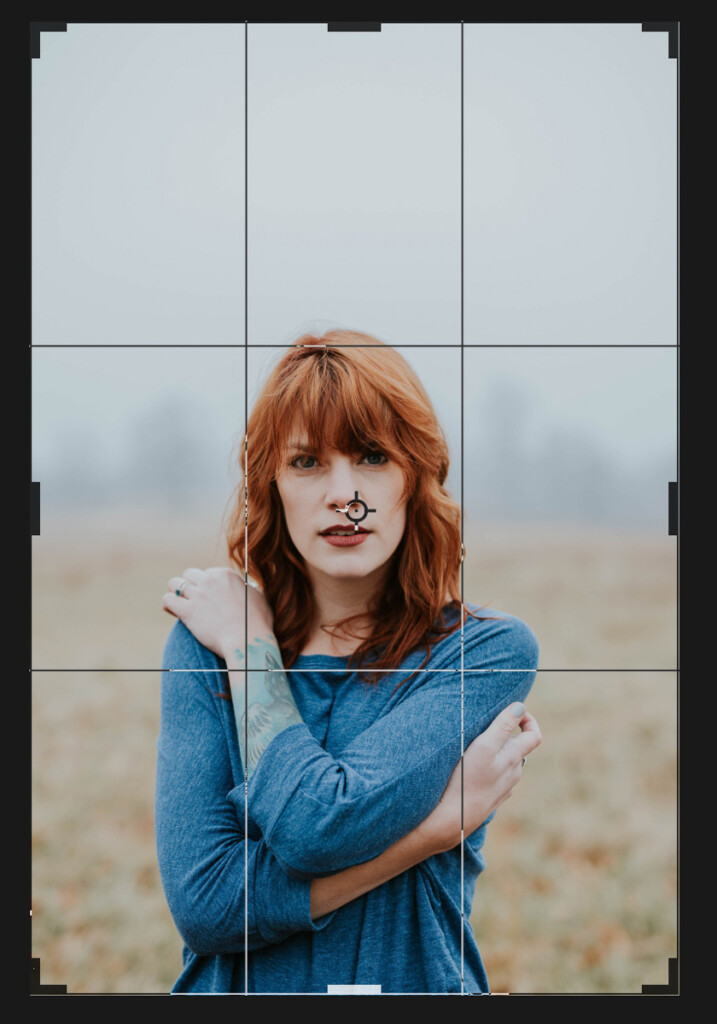
Make sure the “Delete Cropped Pixels” option is unchecked, then press X to switch the crop adjustment orientation.
You can also press the double arrows beside the aspect ratio option if keyboard shortcuts aren’t your thing.
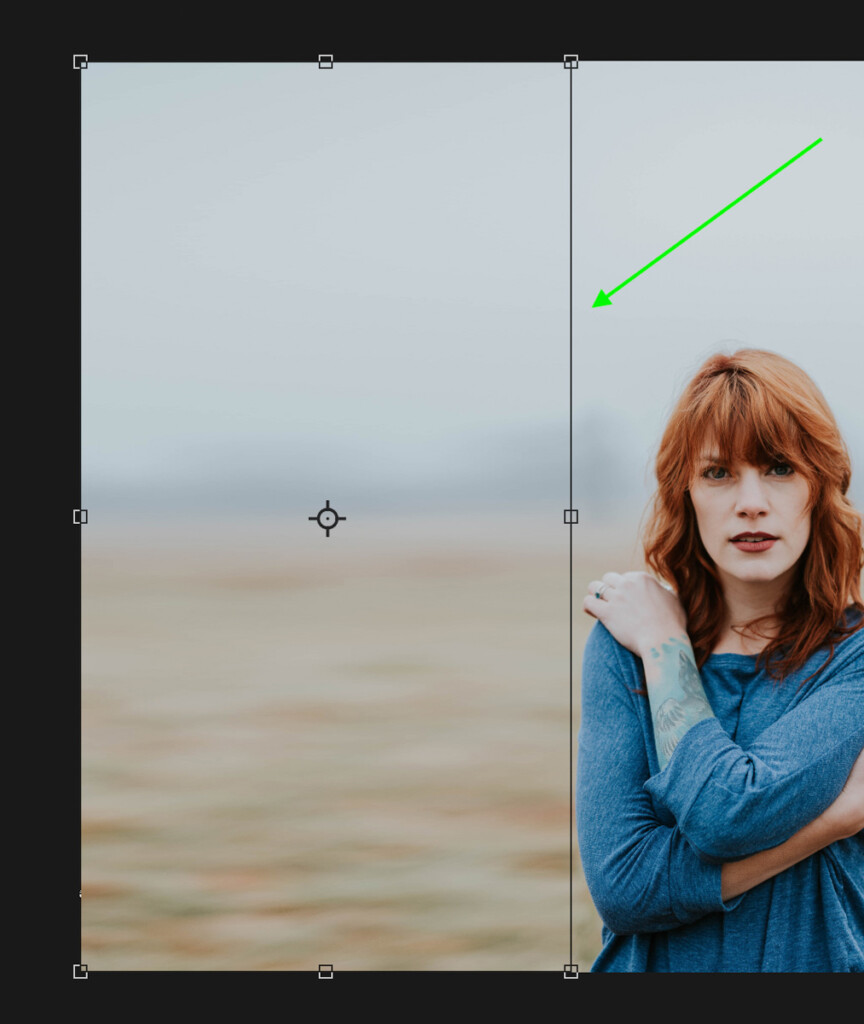
Step 2: Scale The Cropping Area To Fit Your Entire Image
Clicking on the corner of the crop adjustment, drag out to reposition the crop until it fits your entire photo. By holding Shift and Alt/Option (PC/Mac) you can scale the crop in place.
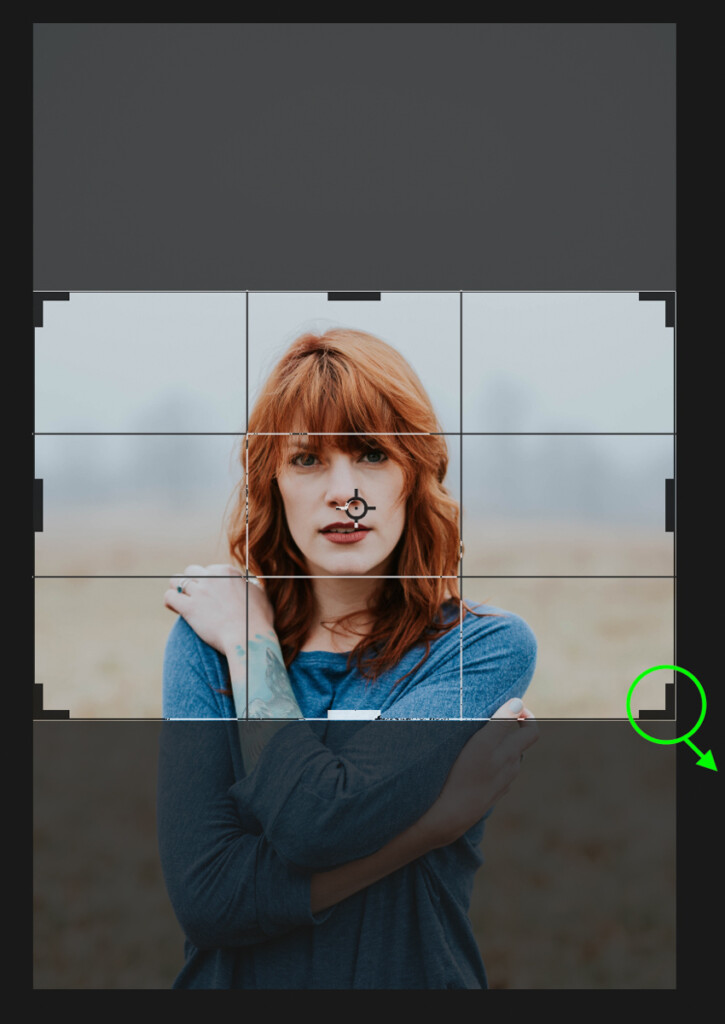
In this example, I’m working with a portrait image, so I’ll have transparent areas on the sides of my image. If you were changing a landscape photo to portrait orientation, the transparent areas would be on the top and bottom.

With the crop adjustment in place, press Enter or click the check box to commit to your changes.
Step 3: Select & Duplicate The Edges Of Your Photo With The Marquee Tool
To fill in the transparent areas, you need to duplicate and stretch your photo’s edges on new layers. The easiest way to do this is with the Rectangular Marquee Tool.
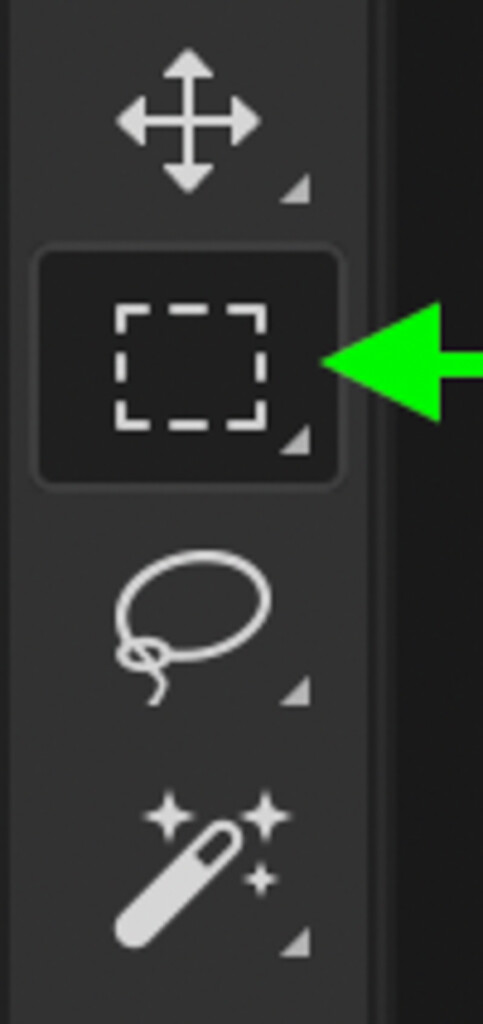
After selecting the Rectangular Marquee (M) from your toolbar, click and drag around the edges of your photo to create a selection. It’s important that you don’t select any of your subject, only the background.

To help reposition your selection area, you can use the spacebar to move the entire selection while you create it.
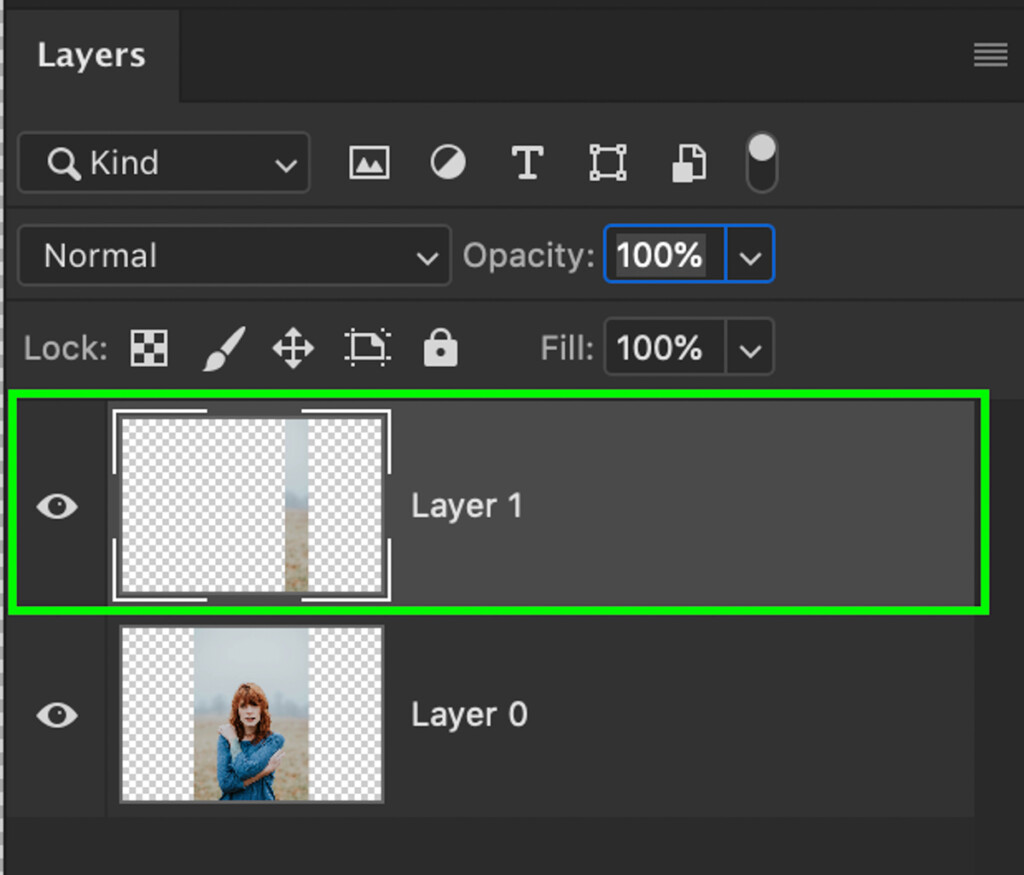
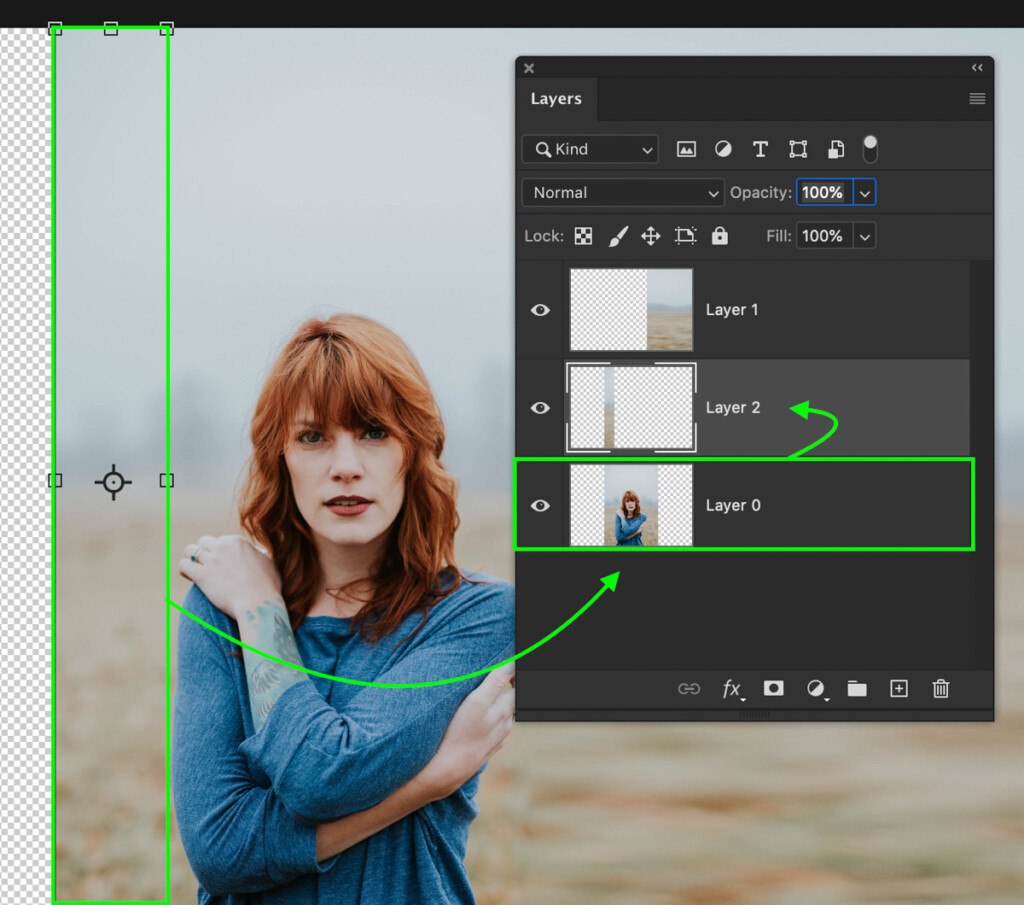
With the selection created, select your image layer and press Command / Control + J (Mac/PC) to duplicate the selection onto a new layer.
Step 4: Stretch Out The Newly Duplicated Background Section
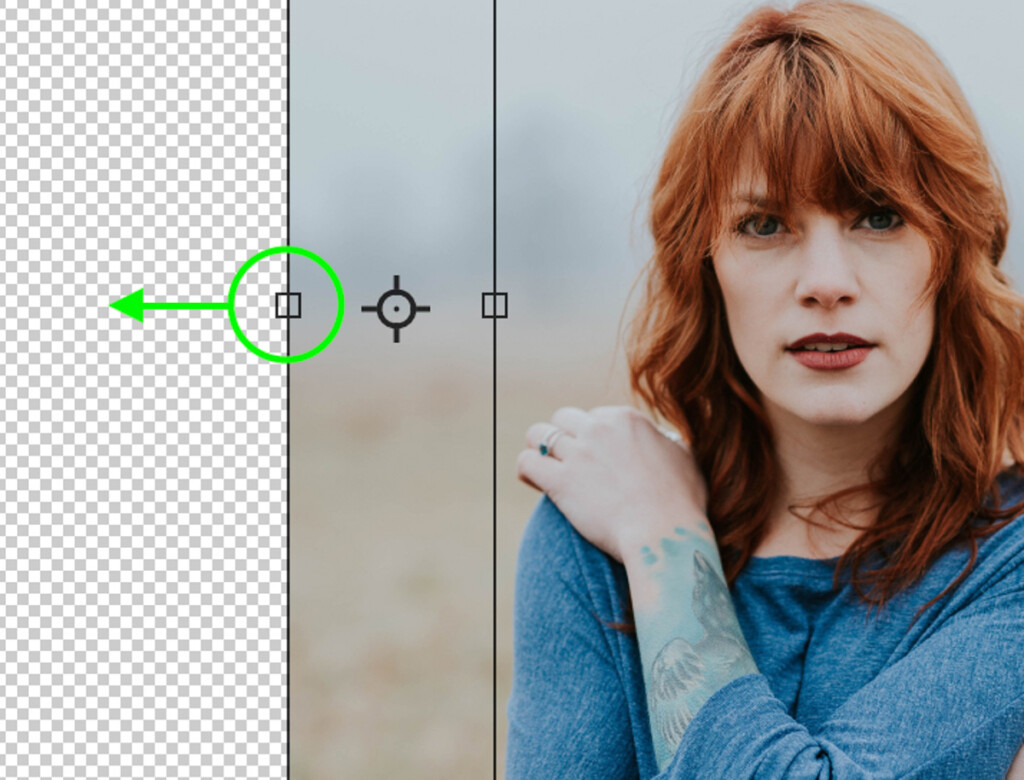
Clicking on your newly duplicated layer, grab the Move Tool (V) to begin stretching it.
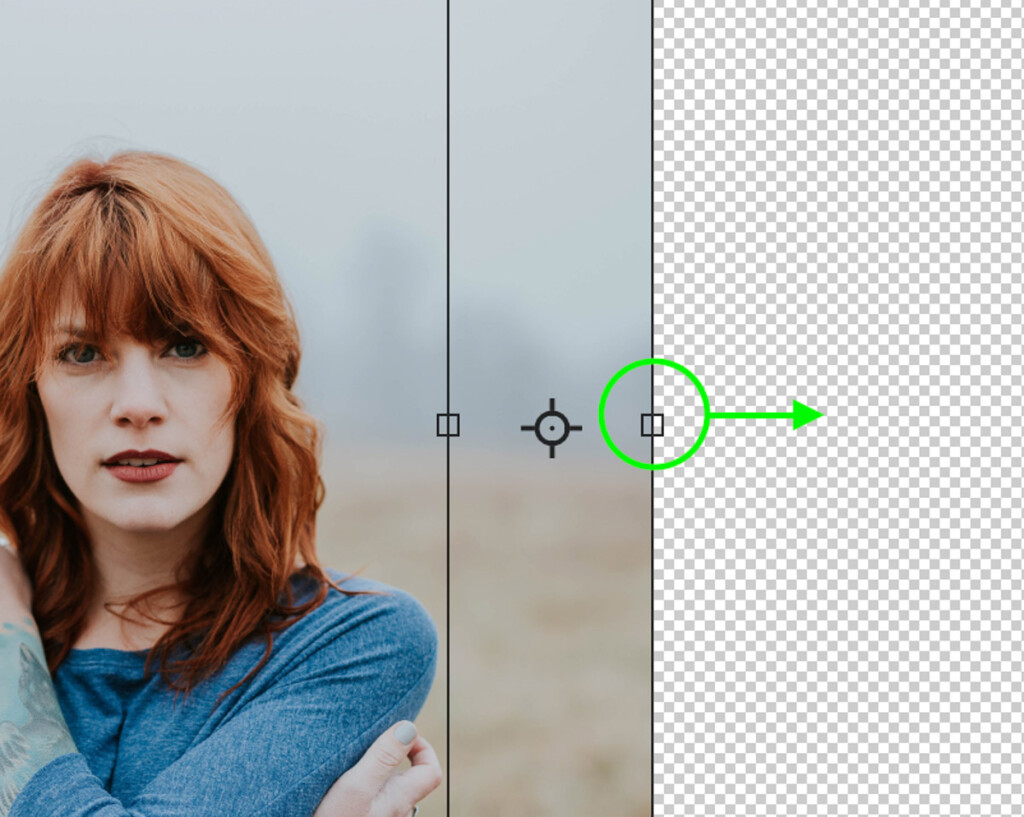
Holding the Shift Key, click on the edge of the transform box and drag outwards. This will stretch your layer to cover over the transparent areas of your photo.

Once everything is in position, press Enter to commit to the changes.
Step 5: Repeat This Process On The Other Side
Now you have to do the same thing on the other side. Starting by selecting the Rectangular Marquee Tool (M), click and drag around your image’s edge to create a new selection.
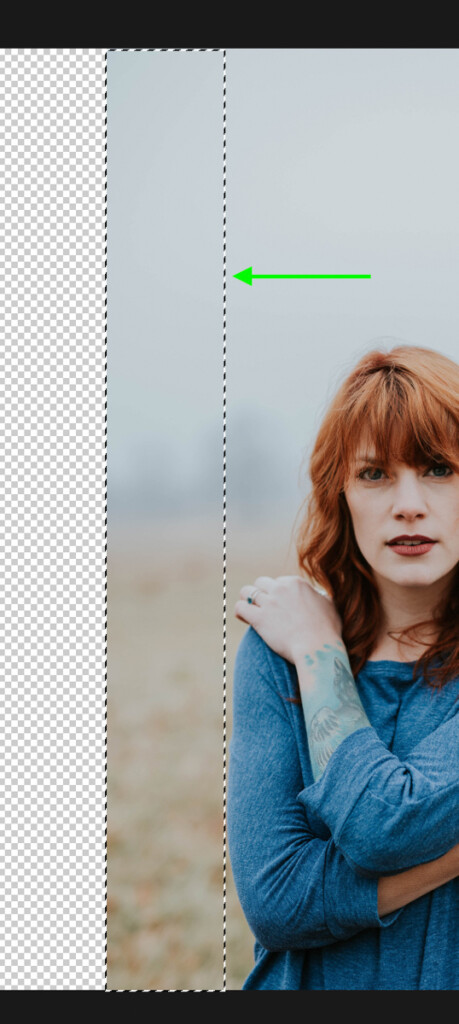
With your image layer selected, press Command / Control + J (Mac/PC) to duplicate the selection area onto a new layer.
Clicking on the newly duplicated layer, select the Move Tool (V), then hold Shift and stretch out the layer to fill the transparent area.
When there are no transparent areas left over, press Enter or click on the checkbox in the upper settings bar.
– The Result
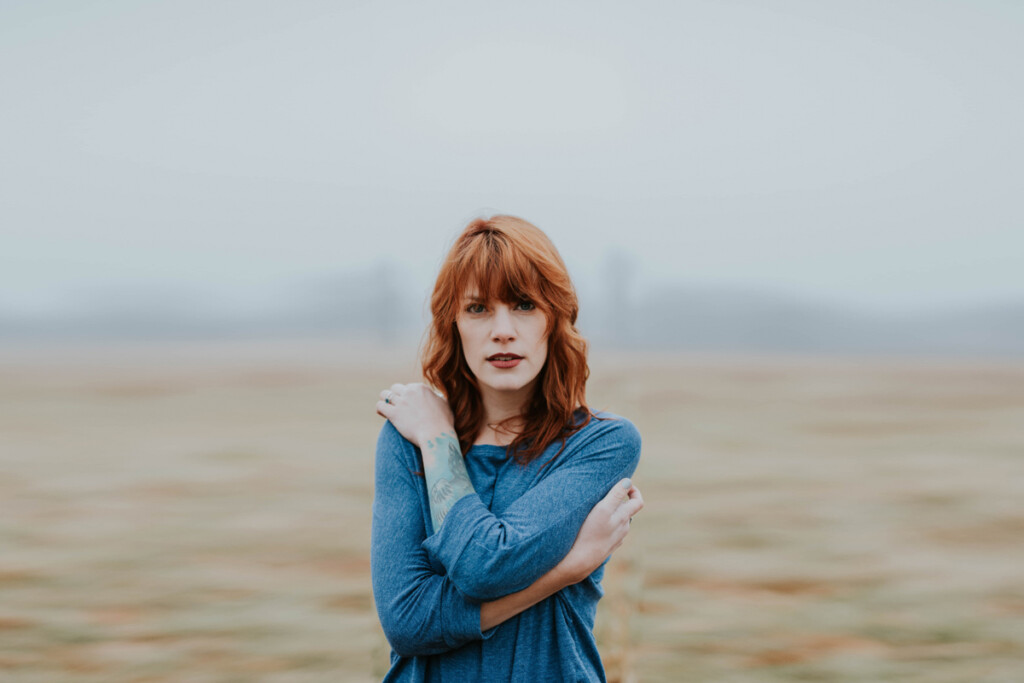
After stretching the photo’s edges, you’re left with a new orientation without having to crop your image dramatically. This method works extremely well for simple backgrounds and can change an image orientation from portrait to landscape or landscape to portrait.
For the final technique, let’s go over the simplest option for changing a photo’s orientation in Photoshop.
3. Rotating The Entire Canvas 90°
This method will only work for images that don’t need to be displayed from a certain orientation. For example, if you flipped a portrait photo 90°, things would look a little bit weird.
However, if you are working with graphics or patterns, this method can prove very effective.


Thank your for your help , I appreciate it I love reading it’s 1 or 2 min read