

Knowing how to change skin tones in Photoshop is essential. At times, when taking photos, the white balance may be slightly off, which leads to discolored images. This can become a problem when photographing portraits as their skin may turn a greenish or reddish tint.
So, let’s break down how to correct skin tones in Photoshop, as well as cool tricks to add creative colors to the skin to create a fantasy-like effect on your images.
How To Correct Skin Tones In Photoshop
Incorrect skin coloring can be corrected by sampling skin tones based on how you would like the subject’s skin tone to look. Following Unmesh Dinda’s technique, you can add your chosen skin tone by sampling a color. Here is a variation of this technique I like to use.
Step 1: Sample The Correct Skin Tone For Your Image
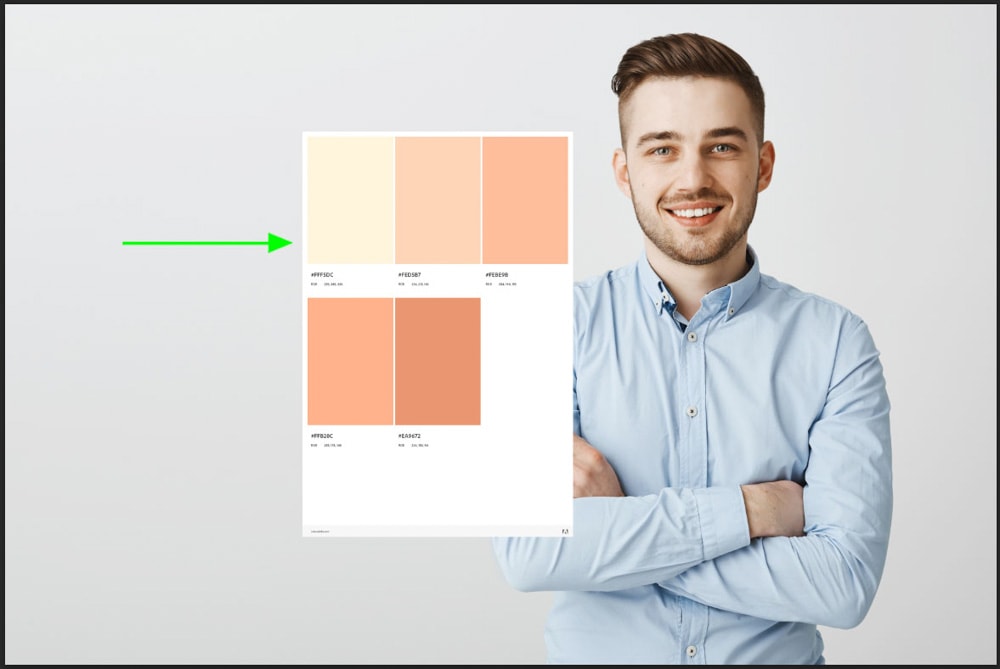
For this method, you need to choose the correct skin color for your image. You can do this by finding the right RGB values online or by downloading a skin tone color palette from online sites, such as Adobe Color.
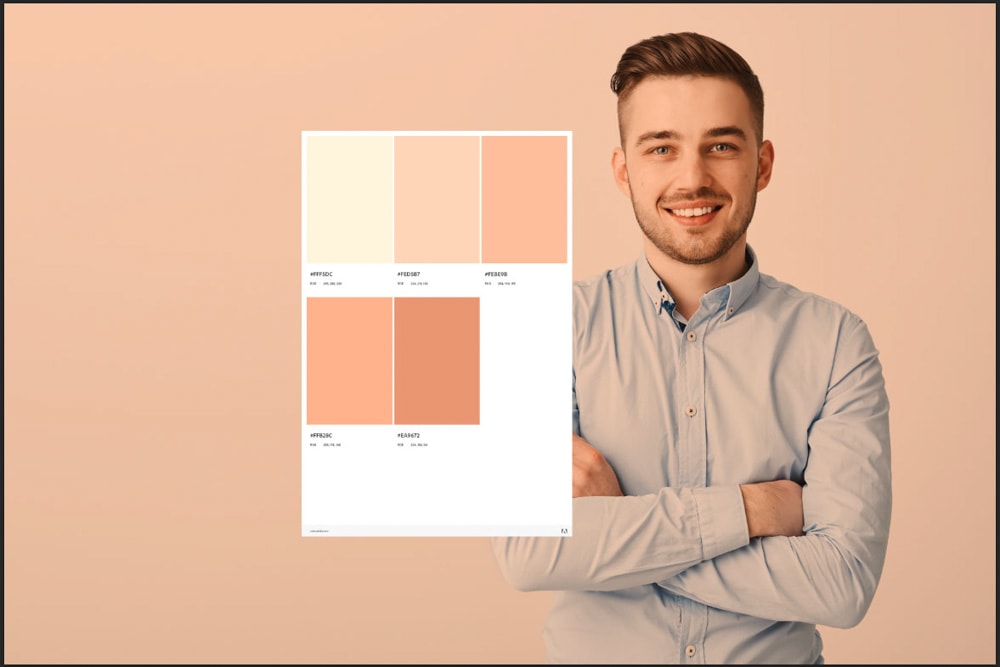
If you have downloaded a color palette online, click and drag the file onto your image. This will be used as your reference point for correcting the skin tone. Decide on the skin tone in the color palette that best matches the correct skin tone you want your subject to have.
Step 2: Add A Curves Adjustment Layer To The Image
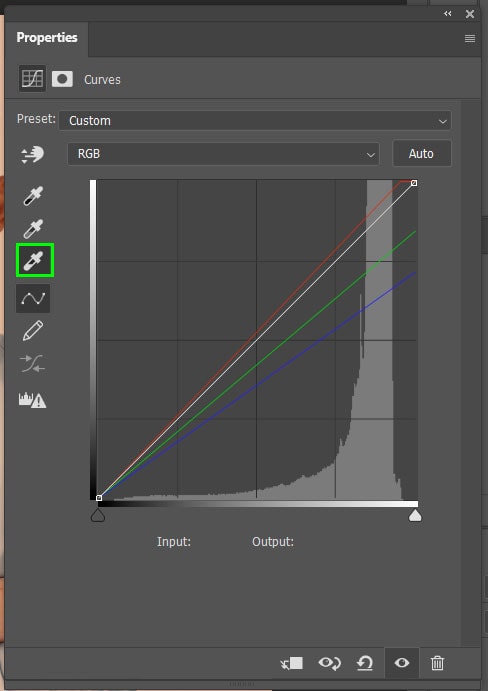
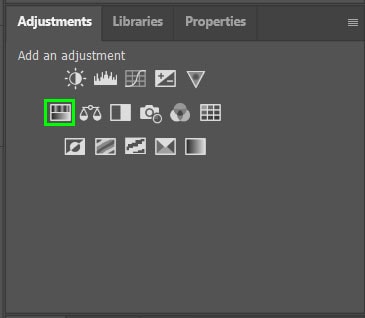
Add a Curves Adjustment layer onto the image layer by selecting the curves icon in the Adjustments panel.
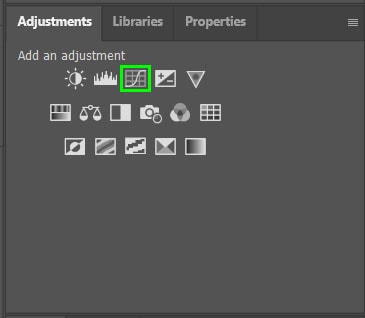
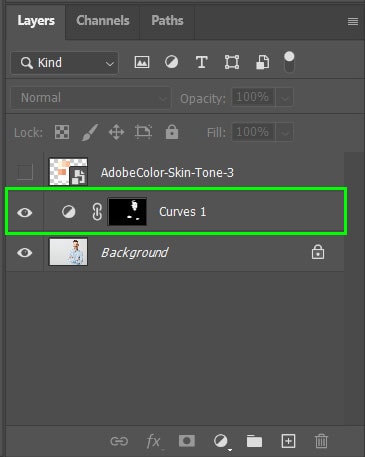
The layer should be above the image layer and below the skin tones palette layer. This ensures that you will be adjusting the colors on the image rather than on the color palette layer. Make sure the curves icon is selected on the layer rather than the layer mask.

Step 3: Select The Target Skin Tone Color
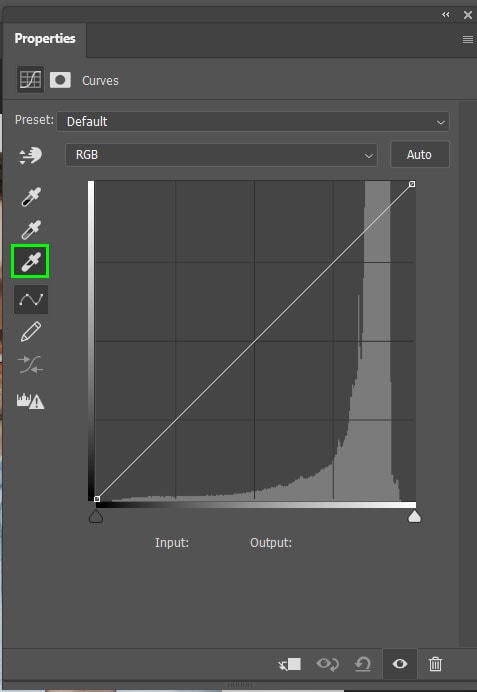
The next step is to use the color dropper to select the skin tone you want the subject to have. To do this, double-click on the bottom eyedropper in the Curves Properties Panel.
The bottom-eyedropper will focus on the highlights in the image. If your image is darker and the original skin tone is not as light, you can select the middle-eyedropper to focus on the mid-tones in the image.
When the eyedropper is double-clicked, the Color Picker will open. Click on the area of the skin tone you want using the eyedropper. You can also type in the color values in the RGB section of the Color Picker.
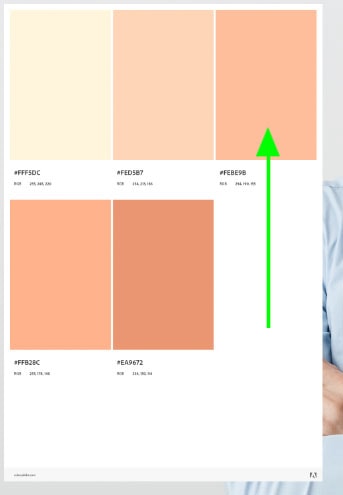
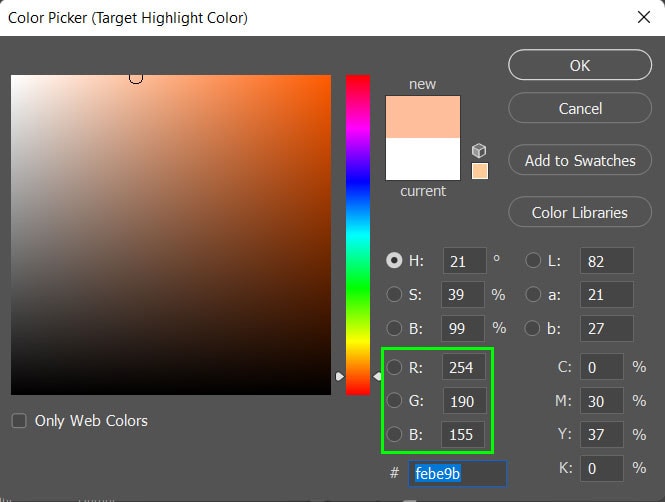
Once the color is correctly selected, select OK on the Color Picker. Photoshop will give you the option to save the new colors as the default. Select No if you don’t want the colors saved as defaults.
With the eyedropper still selected, click on the highlighted area of the subject’s skin to add a new color to the image.

The new color will be added to the subject’s face and possibly the rest of the image if the skin tones are close to the background color. This color may be too saturated as well since the skin tone palette is only meant to be a starting point to correct the skin tone.
Step 4: Reduce The Saturation Levels Of The Sample Color
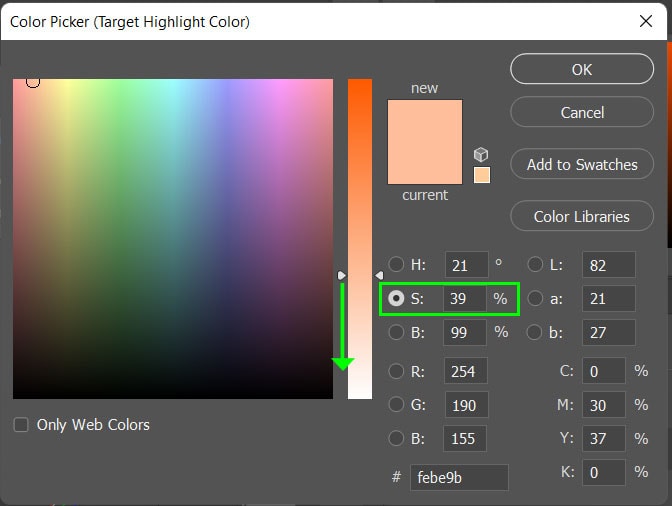
To reduce the saturation levels on the image, double-click on the bottom eyedropper to open the Color Picker. Then select the Saturation option and drag the arrows down on the slider to reduce the saturation levels.
Once the Saturation level has been corrected, select OK on the color picker and select No on the pop-up asking to save the colors as the default.
Then, with the eyedropper still selected, click on the same highlight area as before to add the new adjusted color to the subject’s skin.

The skin tone will now look correct. However, the entire image will have the new tint added to it, especially if the other colors in the image are similar to the original skin tones.

Step 5: Remove The Curves Adjustment From The Rest Of The Image
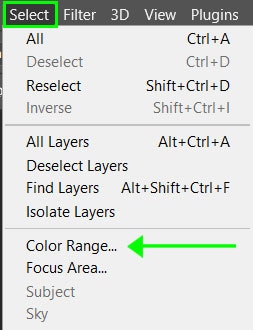
To remove the Curves Adjustment from the rest of the image, navigate to Select > Color Range.
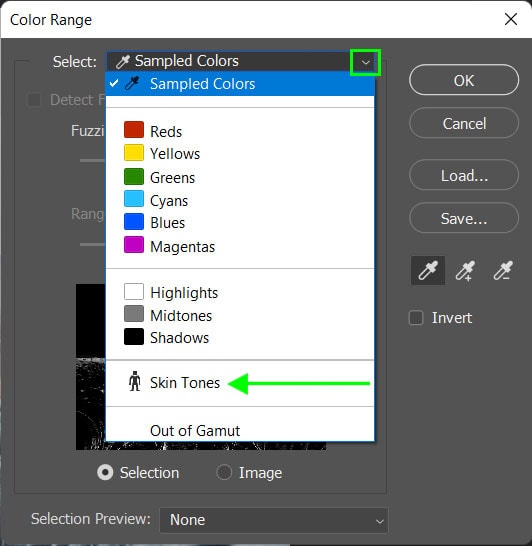
Click on the drop-down menu next to Select and choose Skin tones. Then, check the box next to Detect faces and increase the Fuzziness to 50. Select OK to confirm the changes.

Marching ants will appear around the areas of skin on the subject. Switch the selection to cover everything but the skin by pressing Control + Shift + I (Win) or Command + Shift + I (Mac).

Once the selection is inverted, click on the Curves layer mask and set your foreground color to black at the bottom of the toolbar.


With the layer mask selected, press Alt + Delete (Win) or Option + Delete (Mac) to fill the active selection with black, making the skin tone adjustment only visible within the skin tones.
Then press Control + D (Win) or Command + D (Mac) to deselect the areas once you have filled the selection.


How To Change Skin Color Creatively In Photoshop
Even when the skin tones are correct, you can use Photoshop to change the skin tones to add creative effects. This can be used to create a fantasy-like feel to images. When altering skin tones to bolder colors, it is tricky to blend the skin without altering the areas around the skin as well.
Step 1: Add A Hue/Saturation Adjustment Layer
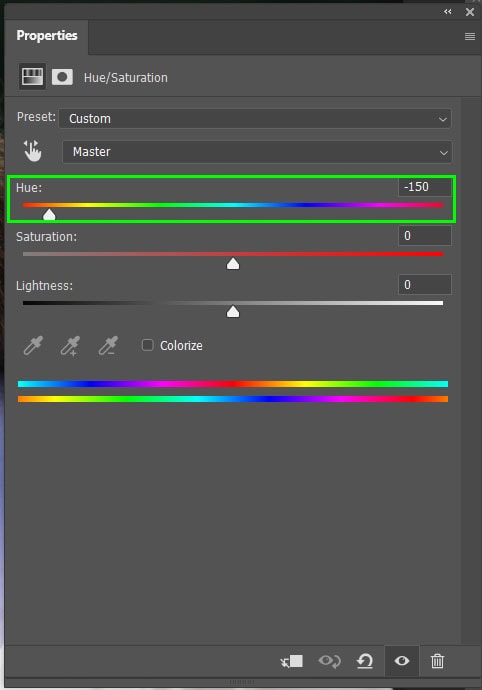
One method of changing the skin tone is by adding a new Hue Adjustment layer. To do this, select the Hue/Saturation icon from the Adjustments Panel.
Step 2: Select A New Skin Color Using The Hue Slider
In the Properties Panel, use the Hue slider to select the color you want to change the skin color to. You will see the color appear on the image, although the entire image will change color.
Step 3: Select The Brush Tool (B) And Set The Foreground Color To Black
Next, make sure the layer mask on the Hue adjustment layer is selected.

Then, select the Brush Tool (B) from the toolbar and set the foreground color to black. When using layer masks, white hides the original layer, while black reveals areas on the original layer.

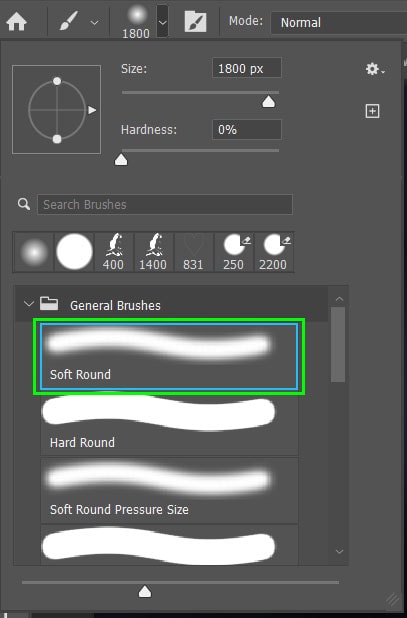
Step 4: Select A Soft Brush And Paint Over The Areas To Remove The New Color
Open the Brush Preset picker and select a soft brush to use. Soft brushes are more feathered than hard brushes, allowing you to blend the image well.
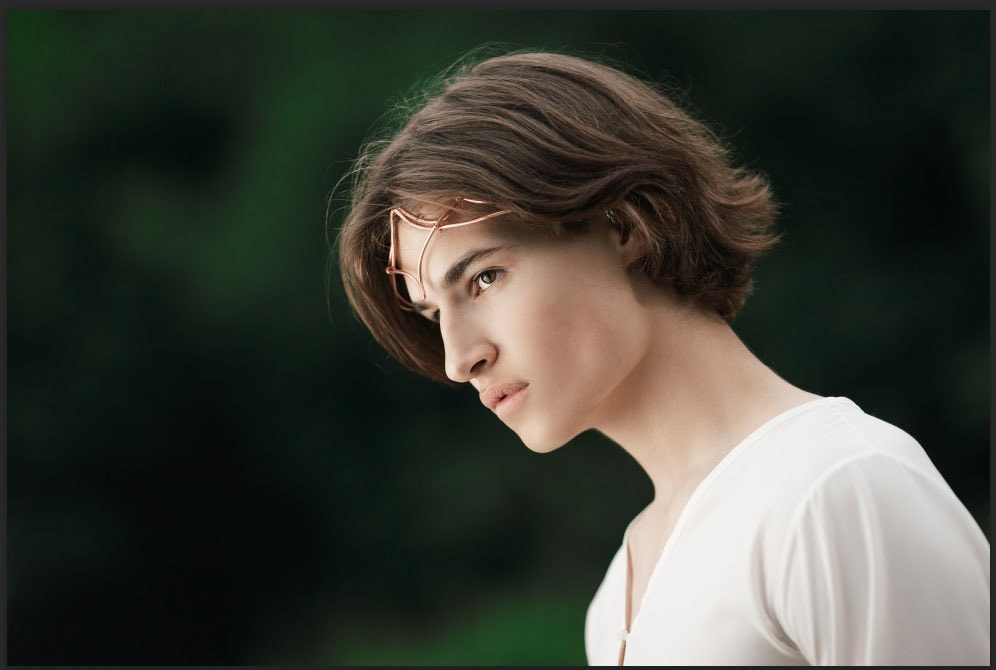
With the brush selected, click and drag the brush over the image everywhere except where the skin is showing. This will reveal the original colors of the rest of the image while keeping the skin tone the color that you have selected.
When brushing the areas close to the skin, lower the opacity of the brush on the Options Bar. This will create a better blend for your image. Be sure to brush over the eyes and other areas where you don’t want the new color to show.

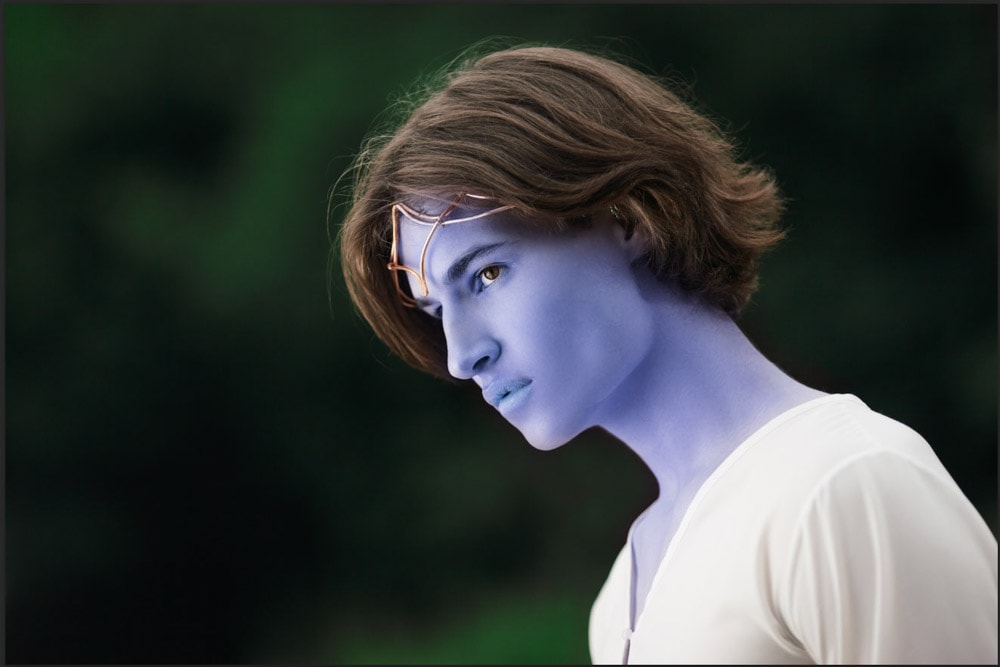
If you accidentally brush over areas of the skin, switch the foreground color back to white and brush over those areas to add the Hue adjustment again. Once you have carefully brushed over the other areas, you will be left with a subject that has a fantasy-like skin tone.
You can select the Hue Adjustment layer from the Layers Panel at any stage in your editing process to change the color if you wish, and you can keep painting to fix up the layer mask if you notice issues at a later stage. If you want to get a more accurate selection of your subject’s skin, opt to use something like the Pen Tool (P) or Quick Selection Tool (W) to get the best result possible. The Brush Tool (B) can get the job done but may be more tedious than you’d like.
Happy Editing!


