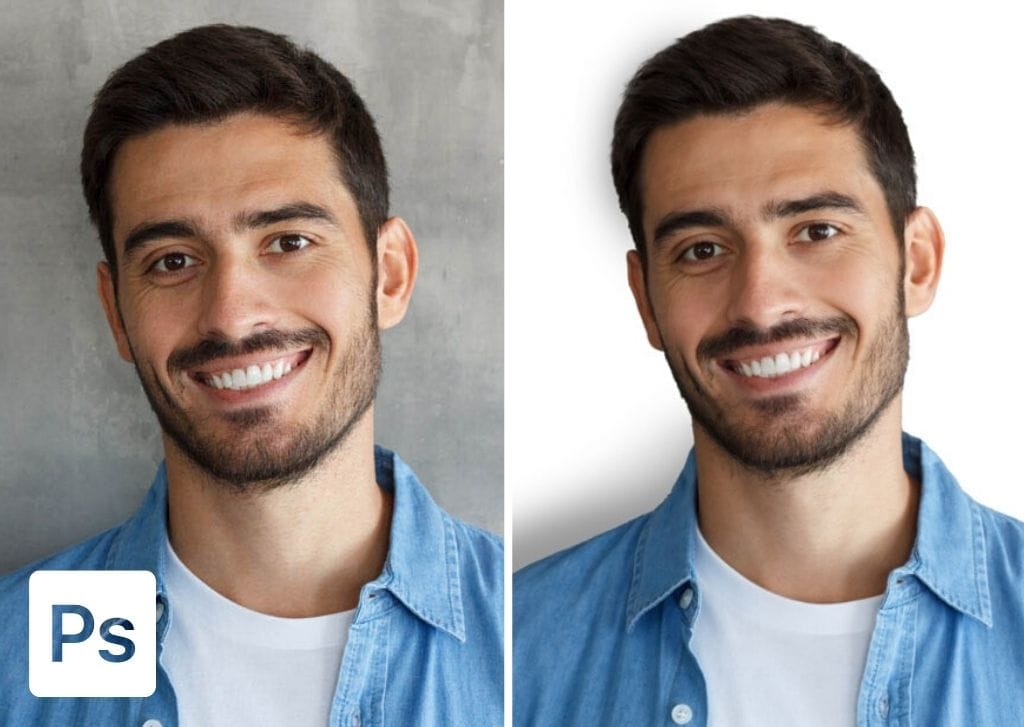

If you are re-purposing an image, you may want to add a white background in Photoshop to your photo. While you can simply cut out the subject and add a white fill layer behind it, the results are unrealistic.
Here, I will show you how to add a realistic background to your image using shadows and highlights. Let’s get started!


Video Tutorial
How To Add A Realistic White Background In Photoshop
Step 1: Remove The Background Using A Selection And Layer Mask
First, create a copy of the image layer and turn the visibility of the bottom layer off. Duplicate the layer by pressing Control + J (Win) or Command + J (Mac).
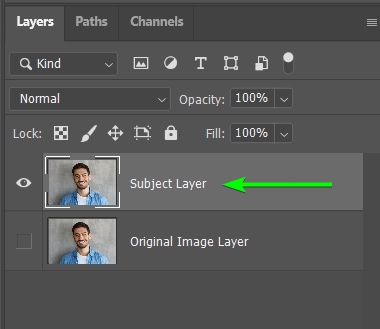
You can use any of these 8 ways to remove backgrounds in Photoshop, but a quick and easy way is to use the Select Subject button in the Contextual Task Bar. You can also activate a selection tool and find the button in the Options Bar.

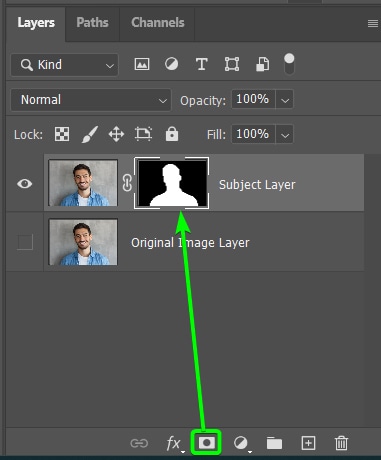
Select the image layer and click the Add layer mask icon at the bottom of the Layers Panel.
Note: If you need to refine or correct the selection, click here and follow the select and mask section.
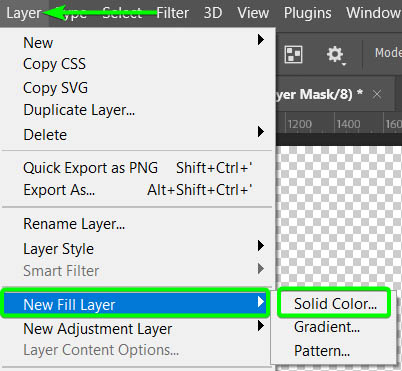
Step 2: Go To Layer > New Fill Layer > Solid Color
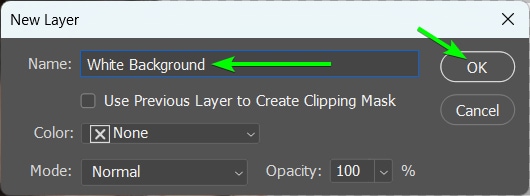
Add a new fill layer and name the new layer if you want, leave the other settings as they are, and click OK.
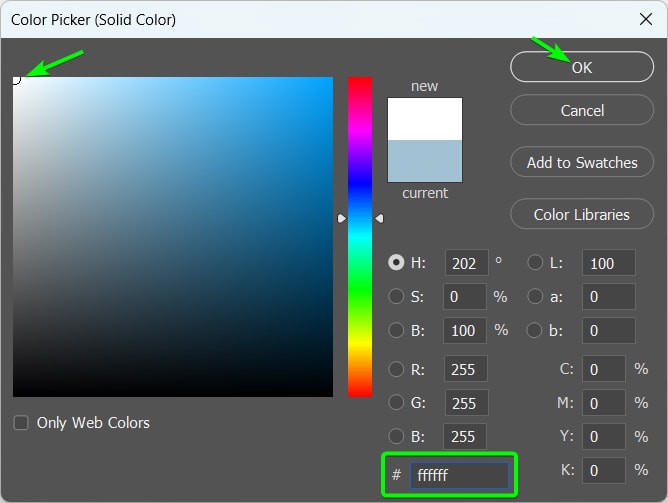
You can then select white from the Color Picker window, which uses the hex code: #FFFFFF. Click OK once you’ve chosen white.
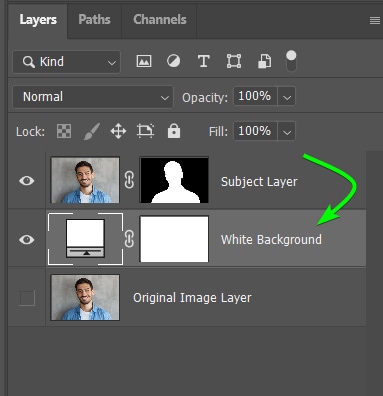
Next, move the solid fill layer below your subject layer by clicking and dragging it in the Layers Panel. You will notice that the result looks Photoshopped, as there are no shadows behind the subject. You may want this result if you are making a passport-sized photo.

Step 3: Add A Shadow Behind The Subject
There are many ways to make a shadow in Photoshop. In this case, you can either create a shadow using the Brush Tool or, if your original image had a shadow, you could use the existing shadow.
Option 1: Using The Brush Tool If There Was No Shadow In The Original Photo
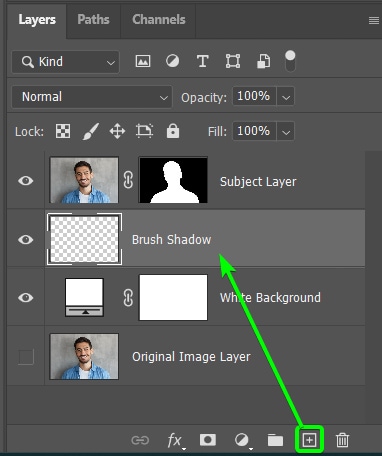
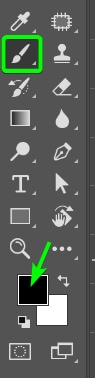
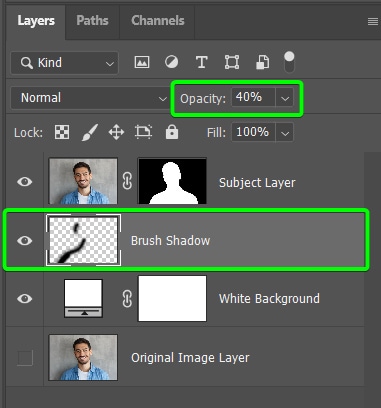
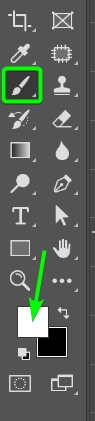
Add a new layer between the white background and the subject layer. Select the white background layer, then click the Create a new layer icon to add the layer in the right spot. Then, select the Brush Tool (B) and set the foreground color to Black in the Toolbar.
Once the Brush Tool is active, open the Brush Preset Picker in the Options Bar, select the Soft Round Brush, and adjust the size as needed. You want the size to be relatively big for the shadow.
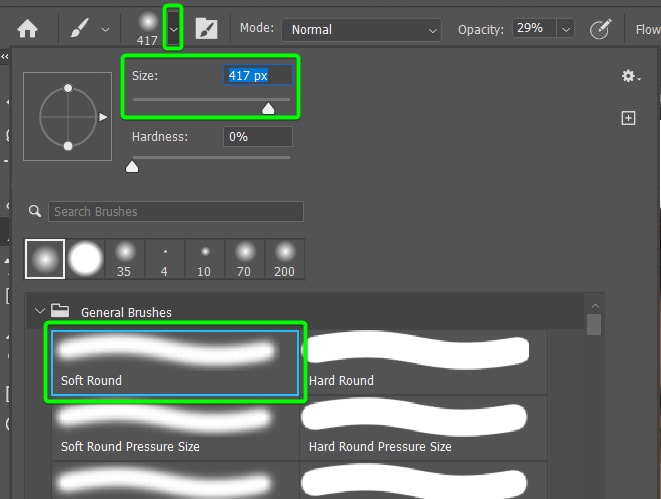
The rest of the settings should be Mode set to Normal and 100% Opacity and Flow.

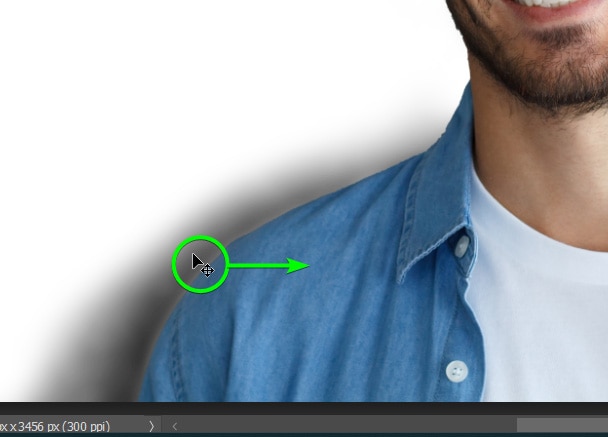
You can now brush around the edges of the subject where you want to add the shadow. Once you’ve added the darkest parts of the shadow behind your subject, you can add a more feathered shadow by lowering the Opacity of the brush in the Options Bar.
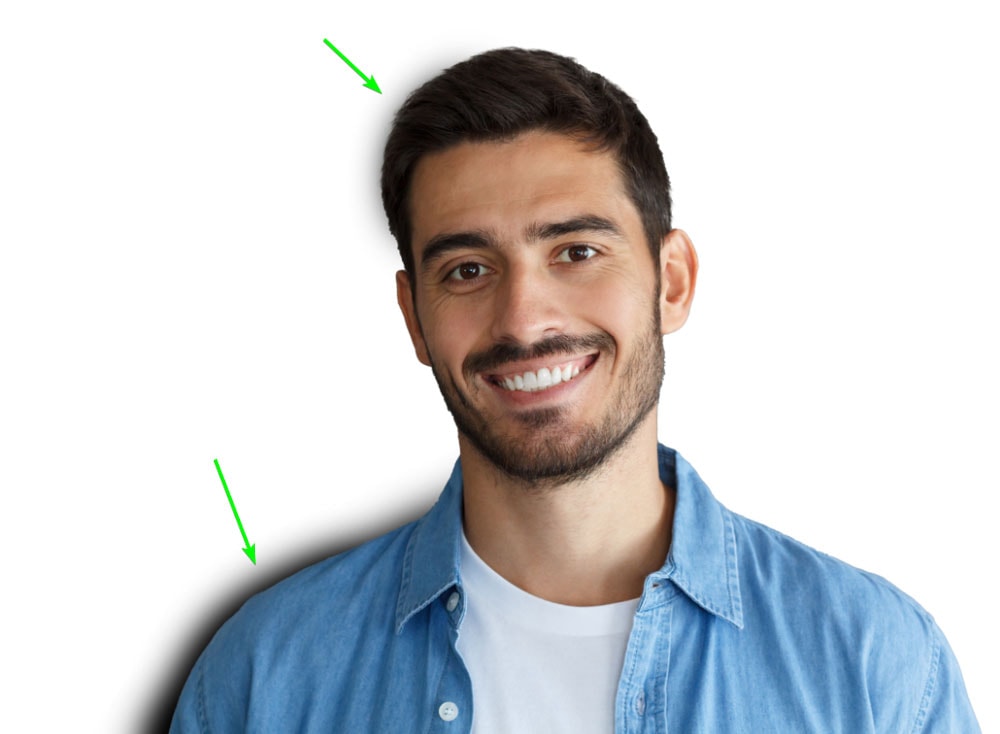
To blend the shadow into the image more, you can drop the Opacity of the brush layer. To do this, select the Brush Shadow layer in the Layers Panel and reduce the Opacity slider at the top of the panel.
You will now have a relatively realistic shadow behind the subject.
Option 2: Using The Original Shadow If There Is One In The Original Image
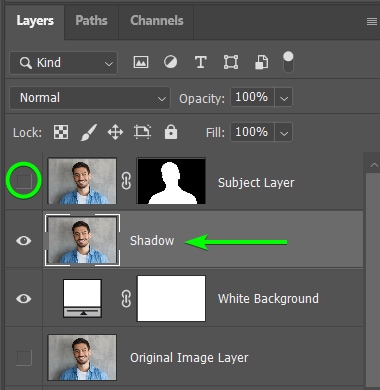
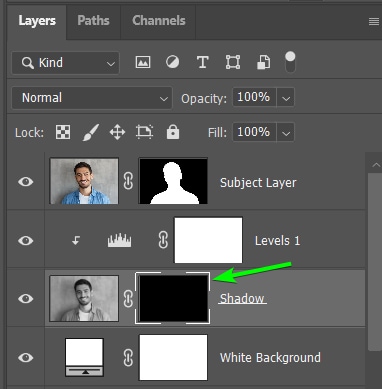
Duplicate the original image layer by selecting it and pressing Control + J (Win) or Command + J (Mac). Then, move the copied layer between the background and subject layers. Then, turn off the Subject layer’s visibility by clicking on the eye icon next to the layer thumbnail. Ensure the Shadow layer is selected.
Now, you must make the Shadow layer black and white by going to Image > Adjustments > Desaturate. You can also use the shortcut Shift + Control + U (Win) or Shift + Command + U (Mac).
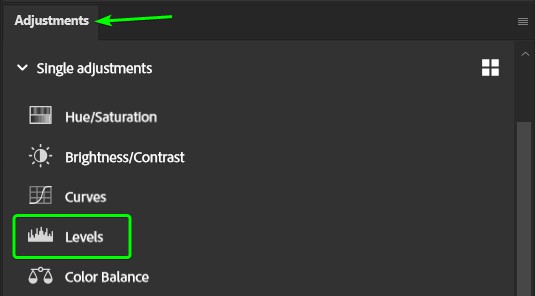
To add more contrast, add a Levels Adjustment layer by selecting the Levels option in the Adjustments Panel.
In the Levels panel that appears, drag the Highlights slider (the white arrow on the right) to the left to increase the highlights in the image. Then, increase the shadow slider slightly to bring the shadow out a bit more. Drag the black arrow to the right. Be careful not to let the image turn patchy by dragging the slider too far.
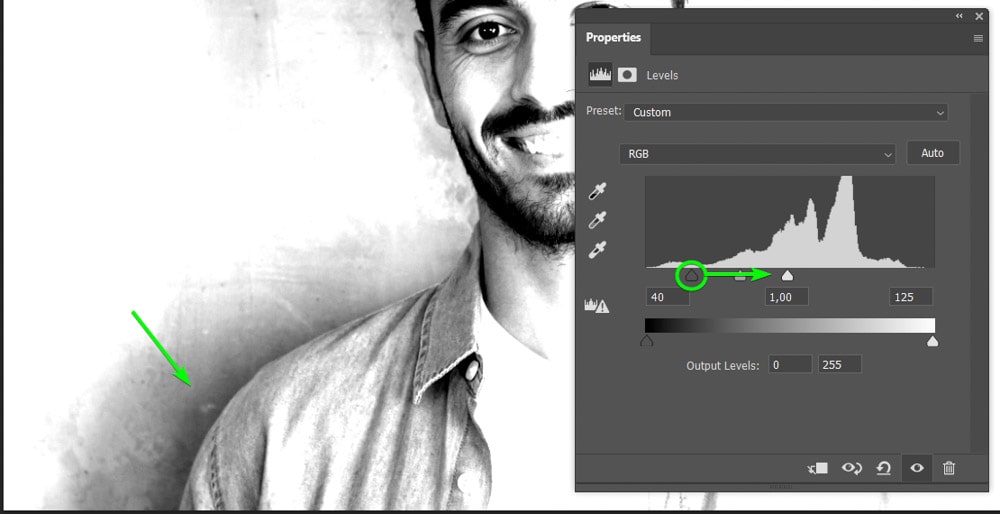
Adjust the sliders until you have a soft shadow and most of the image blown out in white. Then, add a clipping mask to the Levels adjustment by pressing Alt + Control + G (Win) or Option + Command + G (Mac).
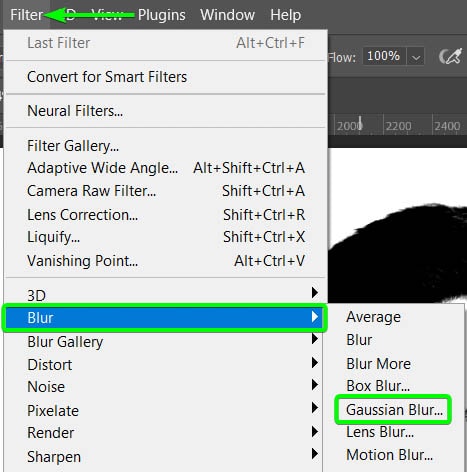
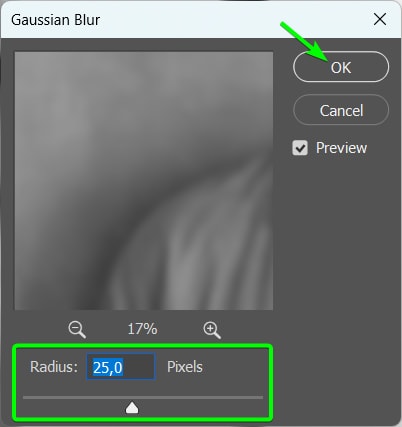
Next, you need to soften the shadow by adding a blur to the area. To do this, select the Shadow layer and then go to Filter > Blur > Gaussian Blur. When the Gaussian Blur panel opens, adjust the Radius slider to blur out the details of the image and soften the shadow area. A Radius of around 25 pixels should work, but this depends on your image. Click OK to add the blur.
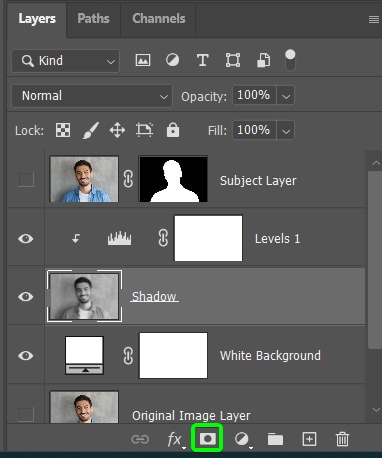
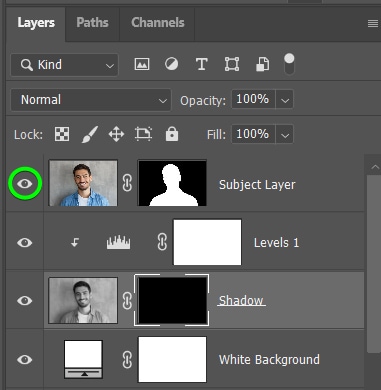
Now, keep the Shadow layer selected, hold in Alt (Win) or Option (Mac), and click the Add layer mask icon at the bottom of the Layers Panel. Then, turn your subject layer back on by clicking where the eye icon should be. You will now have the subject on the plain white background again.
Then, ensure the layer mask of the Shadow layer is selected, shown by the white box around the black thumbnail. Now, select the Brush Tool (B) and set the foreground color to White. This will allow you to add to the layer mask and bring the shadow back into the photo.
You should have a soft round brush selected from the Brush Preset Picker, and the Opacity in the Options Bar should be 100%.
Once the settings are correct, brush over the areas where the shadow was on the original photo to bring it back in. If the shadow is not in the right place and has shifted slightly to the side, select the Move Tool (V) and drag the Shadow layer around to fit it correctly behind the subject.
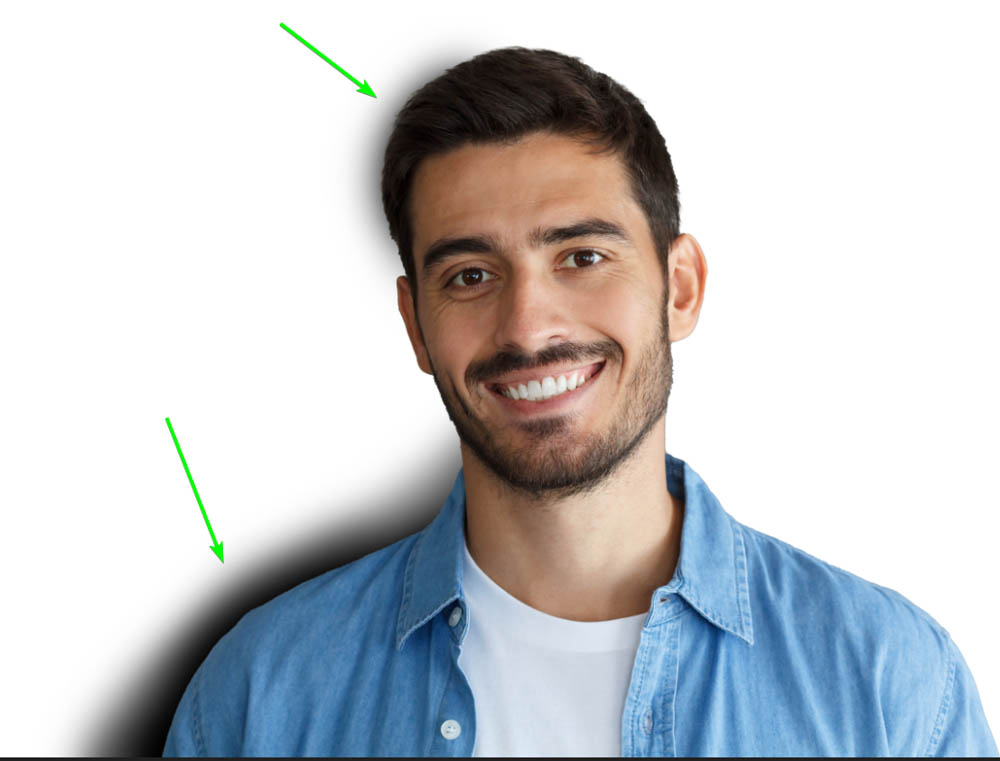
You now have a more realistic shadow behind your subject. However, both options work well to add a shadow. Using either method, you may need time to get the shadow looking natural.

Step 4: Add A 50% Gray Layer (Optional)
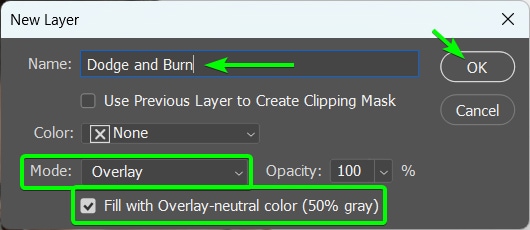
Add a new layer by pressing Shift + Control + N (Win) or Shift + Command + N (Mac), and the New Layer dialogue box will open.
You can name the new layer something like Dodge and Burn and then change the Mode setting at the bottom to Overlay. Check the box next to Fill with Overlay-neutral color (50% gray). Click OK to add the new layer.
Ensure the new layer sits at the top of the layer stack. You won’t notice any changes on the image due to the Overlay blend mode, but the edits will appear when you add the dodge and burn effects.
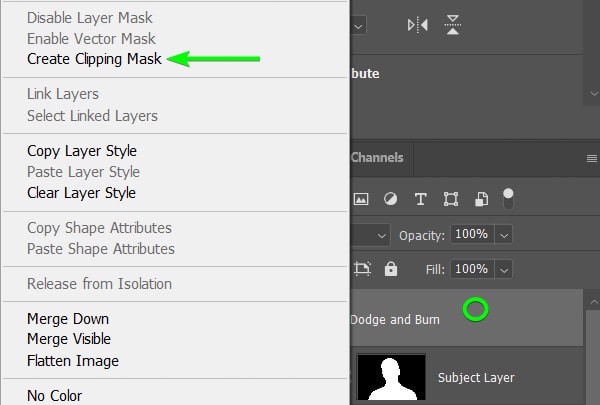
Add a clipping mask to the gray layer by right-clicking or Control + clicking on the gray layer and selecting Create Clipping Mask (ensure the subject layer is directly below it).
Step 5: Activate The Dodge Tool And Paint Over To Create Highlights (Optional)
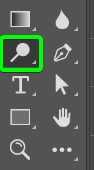
You can now add highlights or glows to the subject by dodging areas of the image. Keep the new gray layer you created selected and activate the Dodge Tool (O) from the Toolbar.
In the Options Bar, leave the Range set to Midtones, and increase the Exposure to about 30%. You want the glow effect to mimic the light that would bounce off the white wall if the subject was photographed on that backdrop. This means you must paint the effect around the shoulder areas.

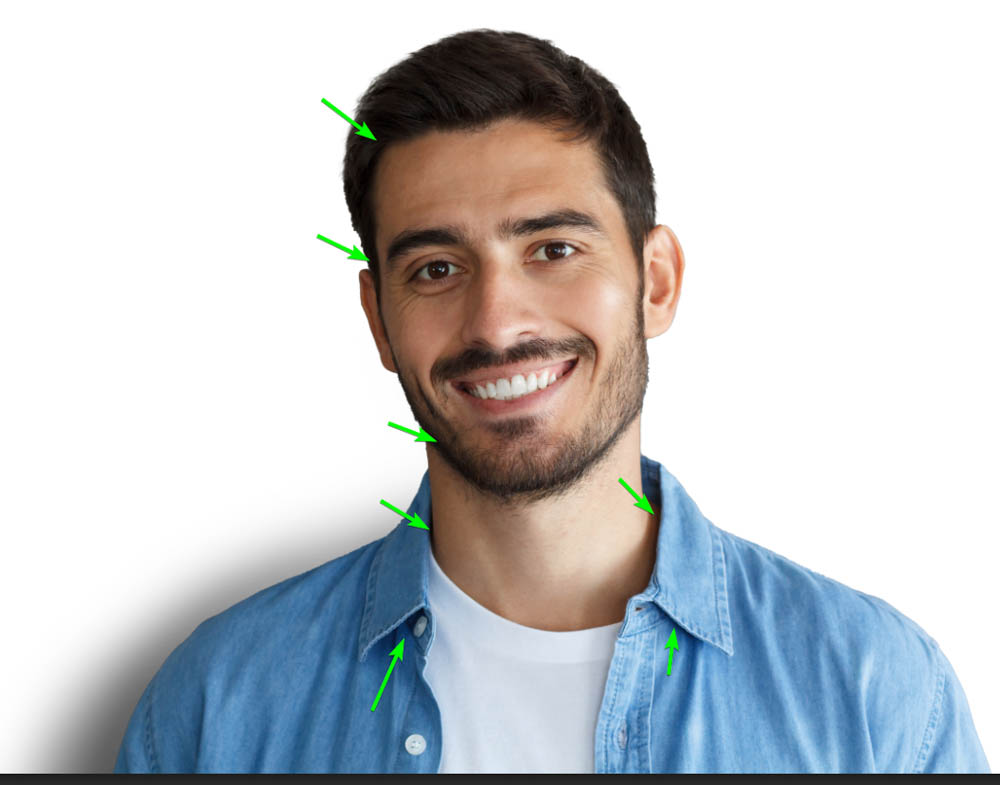
Adjust the brush size using the [ and ] keys to match the areas on the subject. You want to add this effect to the lighter edges (so the edges opposite to where you added the shadow) and any areas where the light would bounce off the subject.

Step 6: Activate The Burn Tool And Paint Over To Create Shadows (Optional)
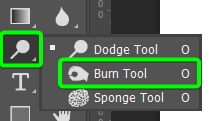
You can add a few shadow effects on the subject using the Burn Tool (O). Select the tool from the Toolbar.
Set the Range to Midtones and the Exposure to 30% as well.

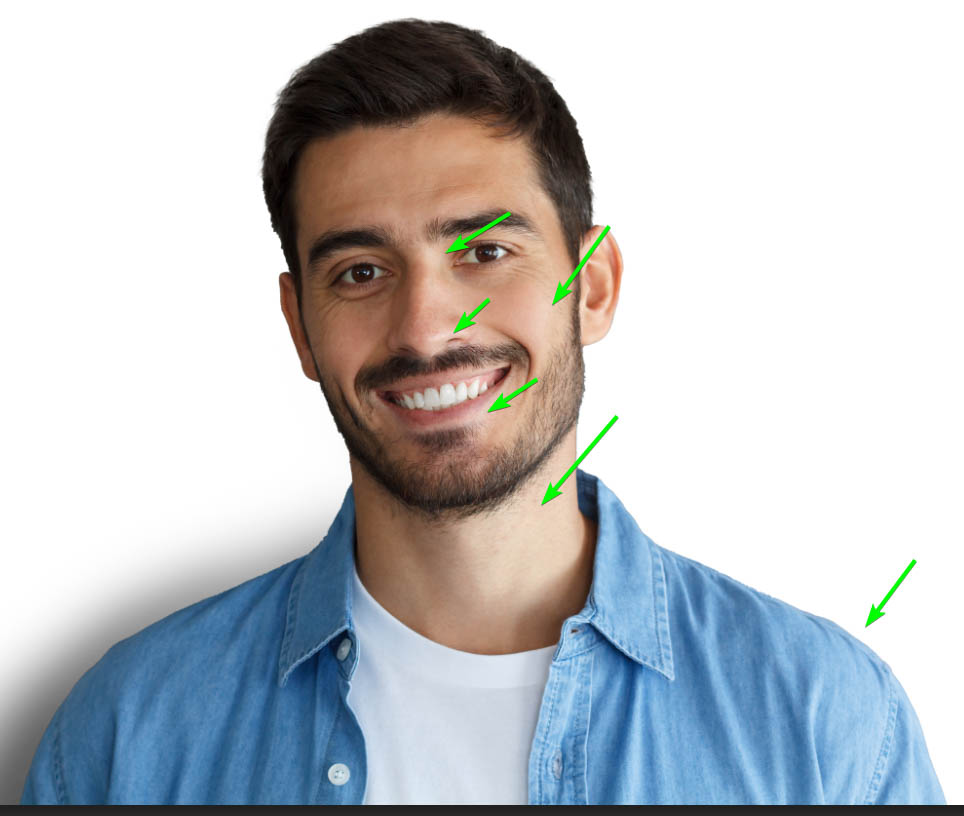
Then, you can brush around the darker areas of the image to darken them and increase the overall contrast of the subject. Adjust the brush size as you paint over the areas to darken them.

You have now added a white background with realistic shadows and highlights on and around your subject, so the result looks like the photo was taken in that setting.


