
Changing the brush opacity in Photoshop is easy and gives you the option to vary your brush strokes. The opacity can be changed to apply lighter edits to your images when using layer masks, or other brush-based tools. While knowing how to change brush opacity in Photoshop is simple, there are a few ways different ways to do it.
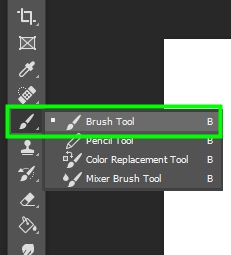
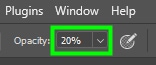
The easiest way to change brush opacity in Photoshop is to select the Brush Tool (B) and press 1-9 on your keyboard. 1 will set your brush to 10% opacity, 2 for 20% opacity and so on. Pressing 0 will reset the brush opacity to 100%. Alternatively, you can adjust opacity via the upper settings bar.
Since there is both brush flow and opacity available, there are other options that may be more useful. Knowing how to adjust the opacity of brushes and when to do so is a good skill when working with brushes and this post is going to break down everything you need to know.
How To Change Brushstroke Opacity
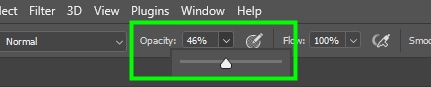
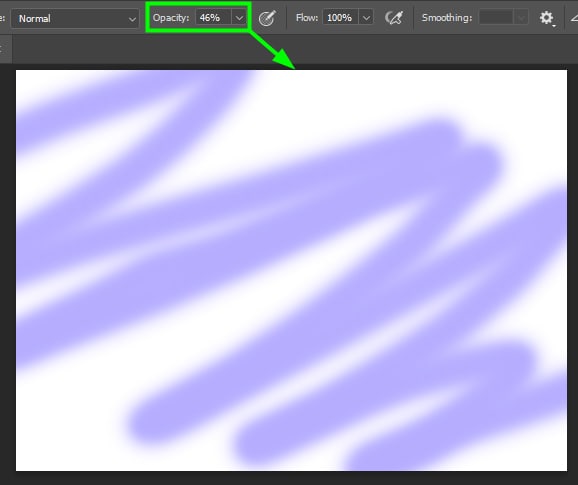
You can only change brushstroke opacity before you start working with a brush. To do that, select the brush tool from the toolbar (B). Then, find the ‘Opacity’ slider on the upper options bar.

The brush opacity is set to 100% by default. To change brush opacity, click the opacity drop-down menu. Then, drag the slider to the left to decrease the opacity or to the right to increase it.
Alternatively, you can change brushstroke opacity by typing numbers between 1-9 on your keyboard. For example, if you want your brush opacity to be 20%, type 2. To go back to 100%, press 0.
Once you set your brush opacity, click and drag in any direction to paint the canvas.
How To Change The Opacity Of A Brush After It’s Painted
After you have painted with a brush, you can’t change the opacity of the brush stroke.
However, if you created a layer exclusively for brush strokes, you can change the opacity of the brush strokes by changing the opacity of the entire layer.
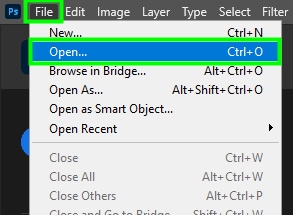
To change the opacity of the brush layer, open an image in Photoshop by dragging and dropping it into Photoshop or go to File > Open and choose the image you want to work with.
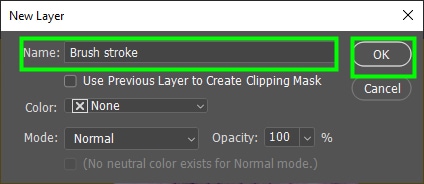
Once the image is open, press Control + Shift + N (Win) or Command + Shift + N (Mac) to create a new layer.
Once you do that, a New Layer window will pop up, and you can name the new layer. When you finish, click ‘OK’ to create the layer. The new layer appears above the image layer.
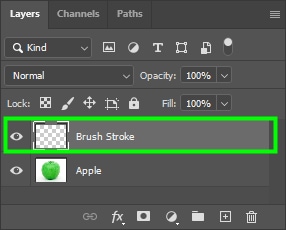
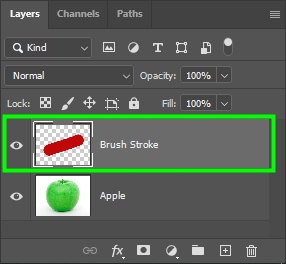
Once the layer is created, click and drag across the image to create a brushstroke. The brush stroke is added to the new layer separate from the image.

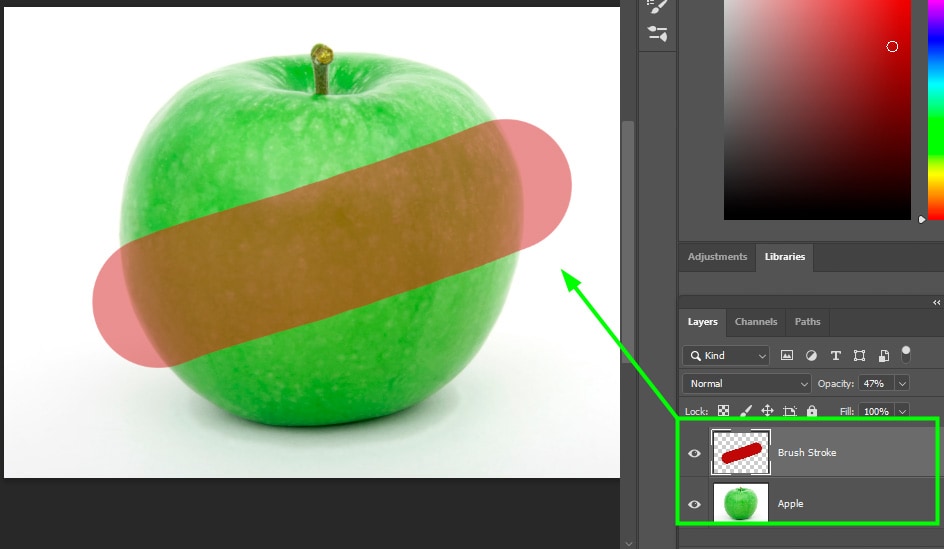
Leaving the layer selected, click the ‘Opacity’ drop-down menu in the upper section of the Layers Panel. Drag it to the left to decrease the opacity or to the right to increase it.

Once you lower the layer’s opacity, the image beneath the brush stroke and the brush stroke blend because the brush stroke is now more transparent. Since the entire layers opacity was reduced, I could change the opacity of a brush stroke that was already created.
How To Change The Opacity Of Custom Brush Settings
Here are two ways you can change settings in the Brush Settings panel to adjust brush opacity.
One method requires a graphics tablet connected to your computer. A graphics tablet gives you extra control over brush strokes to make them more efficient and versatile. To start, you need to open the brush settings panel.
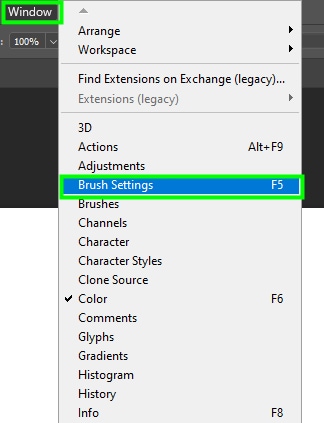
To open the custom brush settings panel, go up to Window > Brush settings. Alternatively, press F5 on your keyboard.
Once you open the brush settings panel, you can change general custom brush settings such as angle, roundness, and spacing.

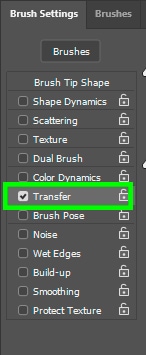
However, to alter the opacity, click the ‘Transfer’ checkbox on the left side of the panel. In the ‘Transfer’ options you can find settings to adjust the visibility of brushes.
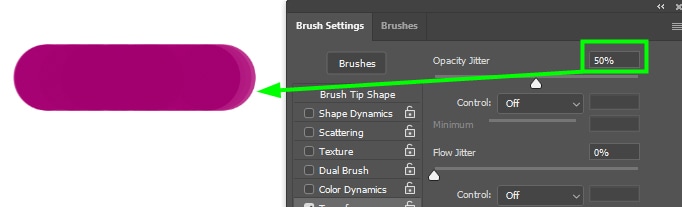
On the right side of the panel, there is the Opacity Jitter option. It makes opacity vary within the brushstroke. Thus, some parts of a brushstroke will be more transparent, and others will be less transparent. Jitter is simply the act of randomizing a brush setting.
When you move the opacity jitter slider to 50%, for example, you will notice a slight opacity variation in parts of the brushstroke.
If you move the opacity jitter slider to 100%, the opacity variation is more obvious.
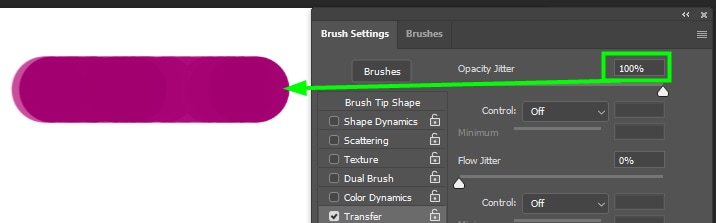
But even at 100%, you won’t see much difference between a brush with and without opacity jitter.


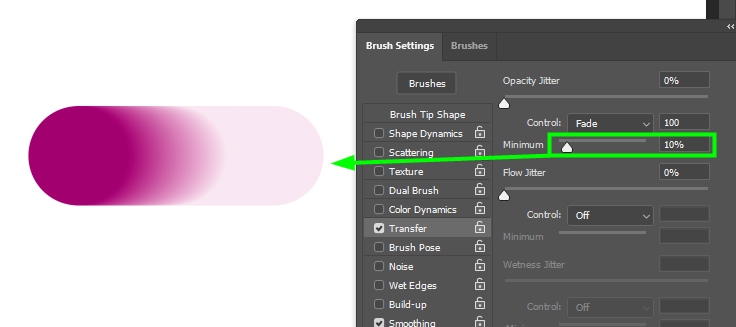
However, you can adjust some settings to make the opacity jitter more obvious. You can switch control to ‘Fade’ or ‘Pen Pressure’ to achieve interesting results. Keep in mind that you will only be able to use pen pressure control when using a graphics tablet.
Fade
In the dropdown menu next to Control select ‘Fade’ to enable fade control.
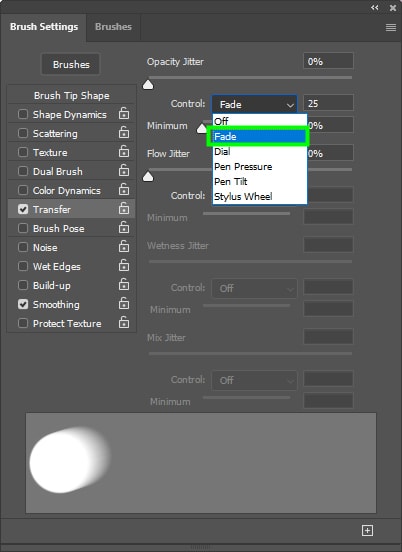
When you do this, your brush will gradually lose opacity until it ‘fades’ out.

You can make some adjustments to the fade effect. For example, in the box next to fade, you can enter a high value to expand the fade effect.

You can also determine a minimum opacity rate for the fade effect. For example, if you want opacity to be at least 10%, you can move the slider under the control menu so the fade effect will never move below 10%.
Pen Pressure
When you change control to pen pressure, brush opacity will vary based on how hard you press your pen on the graphics tablet, instead of being randomly dispersed.
To see how it works, do the following.
Set opacity jitter to 100%
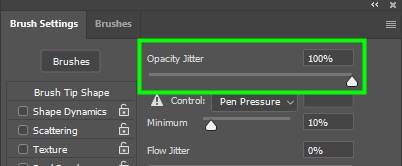
Then, go to the control menu and click on ‘Pen Pressure’.

Next, click and drag on the canvas to create a brushstroke.

When you press softly with the pen on the tablet, the opacity of the brush will be close to zero, and your brush strokes will be almost transparent.

When you press harder with the pen, the brushstroke opacity will be closer to 100%.

Then, some parts of brush strokes will look opaque, and others transparent if you vary the pressure you exert on the pen while creating brush strokes.
You can also set a minimum opacity for your brush stroke. To do this, go to Minimum and enter a minimum value—for example, 50%.
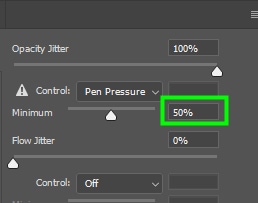
Now, the weakest amount of pressure you put on your pen will generate 50% opacity for the brush stroke.
Opacity jitter allows you to apply creative effects in Photoshop. For example, when retouching skin you can enable opacity jitter to apply filters with the brush in some areas more than others.
Brush Opacity Vs Flow
Opacity and Flow are very different from each other. But if you’re not sure what the differences between them are, you will not take full advantage of your brush’s potential.
The main difference between opacity and flow is that opacity controls the transparency of a brush, while flow controls the speed at which “paint” floats out of a brush.
A black brush at 10% opacity is almost transparent since only 10% of the black color is visible.

A brush at 10% flow, on the other hand, is more visible, but it looks like there is more paint in parts of its stroke than in others. This happens because the speed at which “ink” comes out of the brush is too low.

You’ll notice even more significant differences between flow and opacity when you paint a certain area repeatedly.
For example, I selected the brush tool (B) and changed its opacity to 10%. Then, painted the same place repeatedly without letting go of the mouse.
You will get something like the example below.

When you paint the same area with a brush at a certain opacity rate and without letting go of the mouse, you paint all that area equally. No matter how much you paint that area, you will always get the same color.
Now, with brush opacity still at 10%, drag with the mouse to add a brushstroke, let go of the mouse, and then add one brush stroke after another.
You should get something like the image below, where you can notice how the brush strokes all look different.

When you paint the same area with brush opacity adjusted, you either see no difference between brush strokes or drastic differences between them. To test this, set brush flow to 10%, and without letting go of the mouse, paint the same area repeatedly.
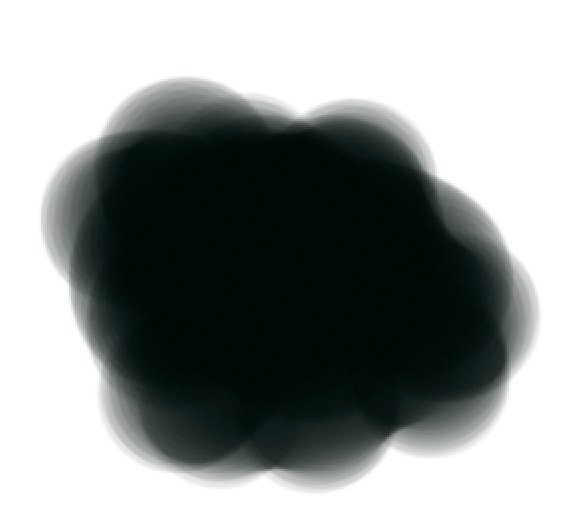
Notice there are different amounts of paint around the painted area, and the area gets darker as you add more strokes. The strokes also blend well.
If you add a brushstroke at 10% flow to an area, let go of the mouse and add another brushstroke to the same area, you should get something like this. Since the brush strokes still blend smoothly.

Due to these differences between brush opacity and flow, each serves its purpose in different ways.
For example, if you’re painting an object and want the color of that object to look uniformly transparent, it’s worth adjusting brush opacity rather than the flow
But when doing a digital painting or painting layer masks, it’s better to change brush flow, since the difference between strokes is subtle. So if you’re drawing shadows it will blend better with the other elements.
To help you better control the opacity of any object or tool in Photoshop, check out my previous guide on changing the opacity of anything in Photoshop!
Happy Editing!


